Here I'll start my log of Elrond's Gray Drape and Salmon Robe Construction. The other day I bought the silk velvet and the silk dupioni that I'll use to make the Robe and Drape. I hope I'll have this done by Dragon Con 2008.
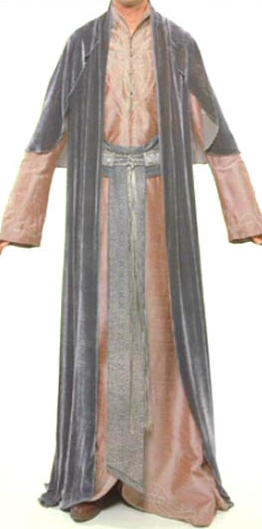
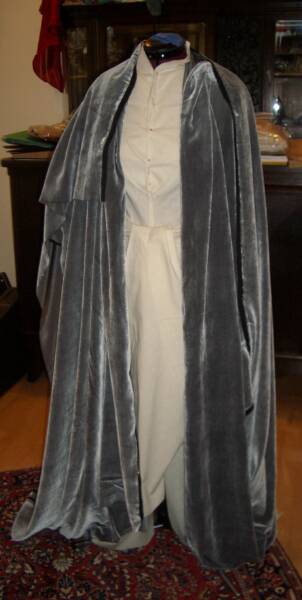
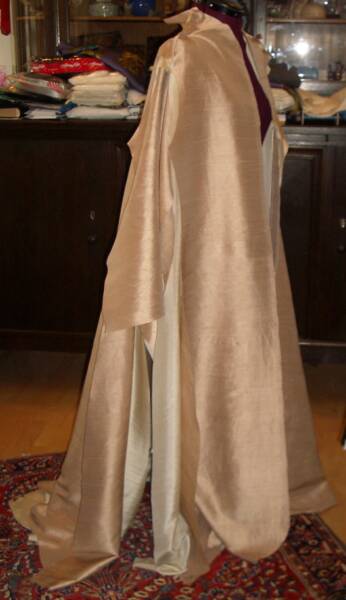
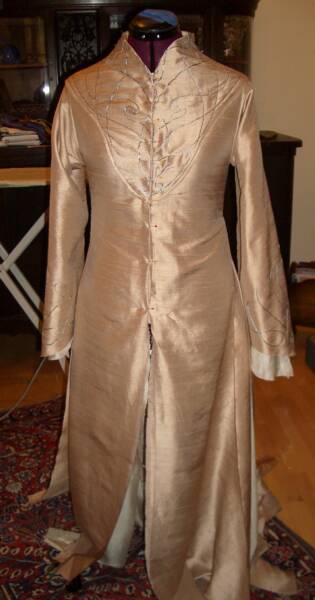
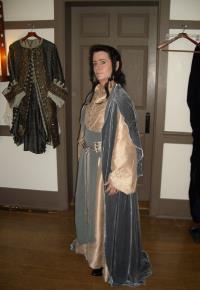
First, a photo of the costume in question:
This silk velvet is natural pile over a black base.
This is a cross dye dupioni, tan and gray.
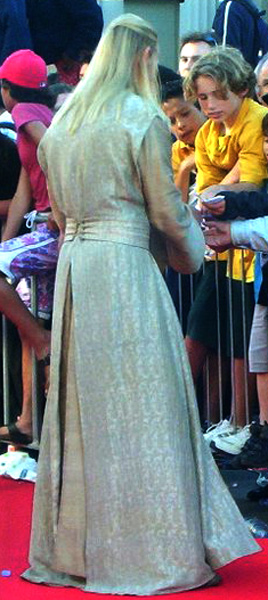
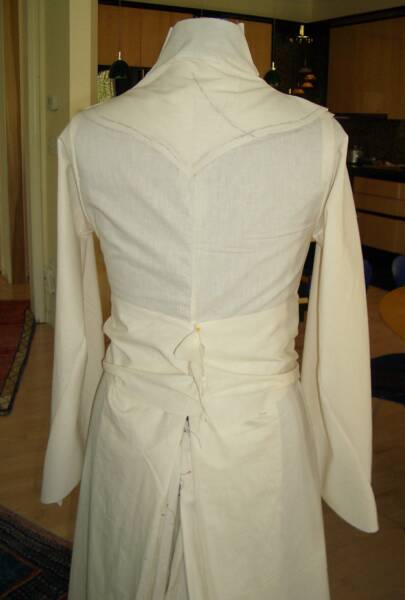
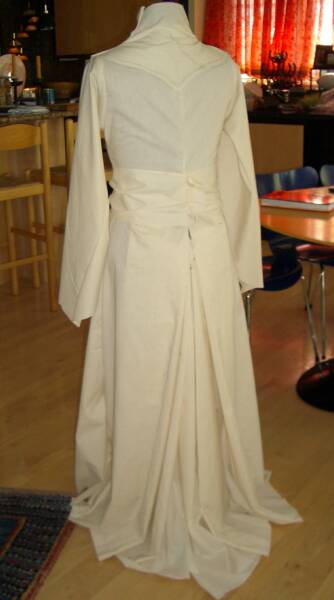
As a base for the Salmon Robe, I started with my pattern of the Nimrodel Gown, and went from there. Today, I worked out the pattern for Elrond's Robe. I added the shaping at the yoke, pleats in the back, and reduced the flair in the skirt at the side seams. Why pleats? Well, there is this photo I found... Here:
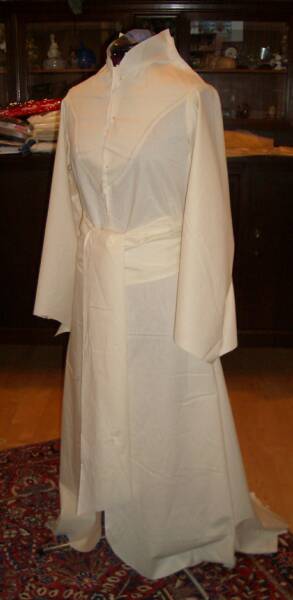
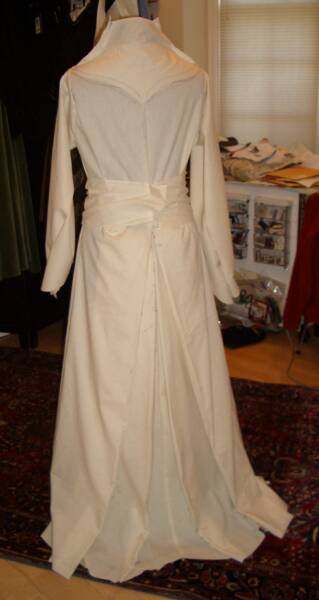
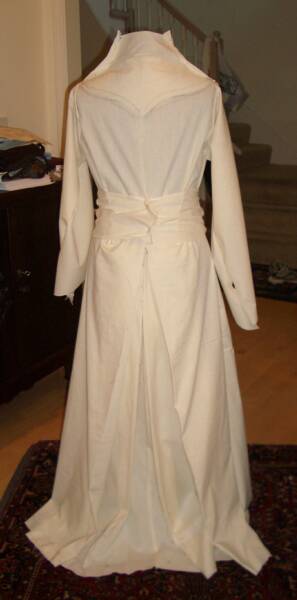
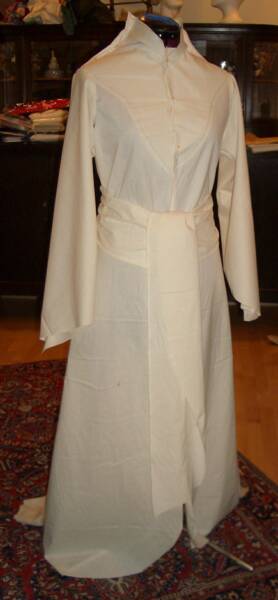
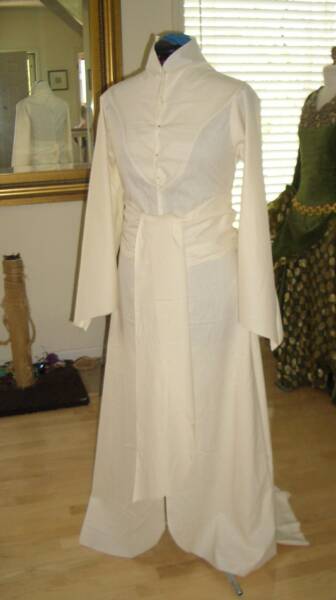
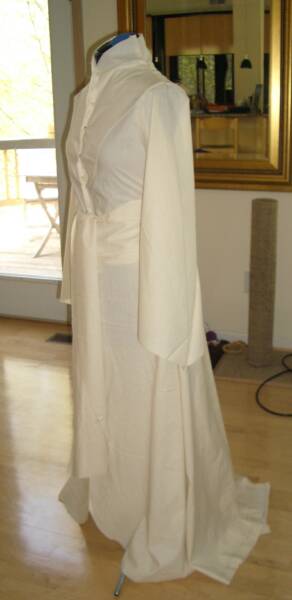
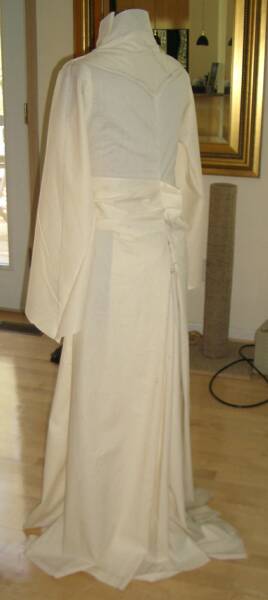
I like the look of the split in the back, but do not intend to make the pants, just yet. Next best thing... is pleats. They may be even better than the split, in my opinion. Another good reason? Severus has pleats. Julien has pleats. Ringo will have pleats. My Elrond should, too. So, I drafted them into the pattern. I like them. I may play with them some more, but I like where it's leading. Here are the muslin photos. The muslin is not sewn completely together. The yoke is just pinned, as are the sleeves.
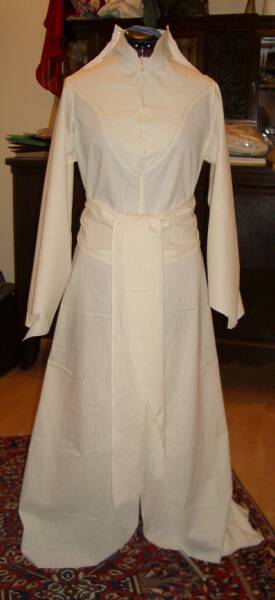
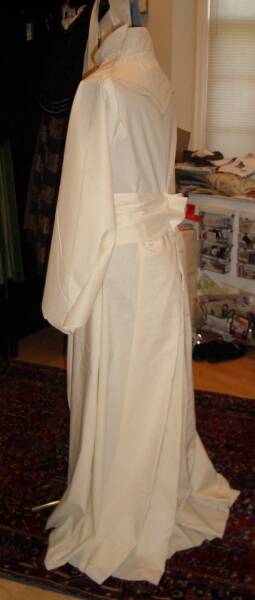
May 4, 2008:
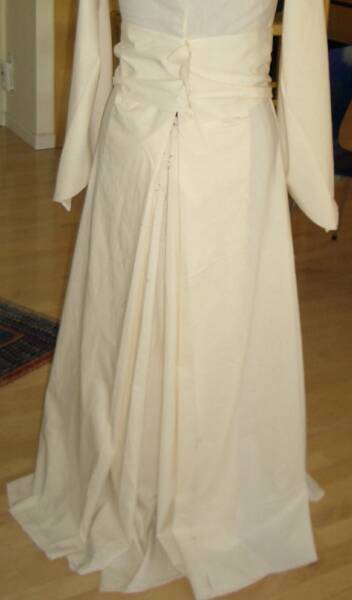
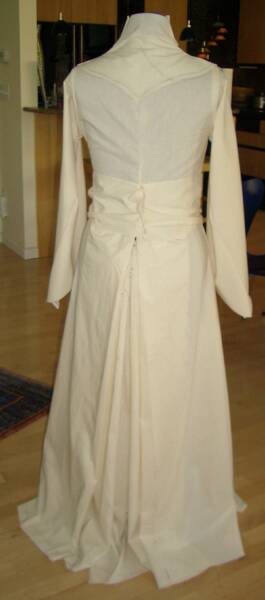
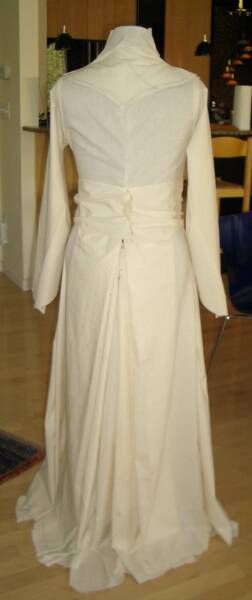
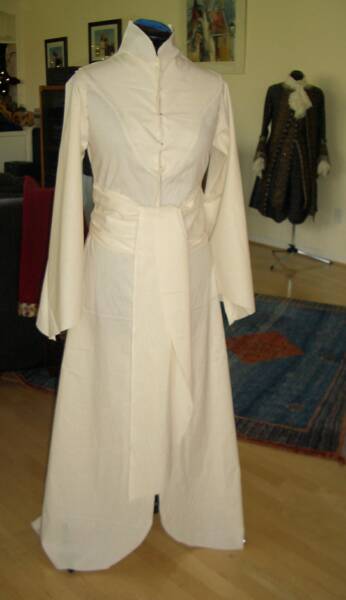
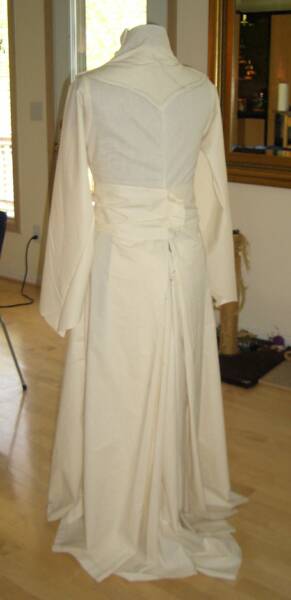
I added a gore in the back to settle the pleats down a little, and sewed in the sleeves and sewed the yoke together, and here's how it's looking today.
May 8, 2008:
My silk velvet arrived today, and it's perfect! I love it. I've draped it over the muslin of the robe, just to enjoy the view.
July 31, 2008:
The lining of the salmon robe is silk habotai that I dyed into an ecru shade.
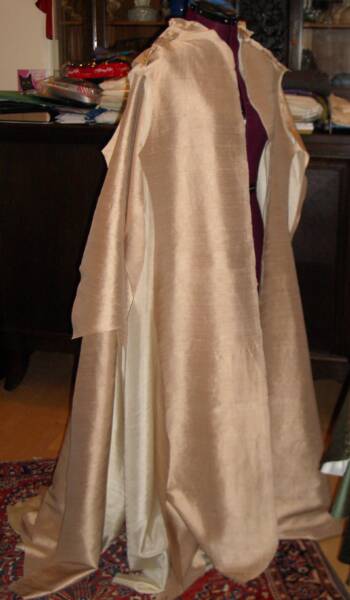
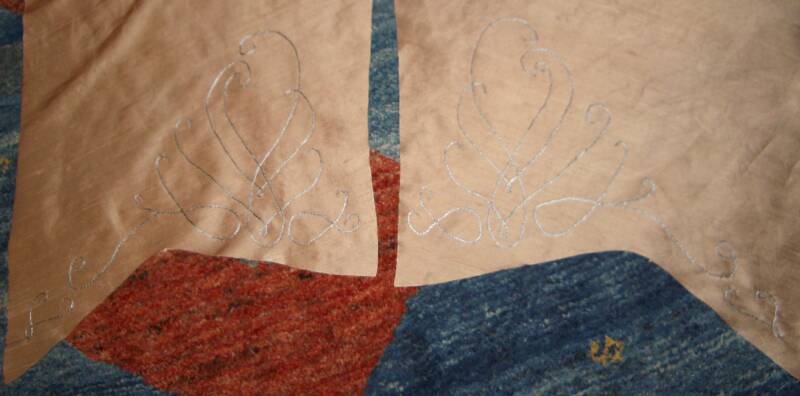
I've cut out both the lining and the outer layer of the salmon robe. I have also cut out squares surrounding the pattern shapes for the yoke, and I will be embroidering those pieces next. Here are a few photos of the hanging fabric:
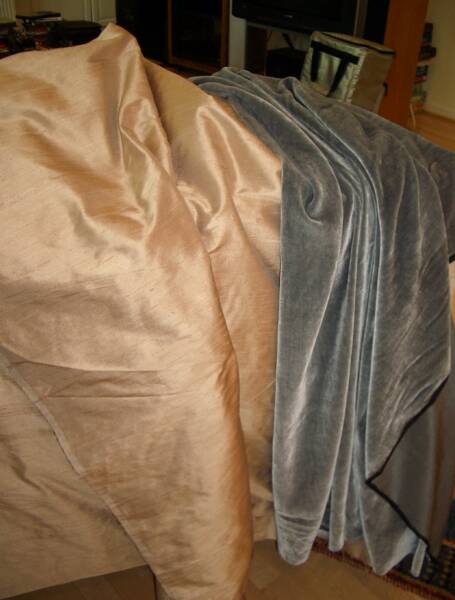
Here is a photo of the salmon dupioni next to the gray silk velvet. They are quite yummy together.
This page was last updated: March 23, 2013
August 2, 2008:
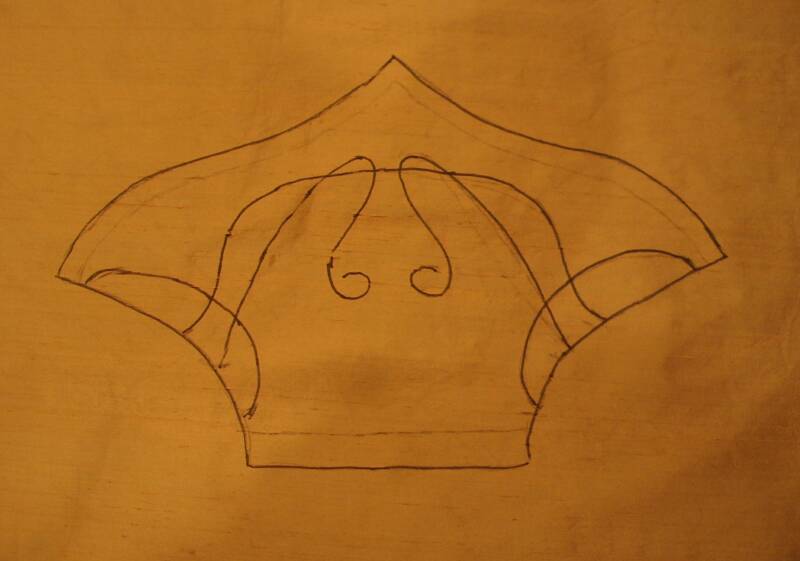
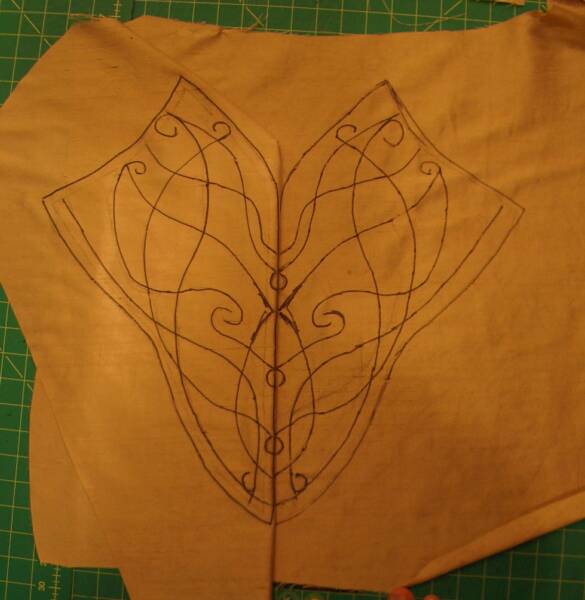
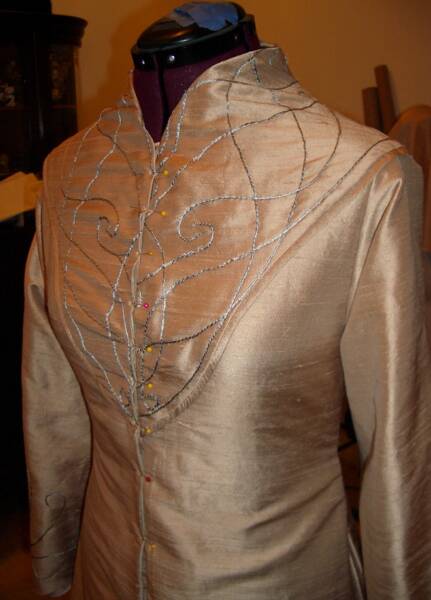
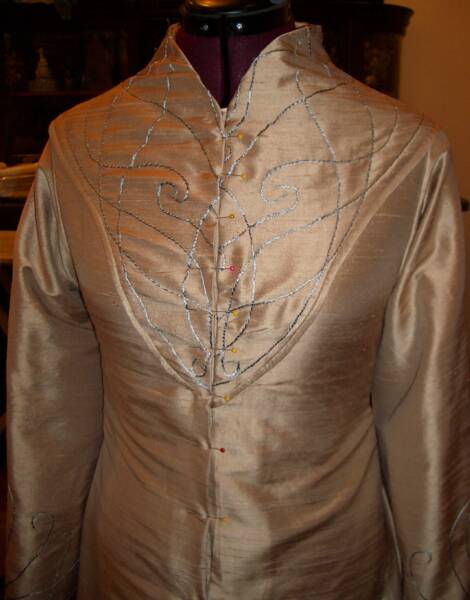
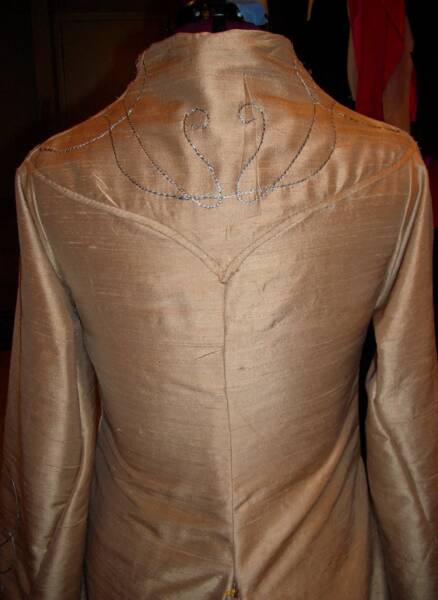
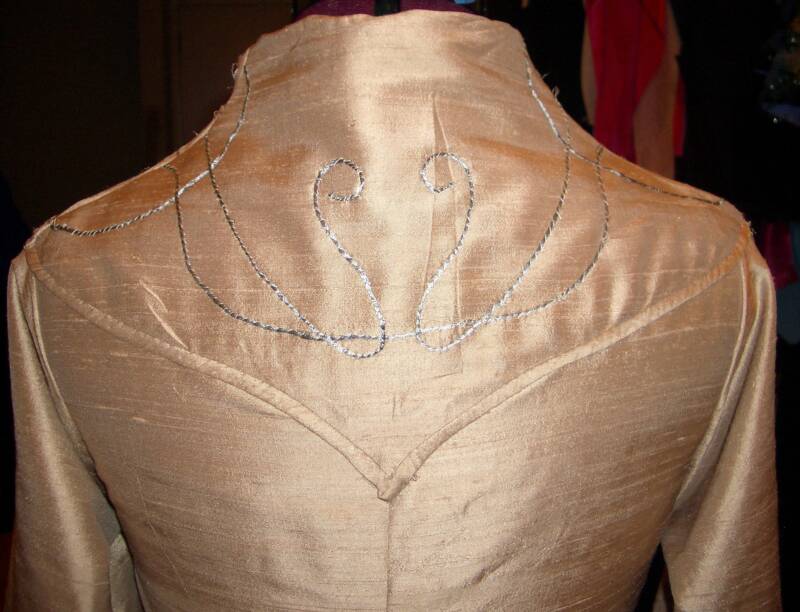
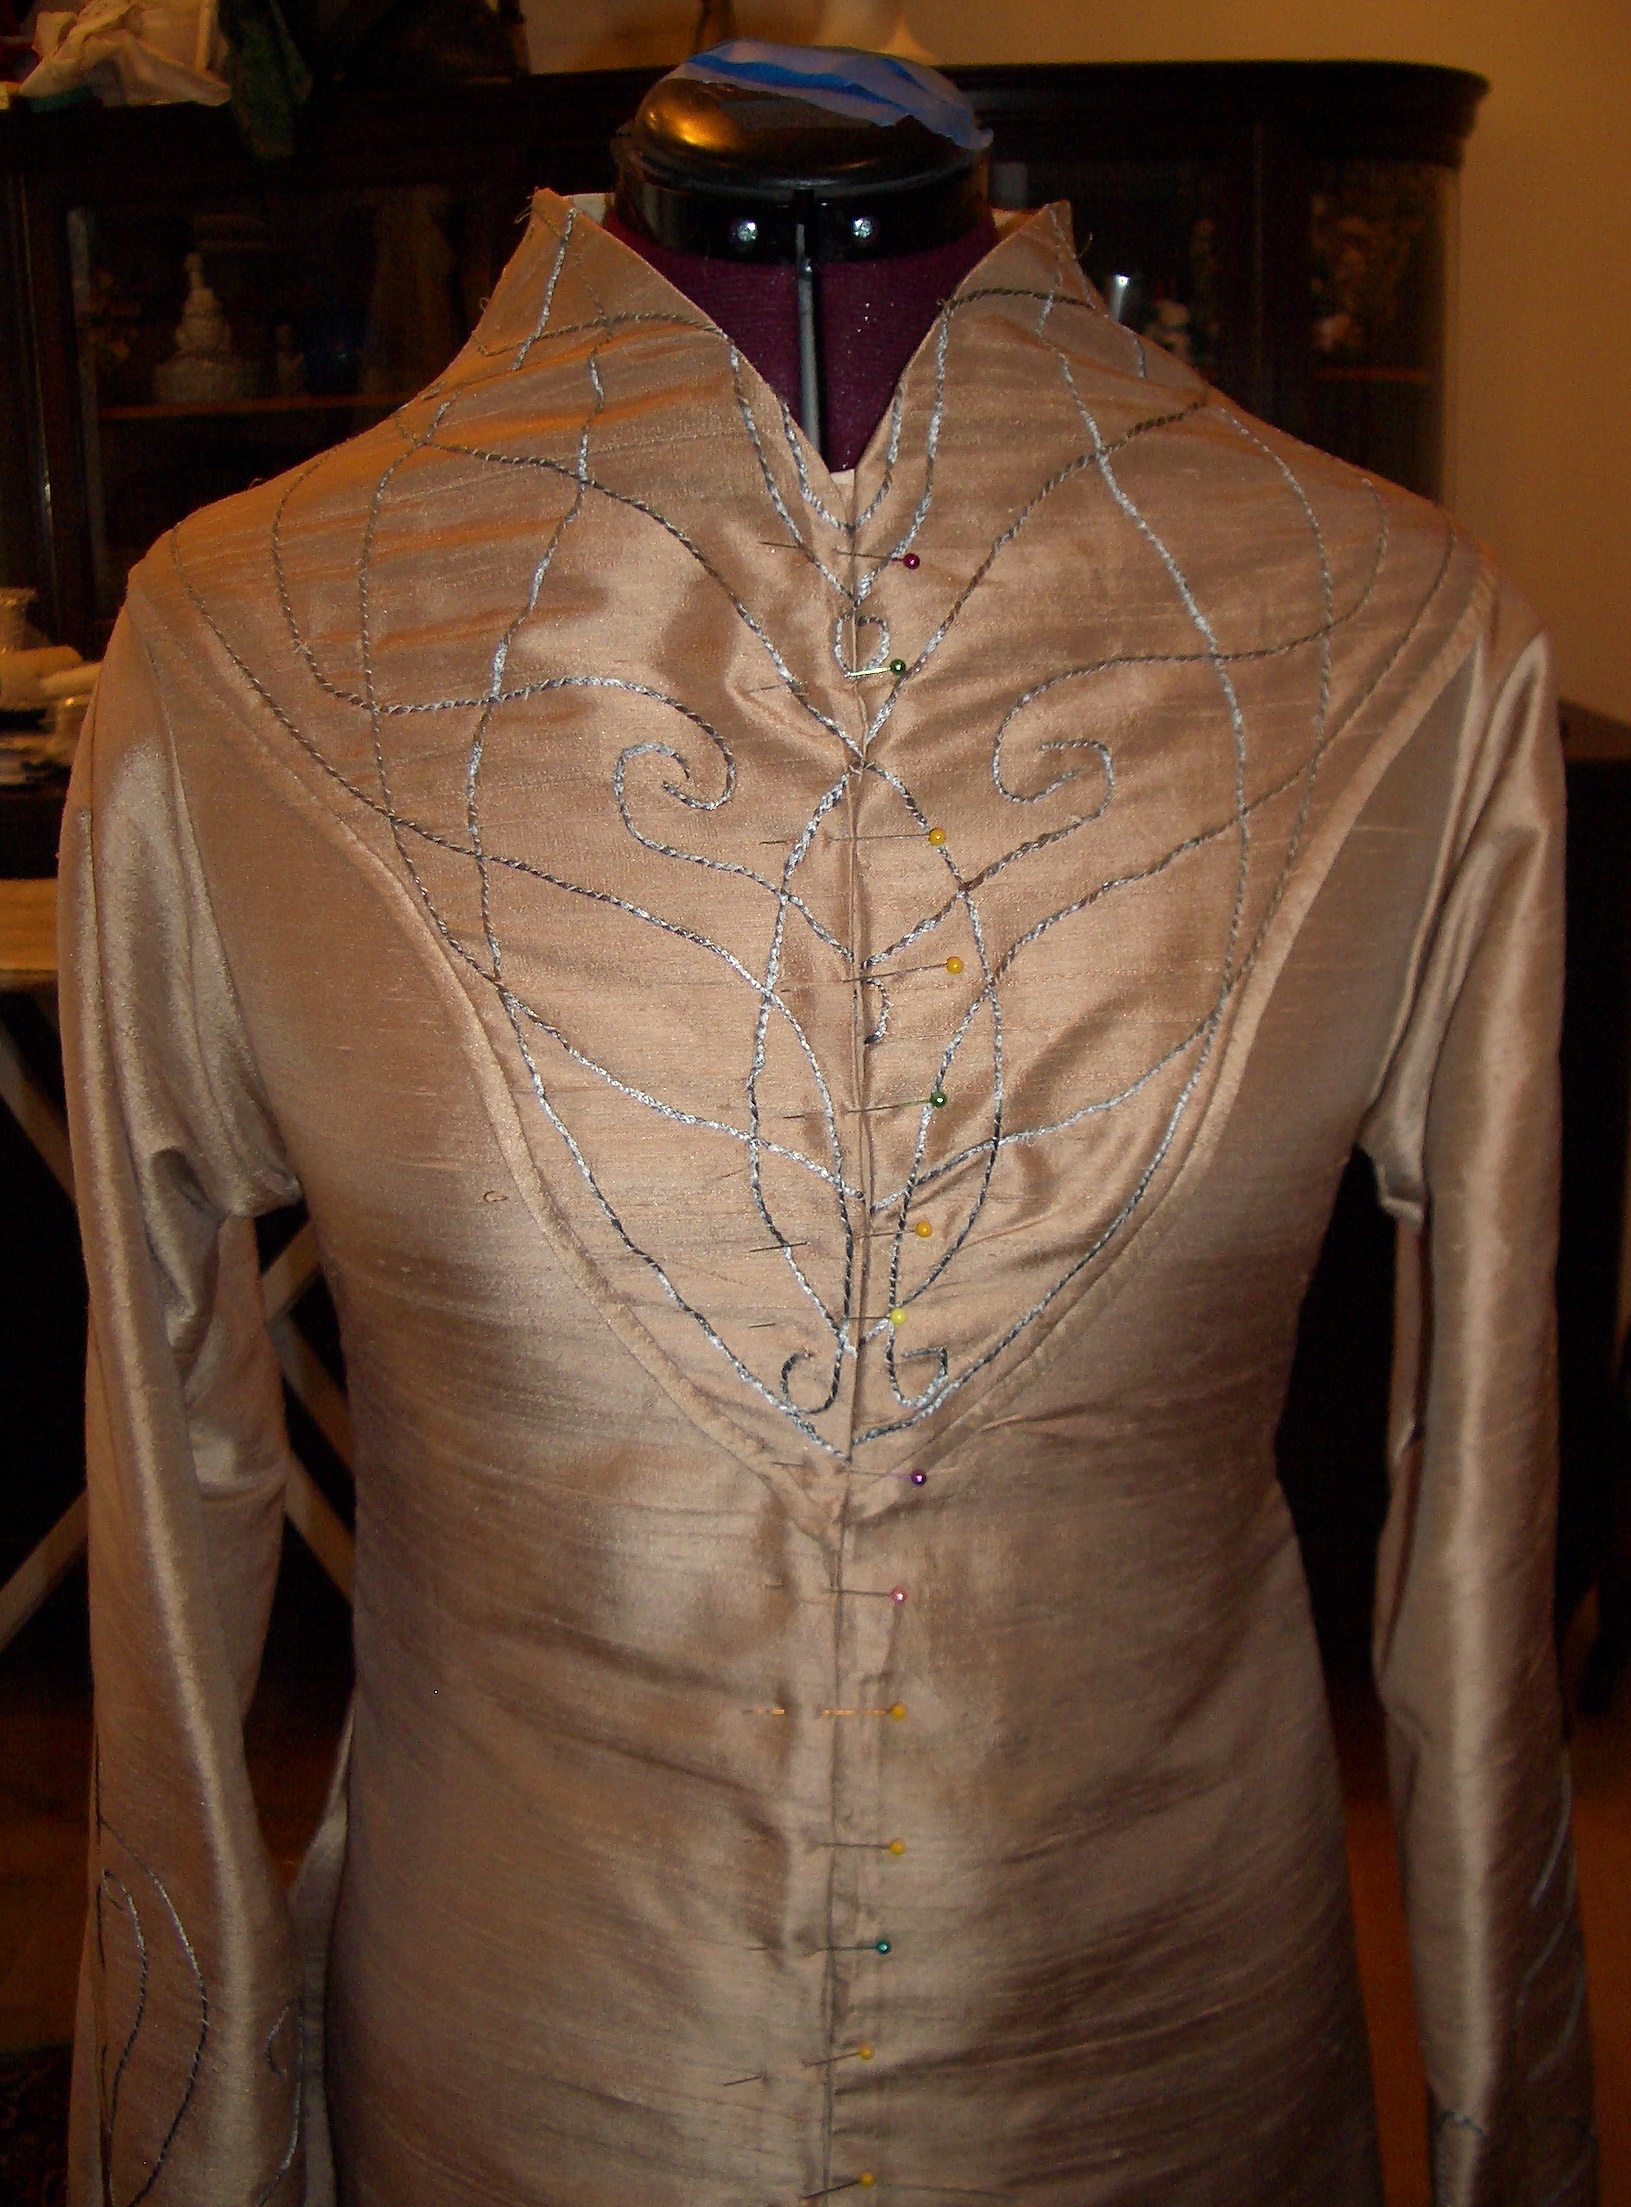
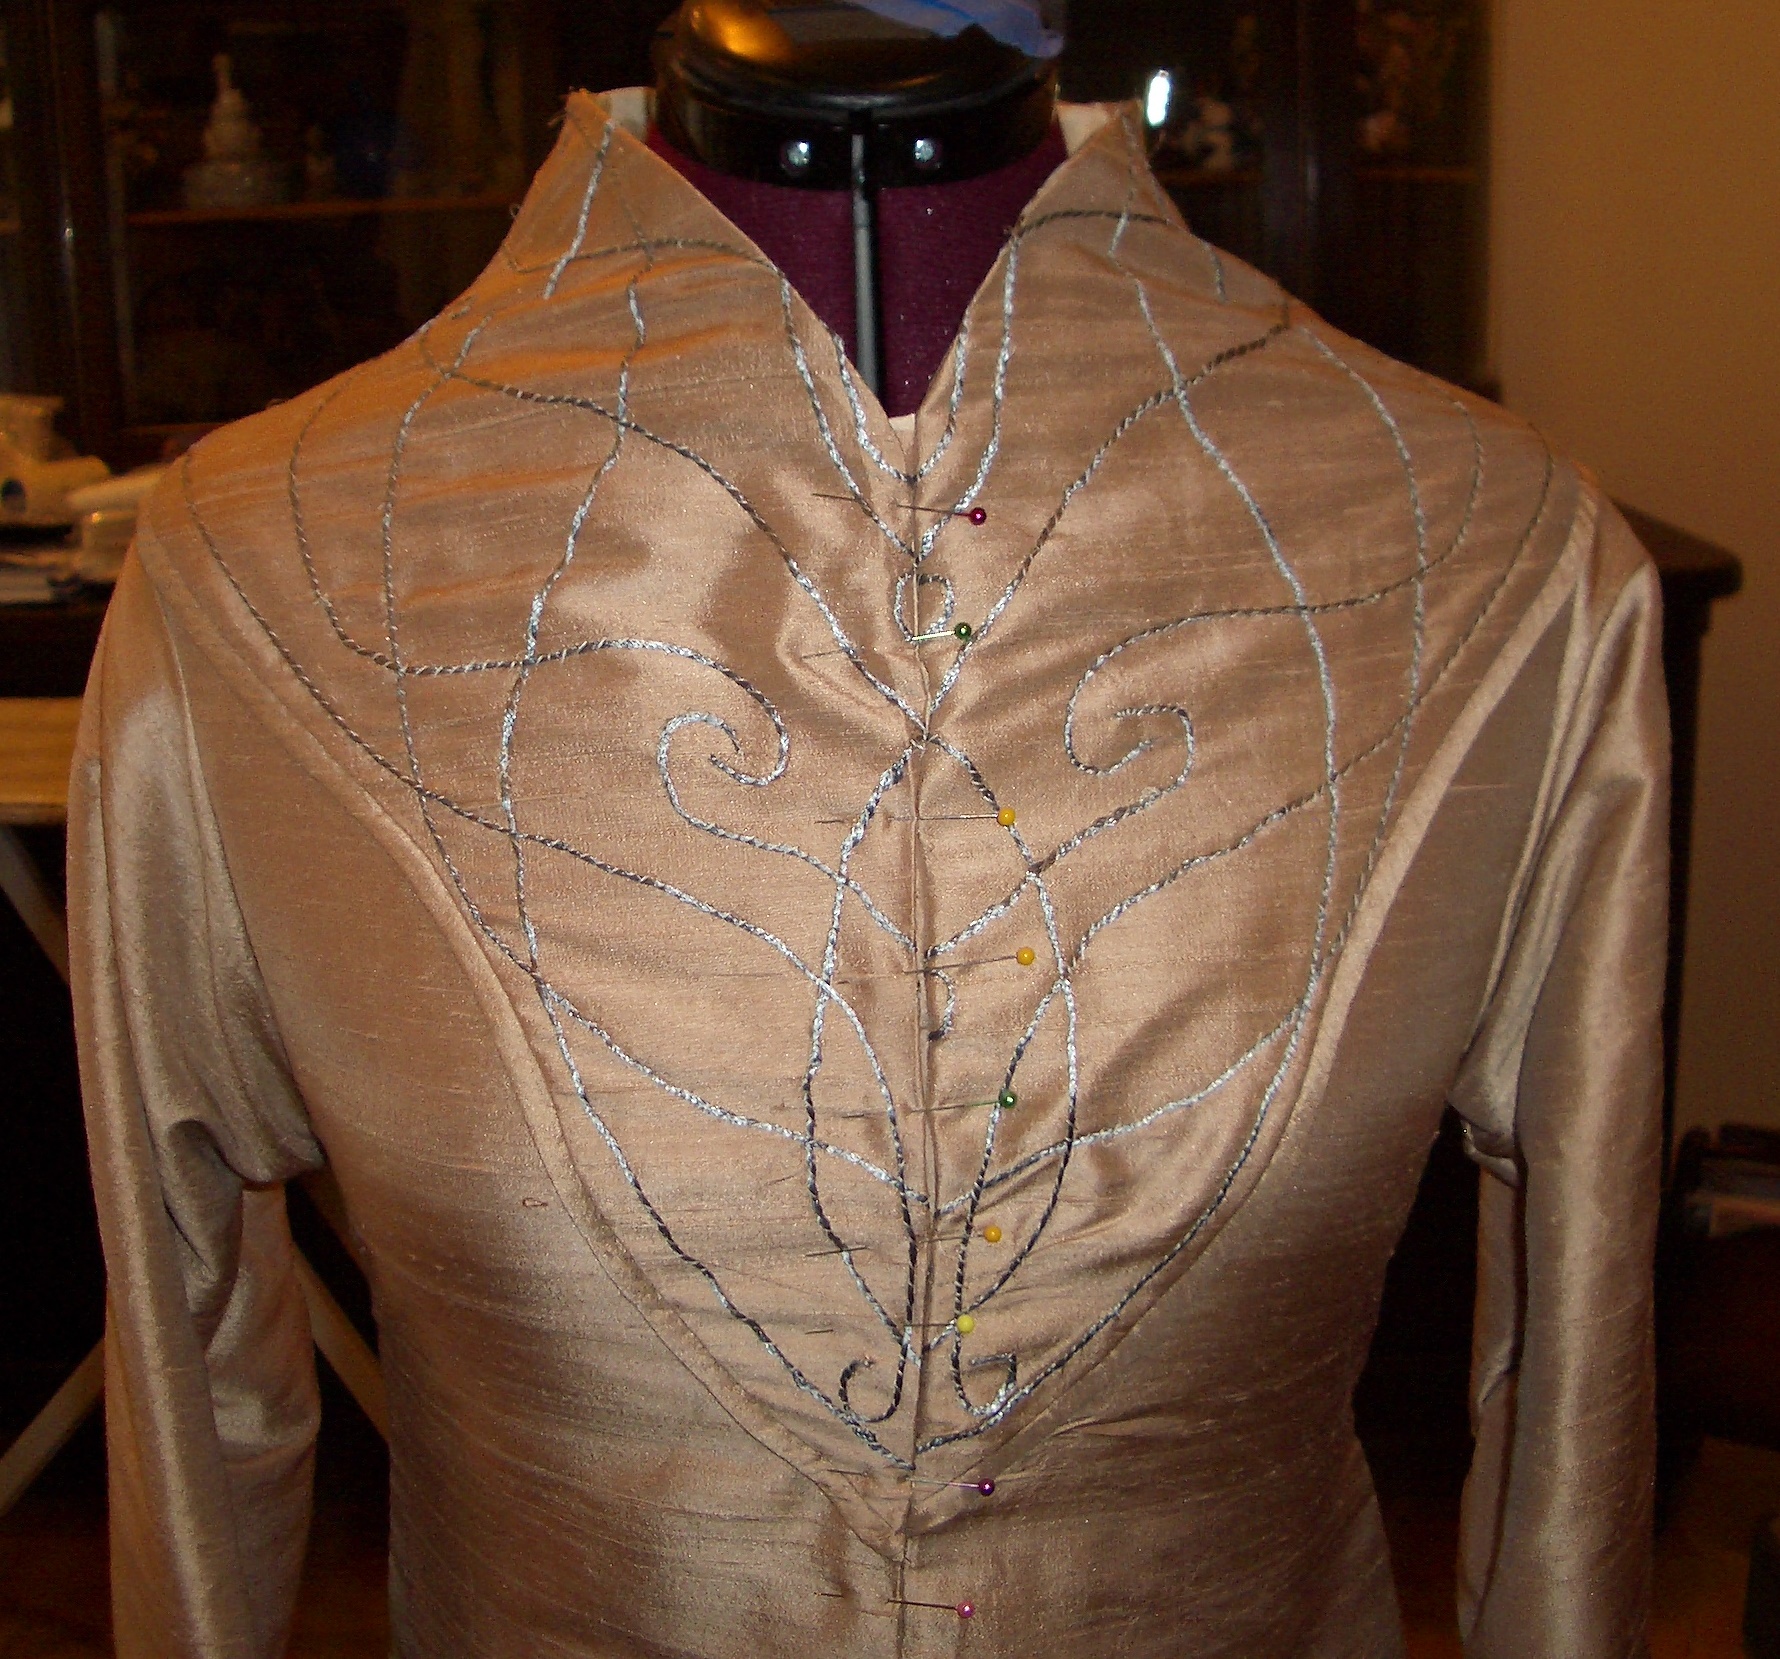
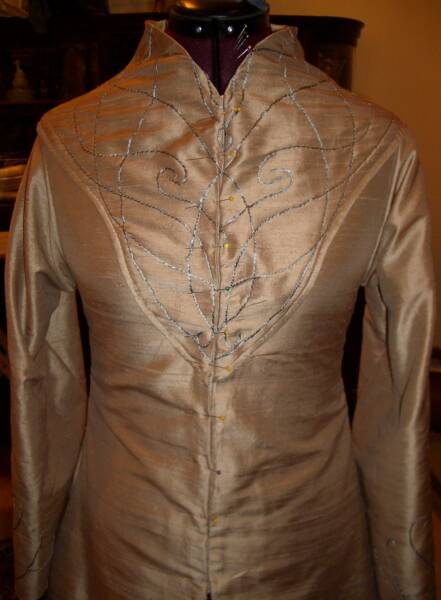
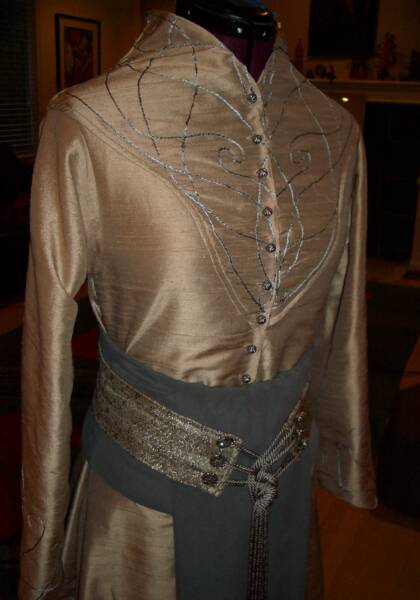
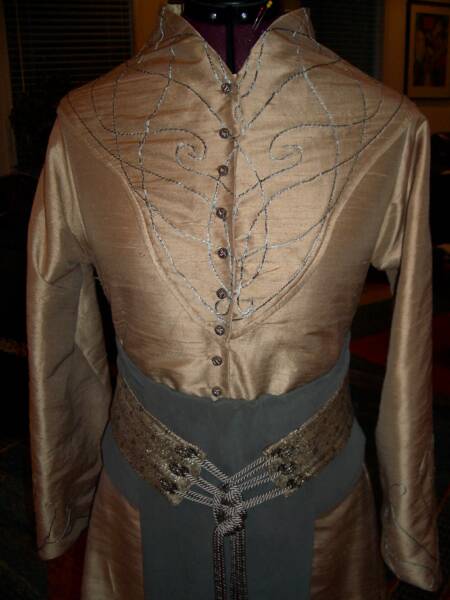
The embroidery in Elrond's robe is finely detailed scrolling patterns. I spent a good long time staring at Elrond's page in the extended DVD of The Fellowship of the Rings, and then compared what I saw to research done by a very good friend of mine, Jess, who was kind enough to share. Thank you Jess! I free-drafted parts I couldn't figure out. Below is what I came up with.
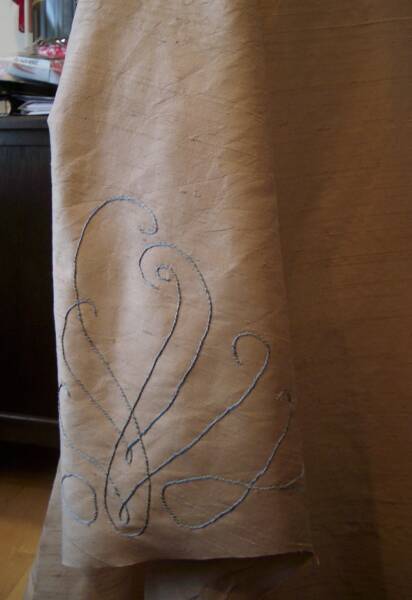
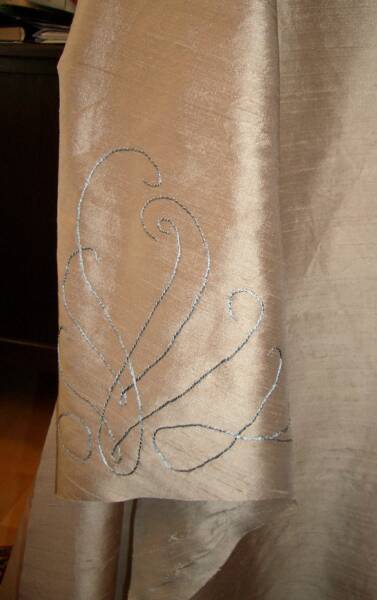
I sketched the embroidery pattern onto the muslins and transferred them to the pattern pieces, and began couching non metallic silver/gray embroidery thread onto the dupioni. Here are a few progress photos.
Embroidery patterns: Front yoke and back yoke:
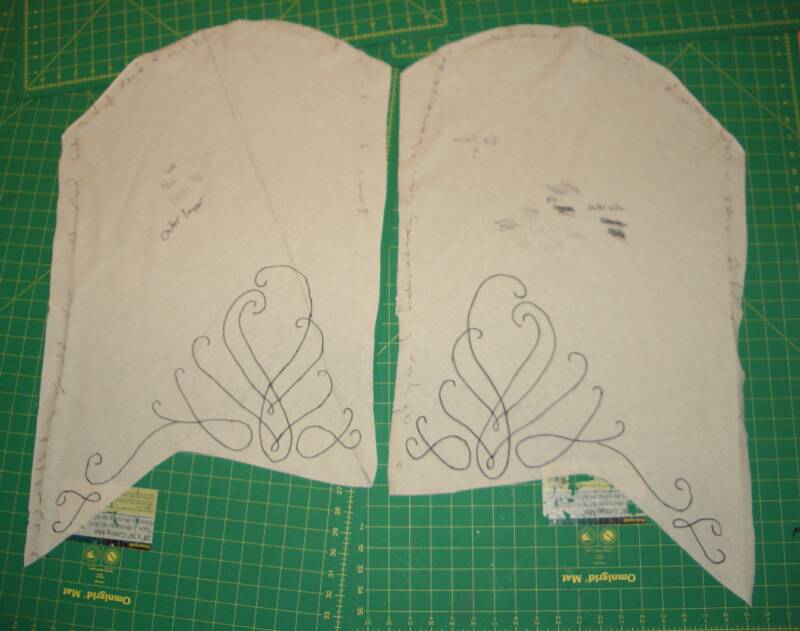
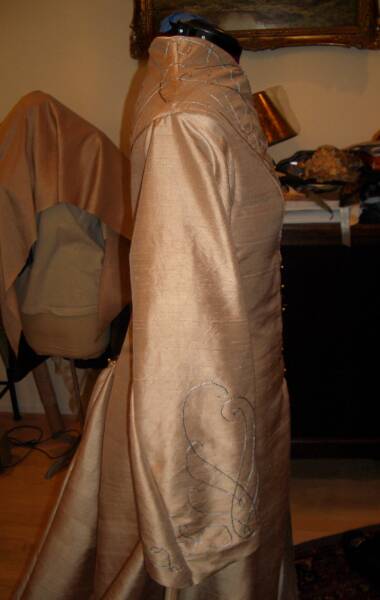
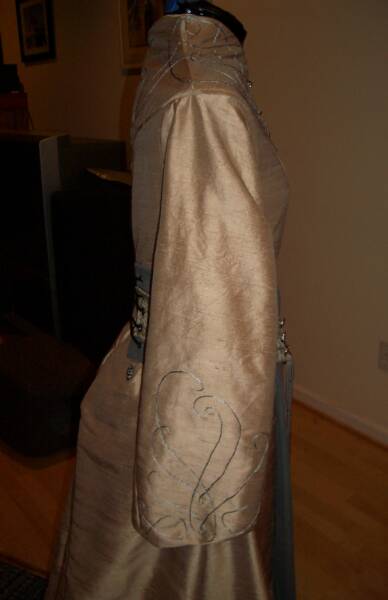
The Sleeves:
I have yet to draw out the pattern at the front hemline. I'm waiting for the silk to hang a while longer before I go to that section.
I started with the sleeves. Both sleeves took me twelve hours. Here are some progress photos, with and without flash.
August 7, 2008:
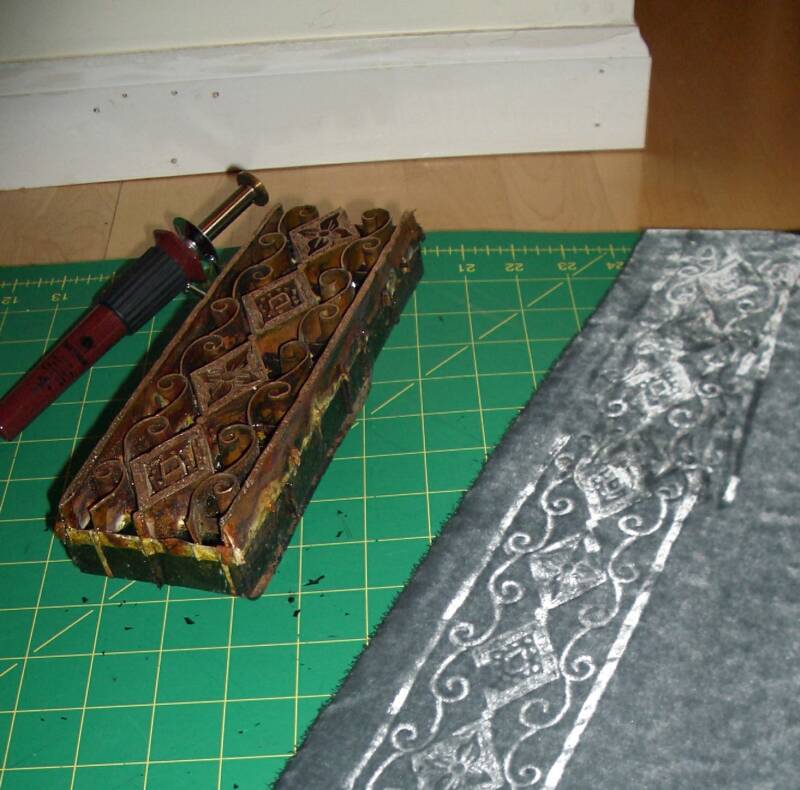
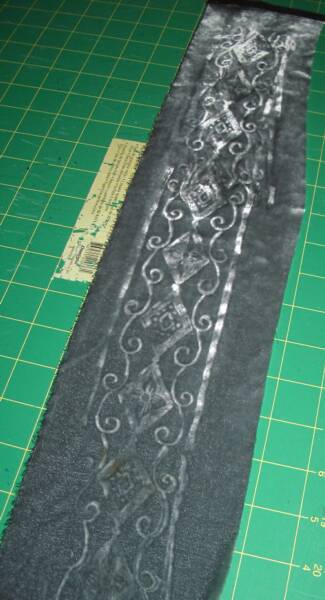
A long while back I began collecting some Tjaps, thinking one day I would use them to fabric paint. Never did get around to checking out that technique, but today I happened upon another possible 'clean' use for the antique dying tools... Embossing.
I have one tjap that I think looks exceedingly Elven, and decided to try it on Elrond's gray silk velvet. I know... It is not the original pattern... But I am not inclined to 'build my own' at this point, and since I have this tjap on hand, I decided to take a look at the possibilites.
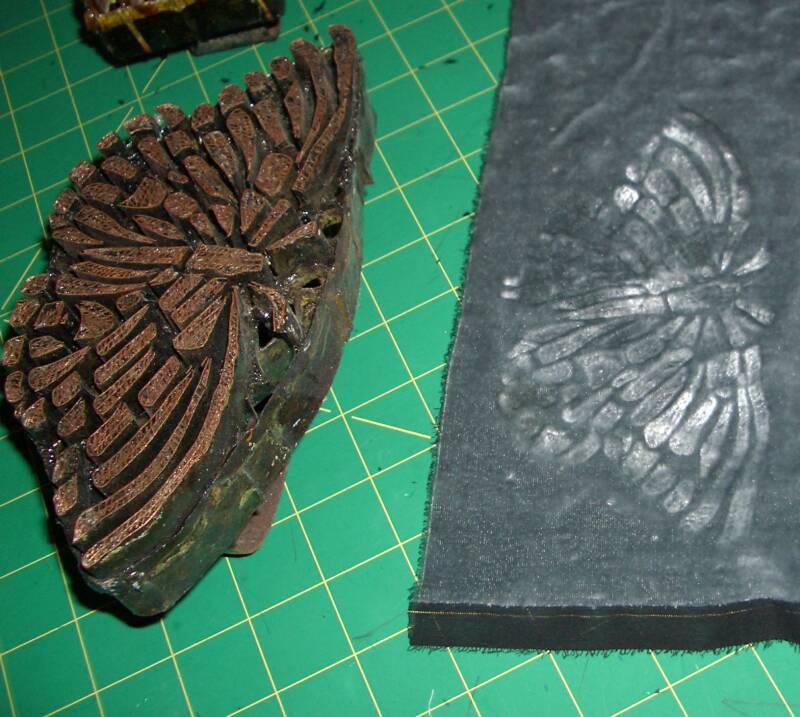
The first photo has the embossing tool, the tjap, and the fabric. The second photo is a strip of the fabric.
Among several other Tjaps I collected, I have a butterfly I decided to try out. I bought this one intending to use it in Arwen's Requiem cloak... a long way off at this point, but the print is pretty.
September 12, 2008:
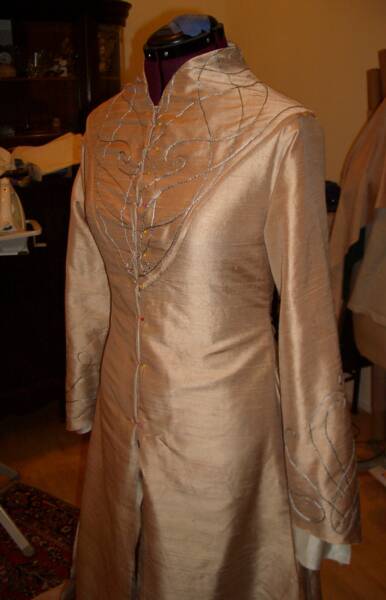
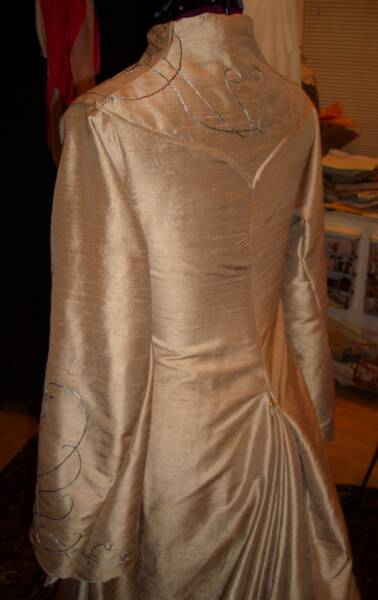
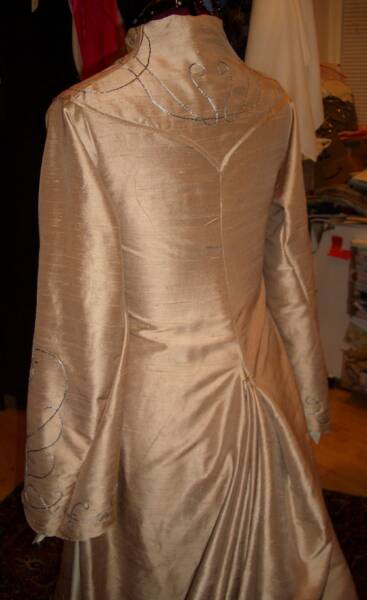
I've started construcing the outer layer of the salmon robes. I'm going to try setting in the lining differently than I have before, sewing each layer together separately, and then bag lining them together. We'll see...
The yoke is sewn together, but won't be sewn onto the outer layer until the sleeves are set in. It is just laying on top now. The right sleeve is set in in the photos, while the left is still just pinned.
September 13, 2008:
I set the sleeves in, and set the lining into the outer layer after handstitching the yoke into place.
September 16, 2008:
I noticed I'd sewn too far in on the right collar area, so I seam ripped and re-did it... Everything fit together better afterwards.
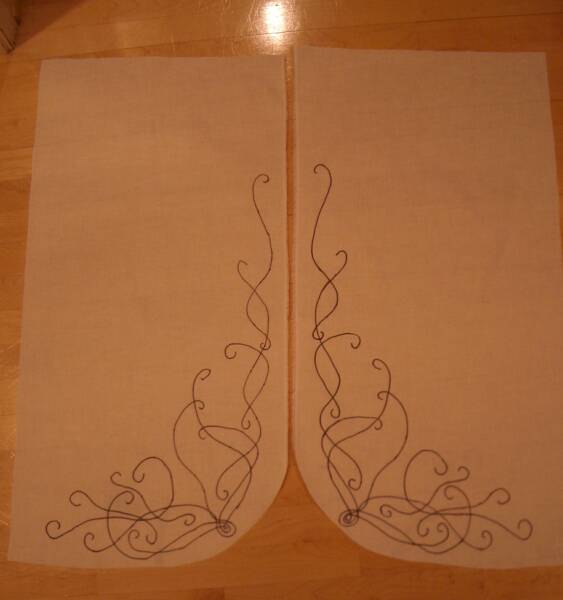
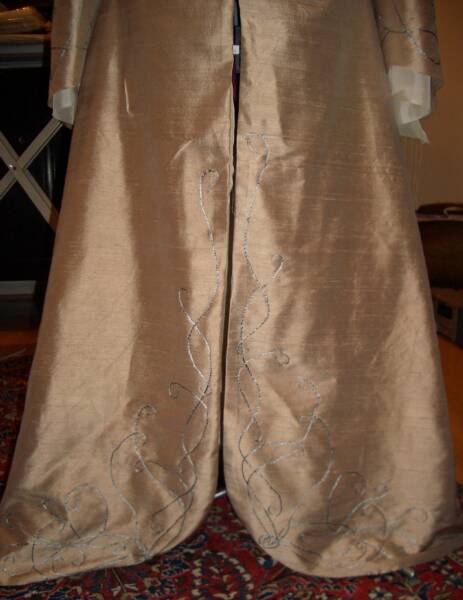
For the couched embroidery along the hemline, I took the pattern from the sash of Elrond's Council Robes, a sketch of which can be found over at Alleycatscratch.com, and bent it, adding a few swirling vines. This is what I came up with.
It took me a good day to get the couching done. Here are some photos of the finished result.
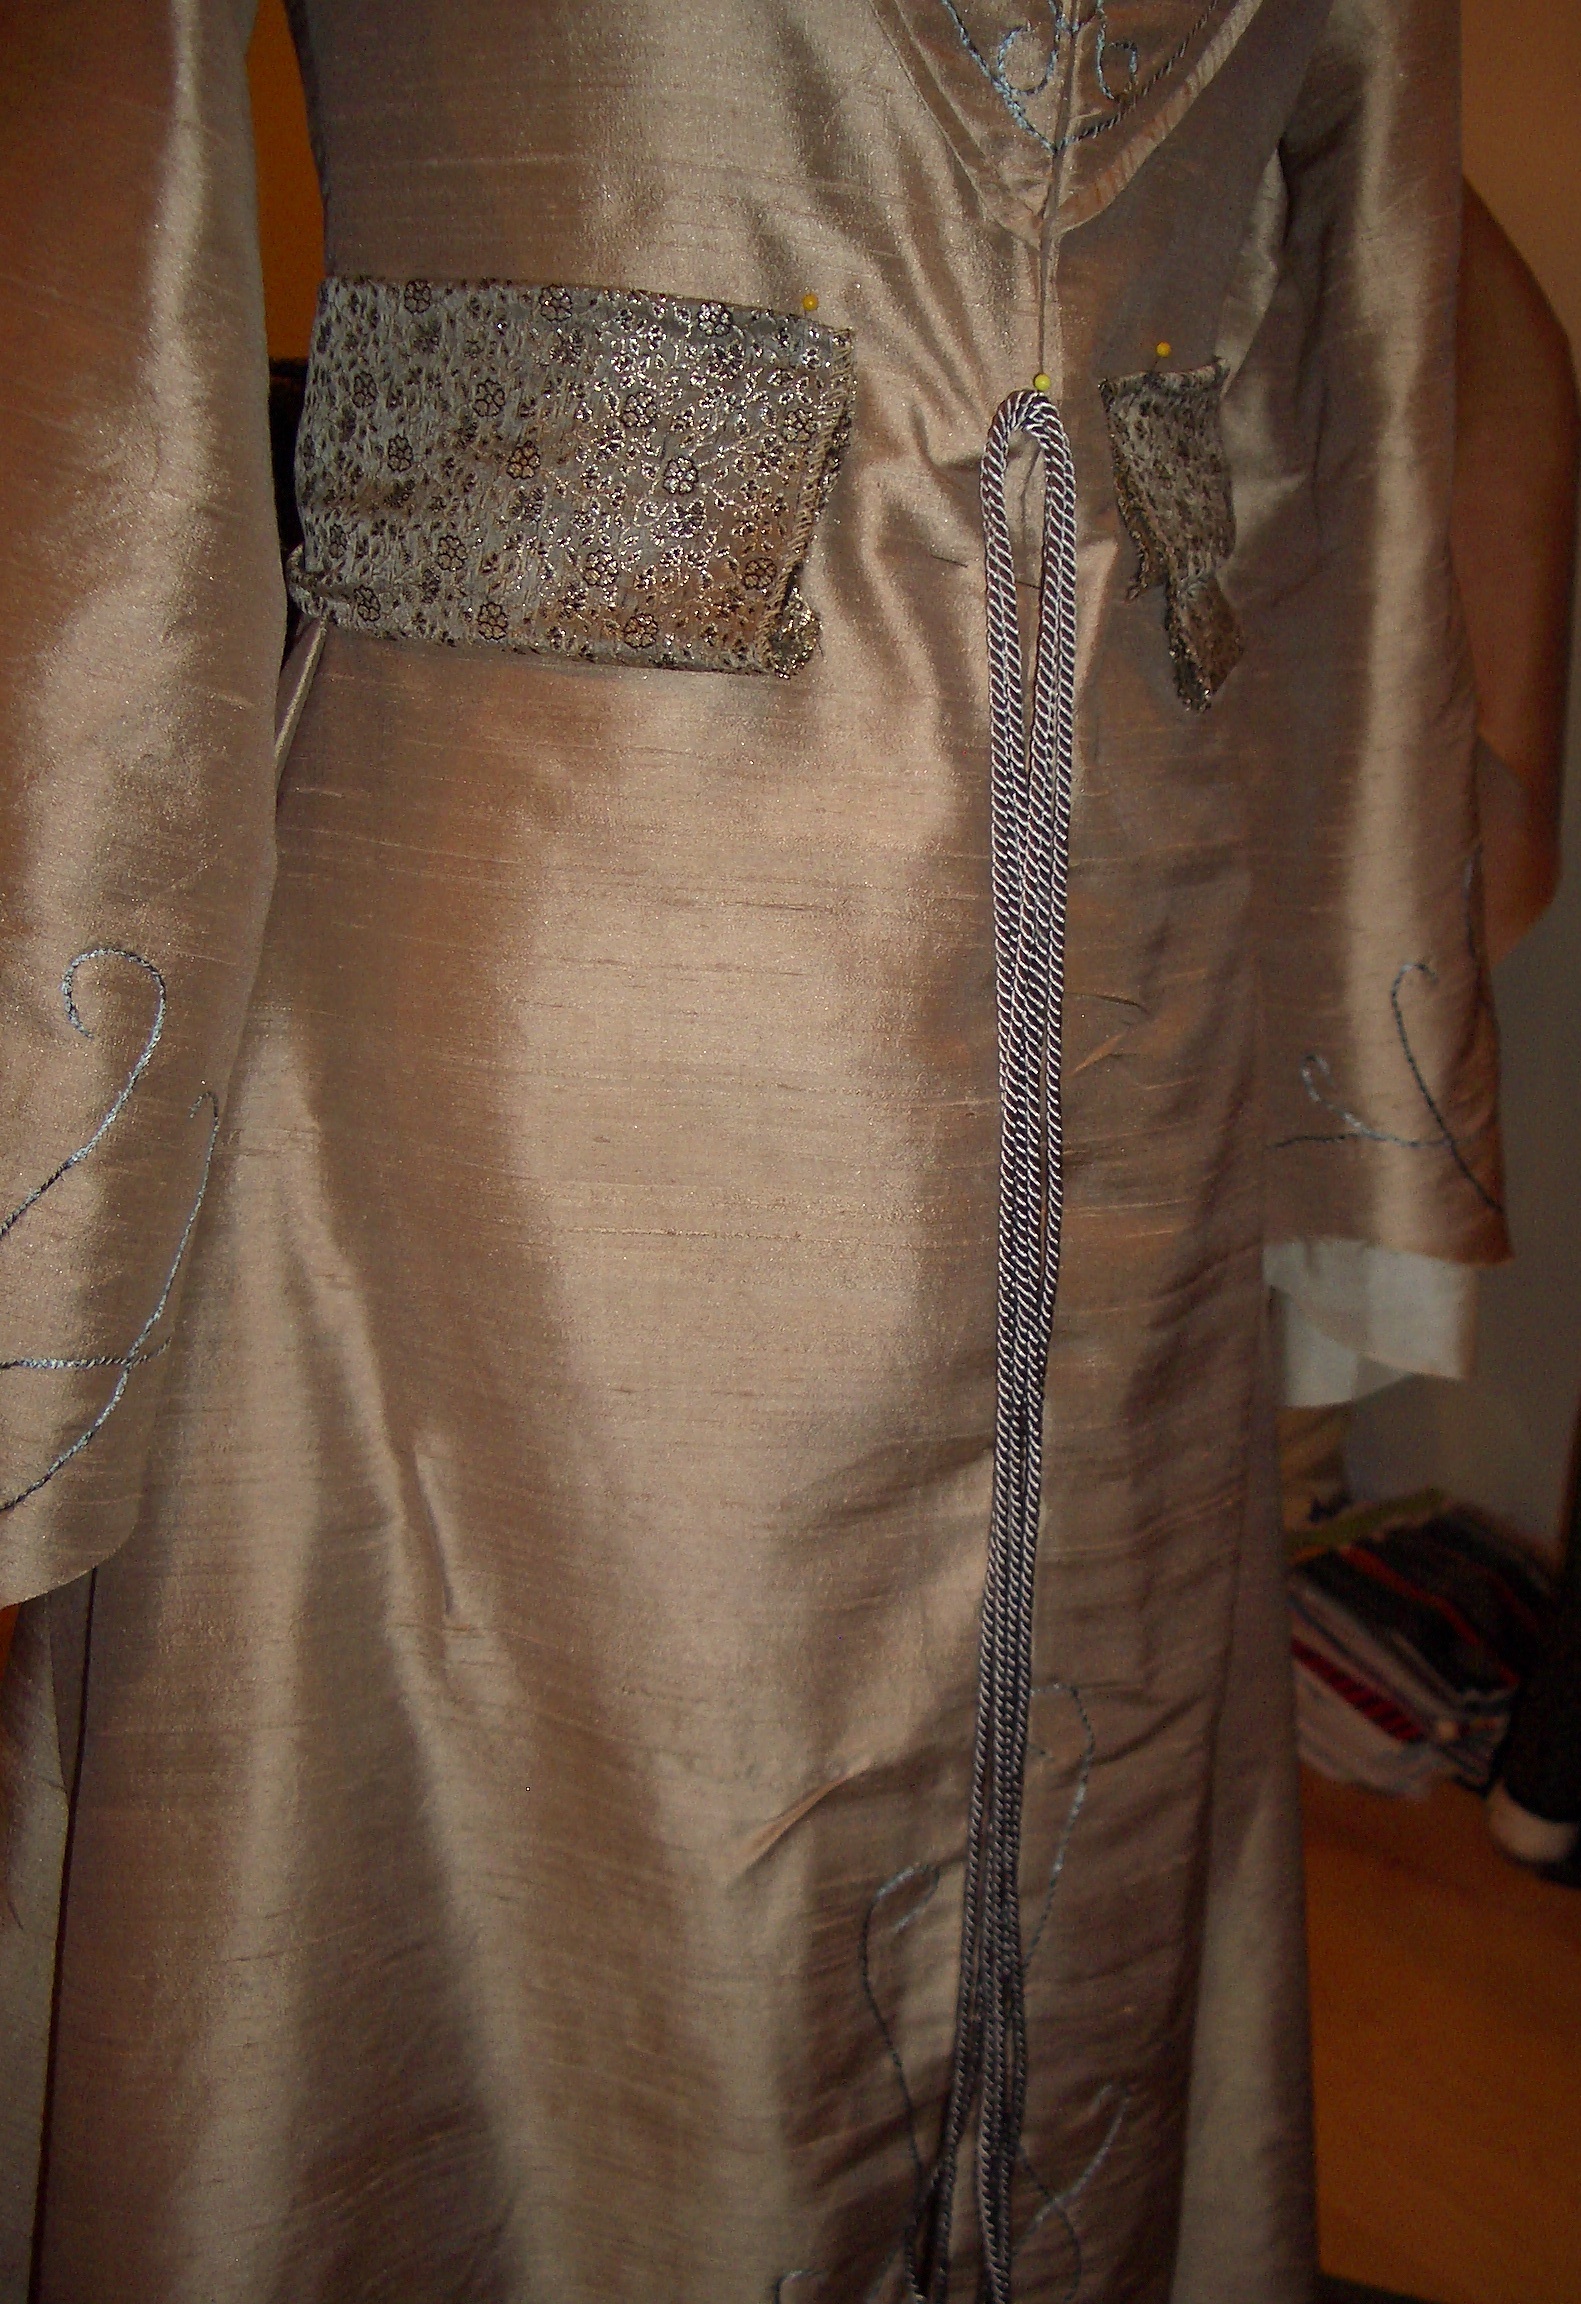
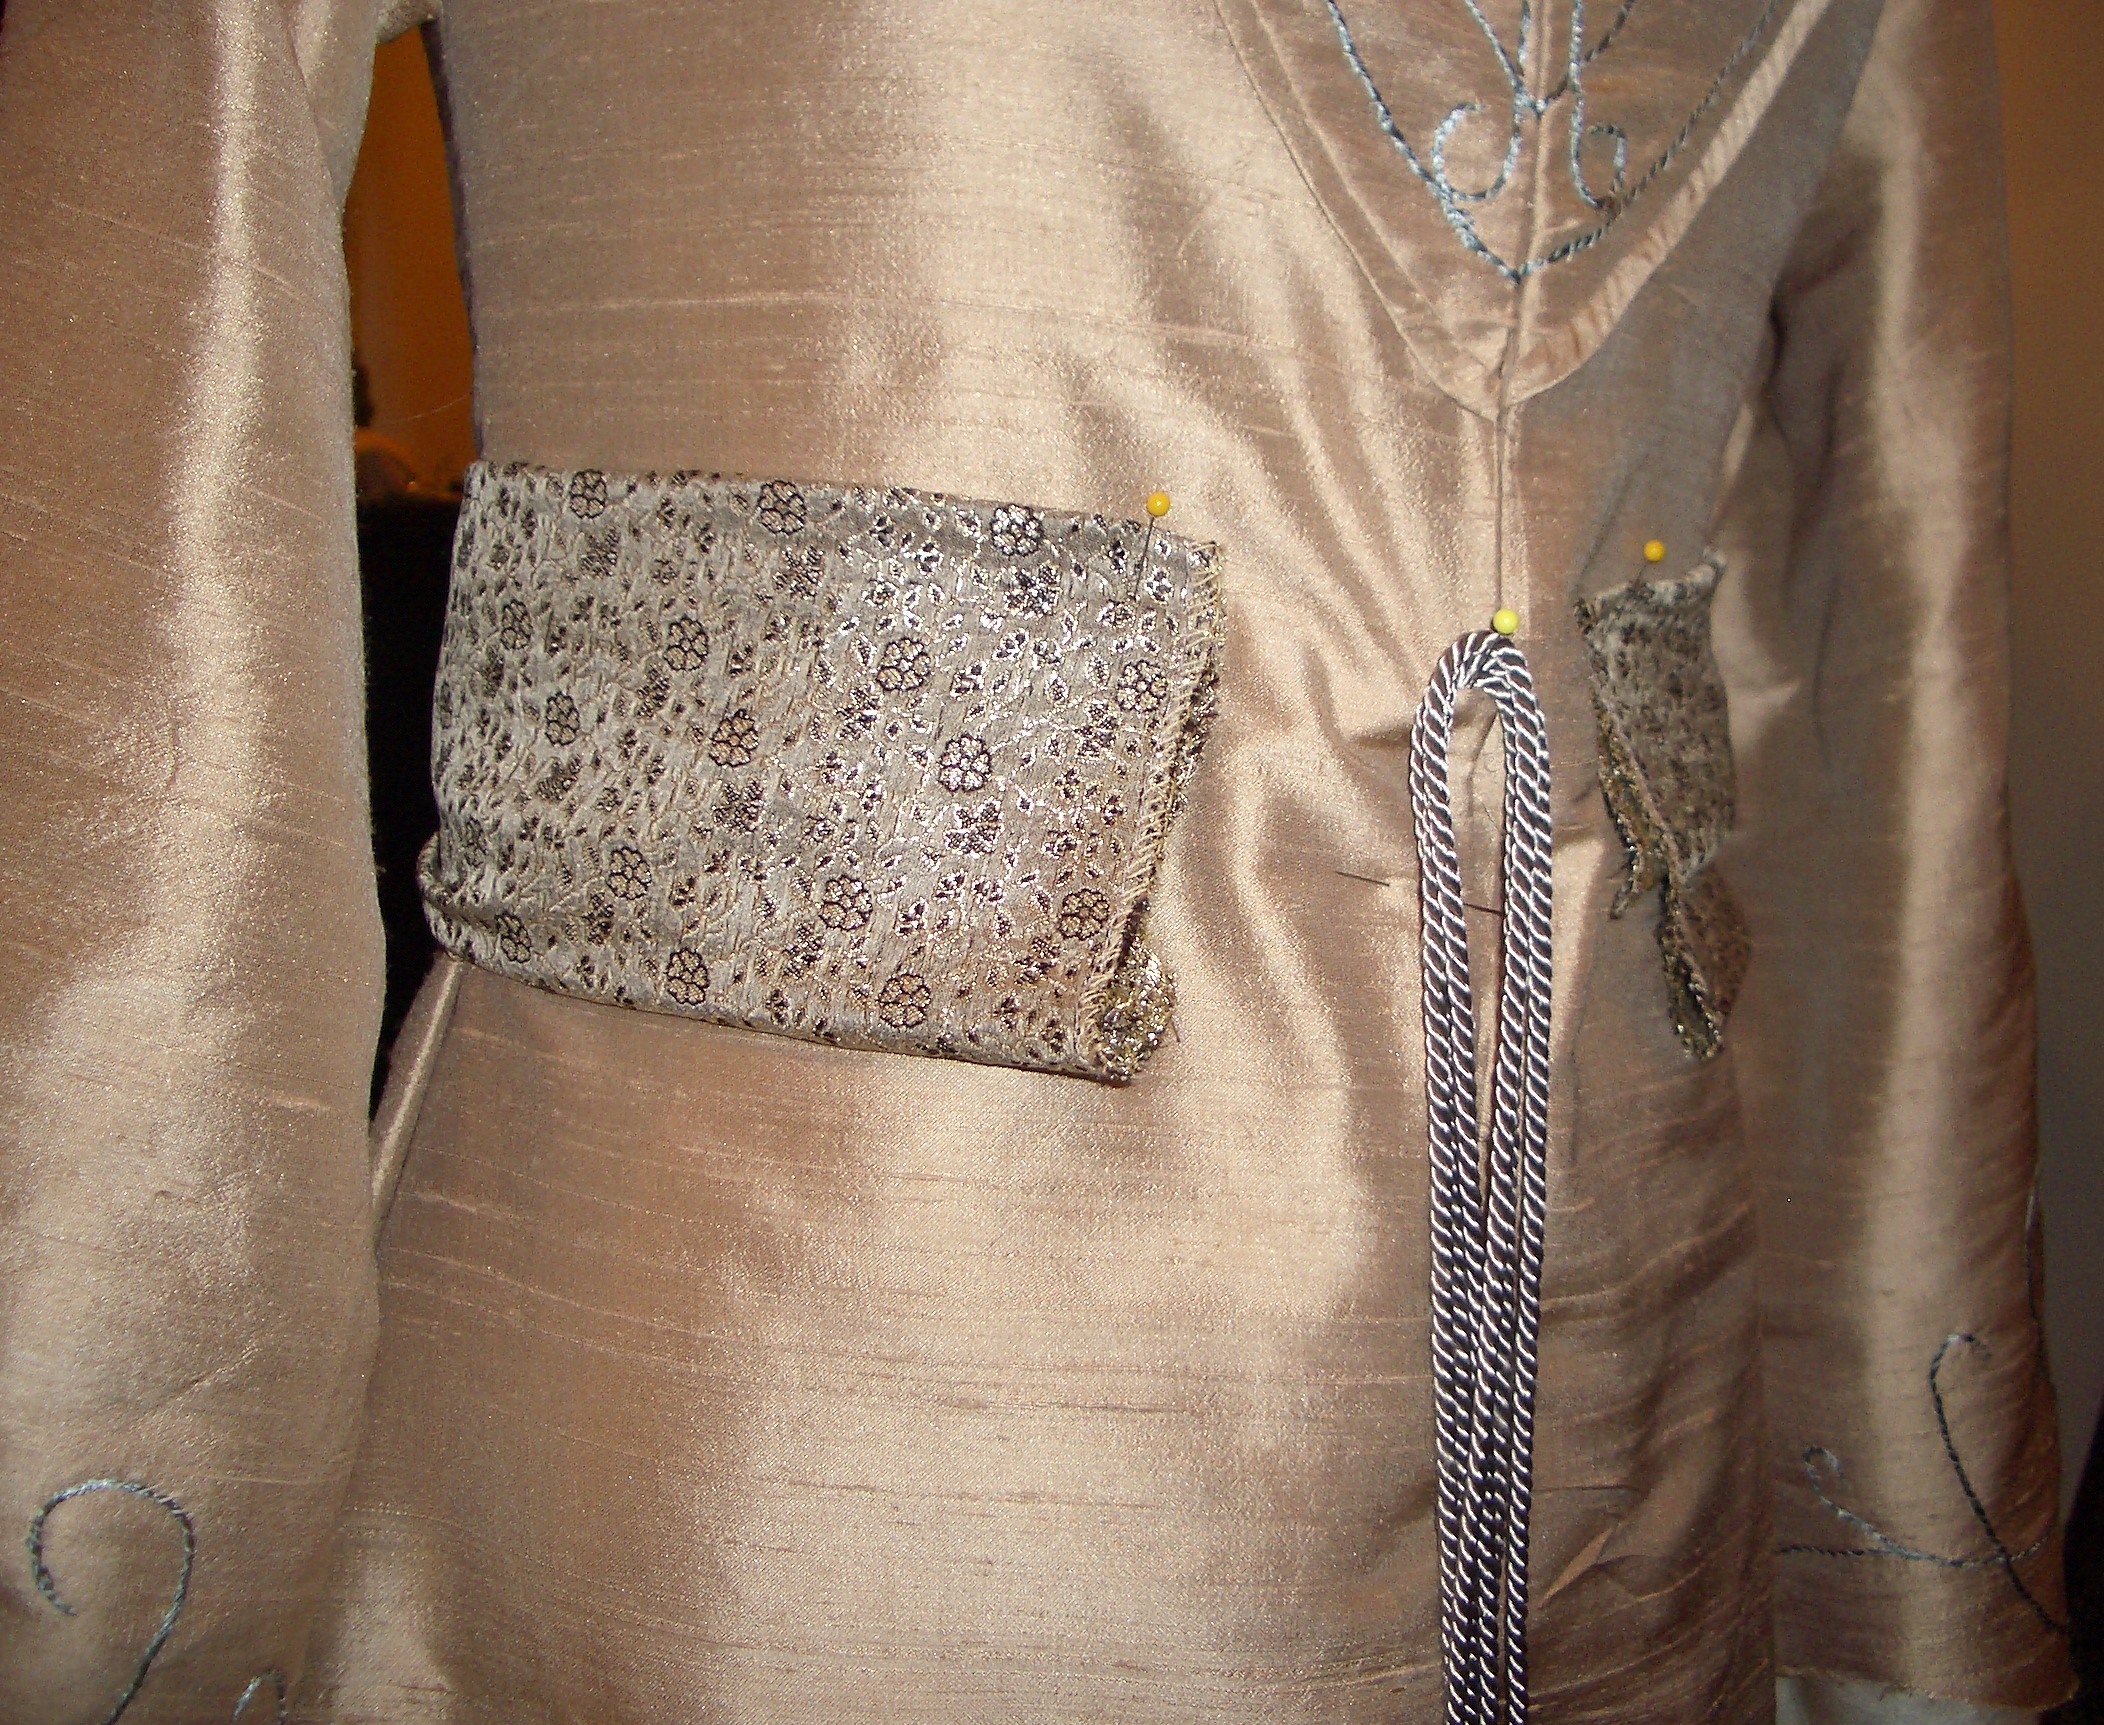
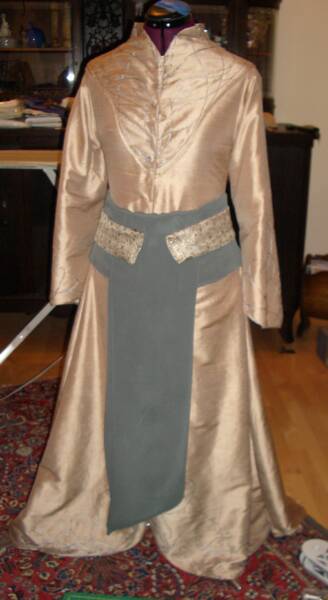
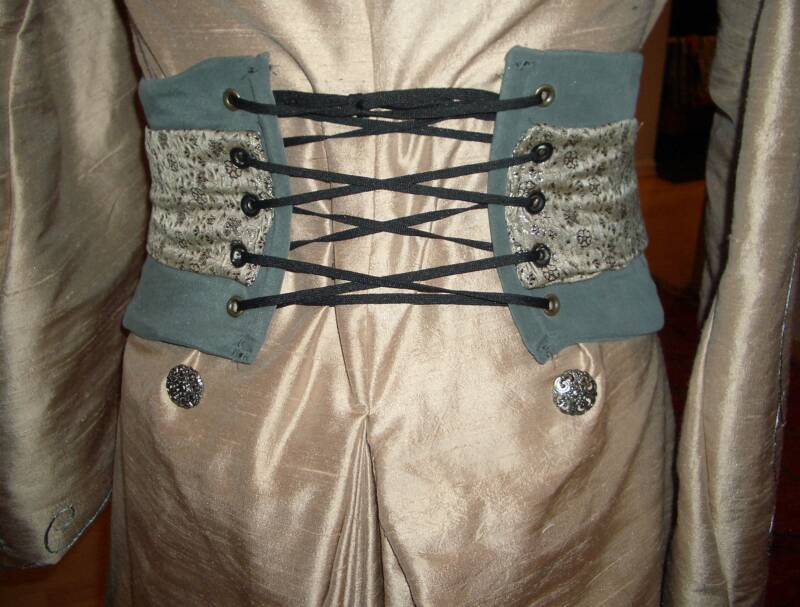
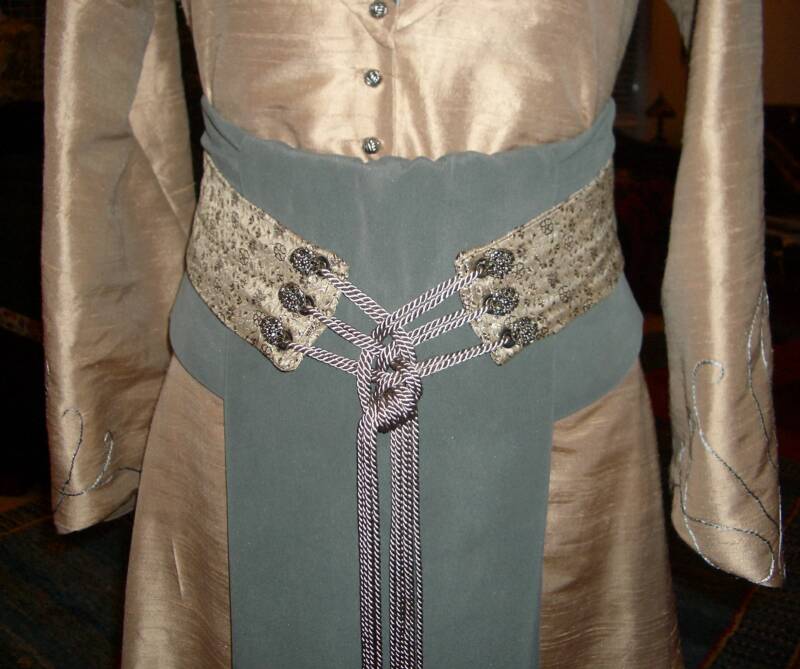
I found a silk brocade in my stash that I will use for the overlayer in the belt. I cut a piece, and have it tucked onto the robes along with the cord I'll be using.
The fabric for the larger part of the belt and the undertunic and petal leaf trousers arrived today. I'll get photos of those in the morning.
Today I sewed the hem of the sleeves, sewed in pockets in the side seams, and sewed up the side seams. I'll take some photos tomorrow of the underlayer fabric, a red/black silk dupioni cross dye, and the belt-in-progress...
September 19, 2008:
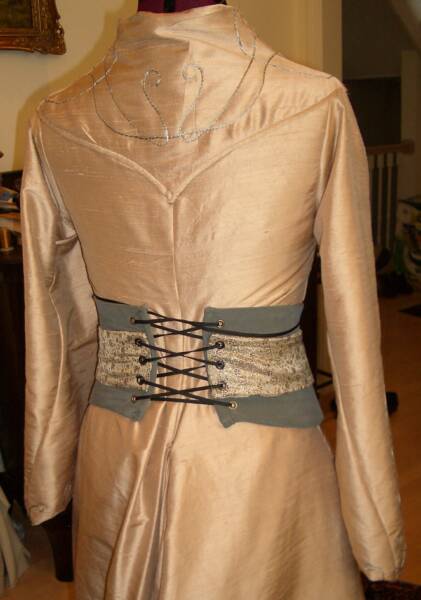
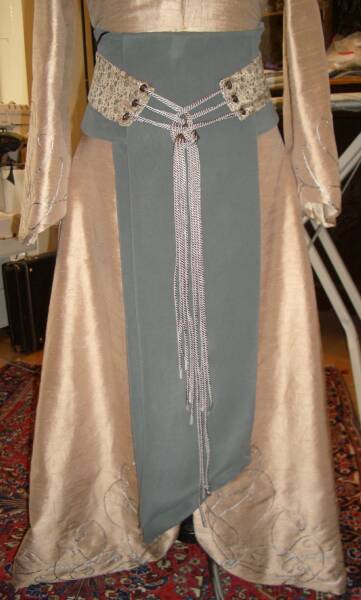
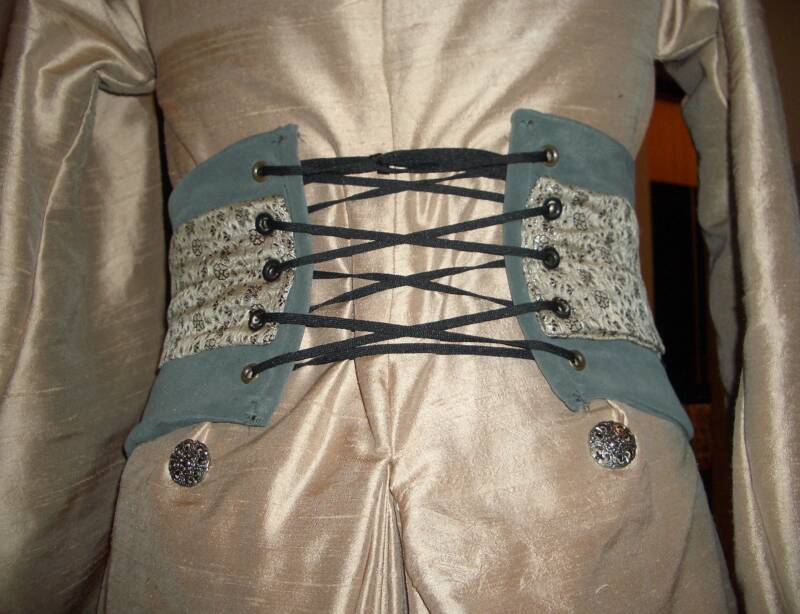
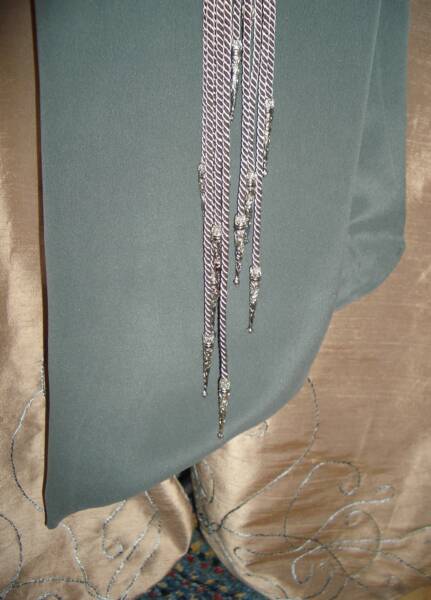
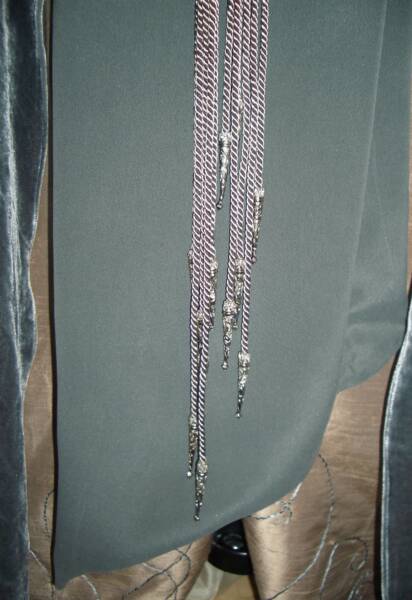
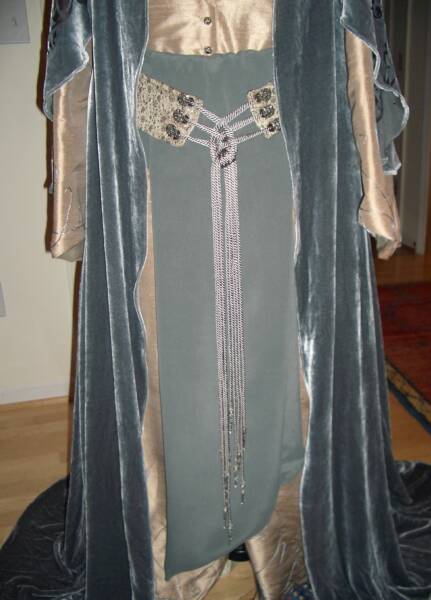
I worked on the belt today. Here are a few progress photos...
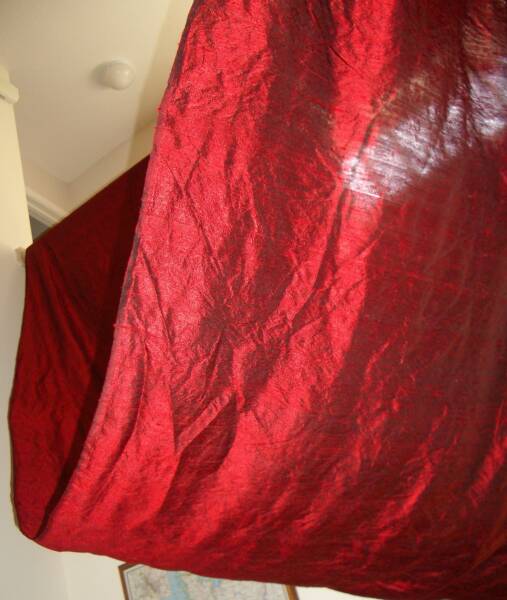
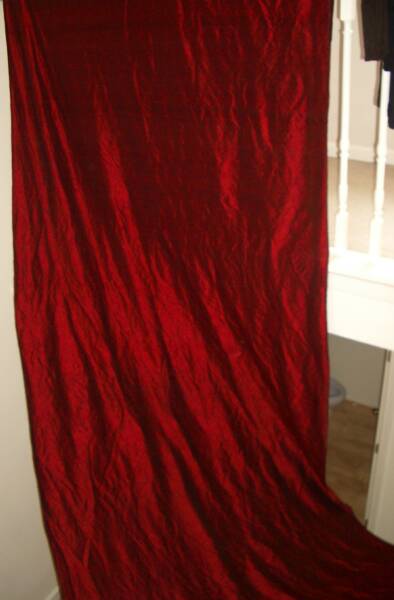
I've prewashed the fabric I'll be using for the underlayers, a long sleeved shirt and petal leaf trousers... Here are some photos of the red/black cross-dyed dupioni hanging to dry.
Except for the Augellettes that have not arrived yet, the belt(s) is(are) finished. I still need to finish tacking the pleats and then sew the back hem, and put in buttons...
September 20, 2008:
After finishing the belt, I moved to the buttons/buttonholes in the robes.
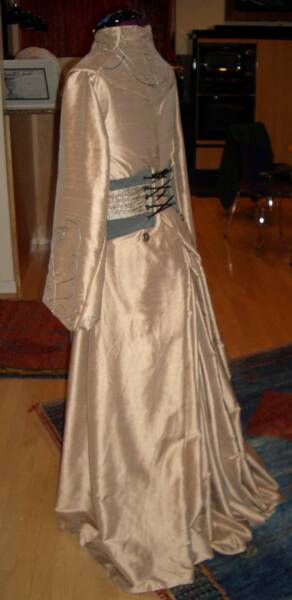
I followed that with a fitting check, and discovered that it fit like a glove, very much like a cothardie would. This may be good in certain situations, but I think not so in this case... Photos of Elrond's costume in the Appendices of FOTR show a bit of ease in the mid-body area... aside from where the belt hugs the body. So, I adjusted the side seams, letting out a little less than an inch on each side. The ease is there, now.
Here are a few photos I took, without flash, of the fitting, before I let out the side seams...
So... After the fitting, I made the adjustments, and then this morning I did the hem. I will have photos soon, but I'm waiting for the augellettes for the belt, and they haven't arrived yet...
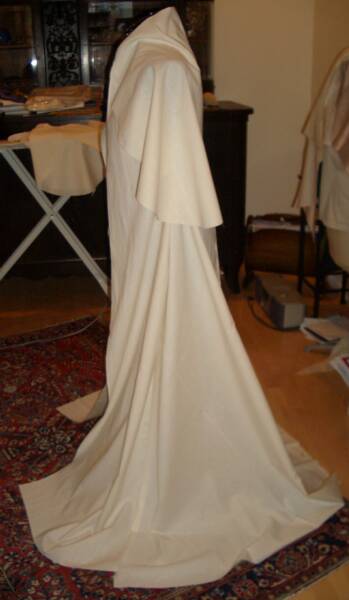
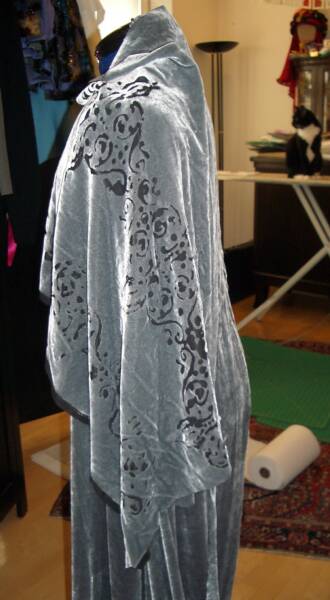
I've draped the Drape... Here are a few images of the muslin:
I was relatively fast at the drape, here, because the caplet part of the puzzle for me had been figured out a couple years ago when I made the Mirkwood Elf Cloak...
Right now I'm contemplating whether or not I will line the drape. I'm tending towards not, at the moment.
So... The decision has been made. No lining.
And I've cut out the velvet. It's hanging for now.
September 21, 2008:
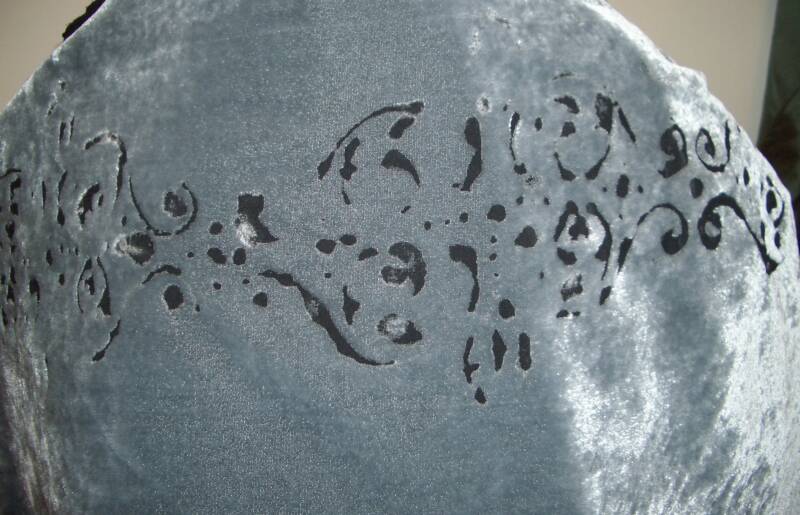
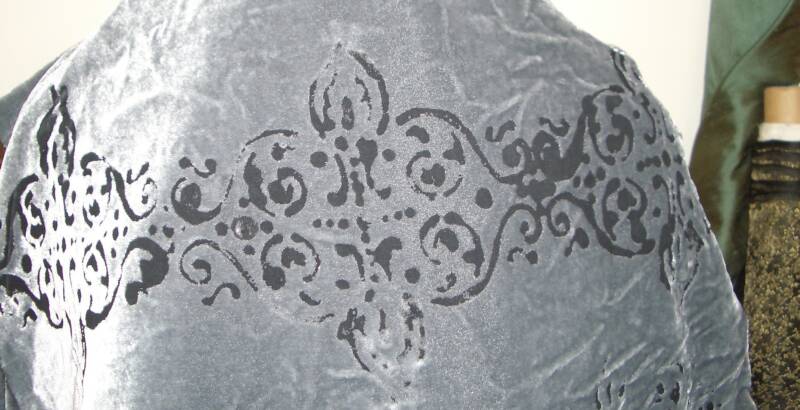
Experimented with fiber etch on a scrap this morning... The chemical dissolves the pile, leaving the silk backing to show through. Not all the pile has been washed out in all the spots. (Those are the white flecks you see...)
Here are two photos:
Here's a reminder comparison to the ironed embossing I did a while back, a technique that will not survive a washing.
September 22, 2008:
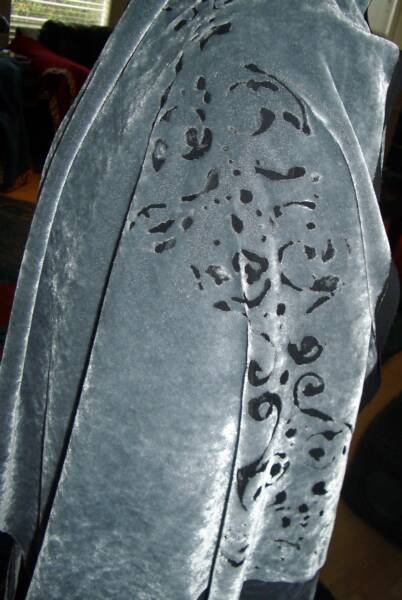
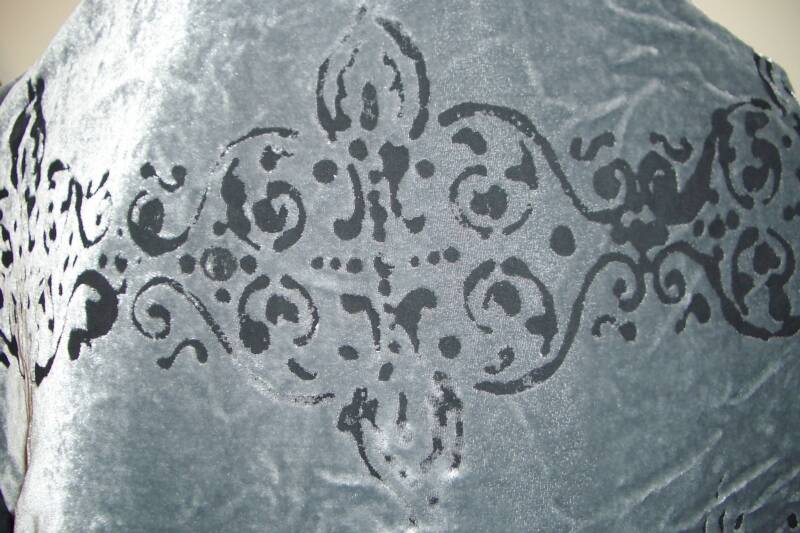
Played with the fiber etch another round. I think I like it better now. Some photos...
September 23, 2008:
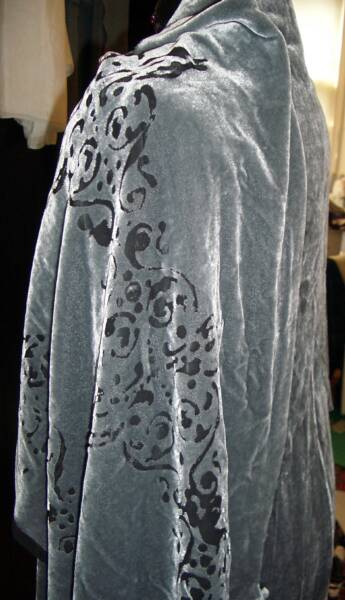
I had some problems with the fiber etch, being that I was in a hurry to get finished with this before A Long Expected Party in Shaker Village. I'm leaving for that tomorrow. Well, the long and the short of it is as follows... I tried to go too fast, with too much area covered, and wound up with some extra spots. Furthermore, when I went to rinse, not all the pile came off in all the sections, so things looked patchy.
In desperation I attempted to make a new caplet, but the etch burned through the silk backing in one spot. I had the blow dryer too close, and it got too hot. So that was a discard. Running out of time and fiber etch, I went back to my first attempt and tried to salvage it. It was alright, I saved it by re-applying etch over the areas that hadn't taken before, and finished the drape with it.
I'm planning on re-ordering more fiber etch and re-doing the caplet once I am back from A Long Expected Party, going very slow with the pattern until I have it the way I want it. Fortunately, I have enough excess velvet for at least a couple tries.
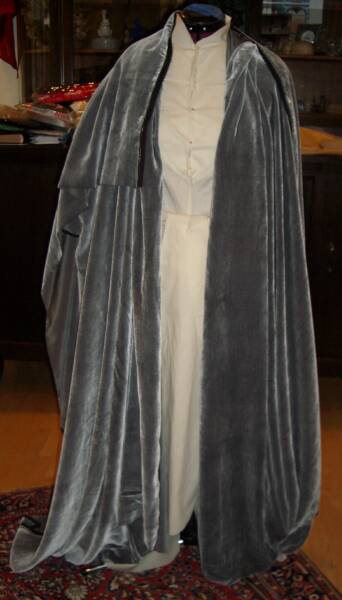
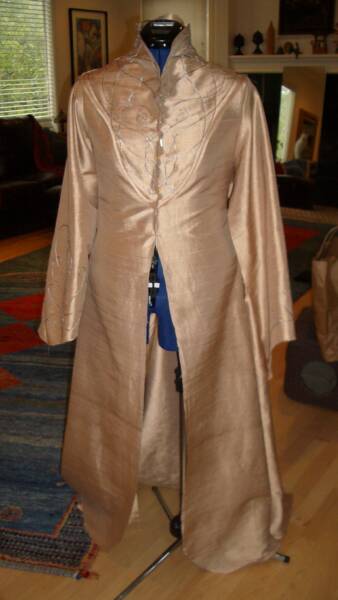
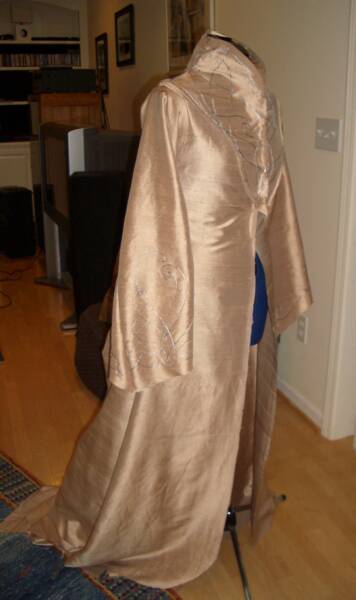
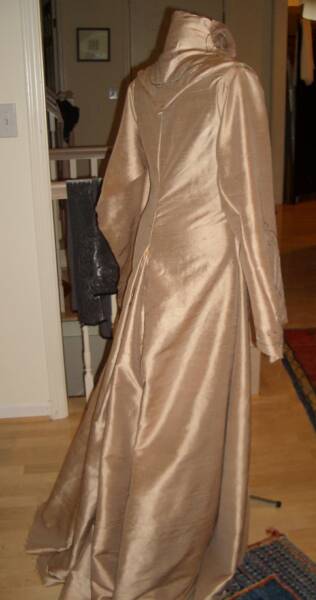
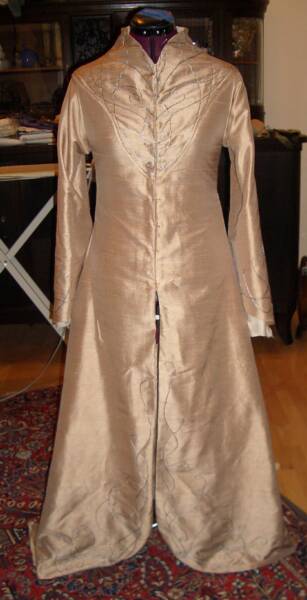
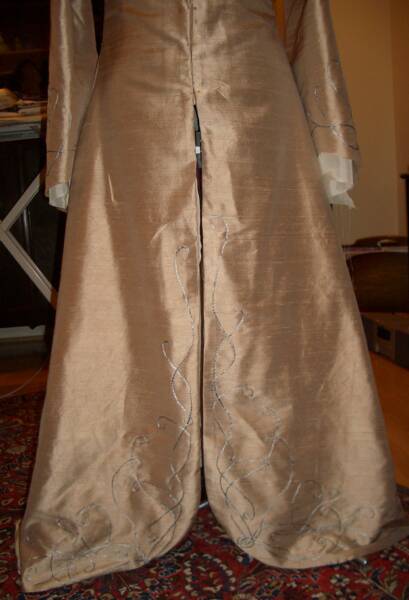
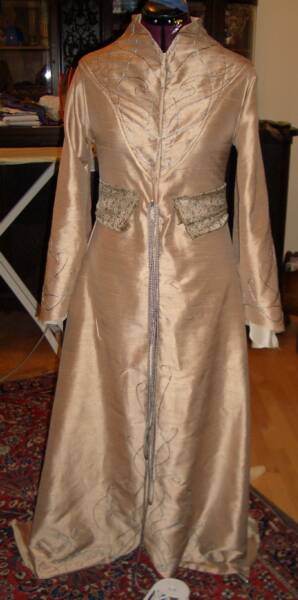
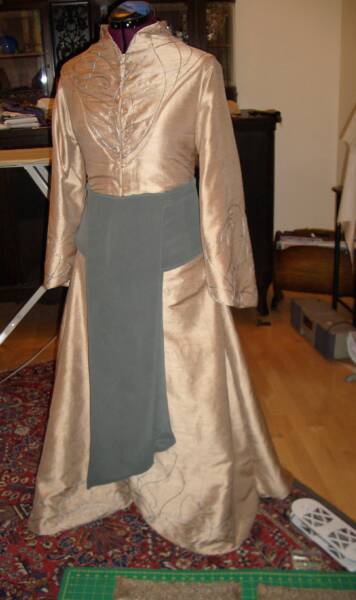
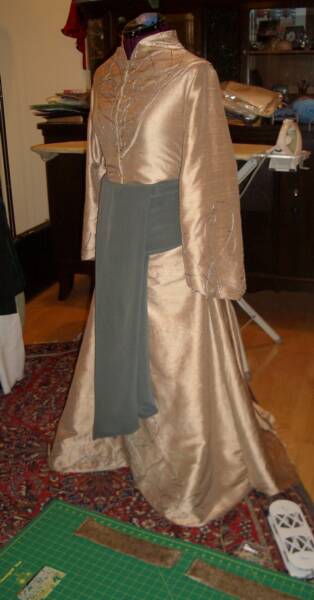
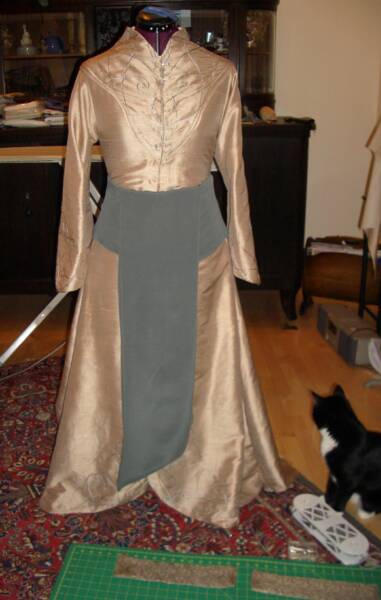
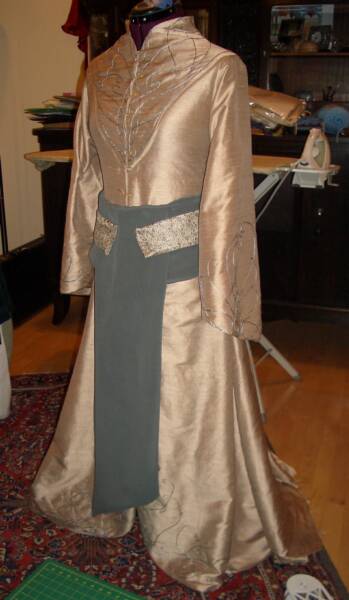
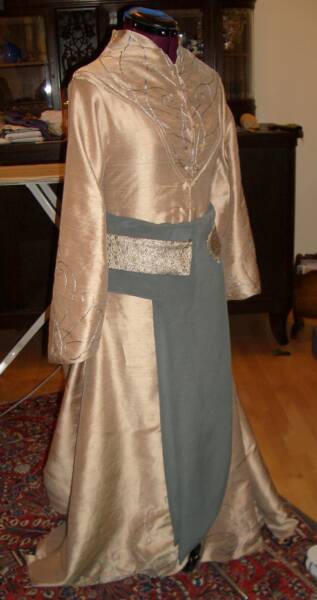
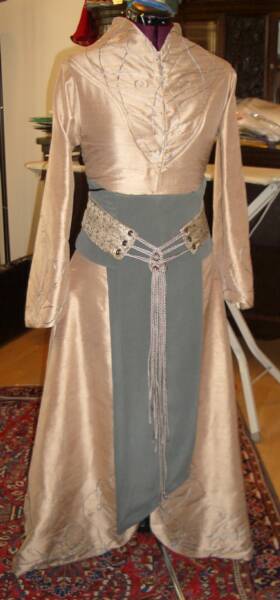
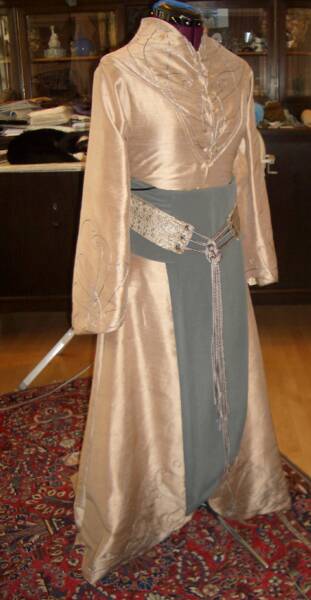
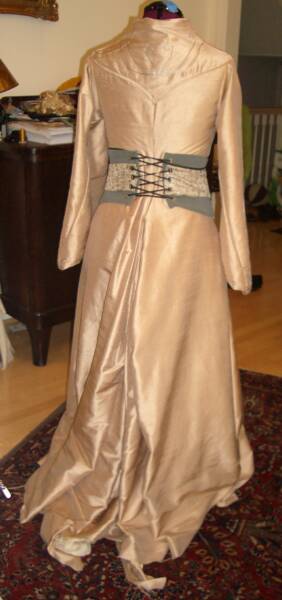
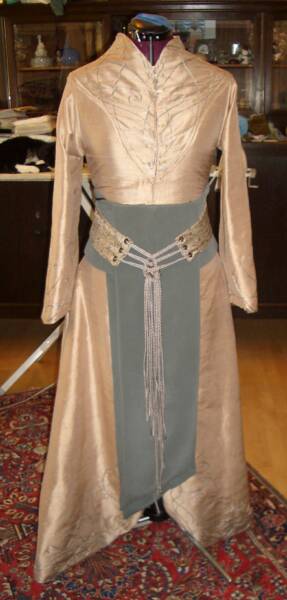
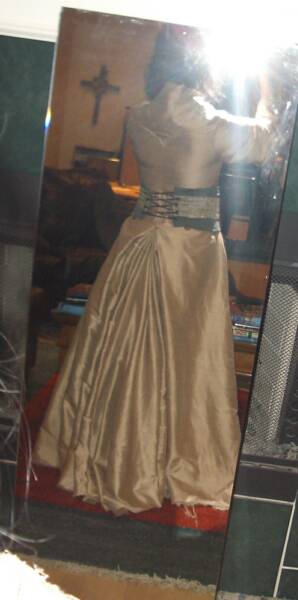
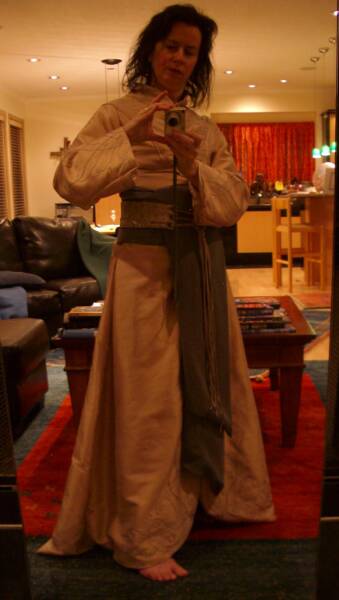
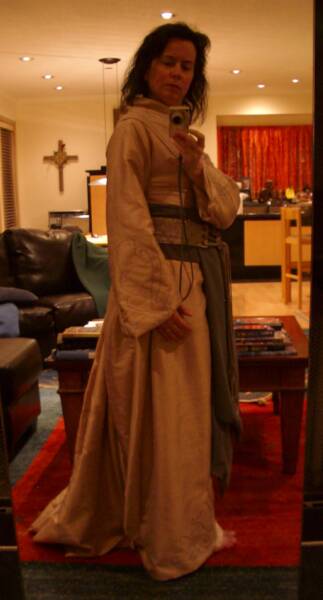
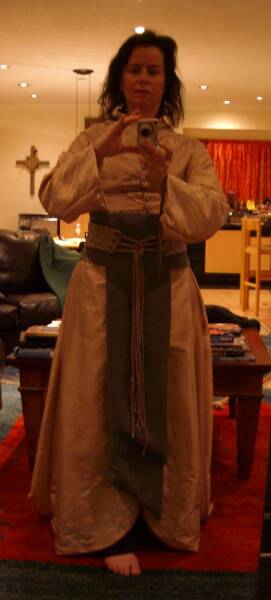
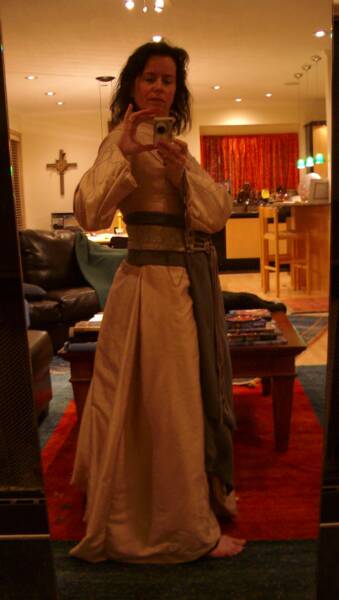
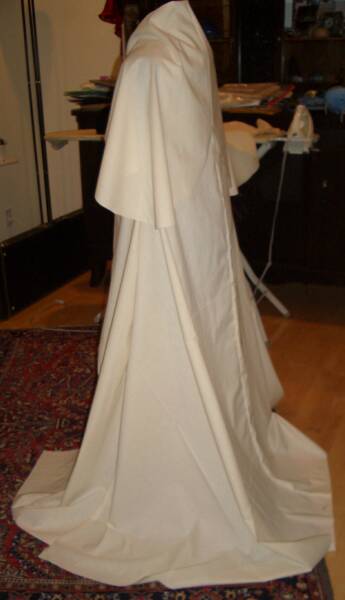
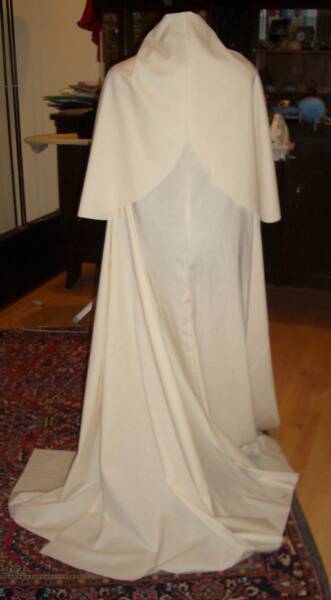
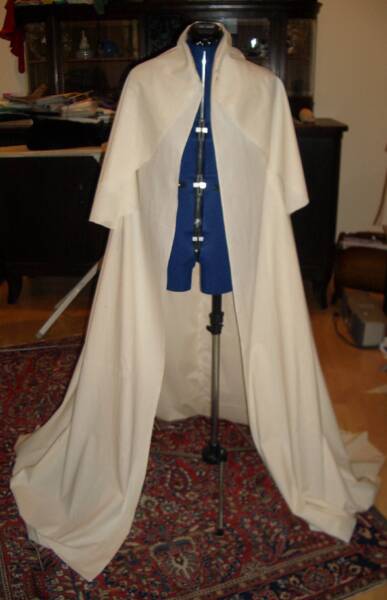
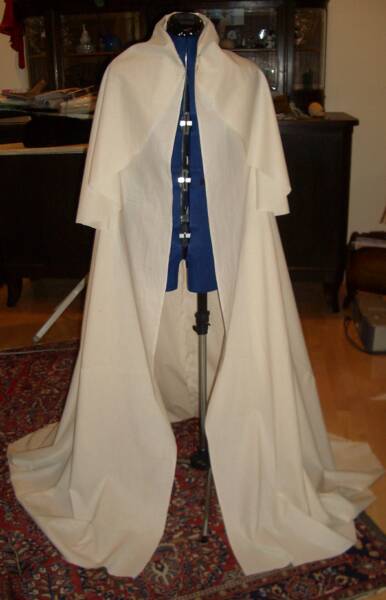
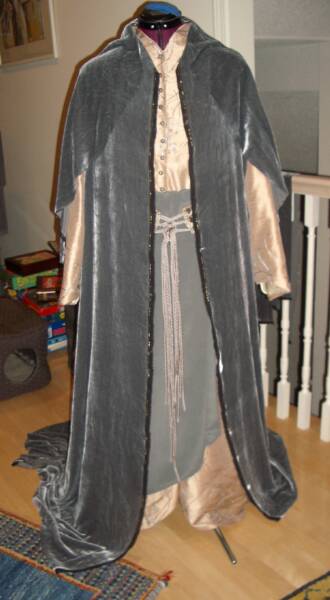
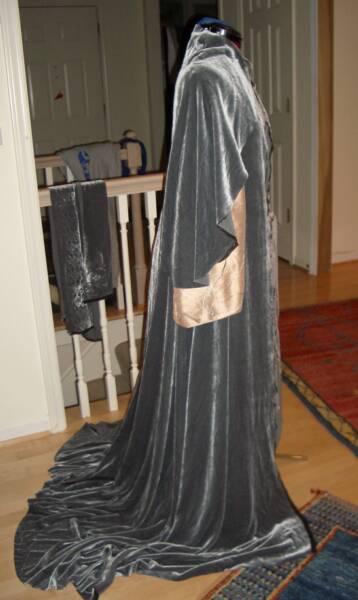
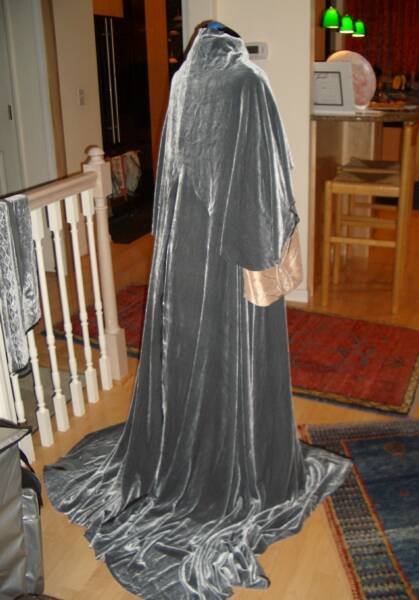
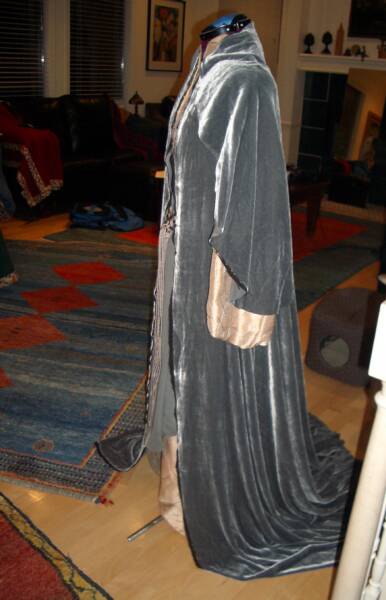
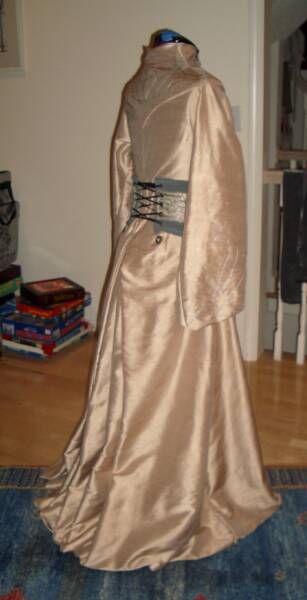
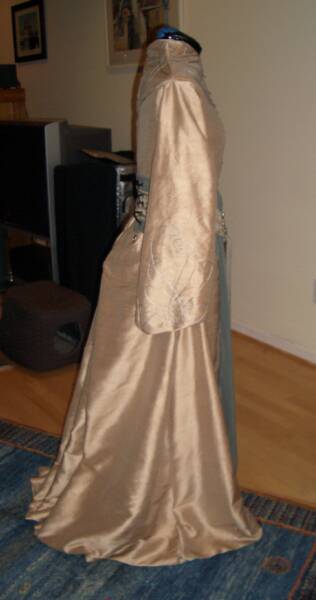
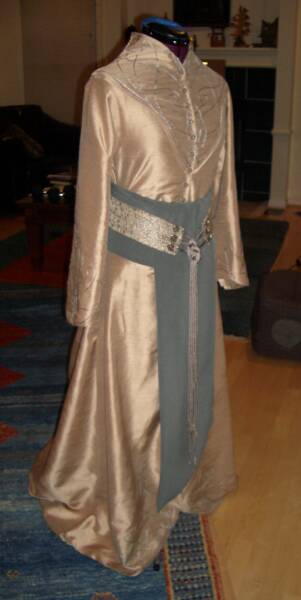
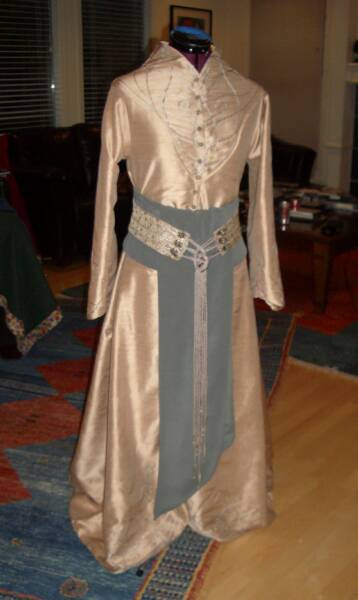
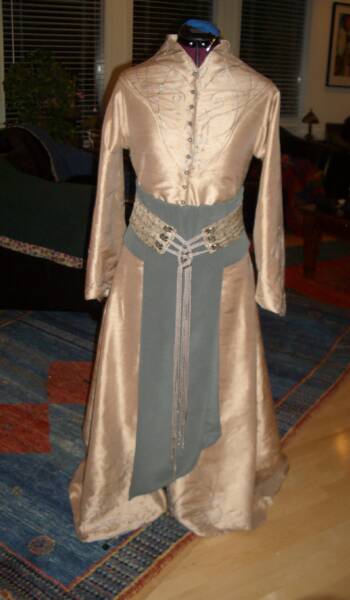
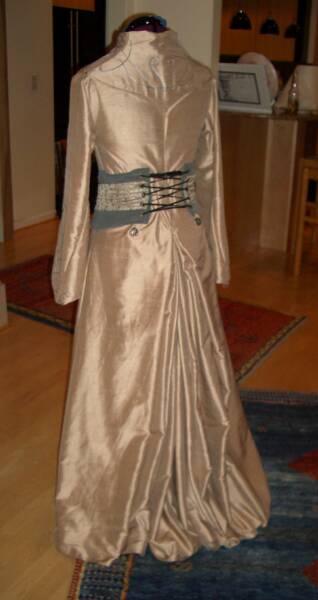
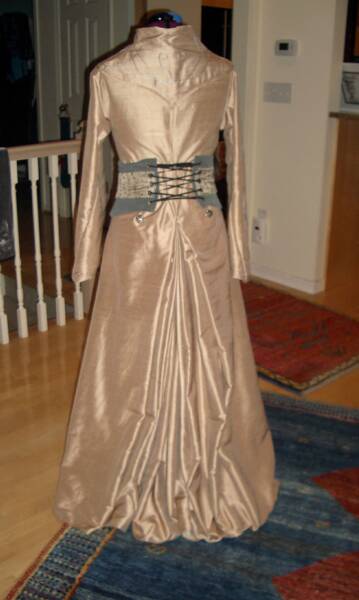
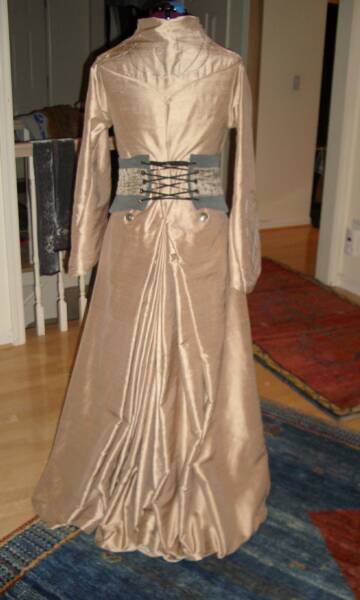
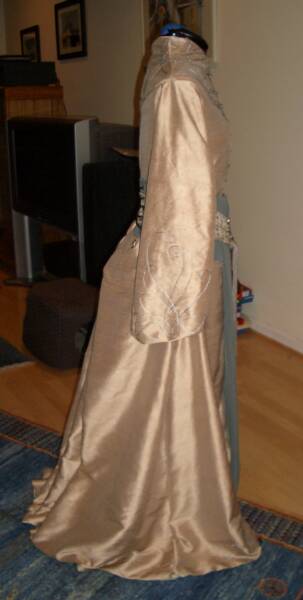
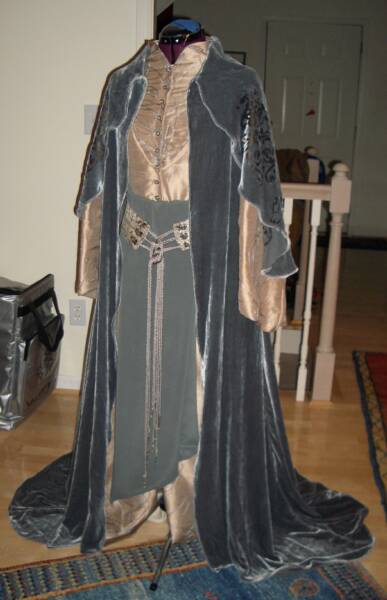
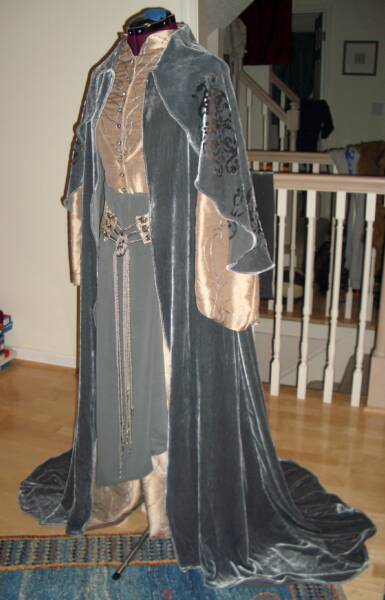
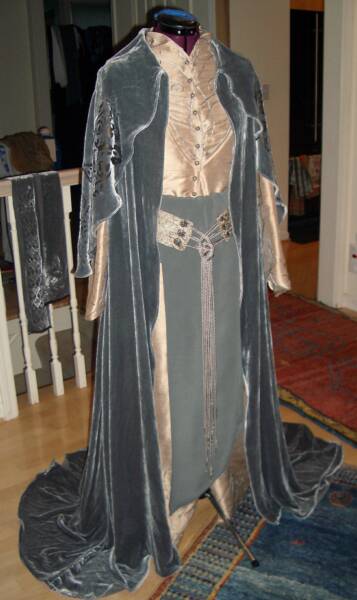
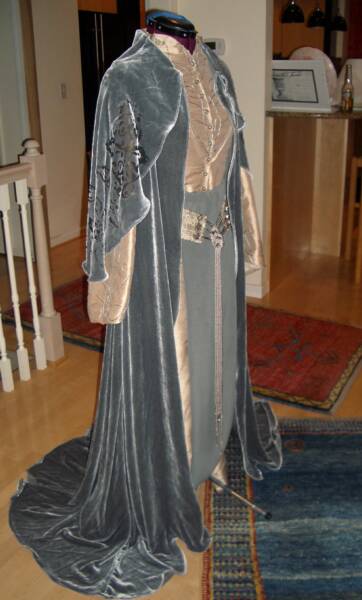
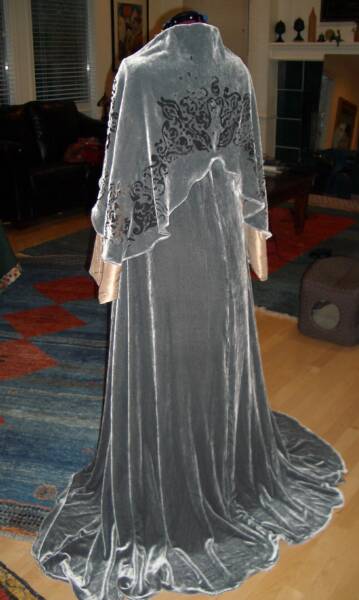
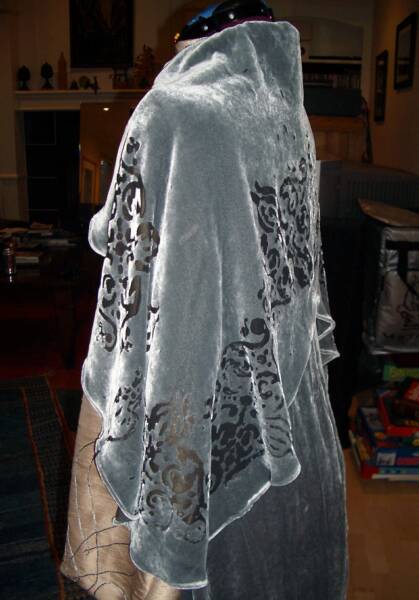
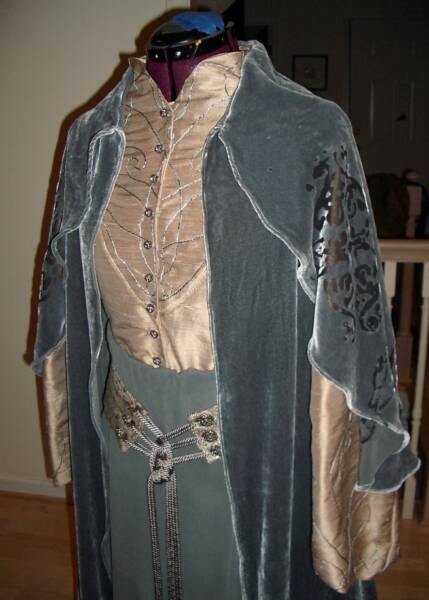
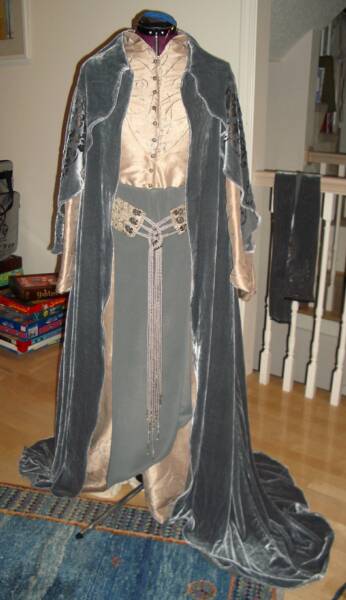
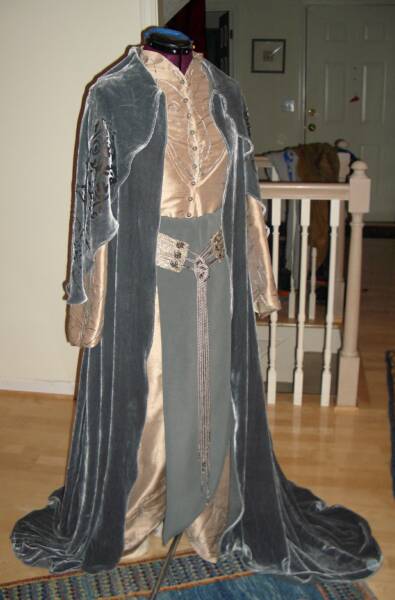
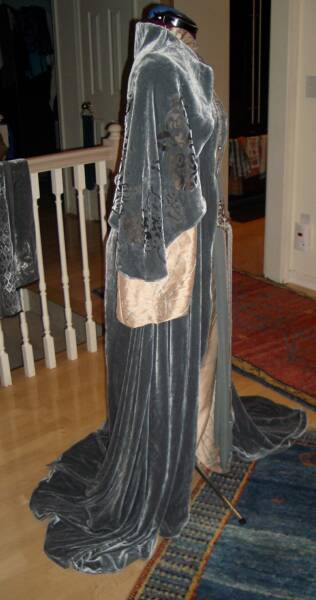
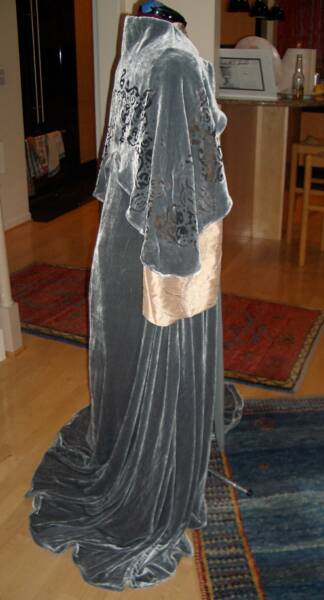
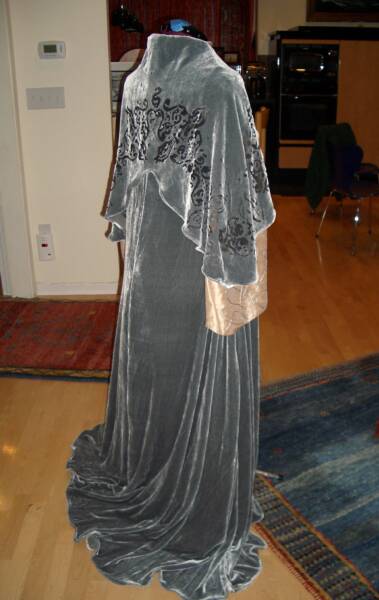
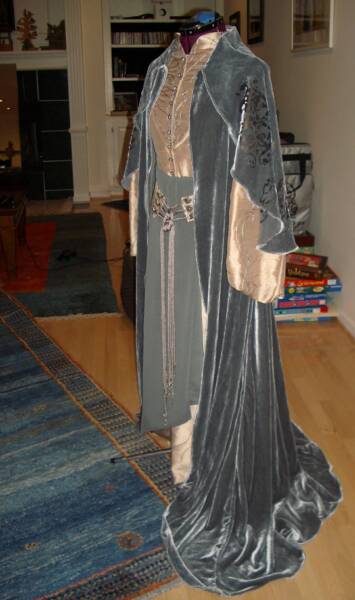
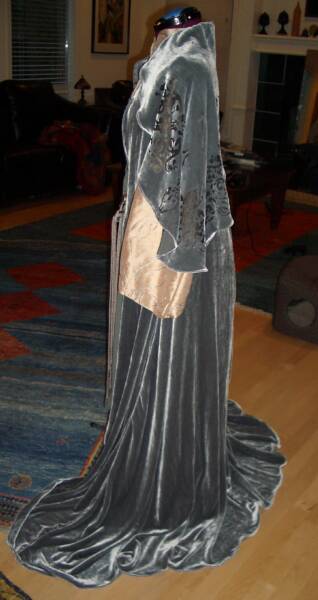
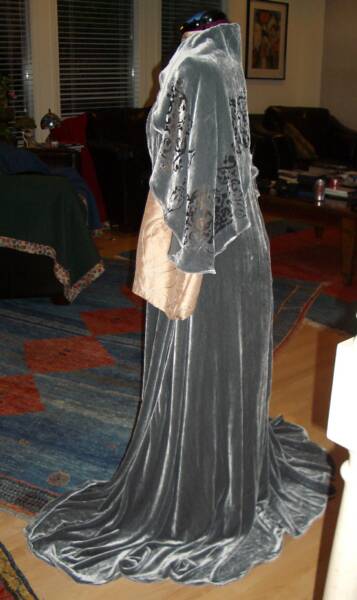
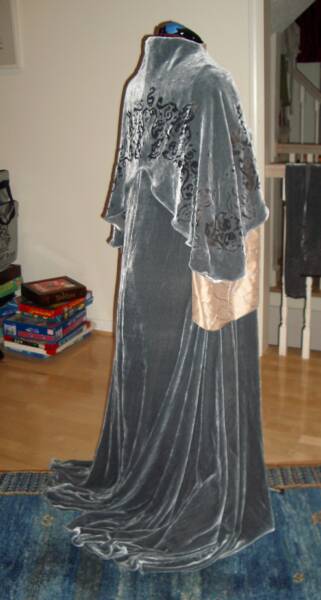
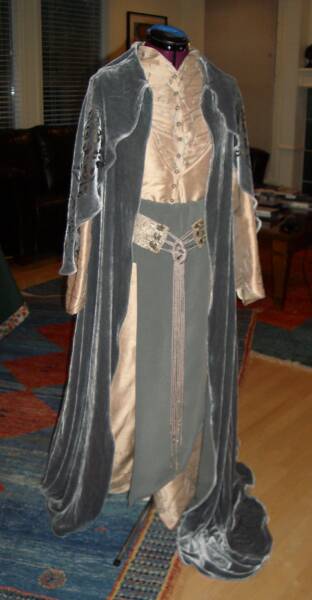
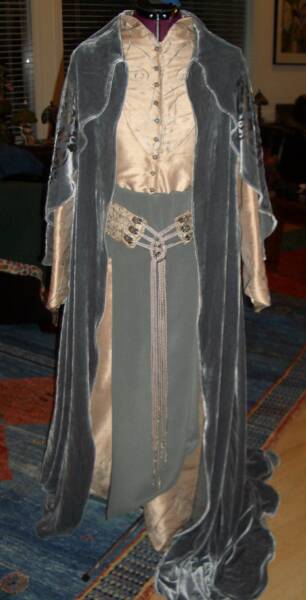
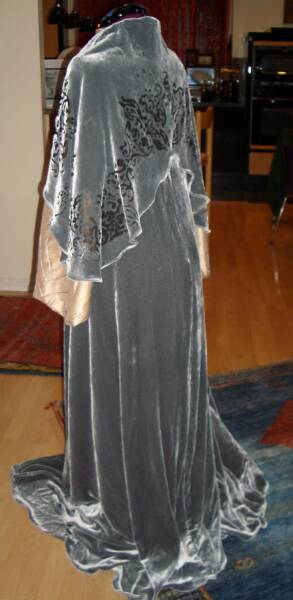
In the meantime, here are photos of the outfit as it is right now. First without the drape, then with the drape...
So, next on the agenda is to re-etch a new caplet, and then draft the leaf wrapped trousers...
Peter Jackson's visualization of The Lord of the Rings woke my latent passion for costuming and inspired me to learn to sew.
This page and its links reflect my best efforts in Lord of the Rings costuming.
Projects linking to their own pages are featured here. Click the links in the navigation bar to visit the individual pages, or scroll further below to the image links and see a quick overview of the costumes.
y
Elrond's Gray Robe and Drape
Construction
Welcome to Yvette's
Nearly ten years ago I set out to teach myself to sew, so that I could create inspired costumes such as those featured on my site.
I created this site to share what I've done. It launched August 18, 2004, and has been growing ever-since.
In addition to costume construction pages, there are pages featuring portraits of the costumes being worn.
Costuming is a hobby I love documenting, but I do not do commissions, nor do I sell patterns.
Please visit where your interests lead you, and enjoy.
y
The navigation on my site is under construction. I'll be getting the links set up page by page. In the meantime, please bear with me.