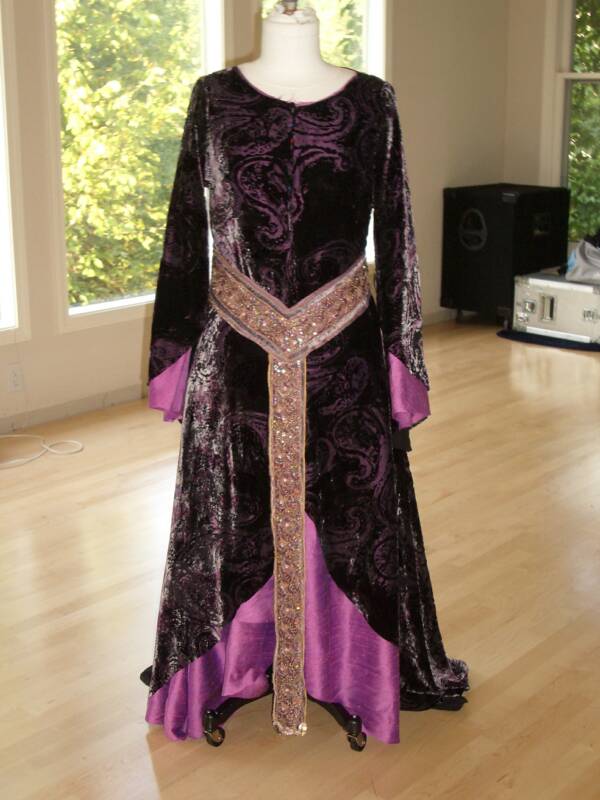
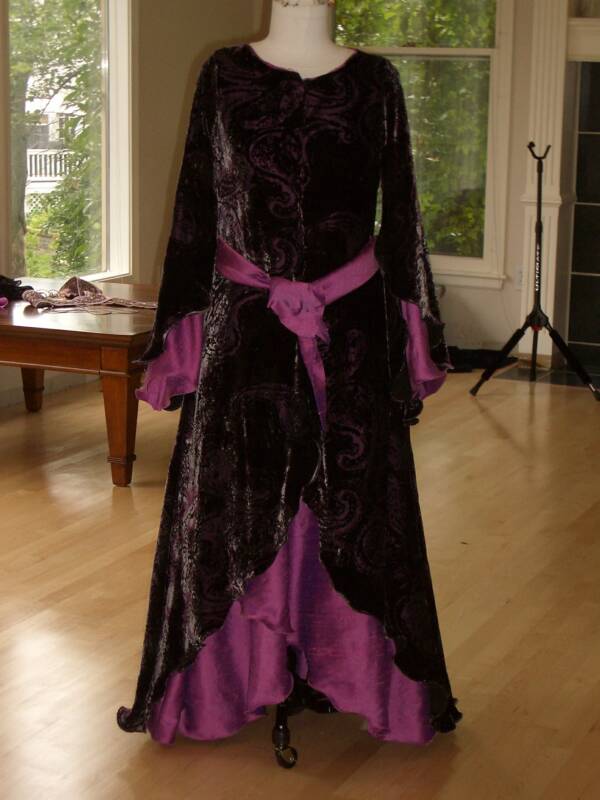
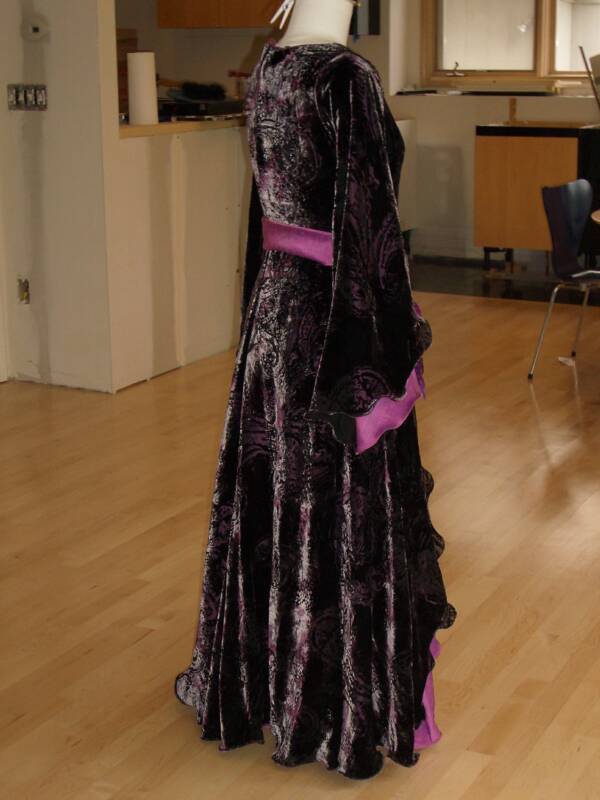
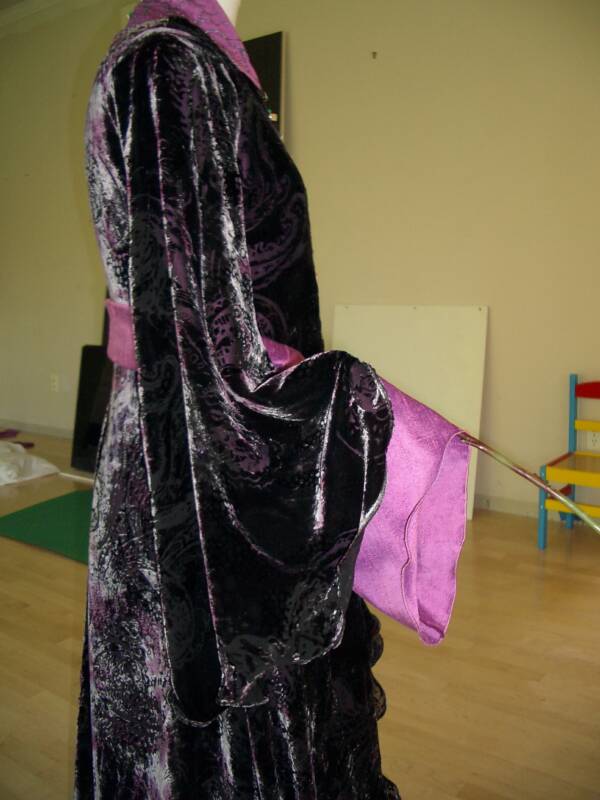
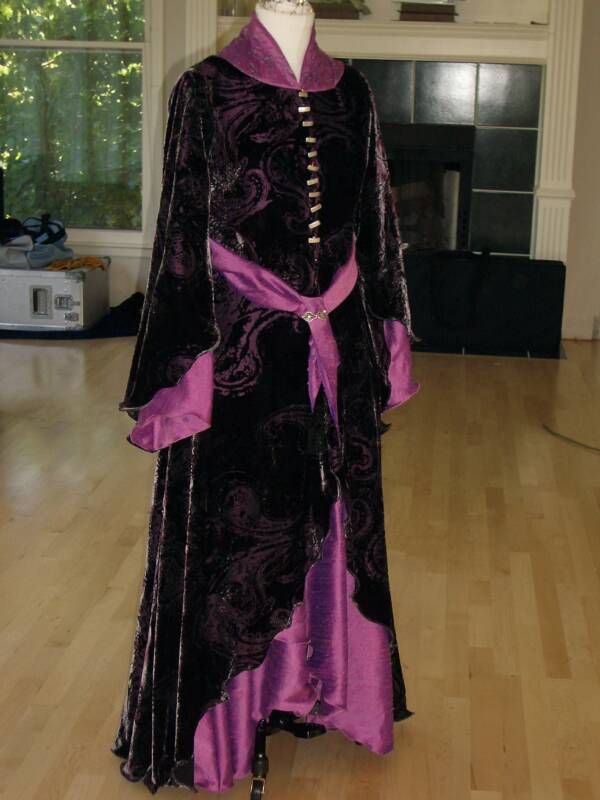
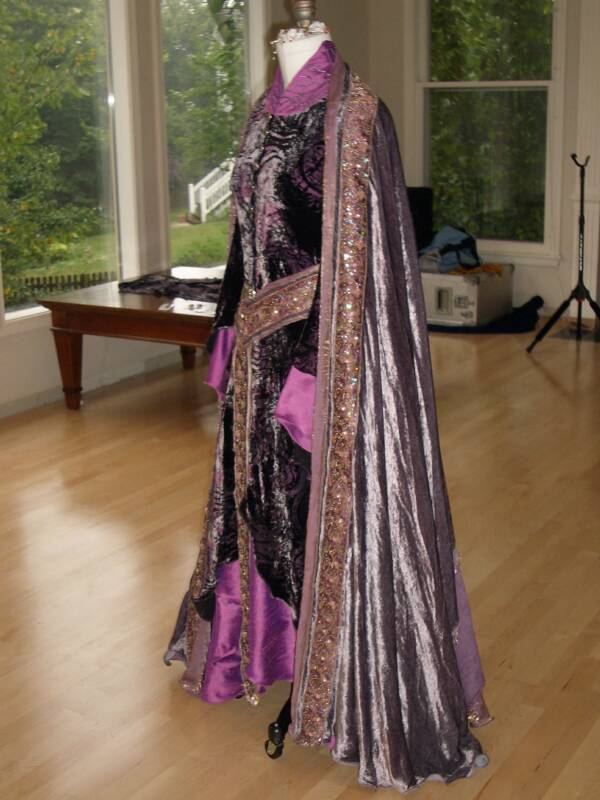
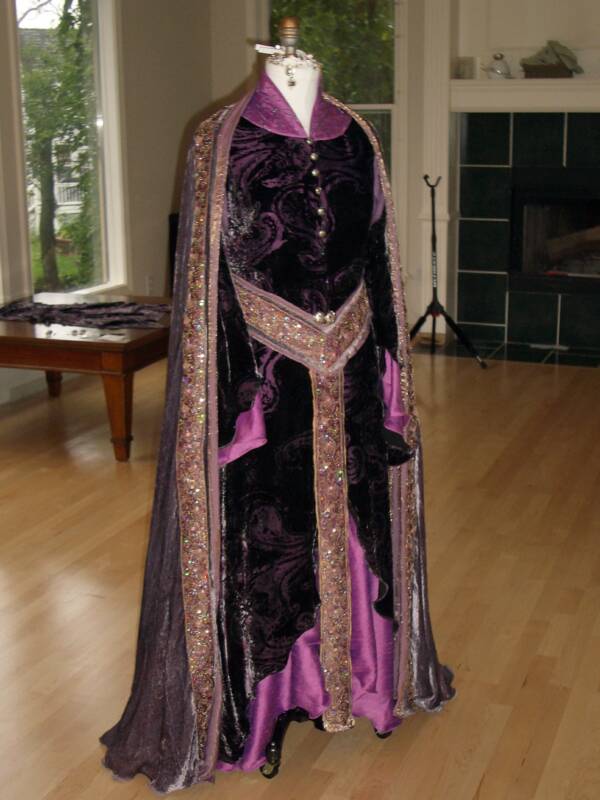
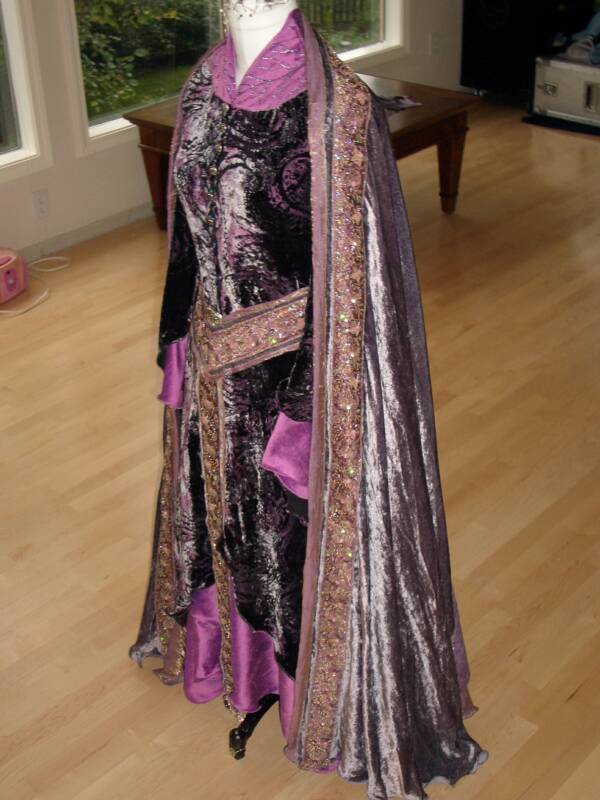
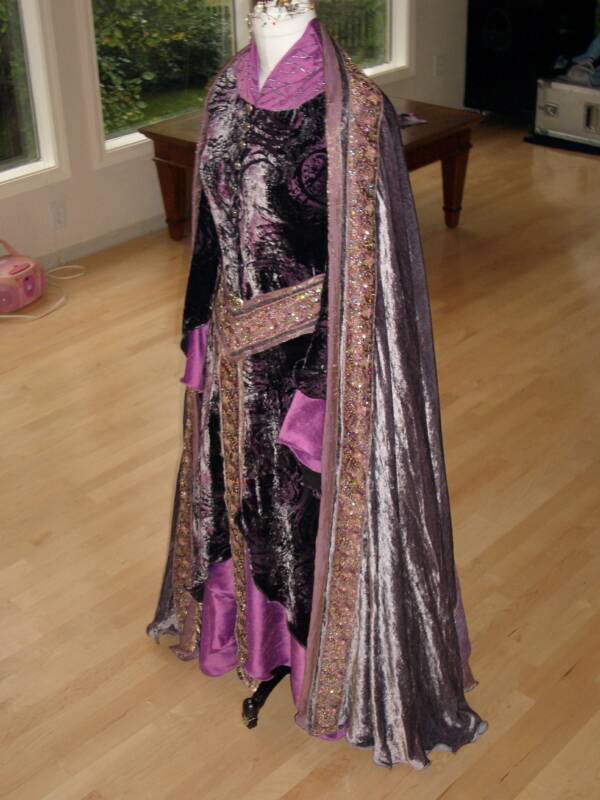
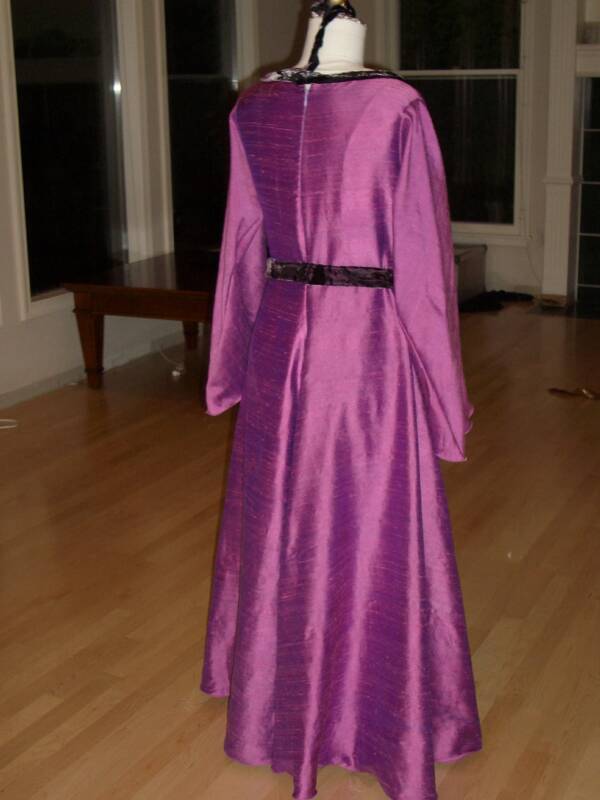
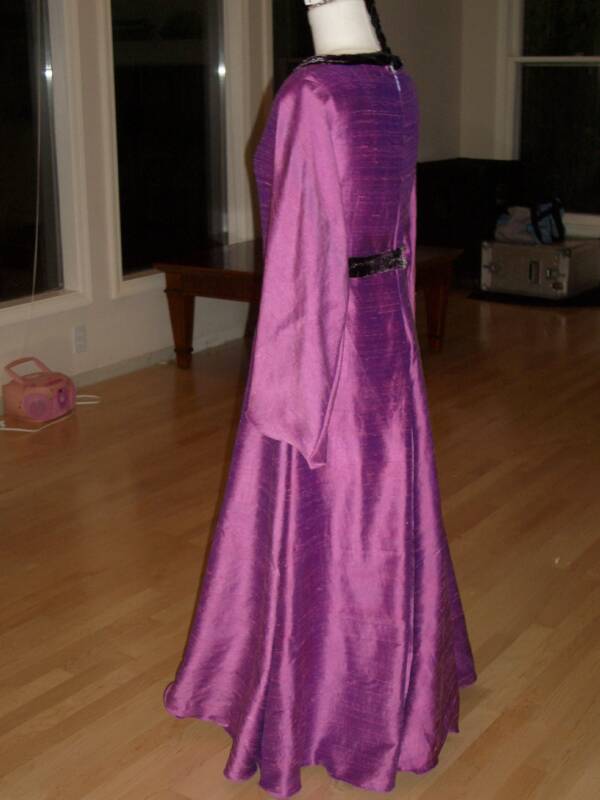
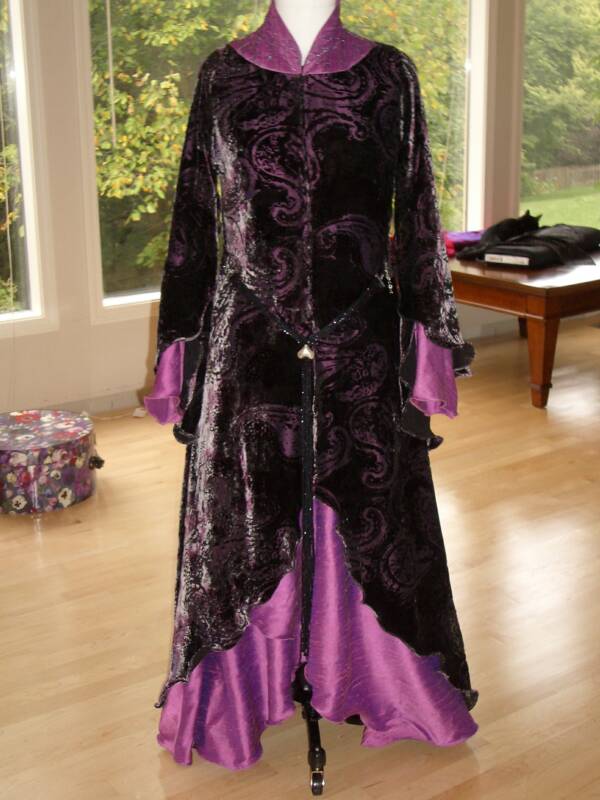
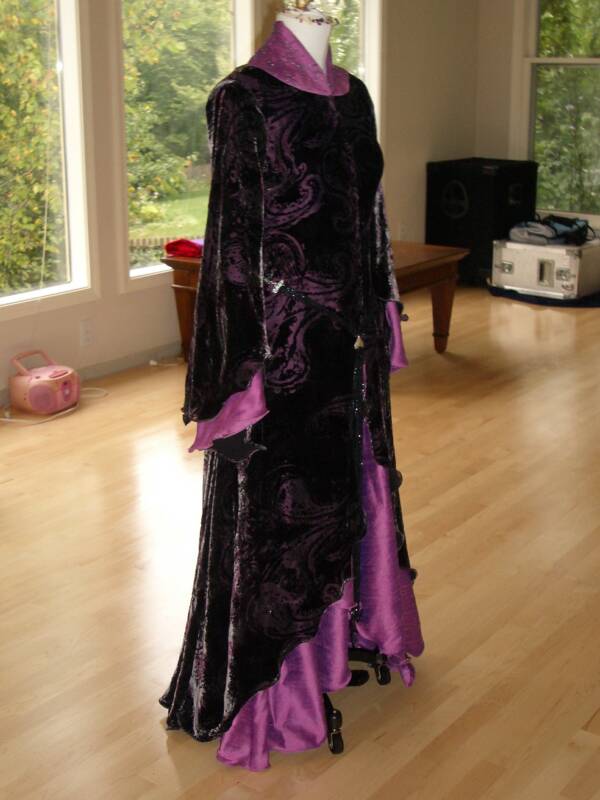
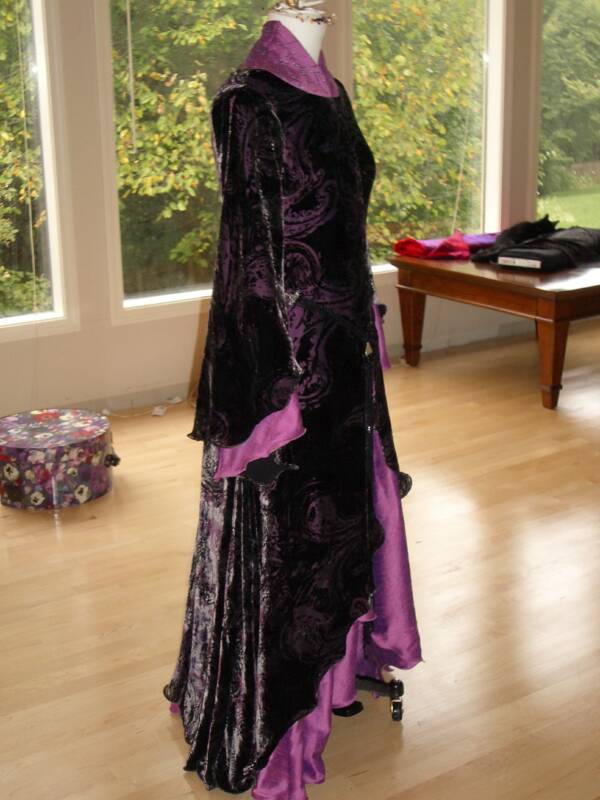
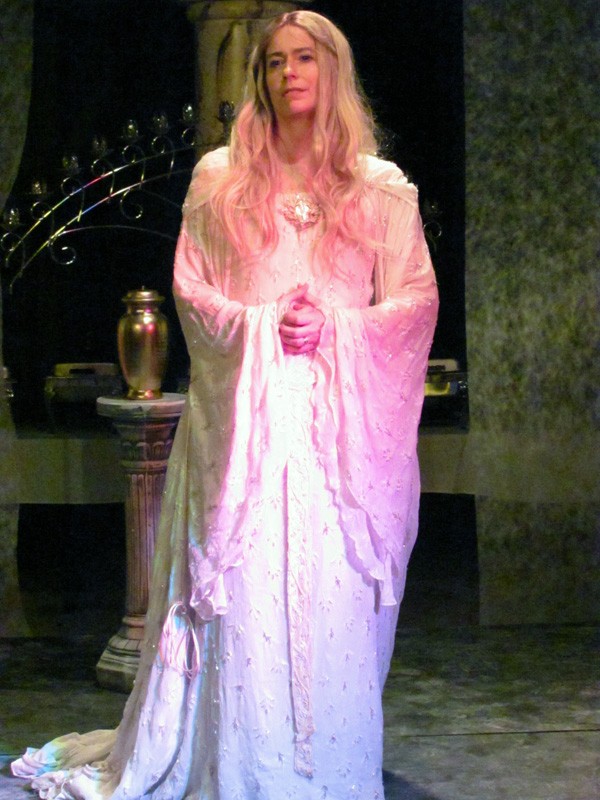
September 15, 2005... Here, I'm continuing to log my progress on Nimrodel's River Gown... I need to continue on a new page, as the opening construction page is now full enough! Here is a photo showing my most recent progress from before today...
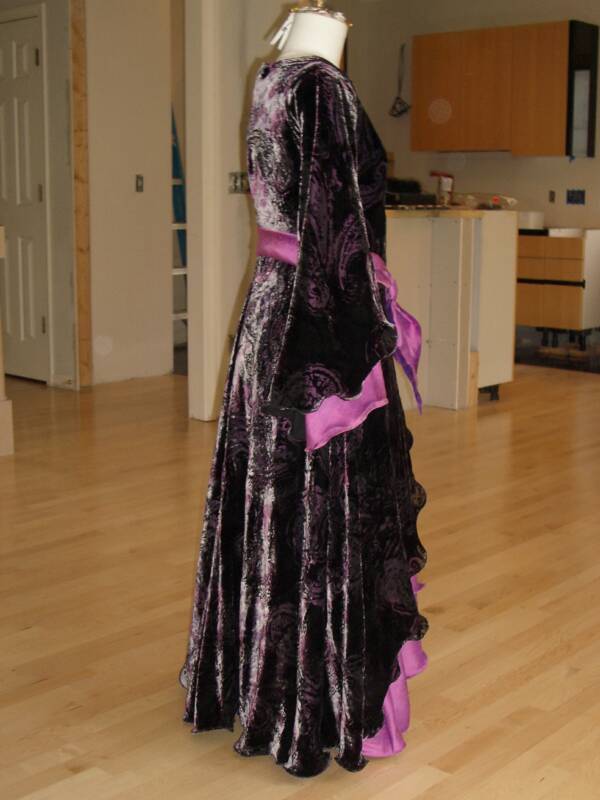
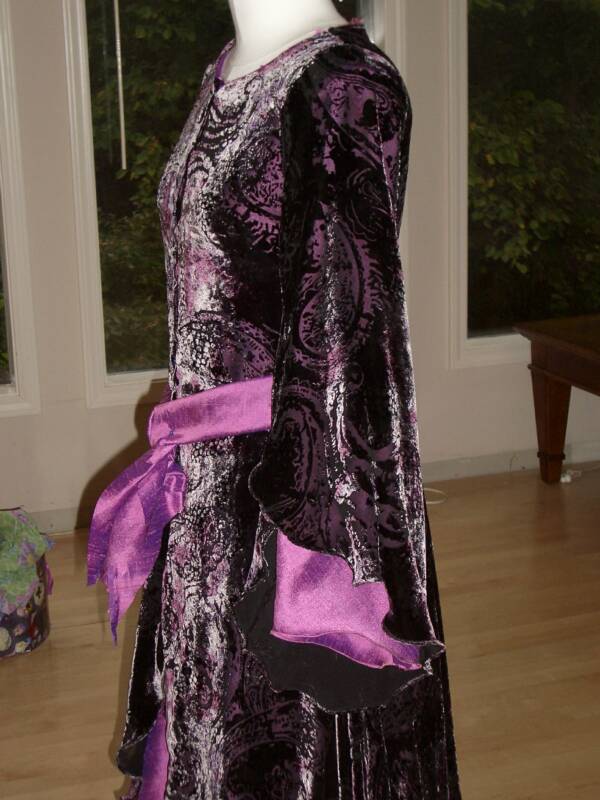
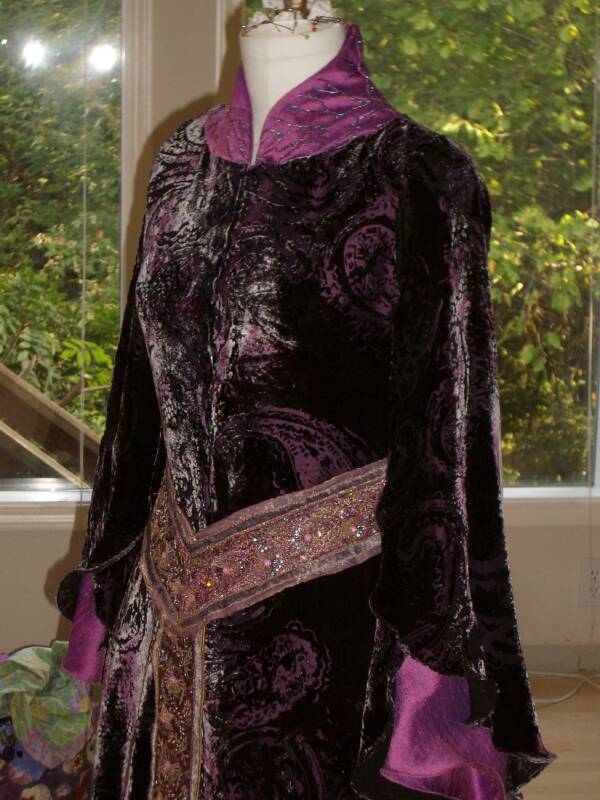
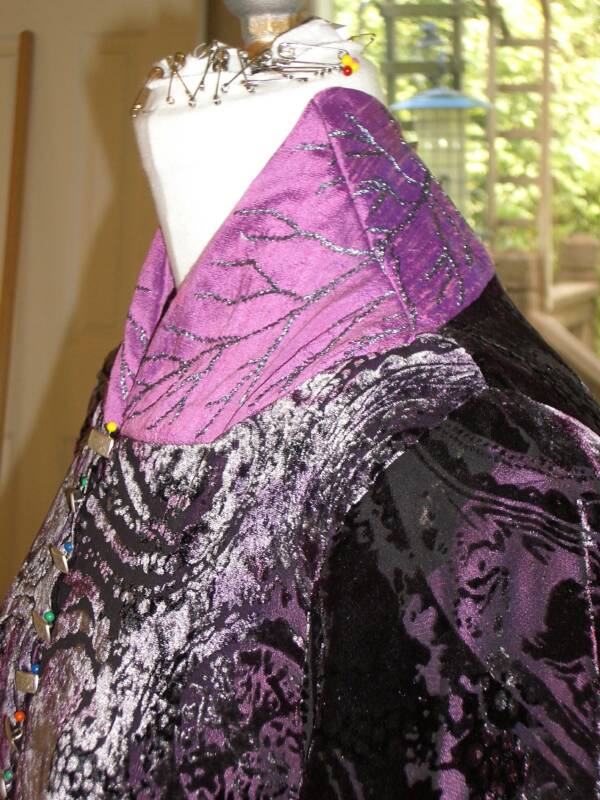
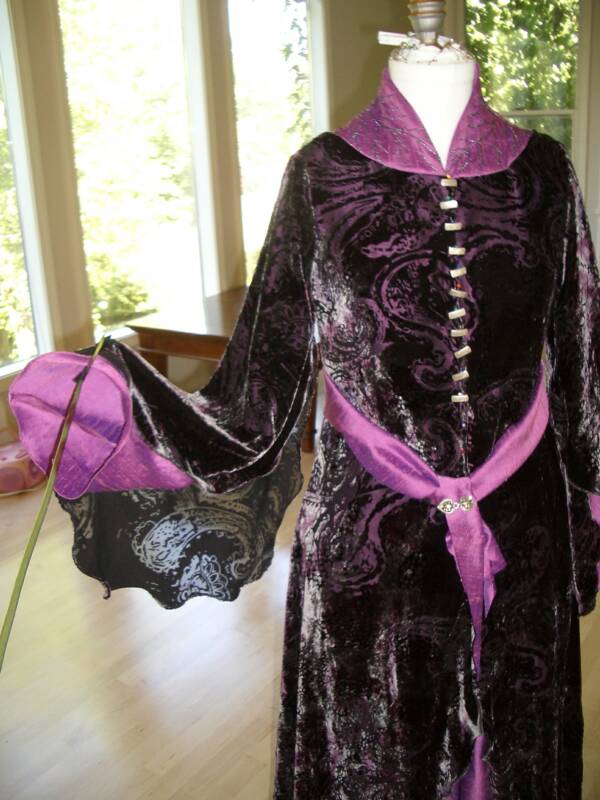
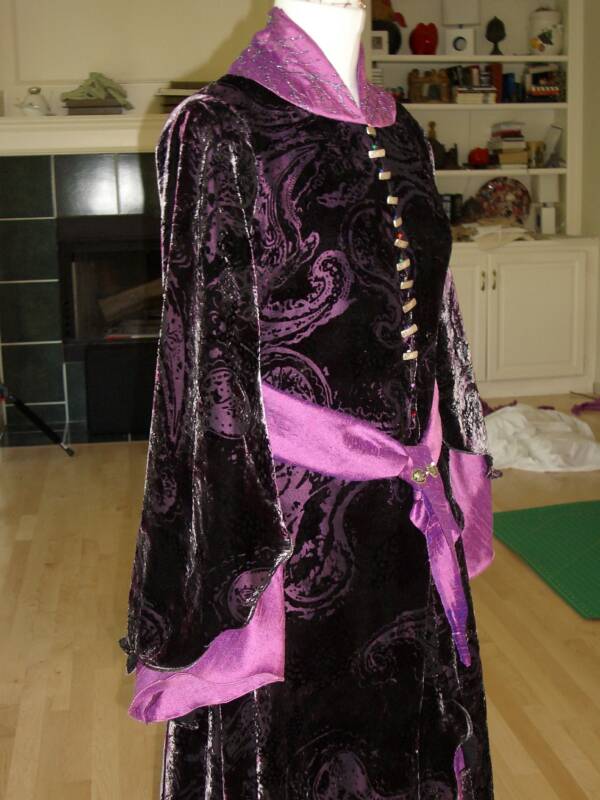
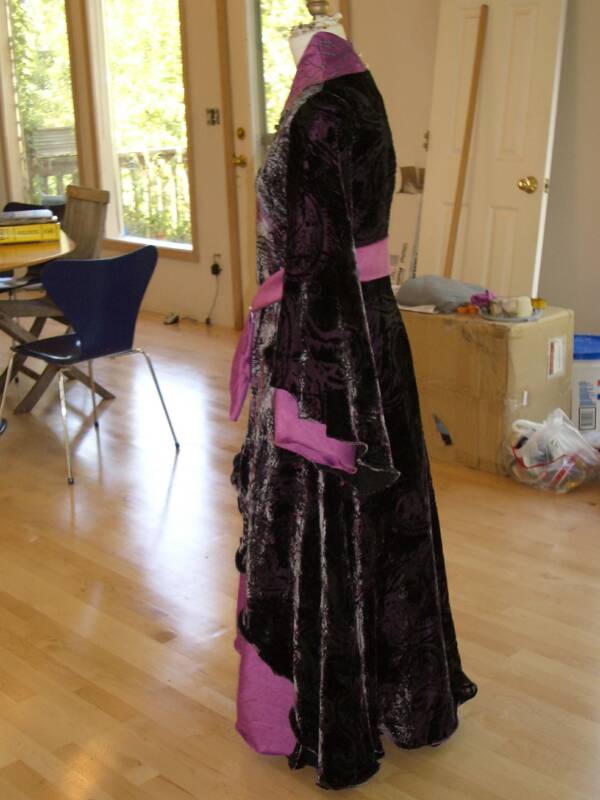
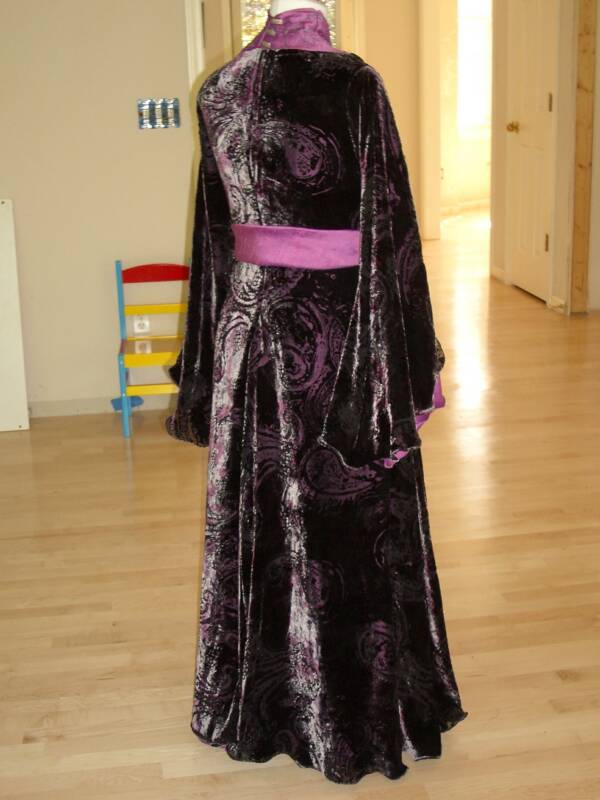
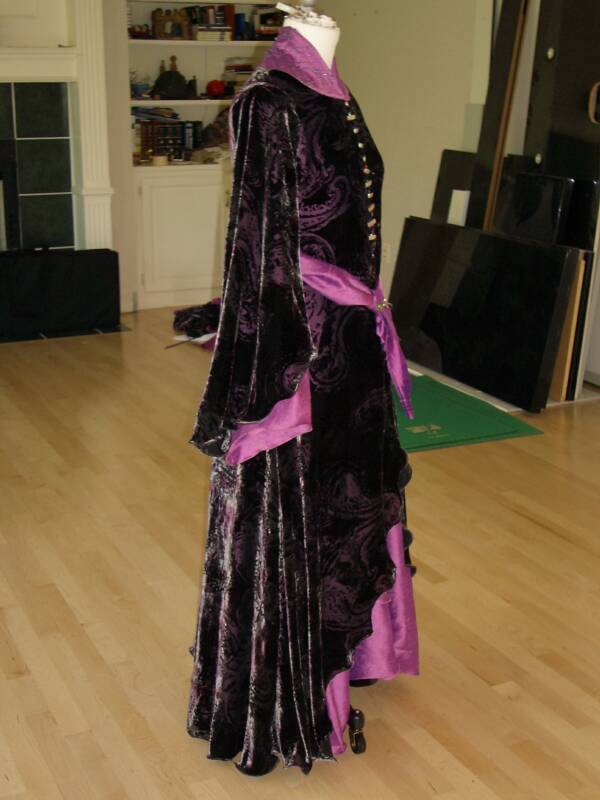
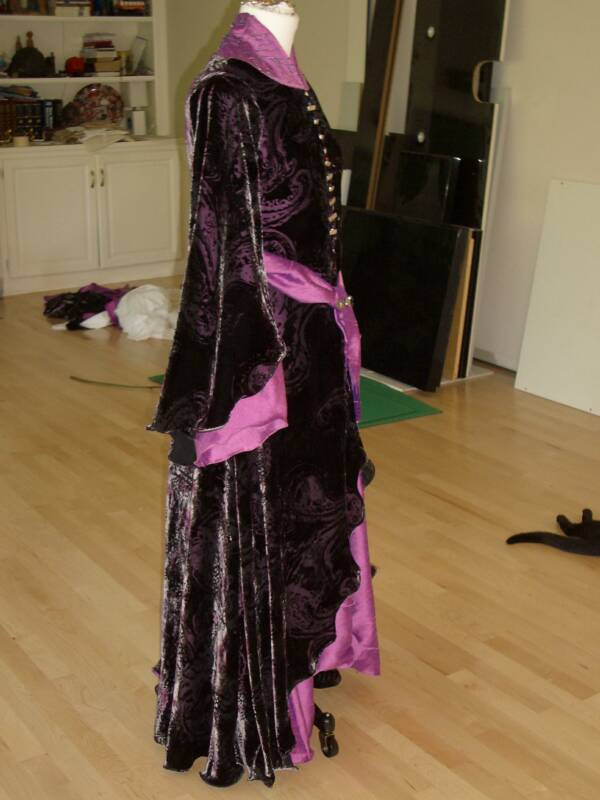
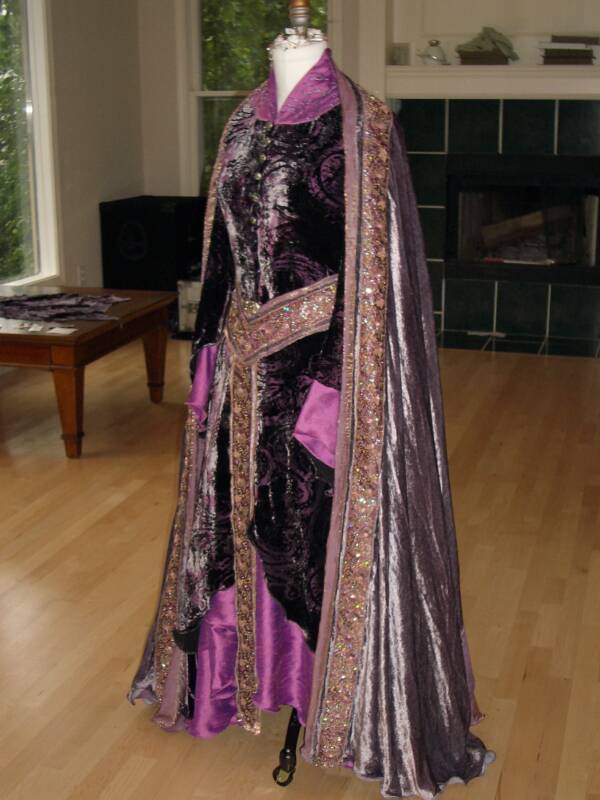
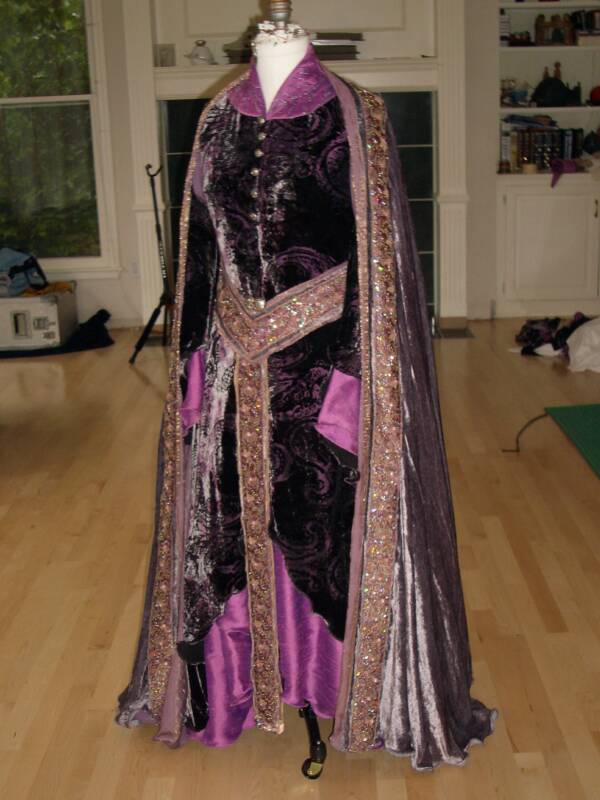
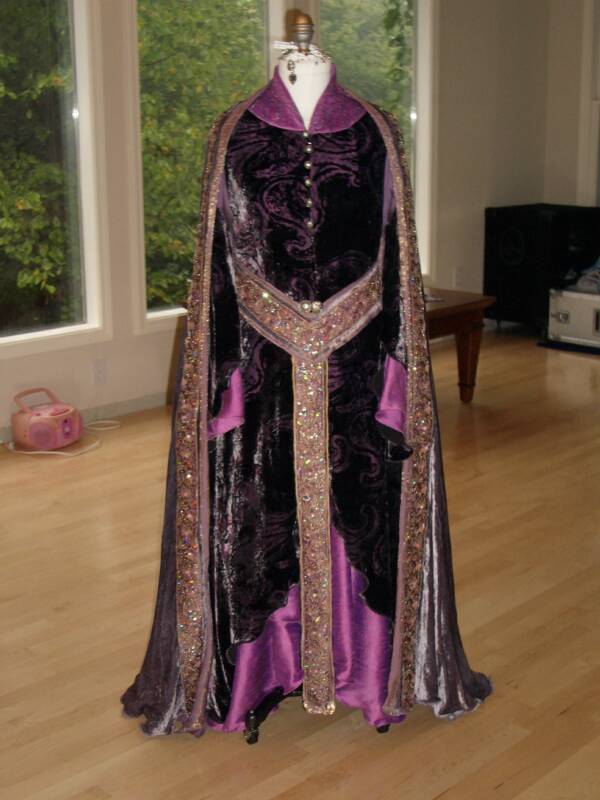
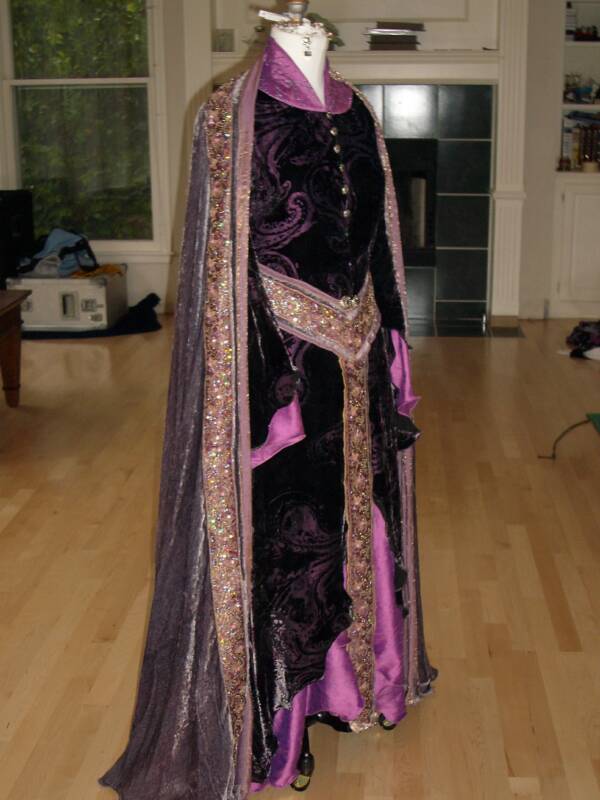
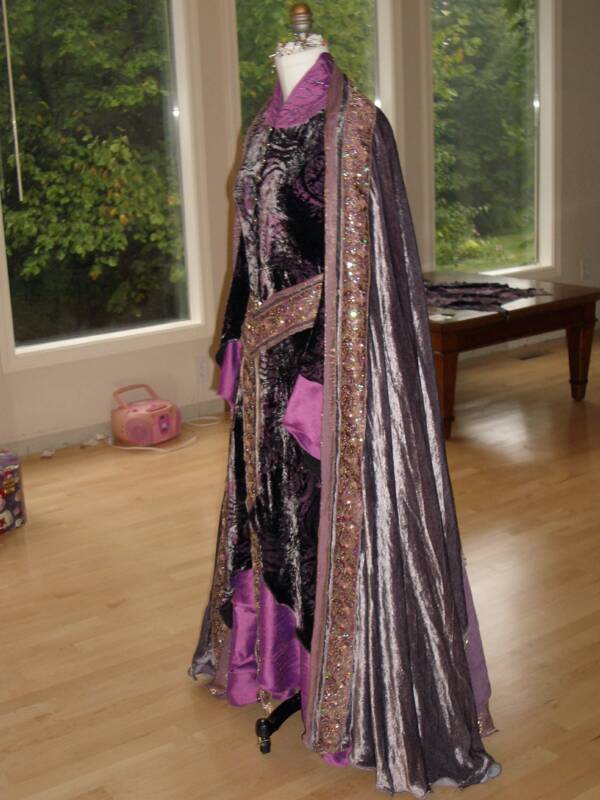
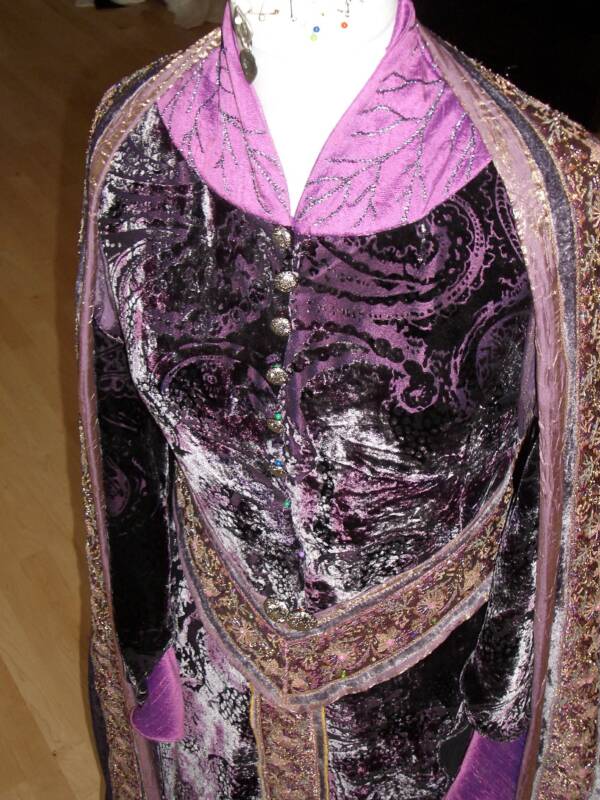
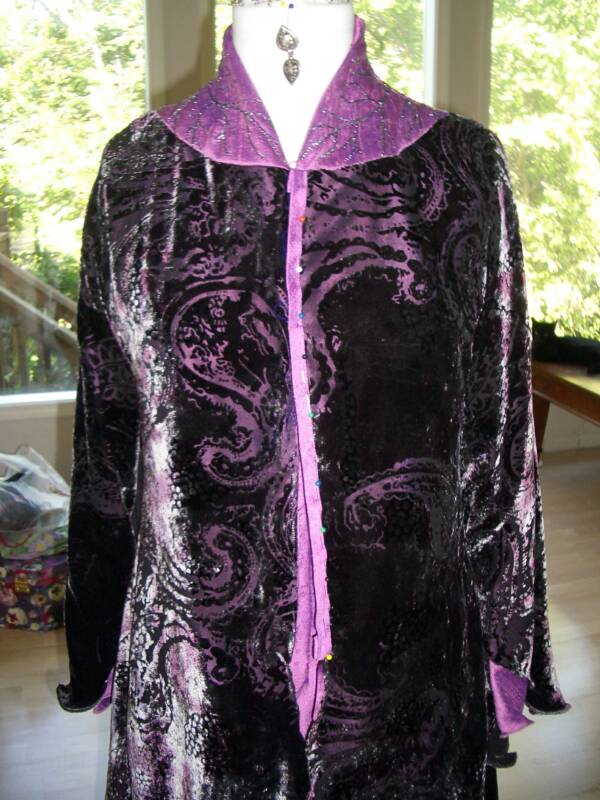
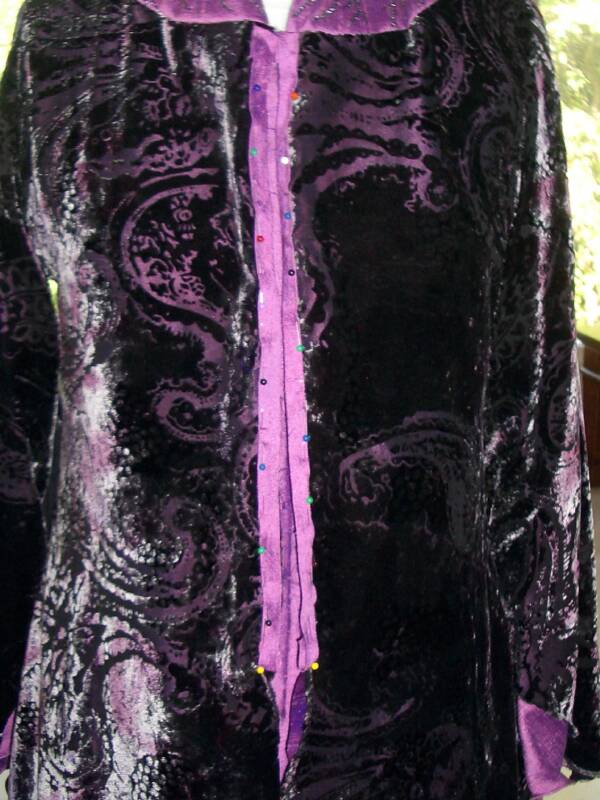
As of this date, I have finished the outer edges of the sleeves and hems of both the underdress, and the overdress... and I have embroidered the two leaves for the leaf collar, and sewn in the leaf collar... Some of the photos are will the Alternate Arch Belt, and some are with a scrap of dupioni used as a temporary sash, to jet an idea what it would look like with the dupioni sash... Also, I've got some photos with the buttons I will be using, just pinned in, to get an idea how that will look...
So... Here follow the new pictures... All pictures can be clicked for larger, higher resolution images...
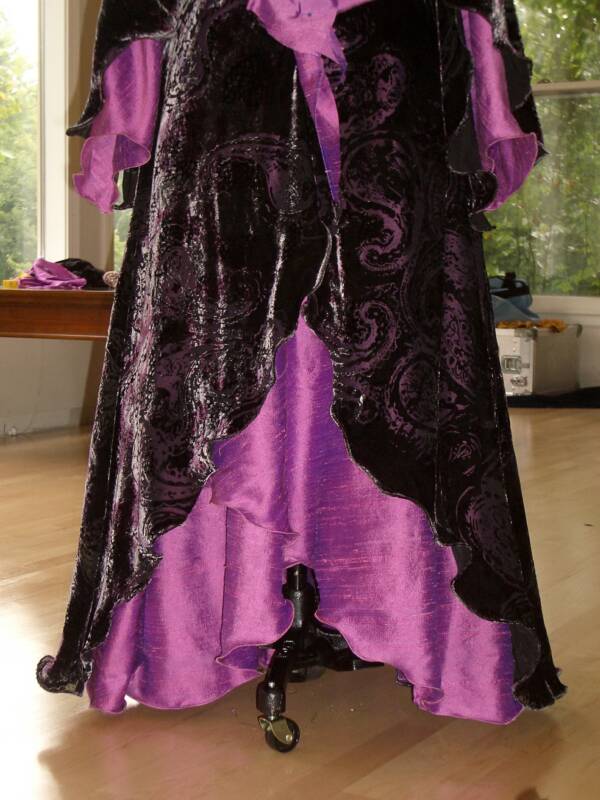
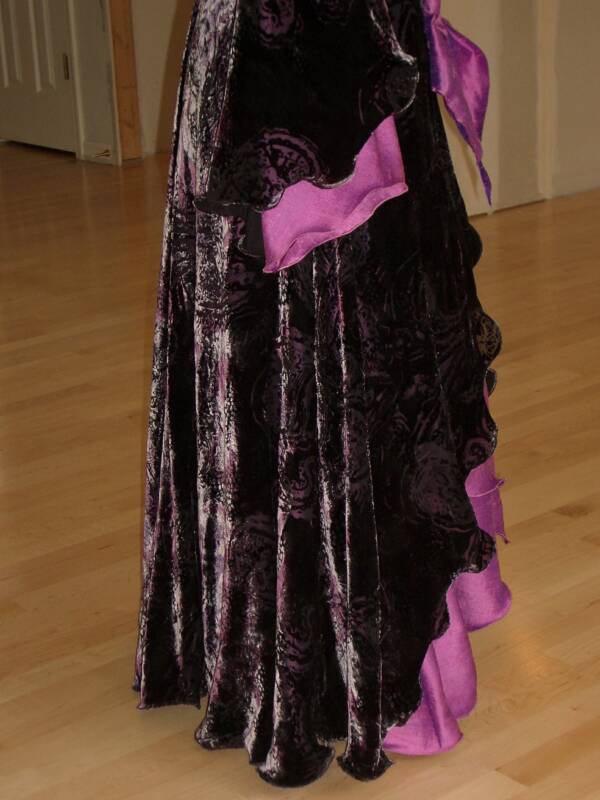
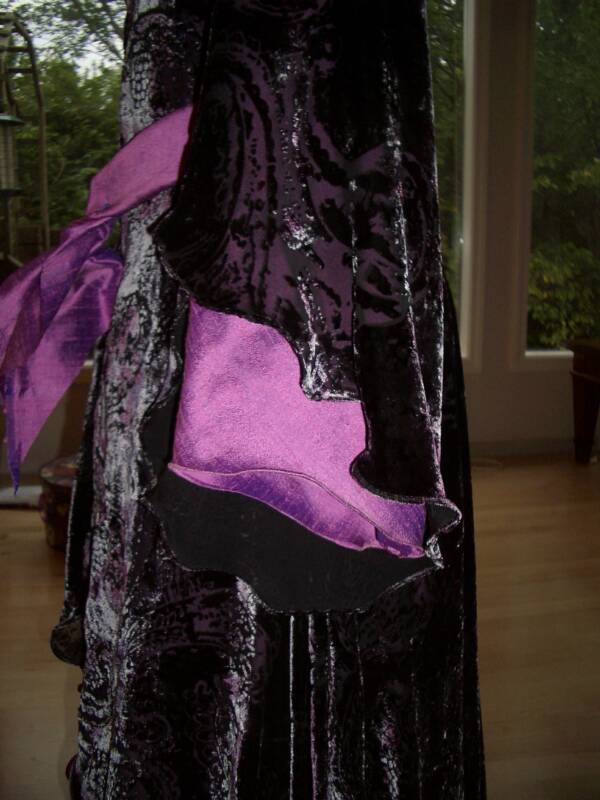
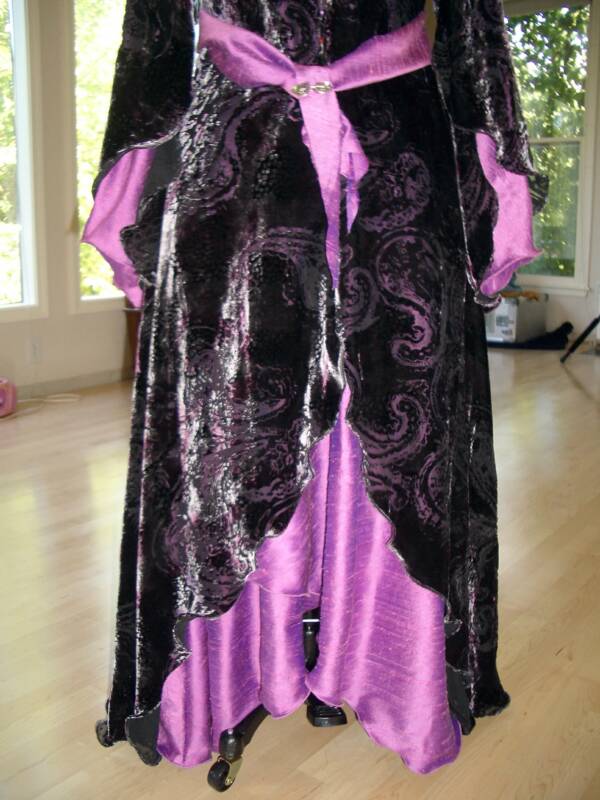
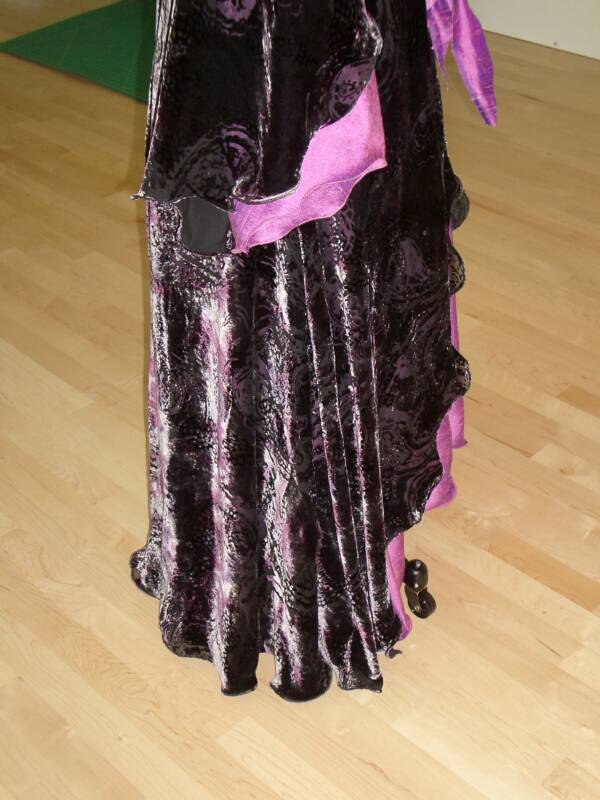
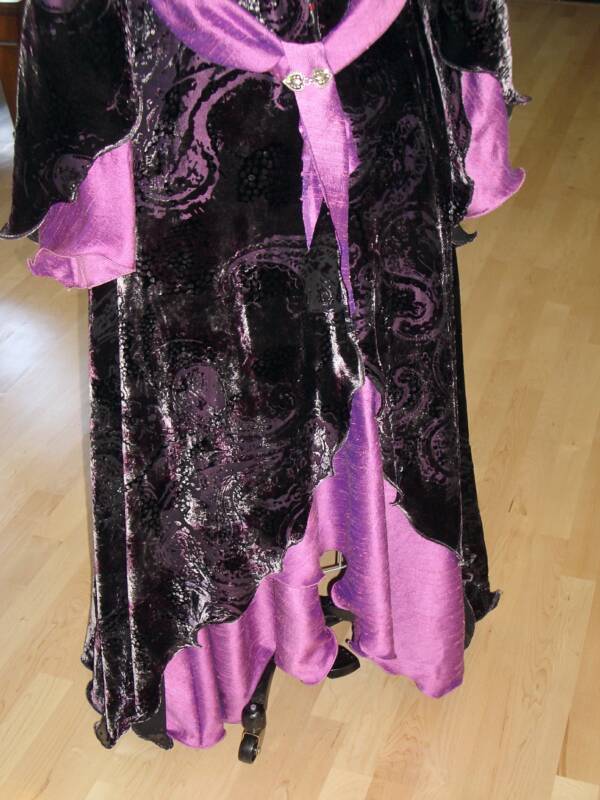
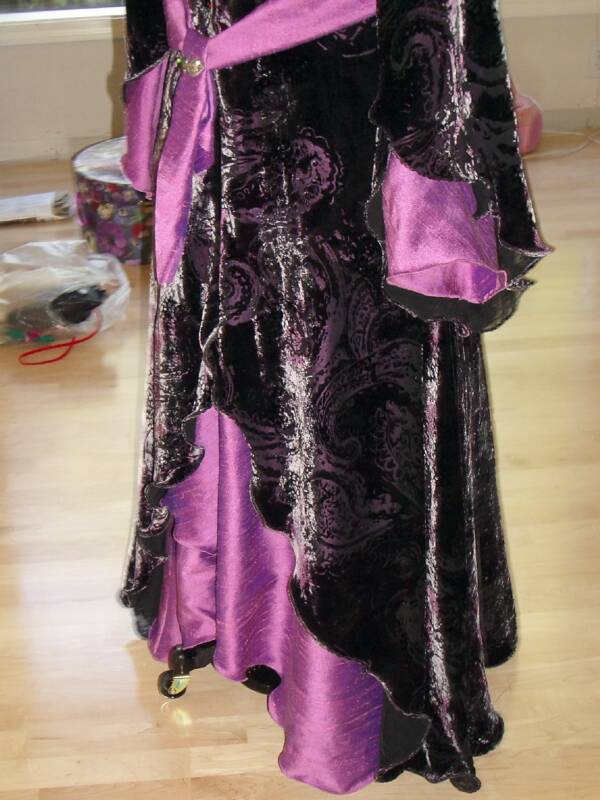
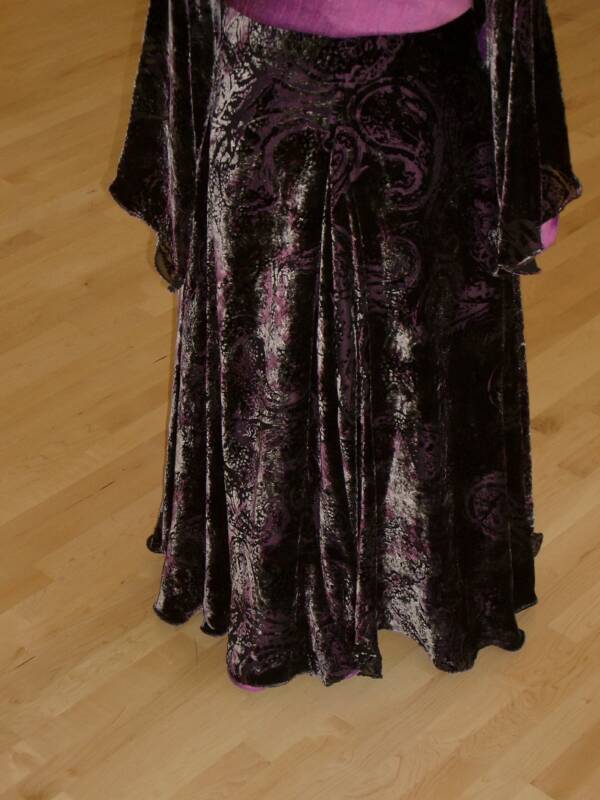
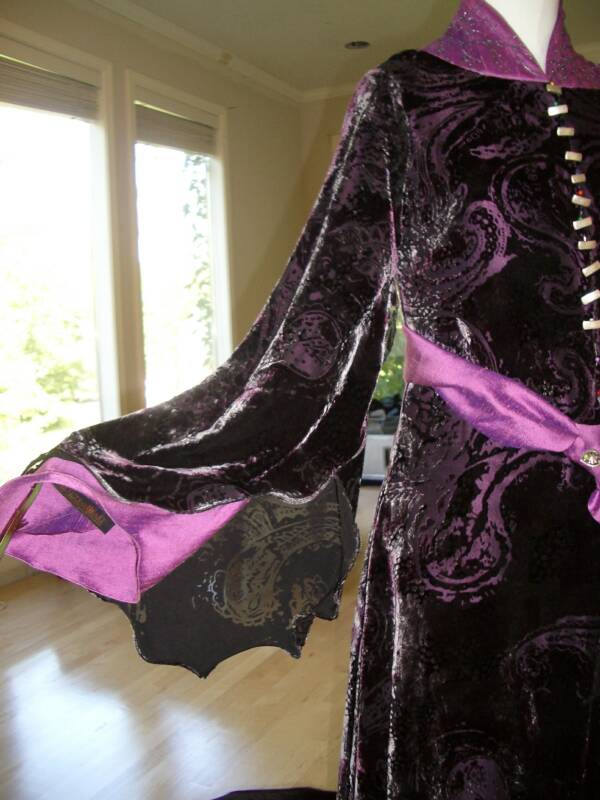
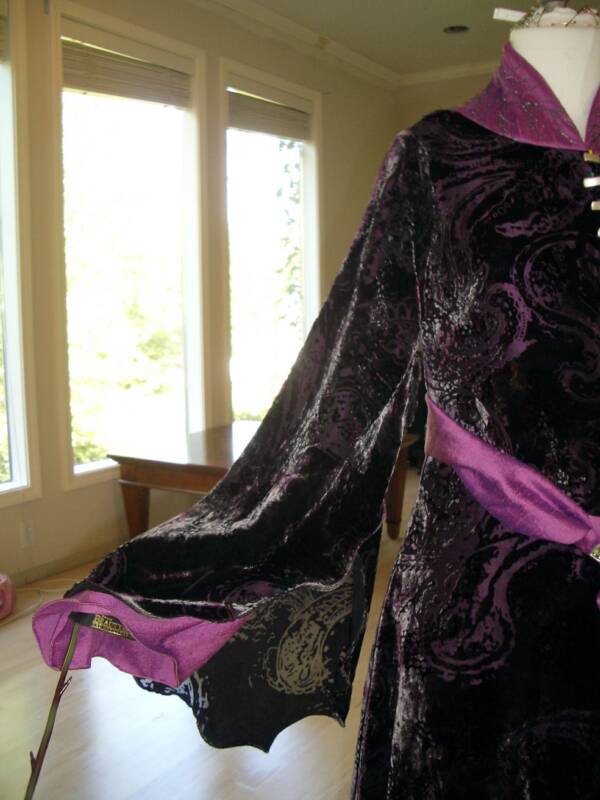
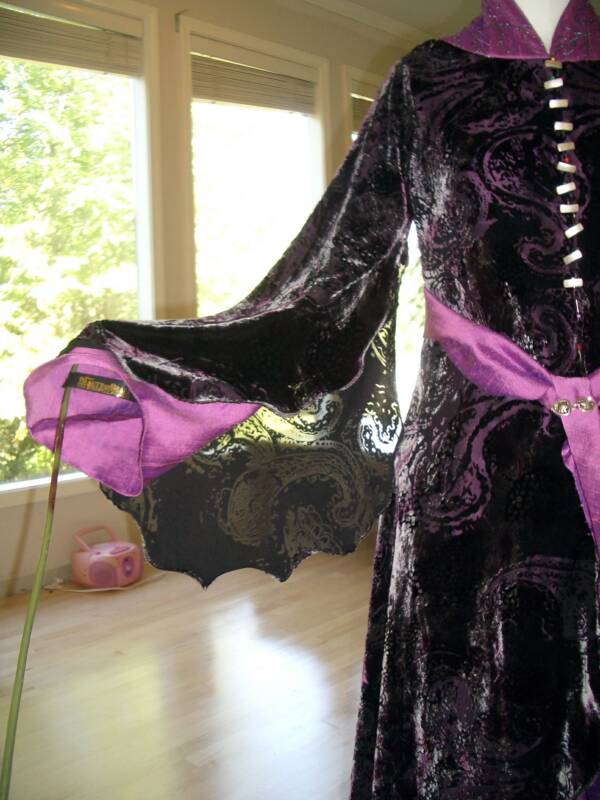
Finished Edges of the Sleeves and the Hemline...
I used my favorite finishing technique... Using my rolled-hem foot with a zig-zag stitch, creating that wavey effect... The sash at the waist is Not ready... I just used a bit of scrap to see how the dress will look with a sash made from the dupioni... ;)
JoJo approves! ;)
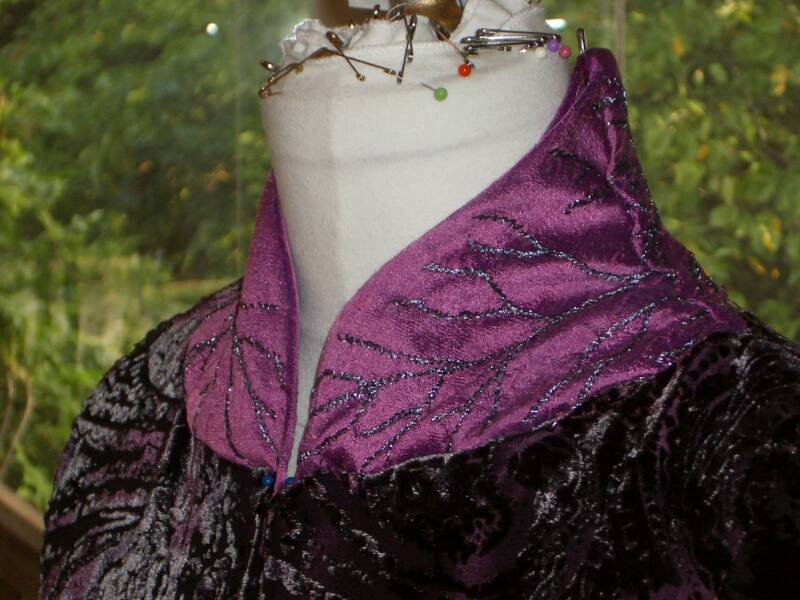
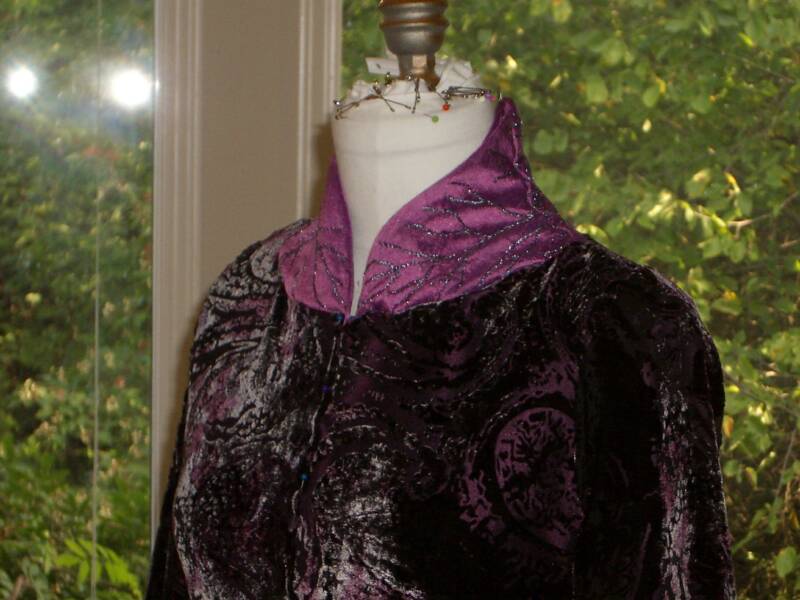
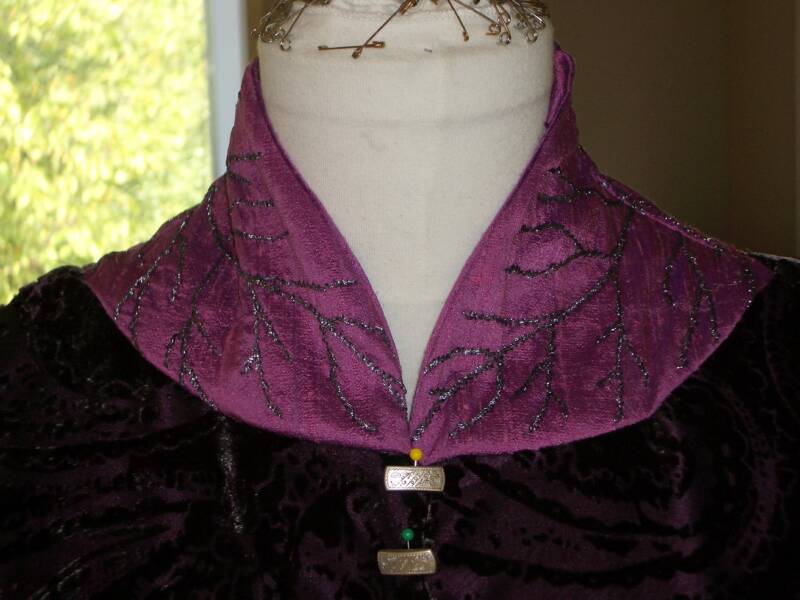
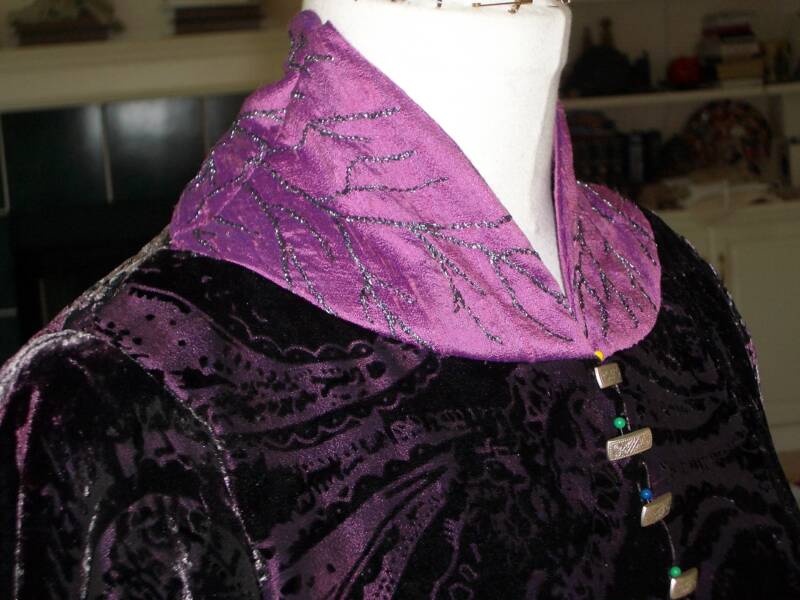
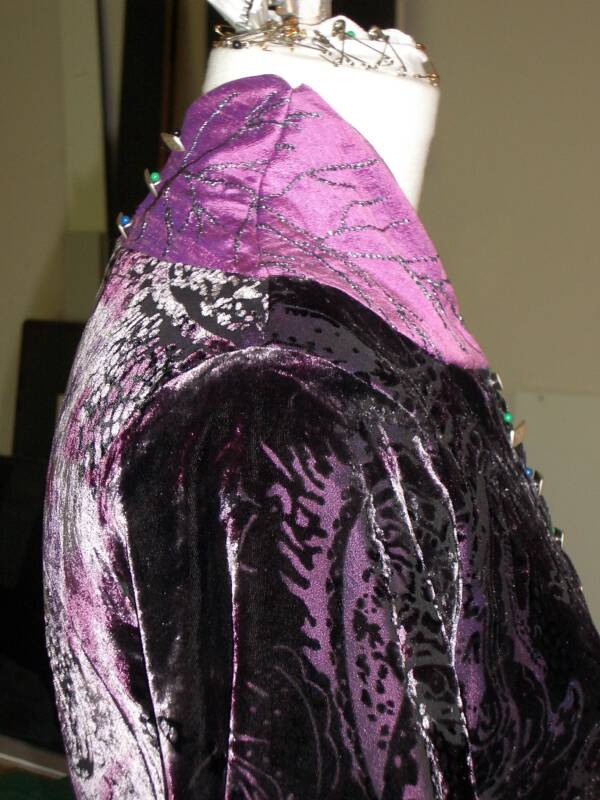
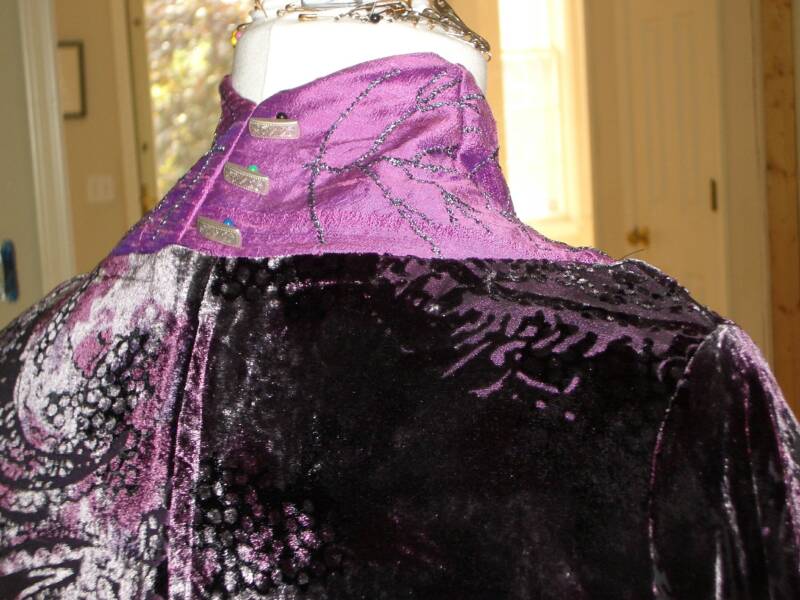
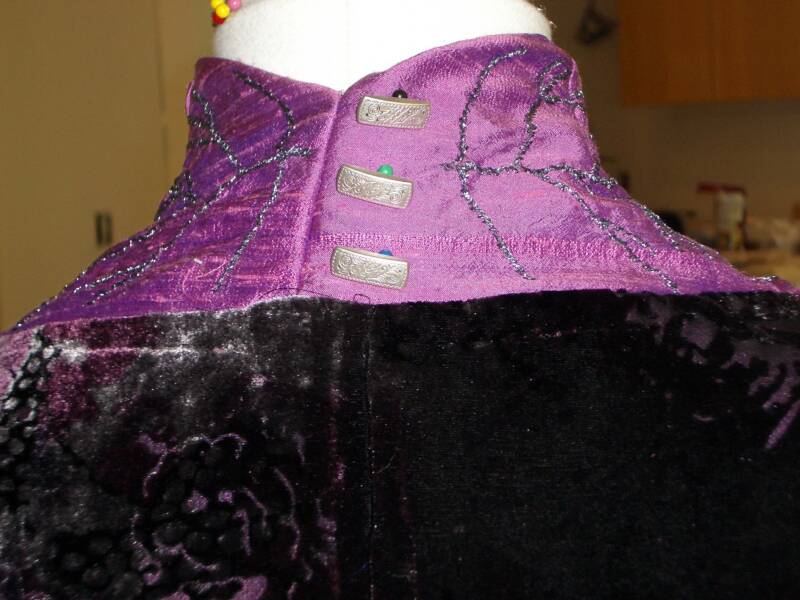
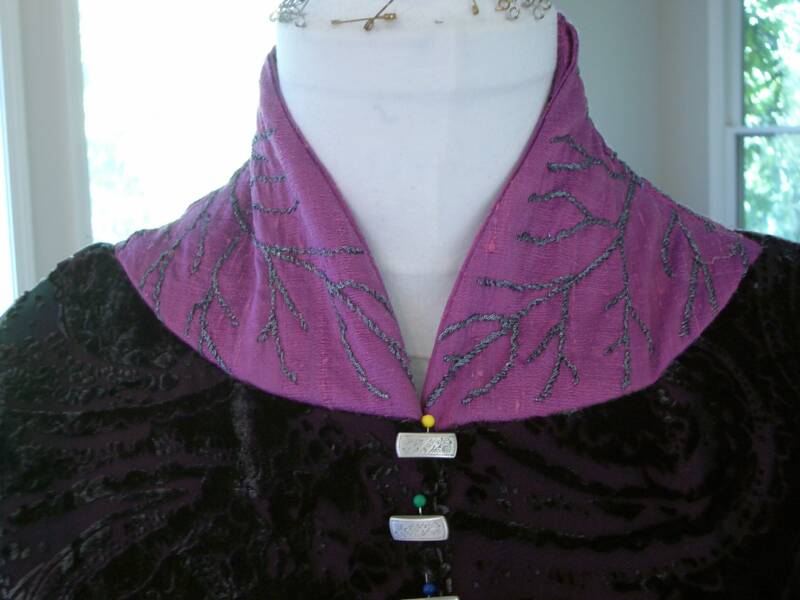
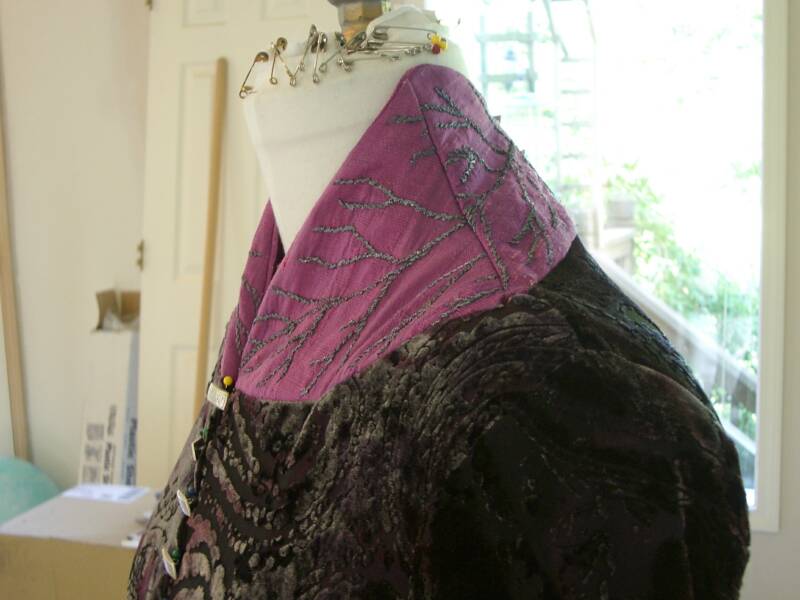
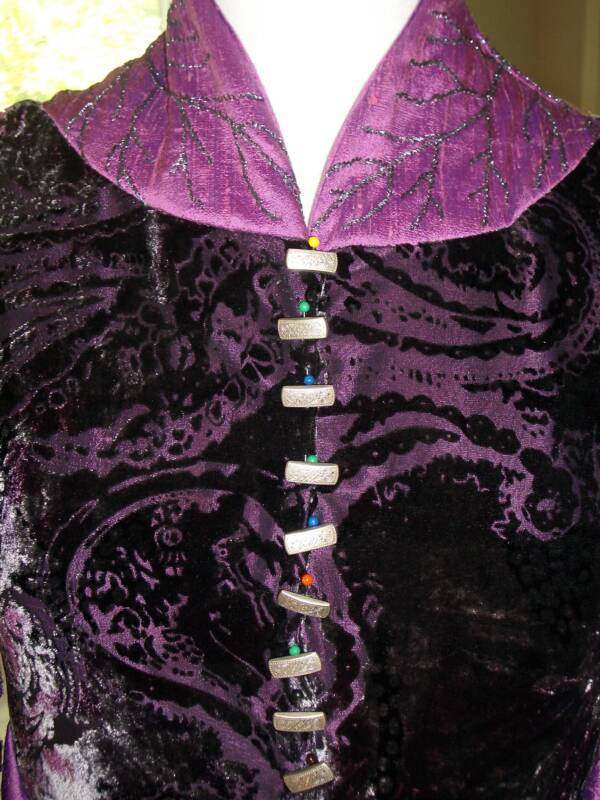
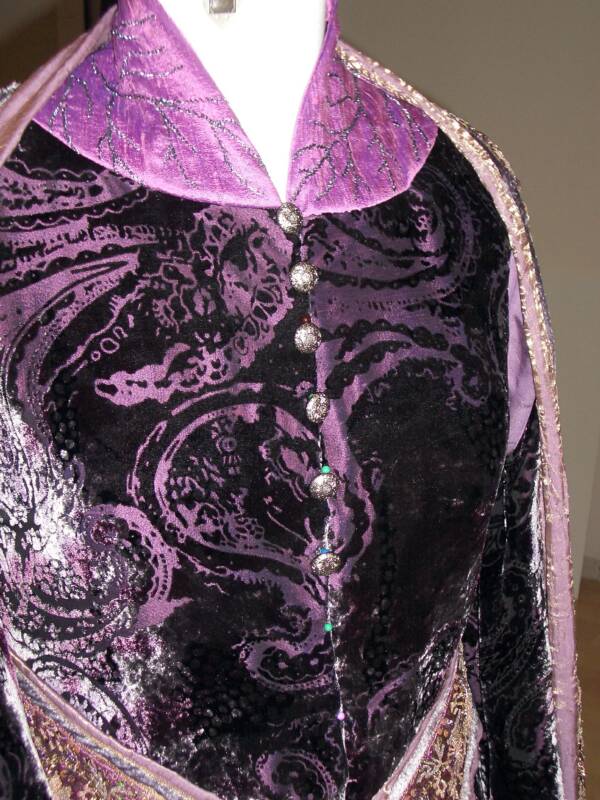
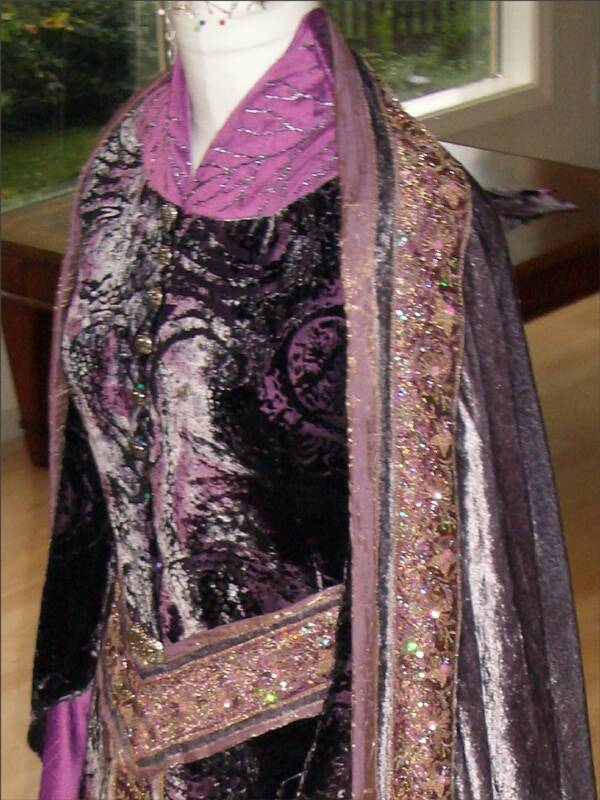
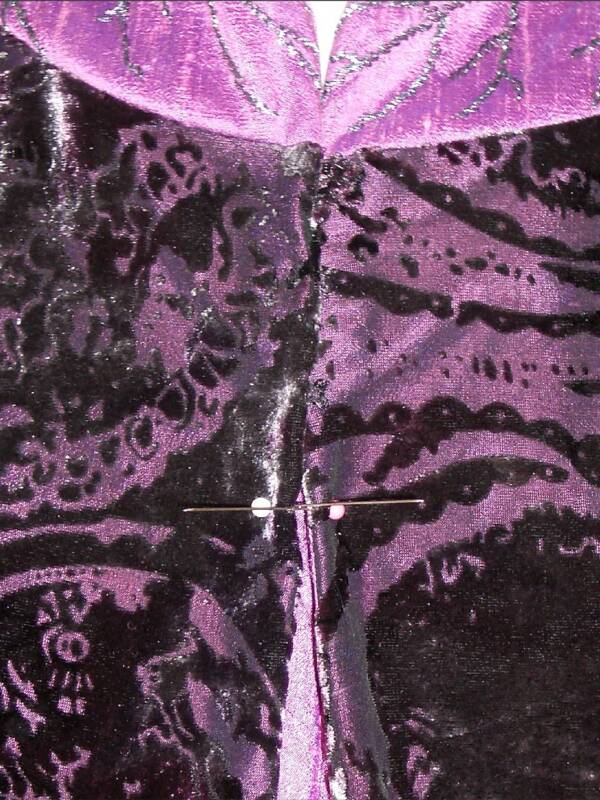
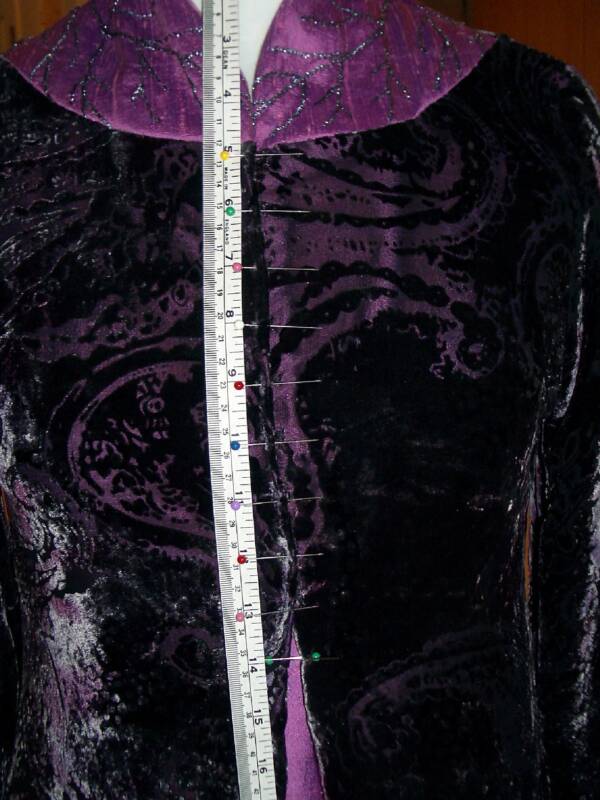
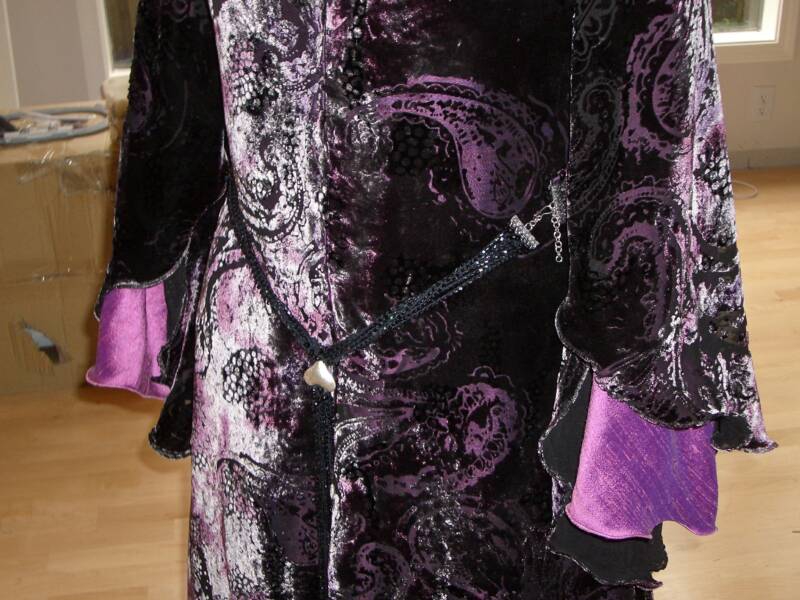
The Collar
In these next few photos, the collar is merely pinned in...
I used a silver/black embroidery floss, and stem-stitched the veins of the two leaves comprising the collar... Each leaf, or 1/2 collar, took one day to embroider... then, I cut out the pattern, and pinned the collar pieces into the overdress...
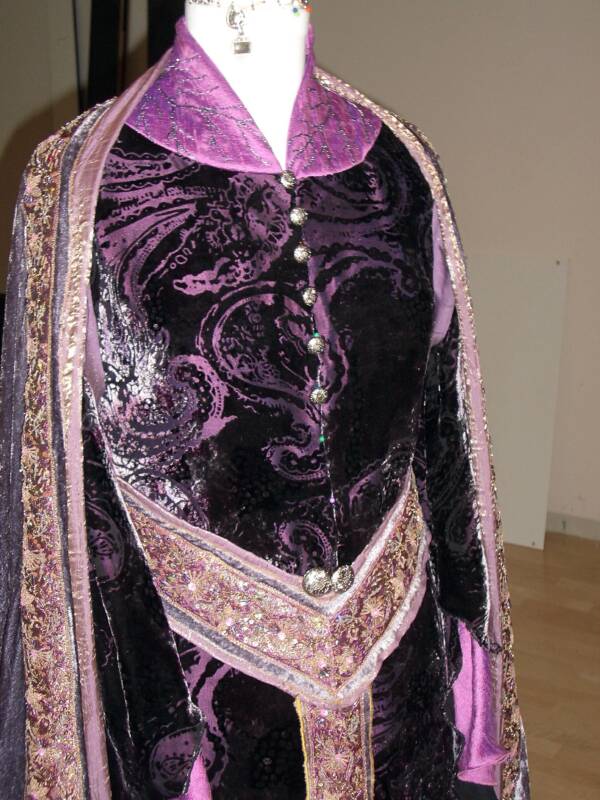
Now, in these next photos, the collar is sewn in... I had to tweak things a little, and some of the veins do not line up like I thought they would, so I plan on adding a little bit of embroidery stitching to get the lining of the veins back on track! (I know a way in! ;)
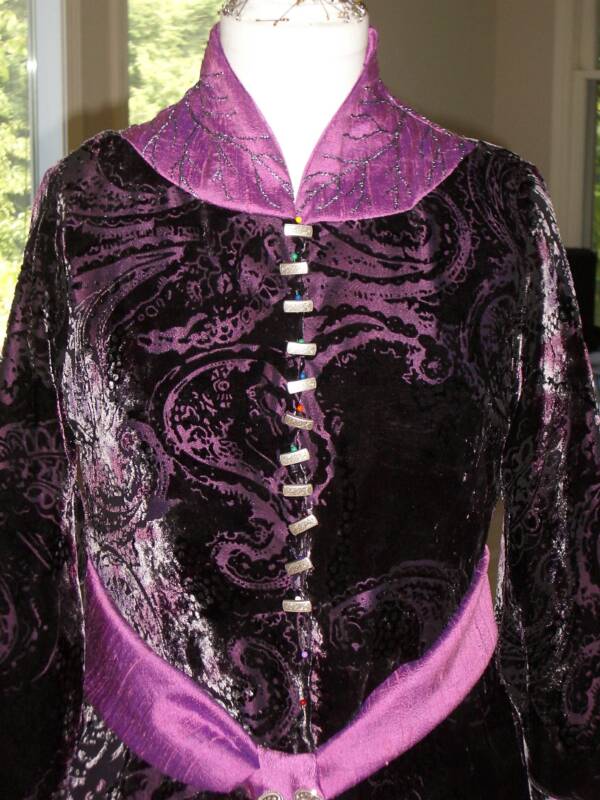
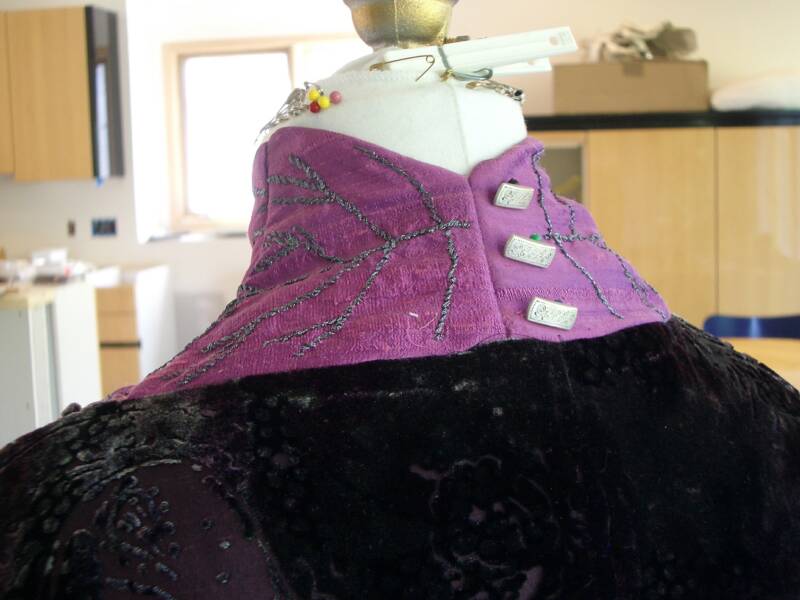
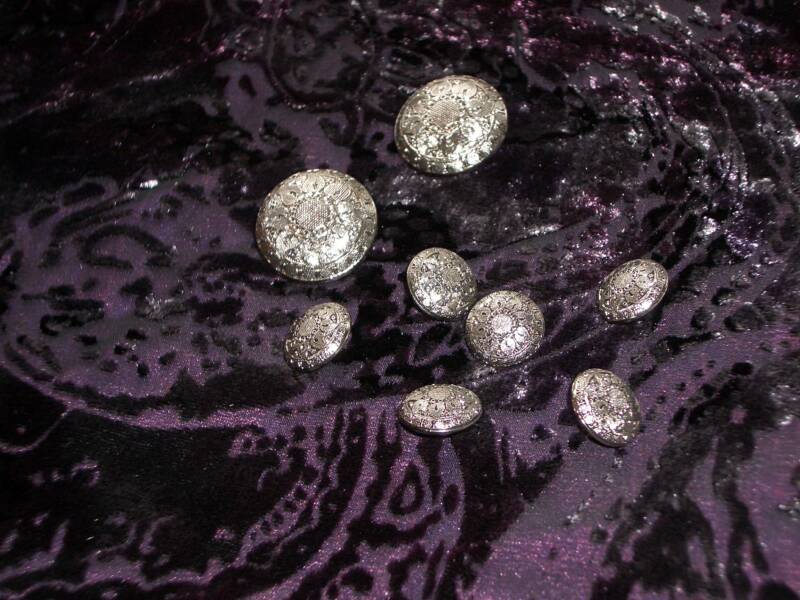
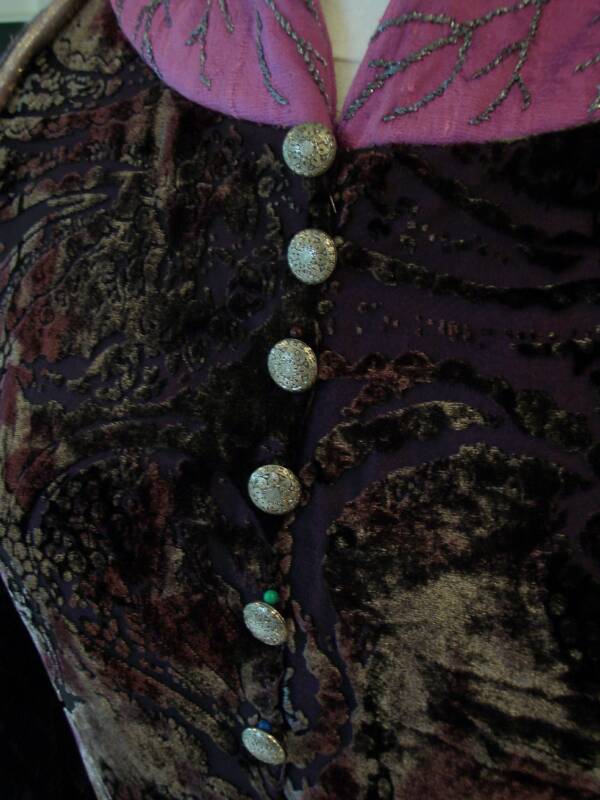
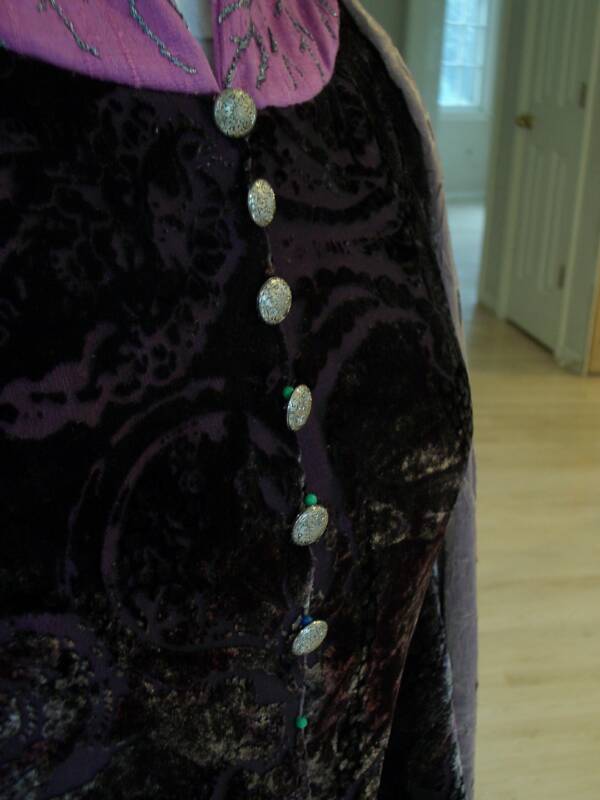
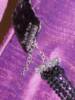
The buttons I thought I would be using are pinned into the gown here... I've been collecting them from JoAnns... I still need at least five more... But, while going to pick these up today, I found another button style that suits the gown better... ! Again, there are not enough of these buttons in stock, so I have to collect them as they are re-stocked... Why does this store only stock six to nine buttons at a time? "grumble... mutter..."
And I used a bit of scrap dupioni to simulate the sash...
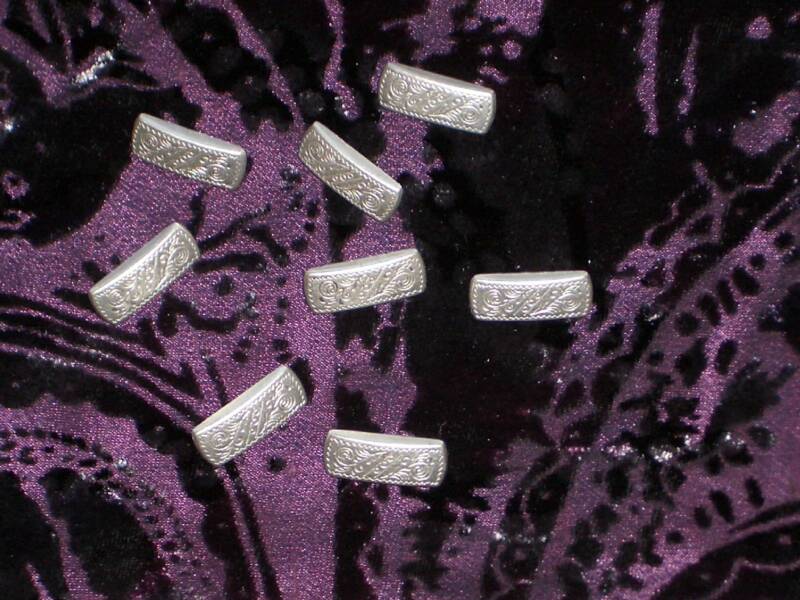
The Buttons...
I thought I had settled on these, but looking at them pinned into the gown, I think they are too bright, big, and angular... So, I've changed my mind, and I've found the buttons I am certain will look much better... They antiqued silver, smaller, and round, and they tie in much better with the dark shades and the embroidery floss... So, a close look at the buttons I thought I'd be using, (Photos on the left) compared to the ones I will use (Photos on the right...).
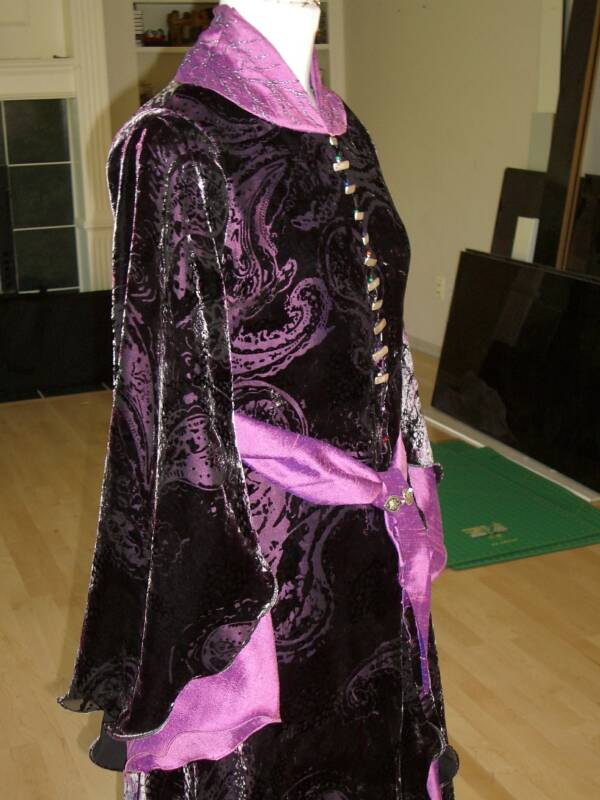
Sleeve Details...
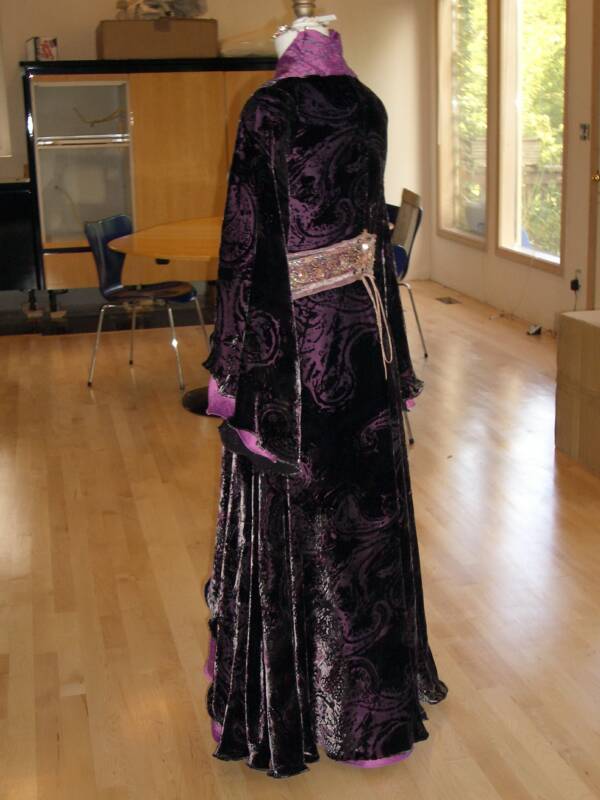
General Progress Photos ...
The smaller buttons I'll use down the center front of the overdress, and in the back of the collar... I thought I'd use the large ones in the sash, but found something better...
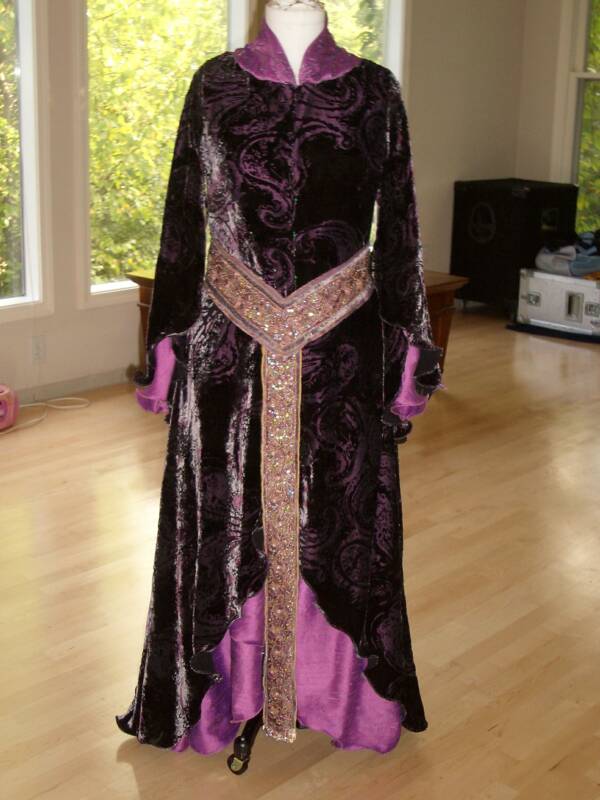
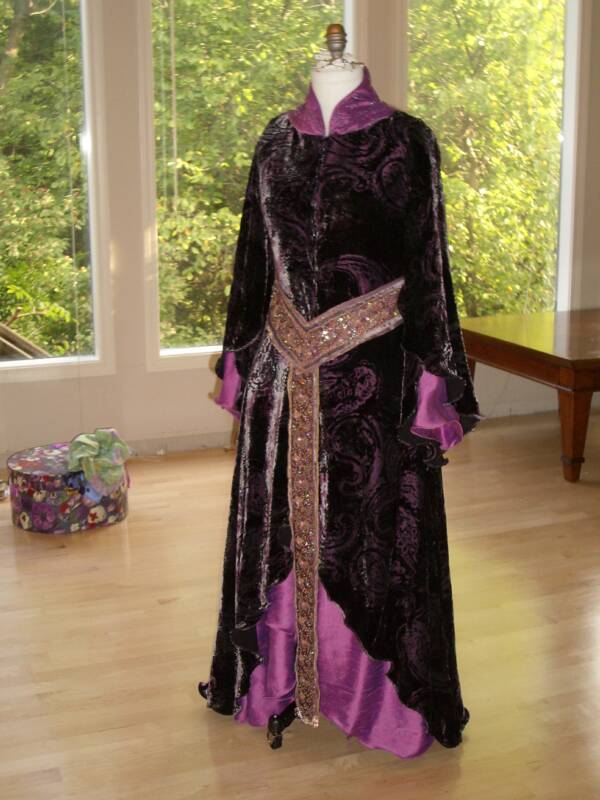
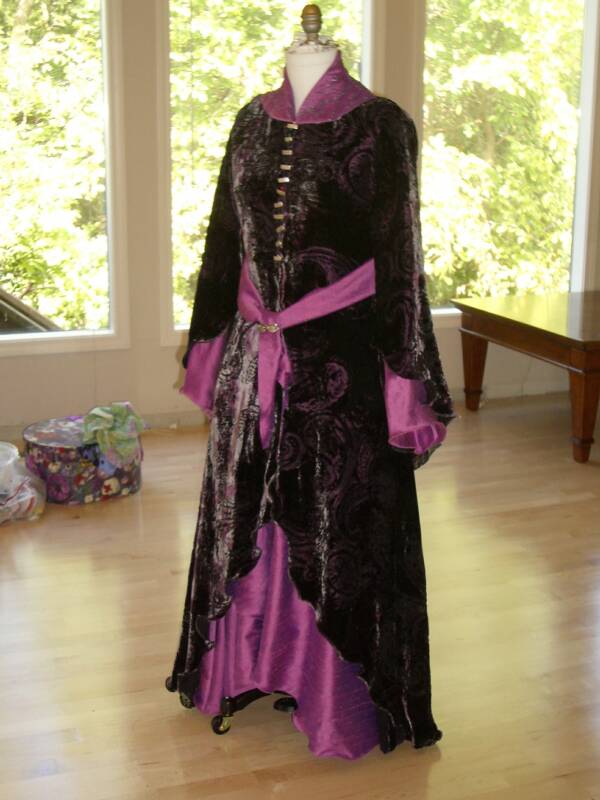
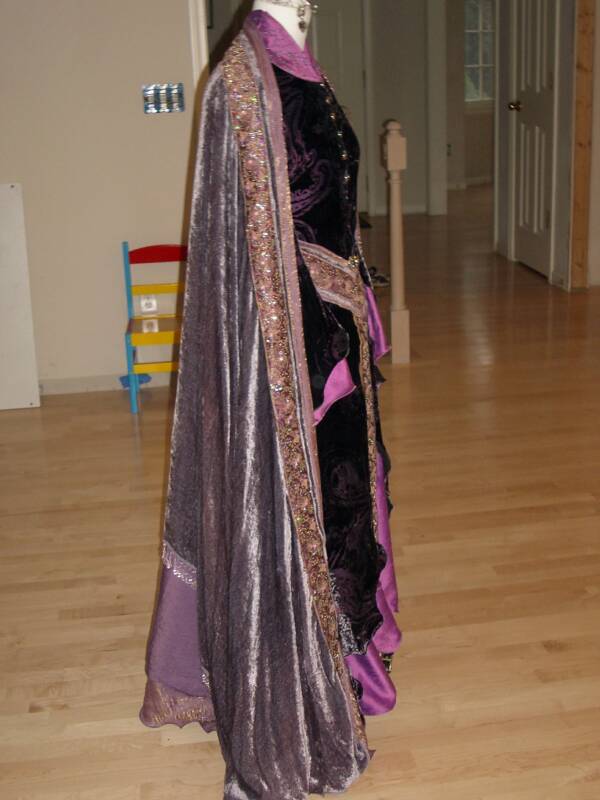
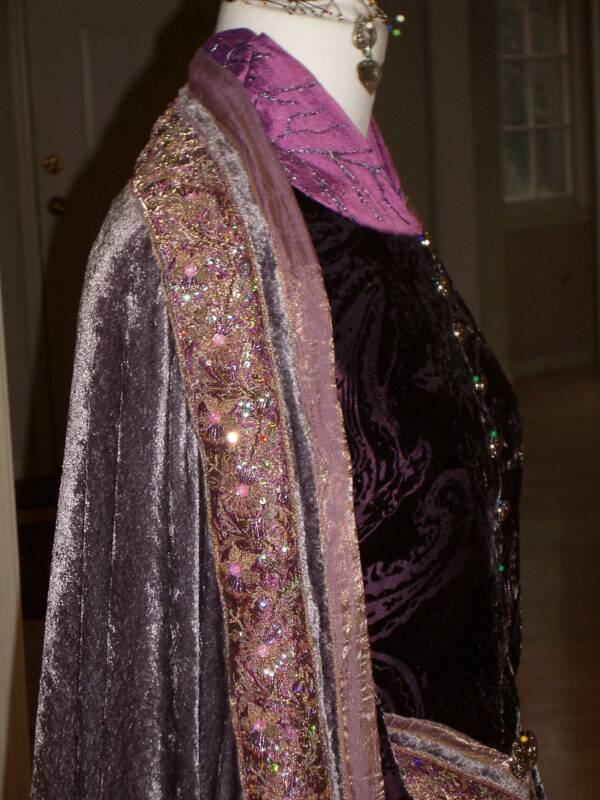
Here are some photos of the gown with the Arch Mantle and the Alternate Arch Belt... and the new first choice buttons I need to collect! ;)
I'm getting closer to finished!
Thank you for visiting!
September 29, 2005...
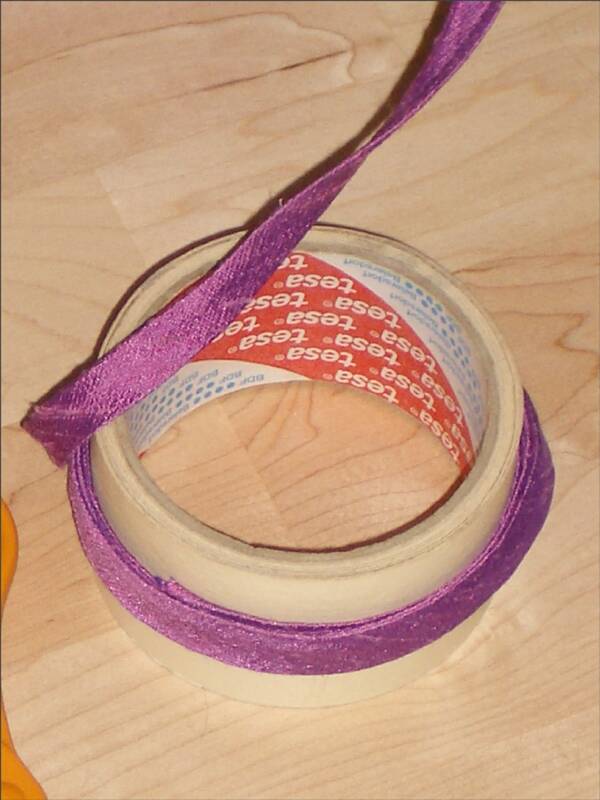
Silk Bias Tape...
Next, I made my own silk bias tape (a small tutorial of how I do this is on my LBG Construction Page)... and here are photos of the bias tape as I pinned it into the overdress...
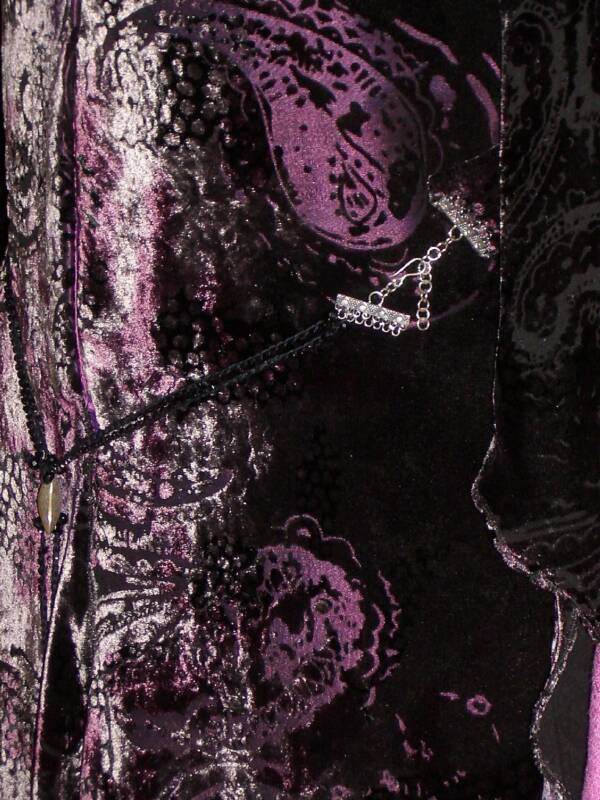
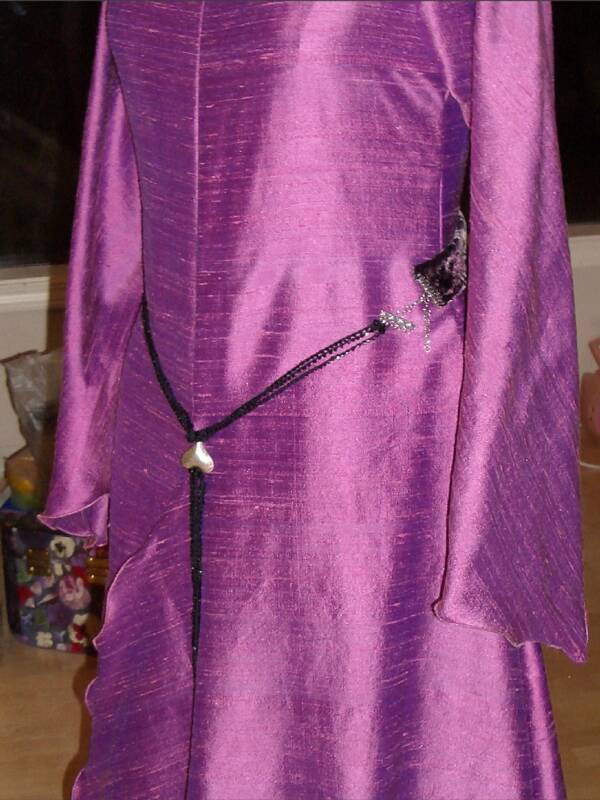
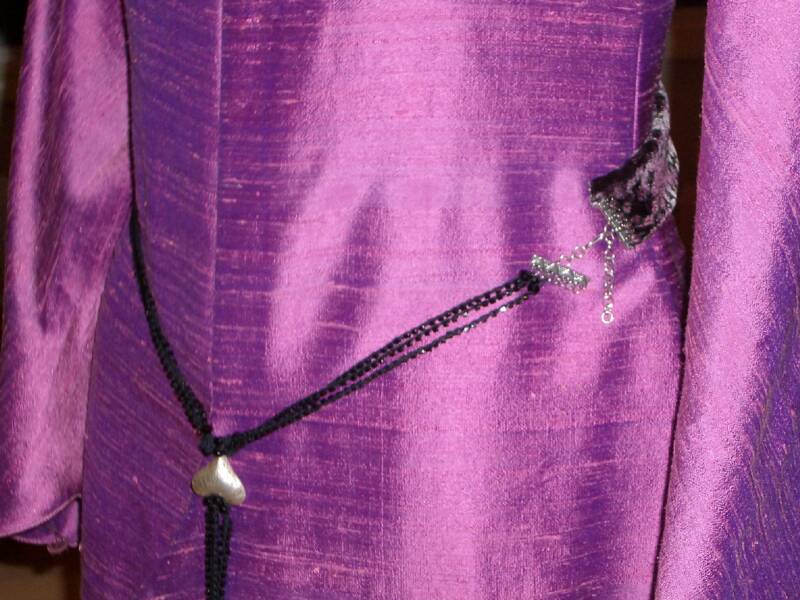
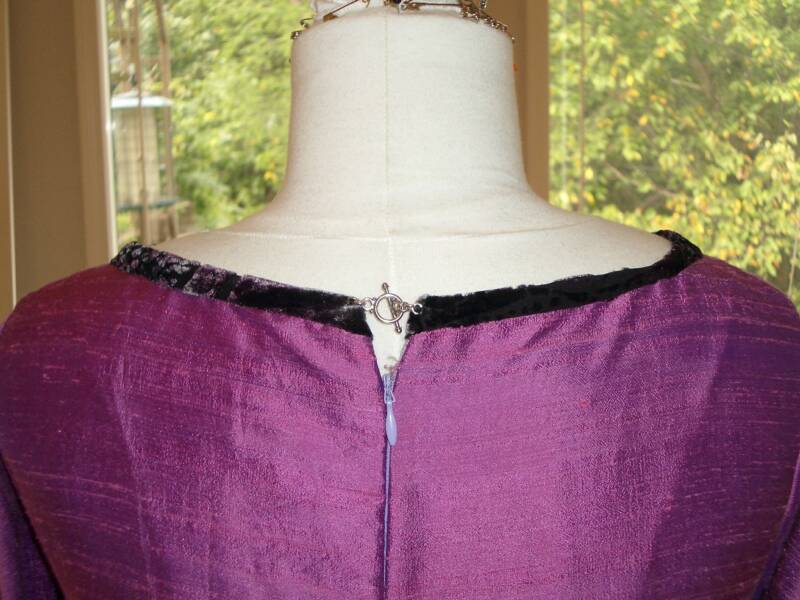
The Hooks & Eyes...
Here I have photos of how I put in the hooks and eyes, using pins to mark the spots, so I'd get them in straight and evenly spaced...
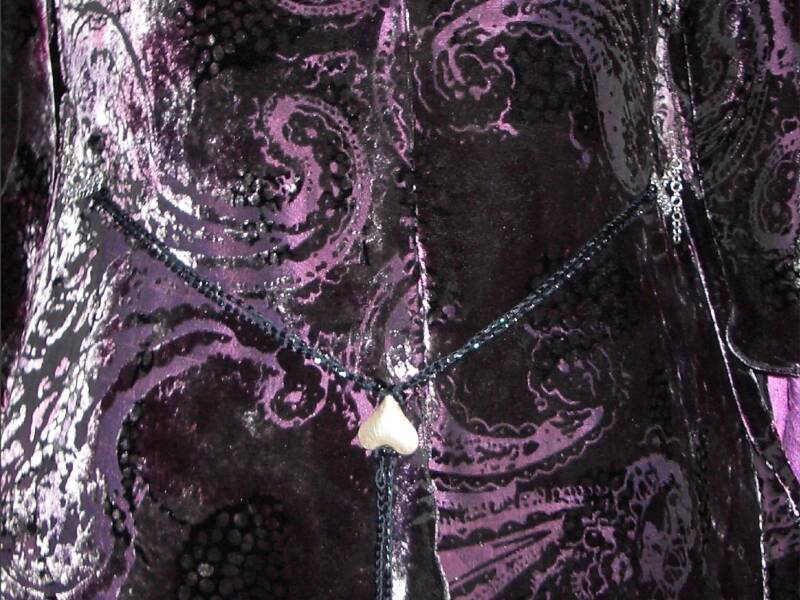
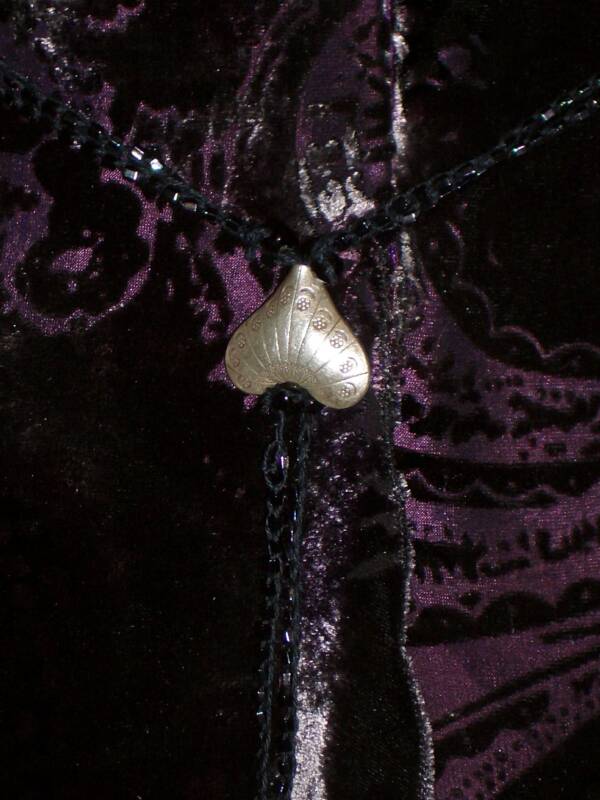
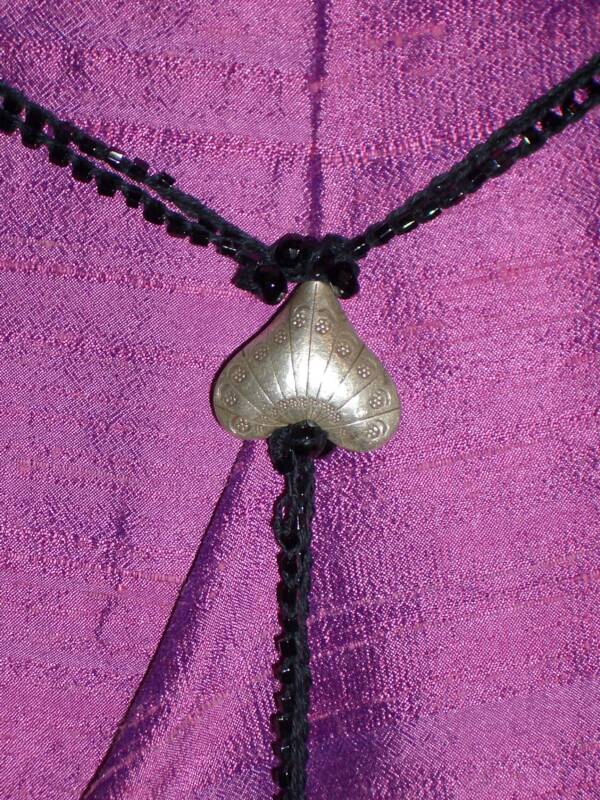
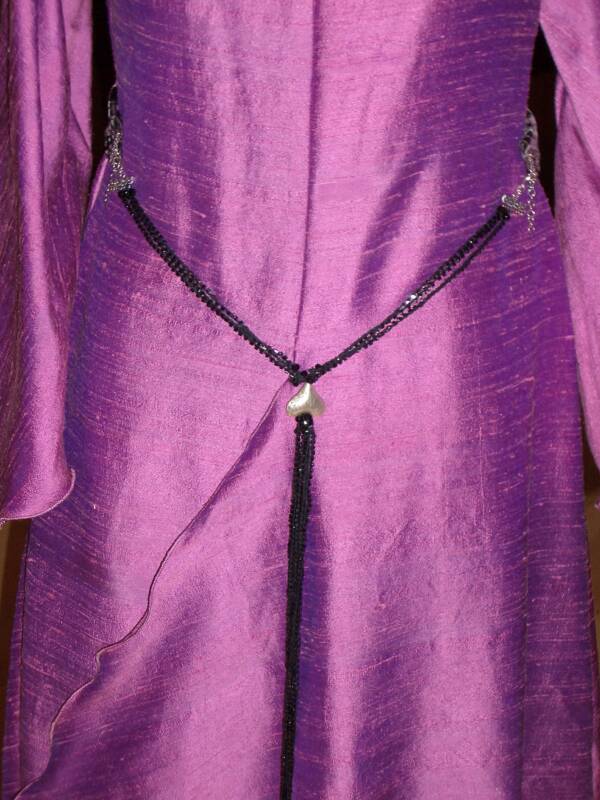
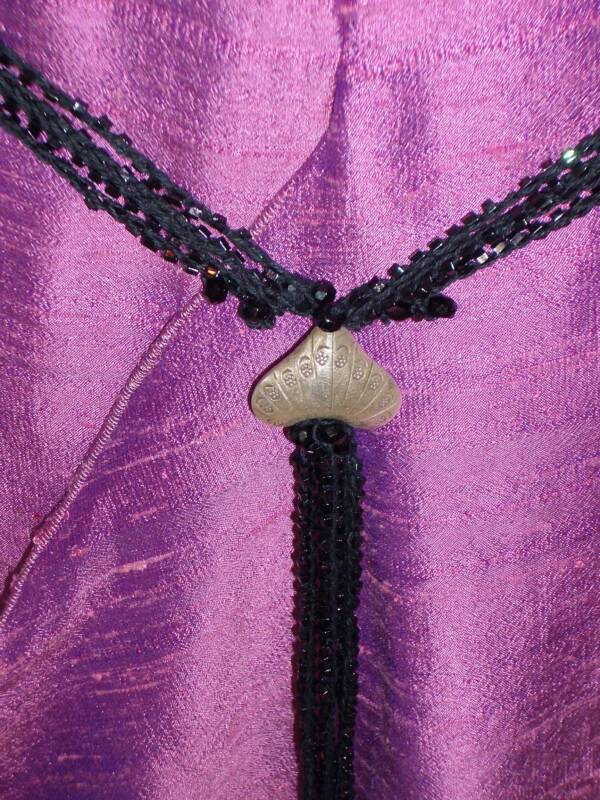
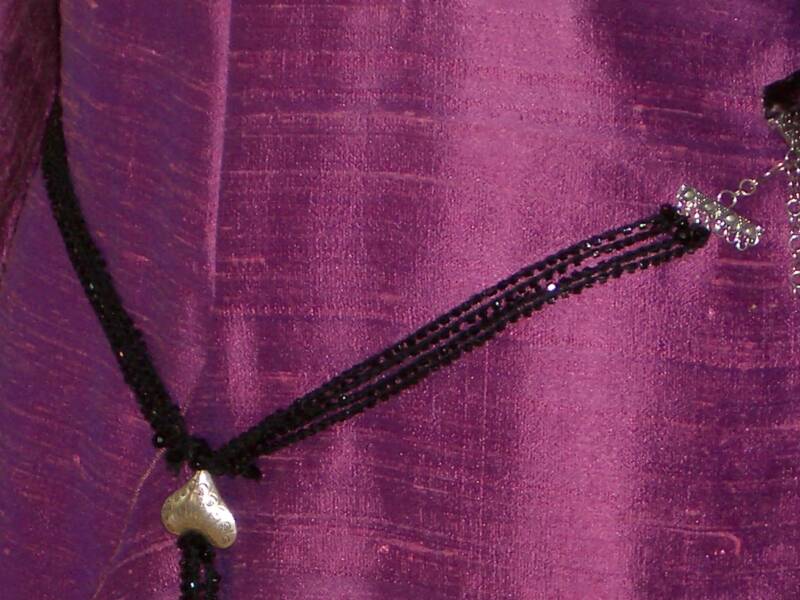
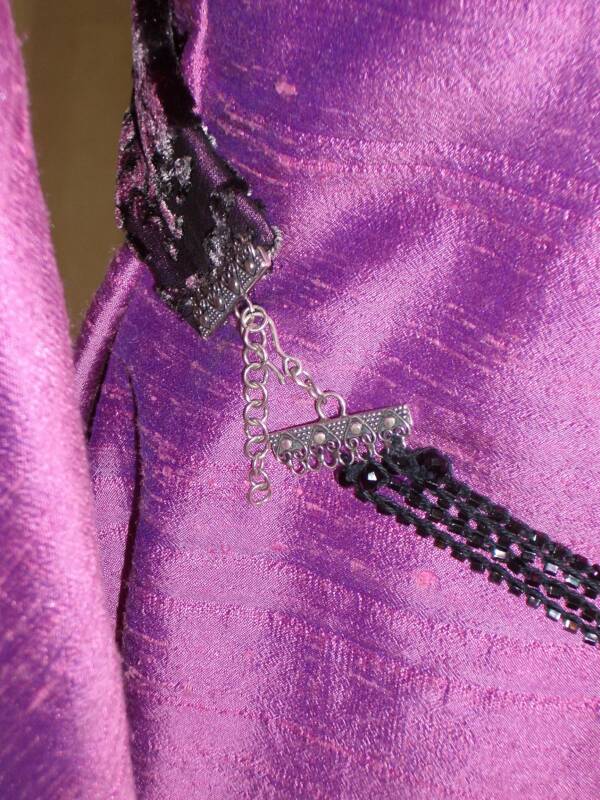
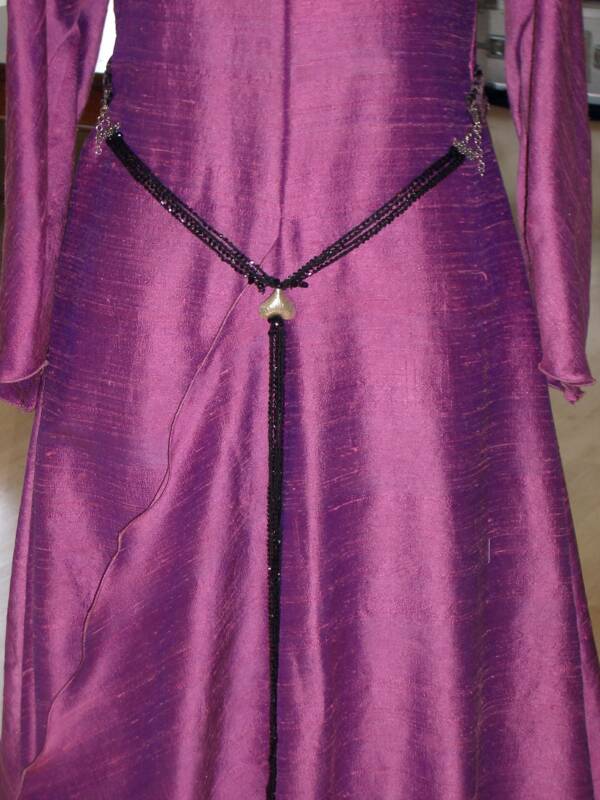
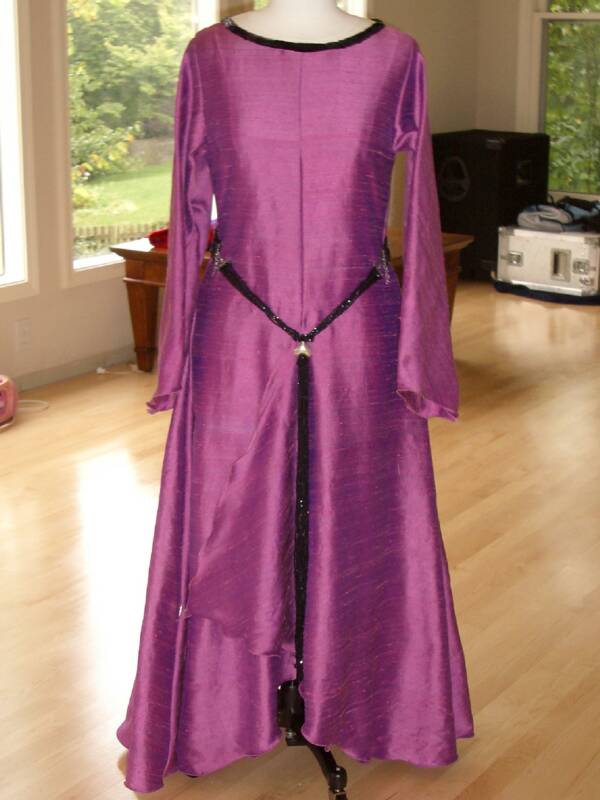
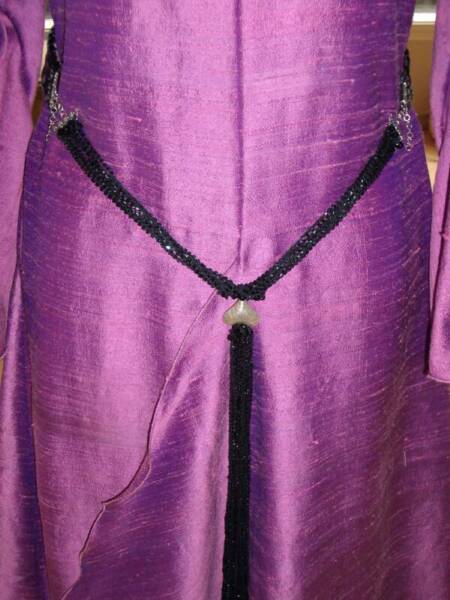
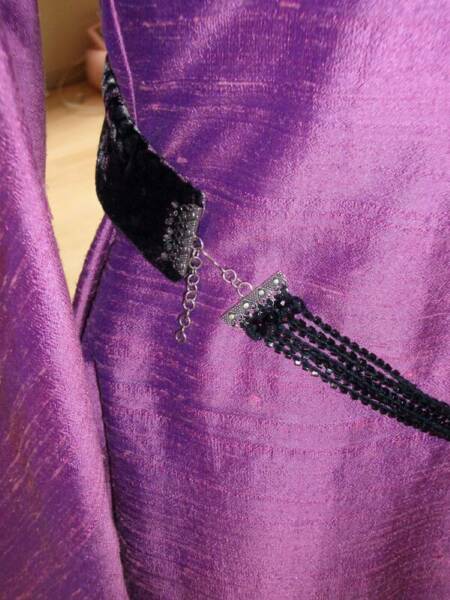
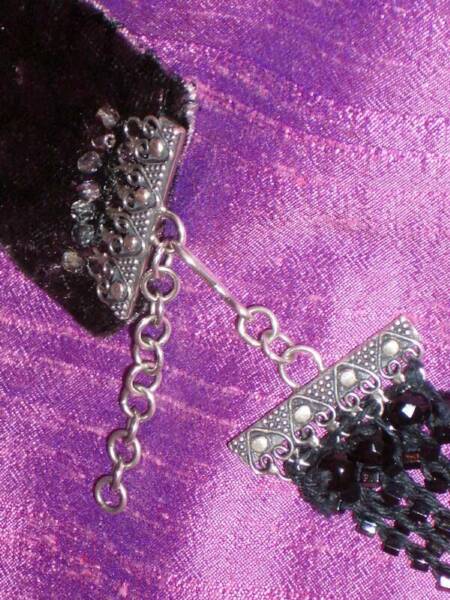
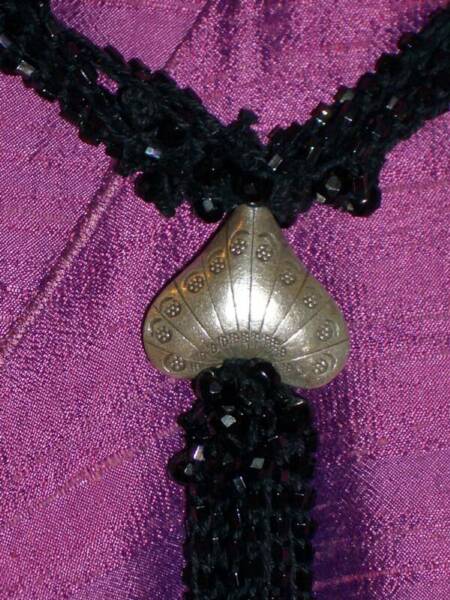
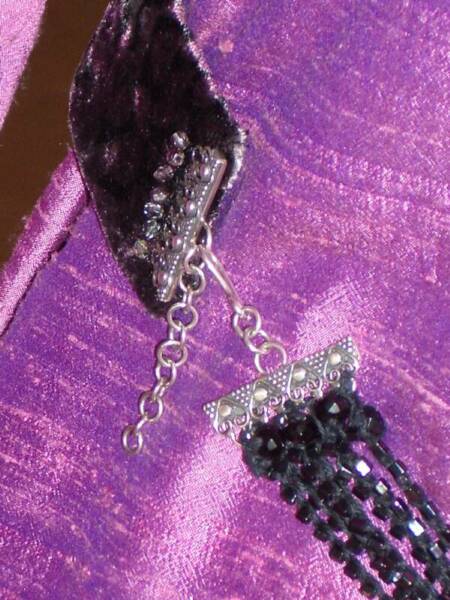
The Crochet Belt...
Like the Gold Arch Belt, I used chain stitched crochet strands... But this time I added a bead to every chain stitch... I did this by stringing the beads onto the yarn ball, and then crocheting the stitches, pulling up a bead with every stitch... There are seven strands of beaded crochet on each side of the belt, joined to a multi-strand silver finding... The yarn goes through the center silver piece in front at the drop waist point, and fourteen strands cascade down from that... Here are photos of the progress of constructing this belt!
Two Strands...
Three Strands...
The Back of the Crochet Belt...
Four Strands...
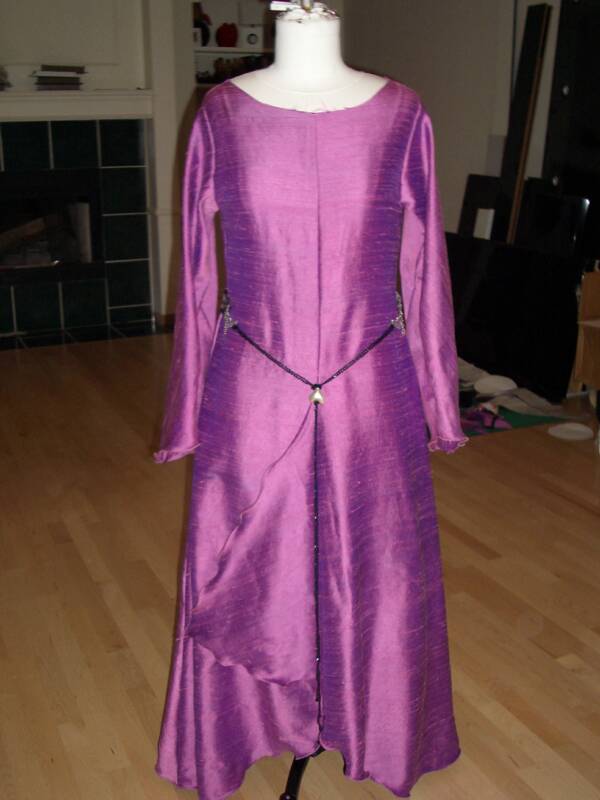
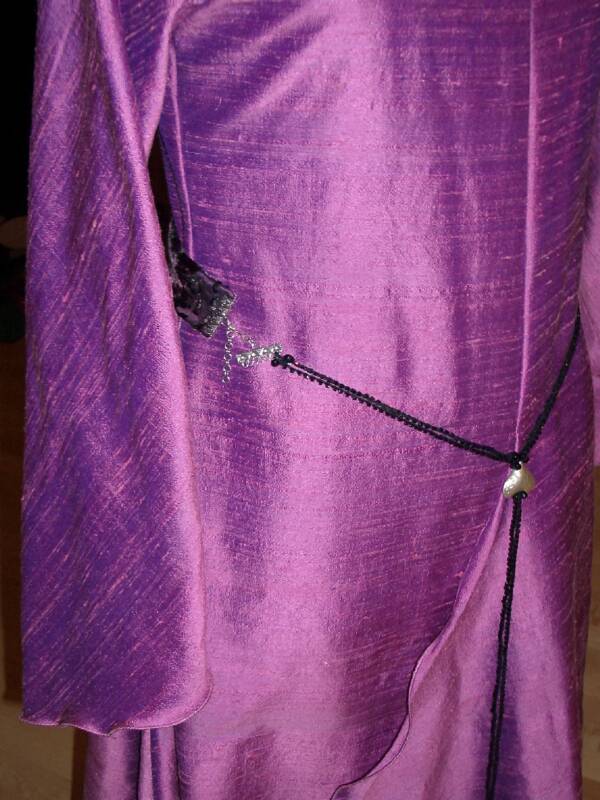
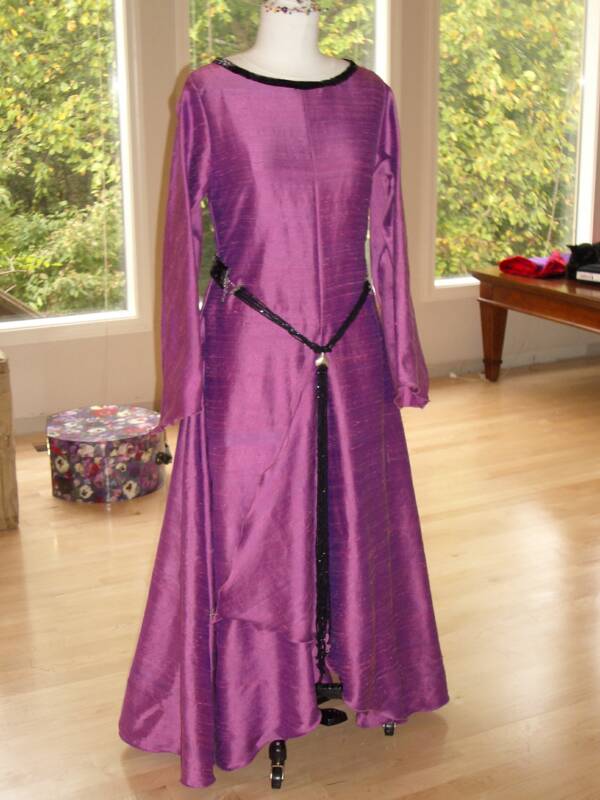
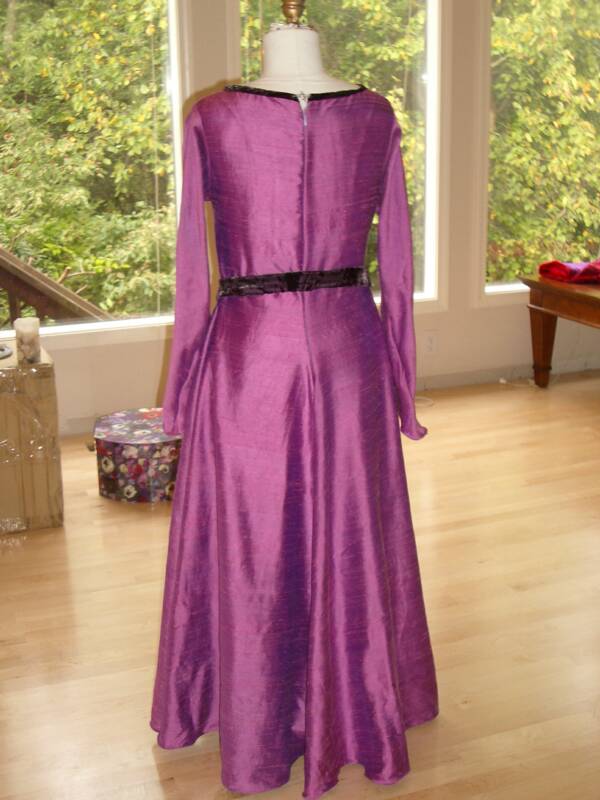
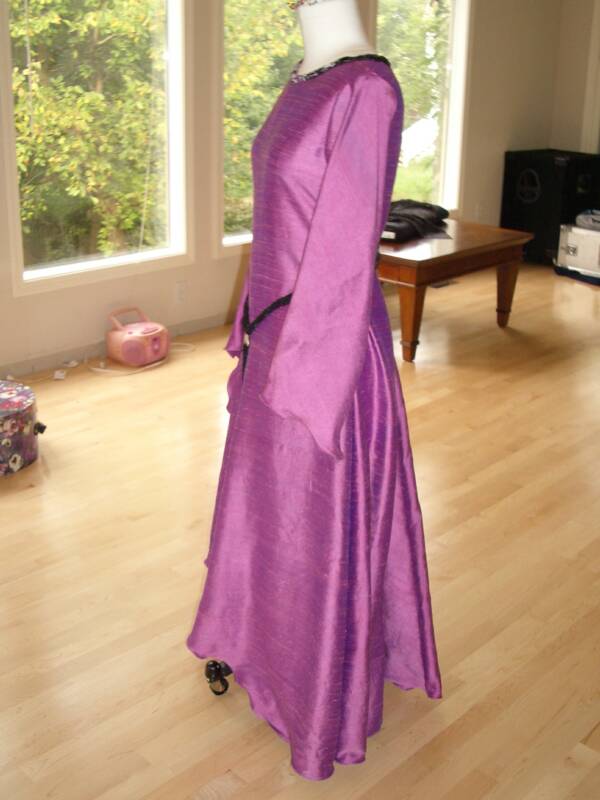
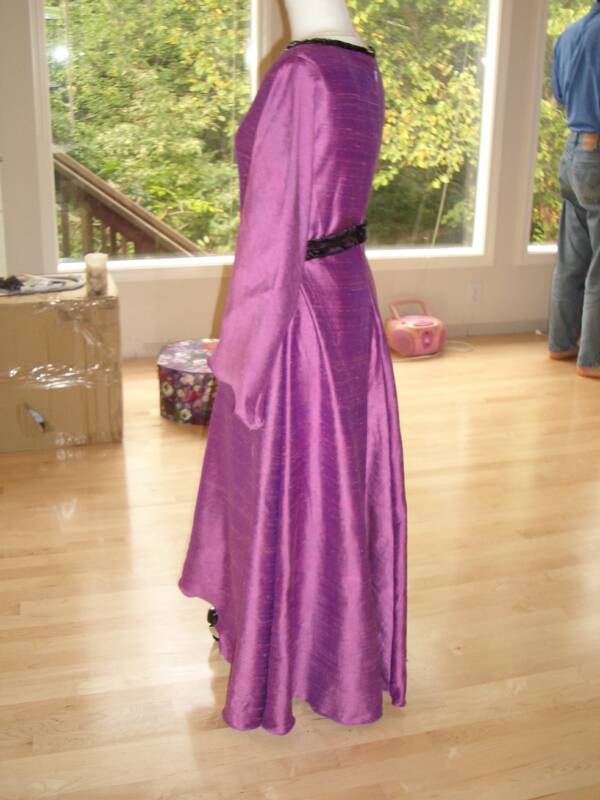
The Finished Underdress... With the Finished Crochet Belt...
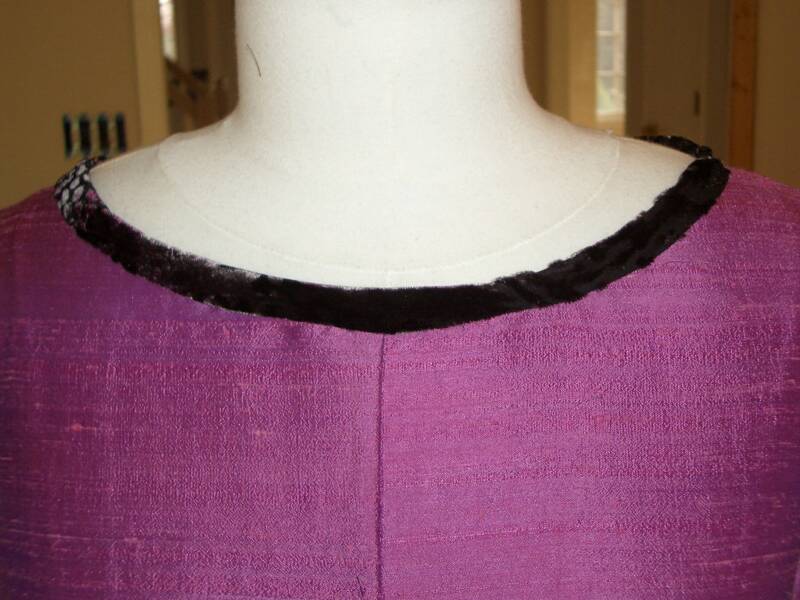
As I looked at the crochet belt on the underdress... I decided I liked the contrast of the dark and the violet, so I'd put the velvet in the neckline, instead of the dupioni bias tape, to get more of this contrast... Here are photos of the finished underdress, along with photos of the finished crochet belt...
Saying this undergown is finished may be premature... as I'm considering adding scrolling embroidery on the sleeves and around the neckline, reminiscent of Elrond's under-tunic... I will most-likely add this, because I enjoyed doing the leaf collar, and love the idea of having some hidden Elven embellishments...
Peter Jackson's visualization of The Lord of the Rings woke my latent passion for costuming and inspired me to learn to sew.
This page and its links reflect my best efforts in Lord of the Rings costuming.
Projects linking to their own pages are featured here. Click the links in the navigation bar to visit the individual pages, or scroll further below to the image links and see a quick overview of the costumes.
y
Nimrodel's River Gown
Construction Two
An Inspired Project
Welcome to Yvette's
Nearly ten years ago I set out to teach myself to sew, so that I could create inspired costumes such as those featured on my site.
I created this site to share what I've done. It launched August 18, 2004, and has been growing ever-since.
In addition to costume construction pages, there are pages featuring portraits of the costumes being worn.
Costuming is a hobby I love documenting, but I do not do commissions, nor do I sell patterns.
Please visit where your interests lead you, and enjoy.
y
The navigation on my site is under construction. I'll be getting the links set up page by page. In the meantime, please bear with me.