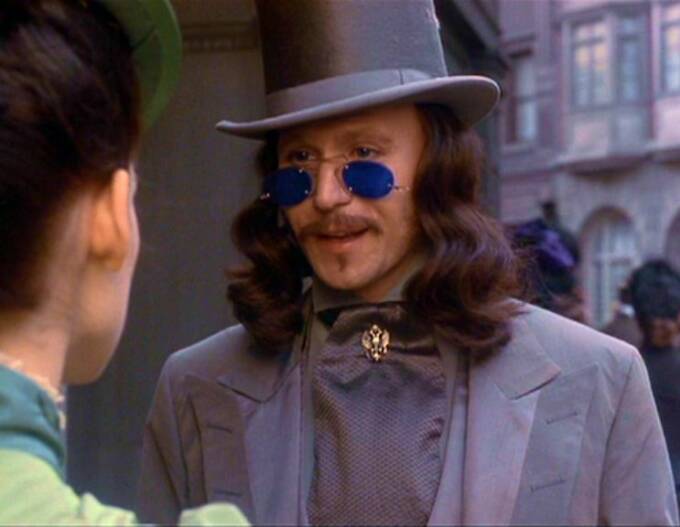
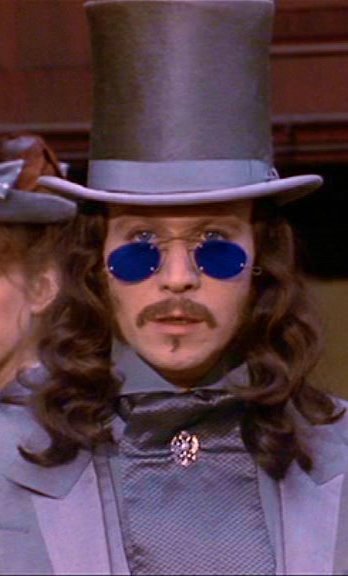
The newest project on my list will most likely be the next one I do. Young Dracula's Victorian Gray Suit, from Bram Stoker's Dracula...
I am currently shopping for Pince Nez glasses, and this is proving to be a very difficult task. In the meantime, my Prince already has a few items that we will use in this ensemble. They are not exact matches, but they fit the feel, and, considering I like to add my own personality, this is just par for the course.
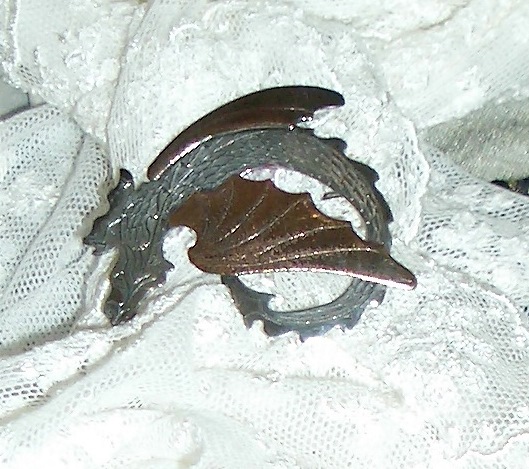
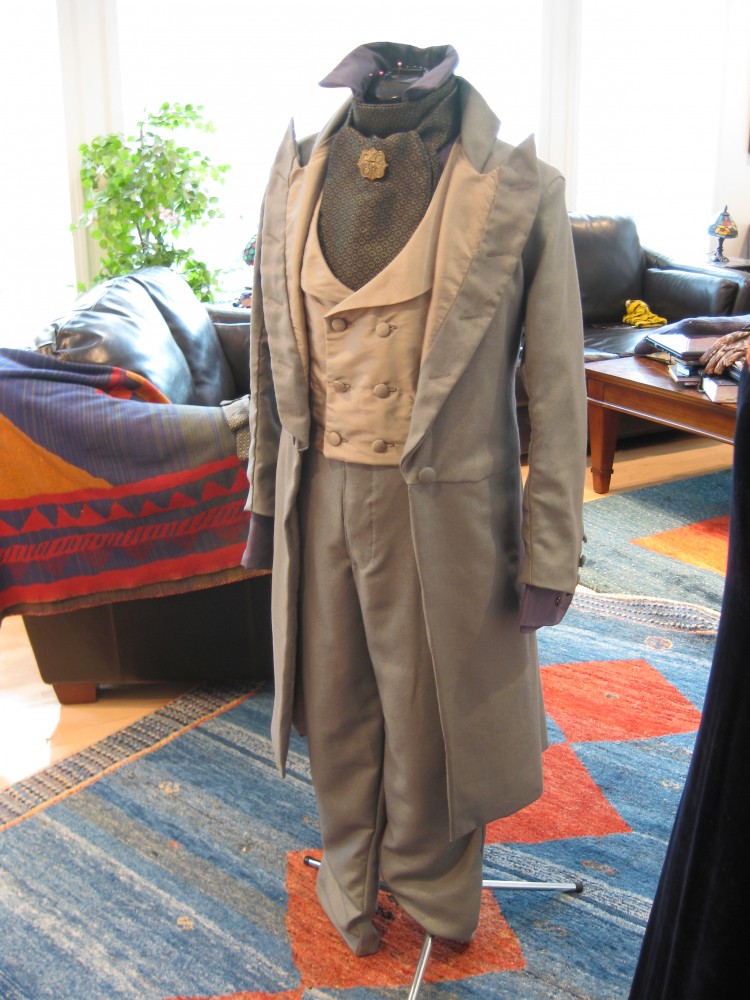
He may borrow two items from Captain Julien: The dragon pin, shown below left:
I know it doesn't match Prince Vlad's pin in the movie, but... It's a dragon, I like it, and it fits. What can I say?
There is, however, the possibility I will make Prince Vlad's own pin out of pmc... I'll see how the mood strikes me.
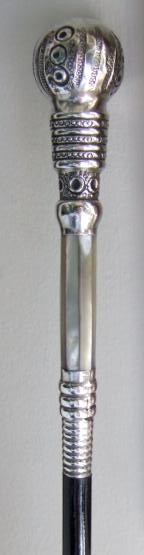
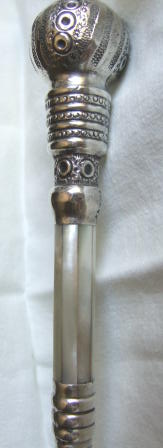
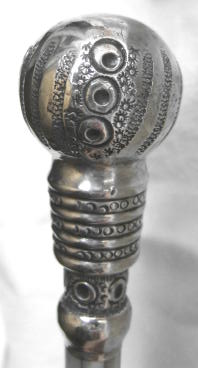
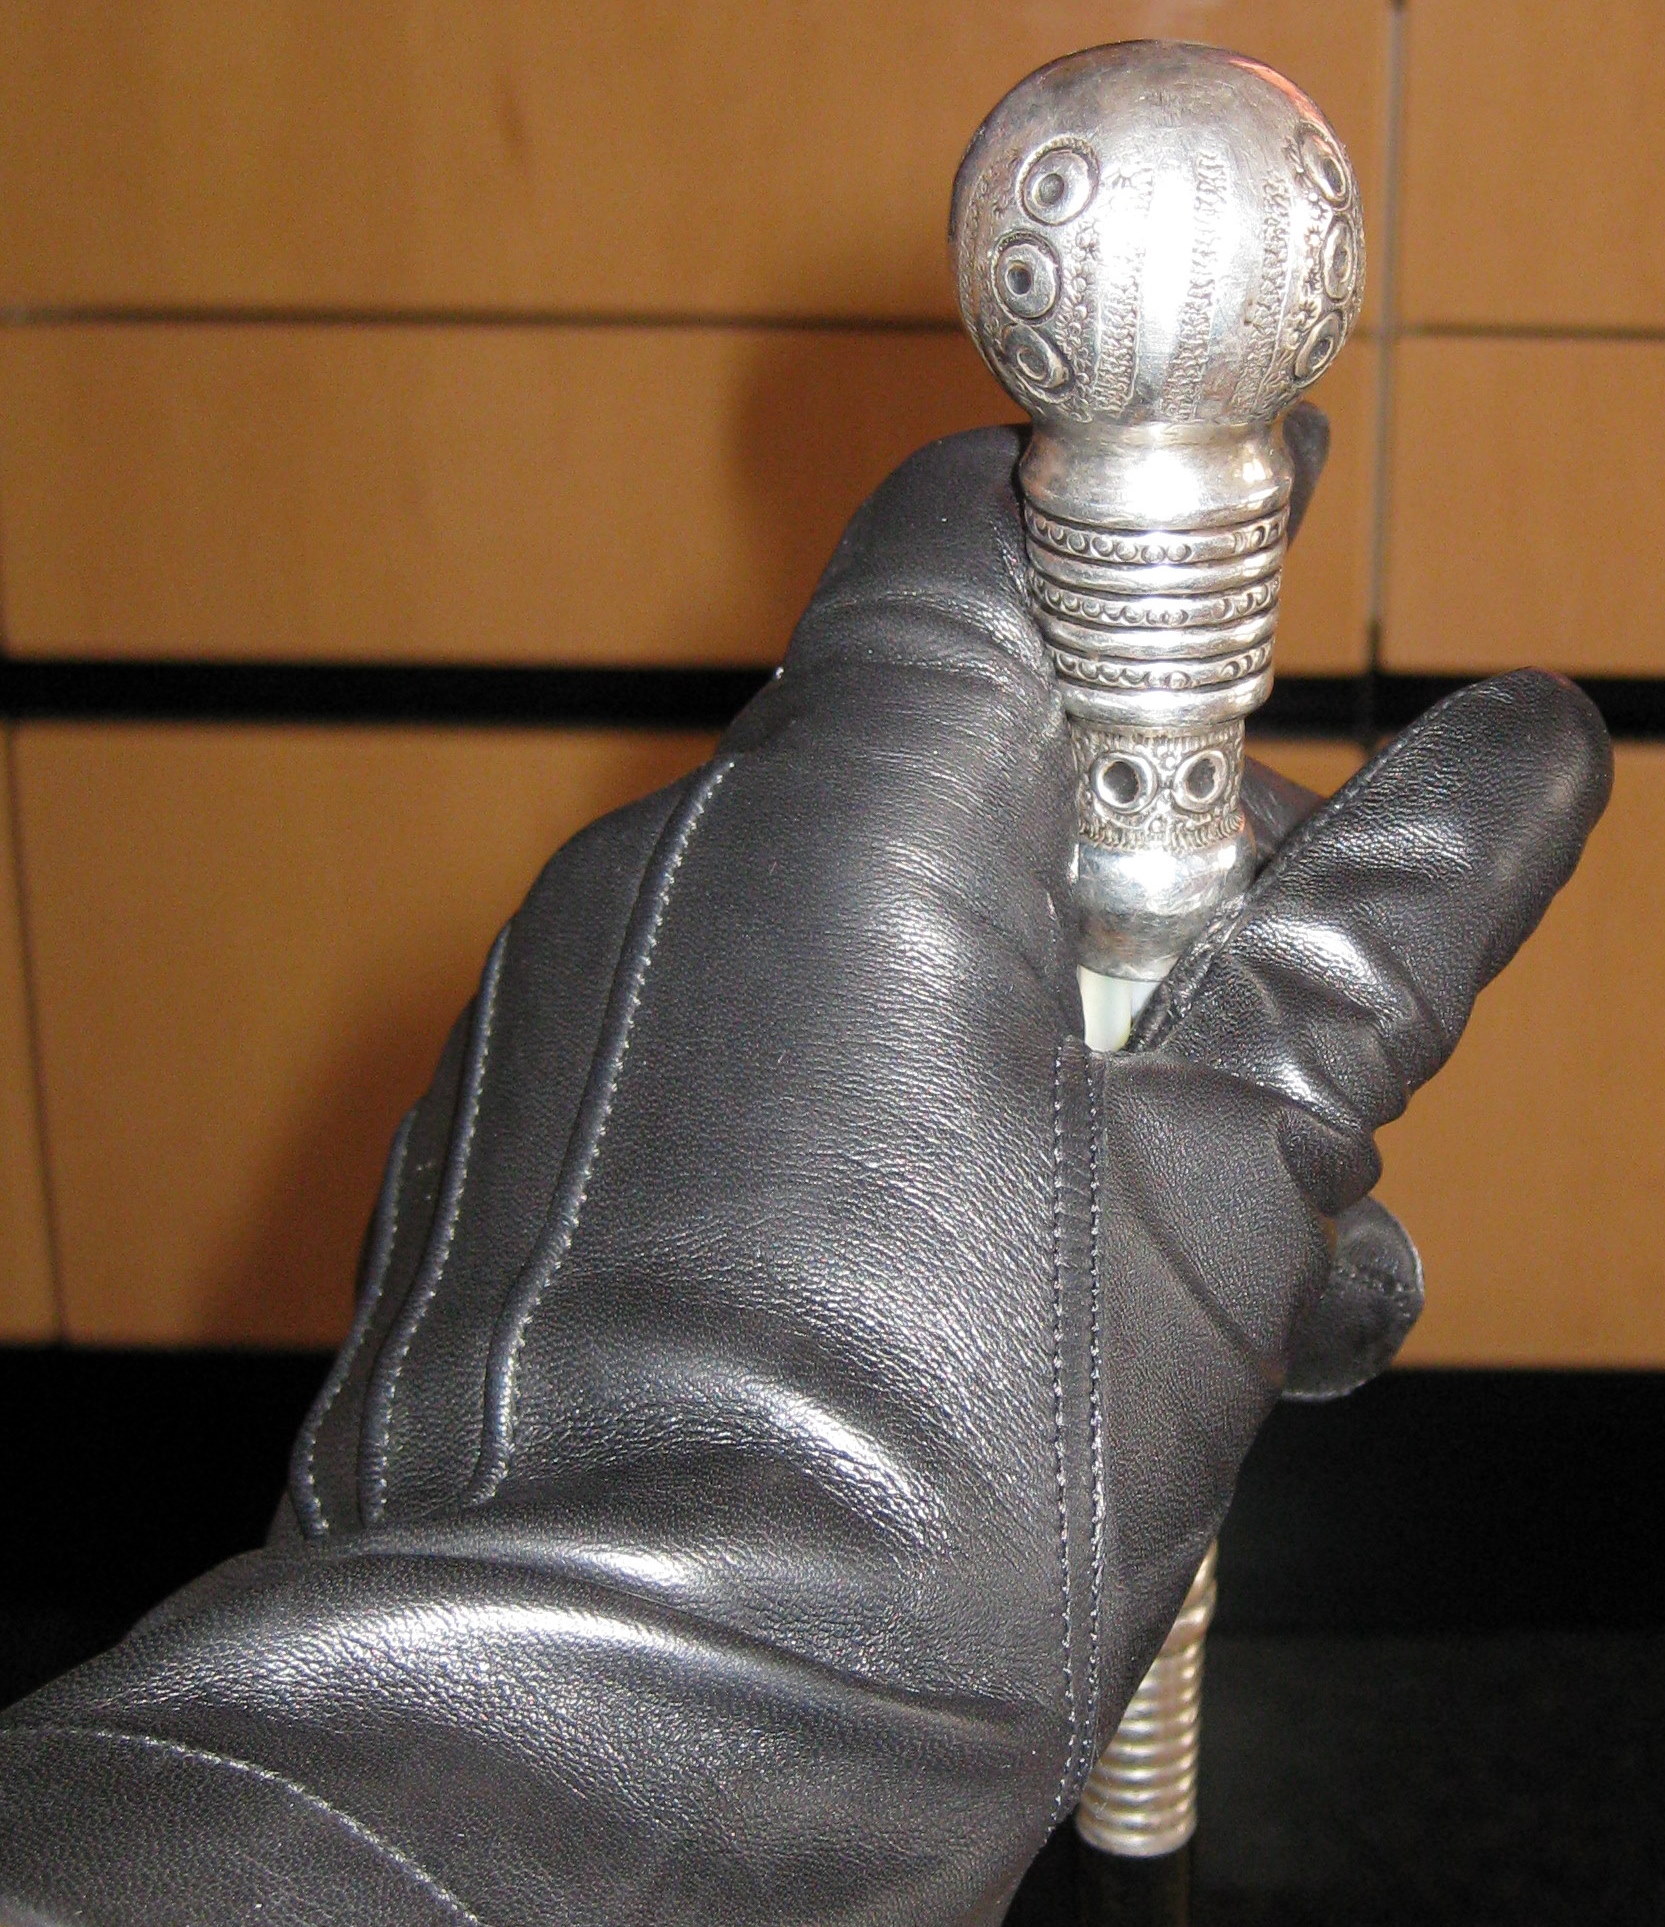
Julien has recently acquired a walking stick for his Victorian Ensemble. Again, it does not match Prince Vlad's, but it is very elegant, and could serve the purpose... Here are some photos of it above right.
The upper section of the stick is stamped sterling; the middle section between the sterling pieces consists of eight rectangular mother of pearl panels. The stick itself is ebonized wood.
This page was last updated: March 24, 2013
December 10, 2008:
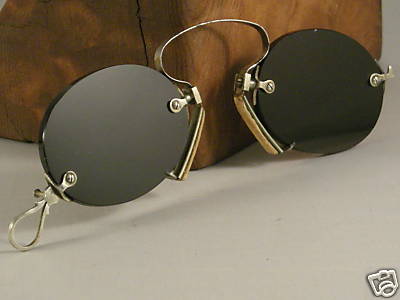
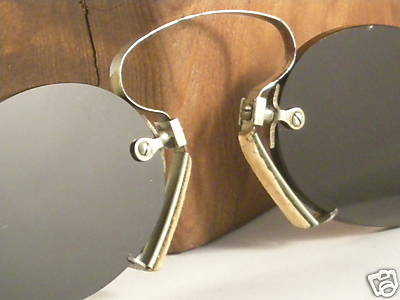
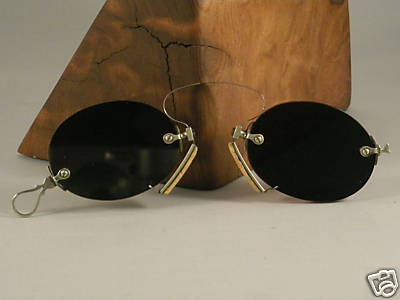
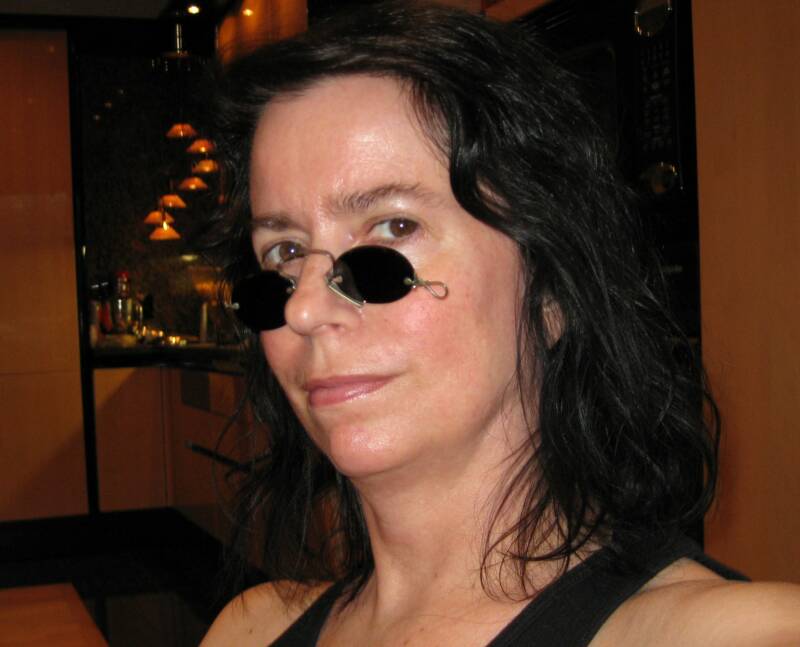
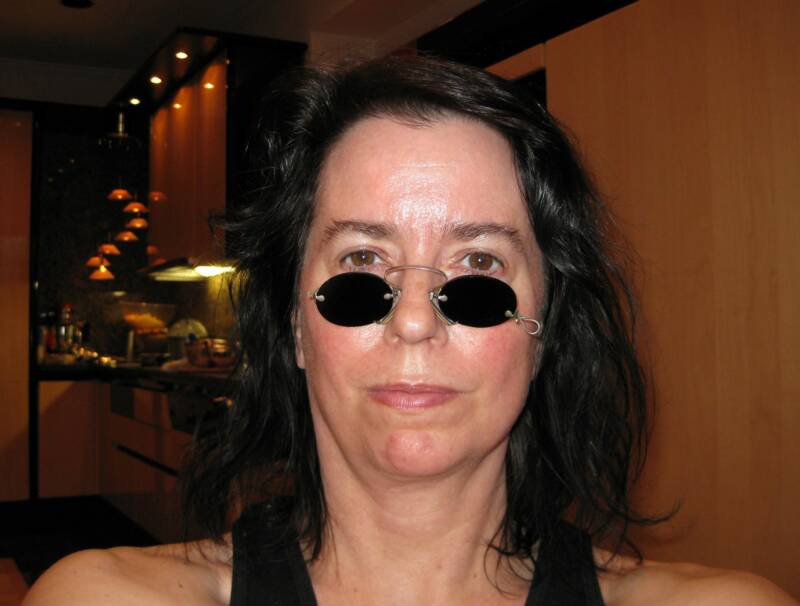
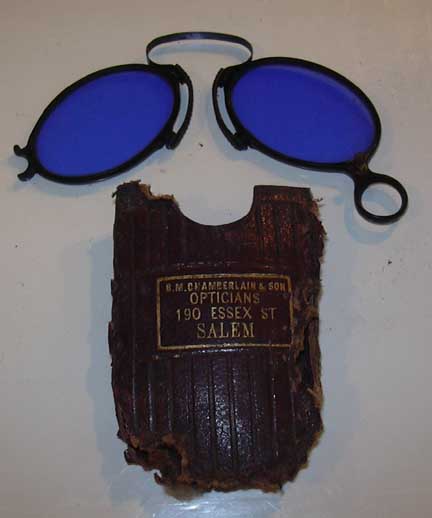
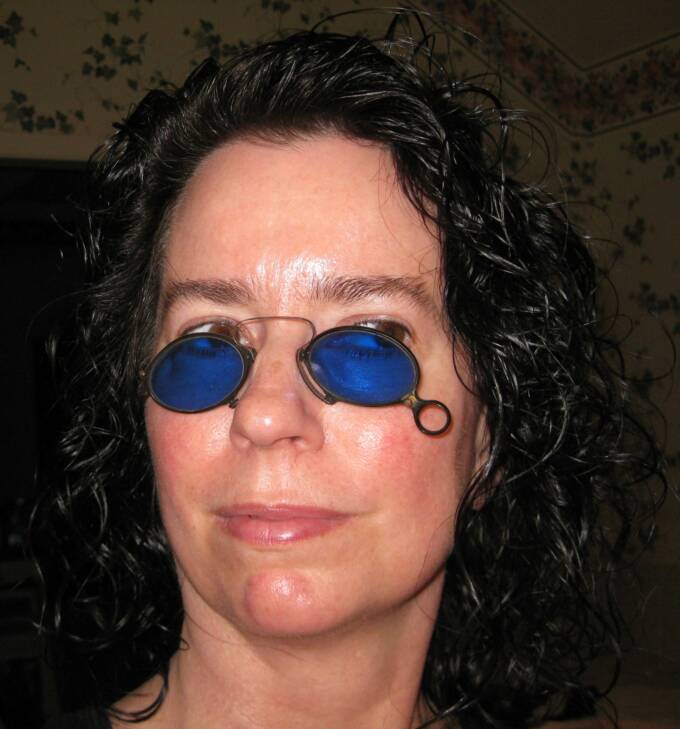
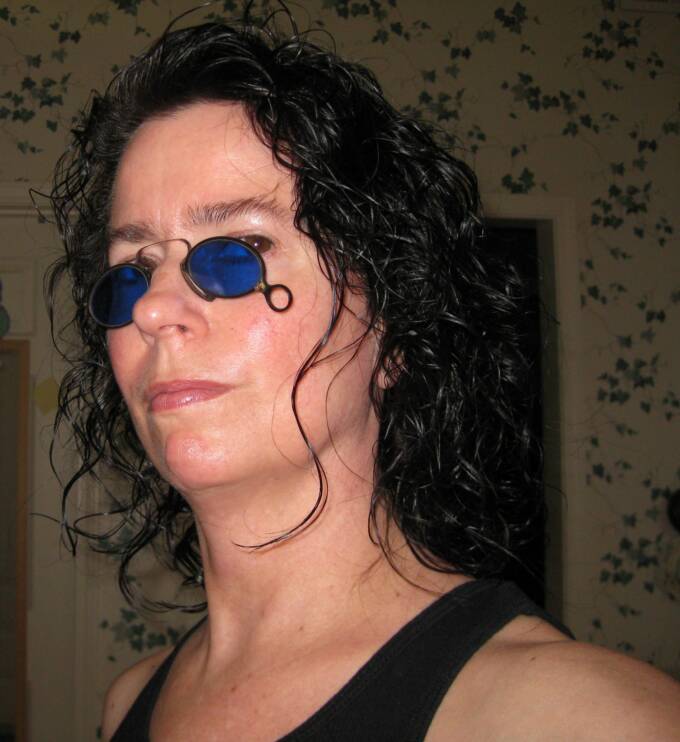
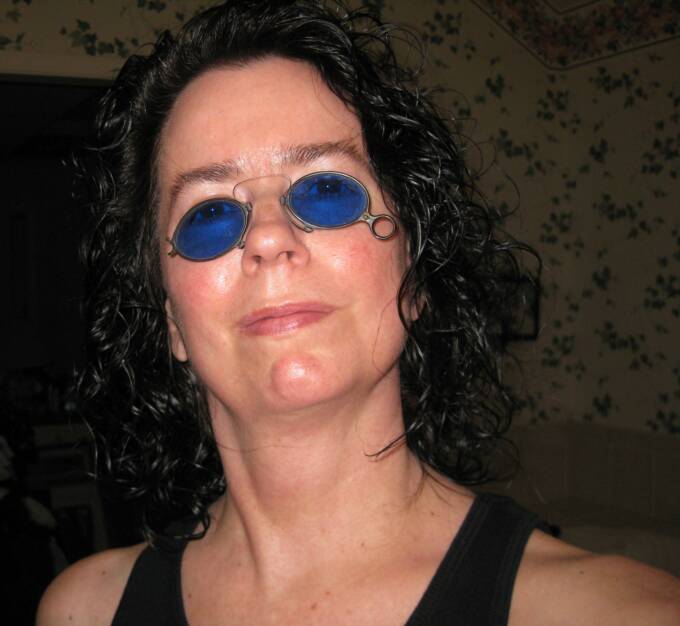
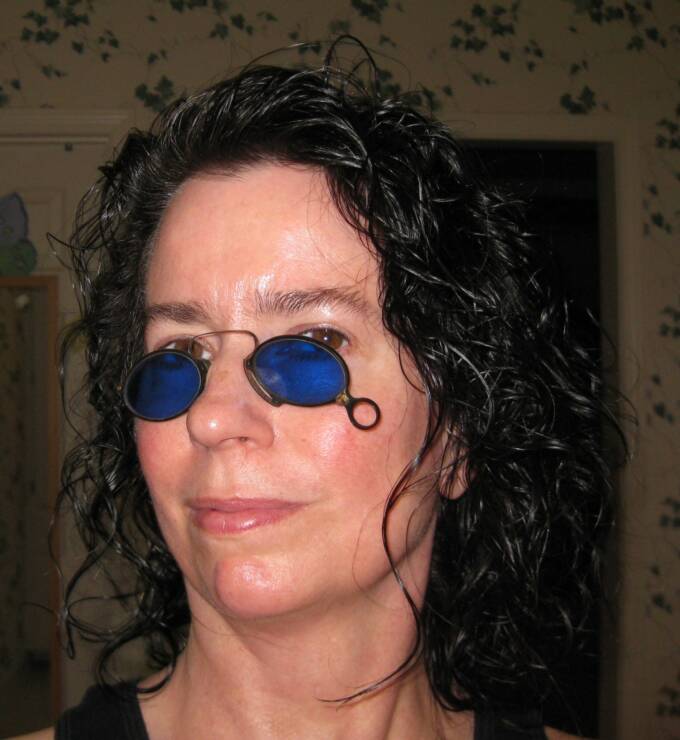
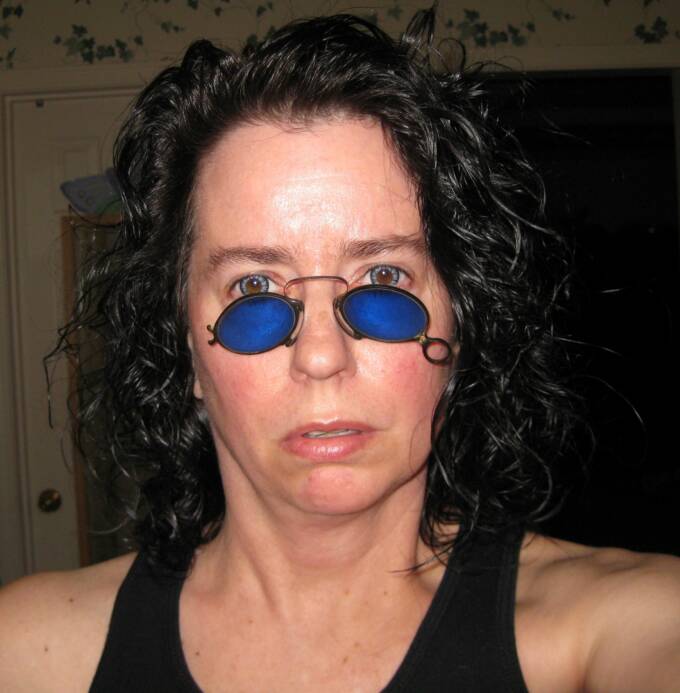
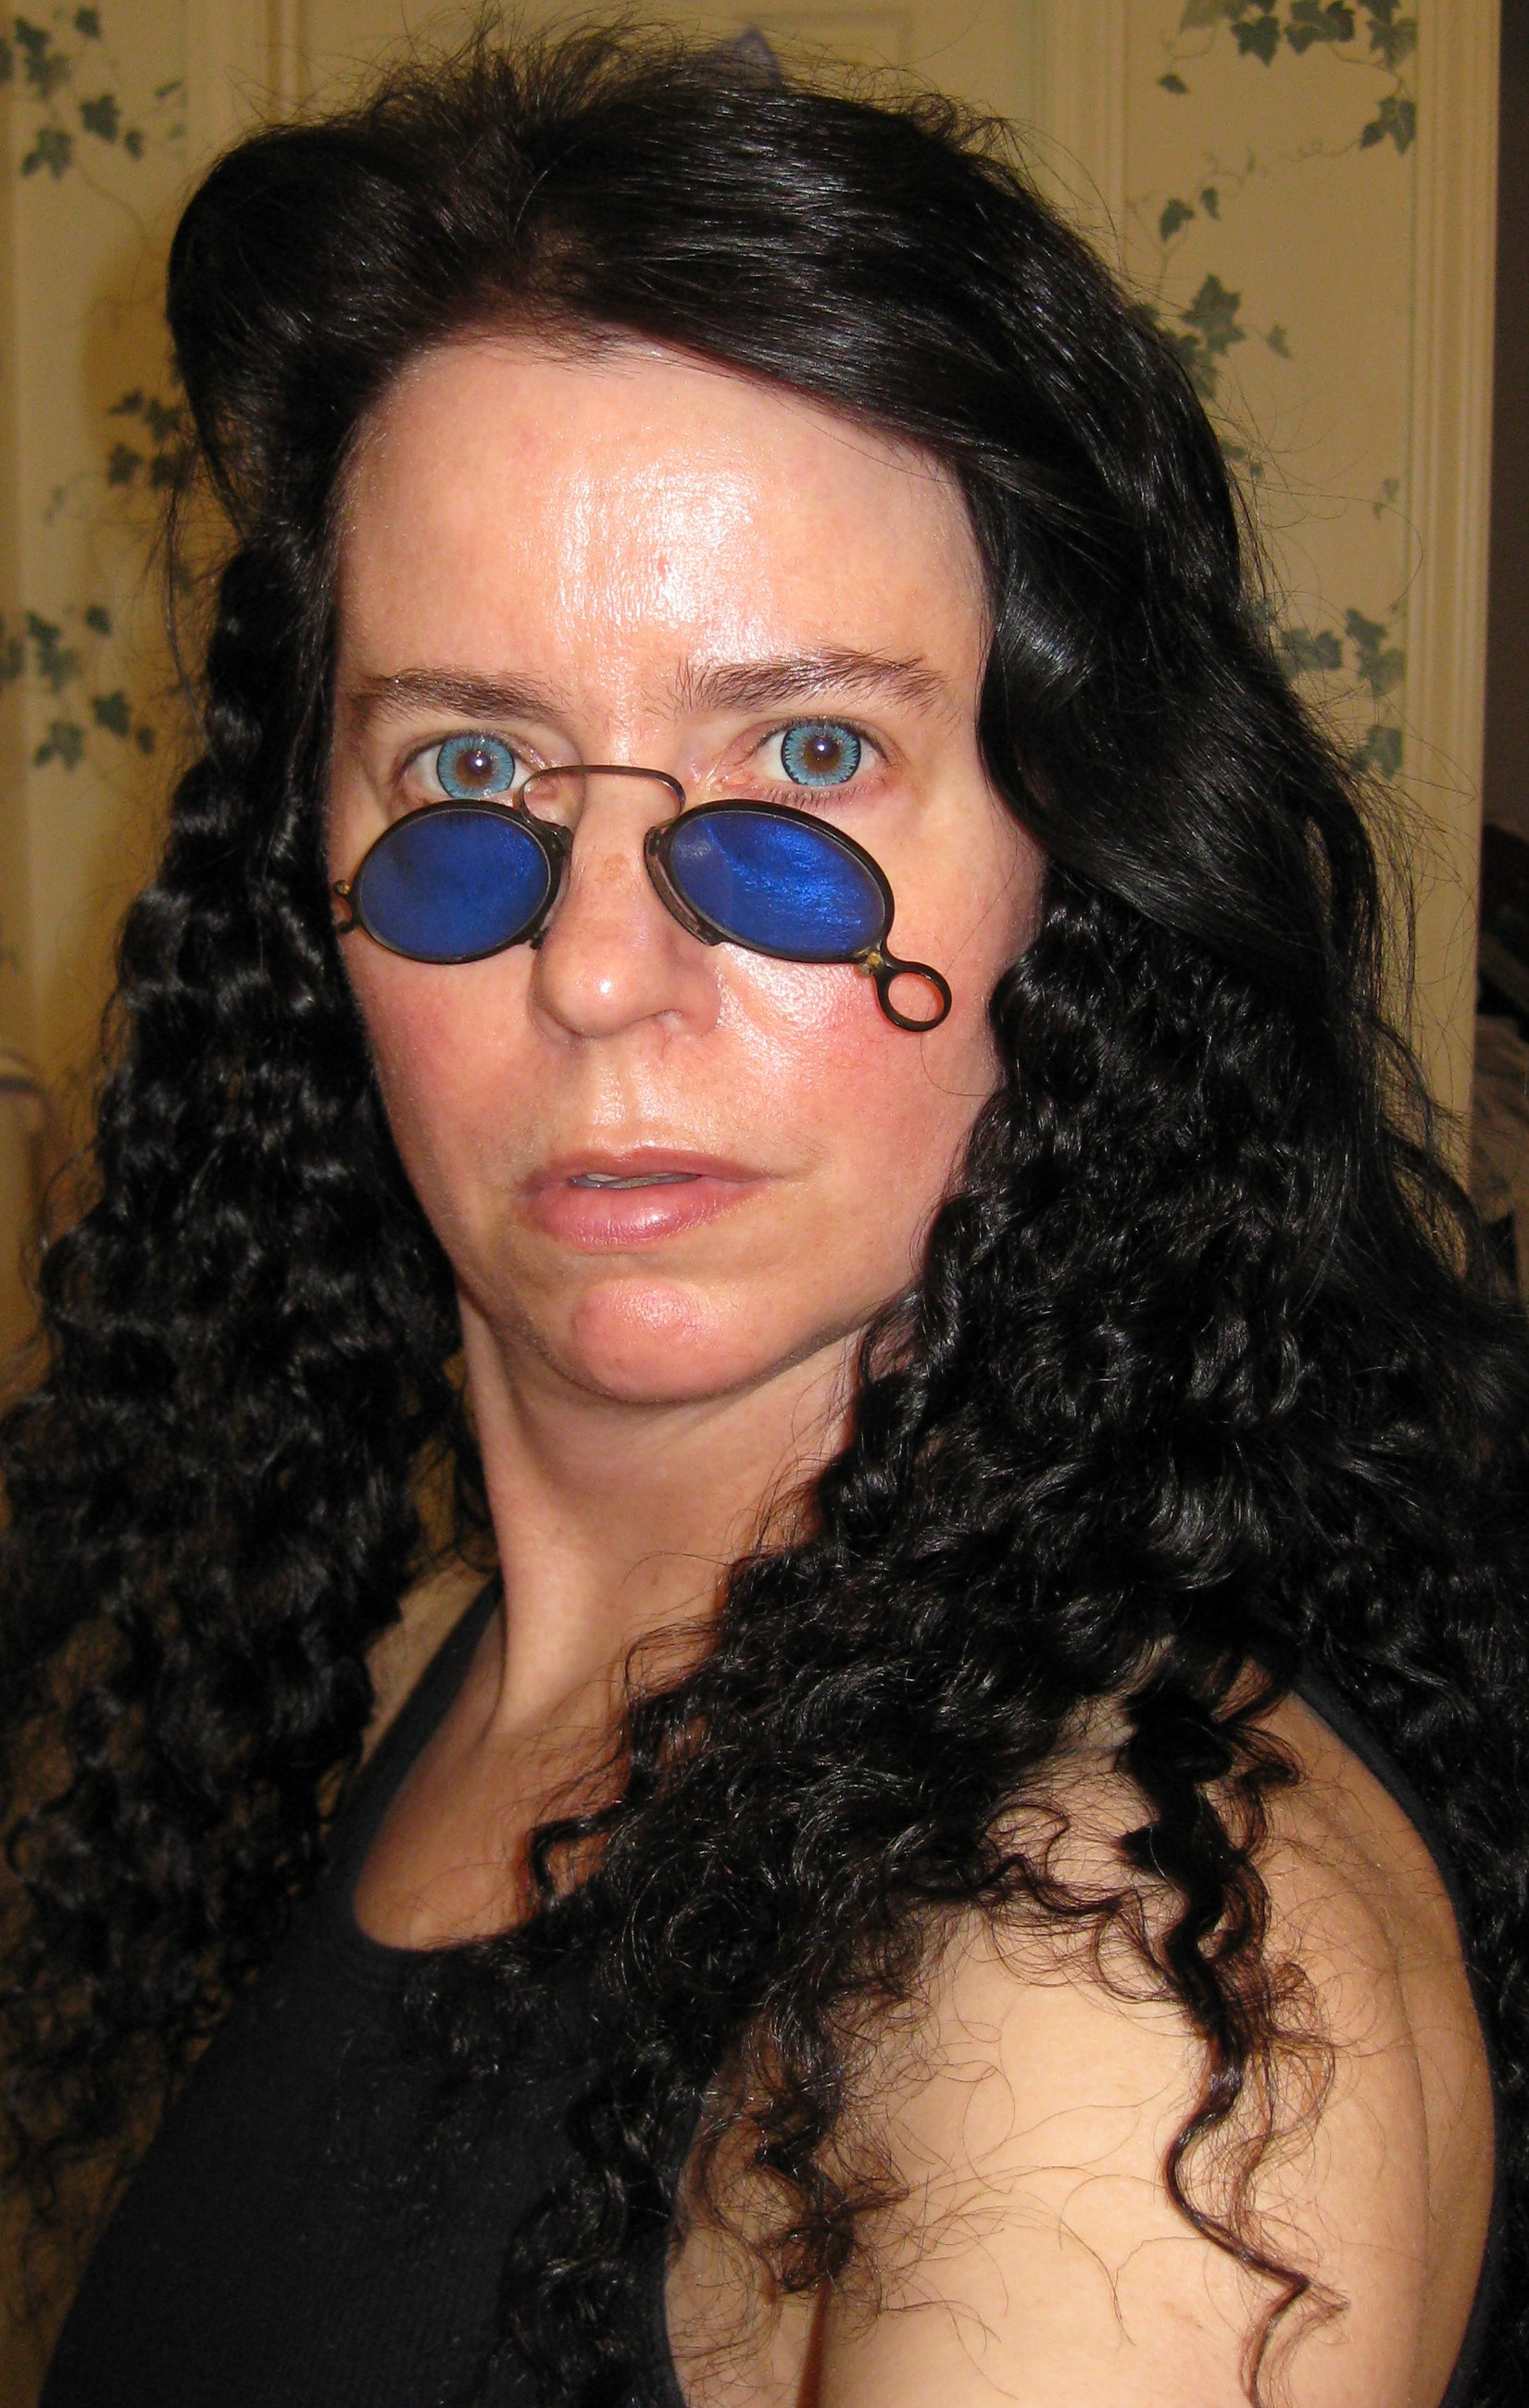
I found a pair of antique Pince Nez Sunglasses on ebay, and I bought them. I didn't want to share until they arrived in the mail, because I was afraid they might not fit. They came today, and they do fit!
They are very dark... I love them that way, and may forgo trying to find an optician who will put in blue lenses...
Here are photos: The ones I saw on ebay, and then, ones of me wearing them. :D
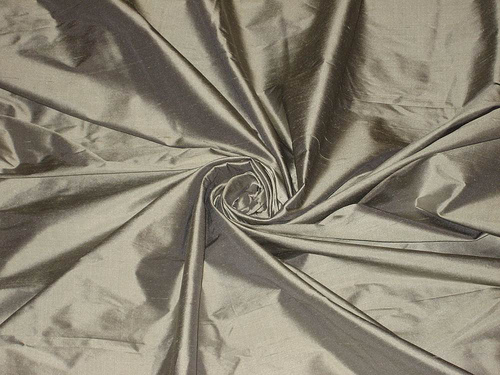
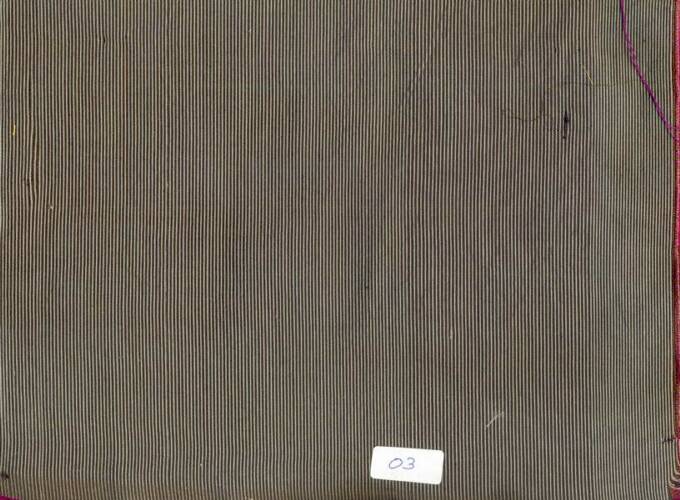
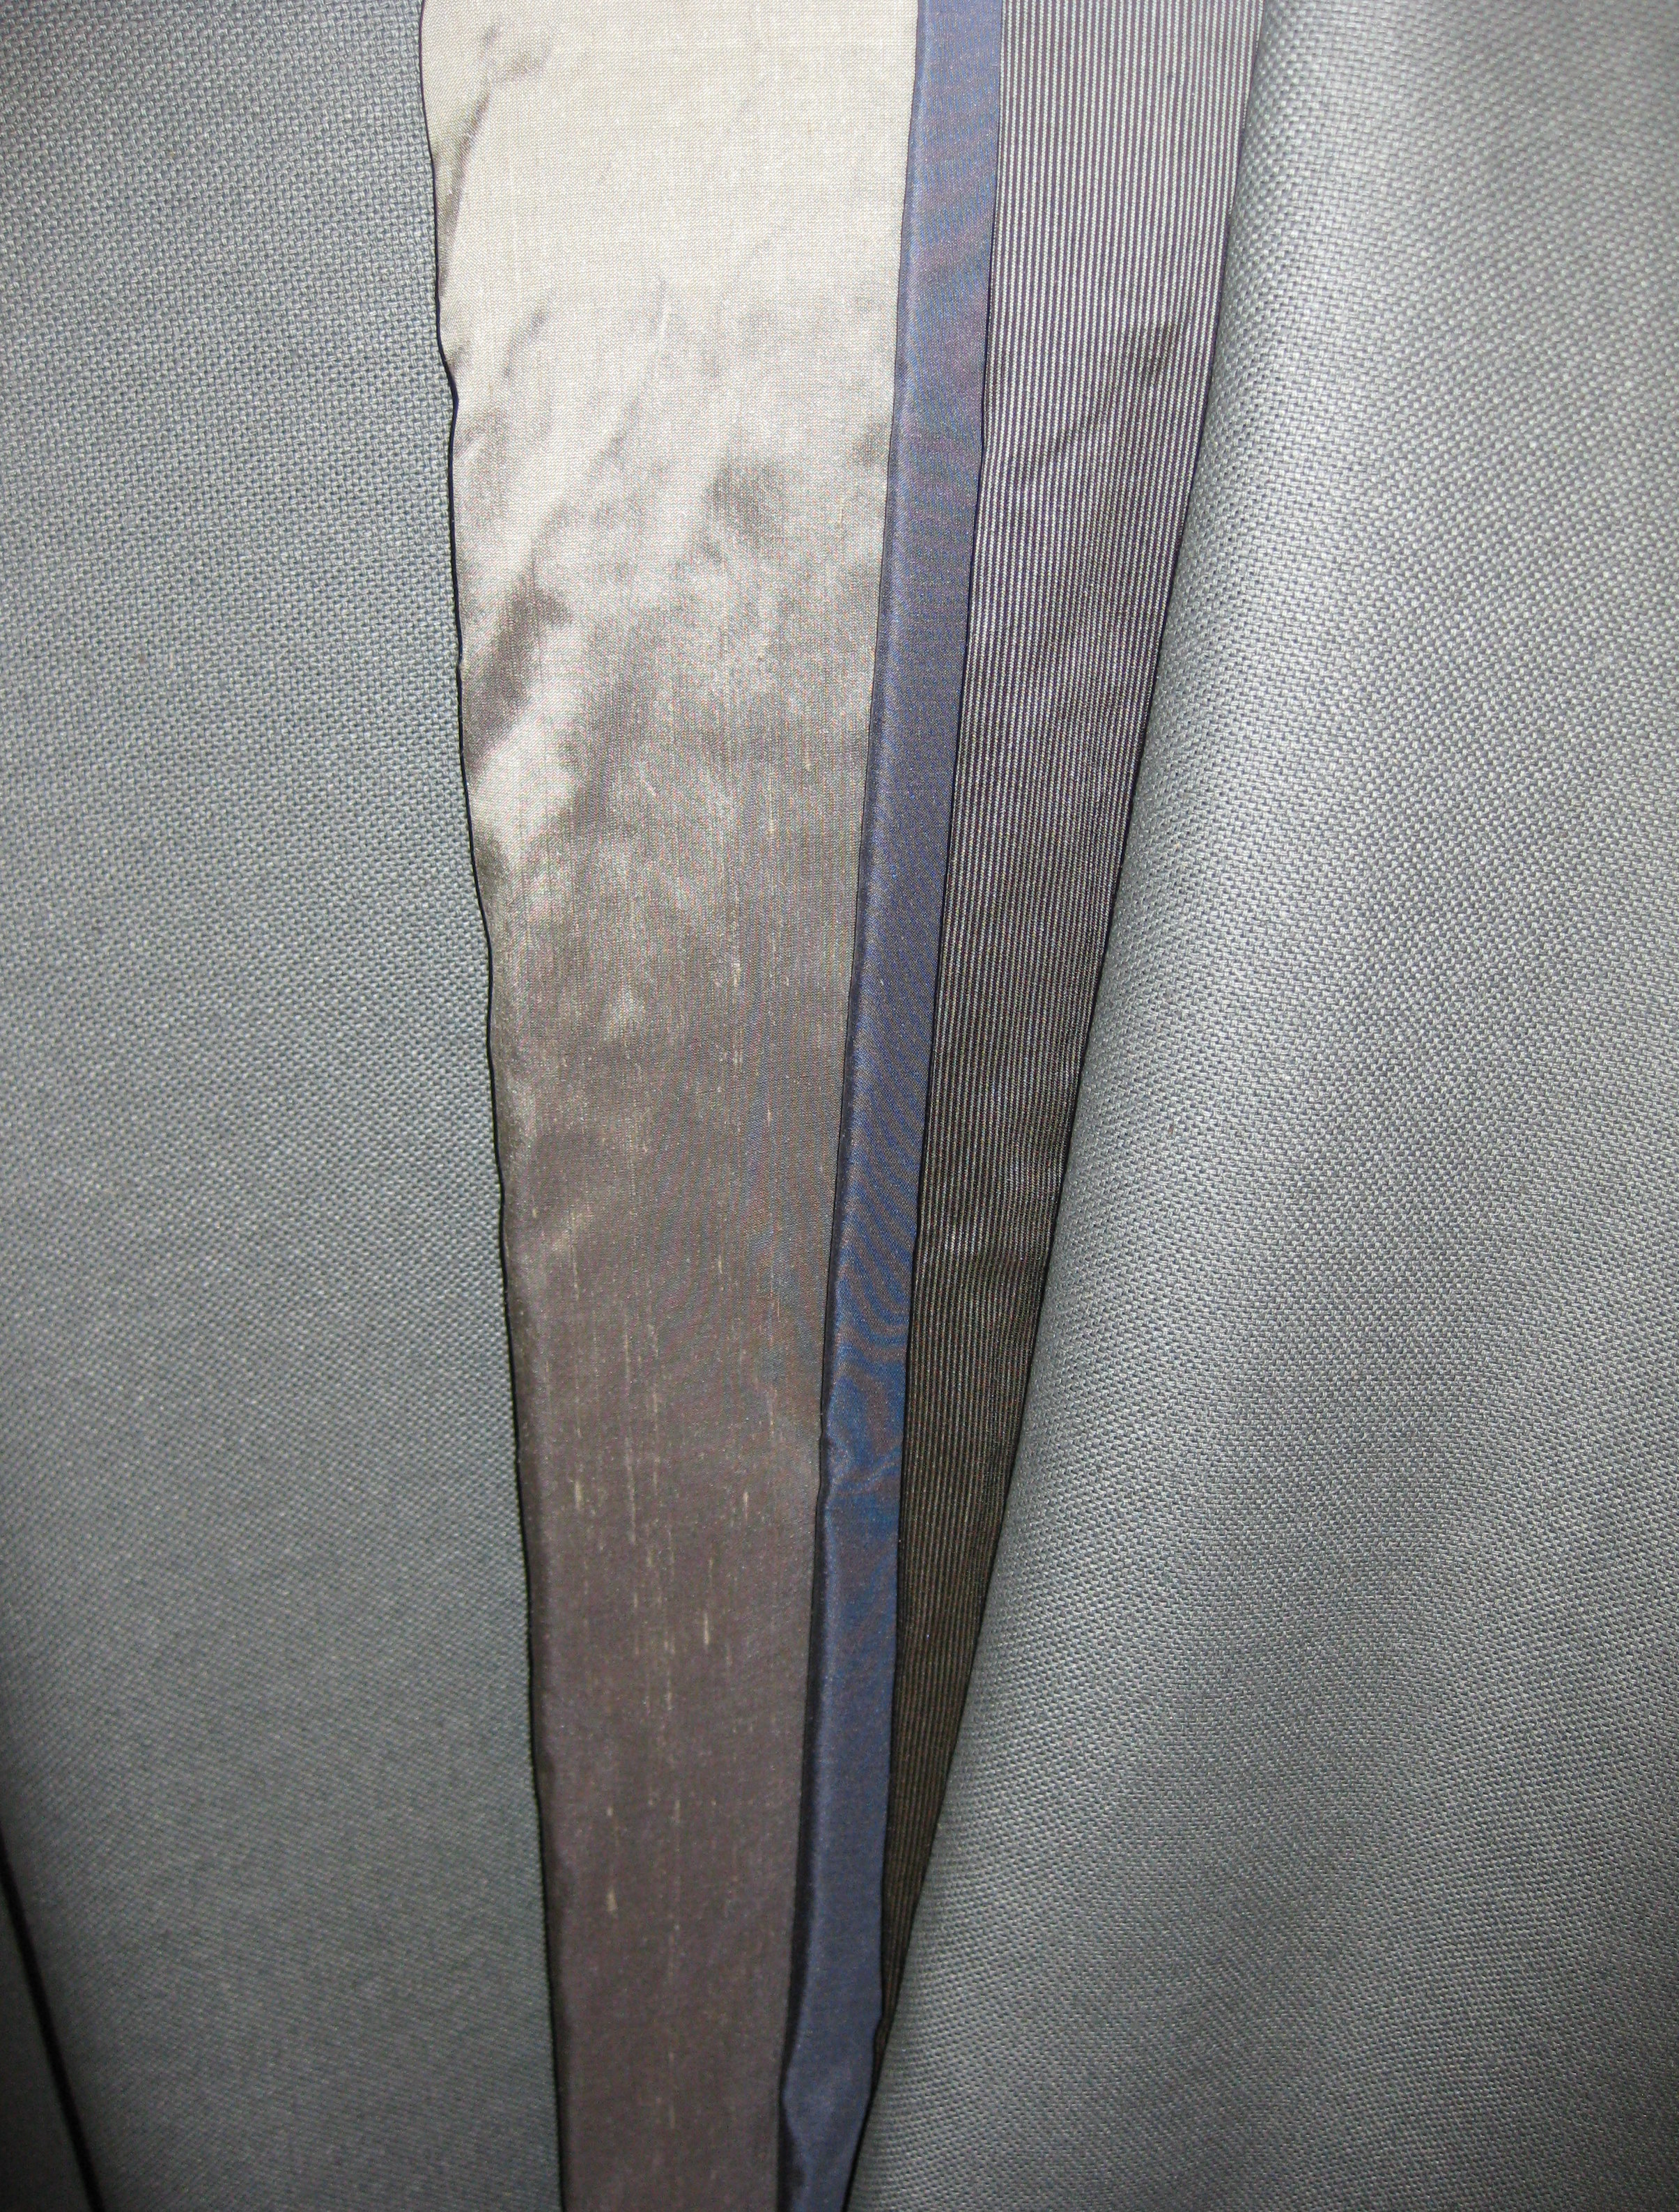
January 10, 2009: I ordered the fabrics today... Here are the photo swatches. The left fabric is gray silk noile for the suit. The center is gray dupioni, for the vest and lining, and the one on the right is a pinstriped dupioni for the shirt and tie.
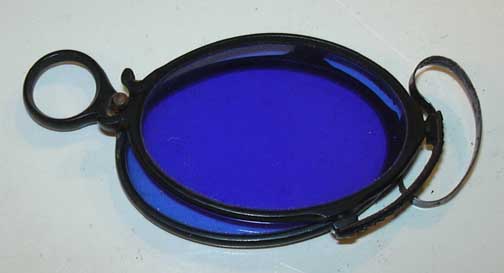
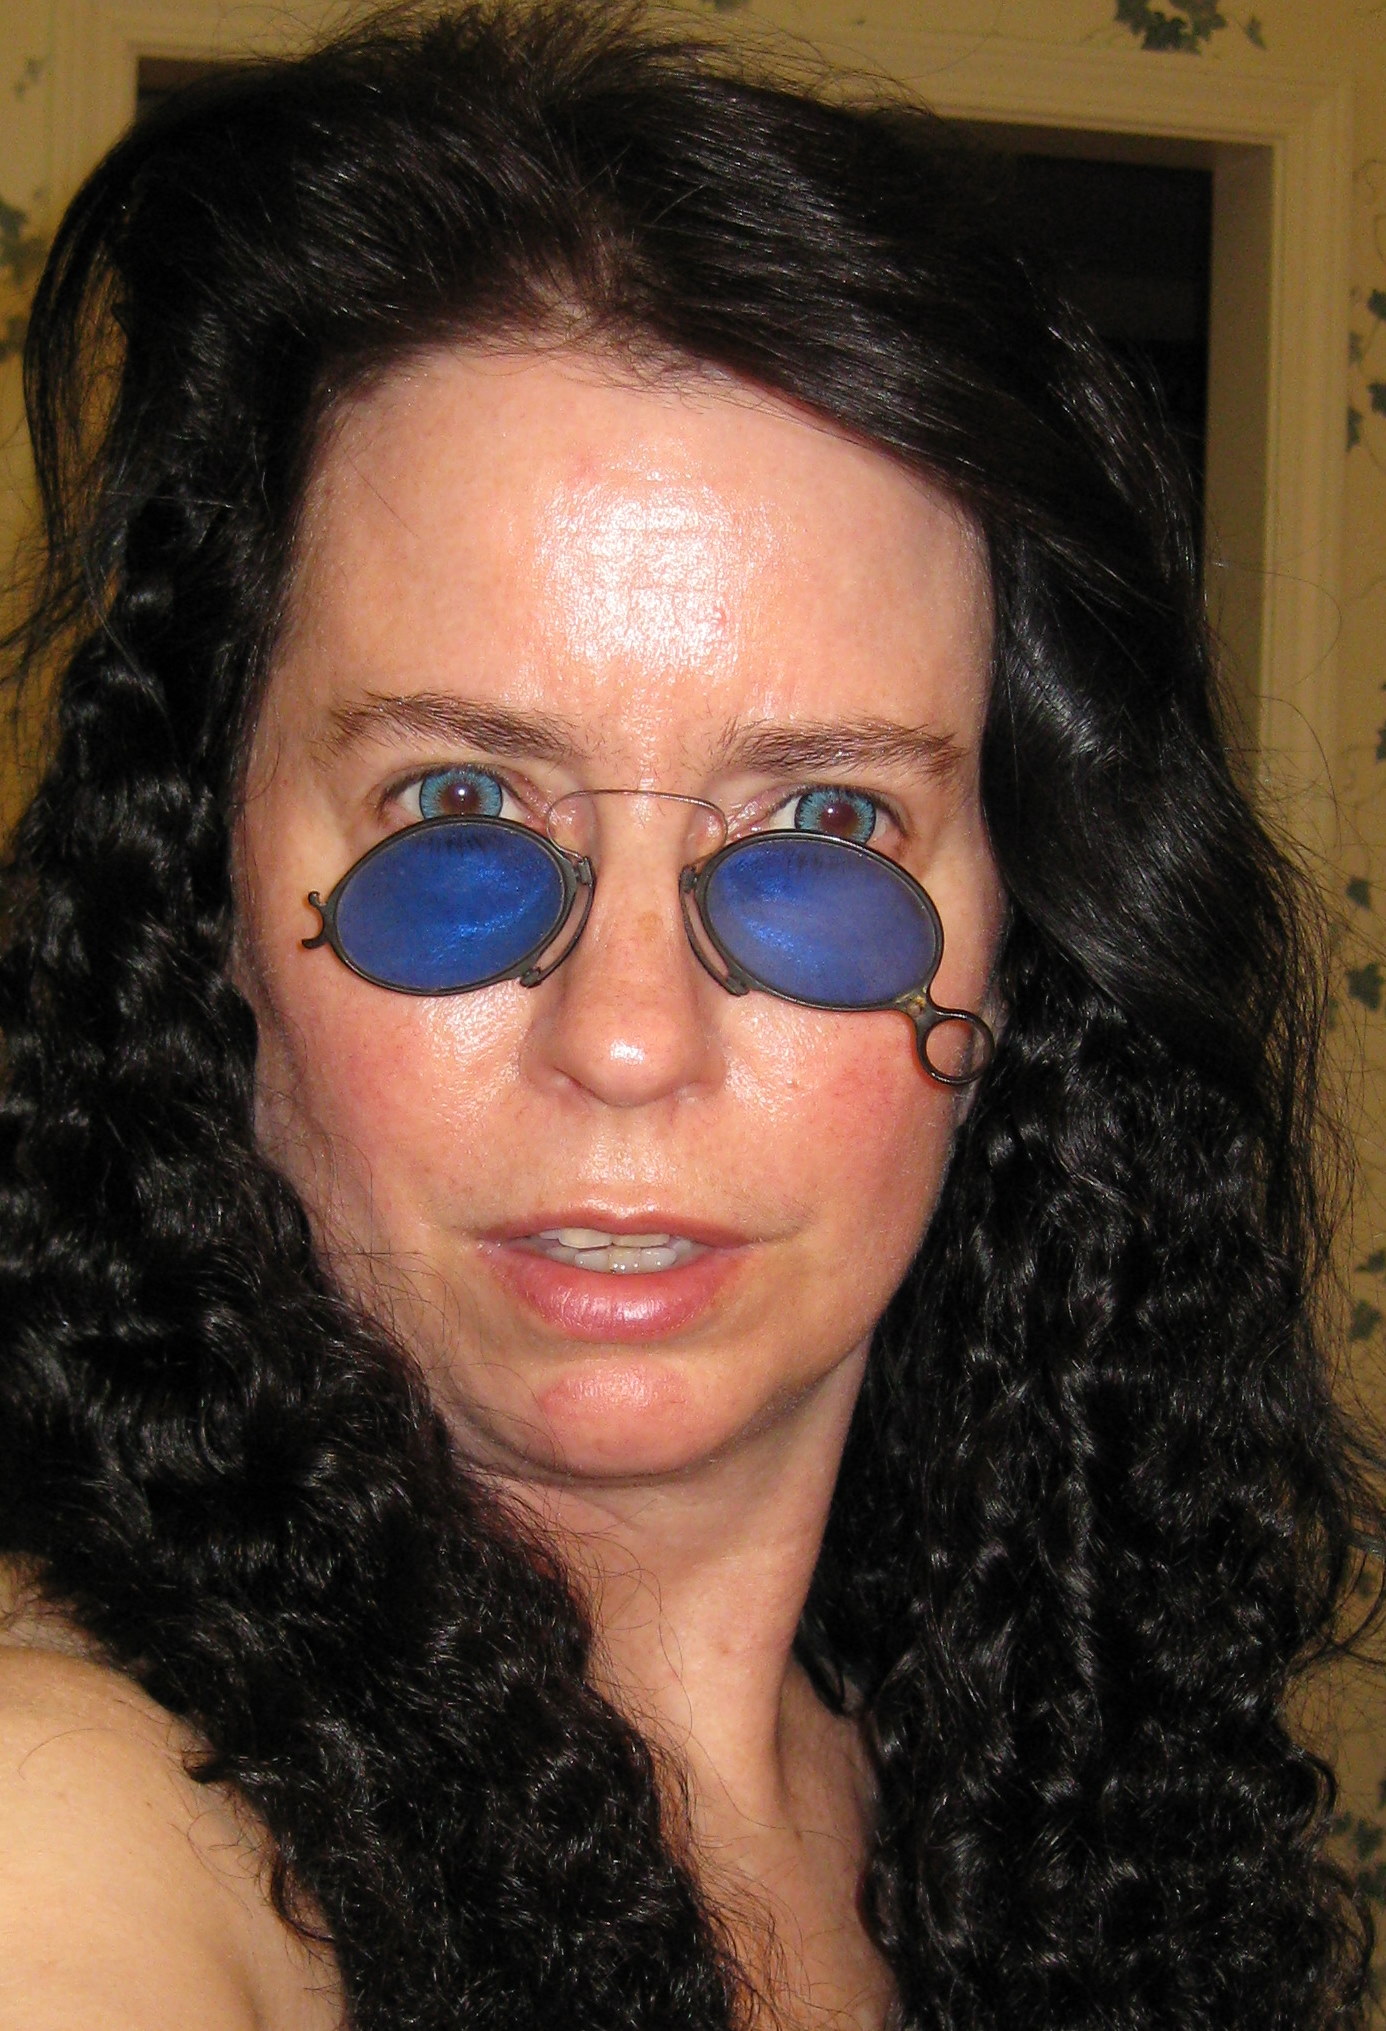
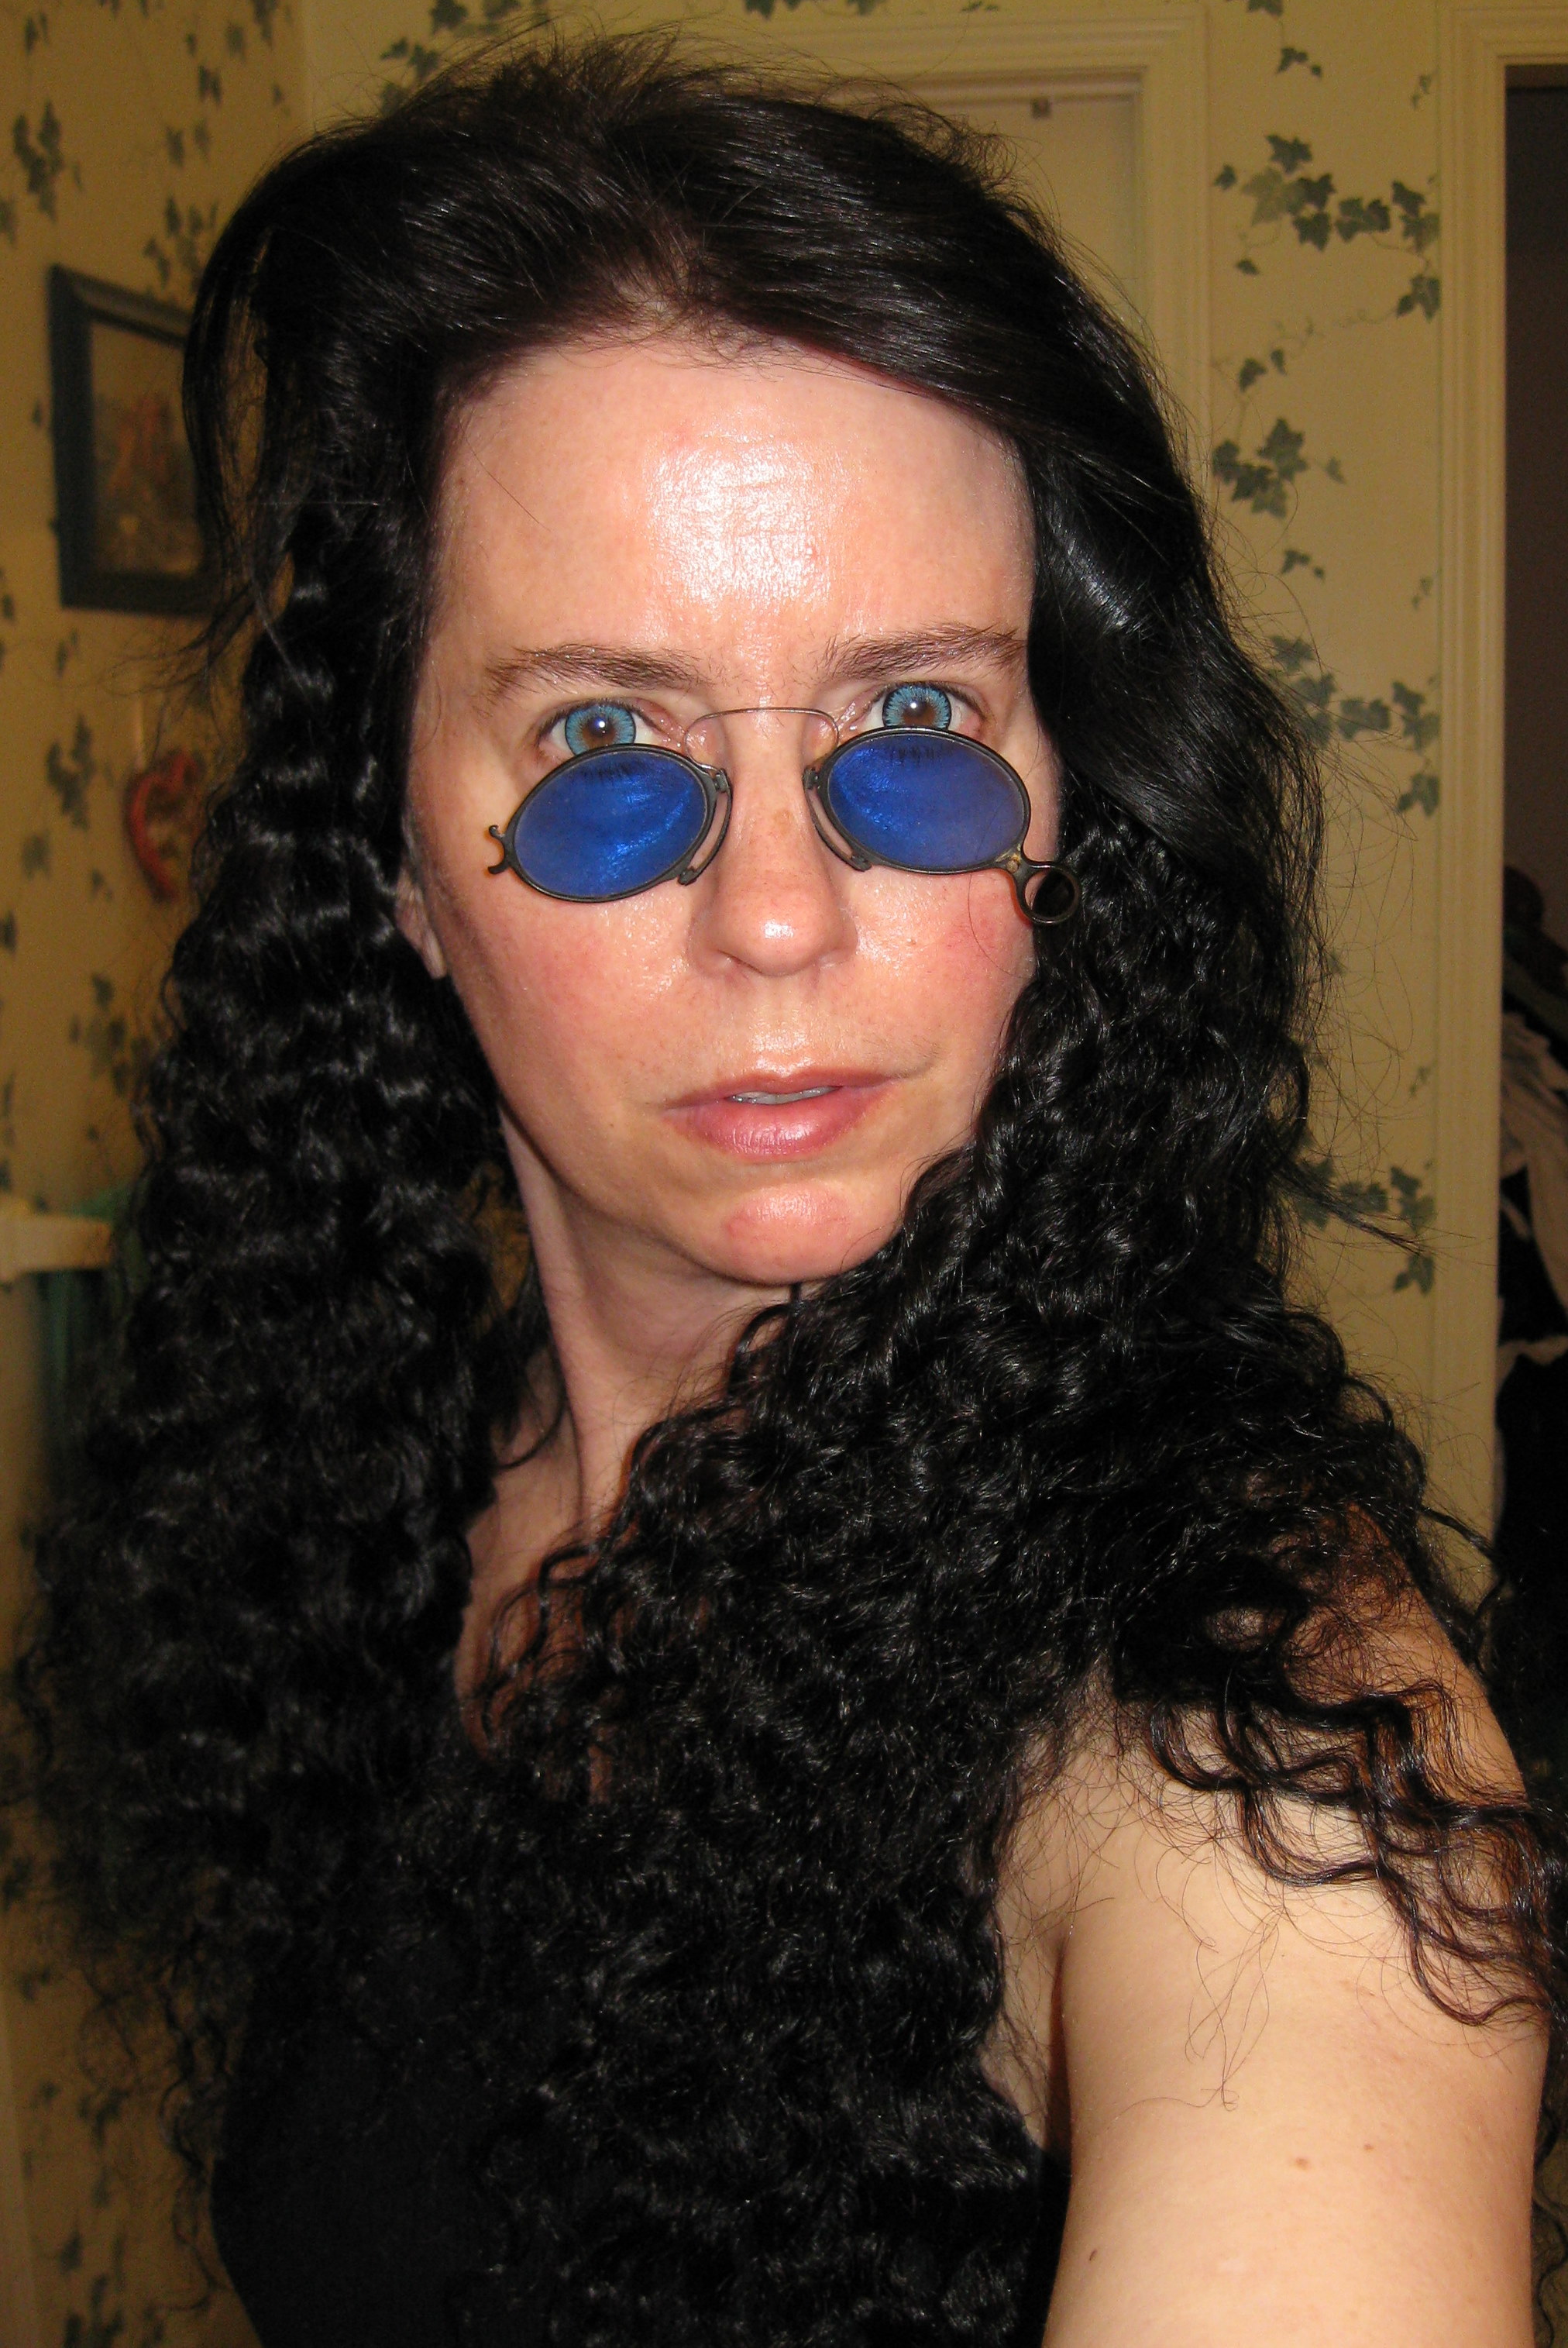
January 11, 2009: I just acquired another set of Pince Nez Spectacles, these with blue lenses...
Here are the photos from ebay:
June 25, 2009: The fabrics are all arrived, and so are the blue pince nez eyeglasses... I've photos to share. Next week I hope to start on the waistcoat mock up.
The Fabrics:
Coat: gray silk noile
Wastcoat: light gray silk dupioni
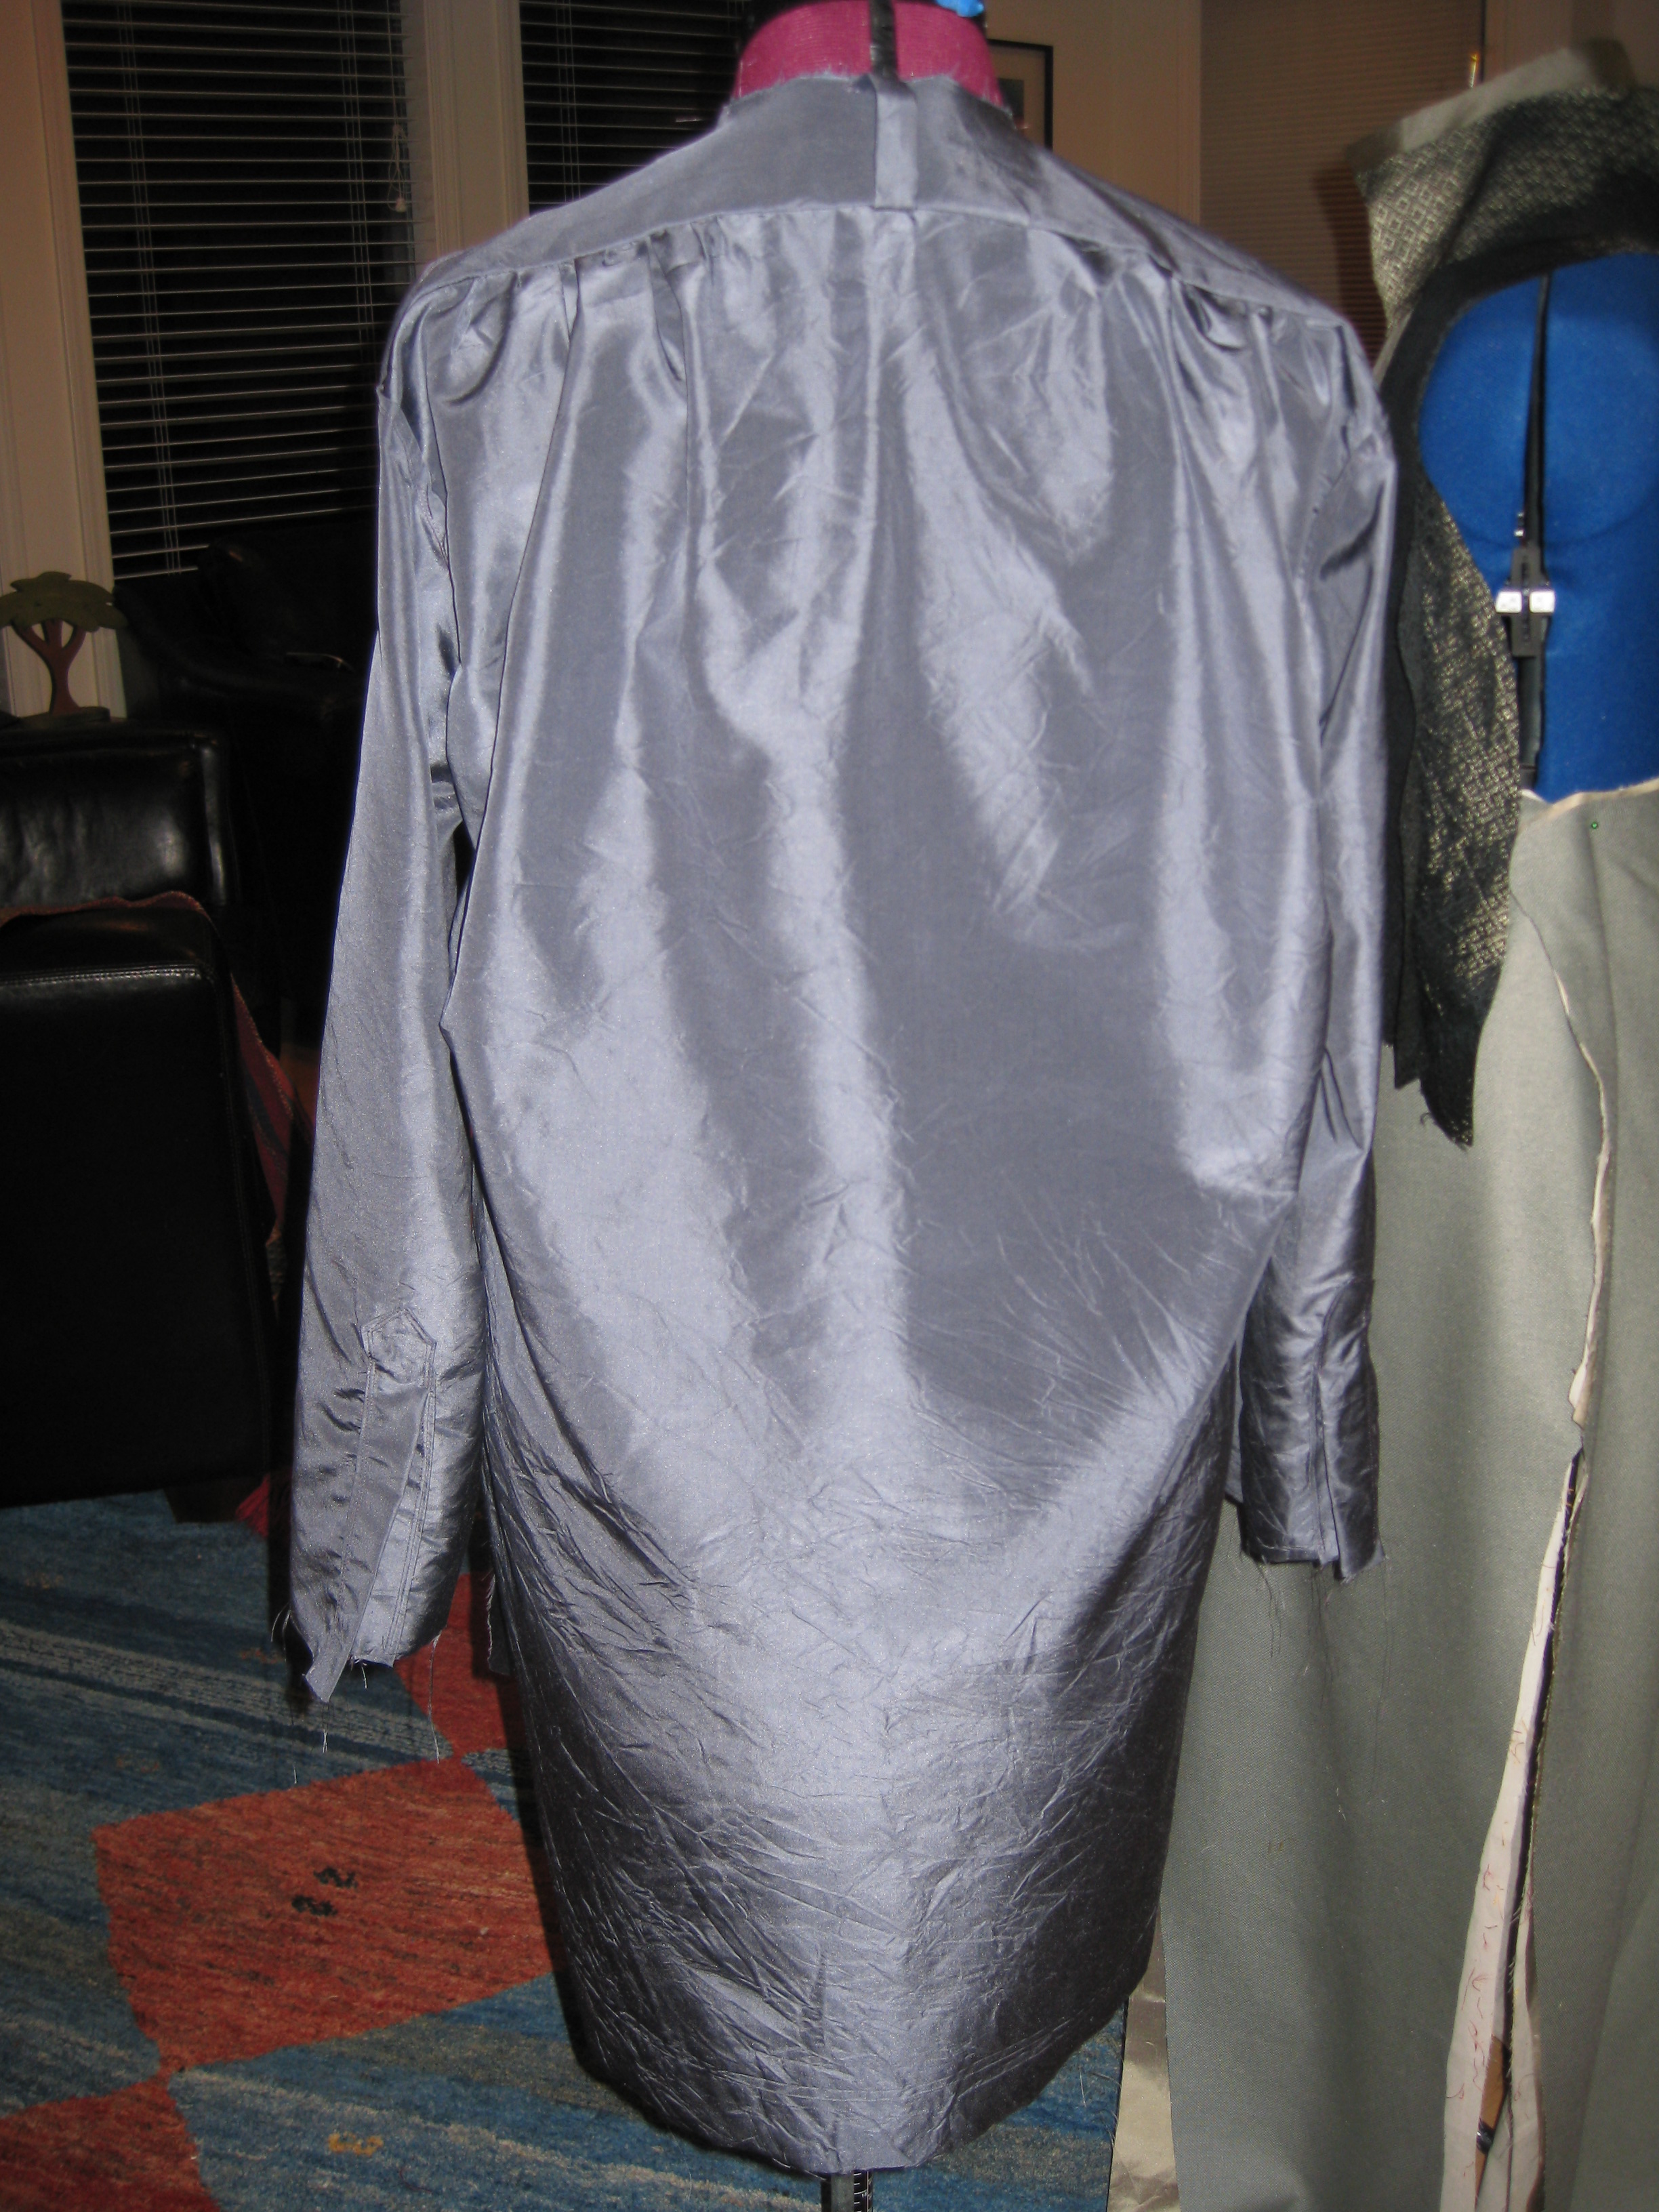
Shirt: slate gray silk taffeta
Cravat: pin-striped dupioni
The Blue Pince Nez Eyeglasses...
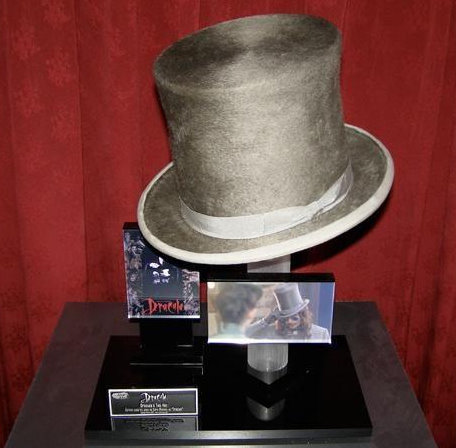
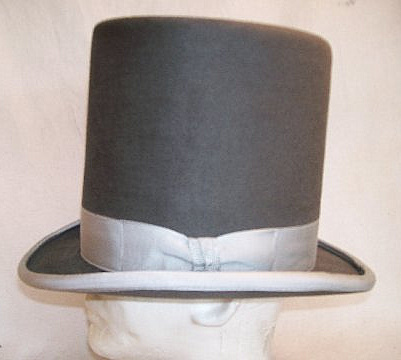
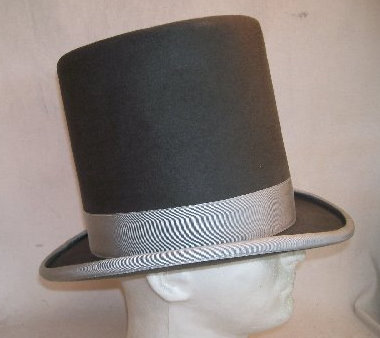
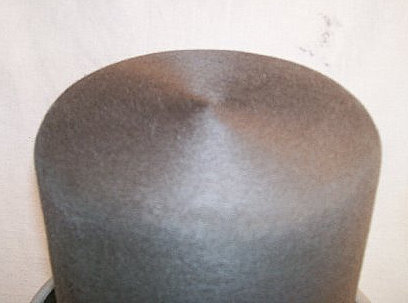
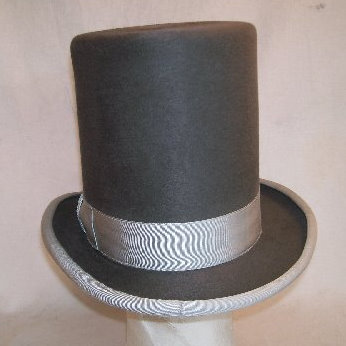
May 13, 2009: I got photos in an e-mail from the company I've commissioned to make the hat, custom. Here they are. They'll be shipping the hat tomorrow.
The Original:
& the Custom version:
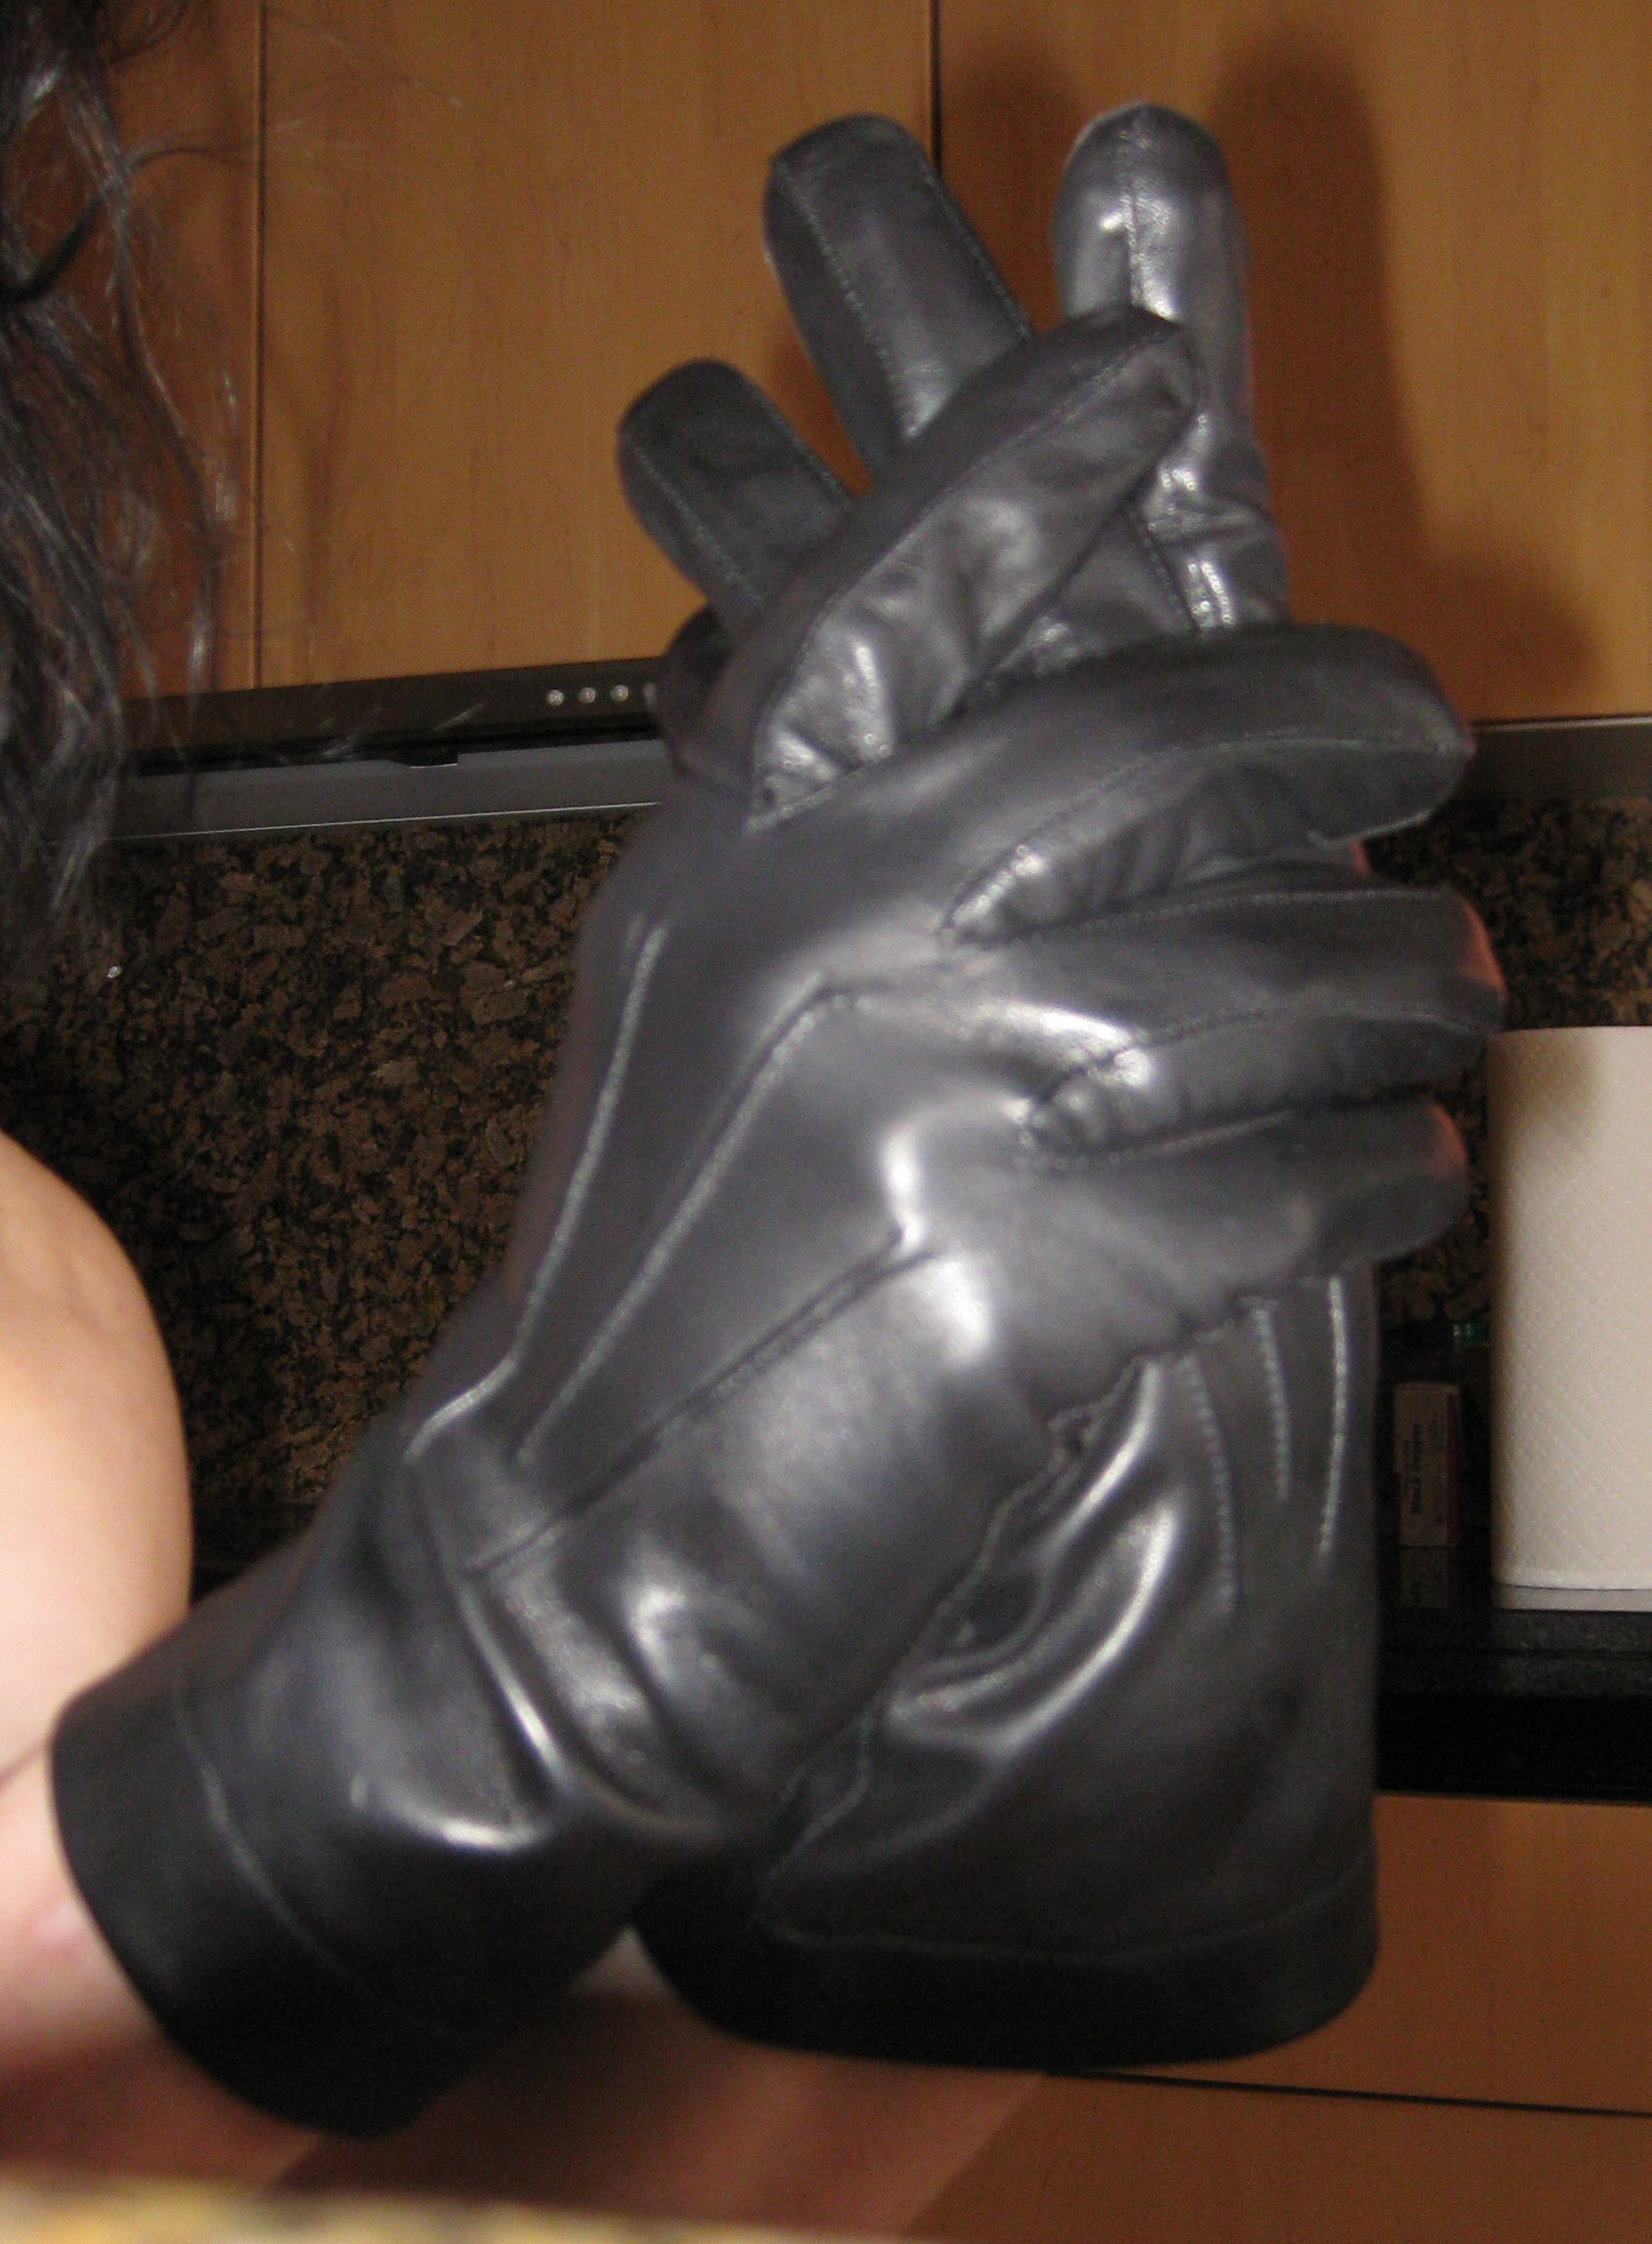
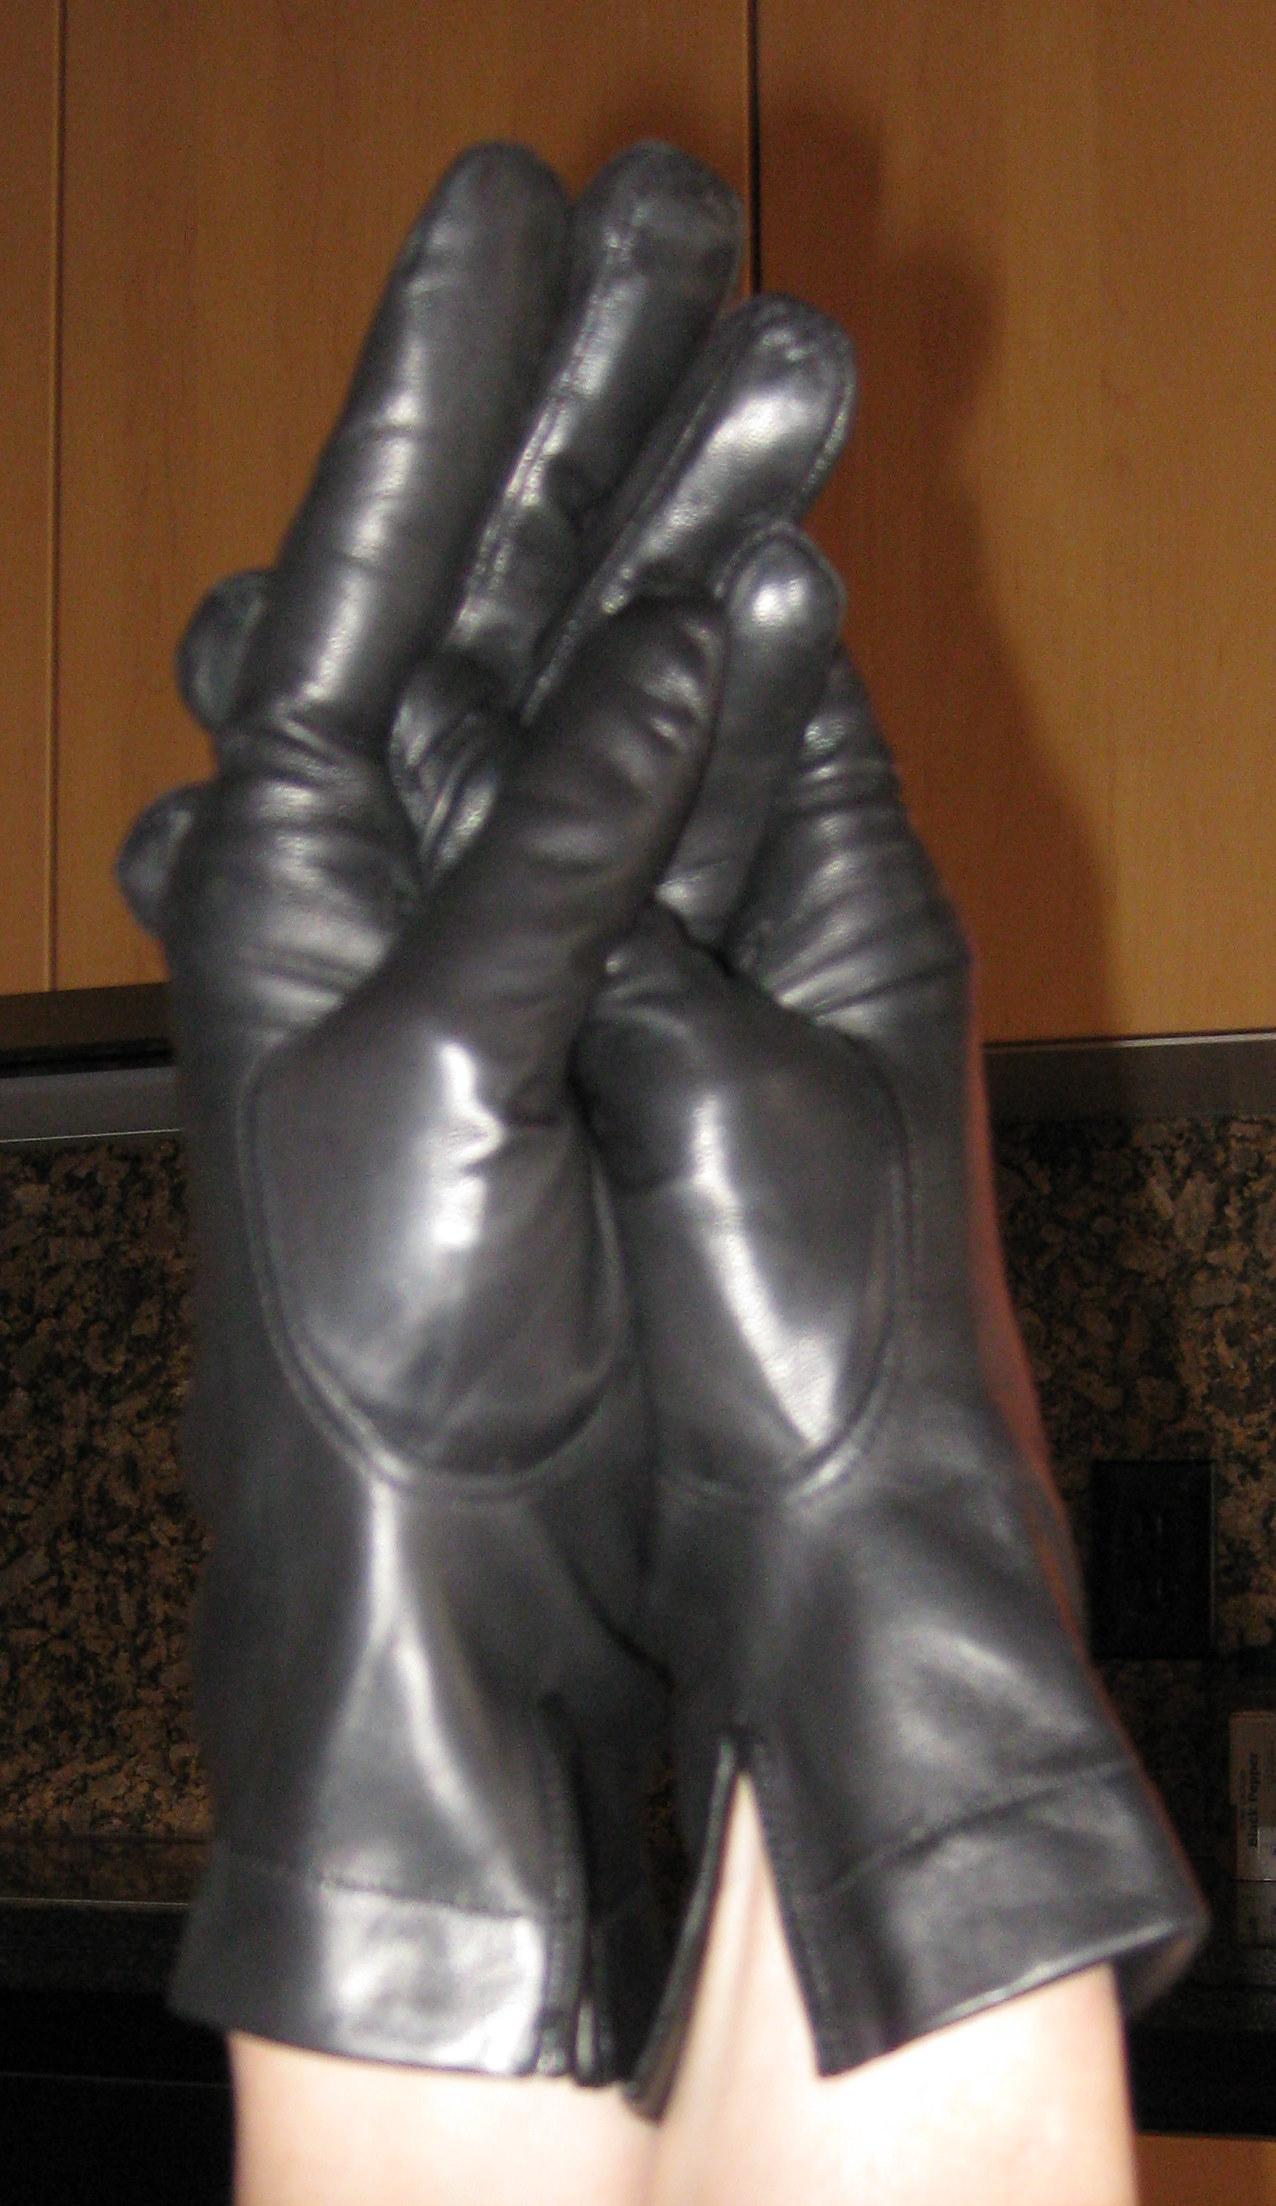
I also bought some black kid leather gloves a few months ago... Here are some photos:
Click here to add text.
Also, I bought a set of extensions and a new shade of blue contacts. The wig company said the extensions would be "wavey." Well... These, imho, qualify as curly. But they are human hair, and I'm hoping there may be a way for me to loosen the curl.
May 21, 2009: The hat came, and it's beautiful. Unfortunately, UPS smashed the box in shipping, and the hat was damaged all the way around the blank. I've had to send it back to for repairs.
June 4, 2009:
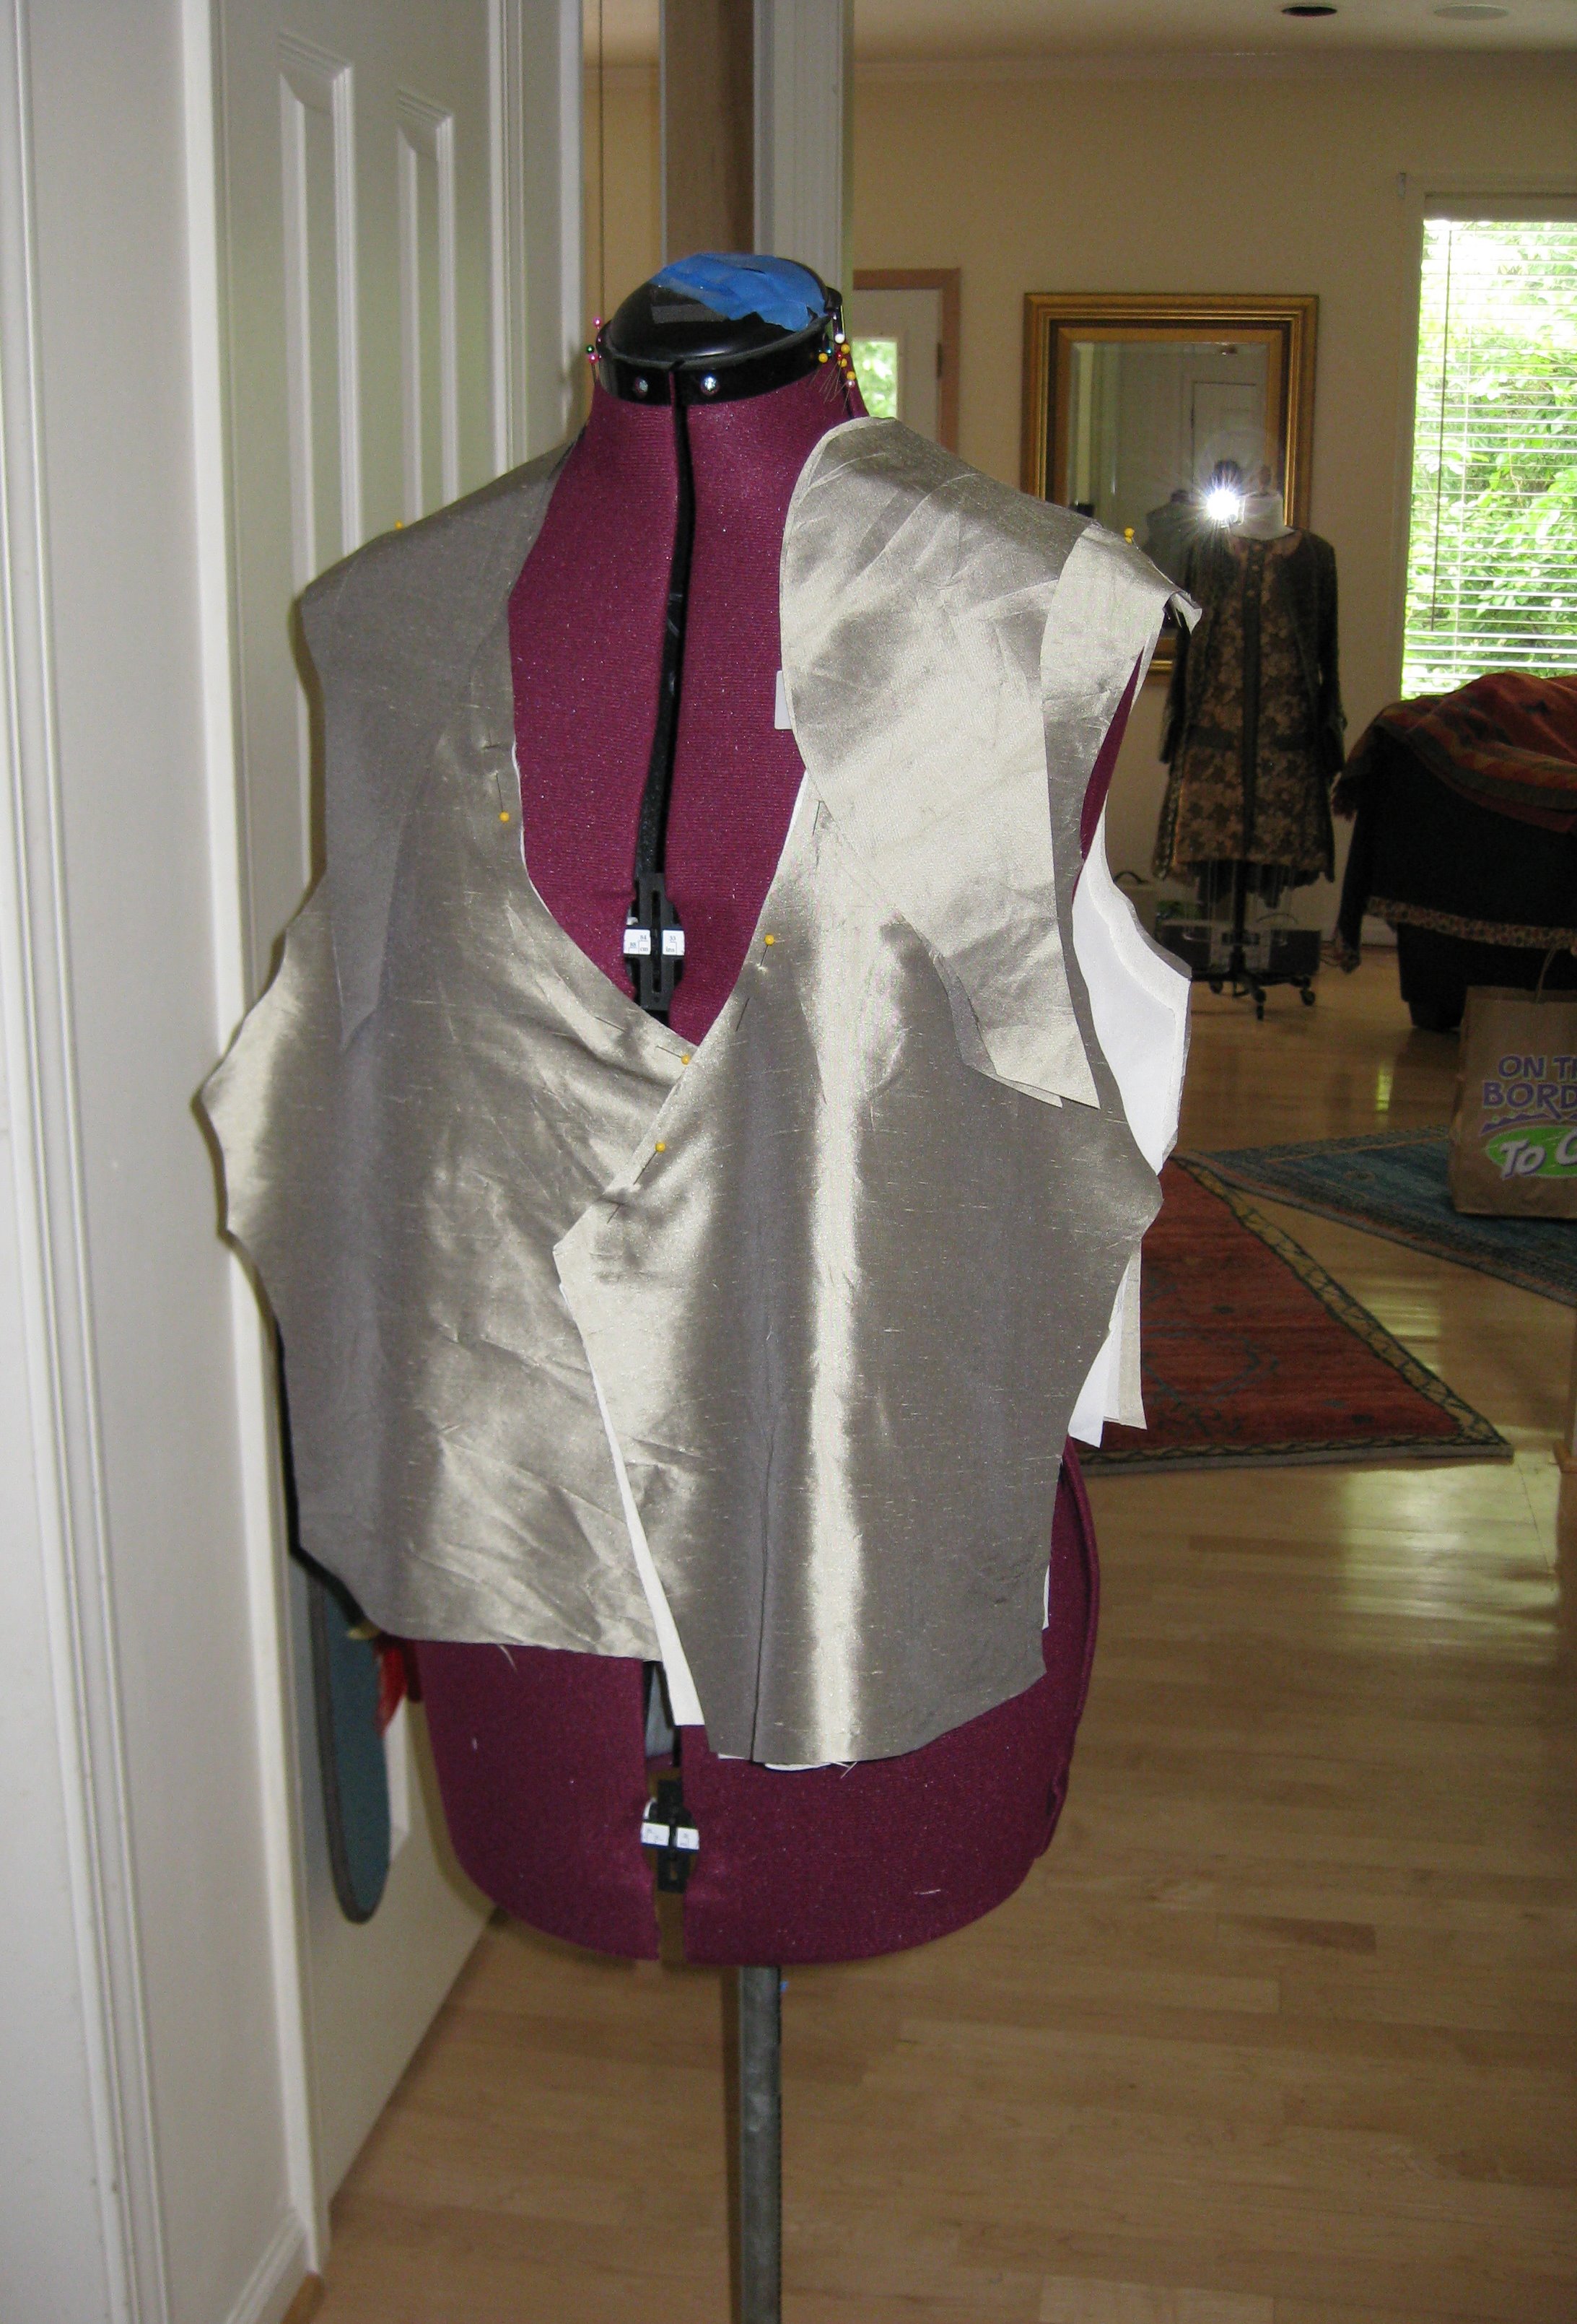
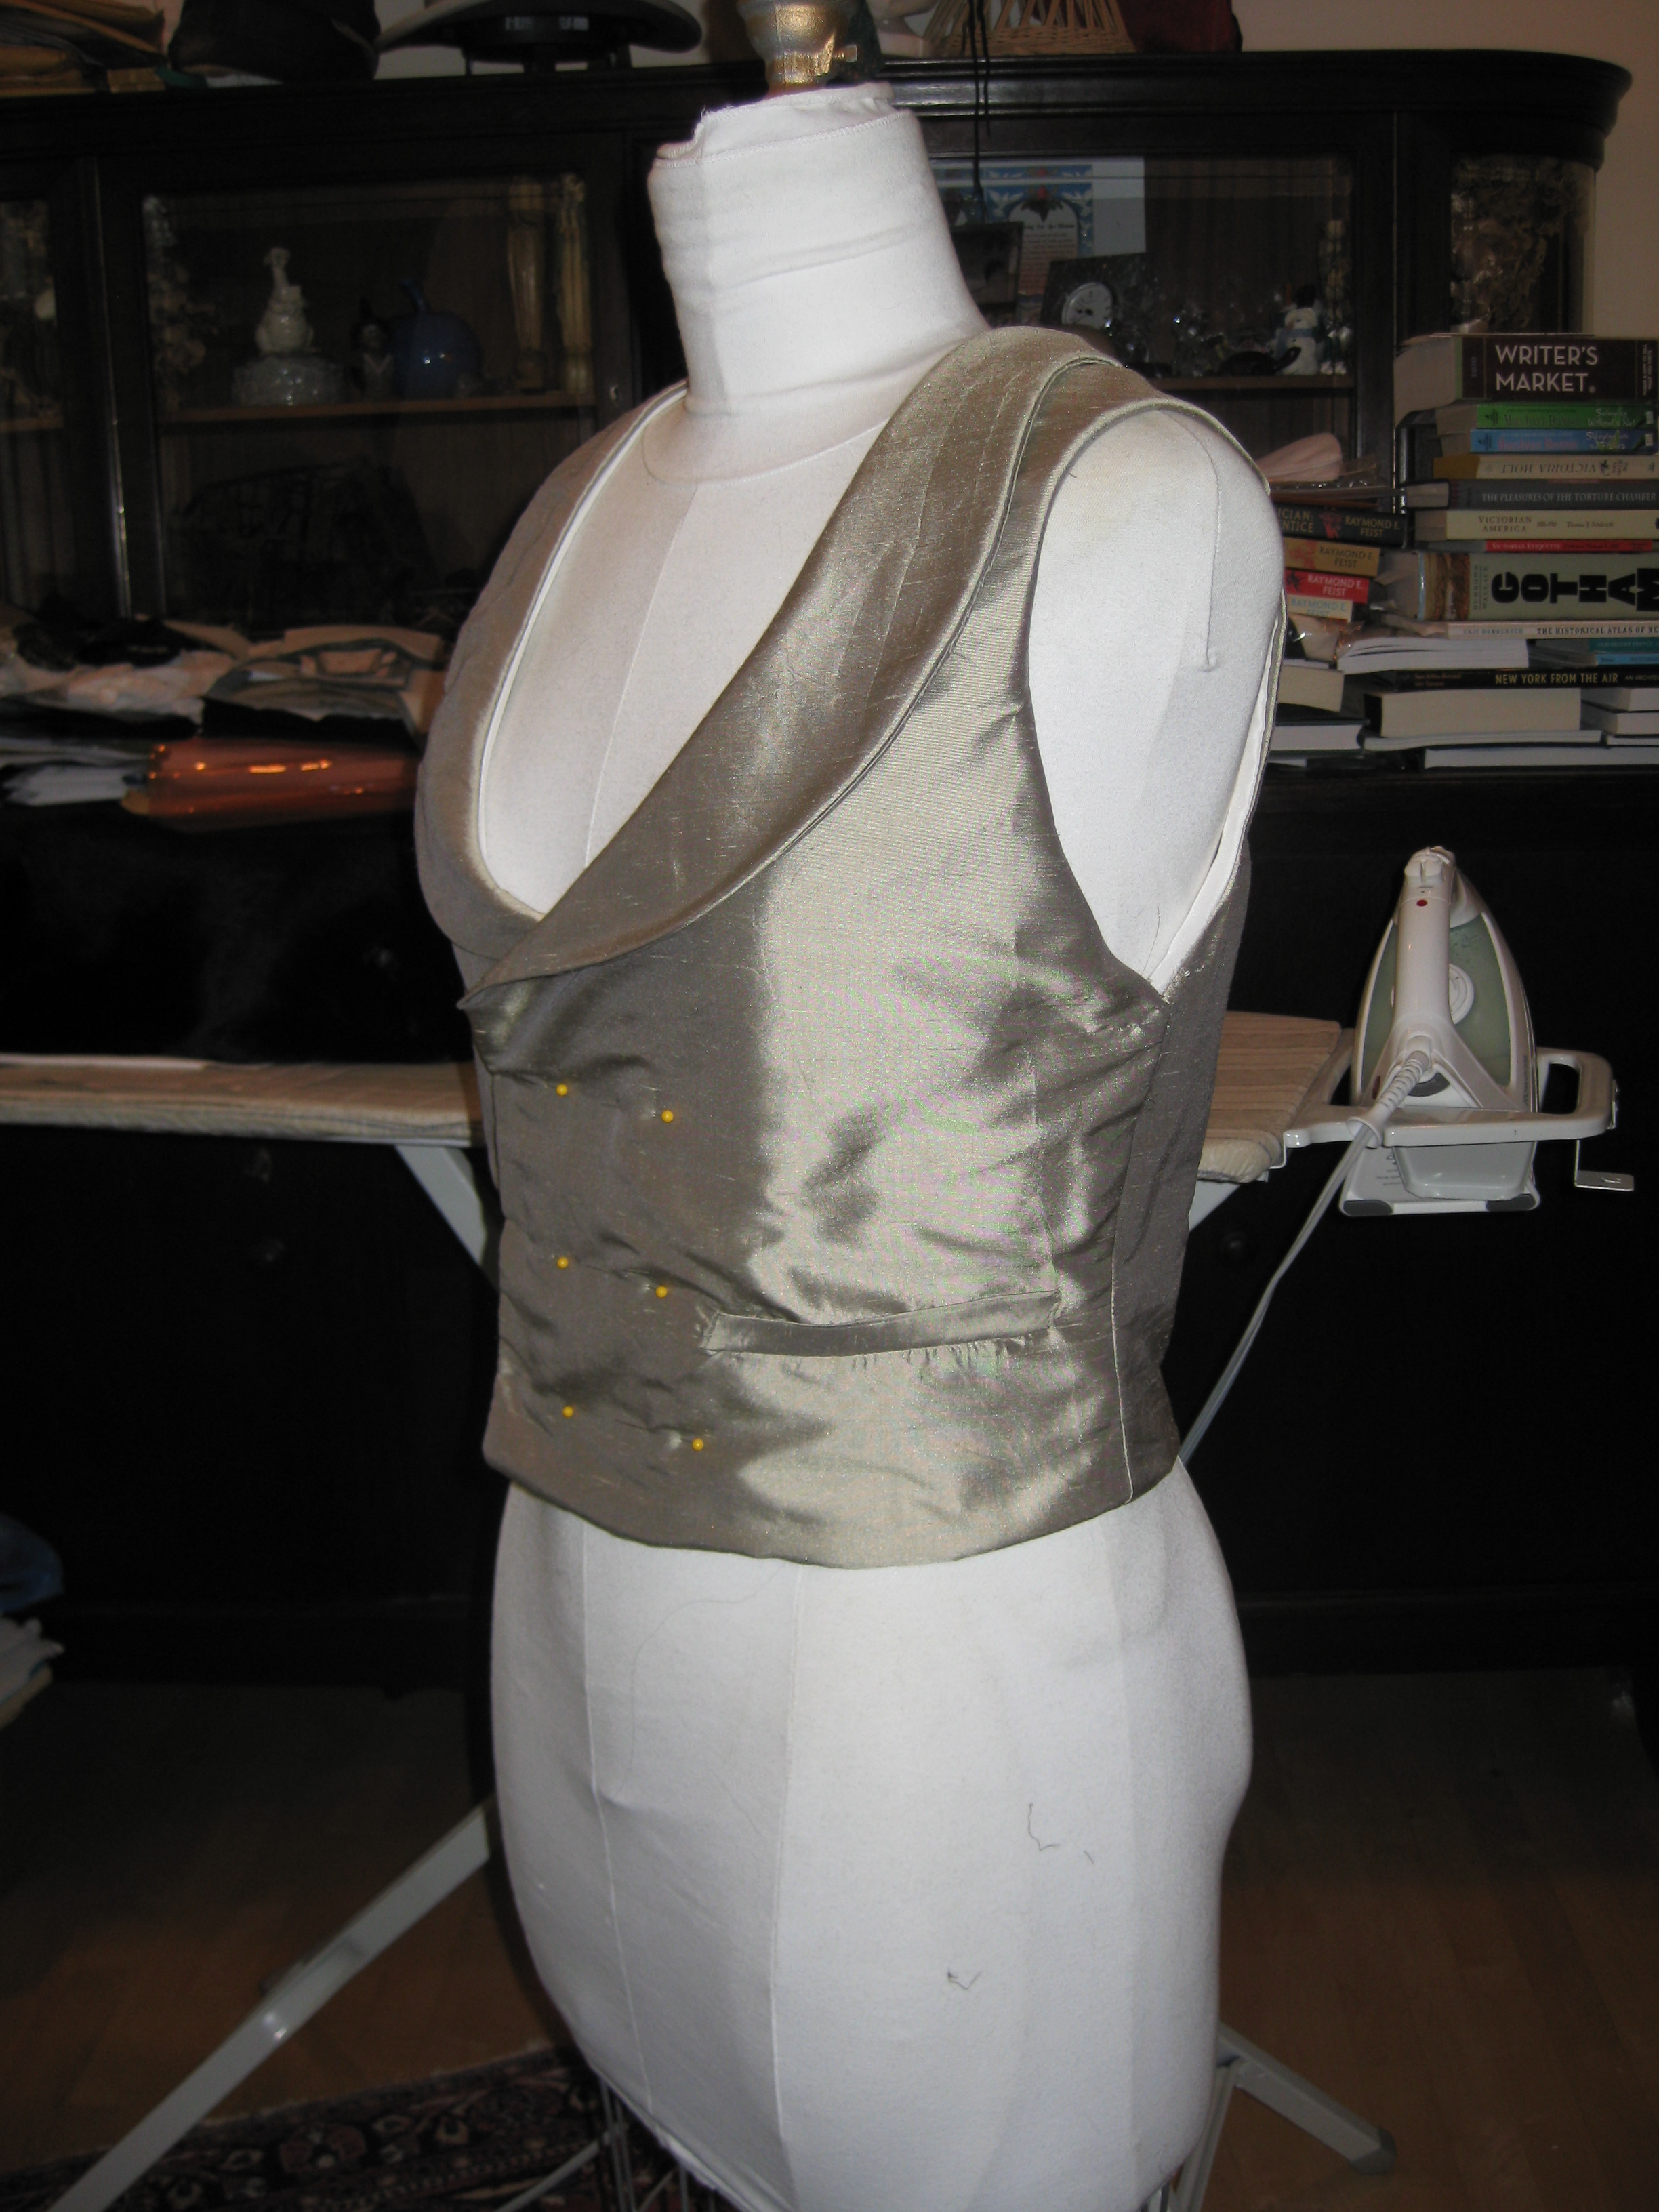
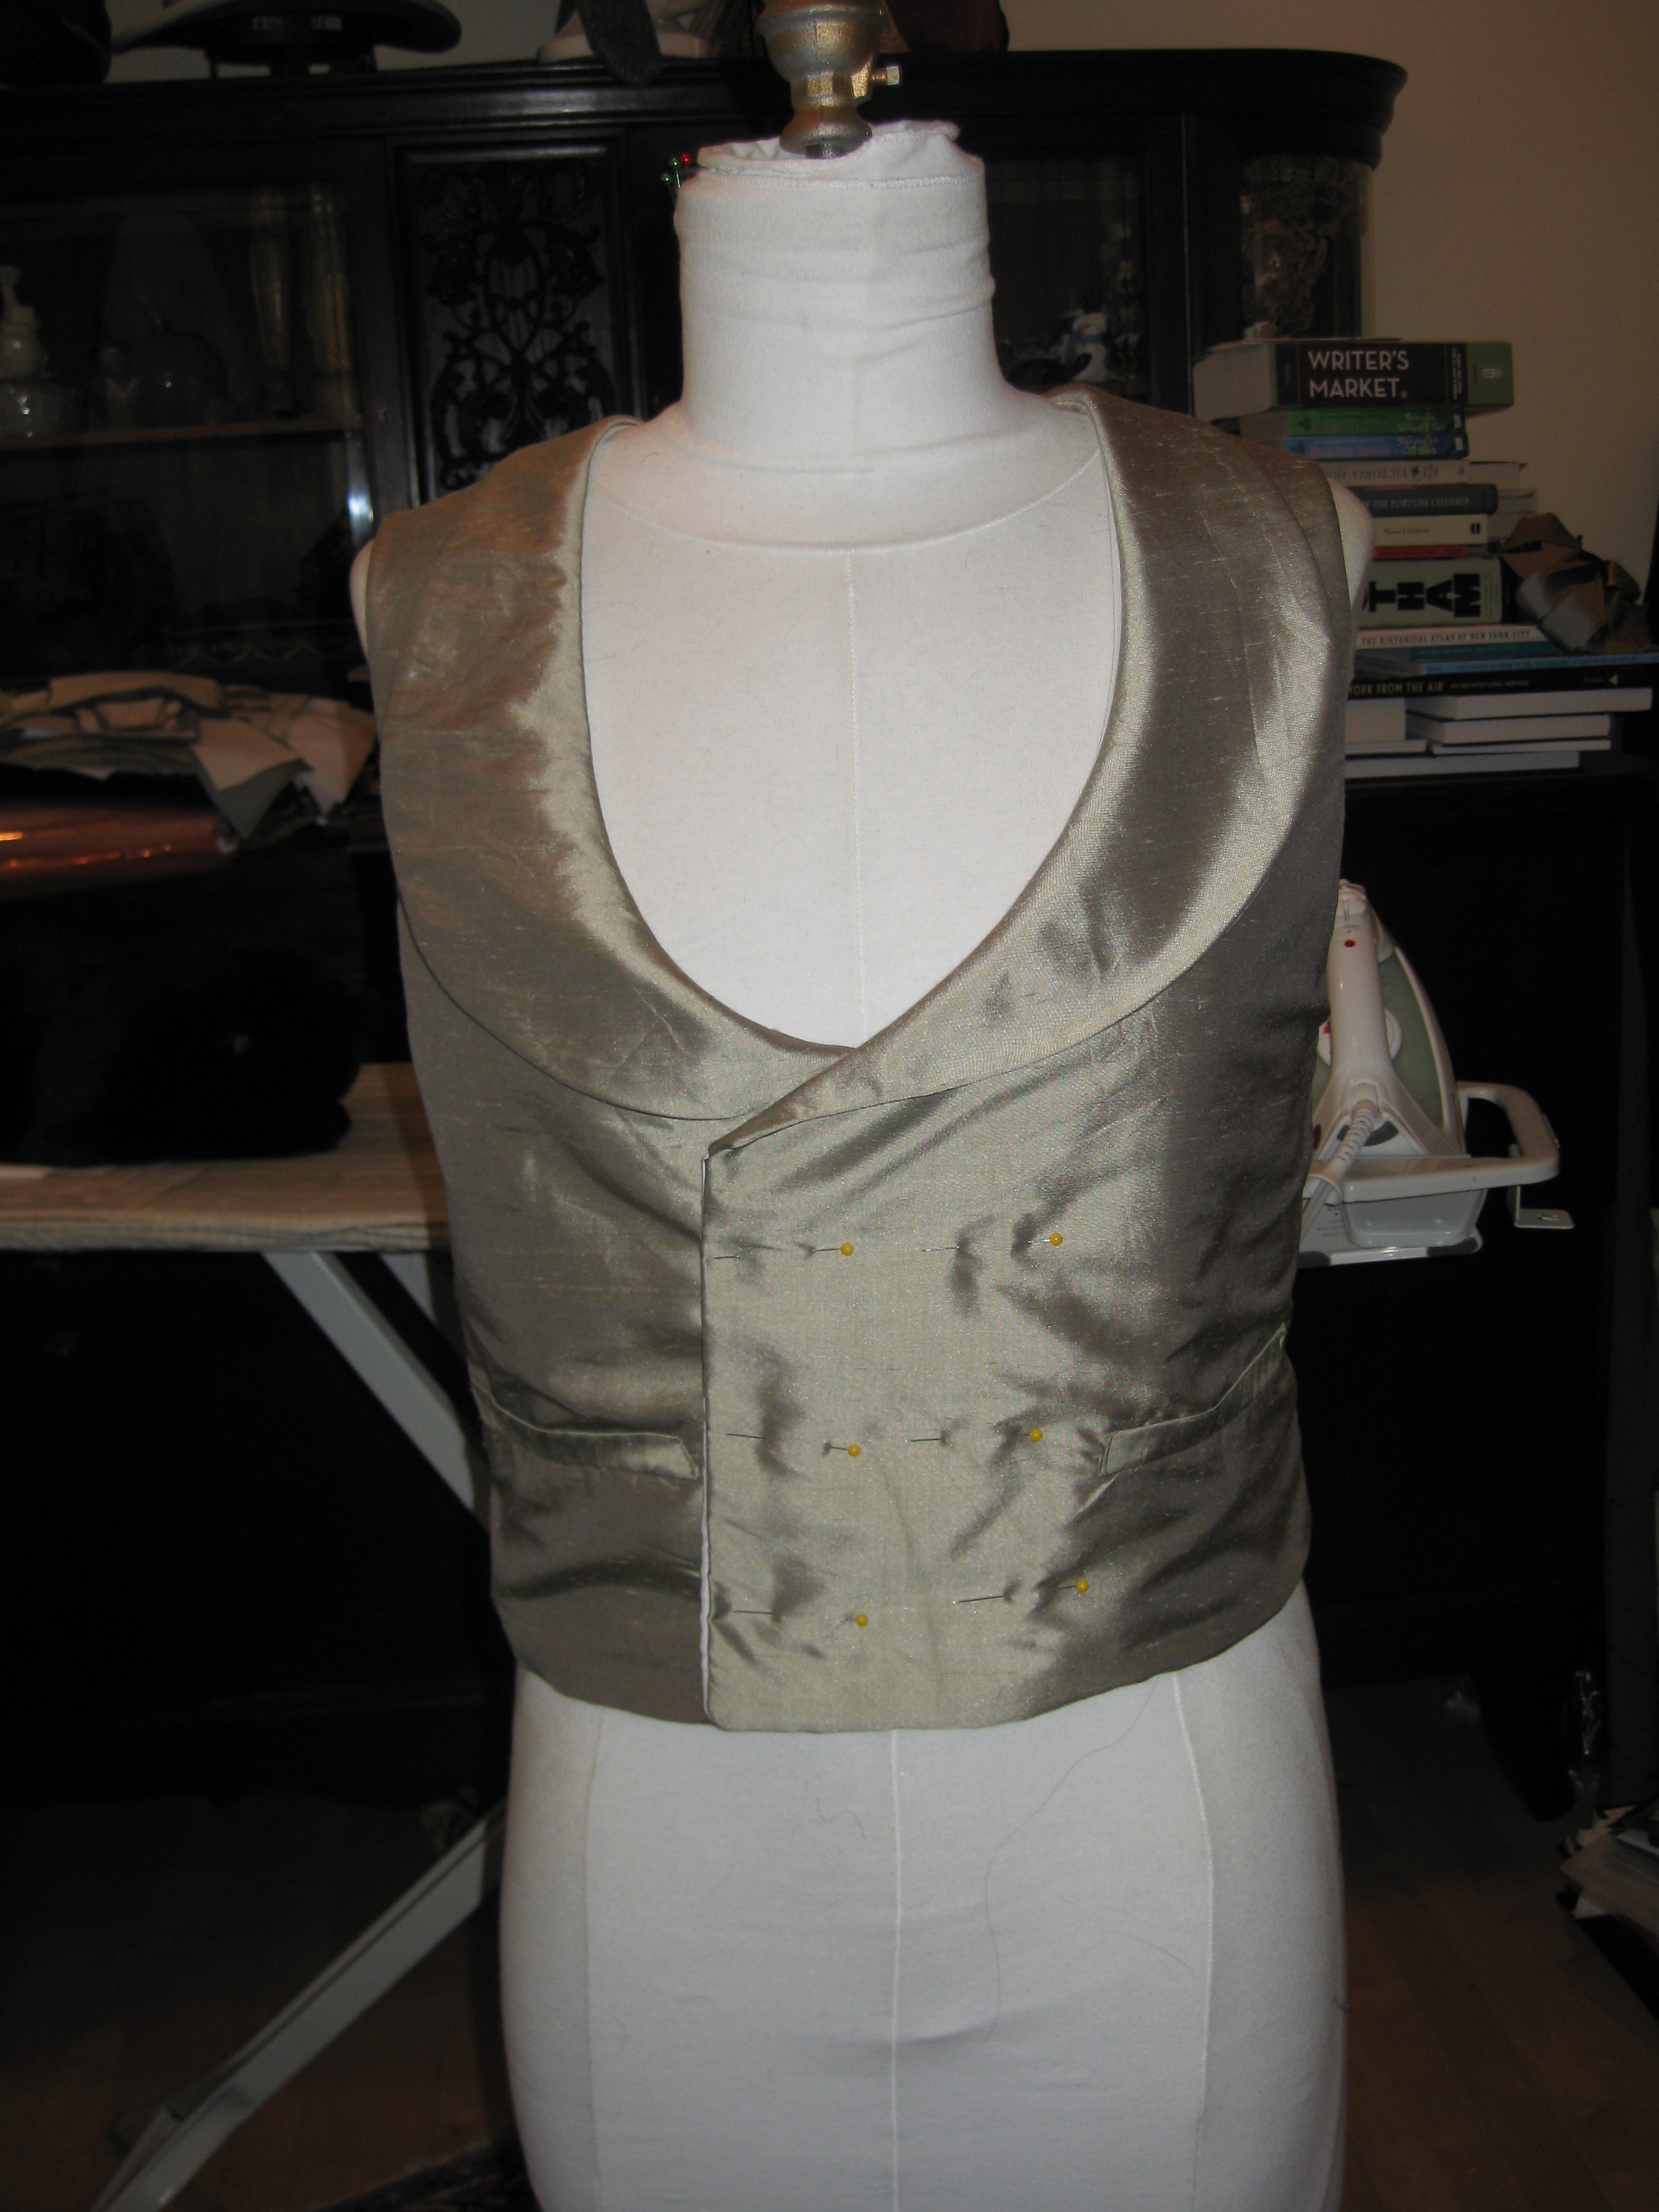
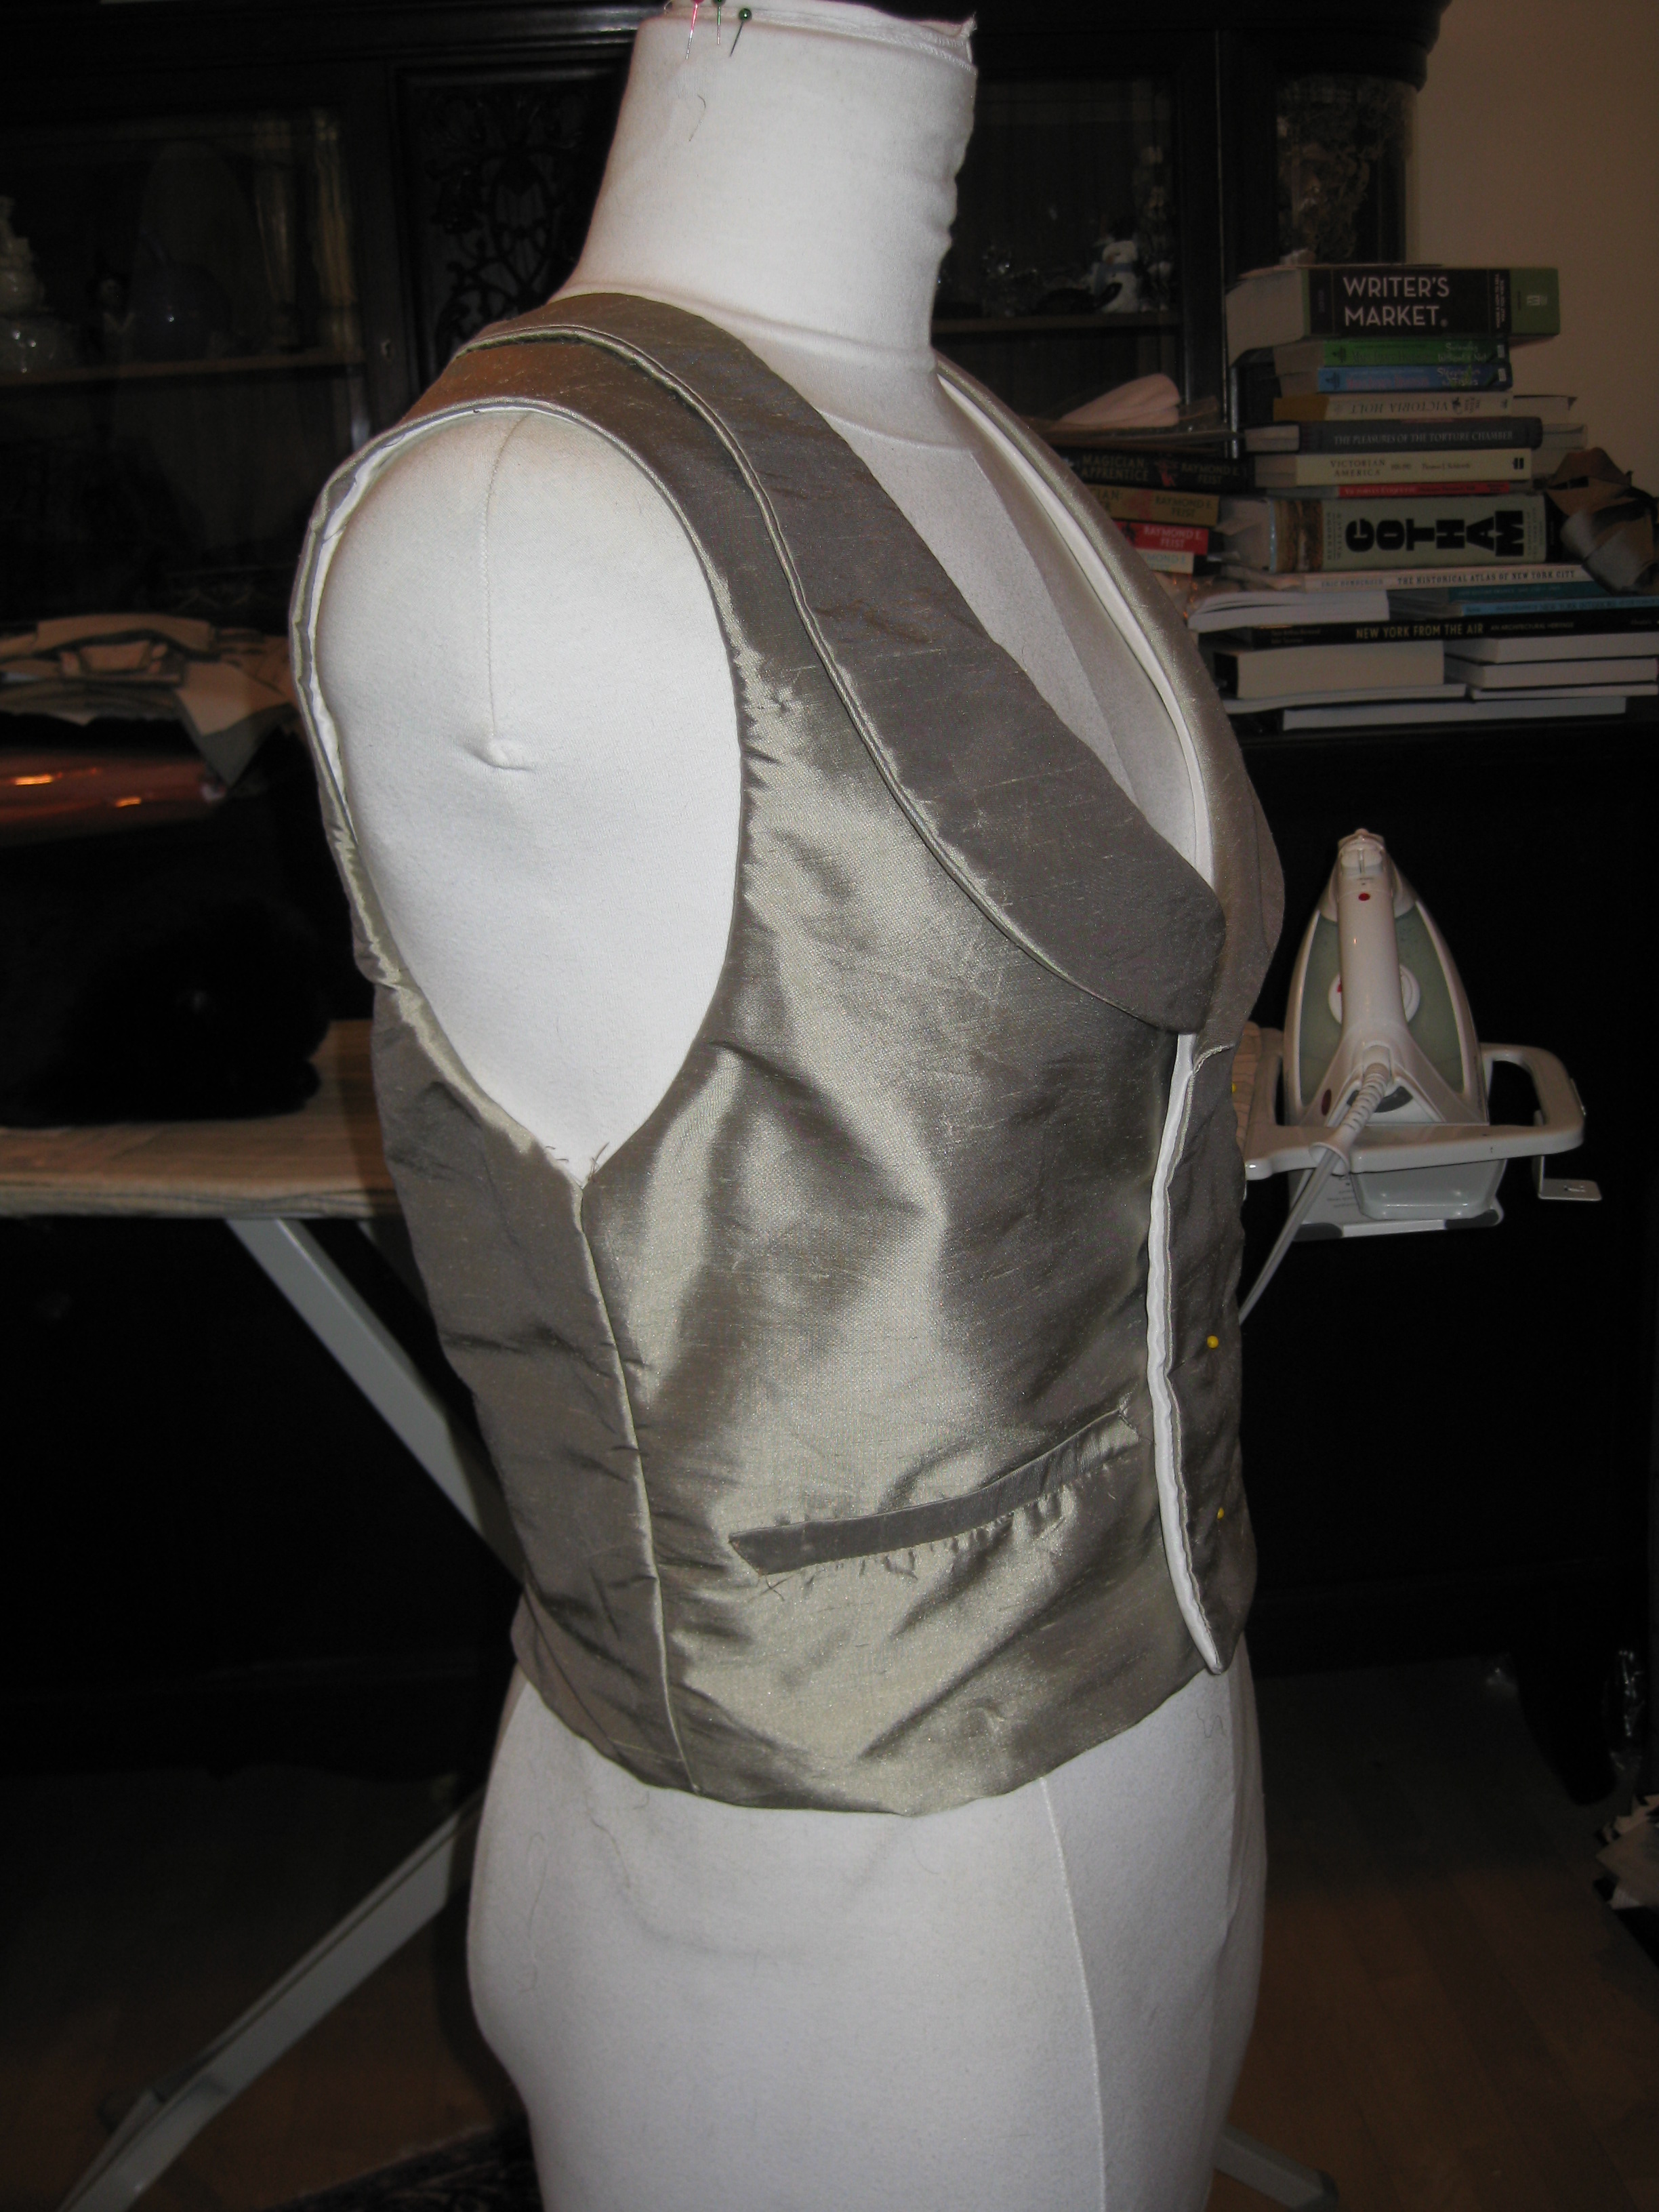
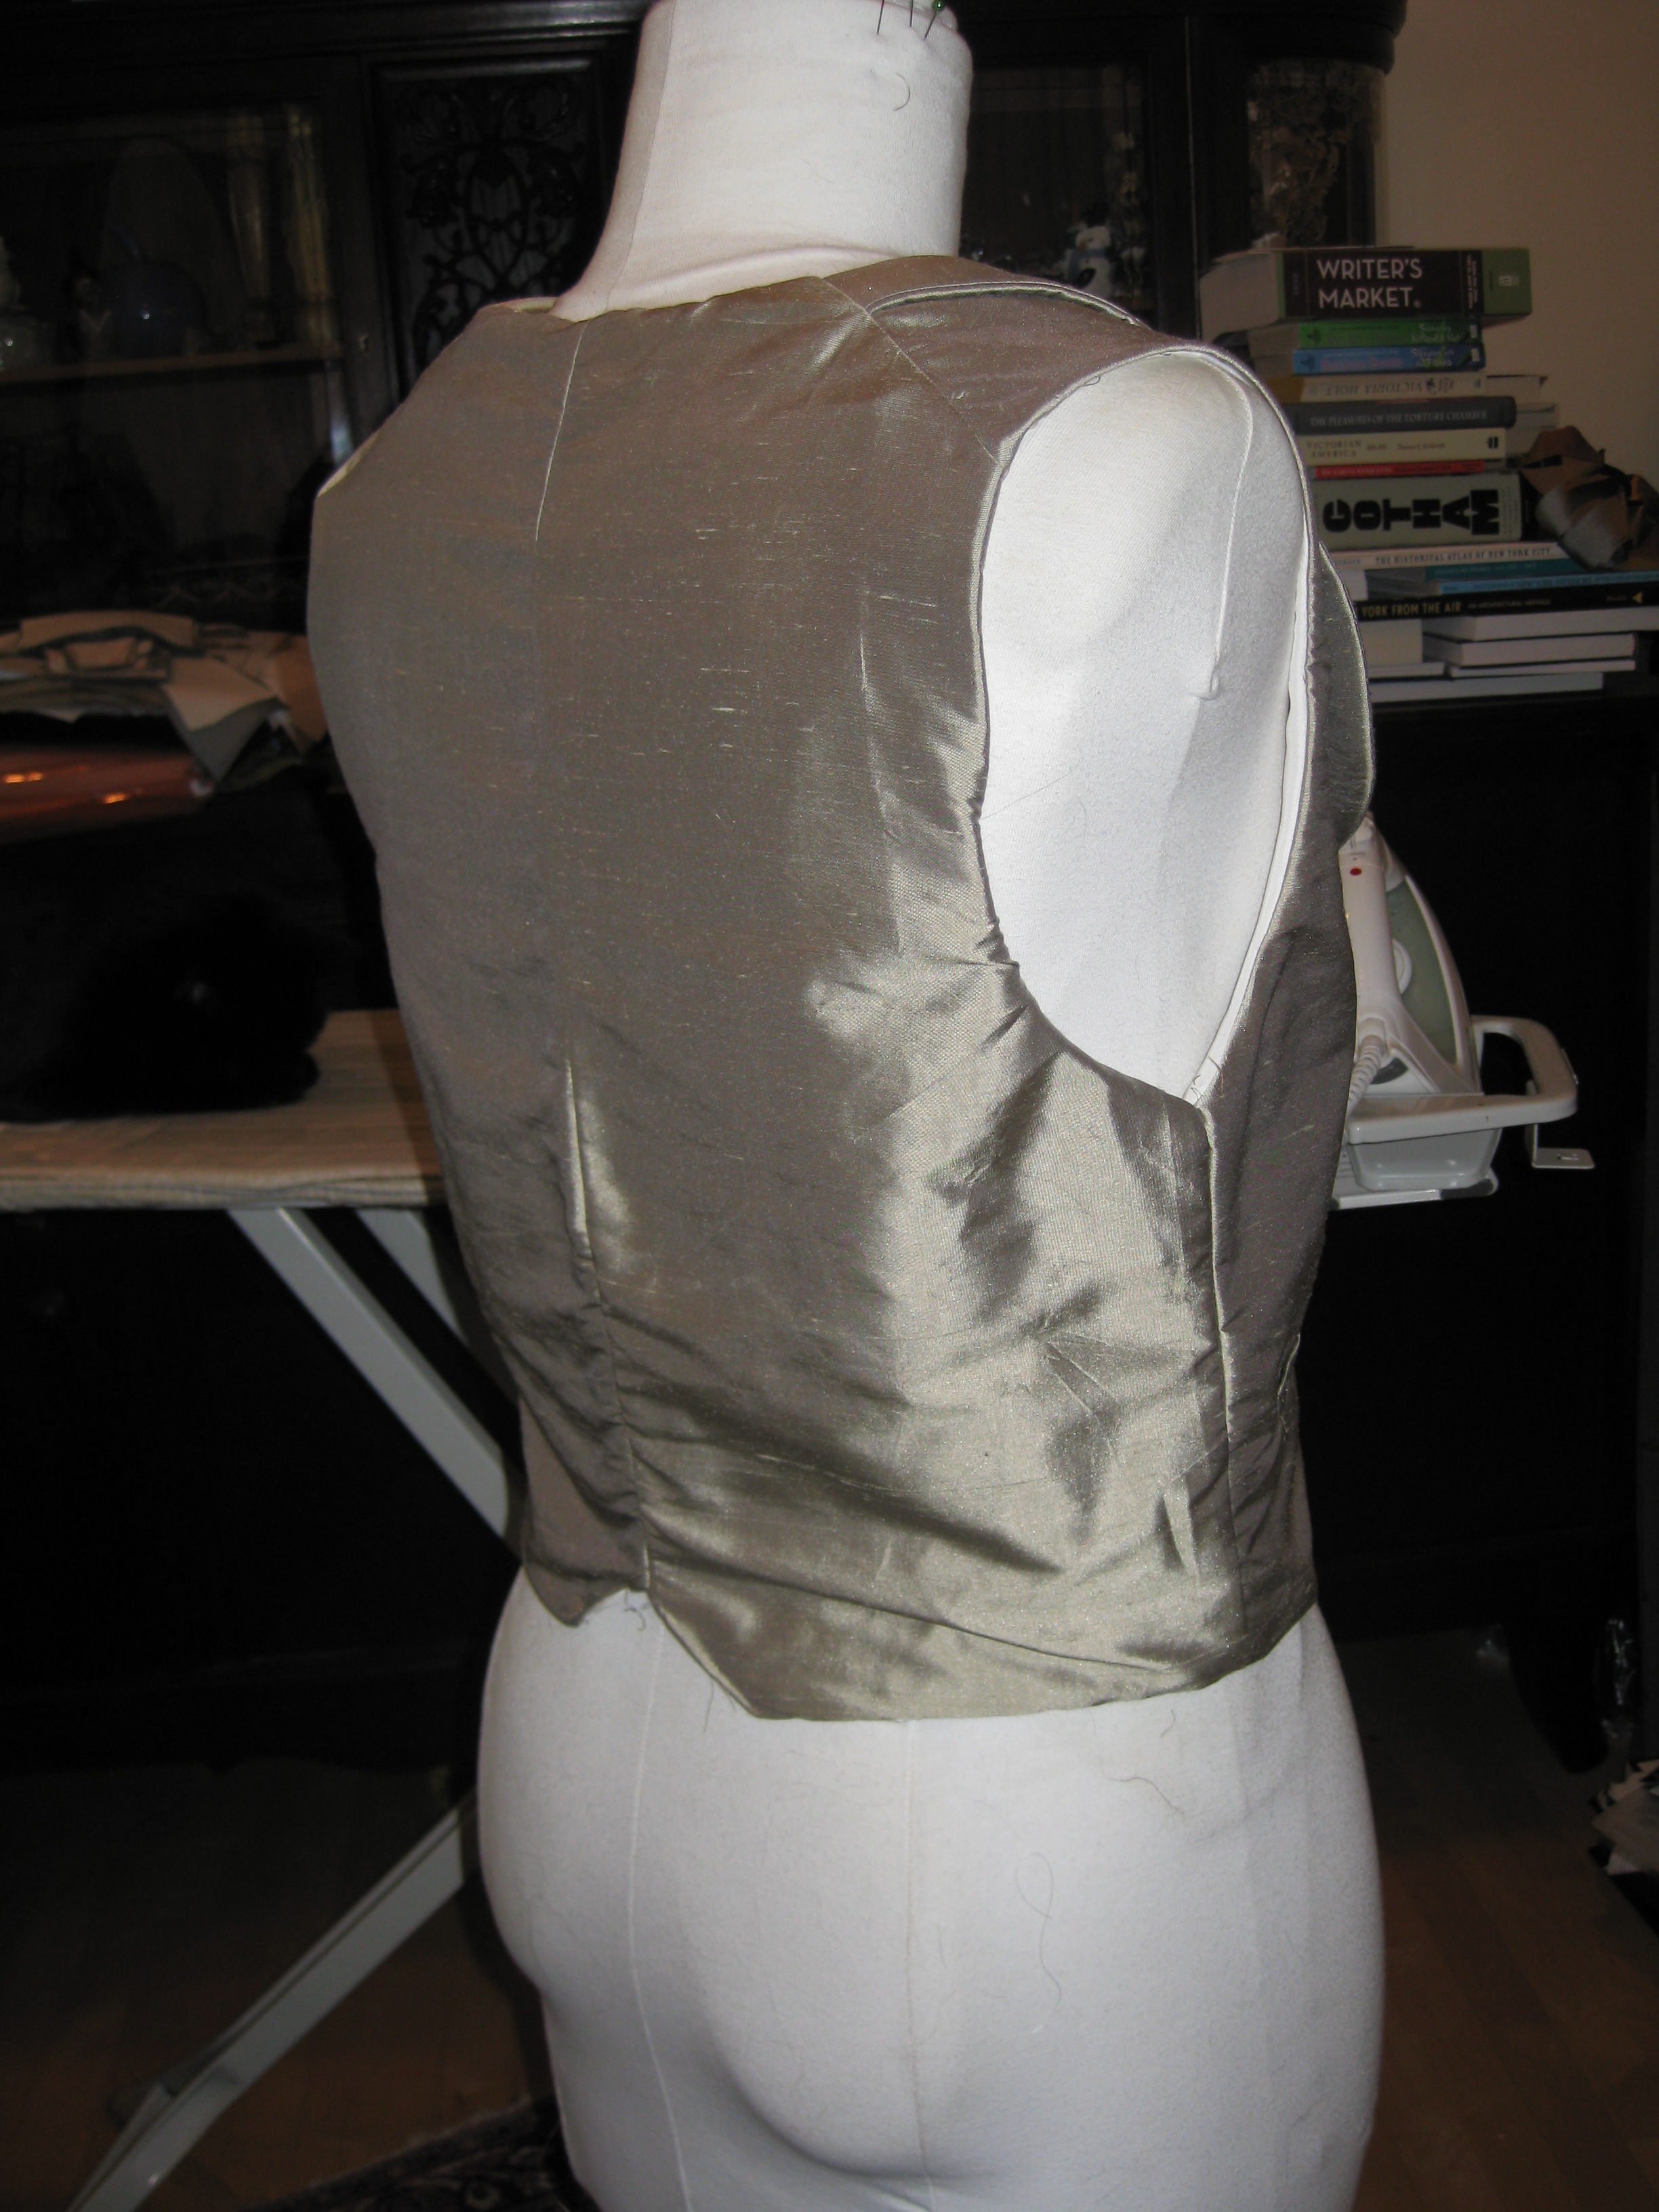
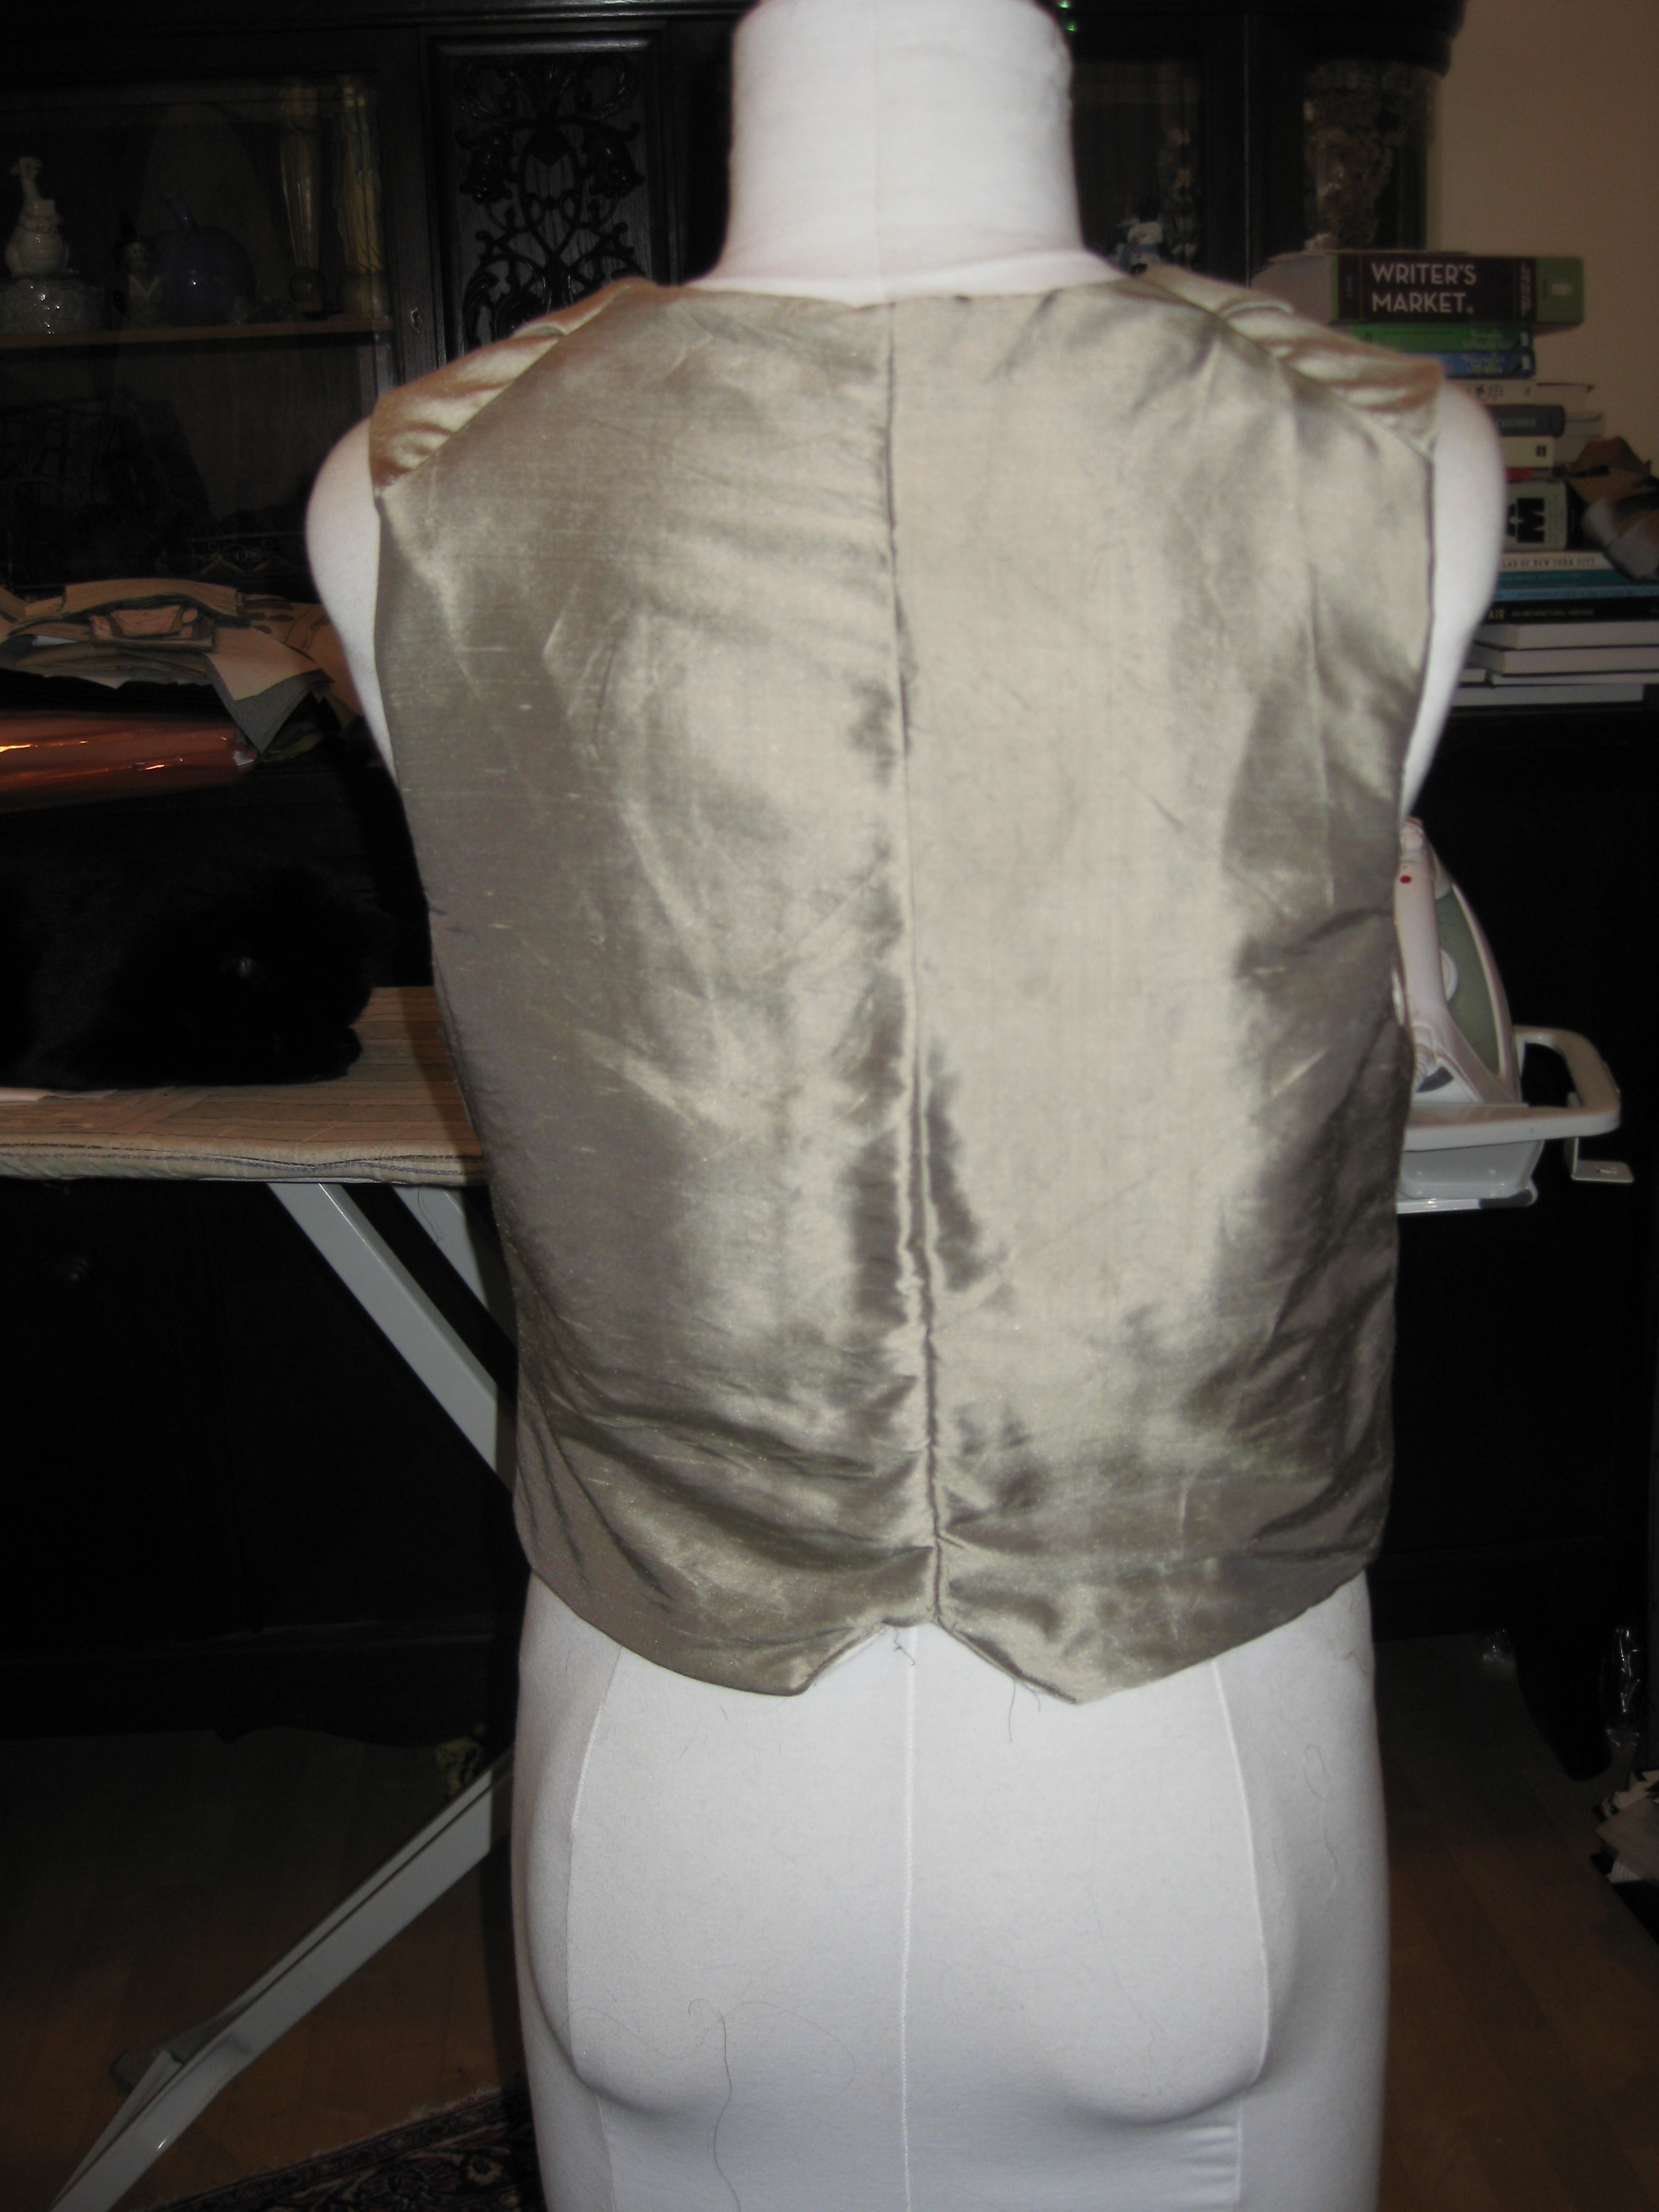
Prince Vlad's suit progress: I'm starting with the vest!
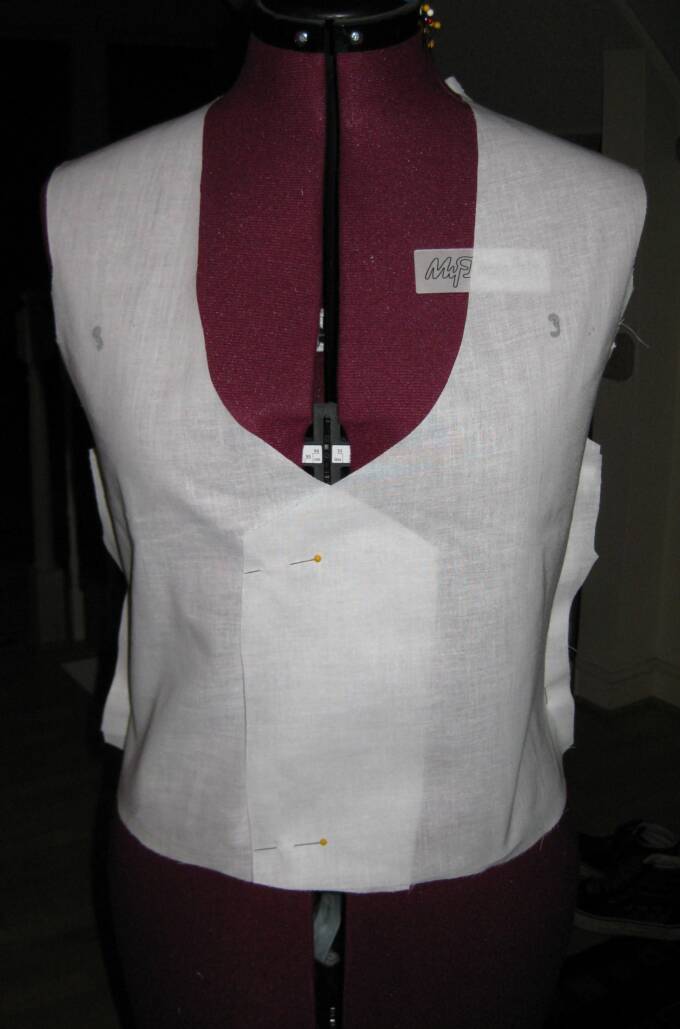
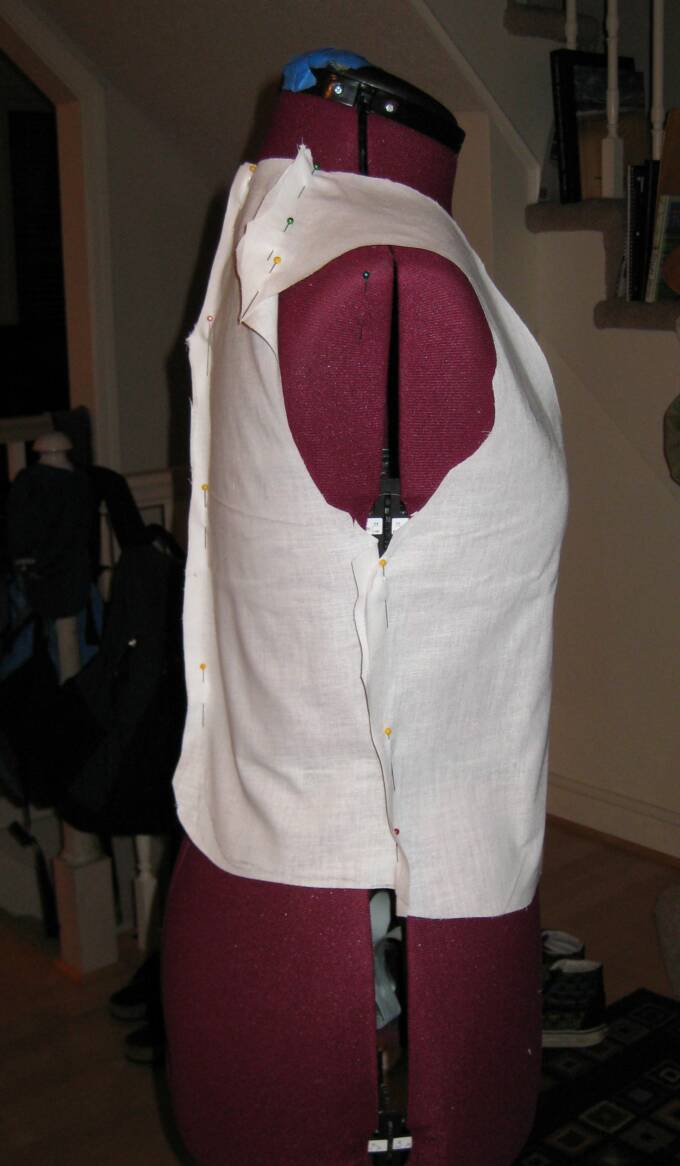
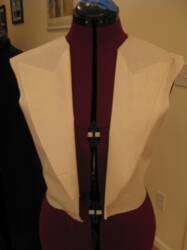
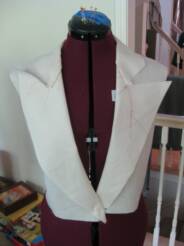
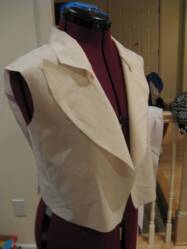
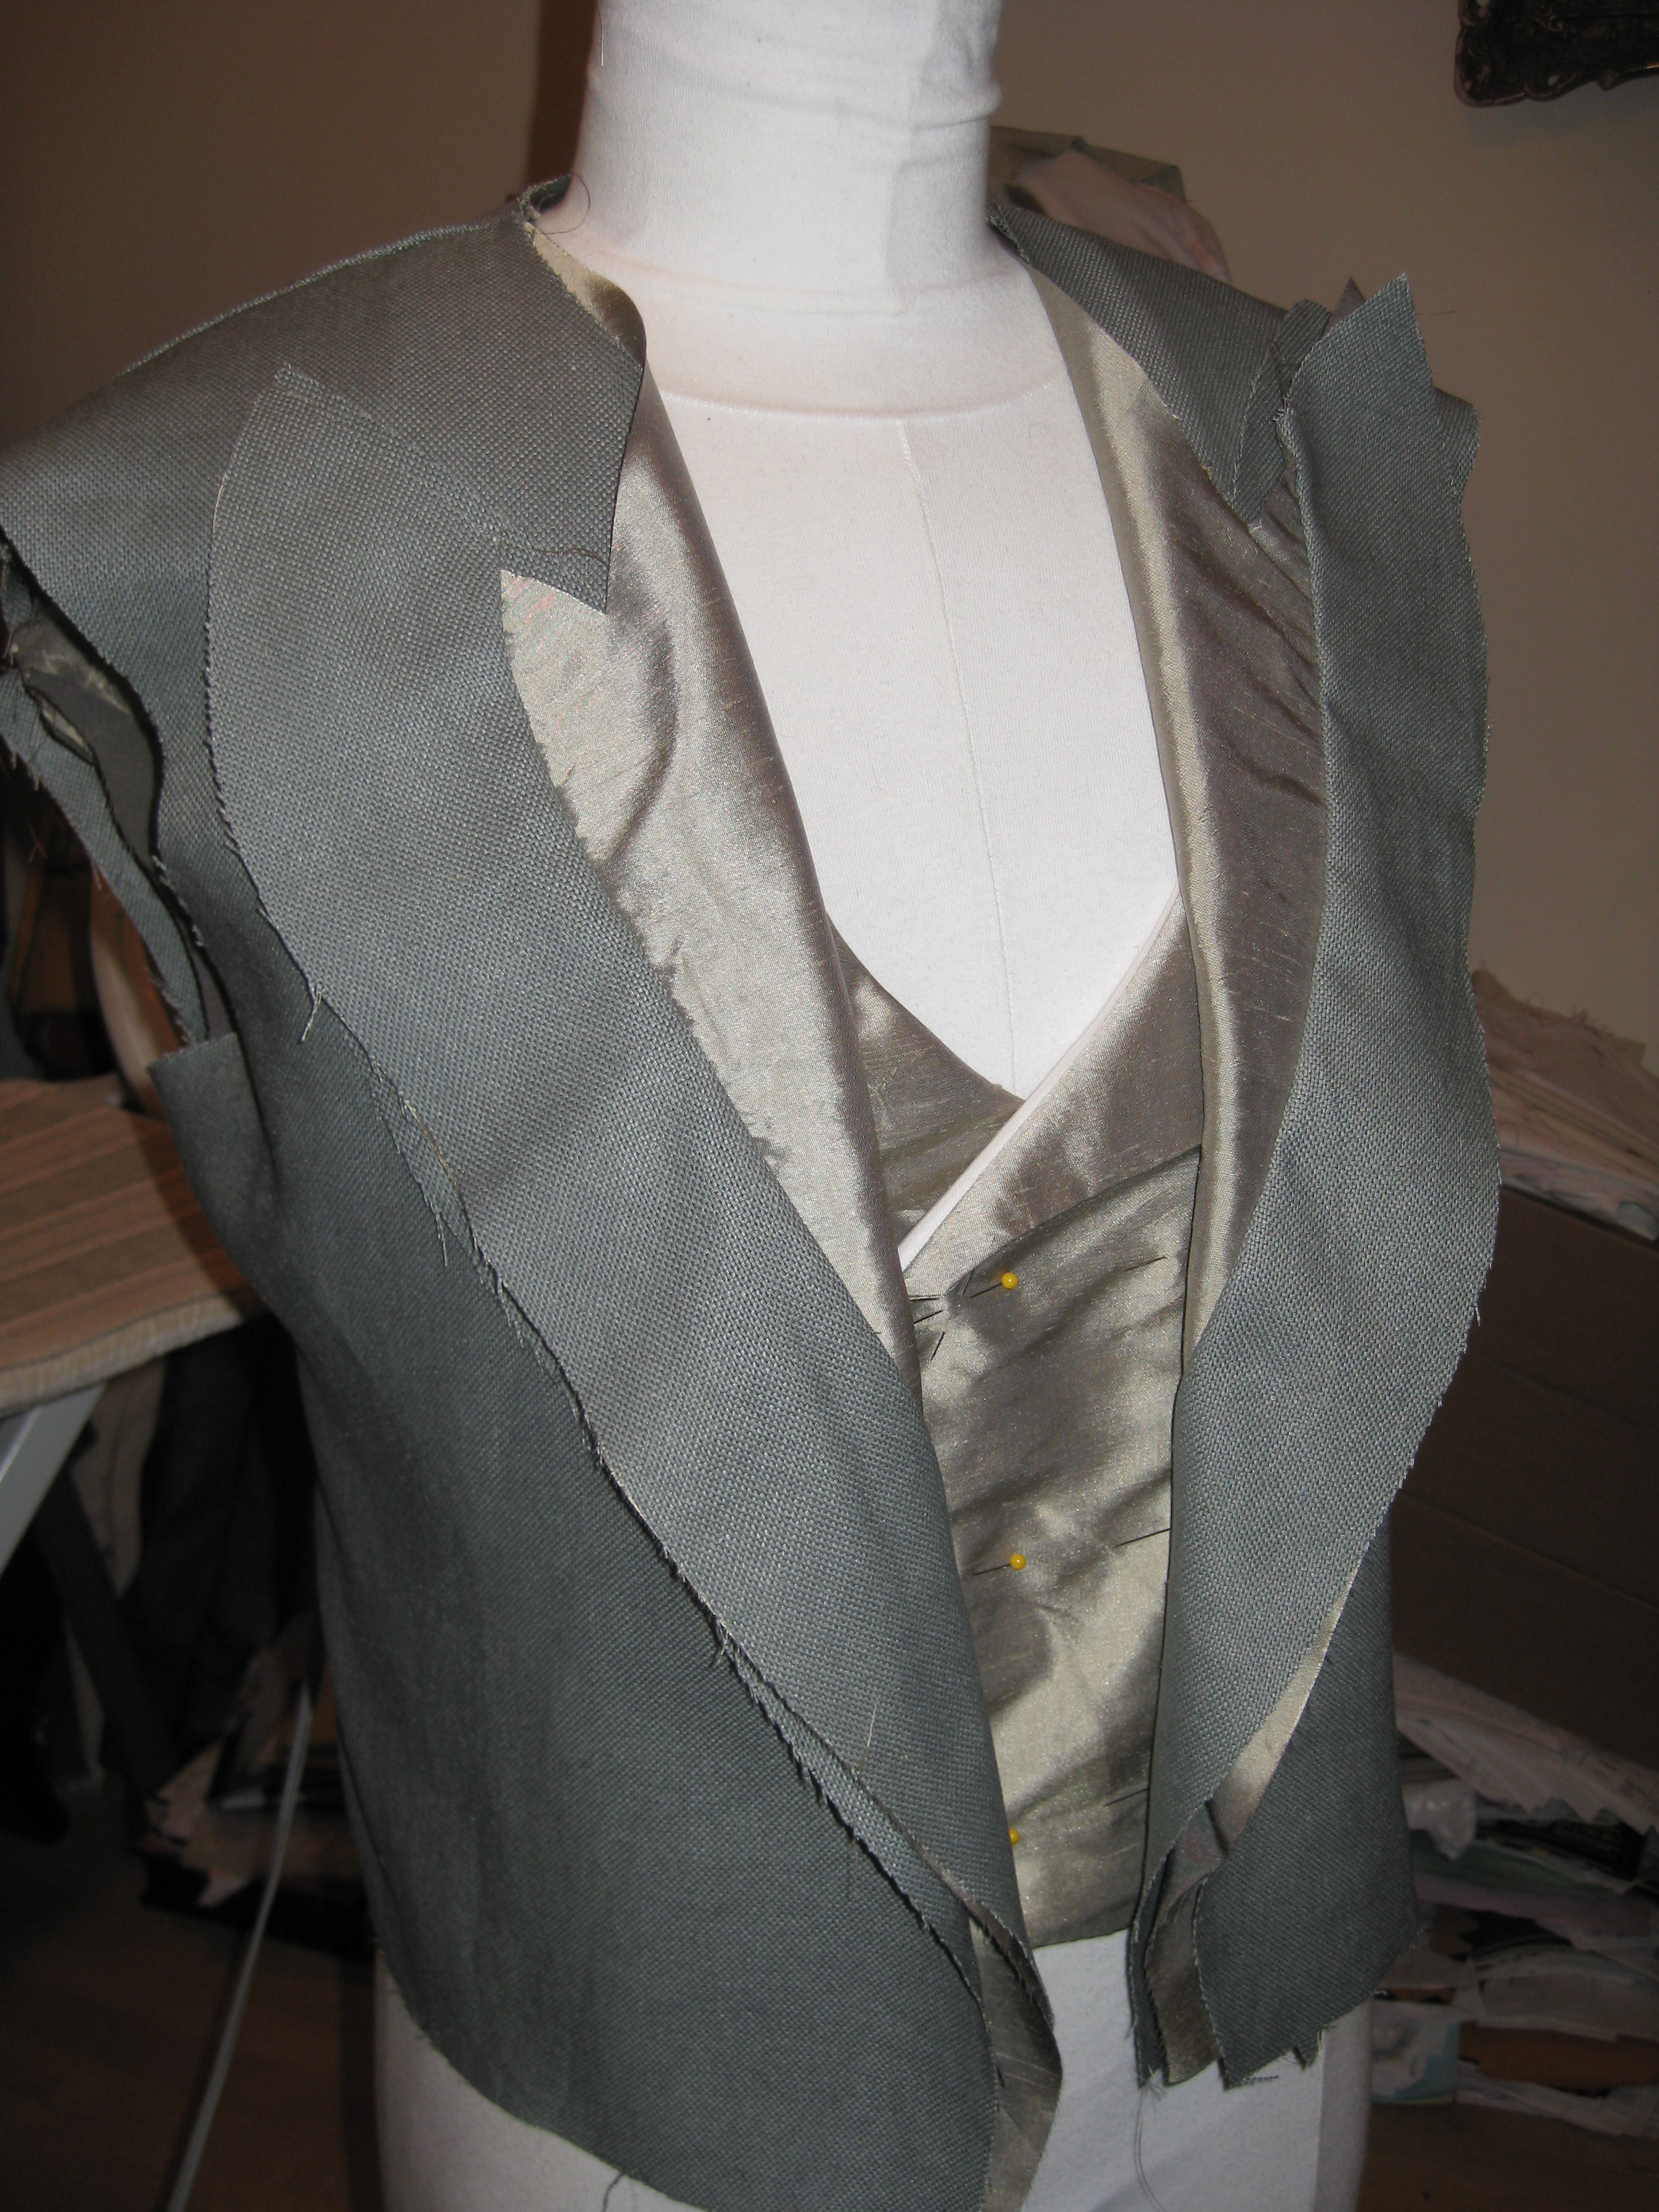
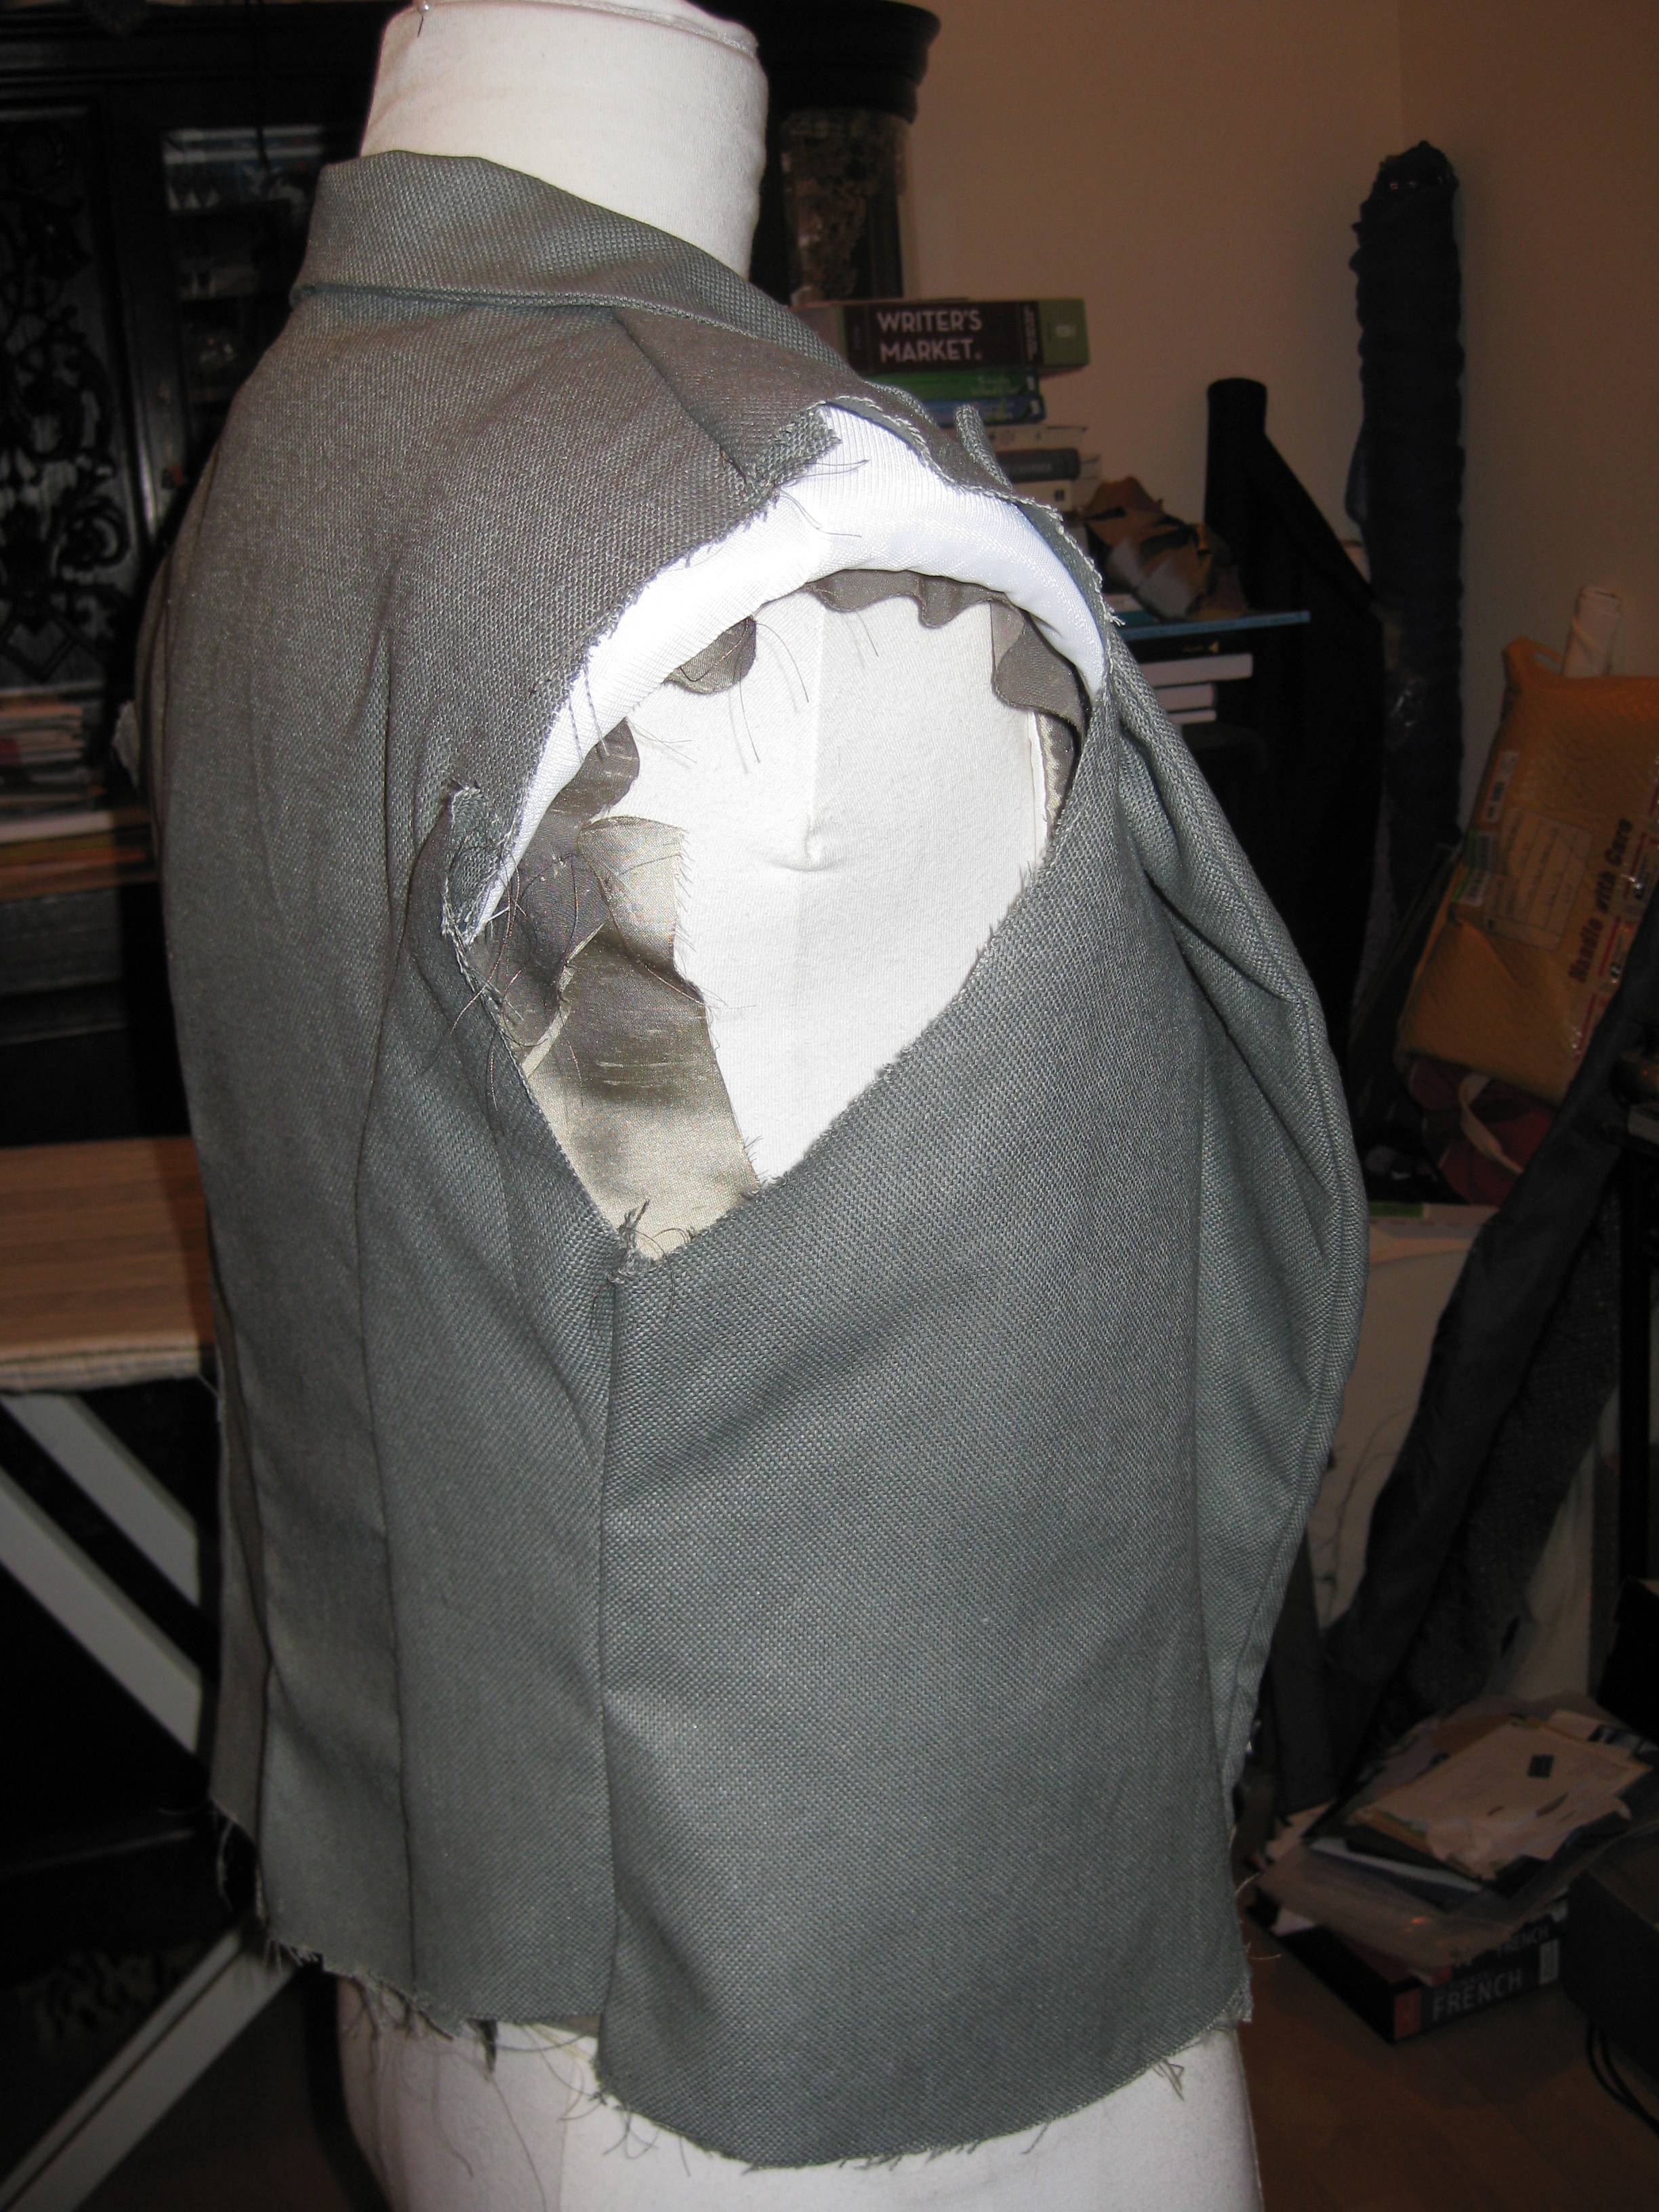
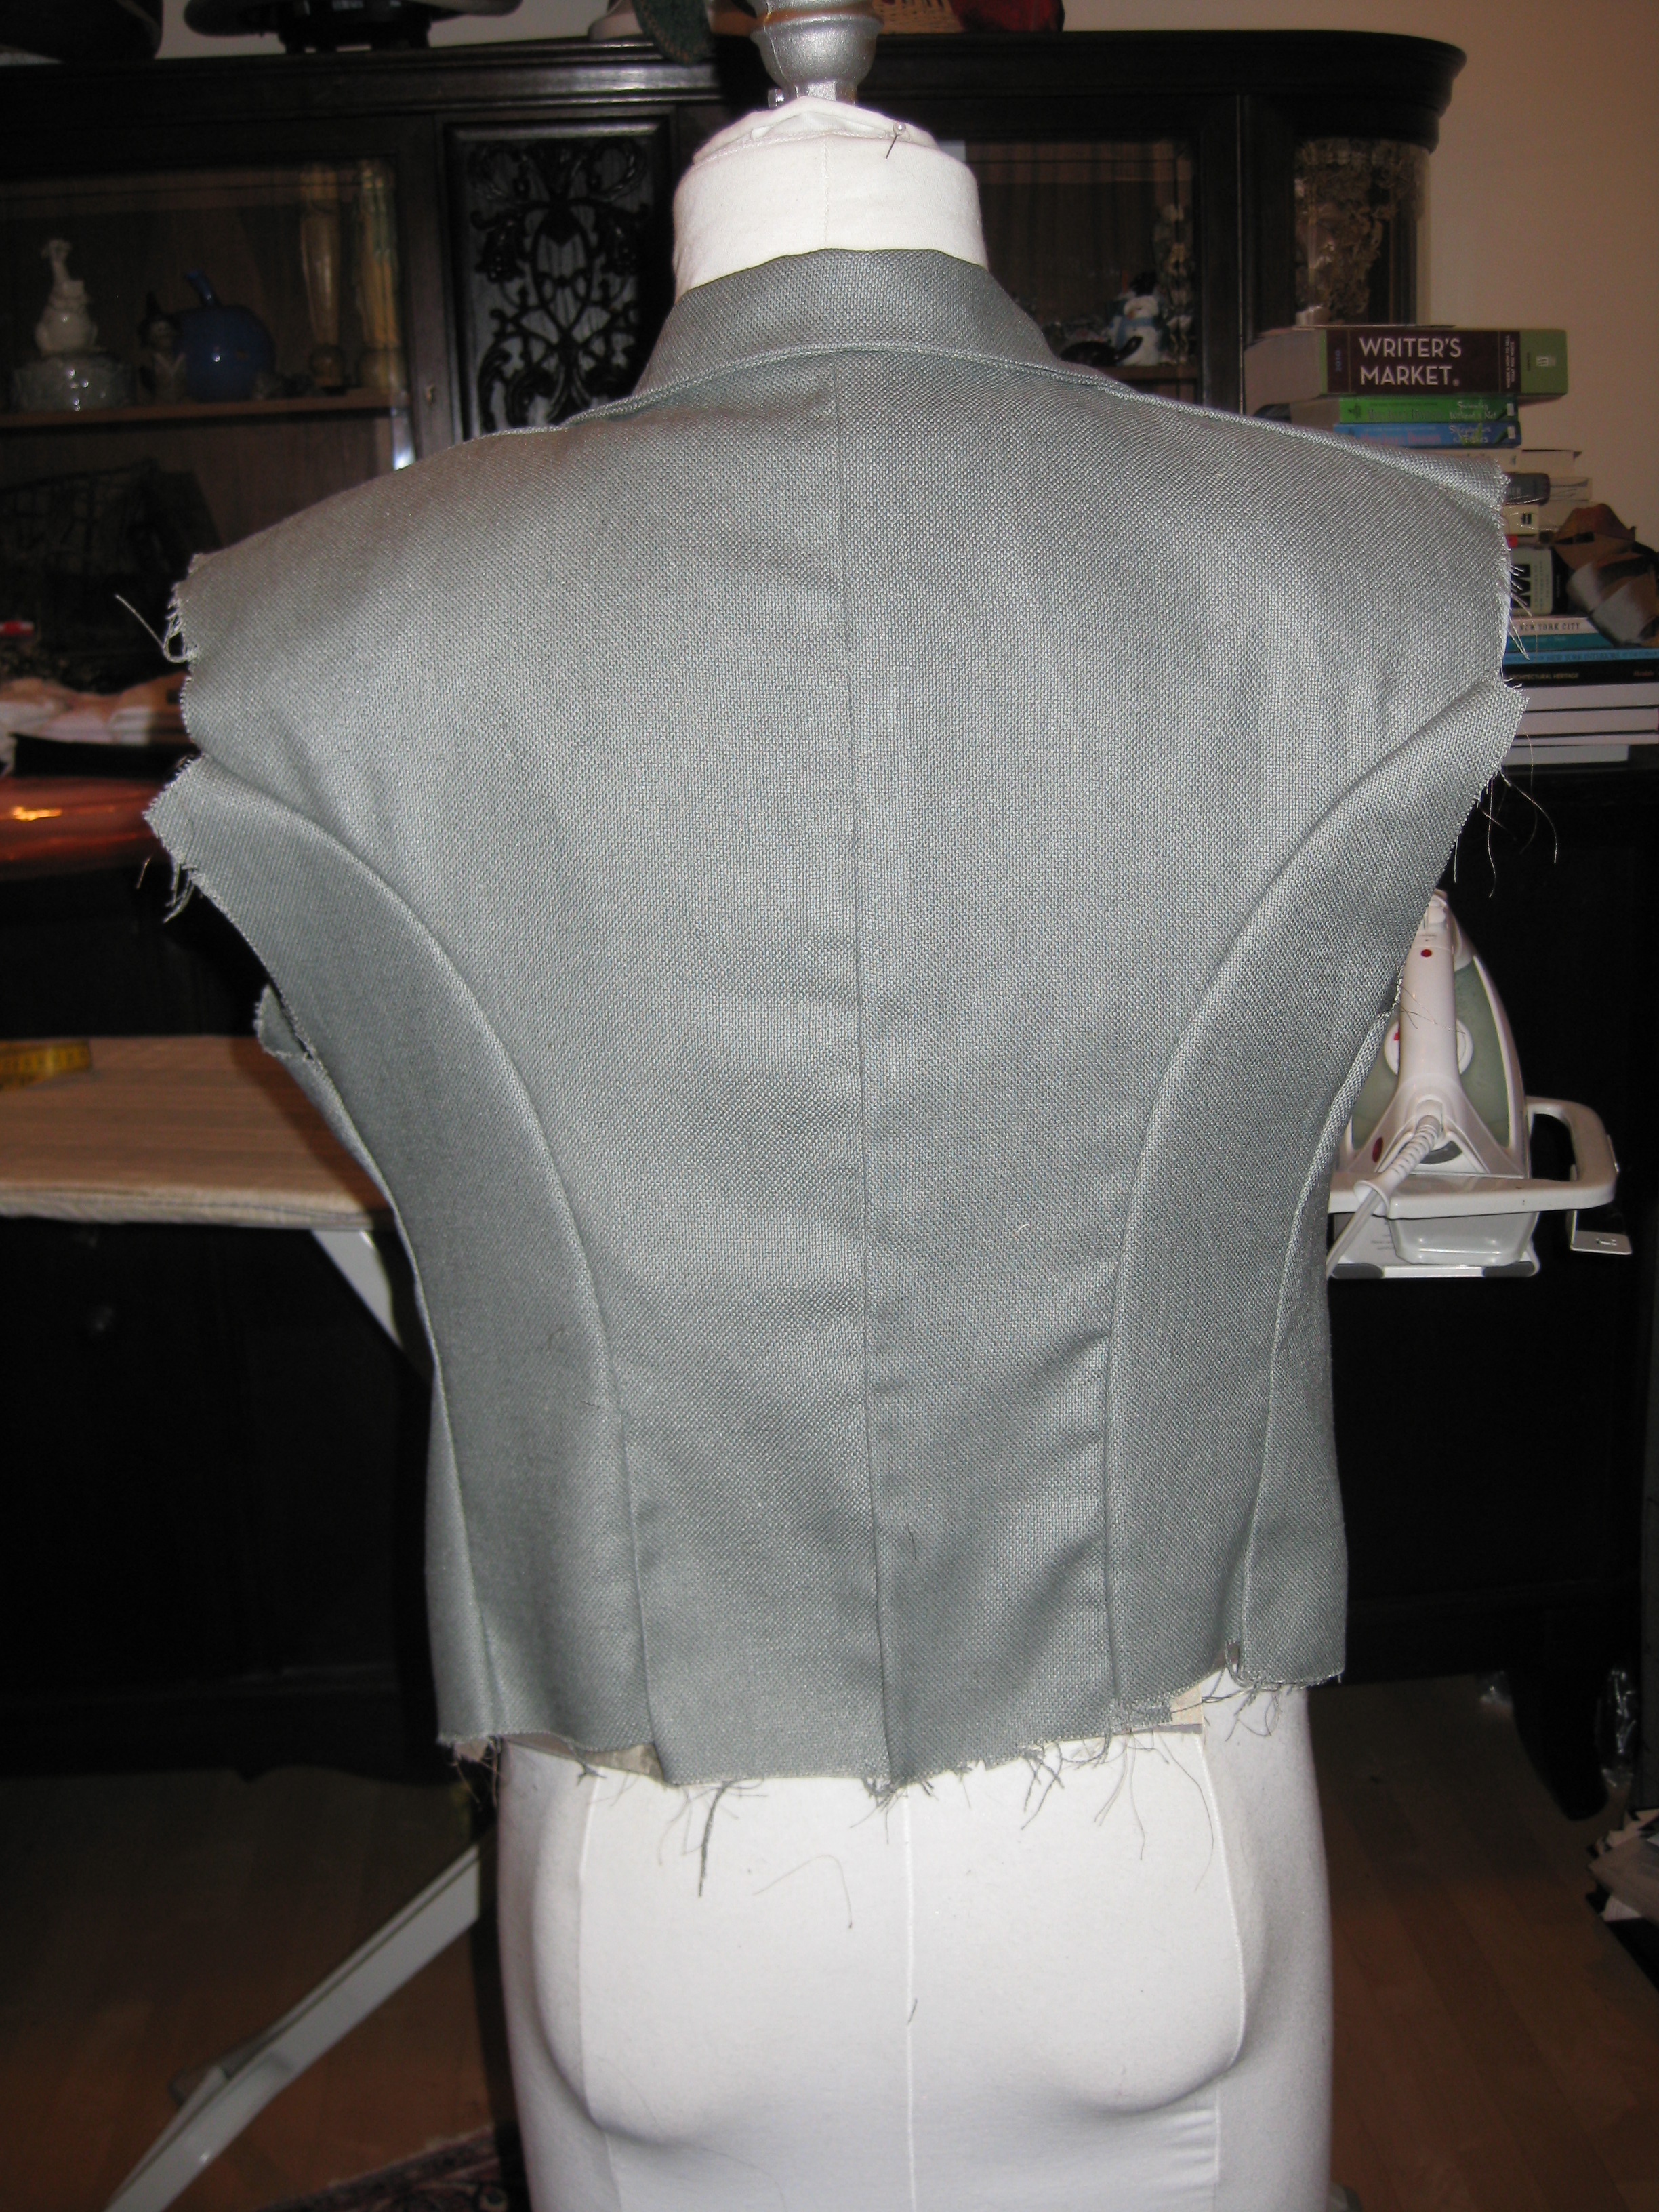
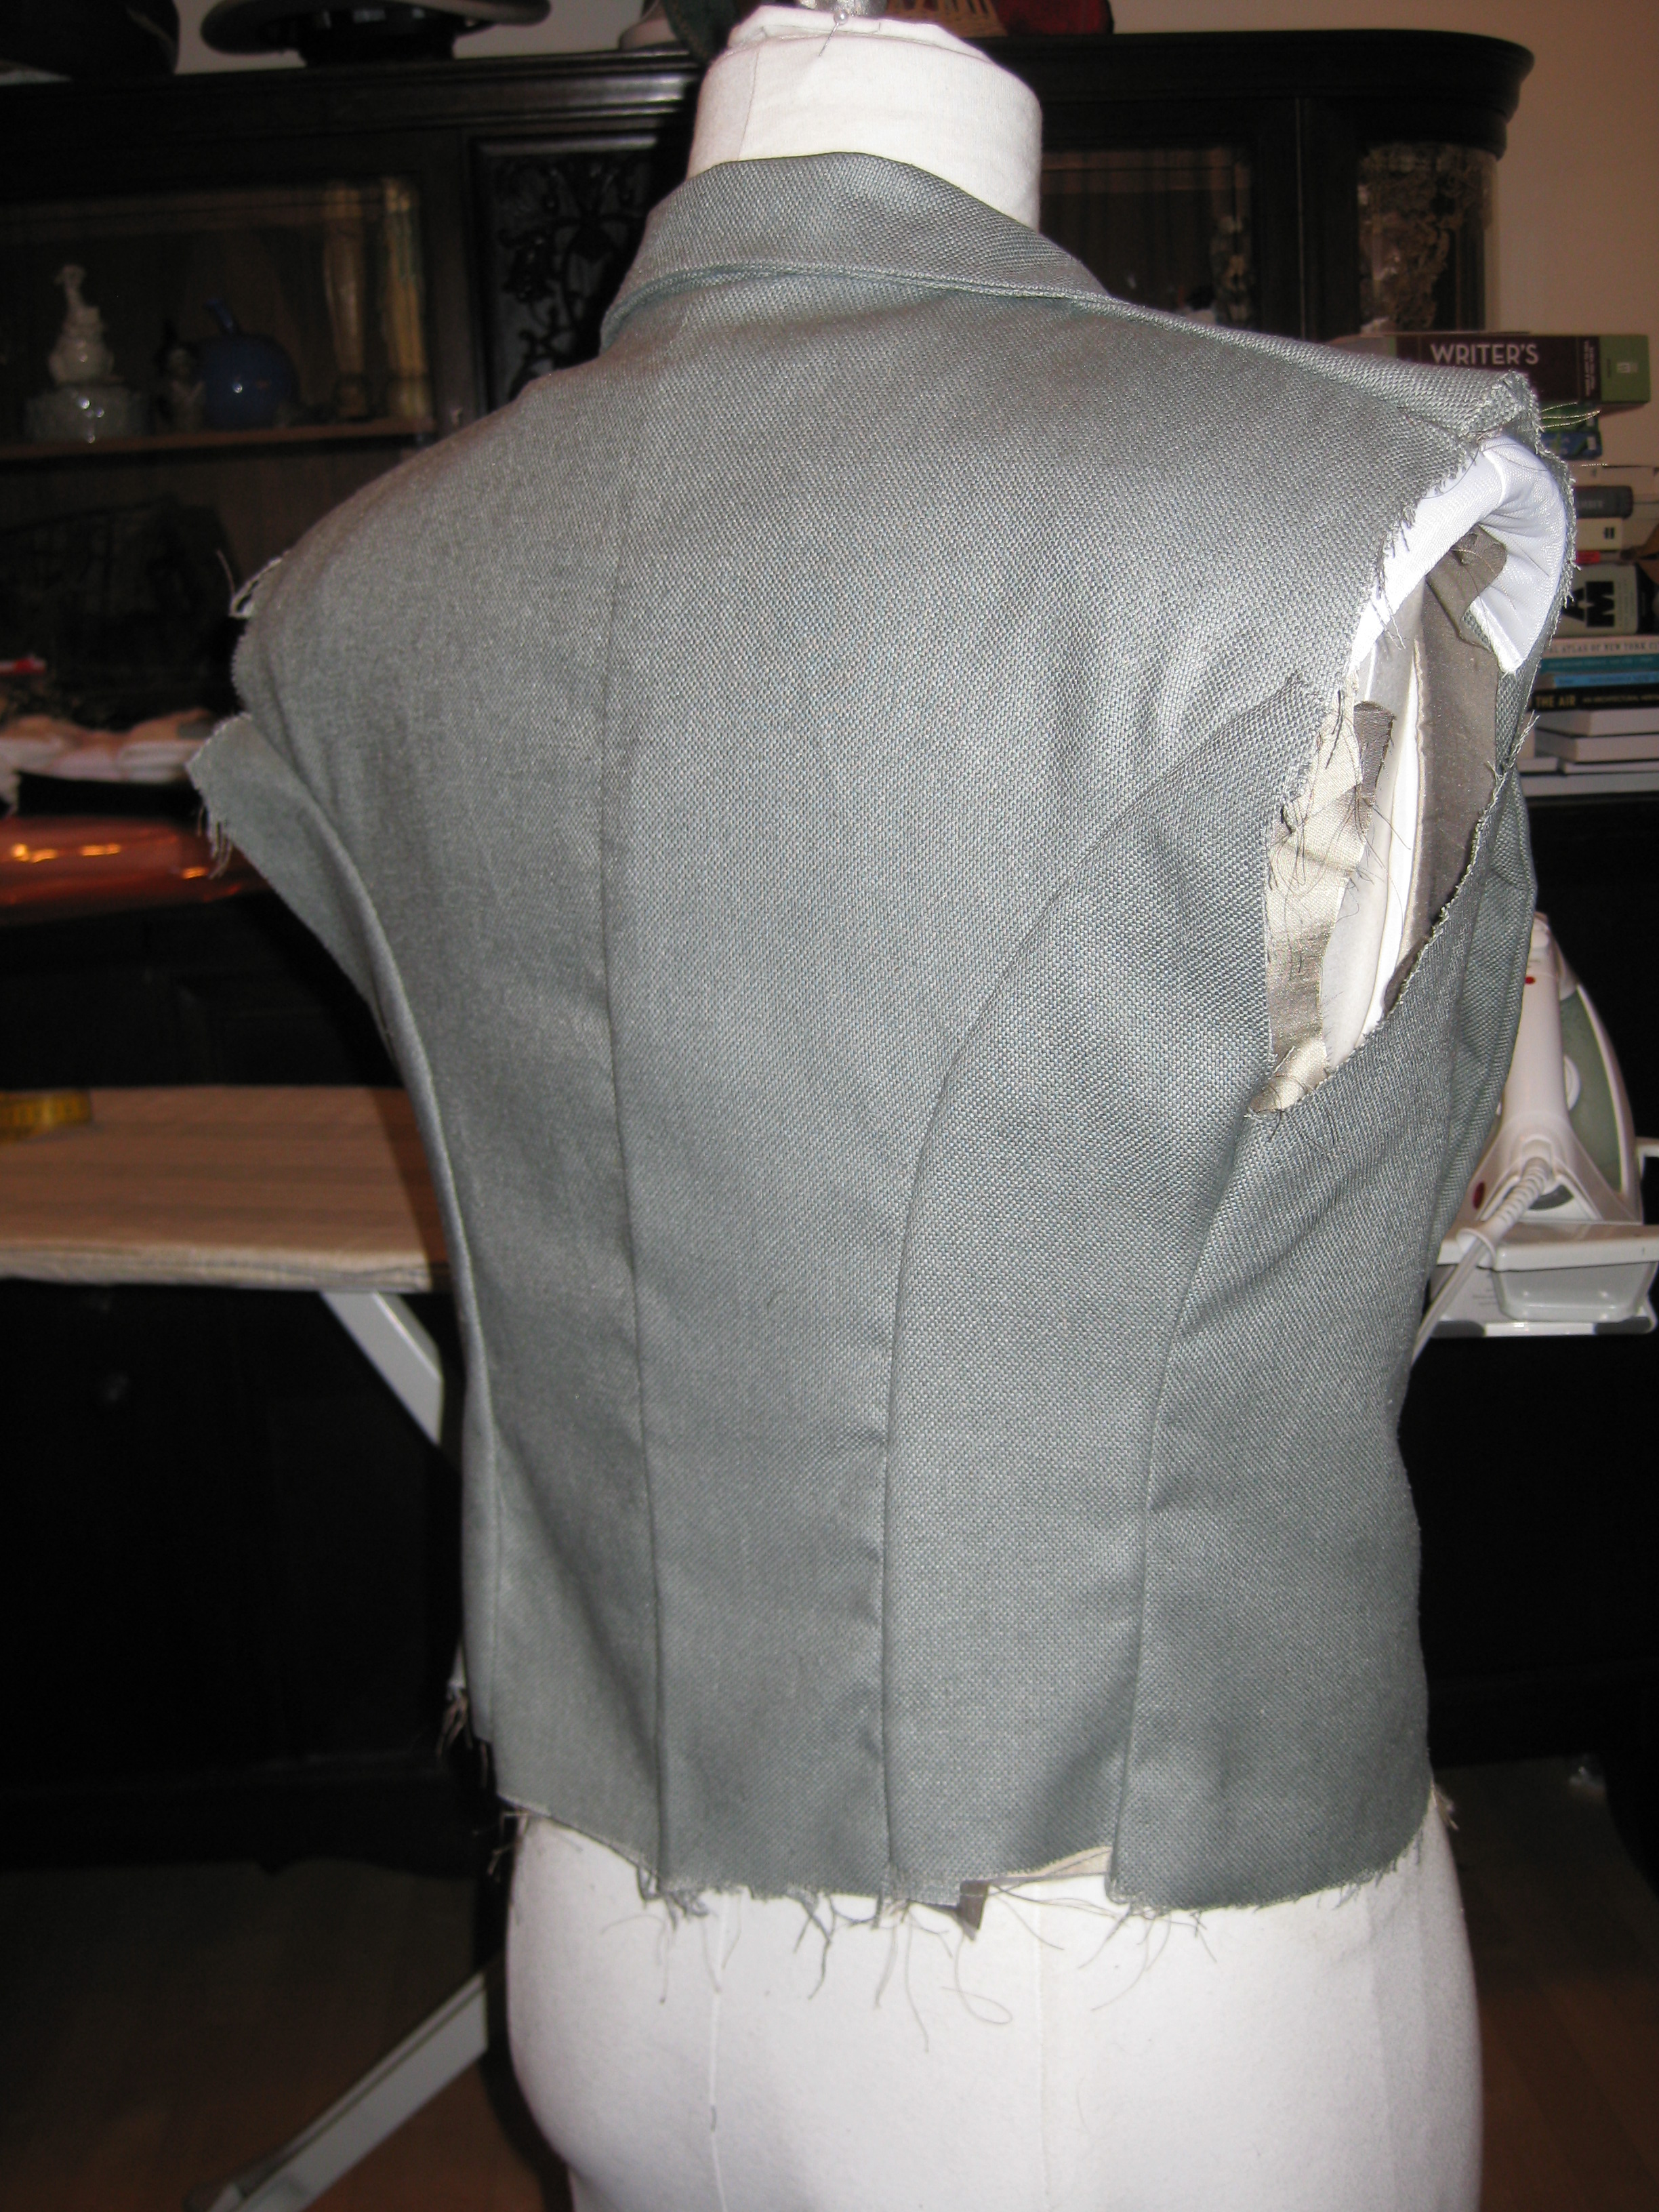
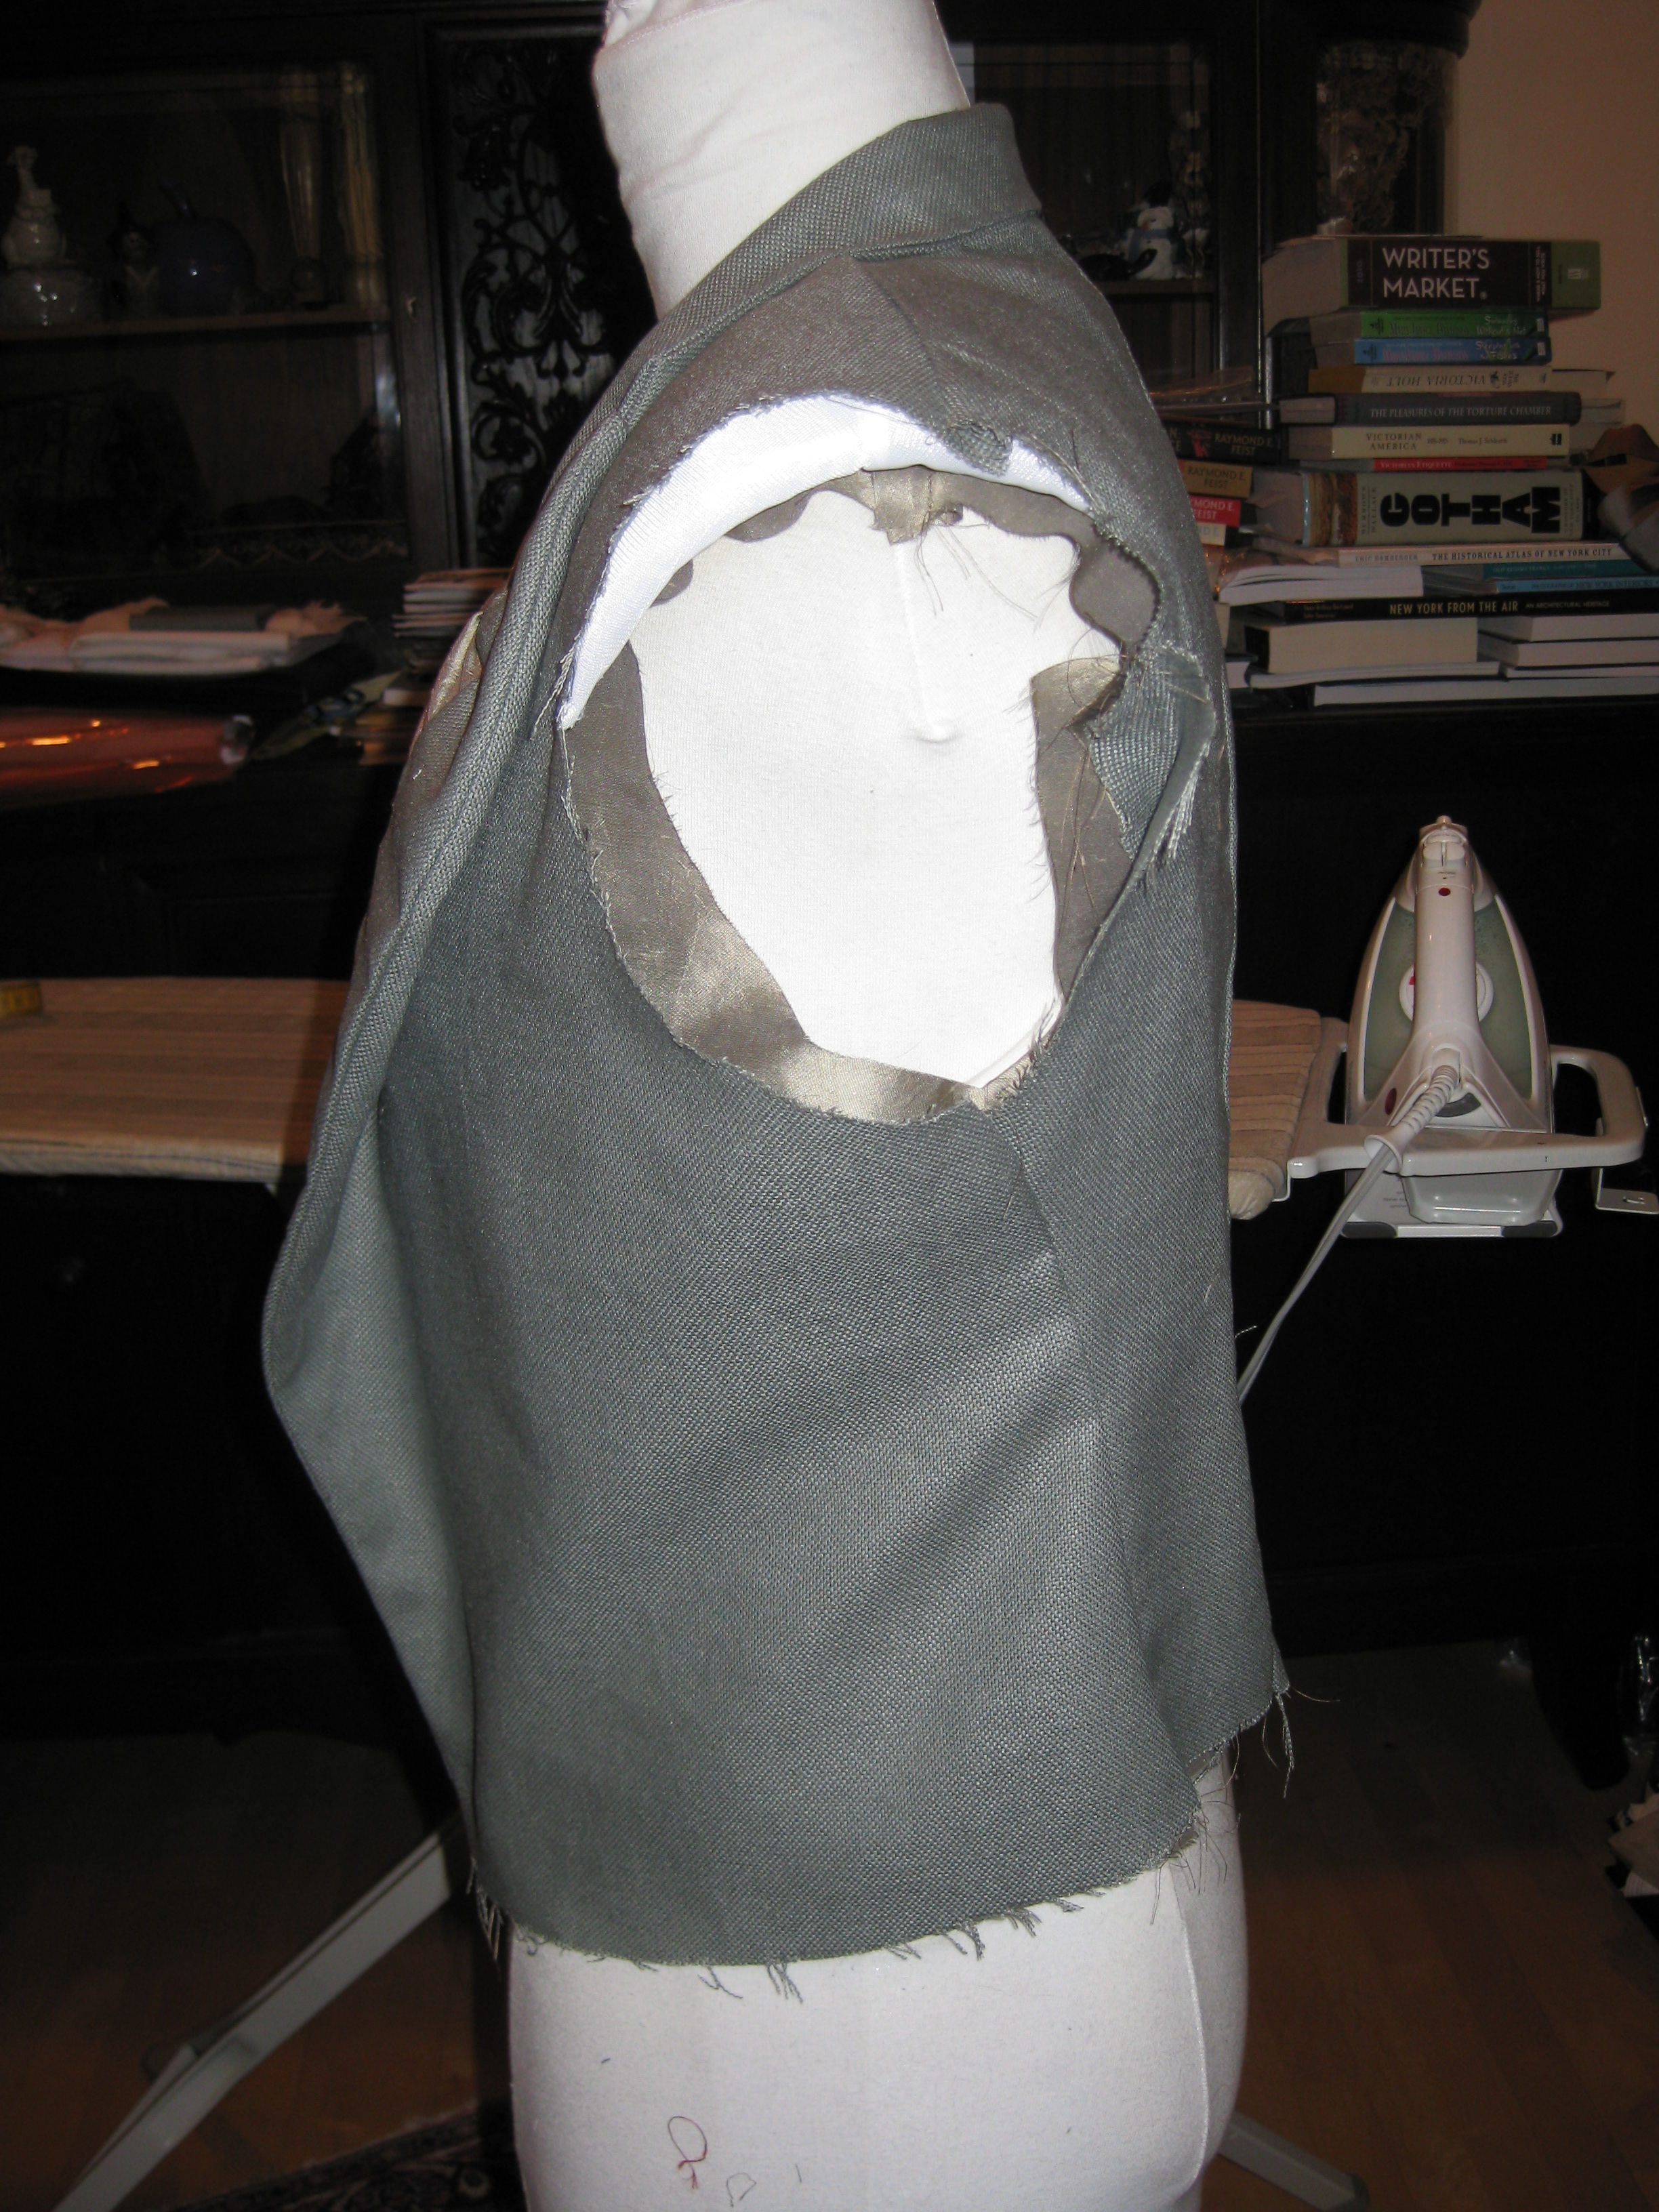
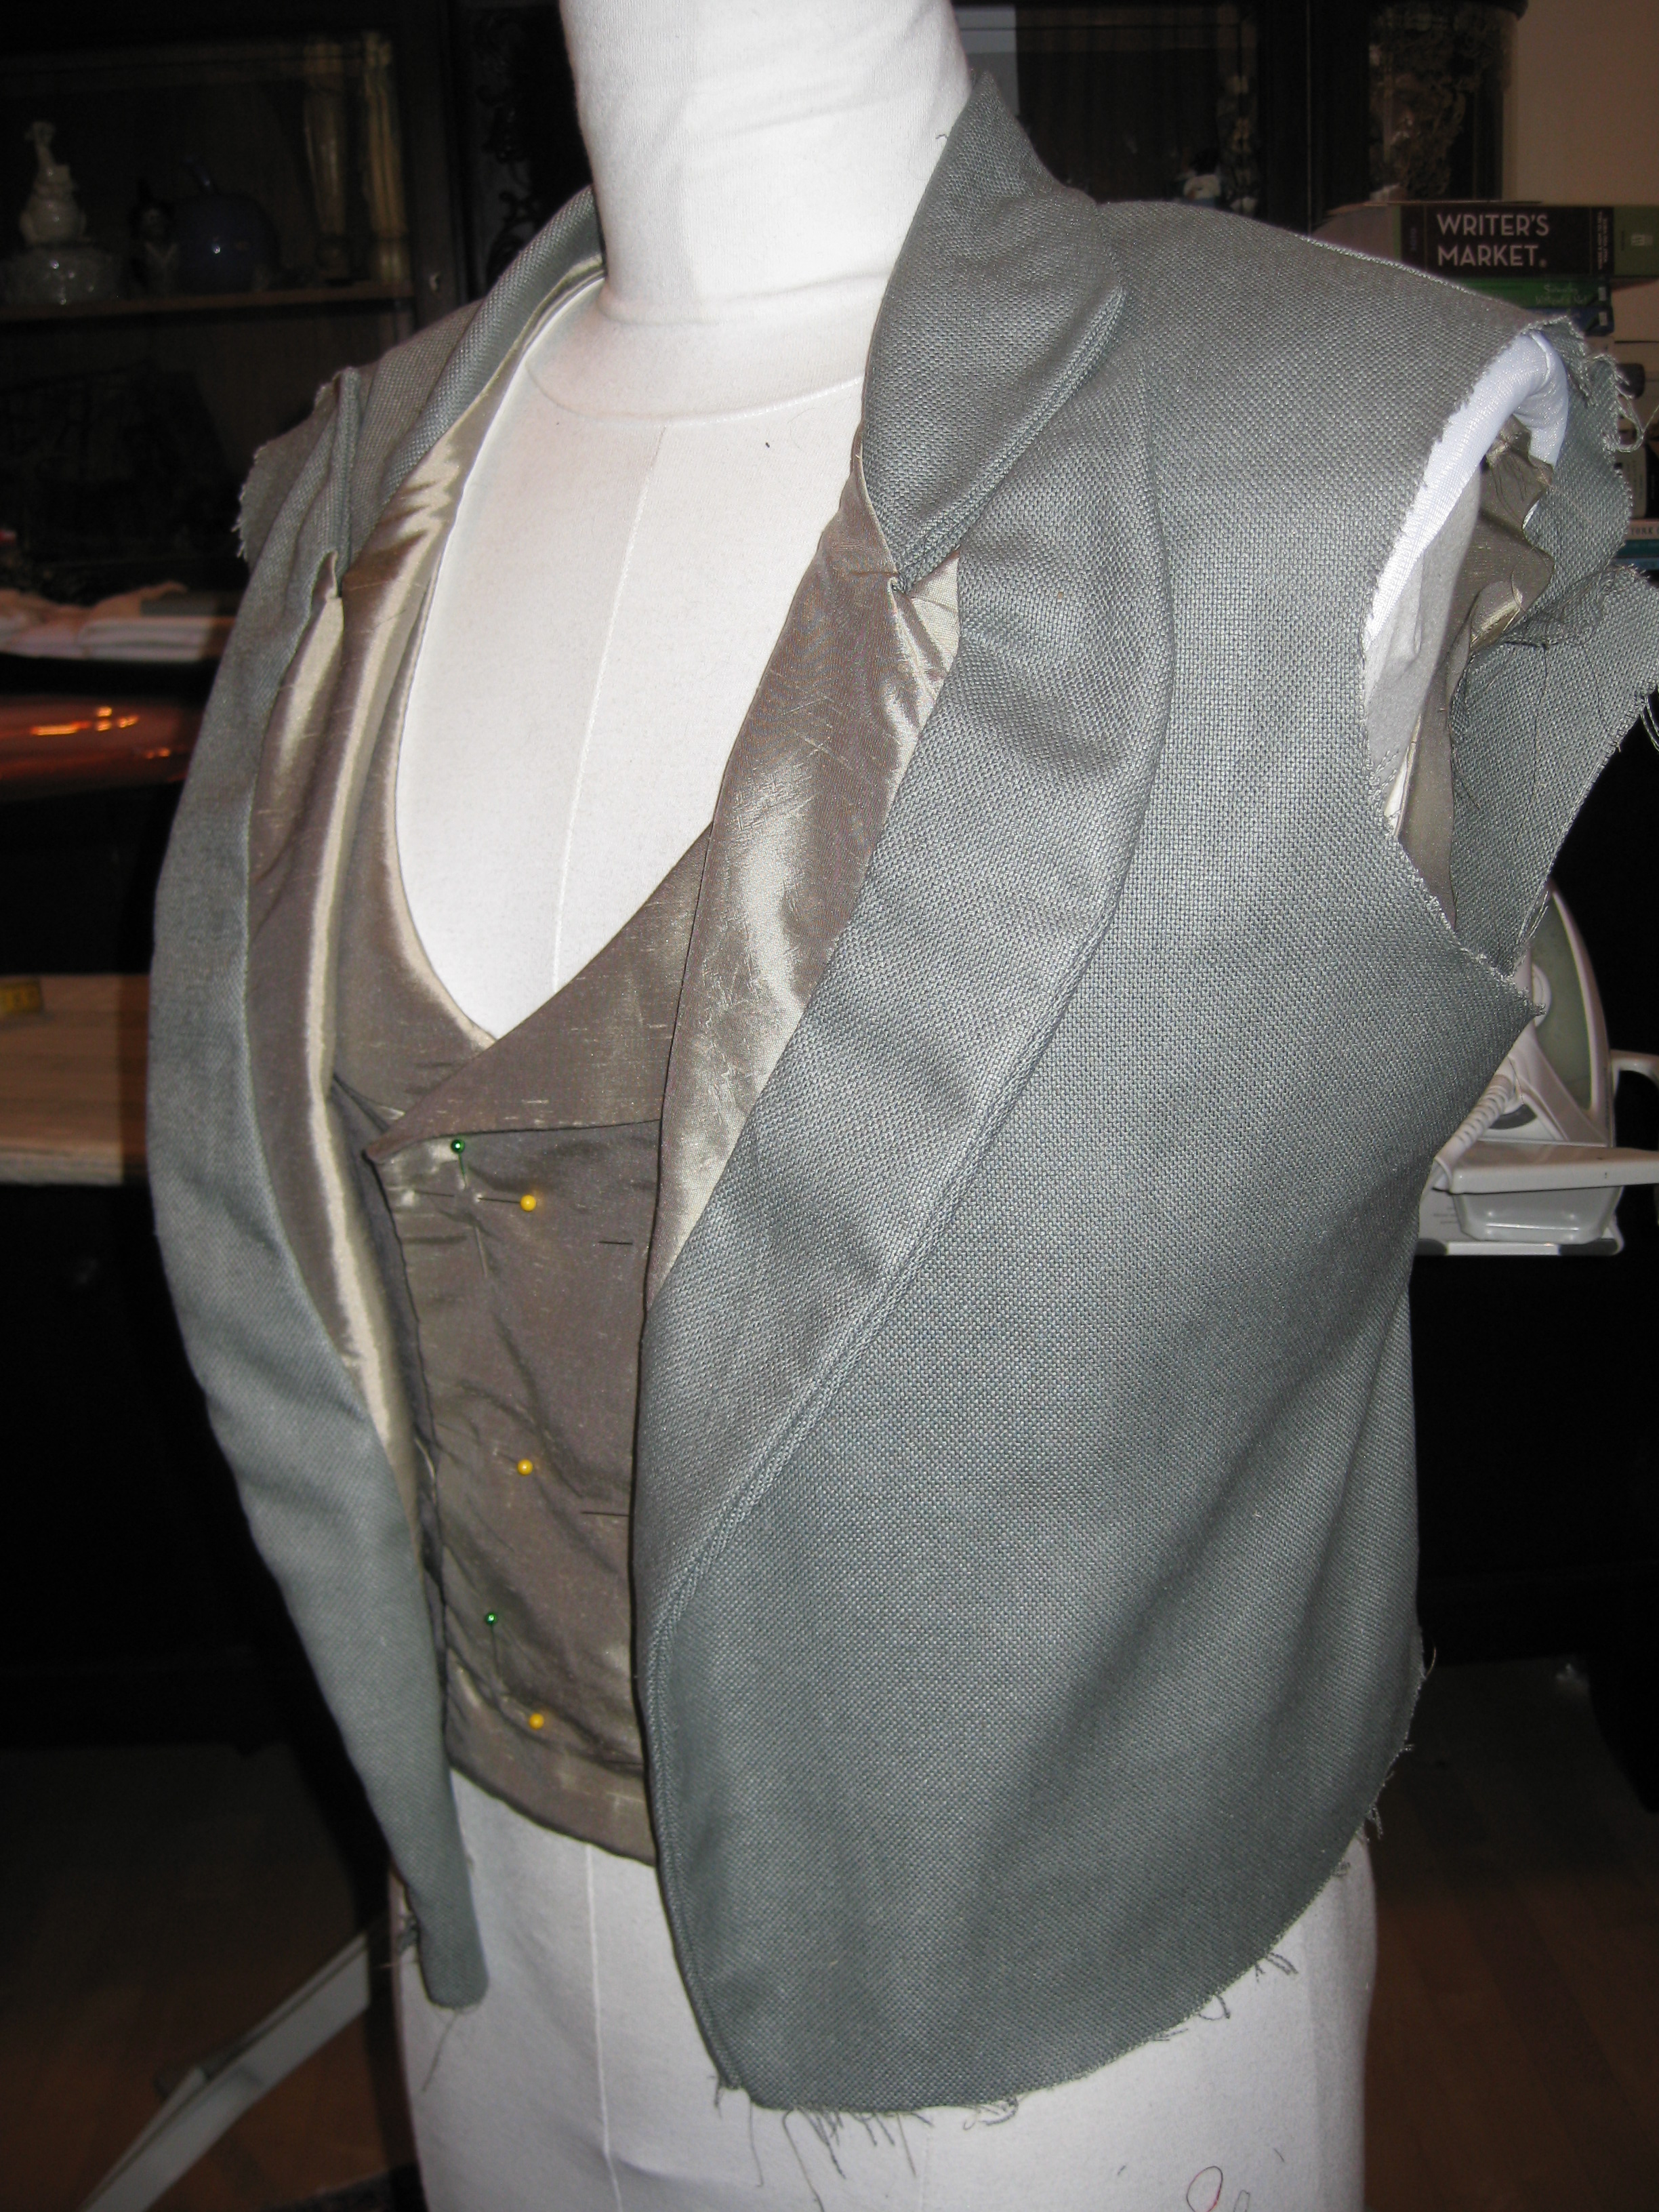
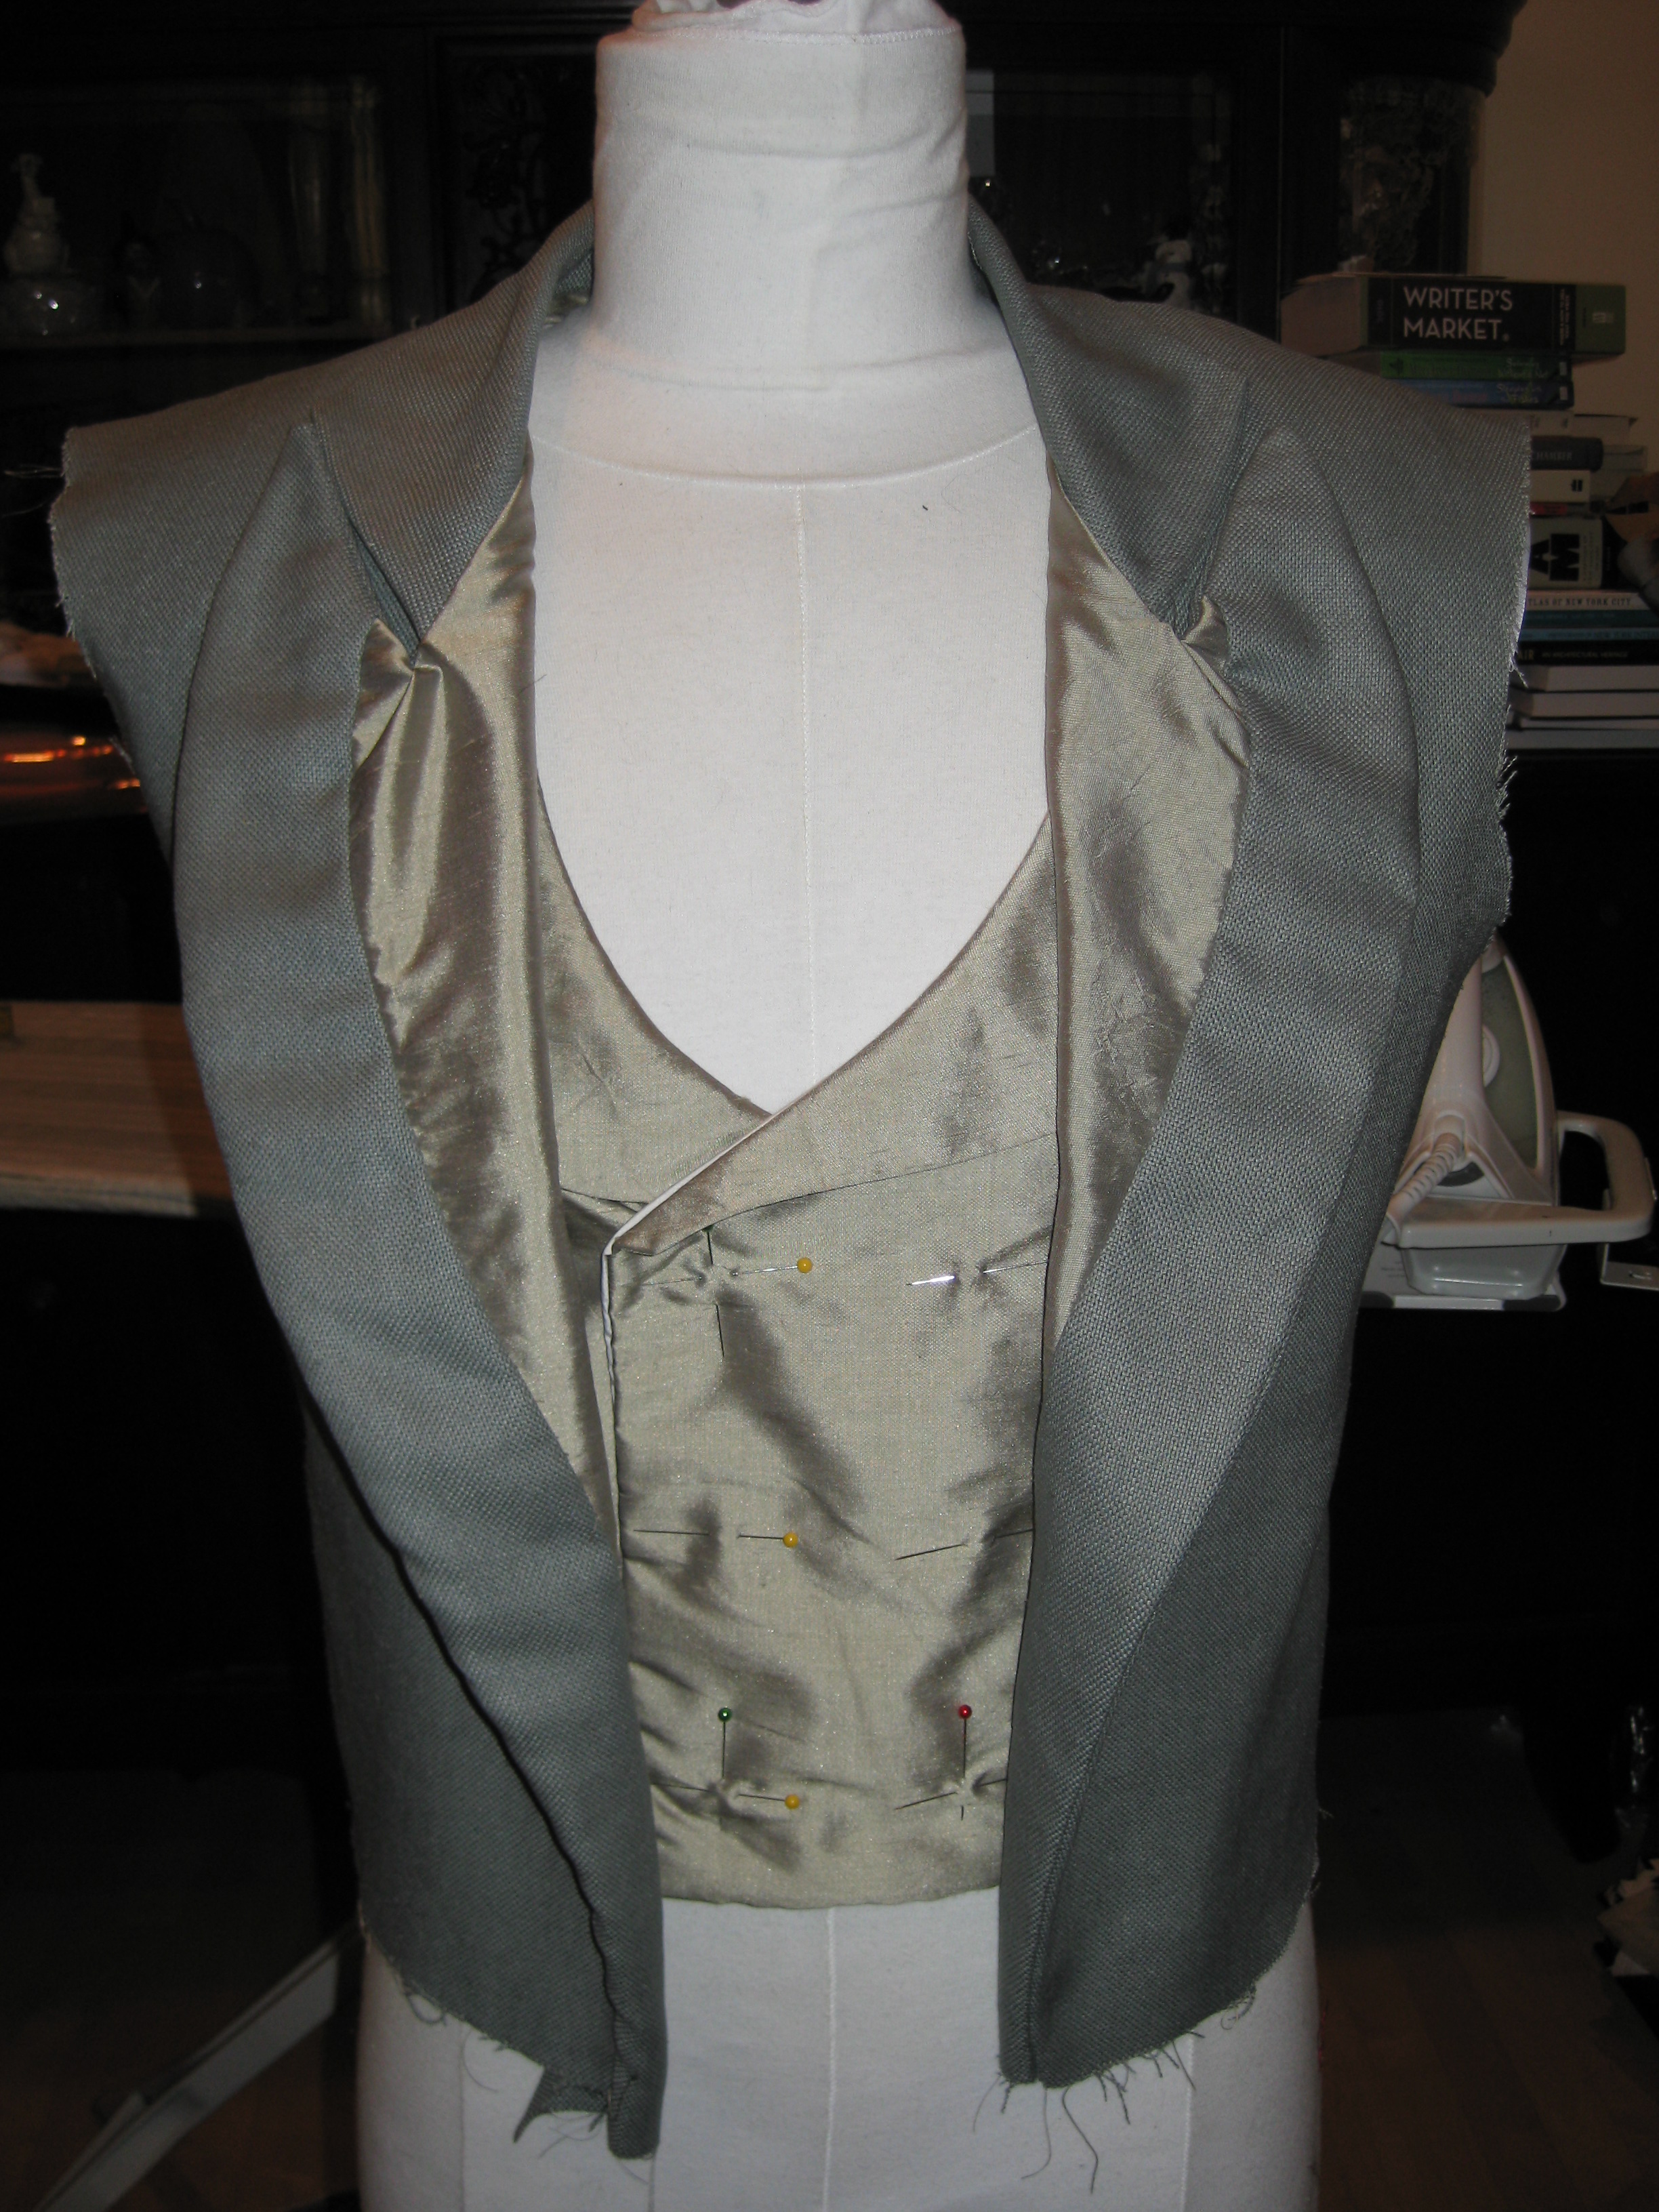
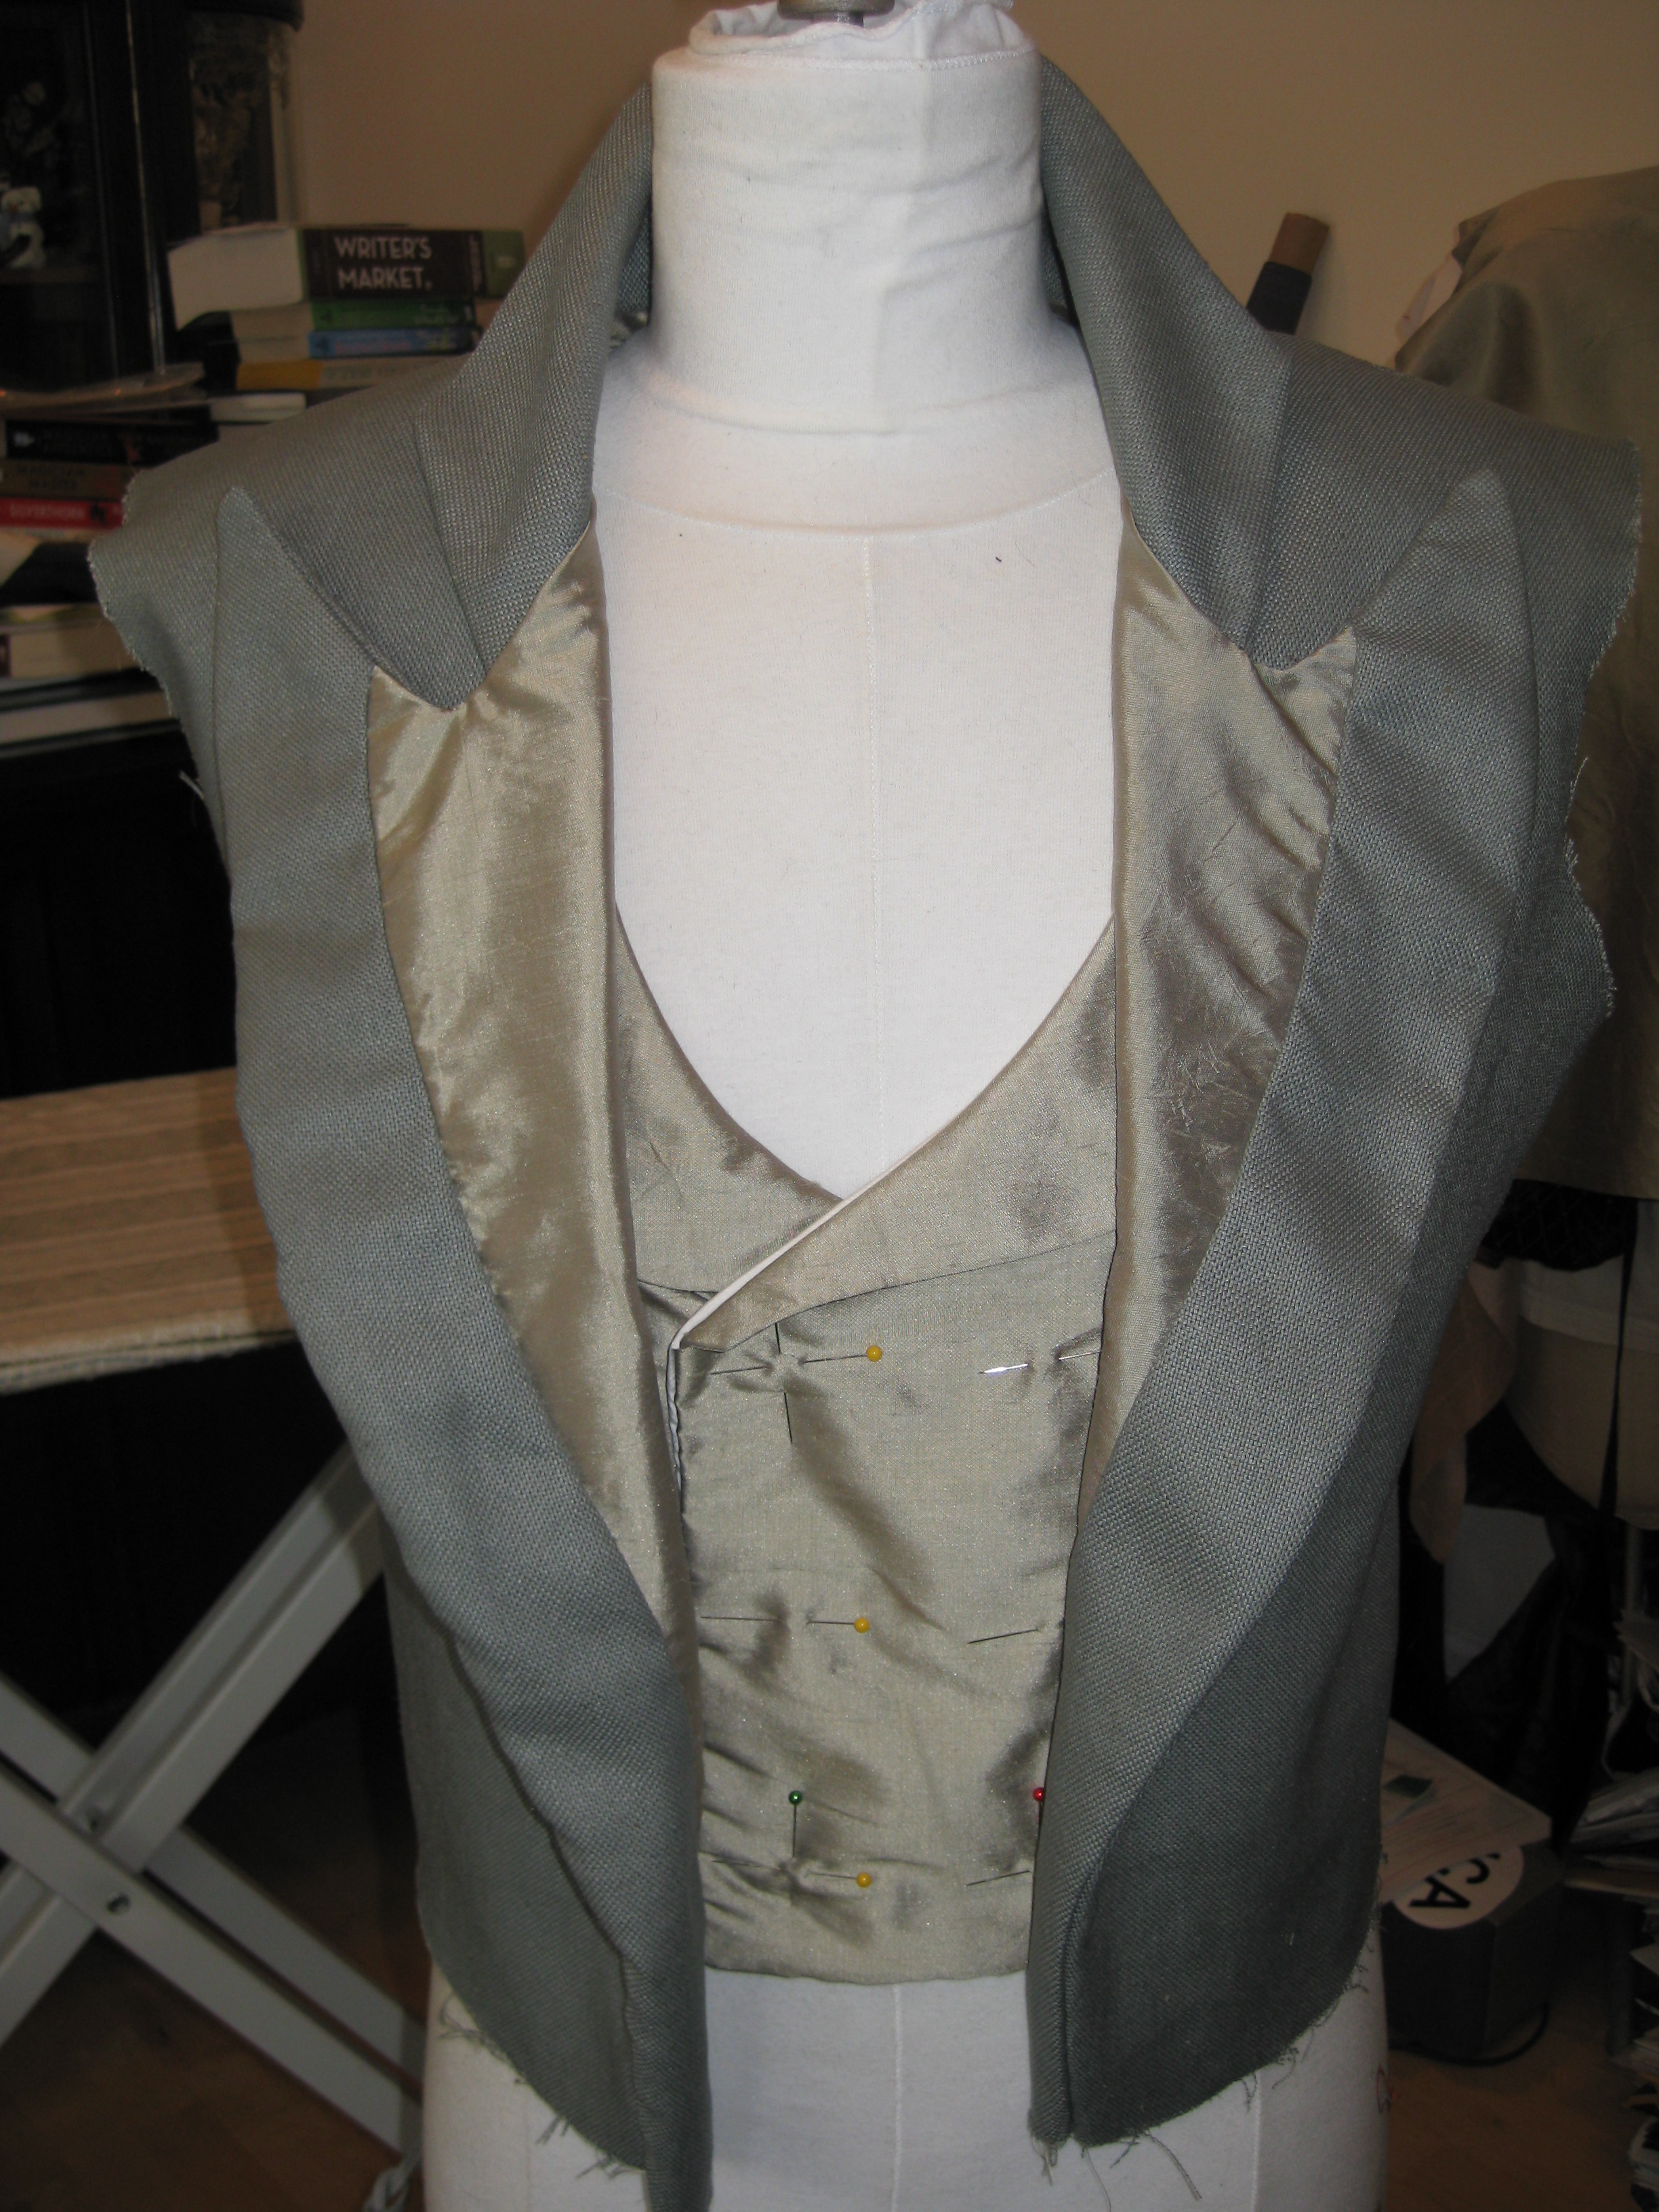
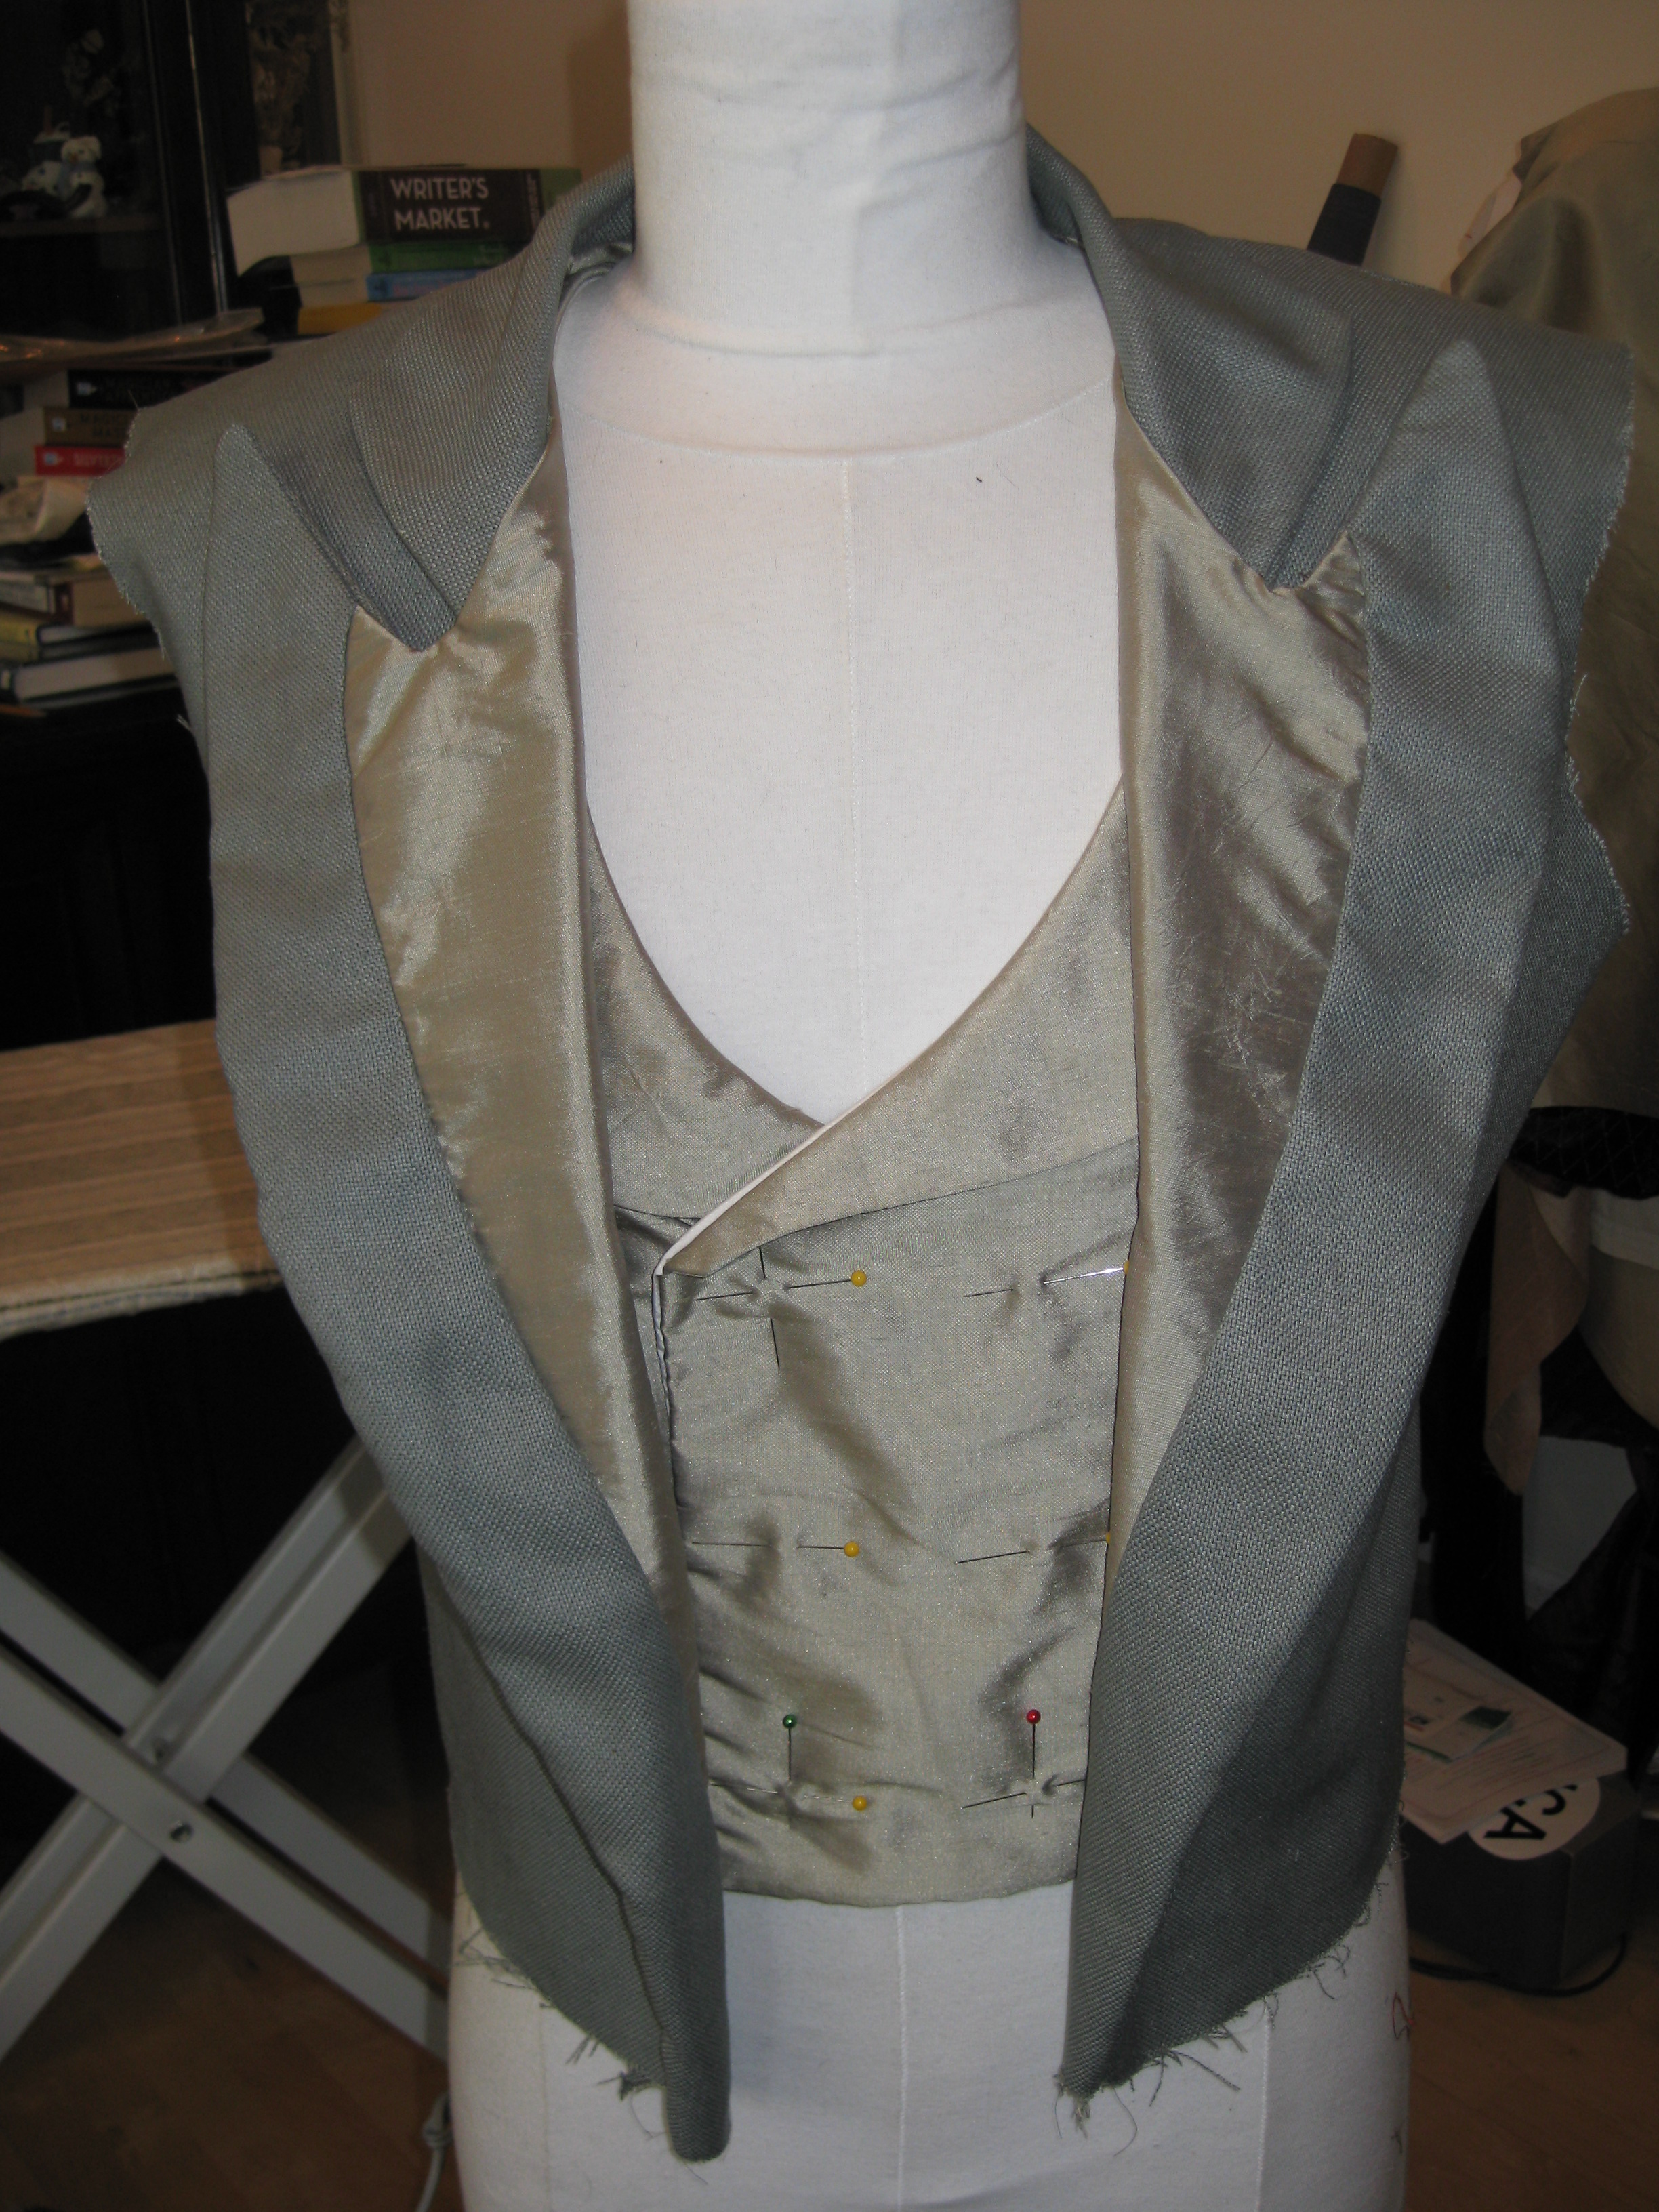
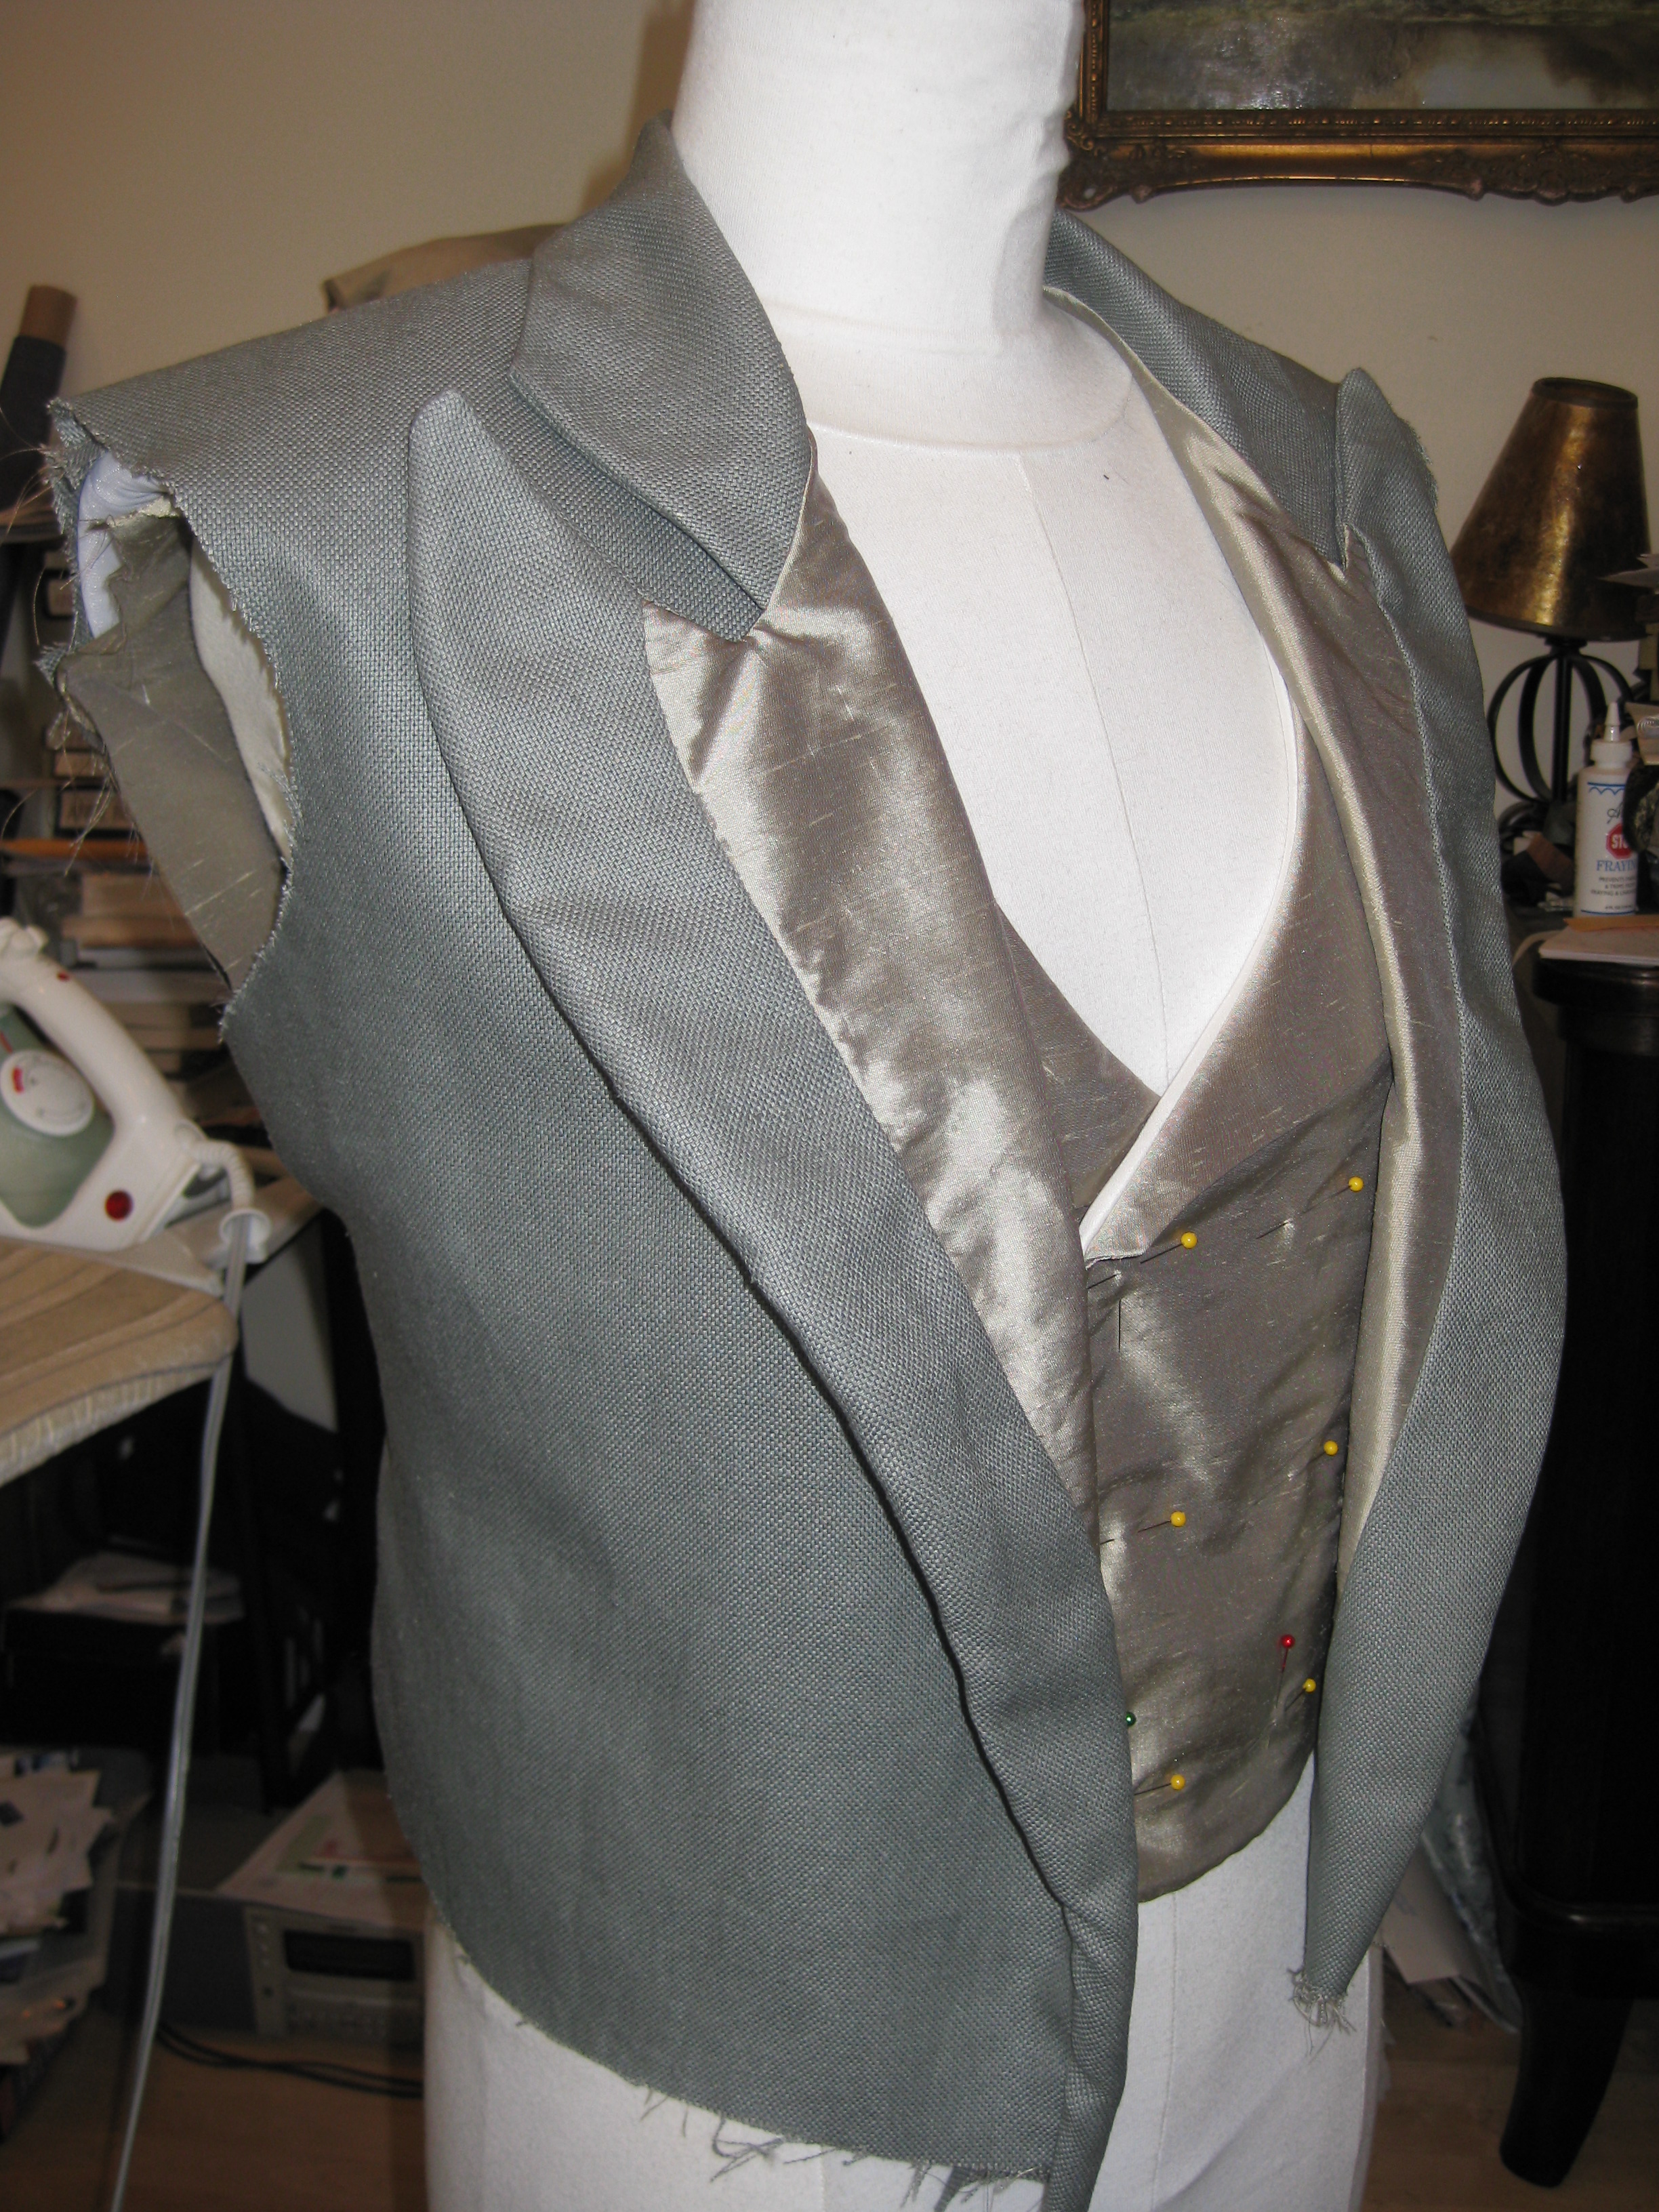
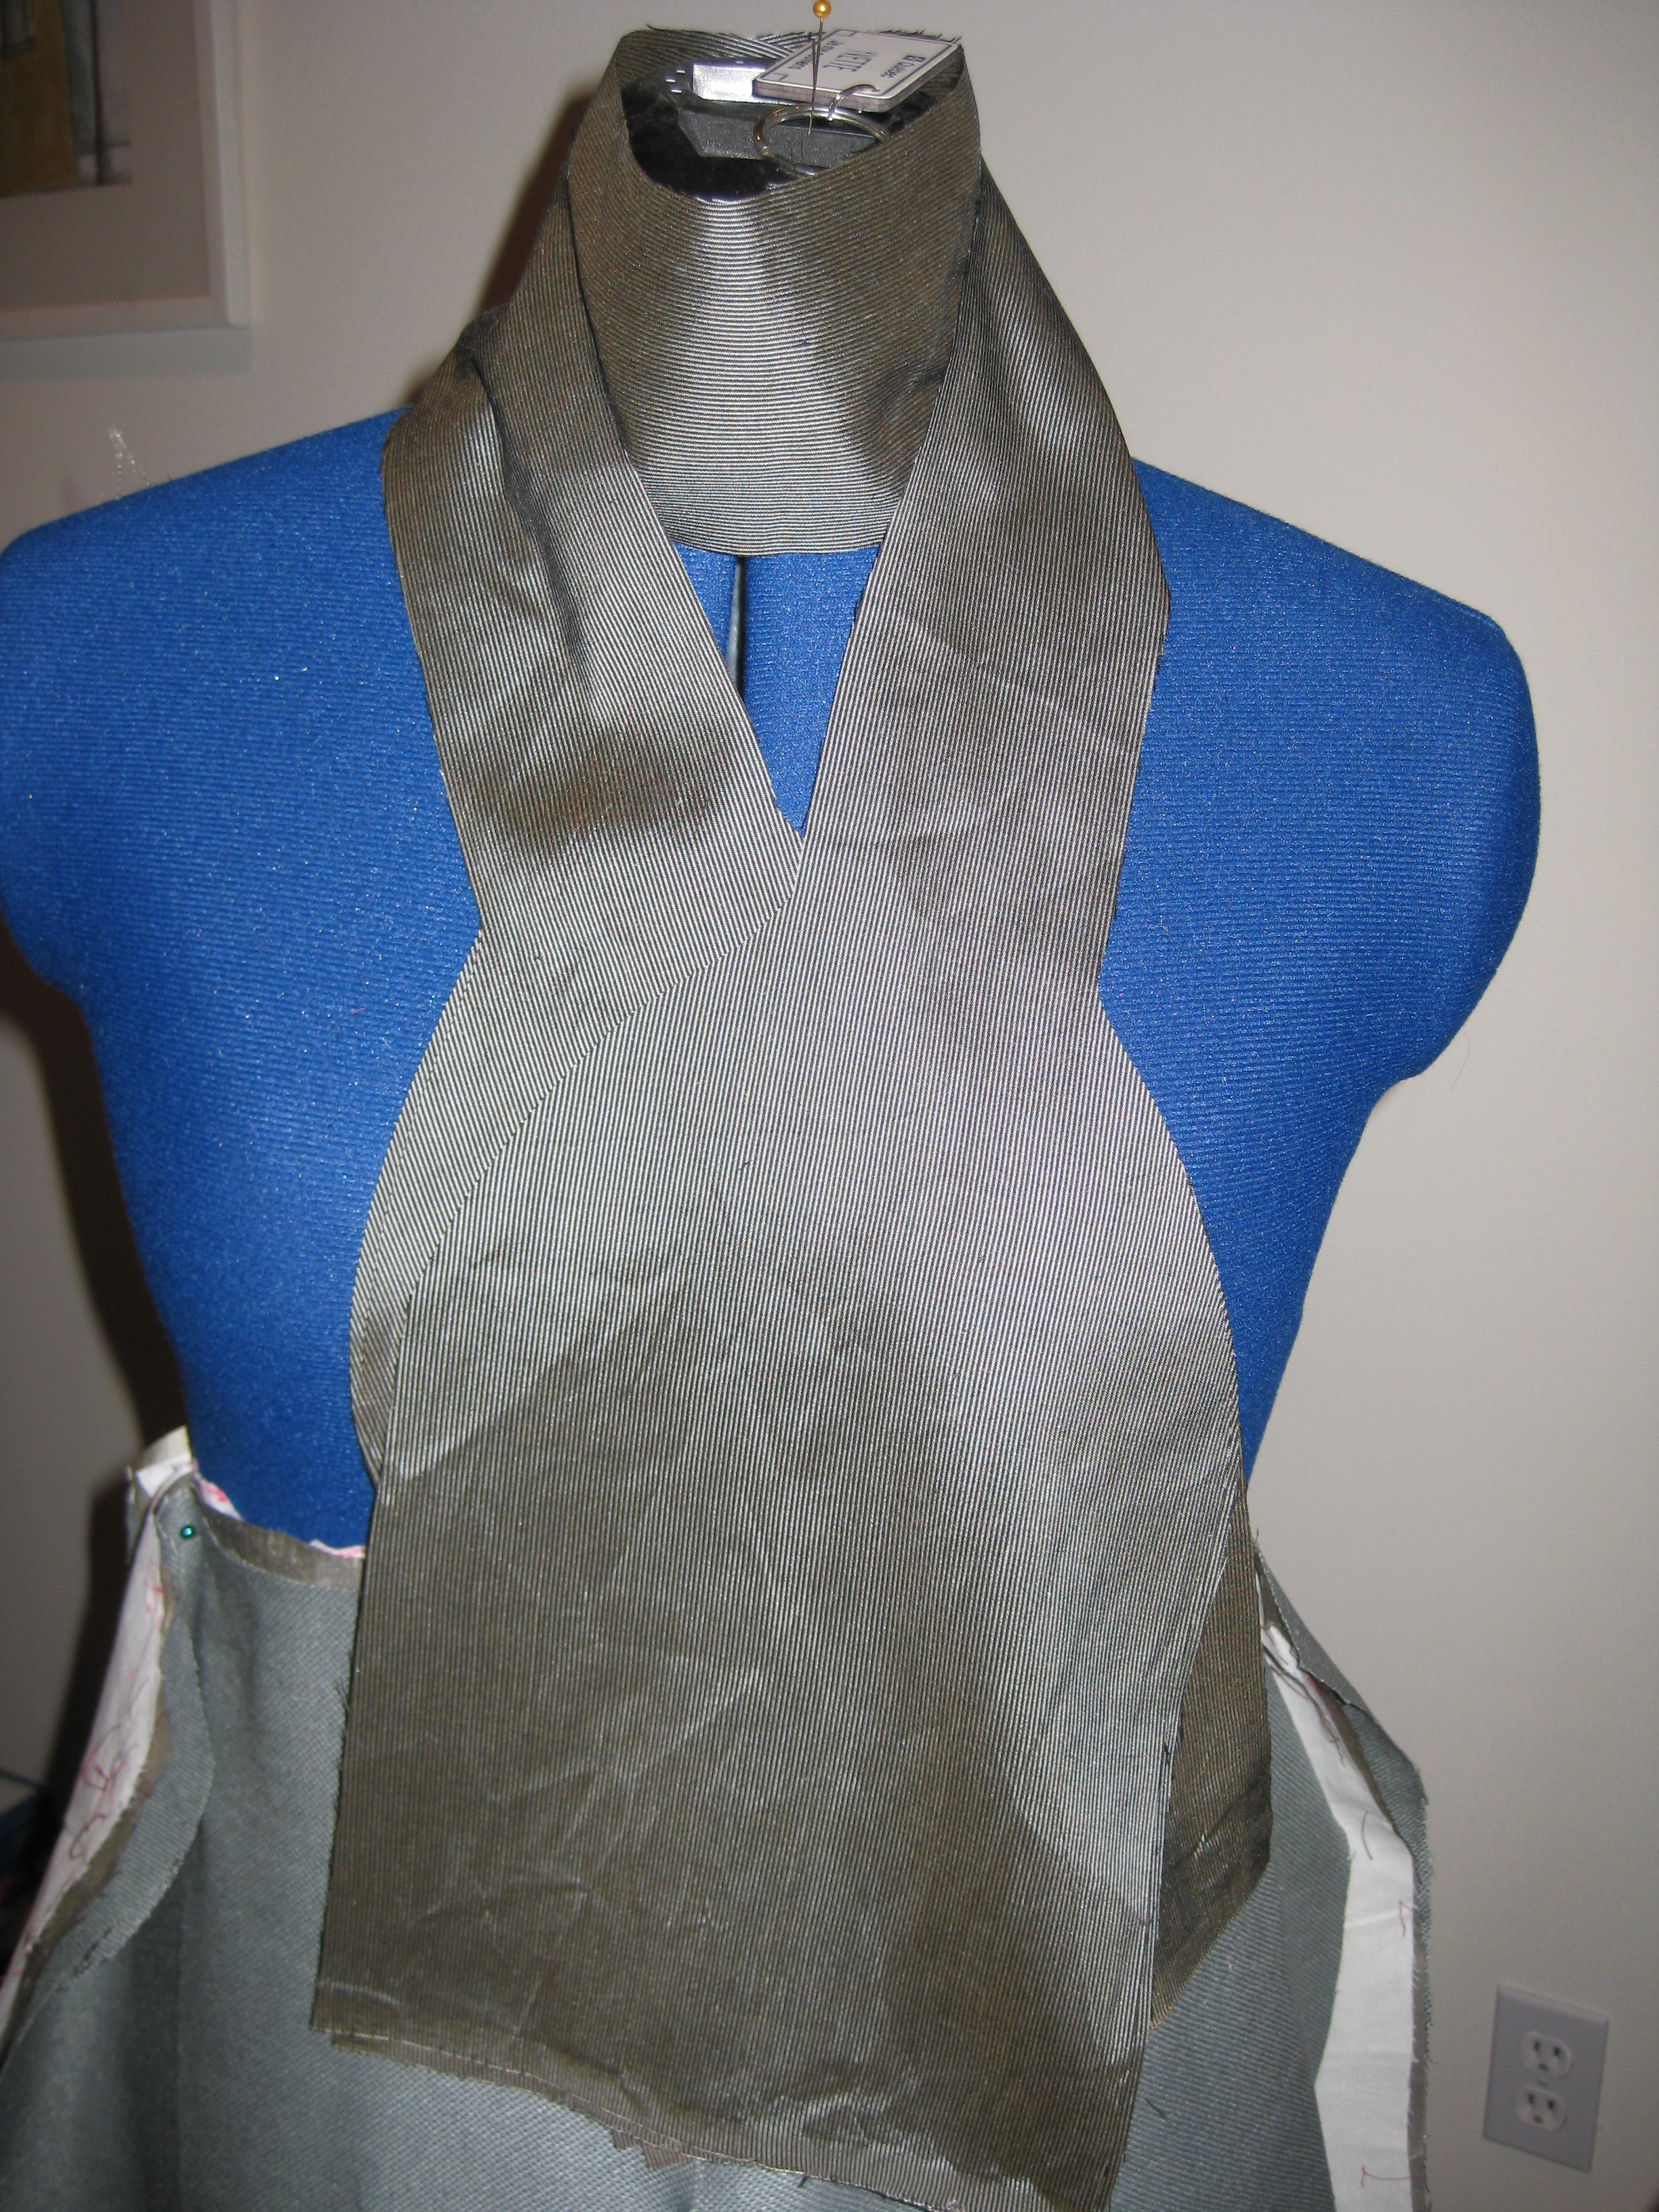
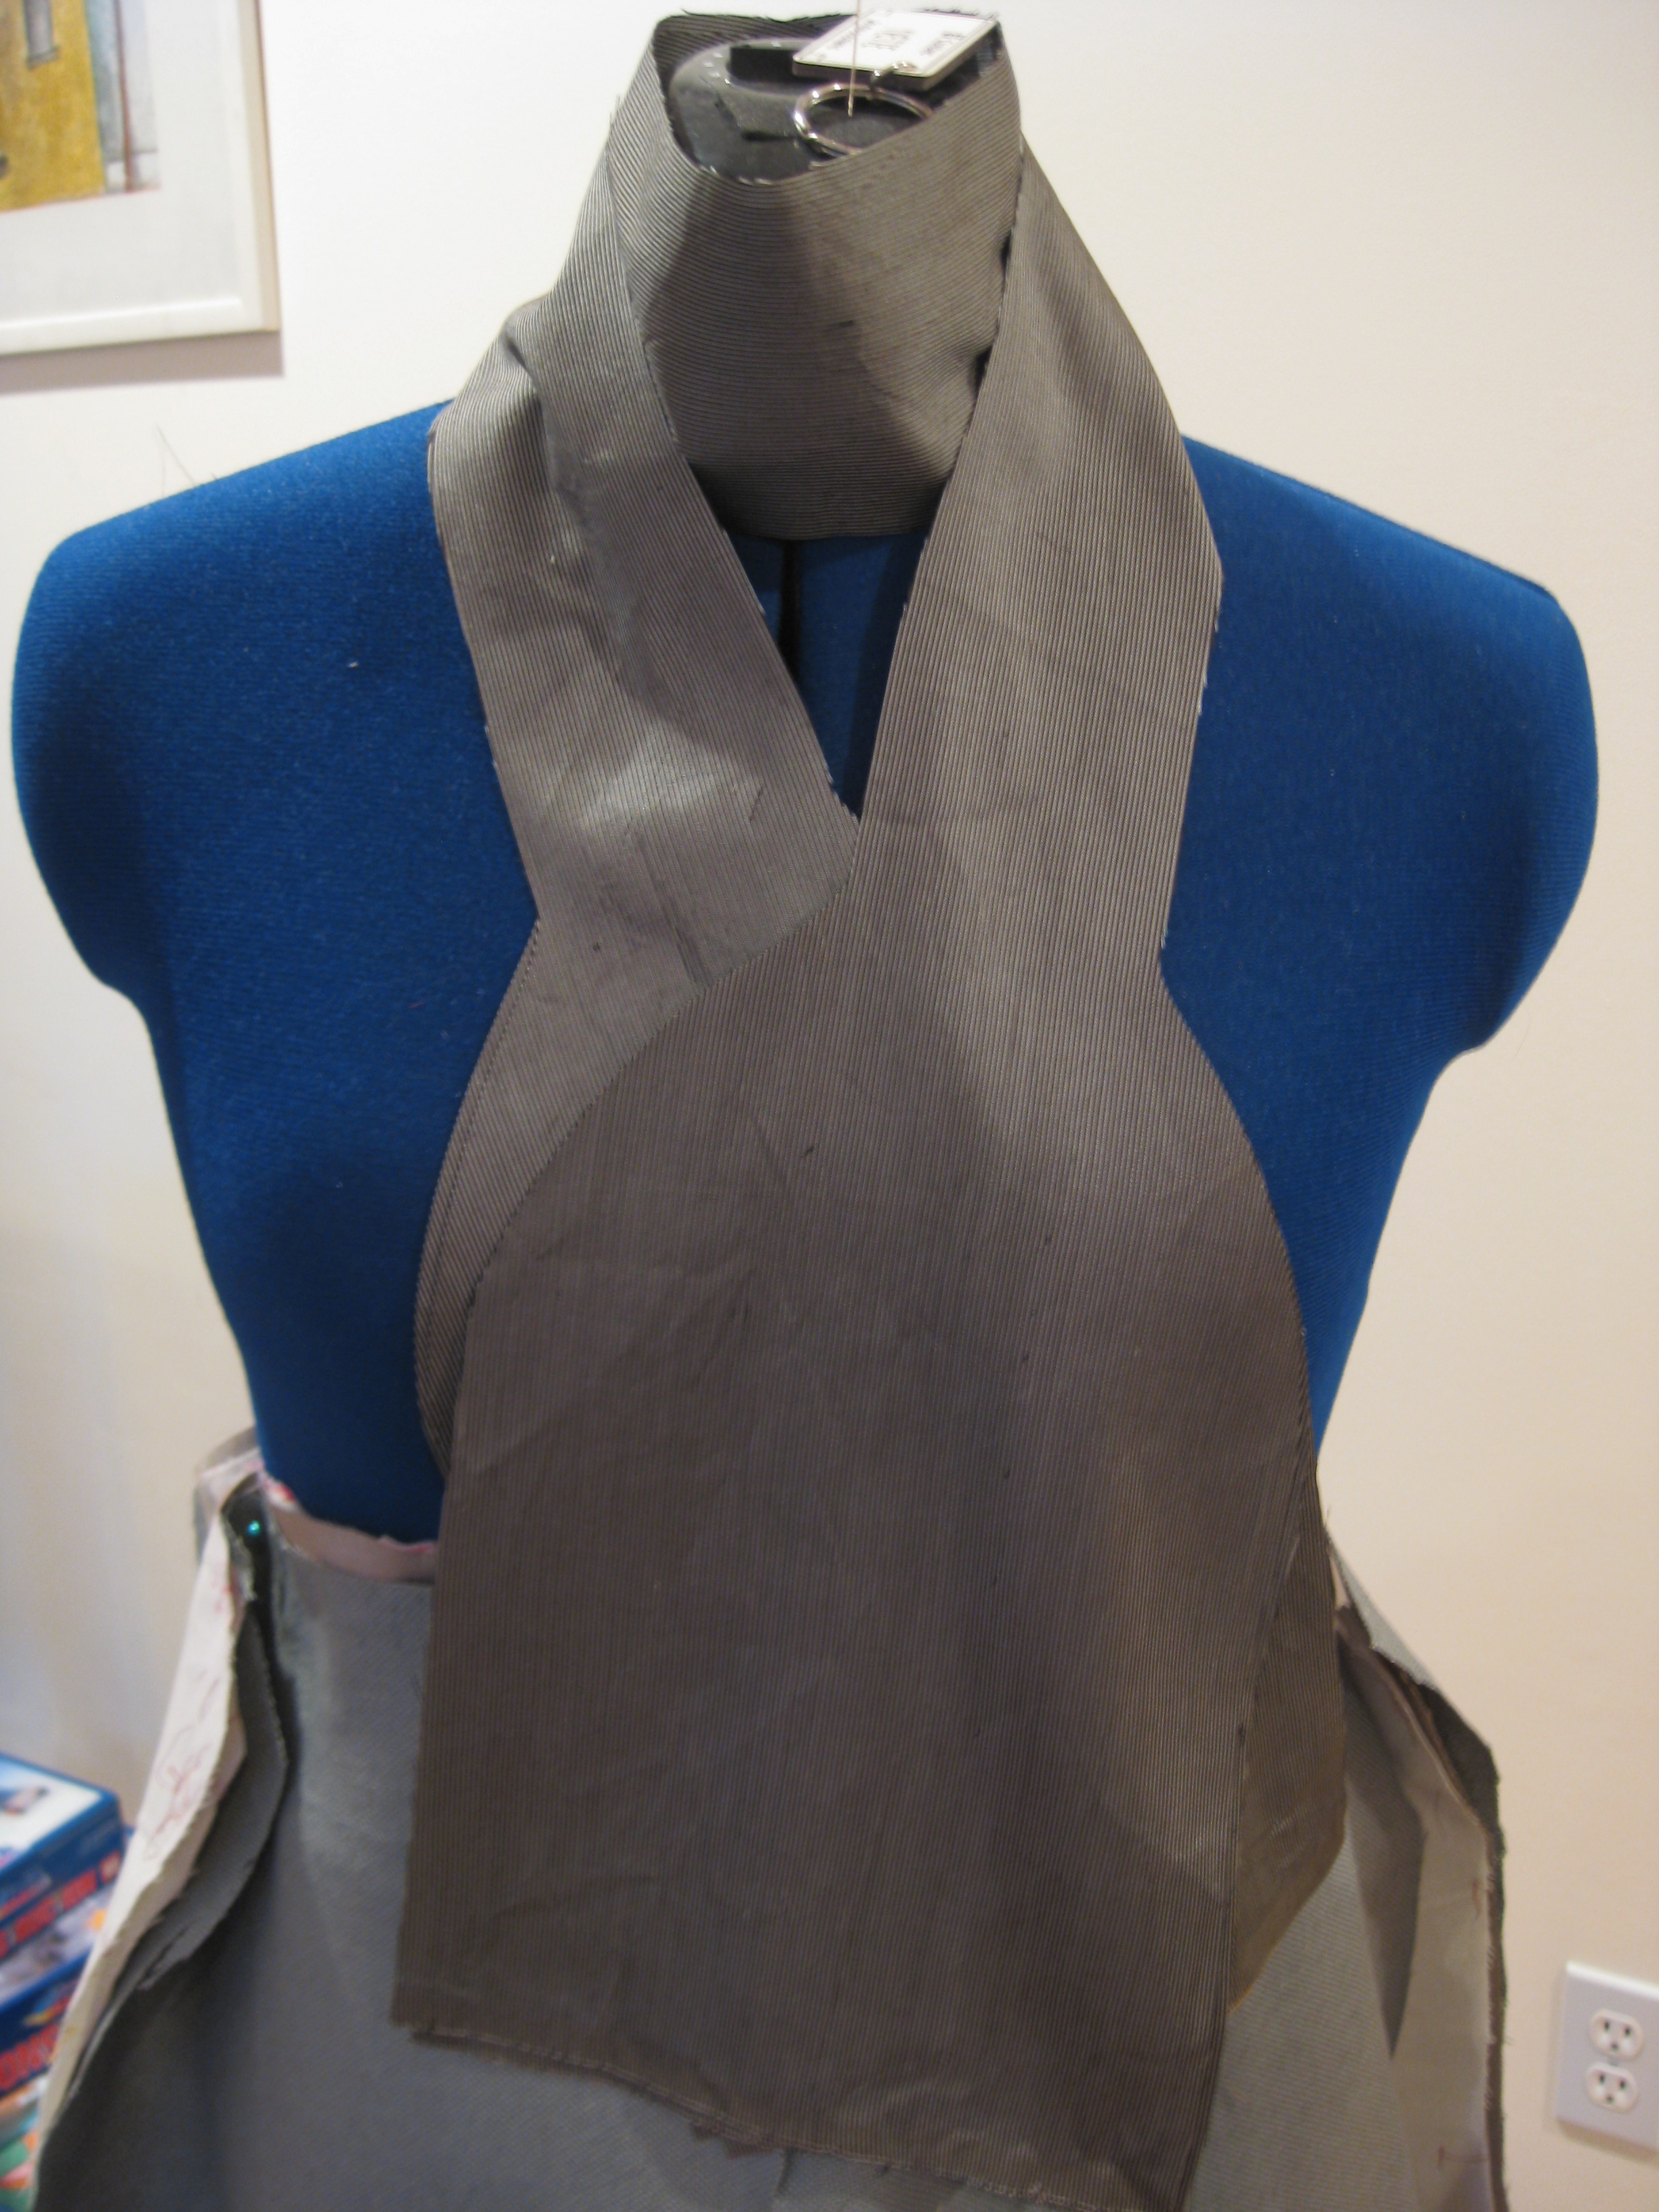
So, I pulled out my muslin and went at it, and I have the draft completed through the laid on collar. It's the first time I've done a laid on collar, and figuring out how to do it was a pleasant challenge.
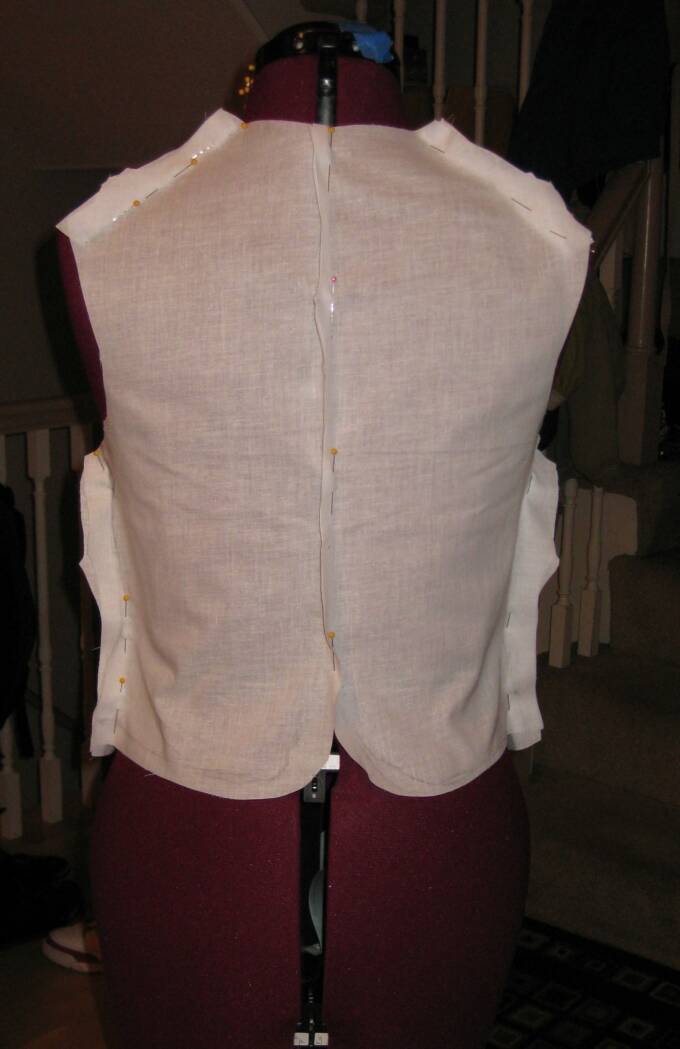
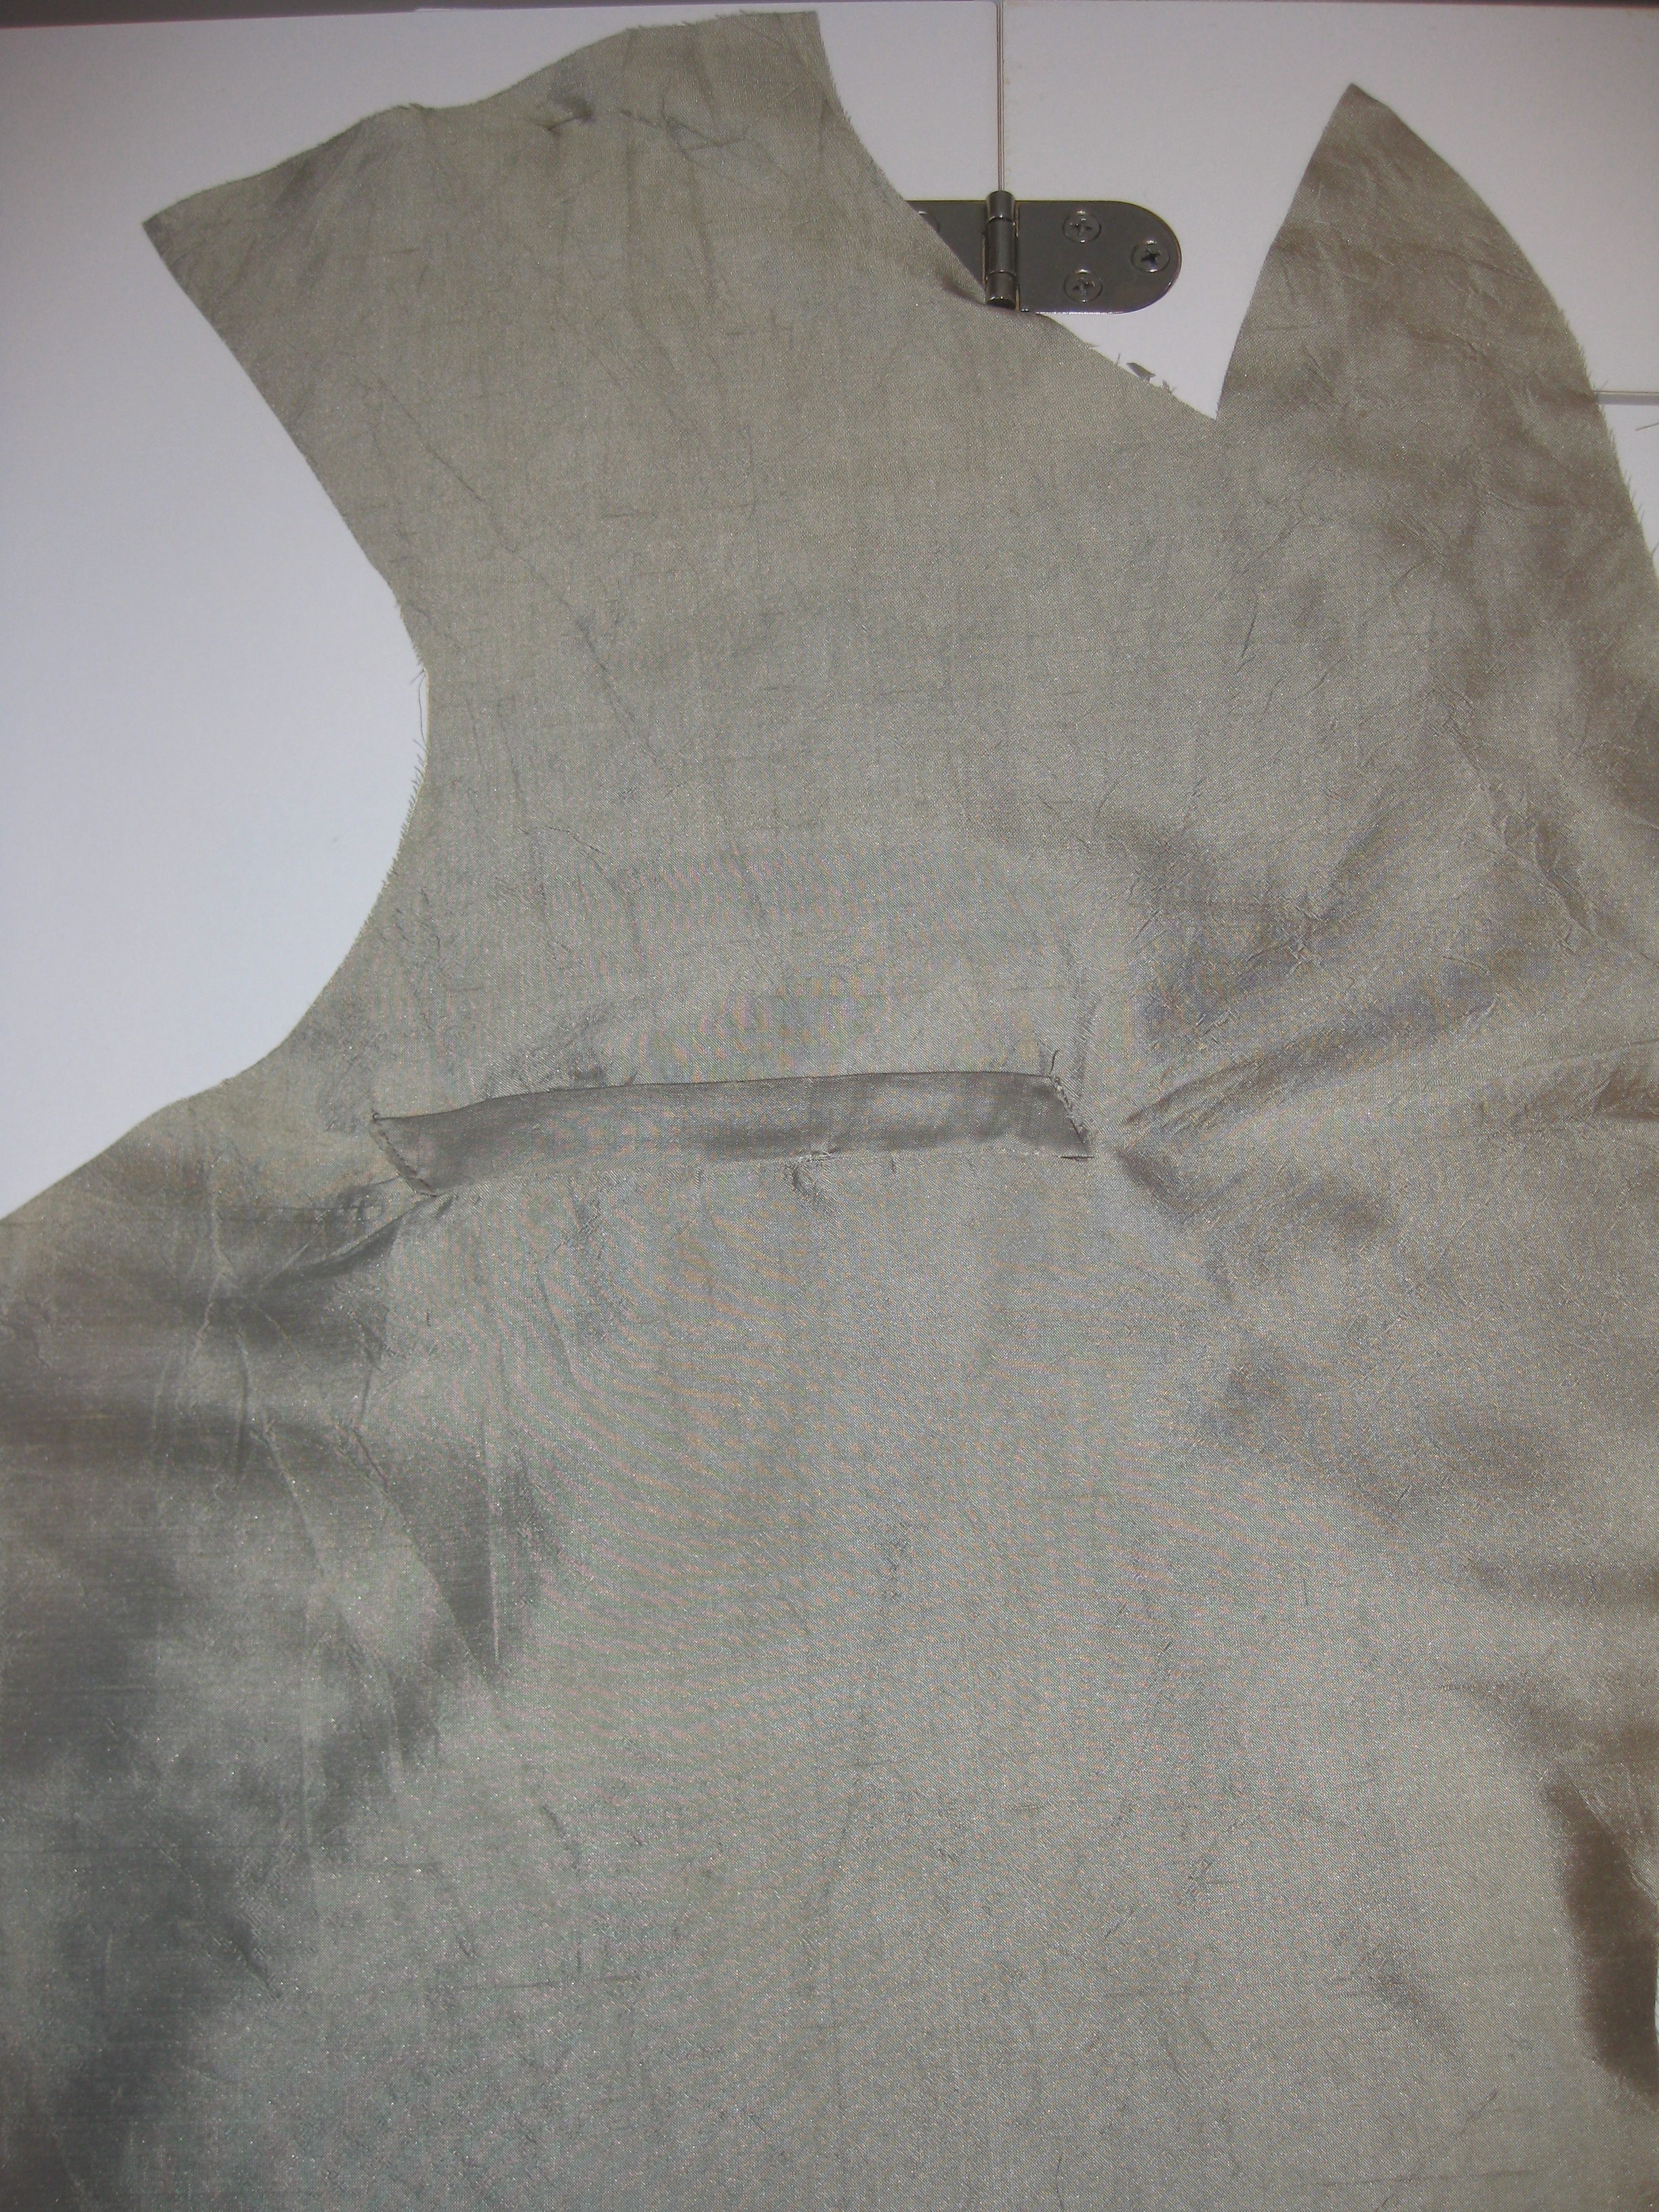
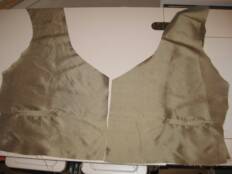
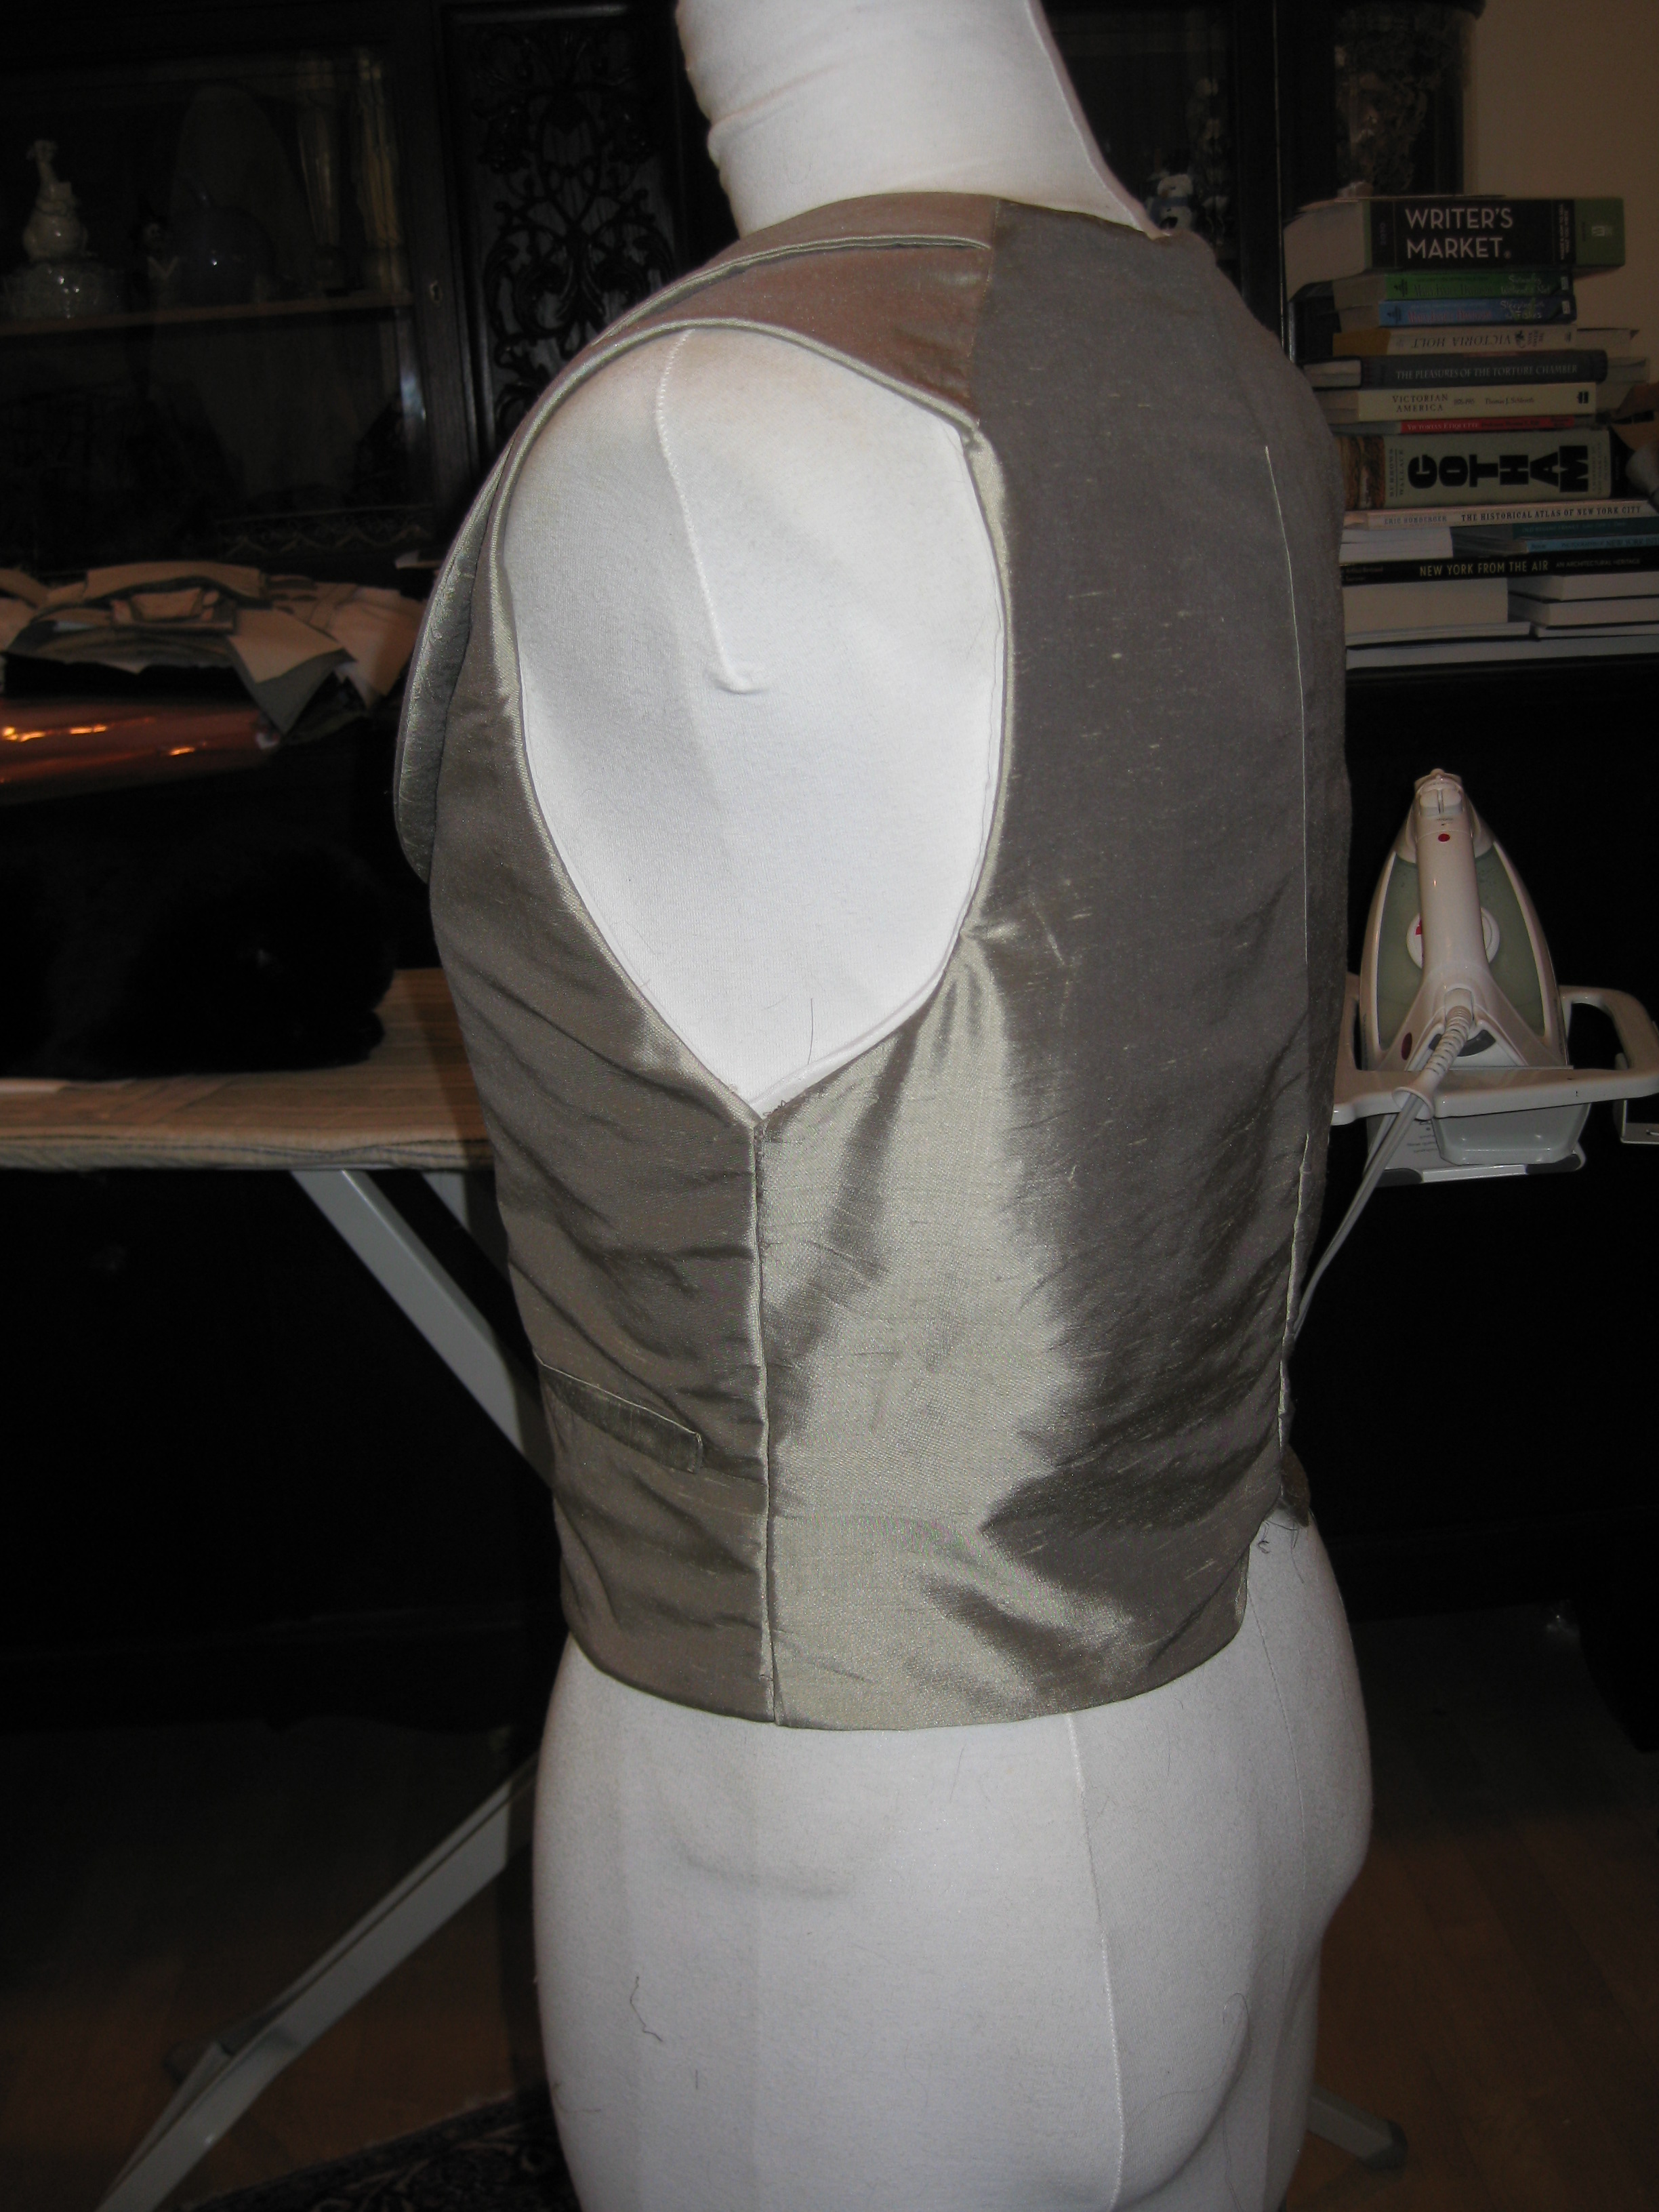
The first thing I did was figure out the basic shape of the front and back panels, and how the neckline should open. I started off with the Laughing Moon Frock Coat pattern of the double breasted vest, but had to deviate big time, as the size pegged to fit me did not fit, or lay flat. There were some major creases & bulges in the back panels, and some warping in the front. So, I tapped down the excesses and recut. And recut. And recut. Third time was the charm. These photos show the shape I came up with. The muslin is only pinned together.
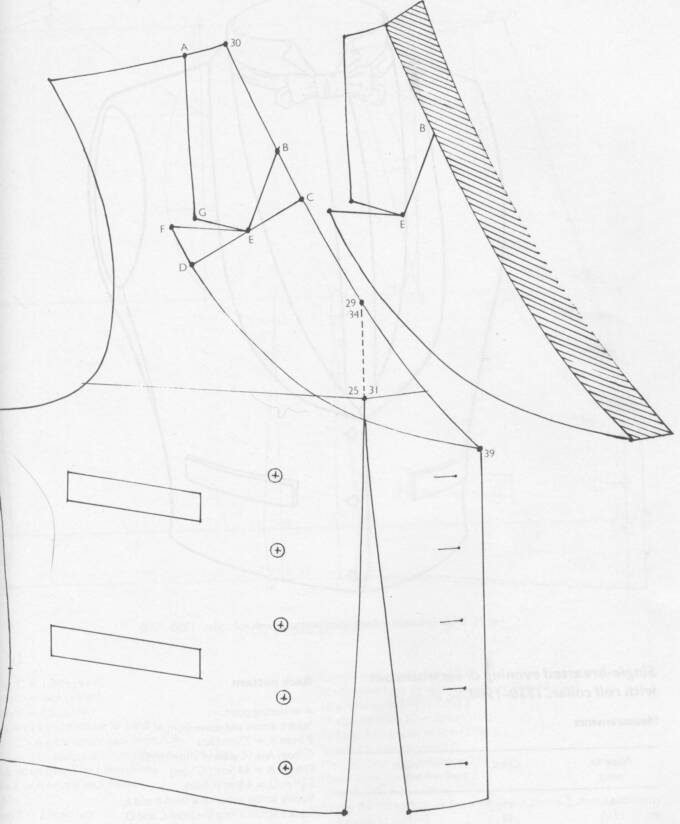
Ok, now the mental game was figuing out how to do the collar. I had no clue, but I have some great help here at home, a book called Men's Garments 1830-1900, A guide to pattern cutting and tailoring by R.I.Davis. The book has patterns with very little explanation. But... There was a drawing of a vest, and the collar was described as a "step" collar, or laid on collar. It is made from a separate piece of fabric that's laid on the front at the opening. These collars did not continue onto the backside, but were sewn into the shoulder seam. Words don't help much in understanding how this worked, but studying the pictures, suddenly I understood. Here is a scan of one of them:
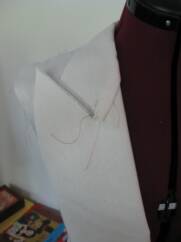
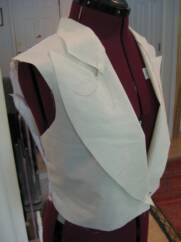
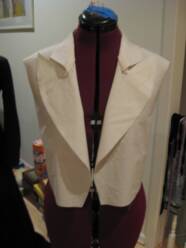
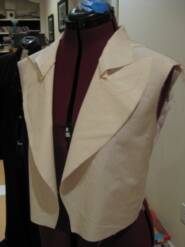
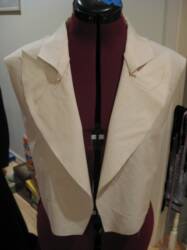
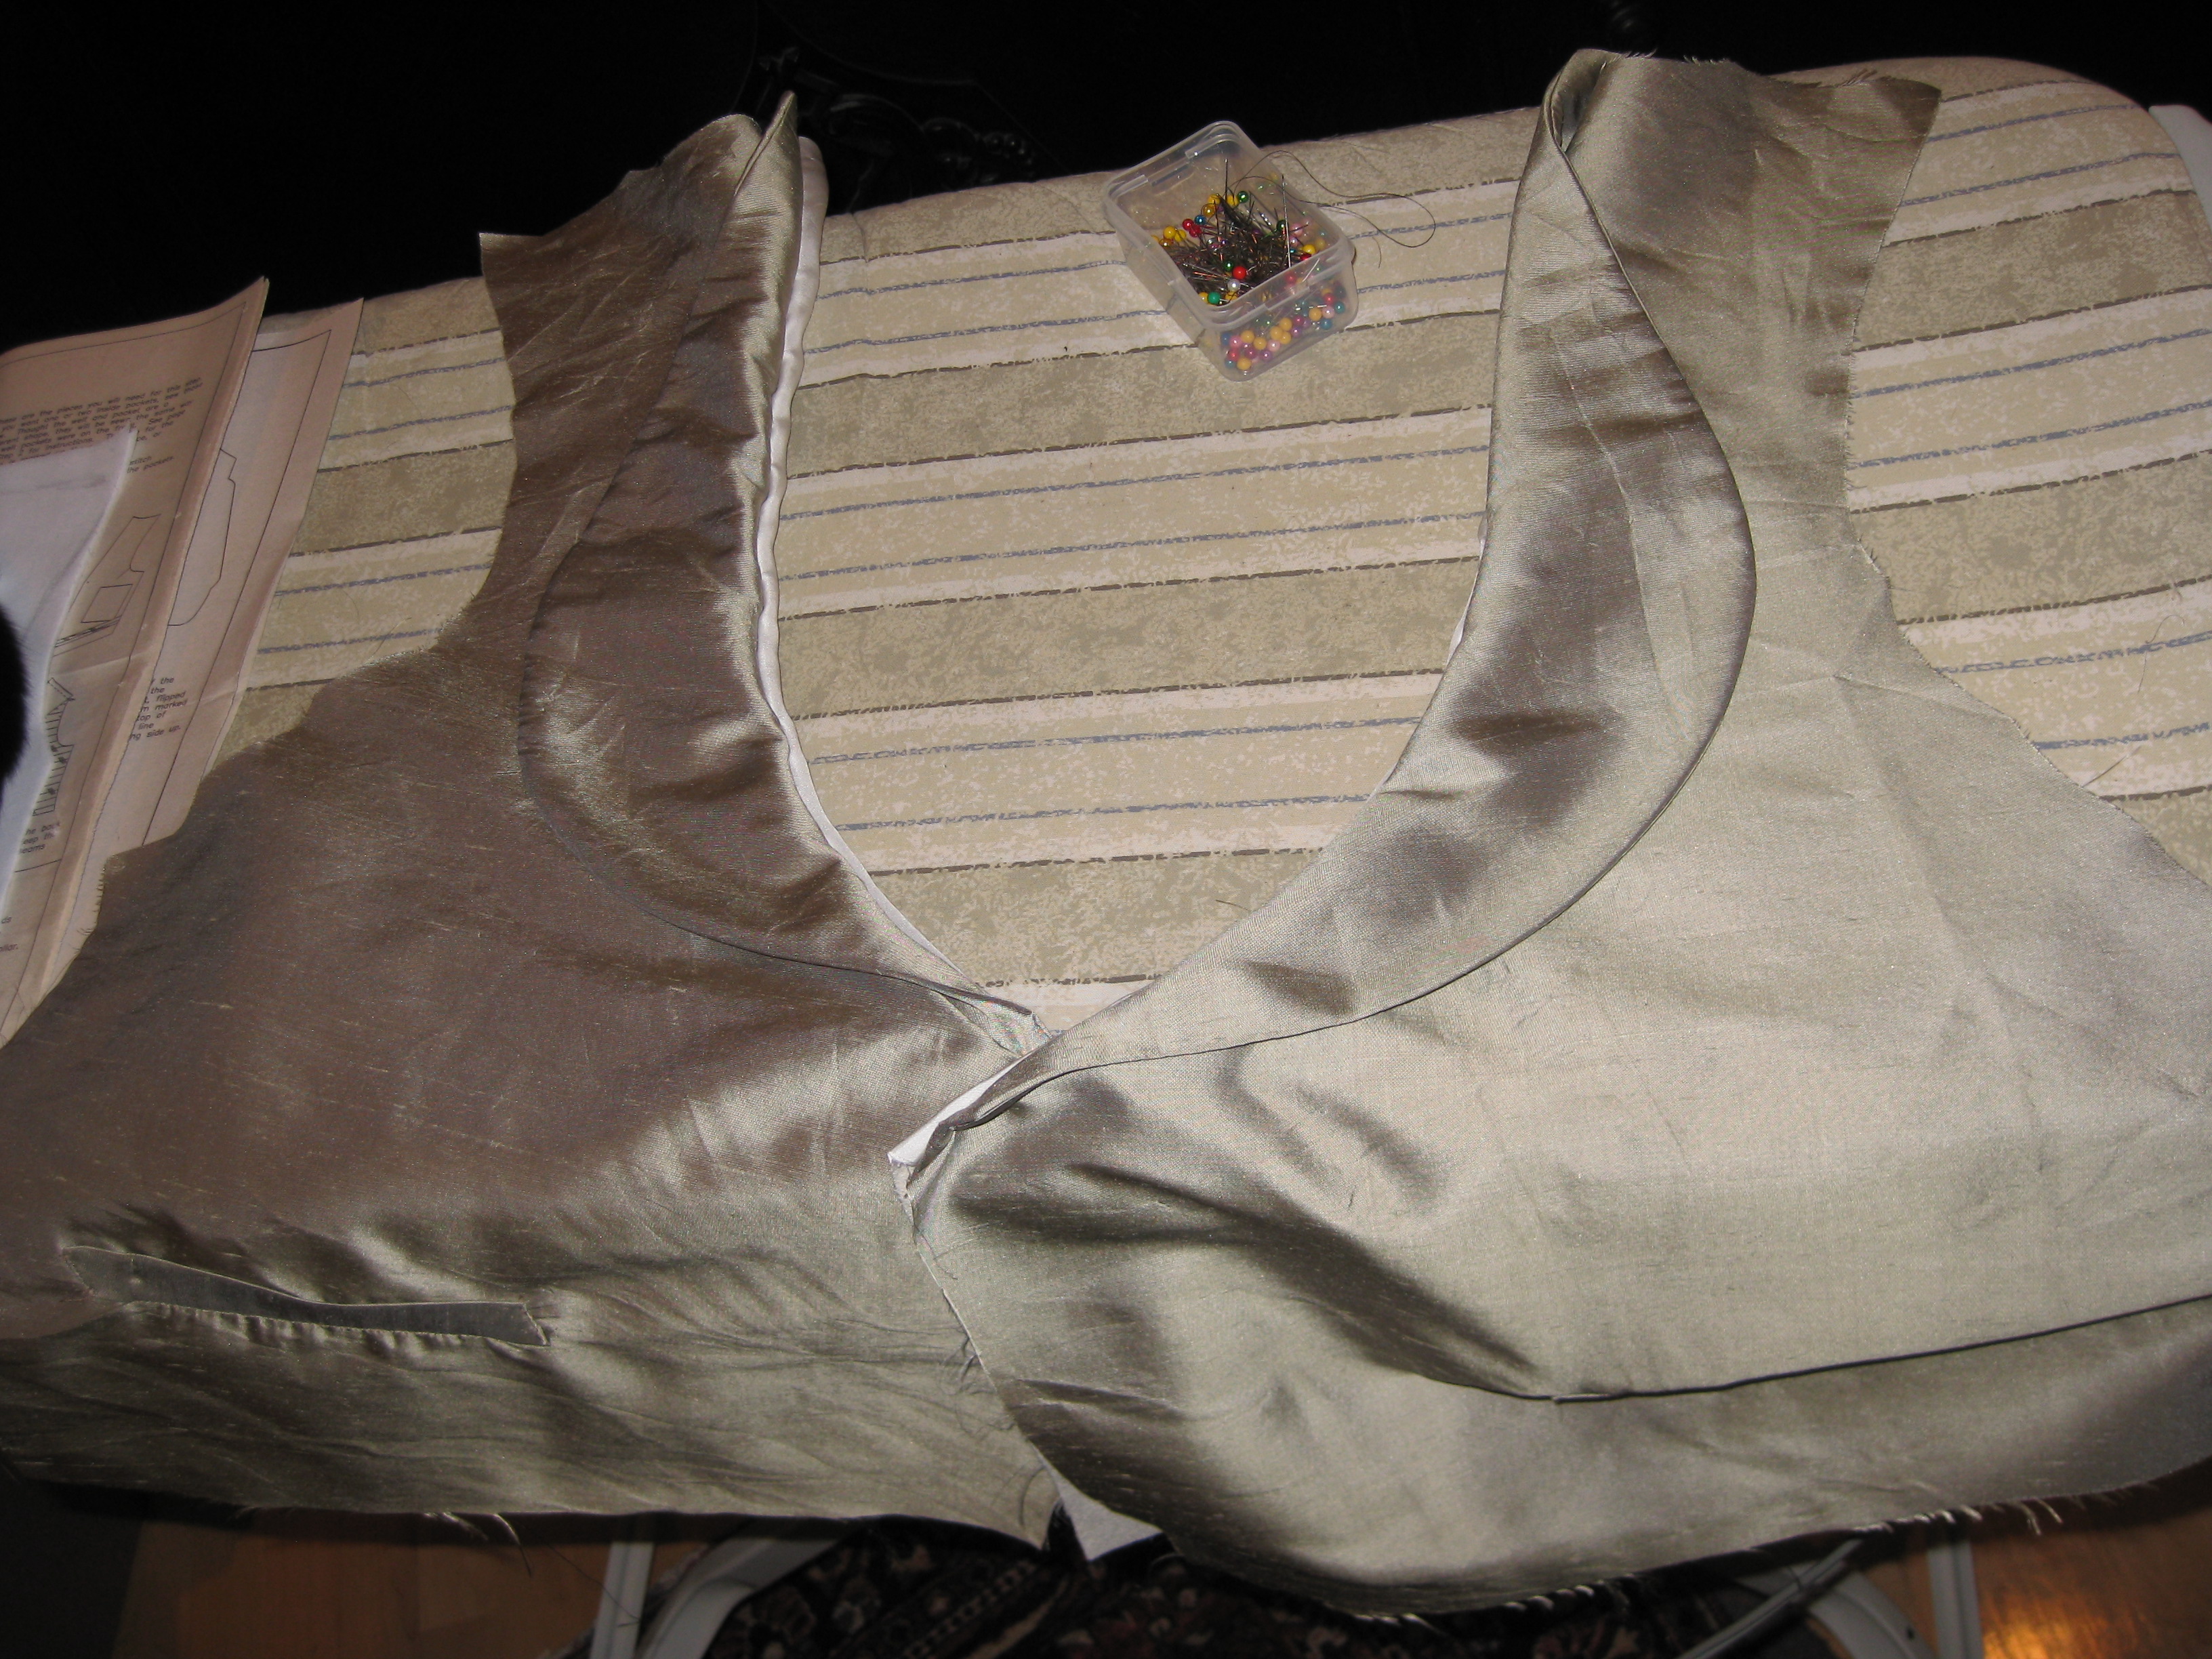
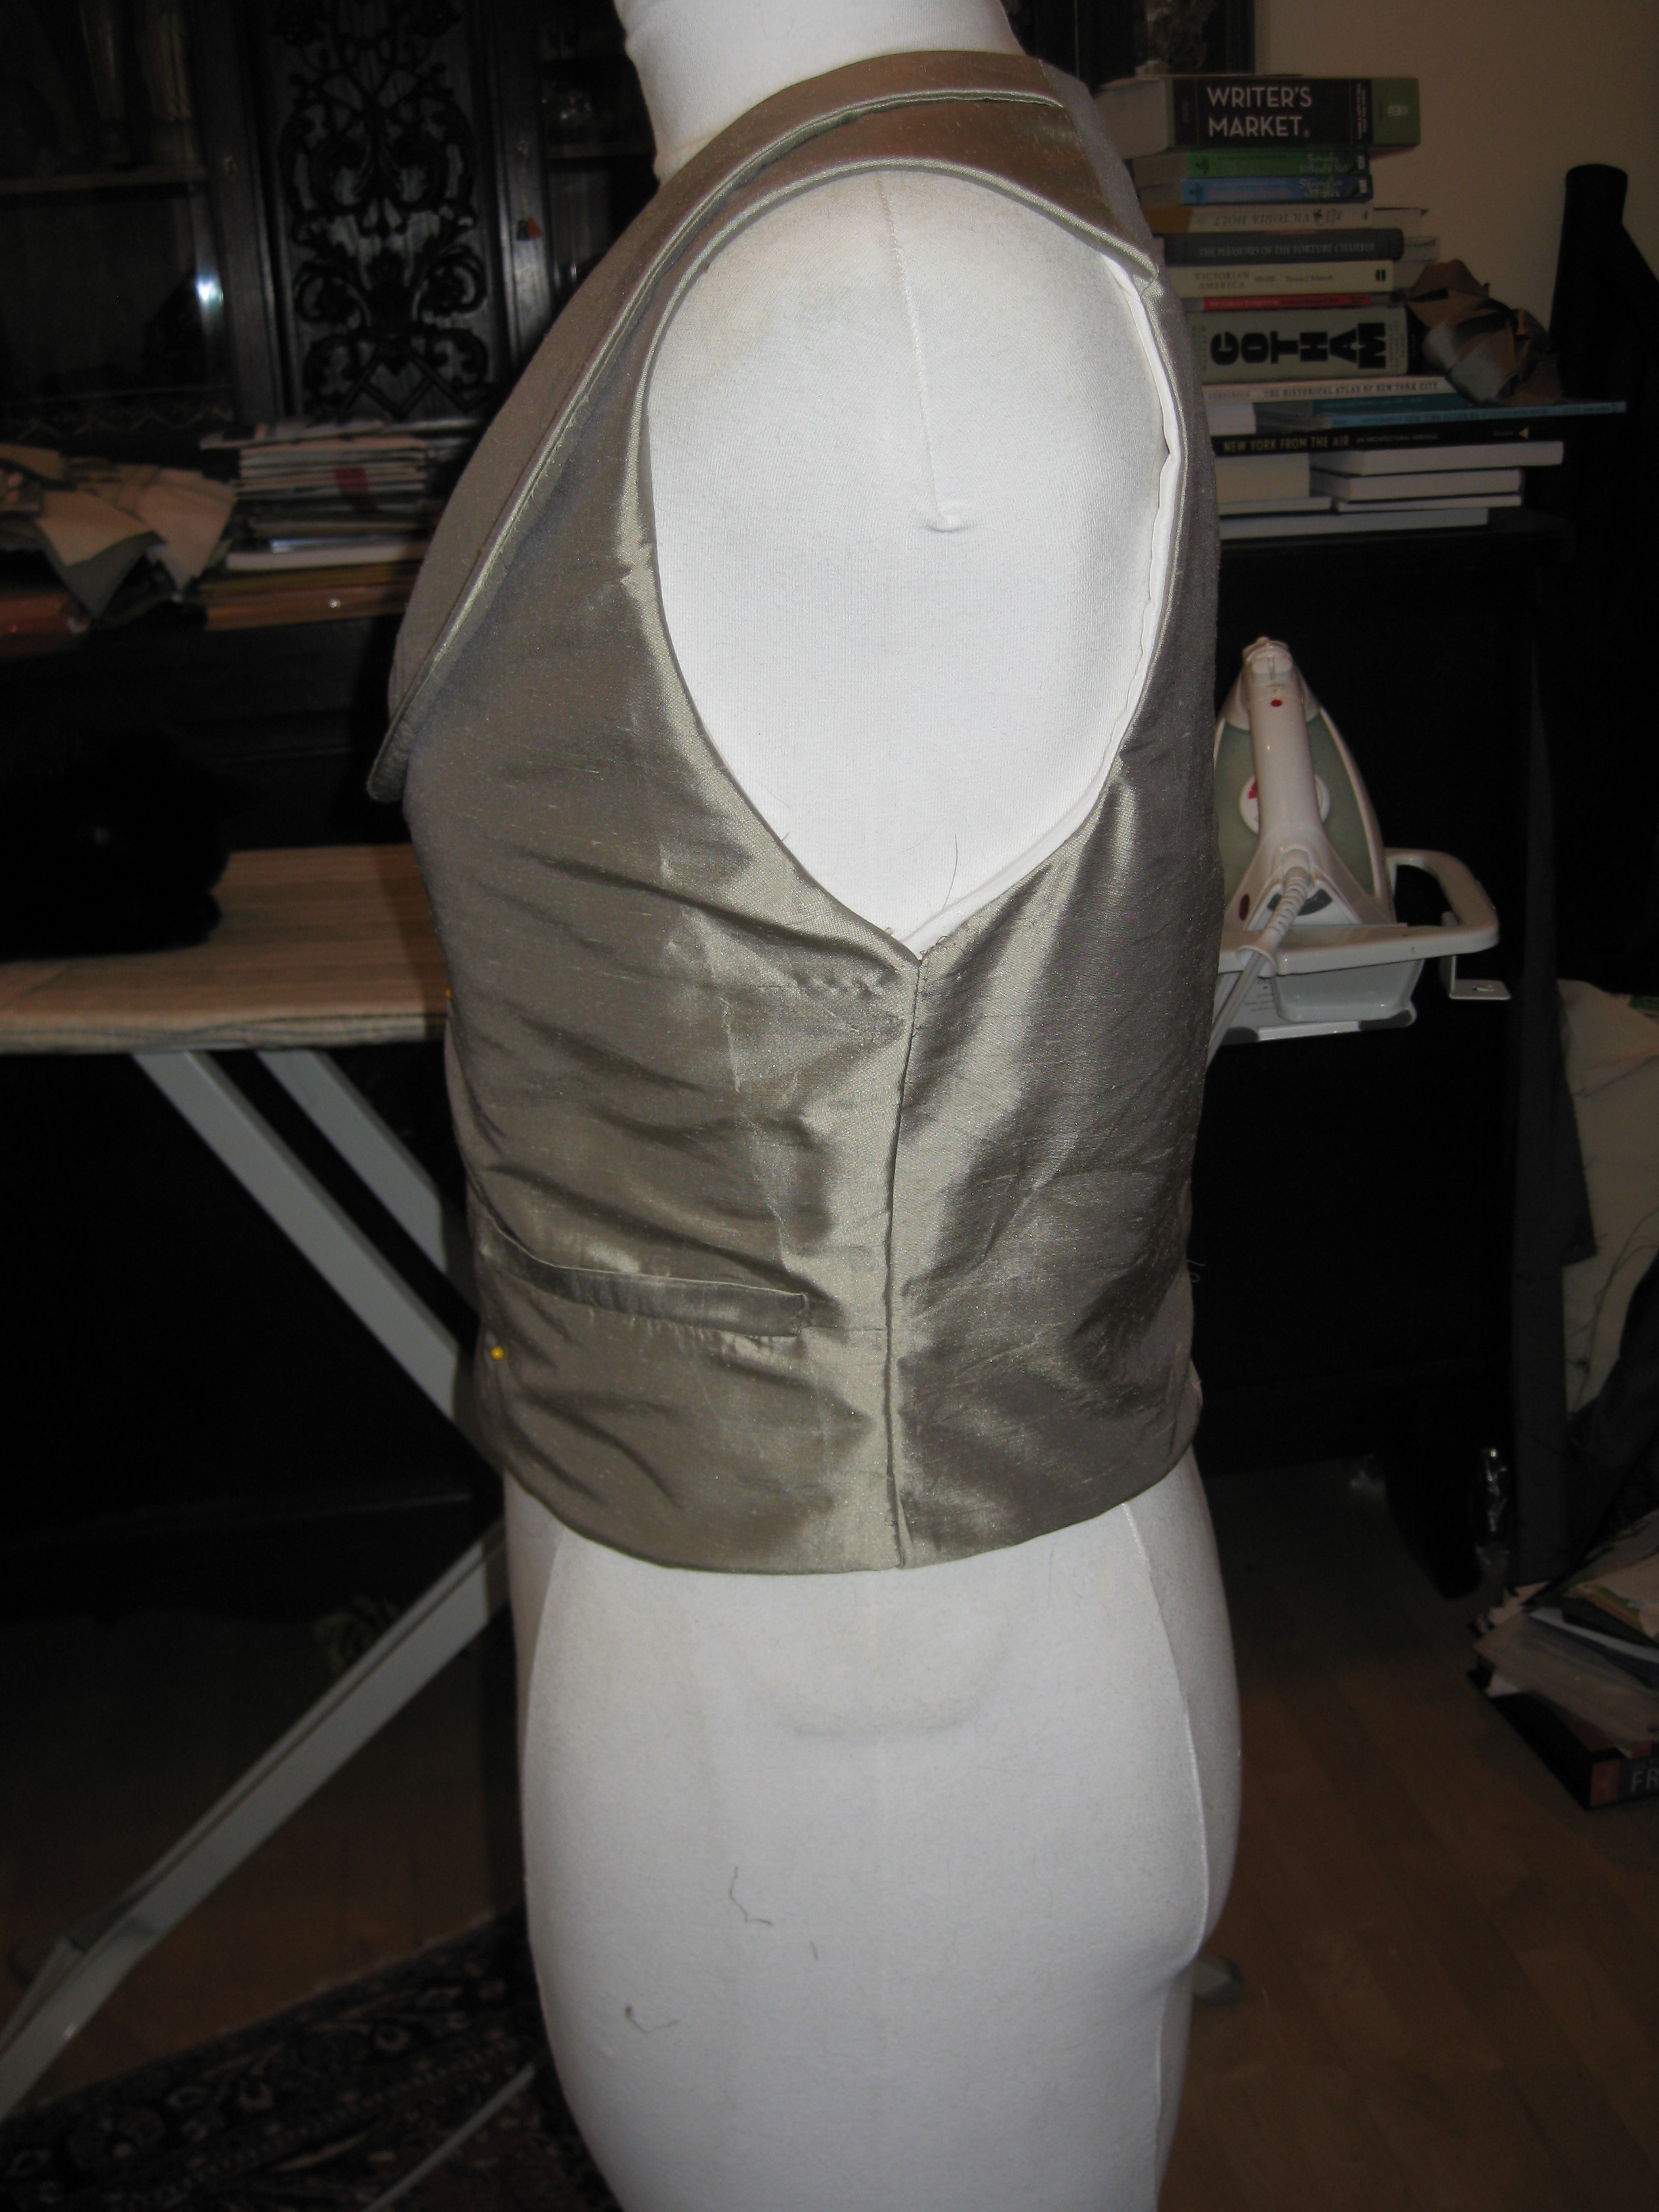
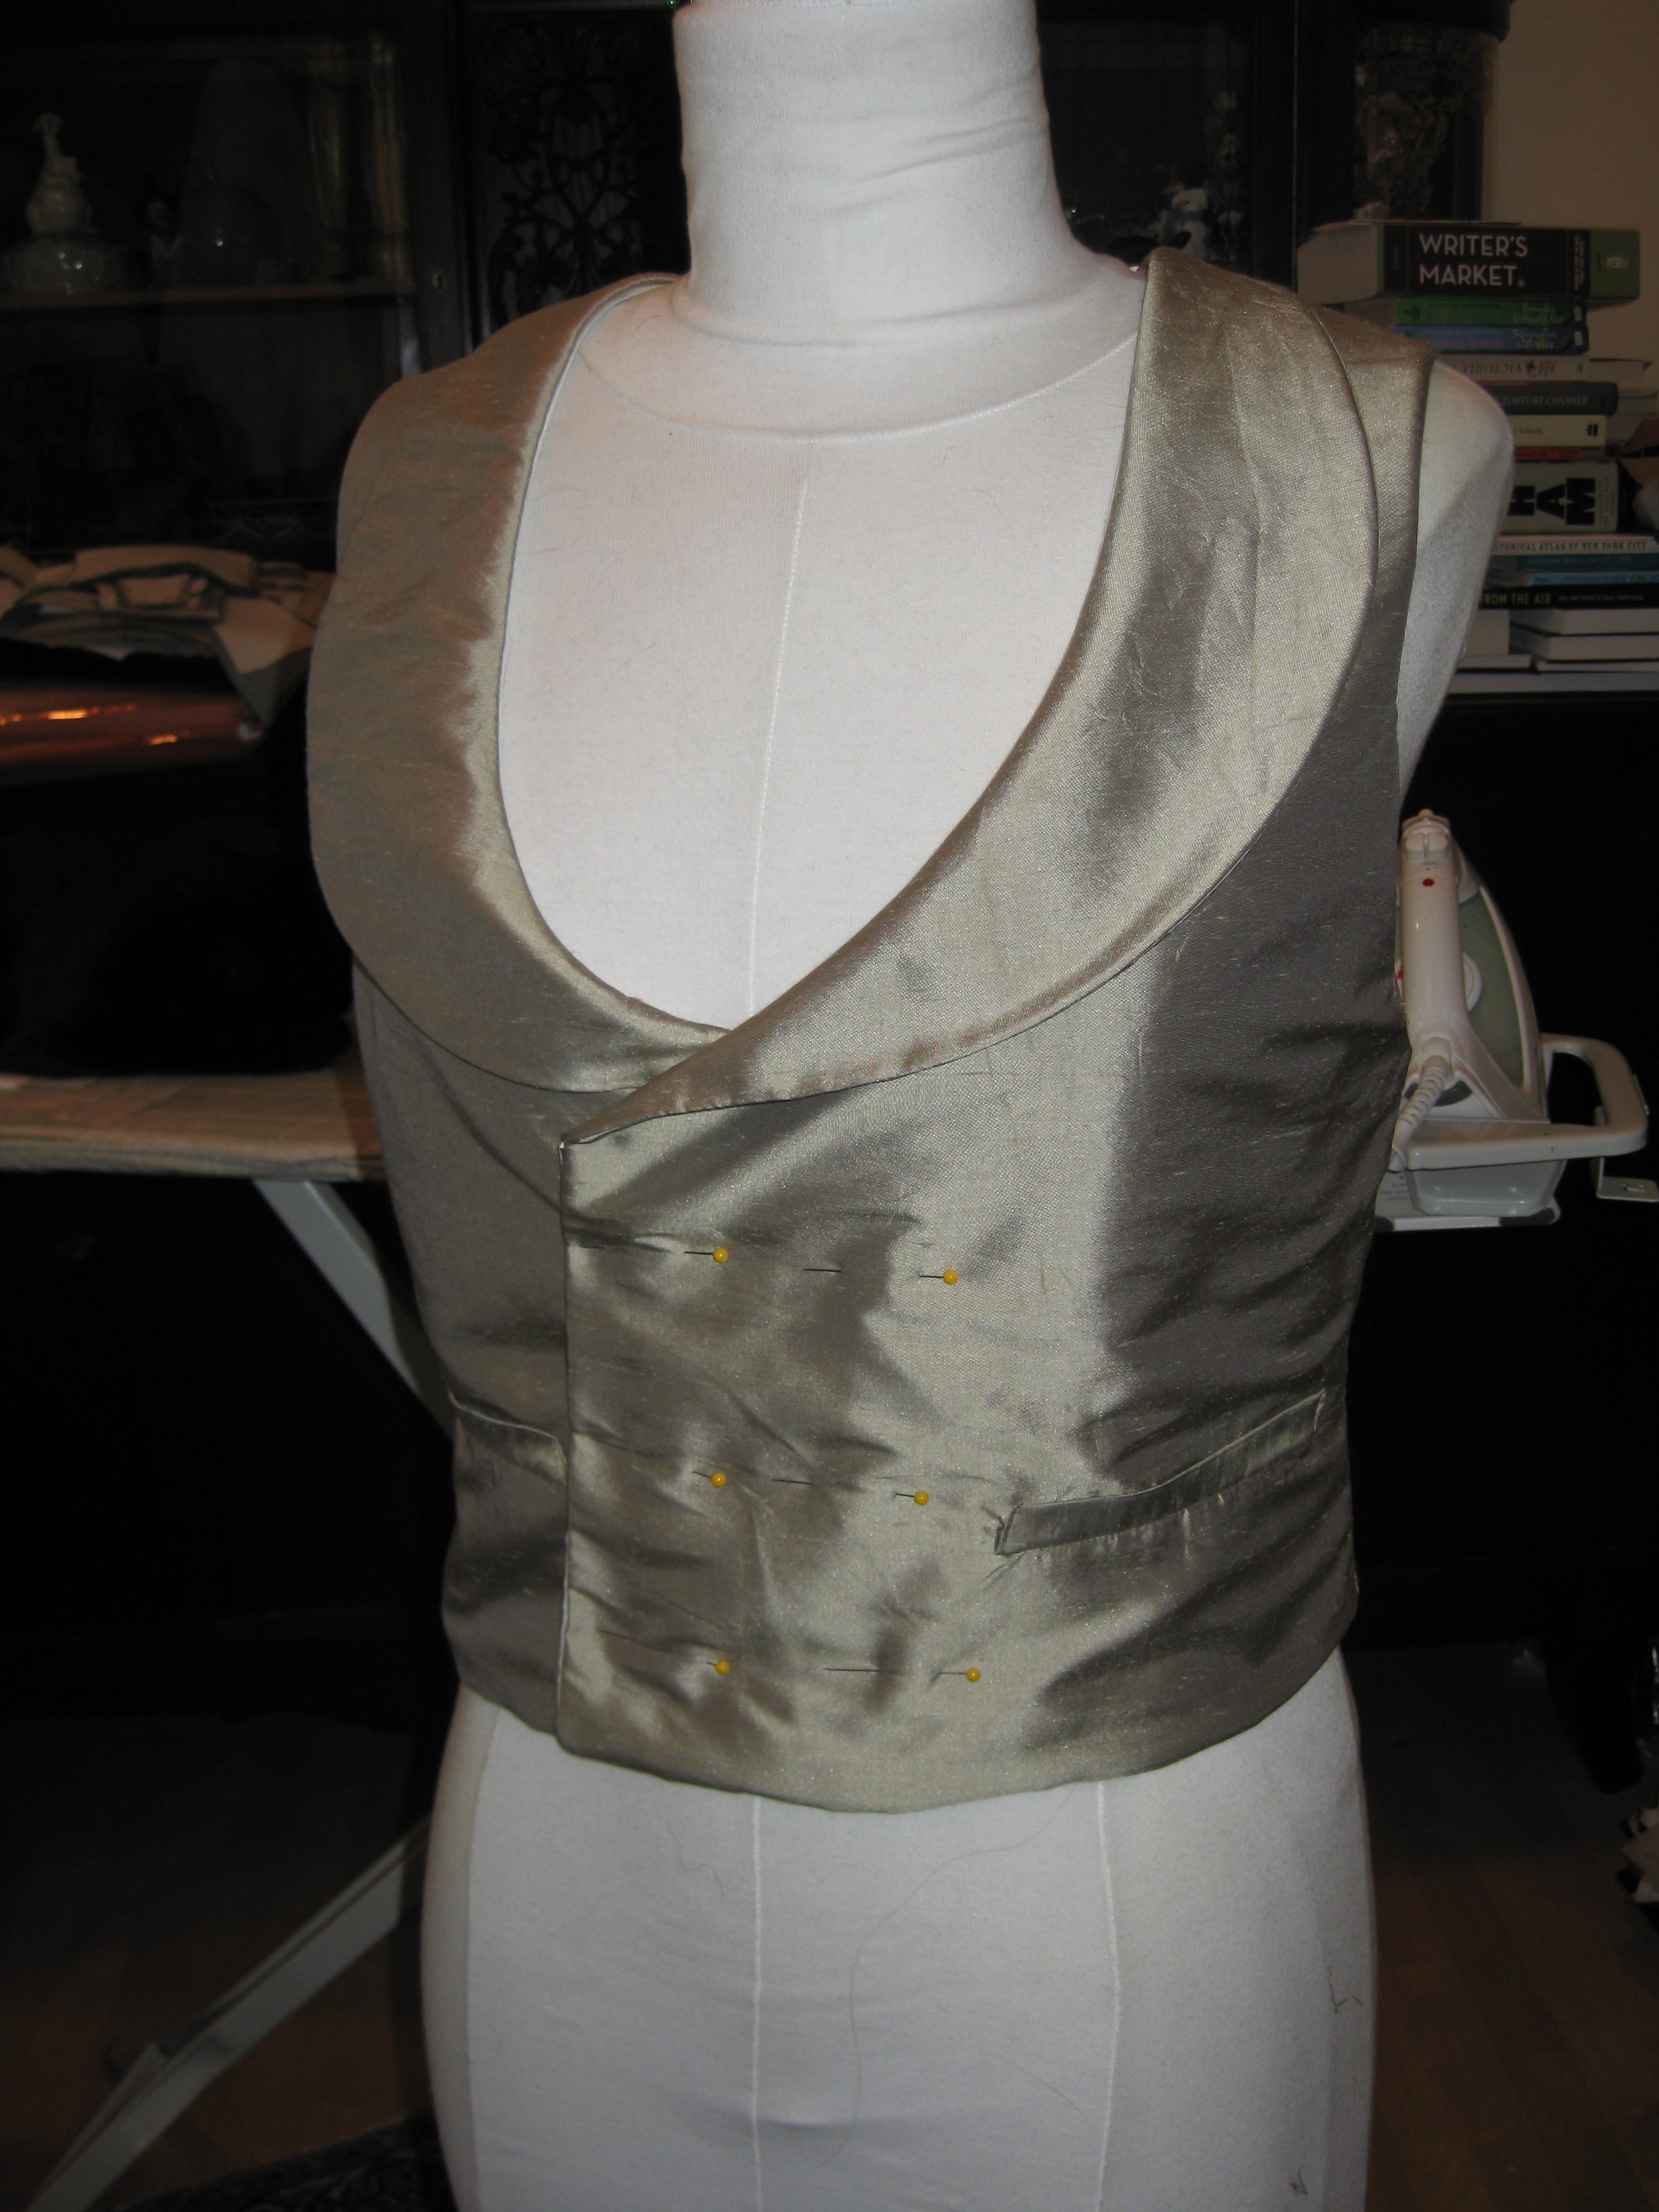
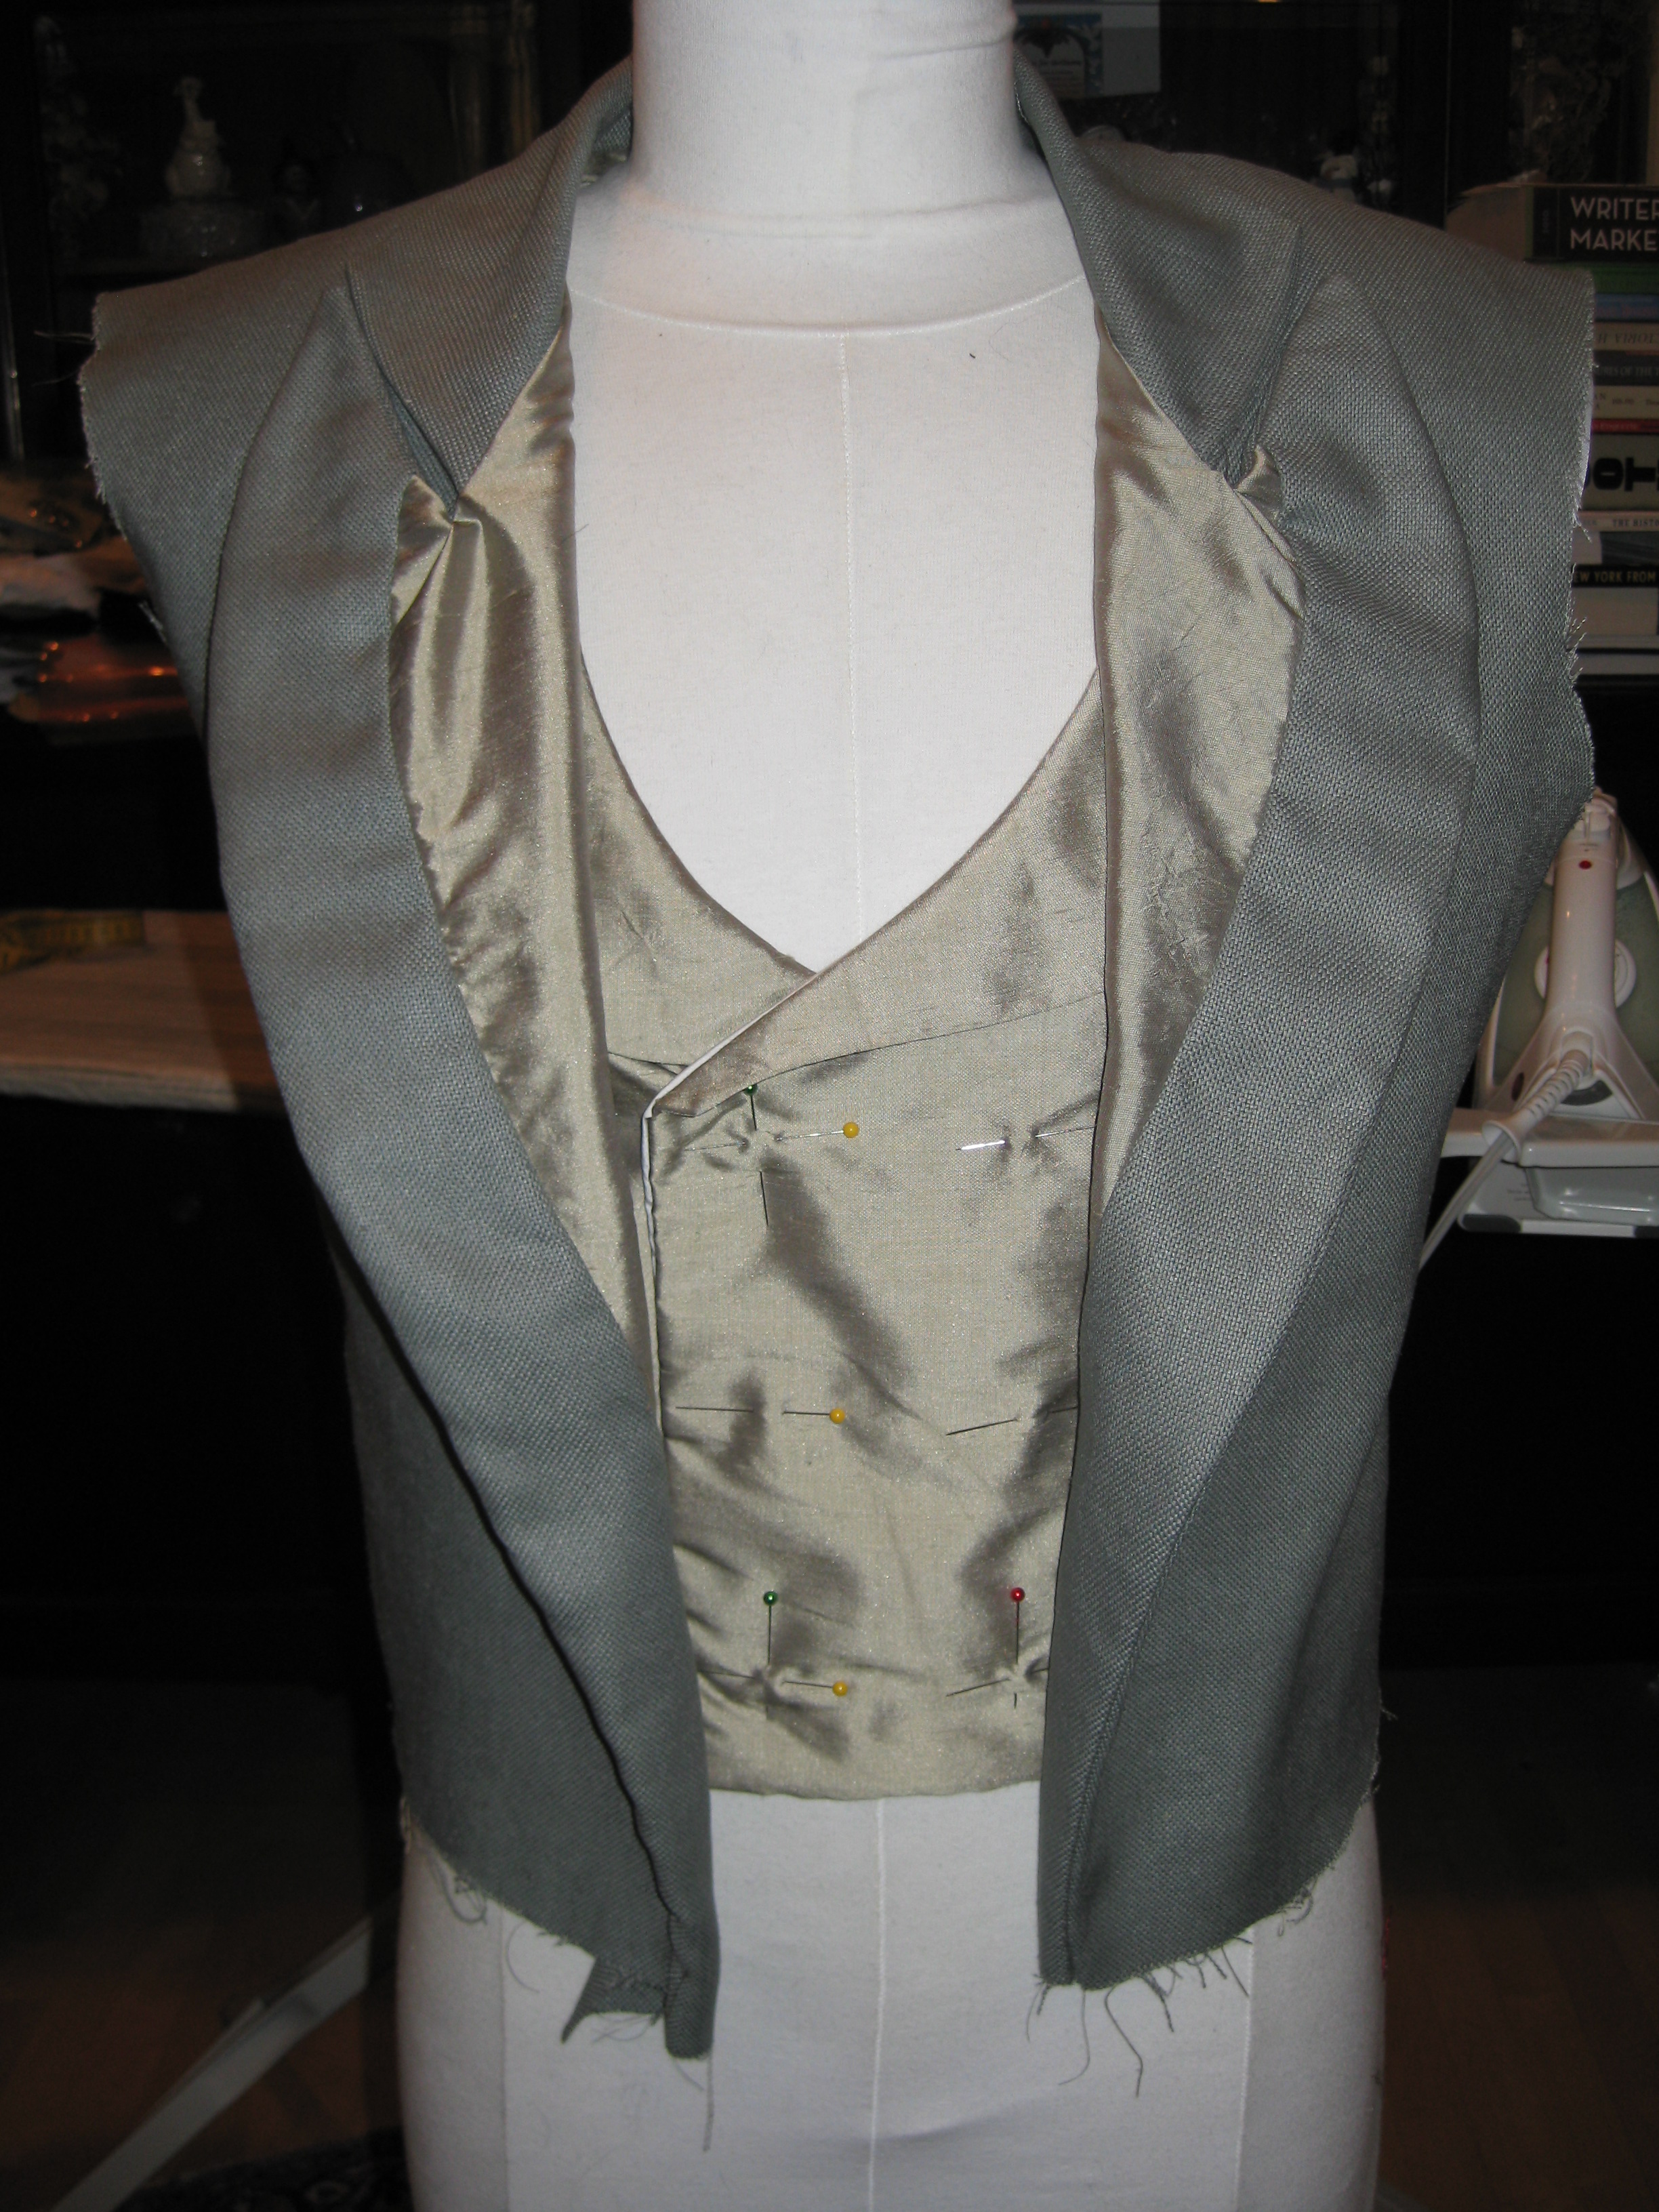
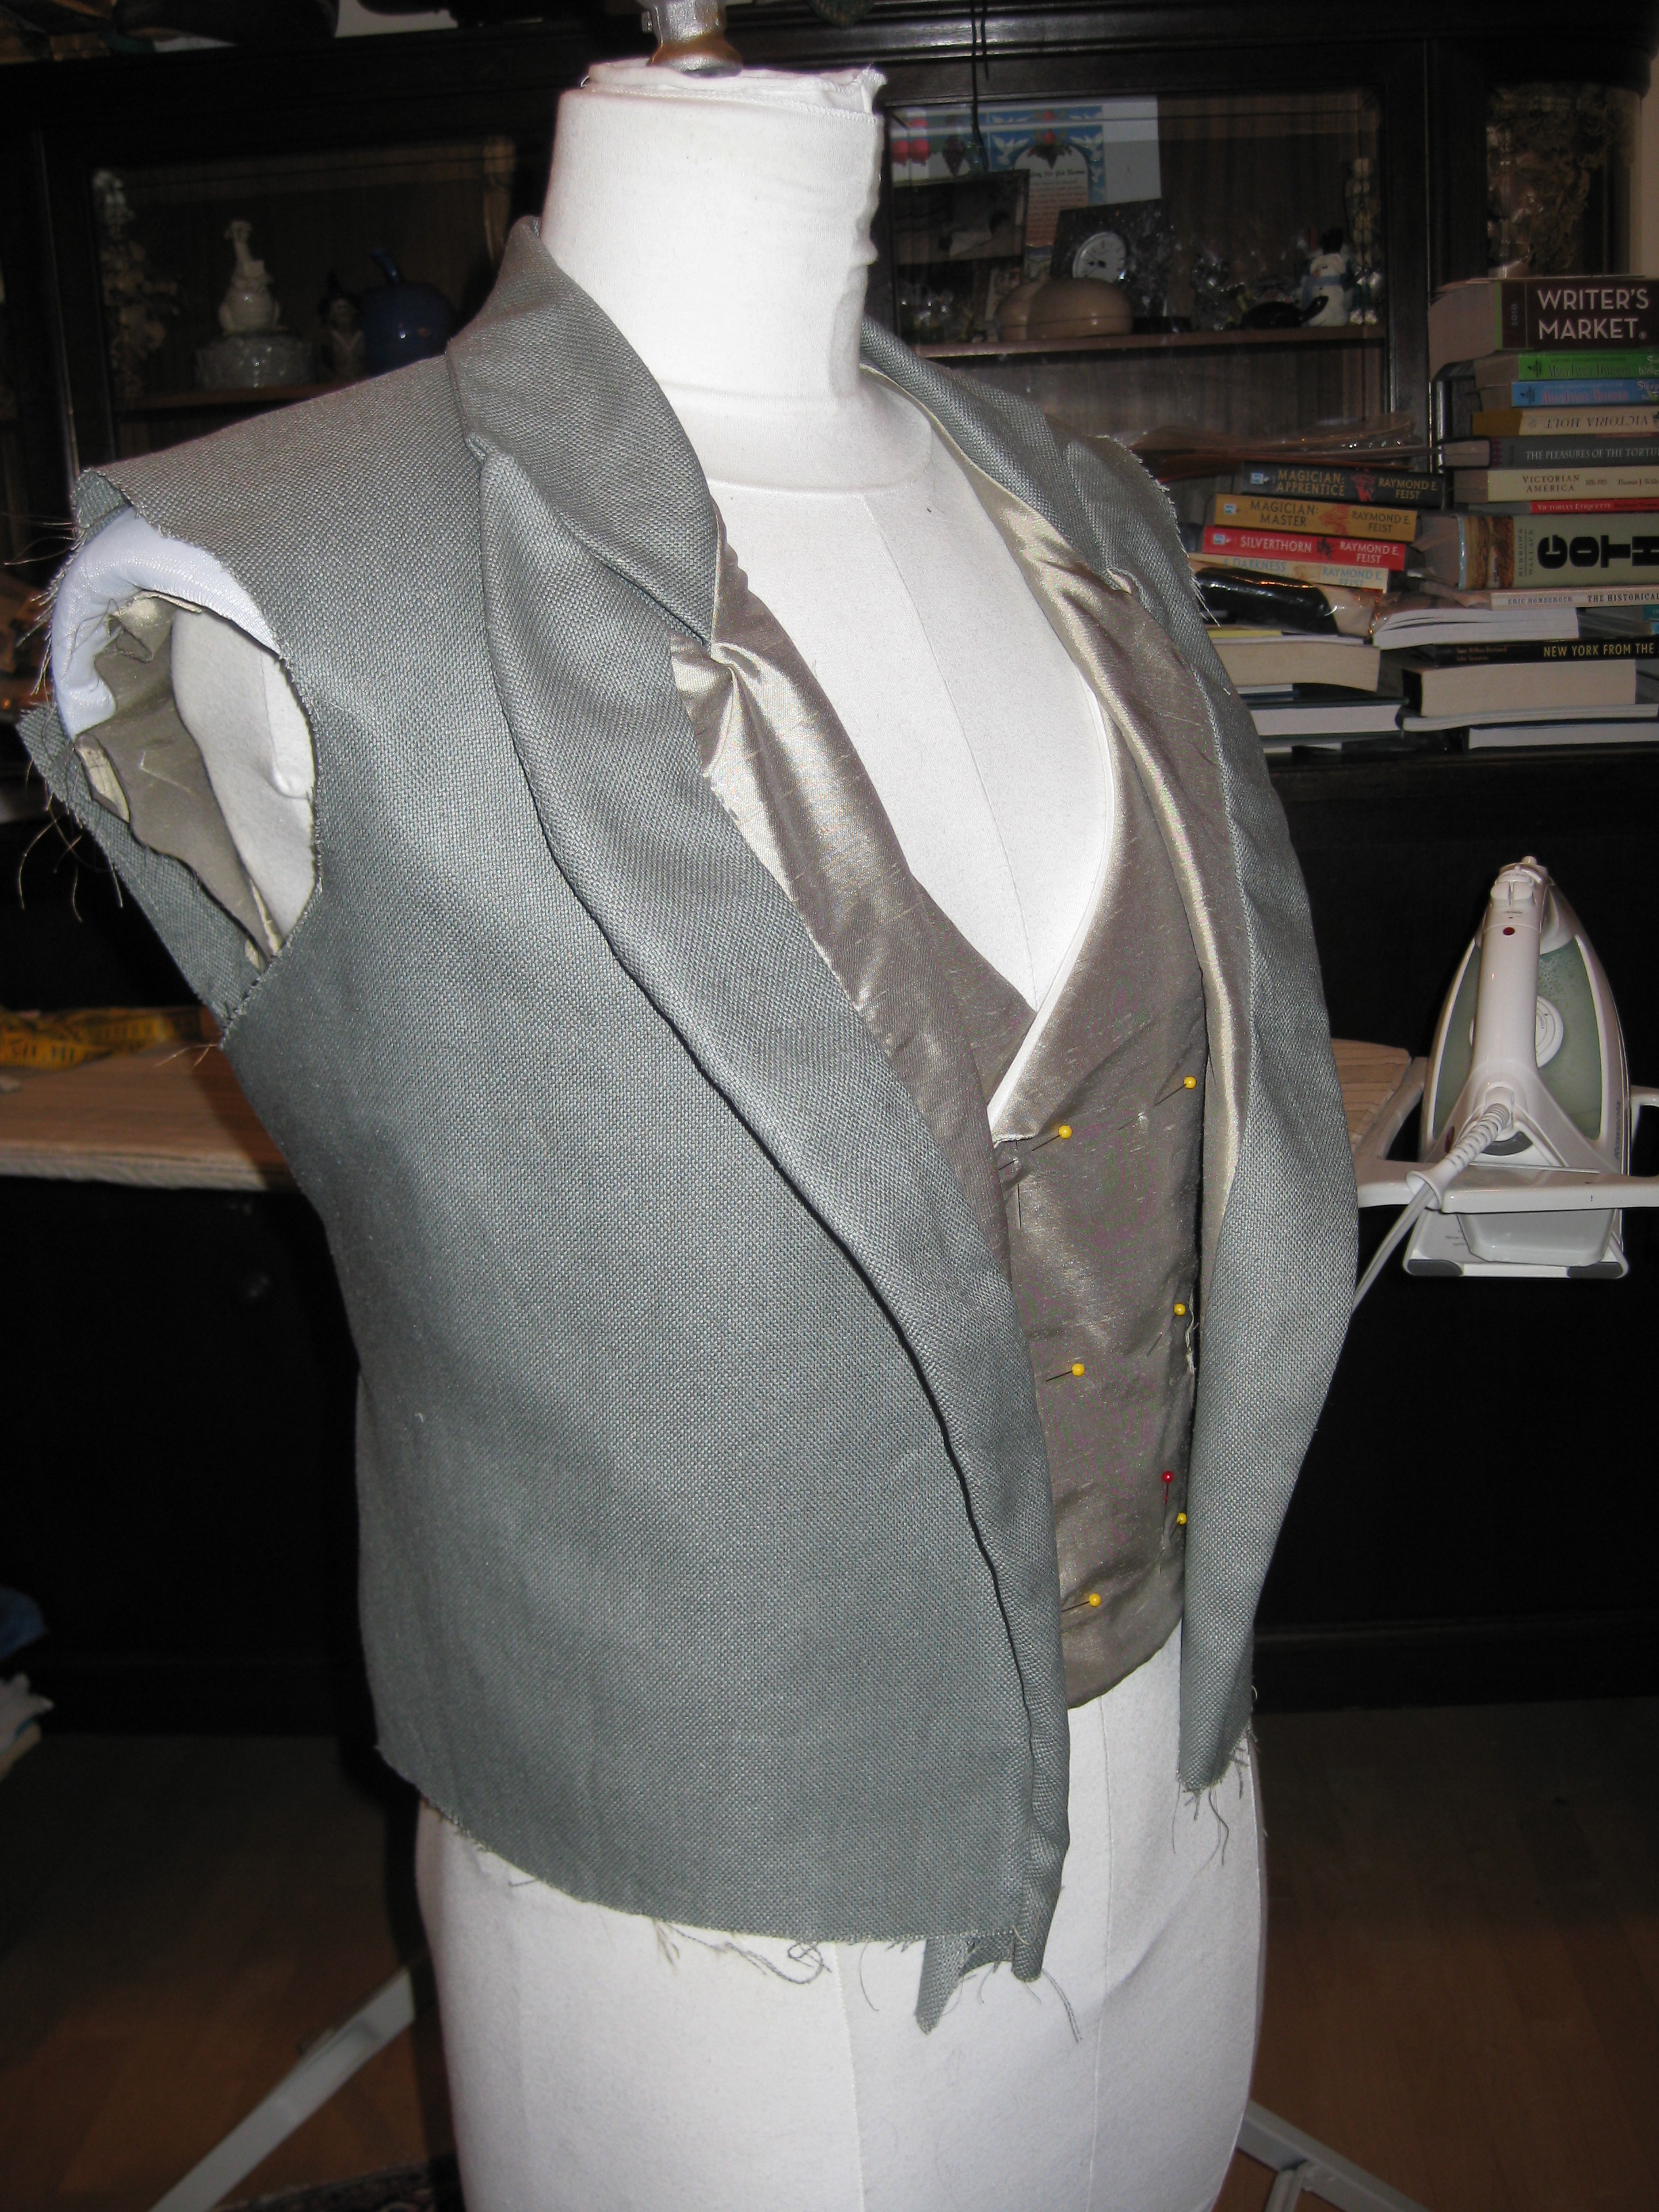
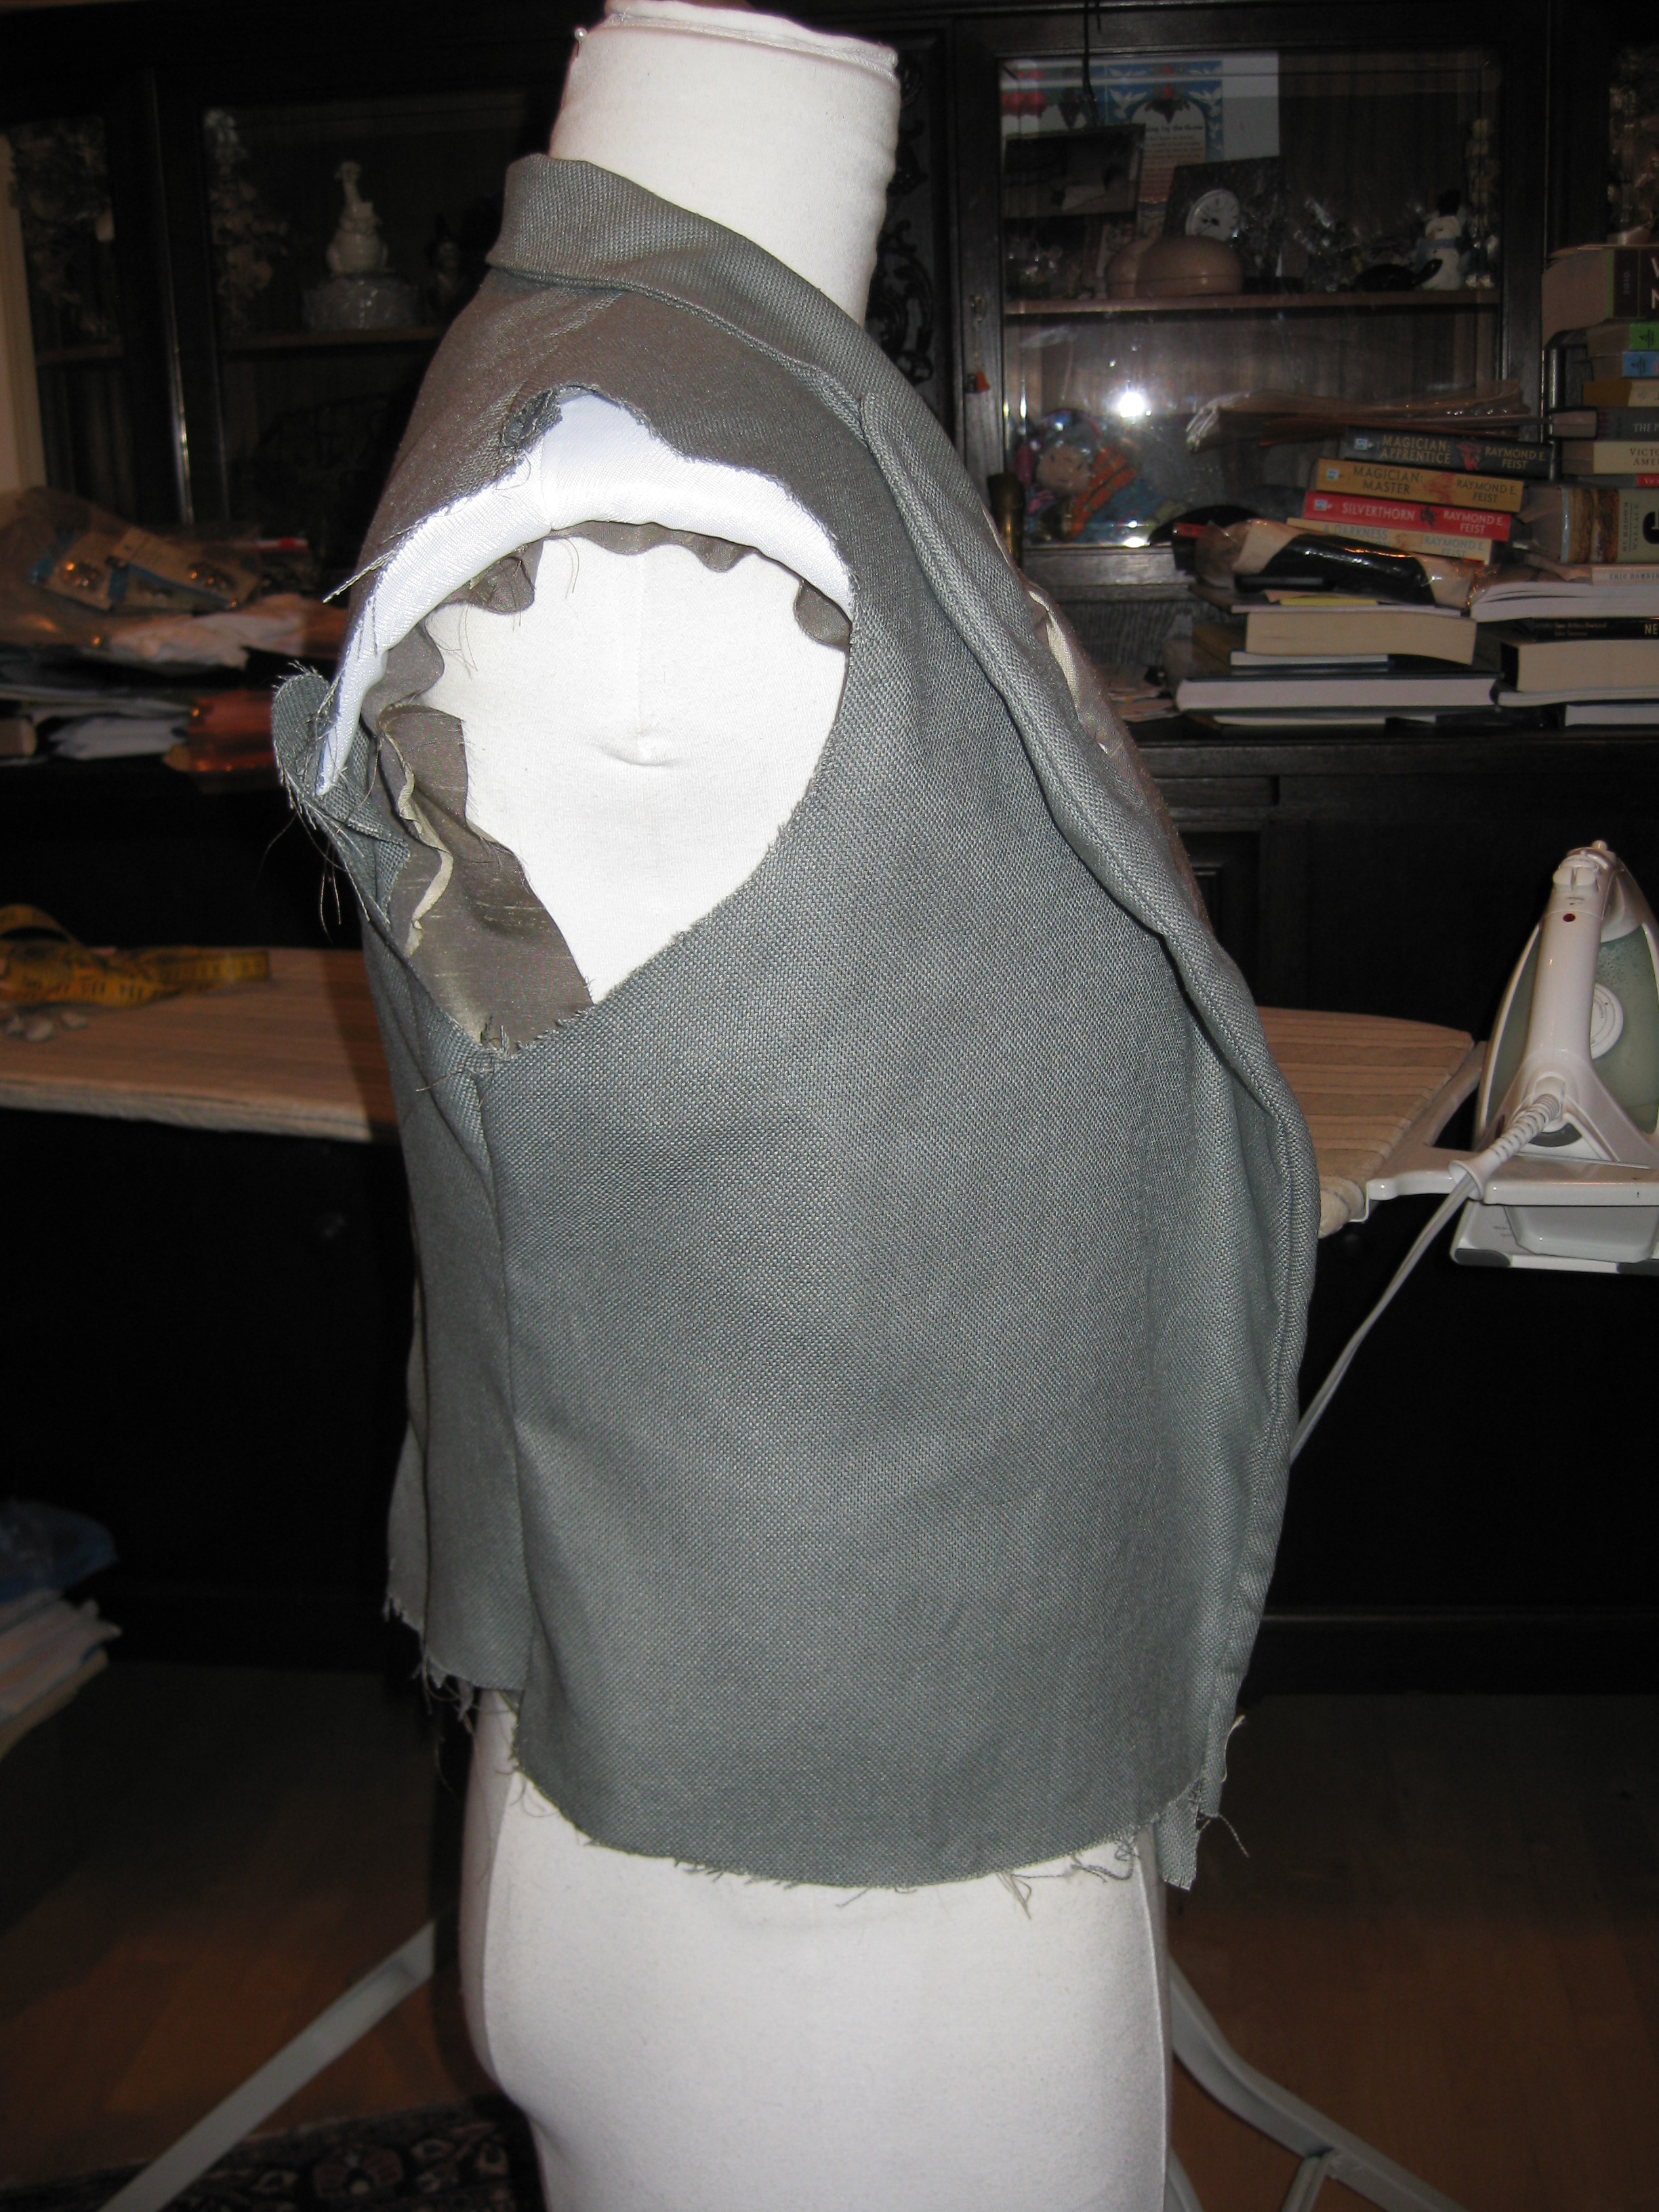
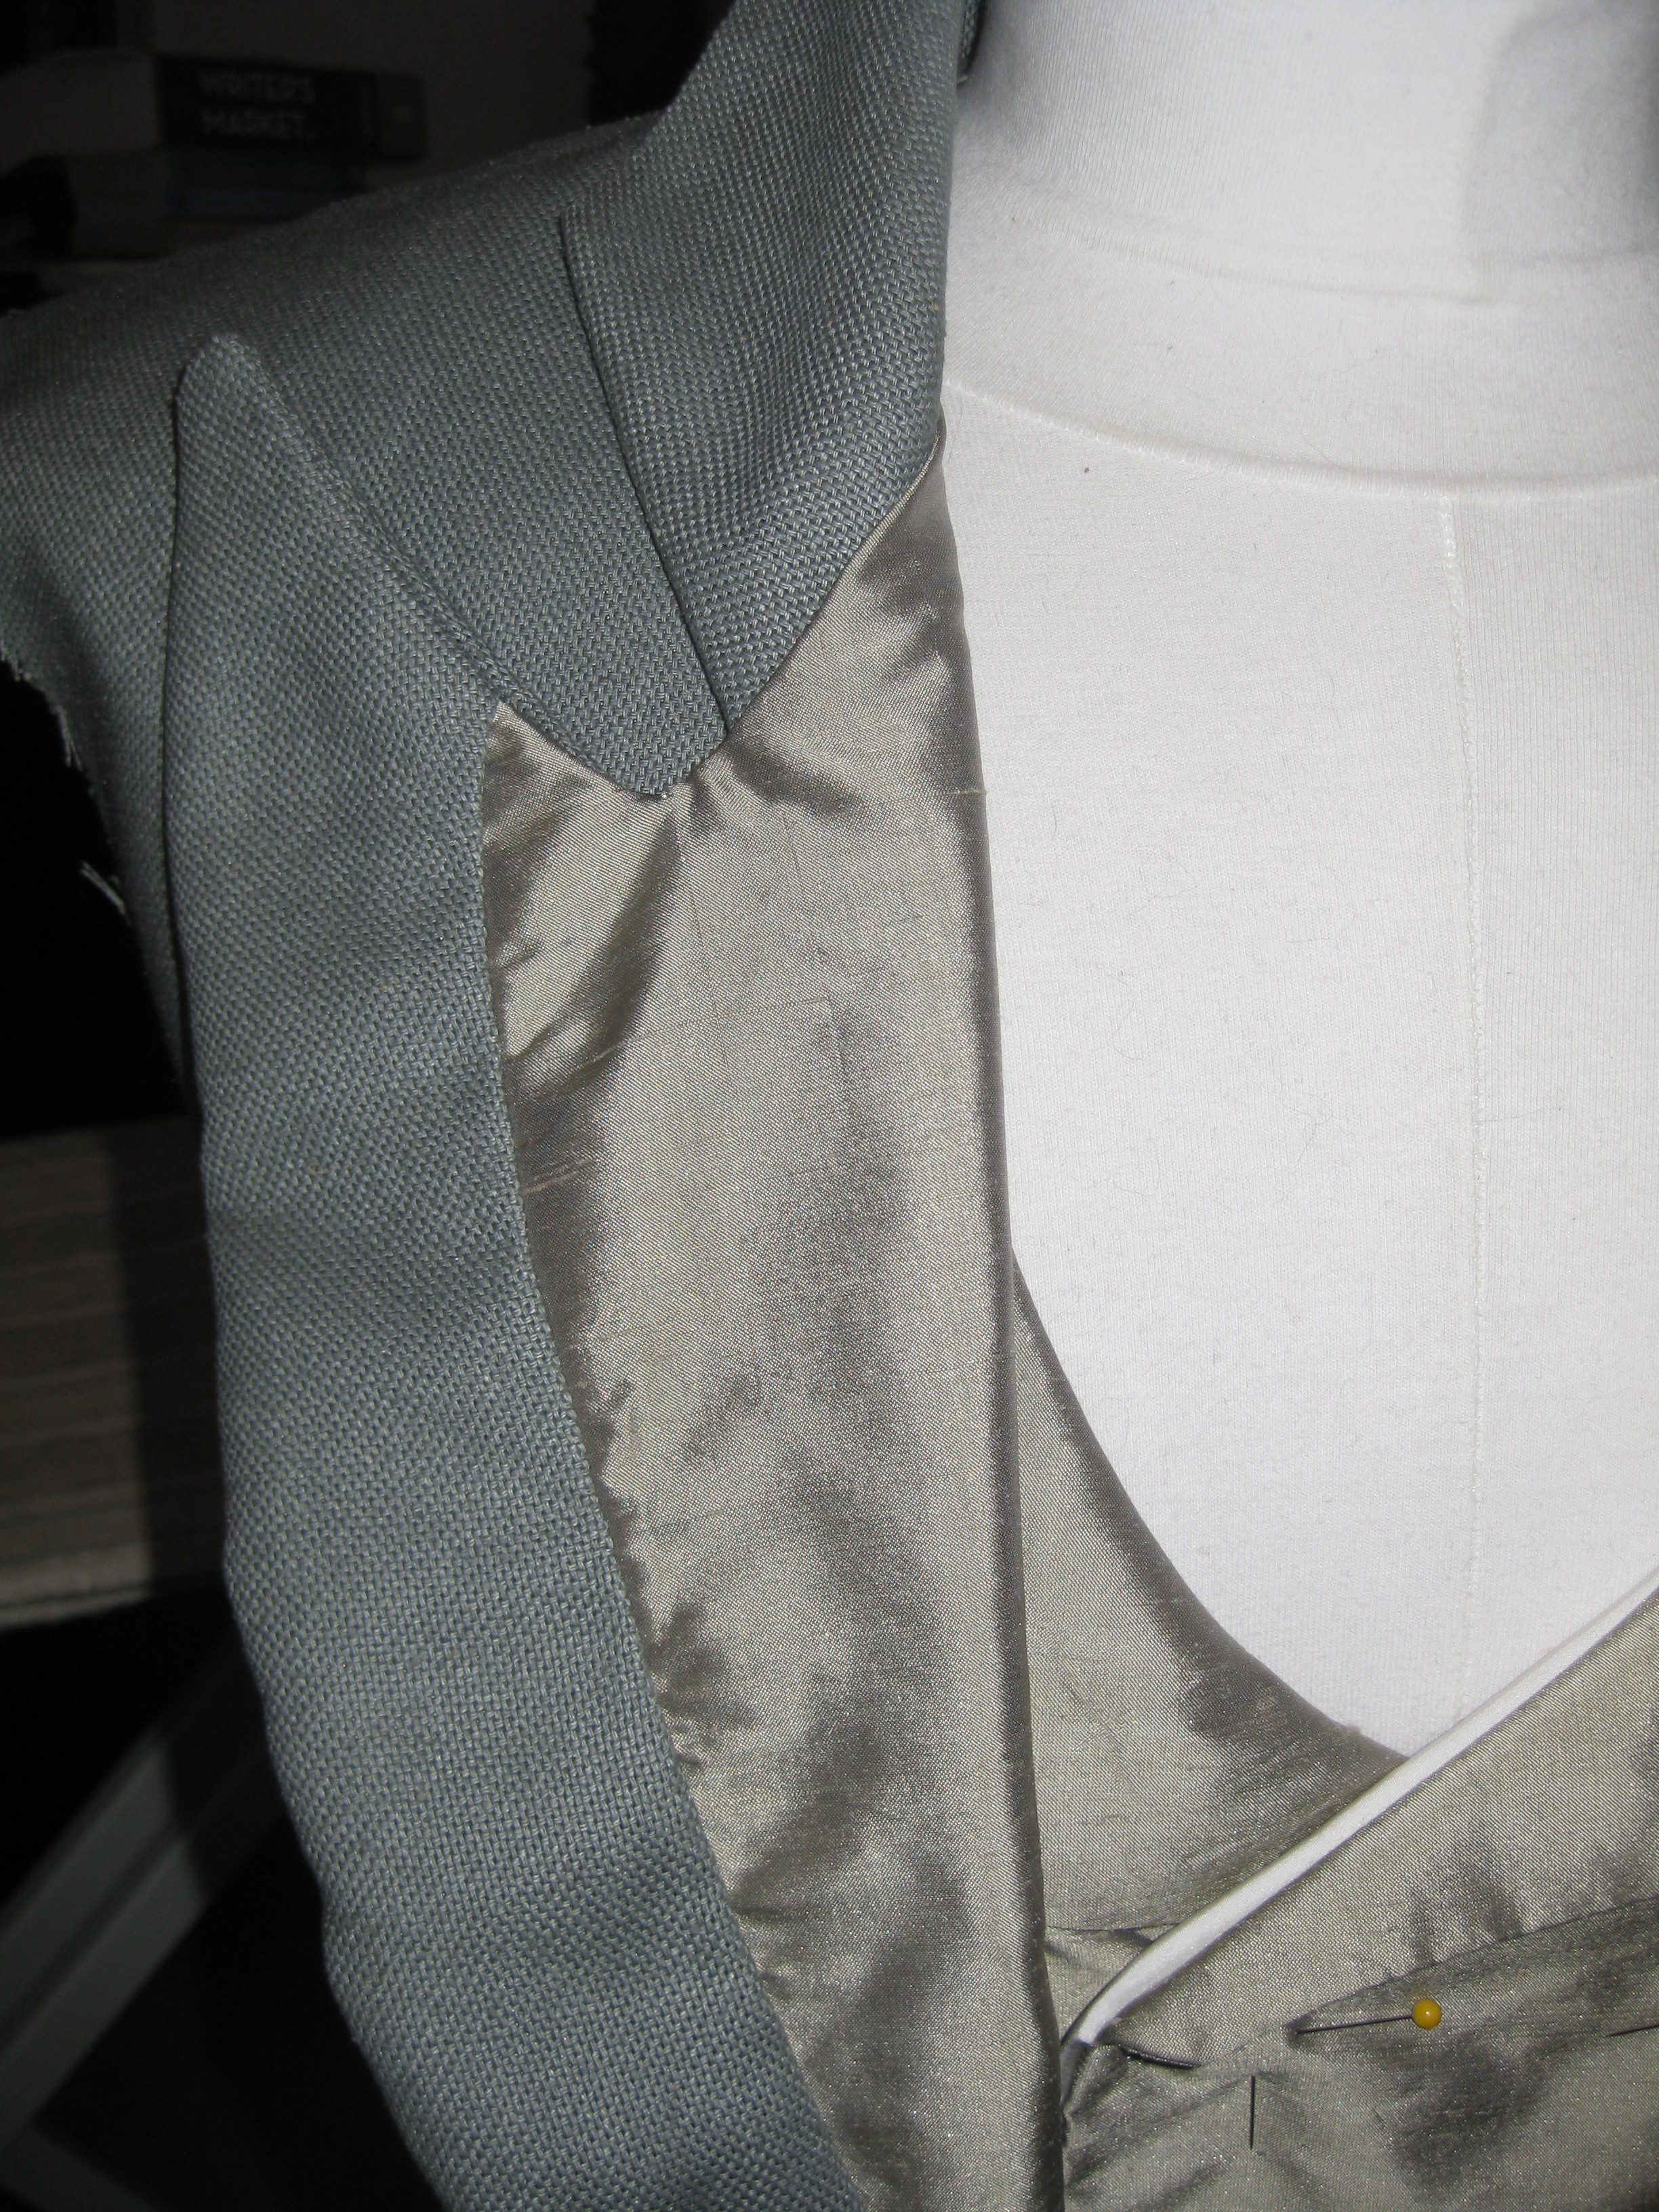
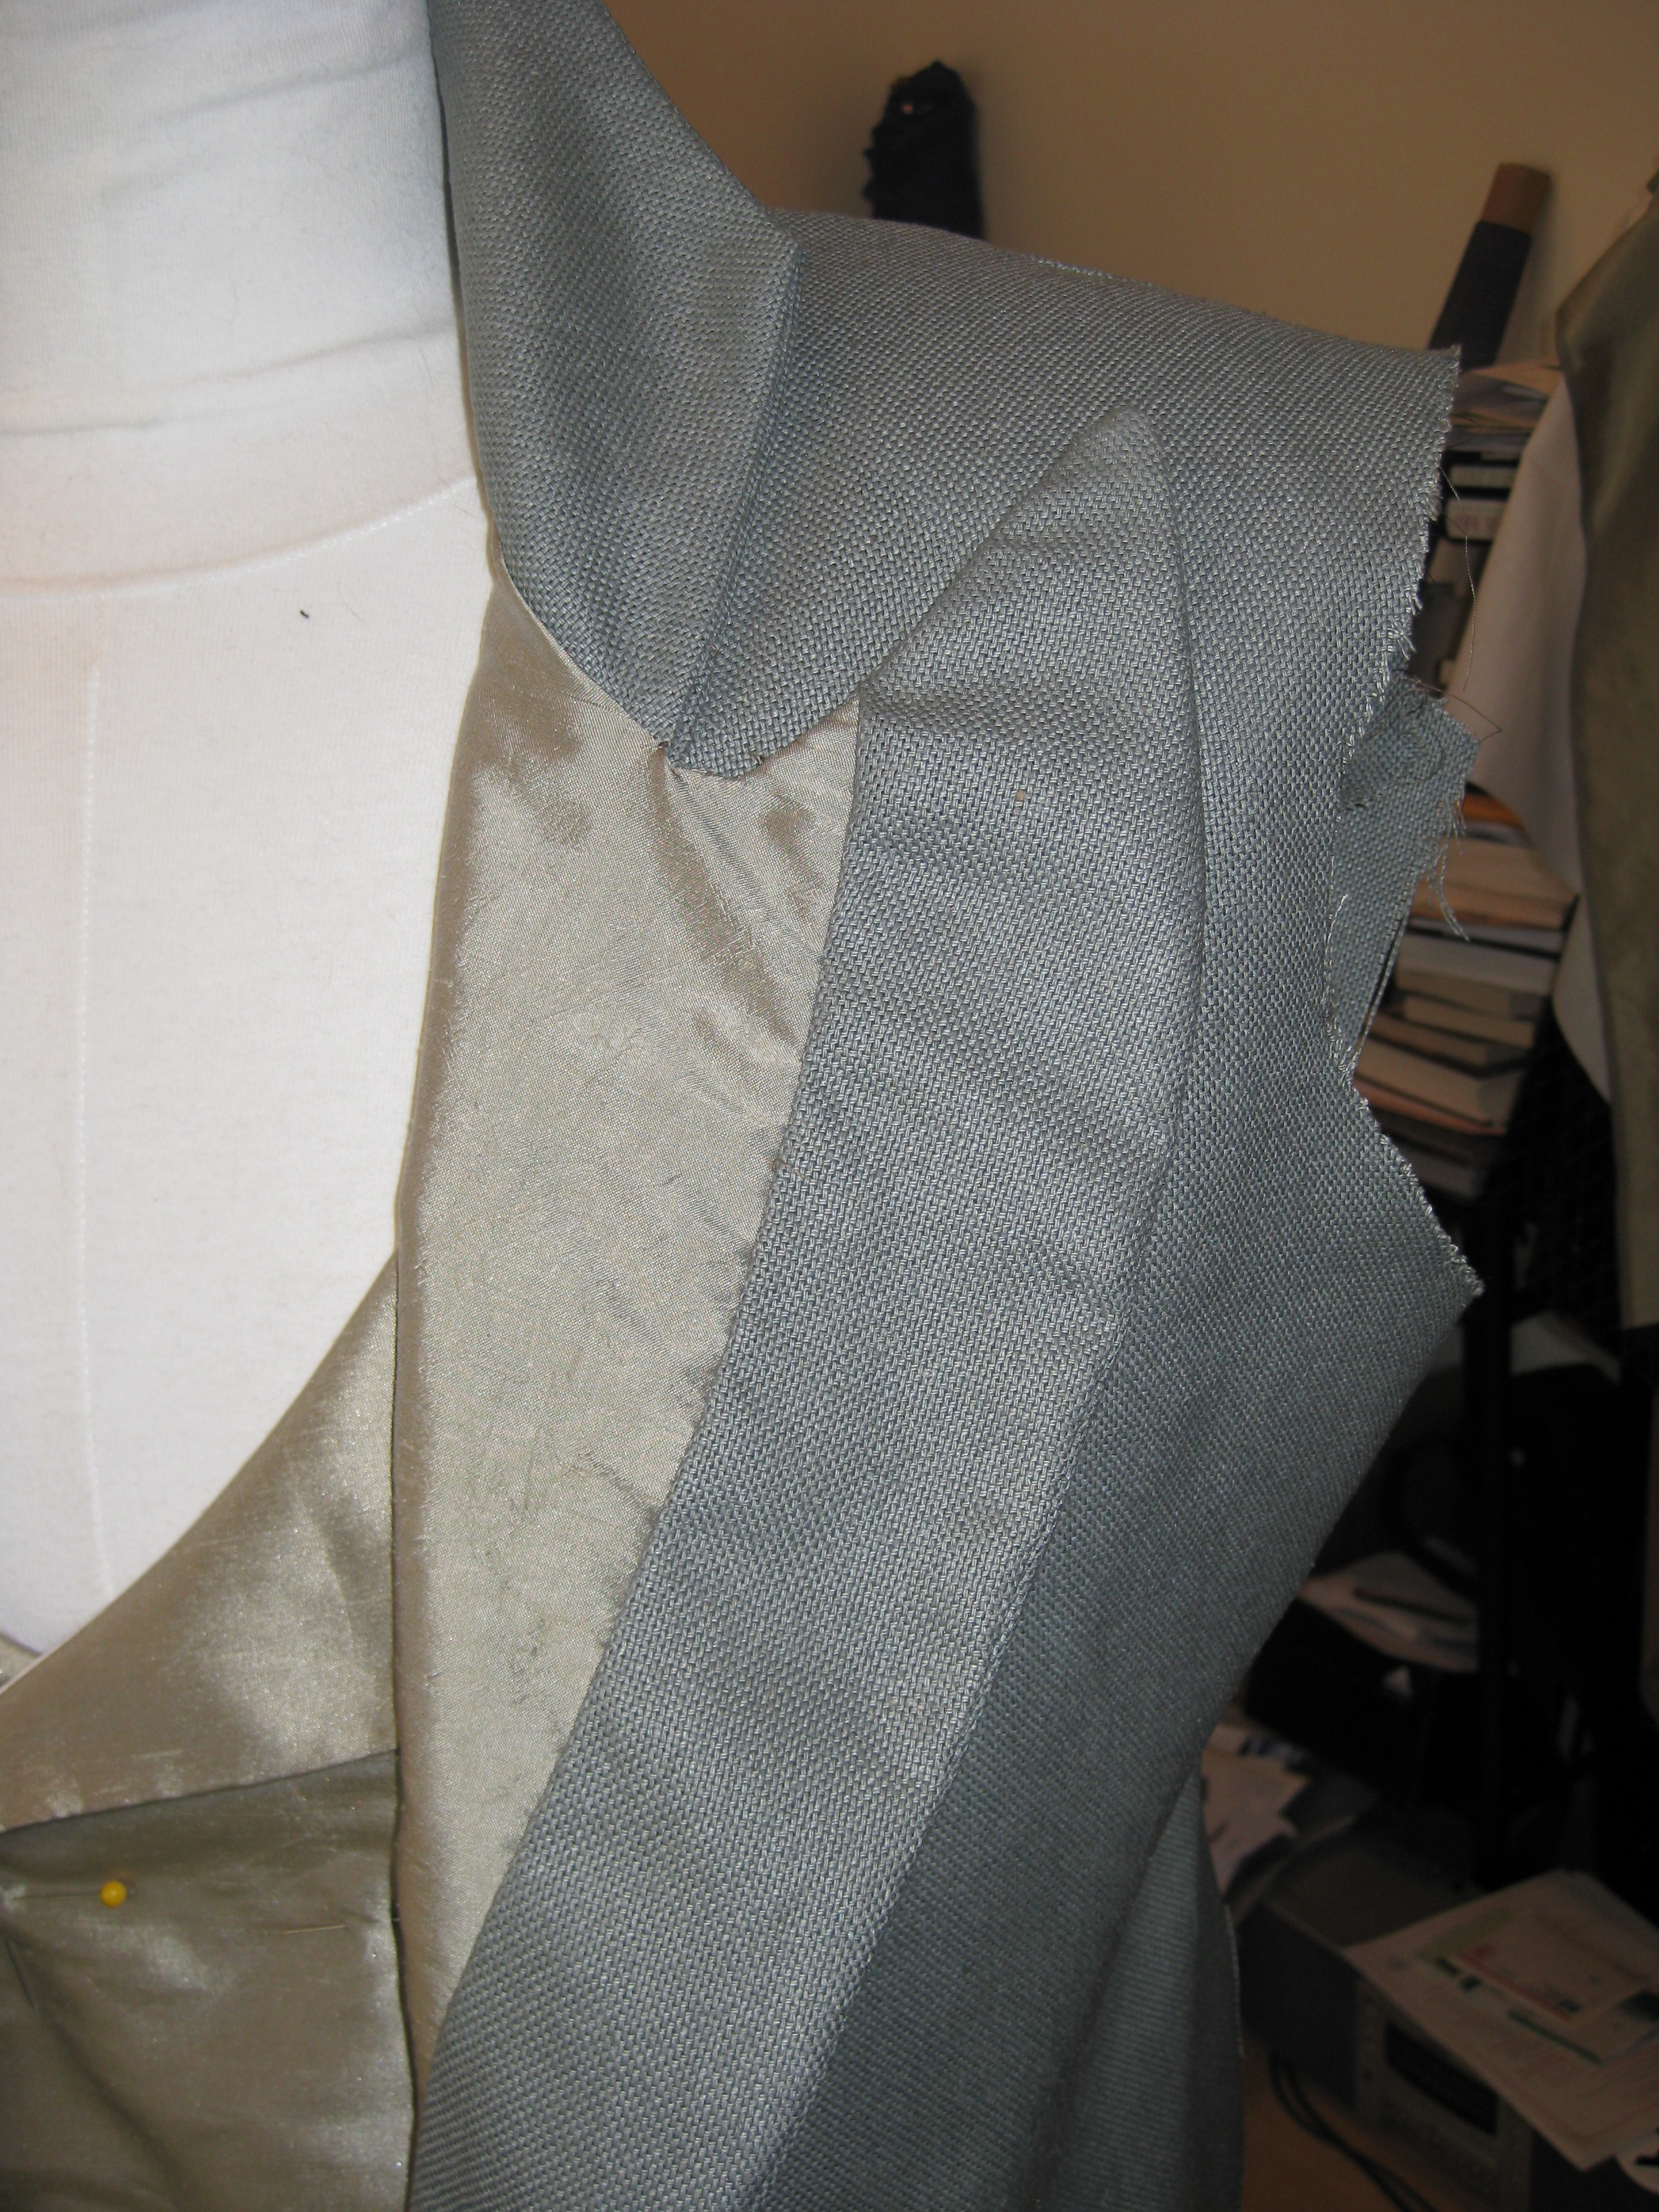
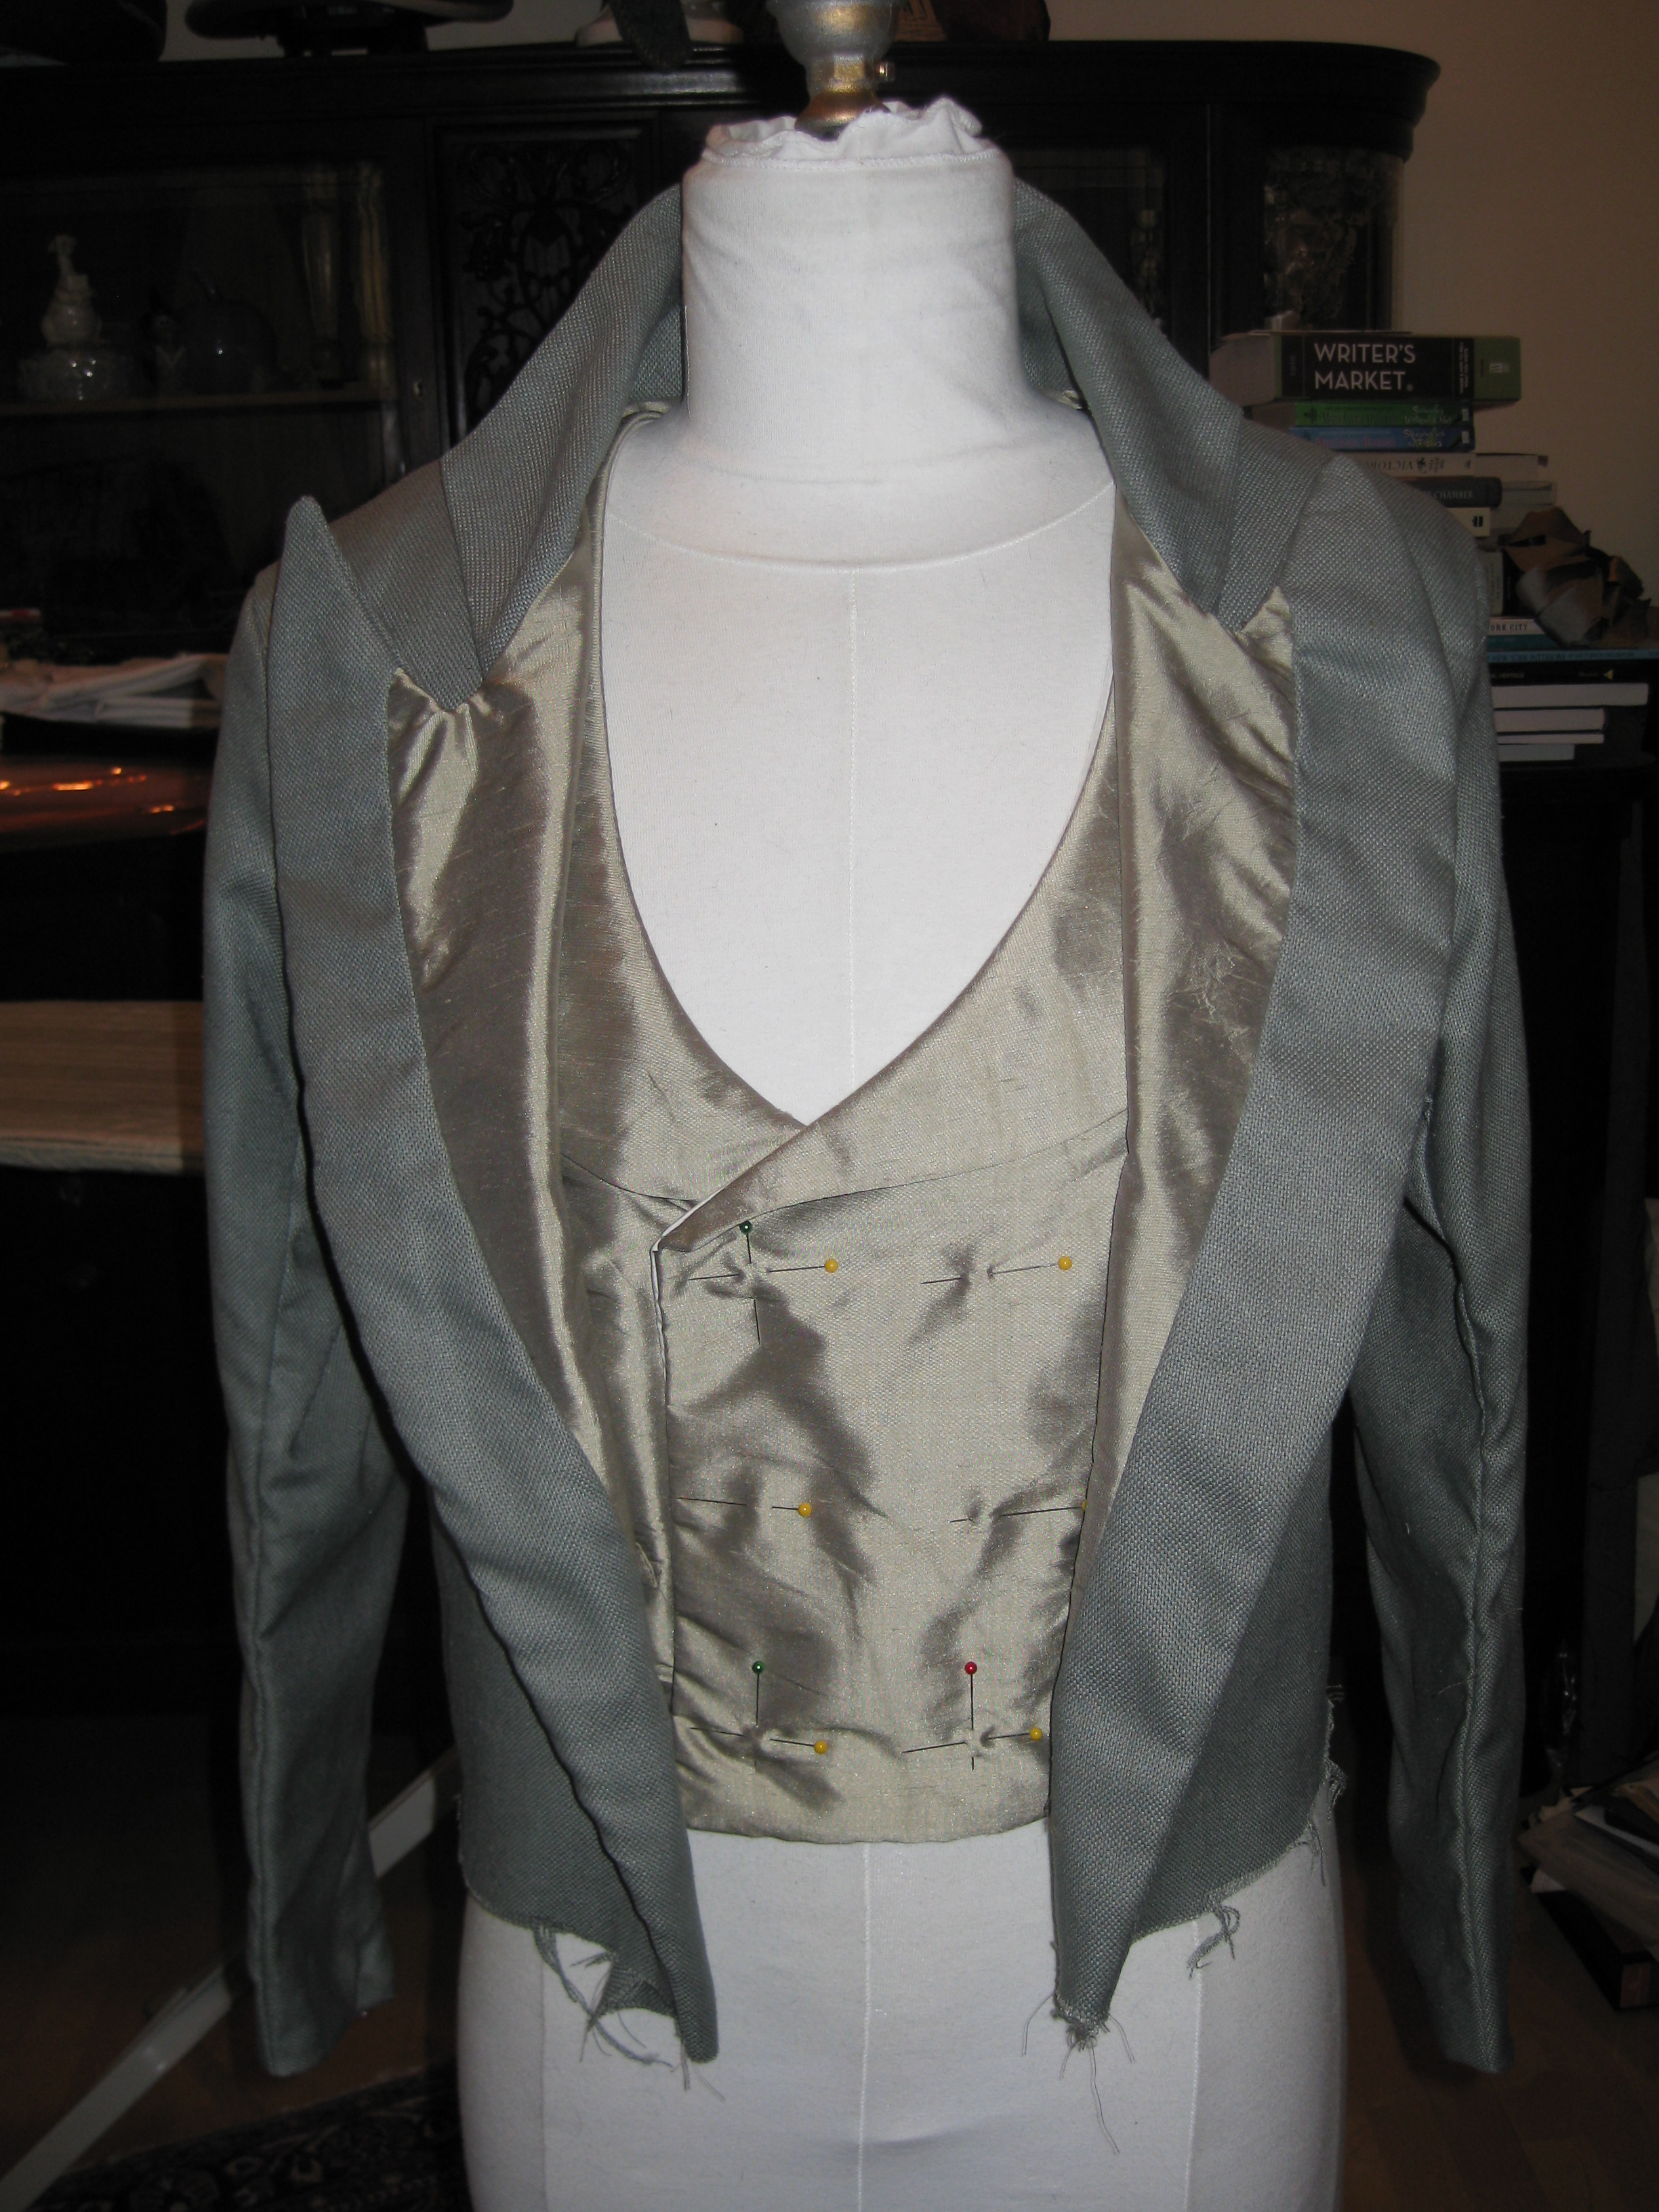
With the know how understood, I set about drafting the collar I wanted. The gray section illustrated above is turned under and sewn down on the underside of the garment. I flipped the whole extra piece over and started pinning that way. Seemed easiest.
Here's how the collar looks now. It is only pinned on, and has not been ironed.
June 6, 2009:
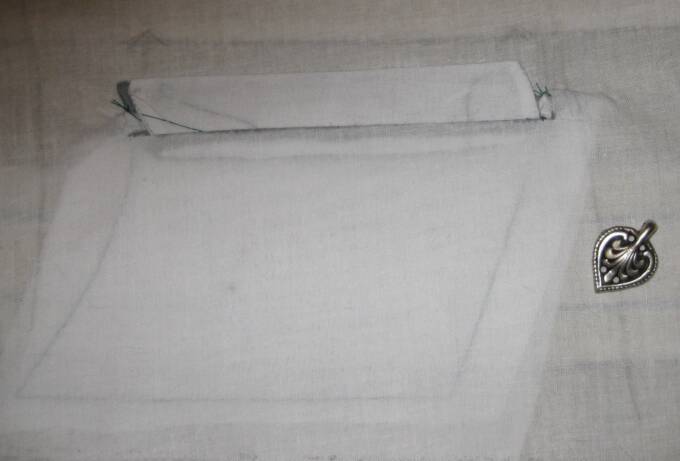
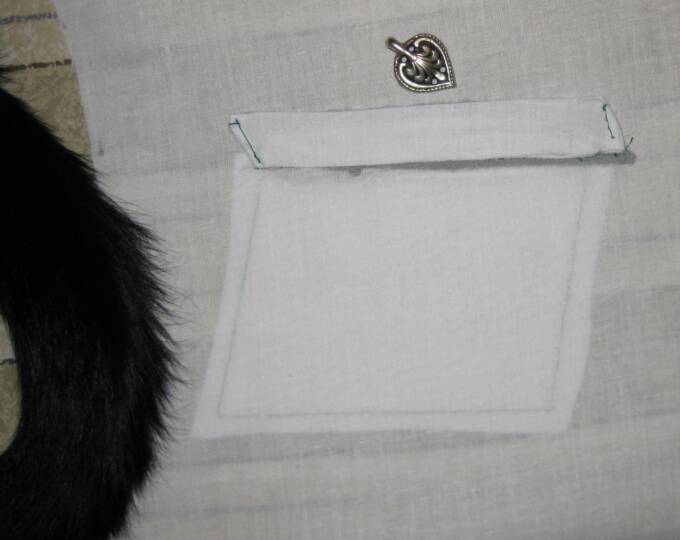
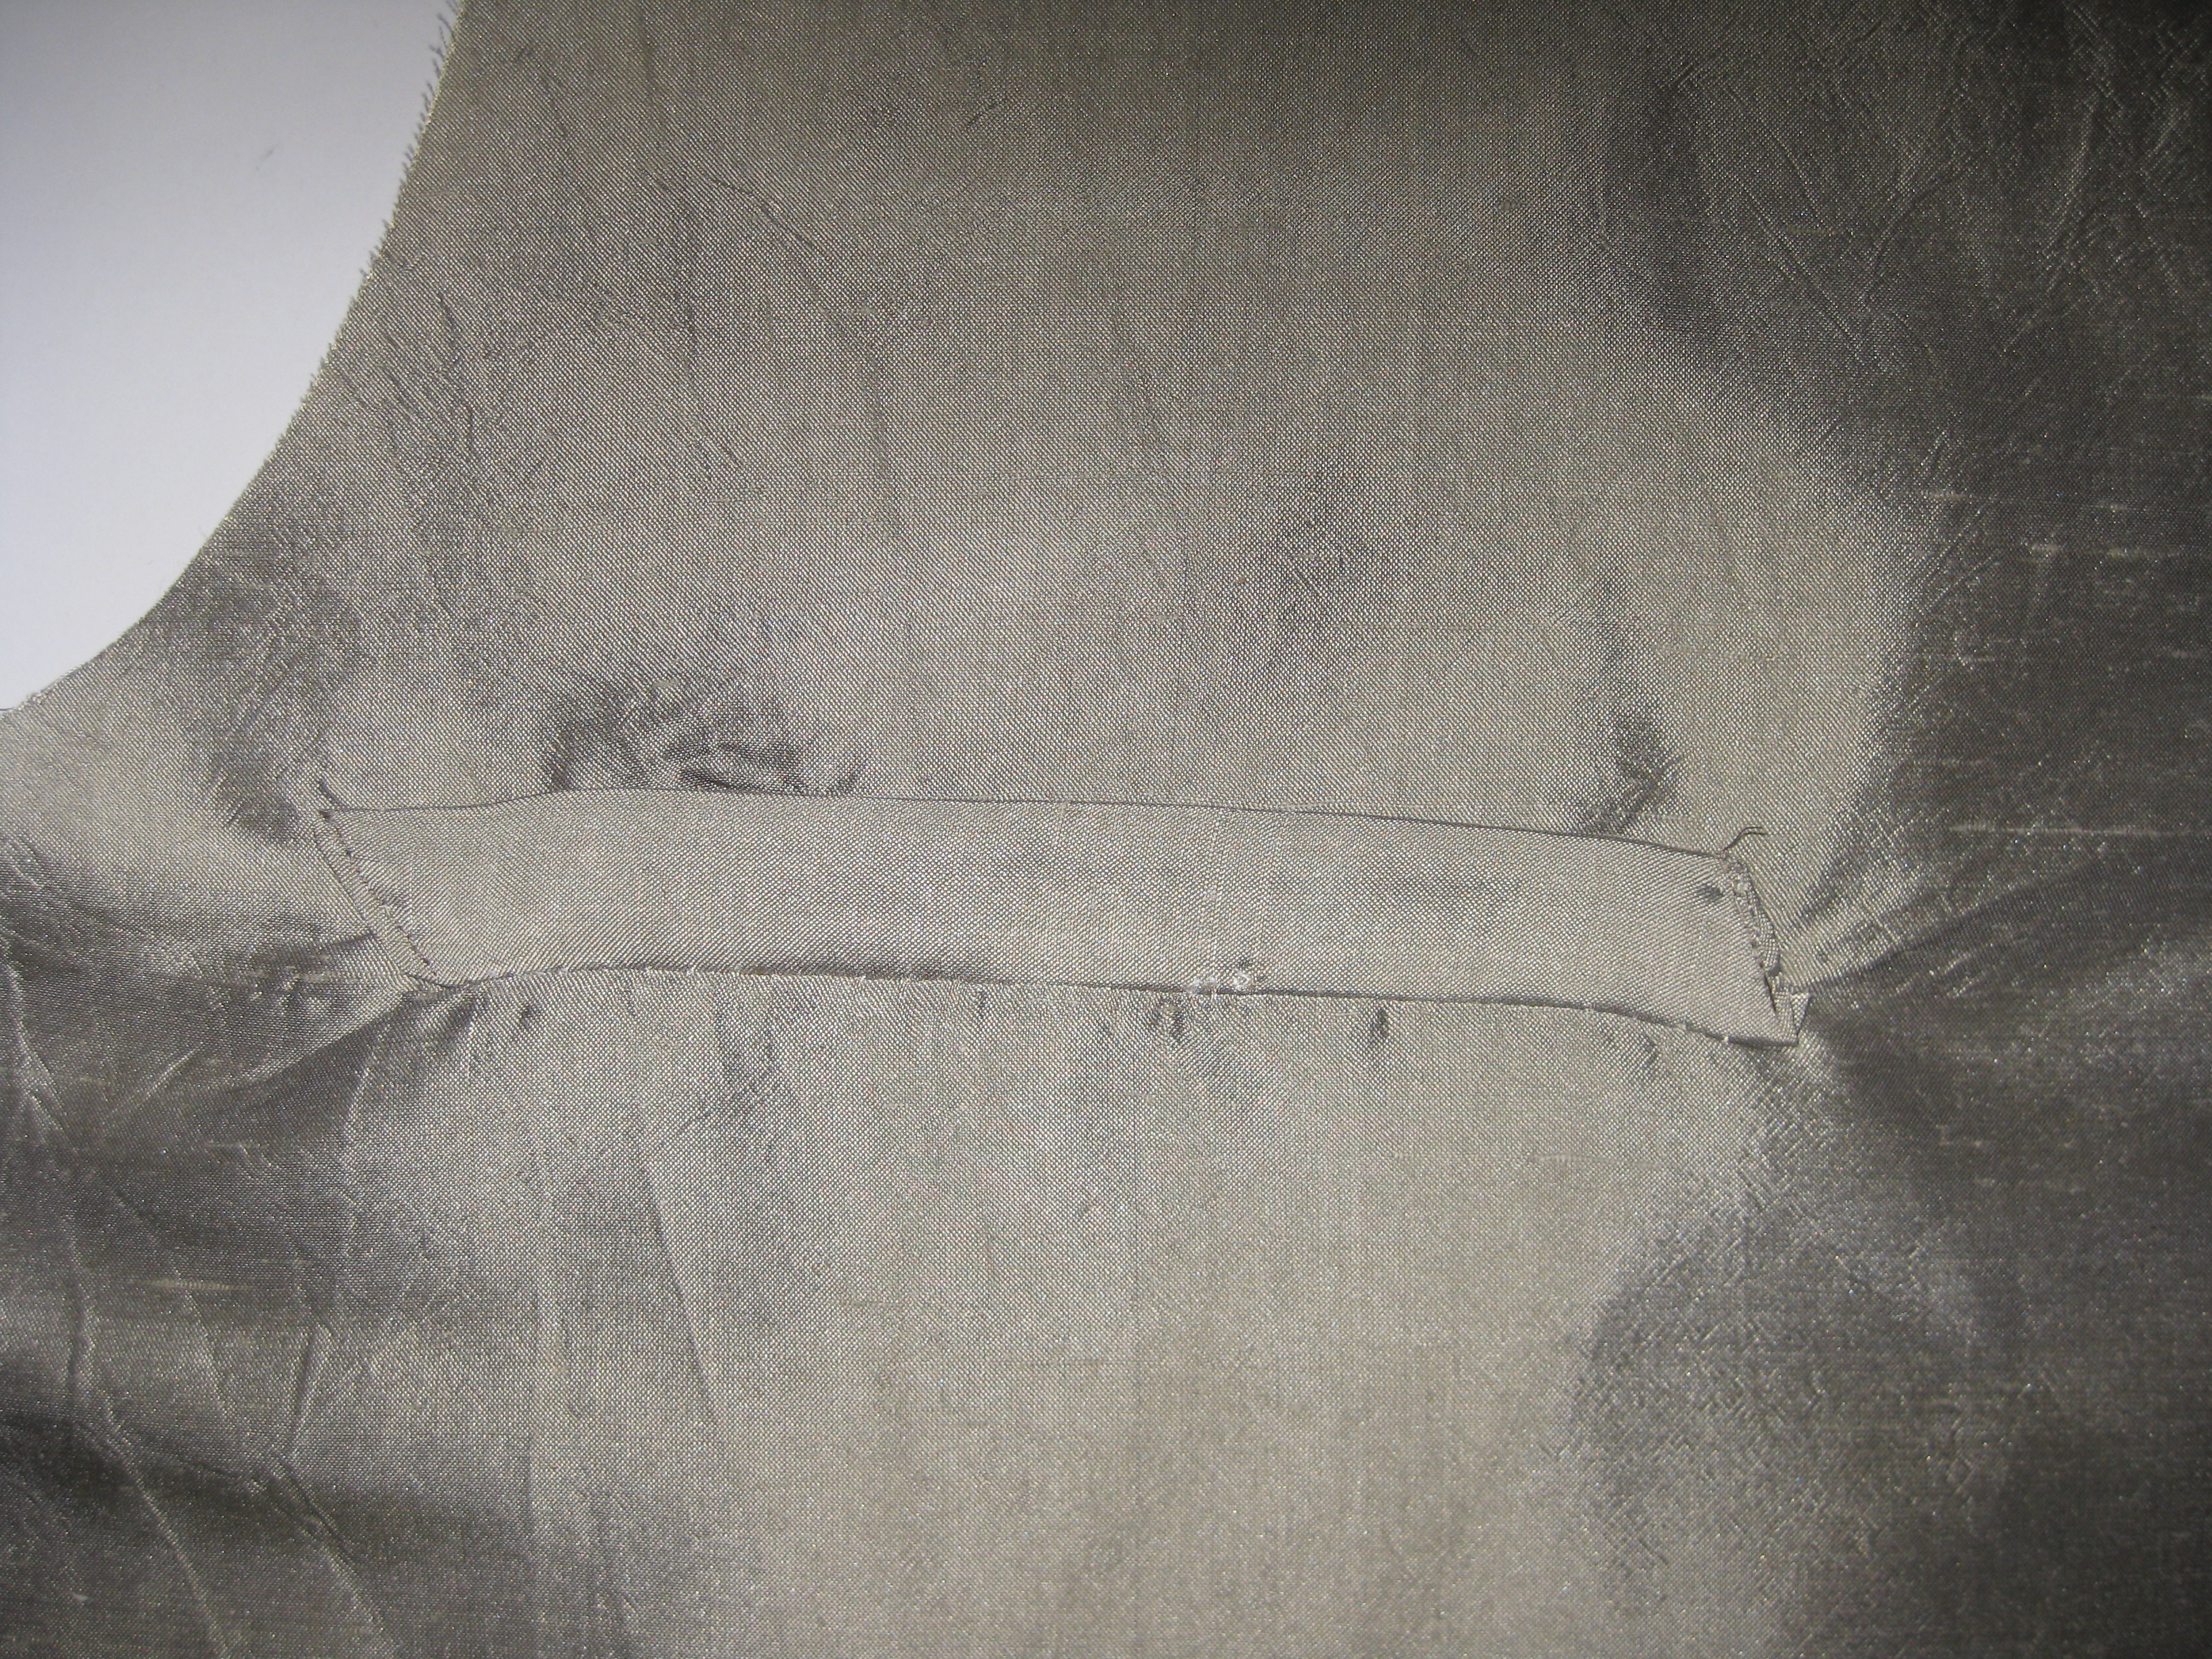
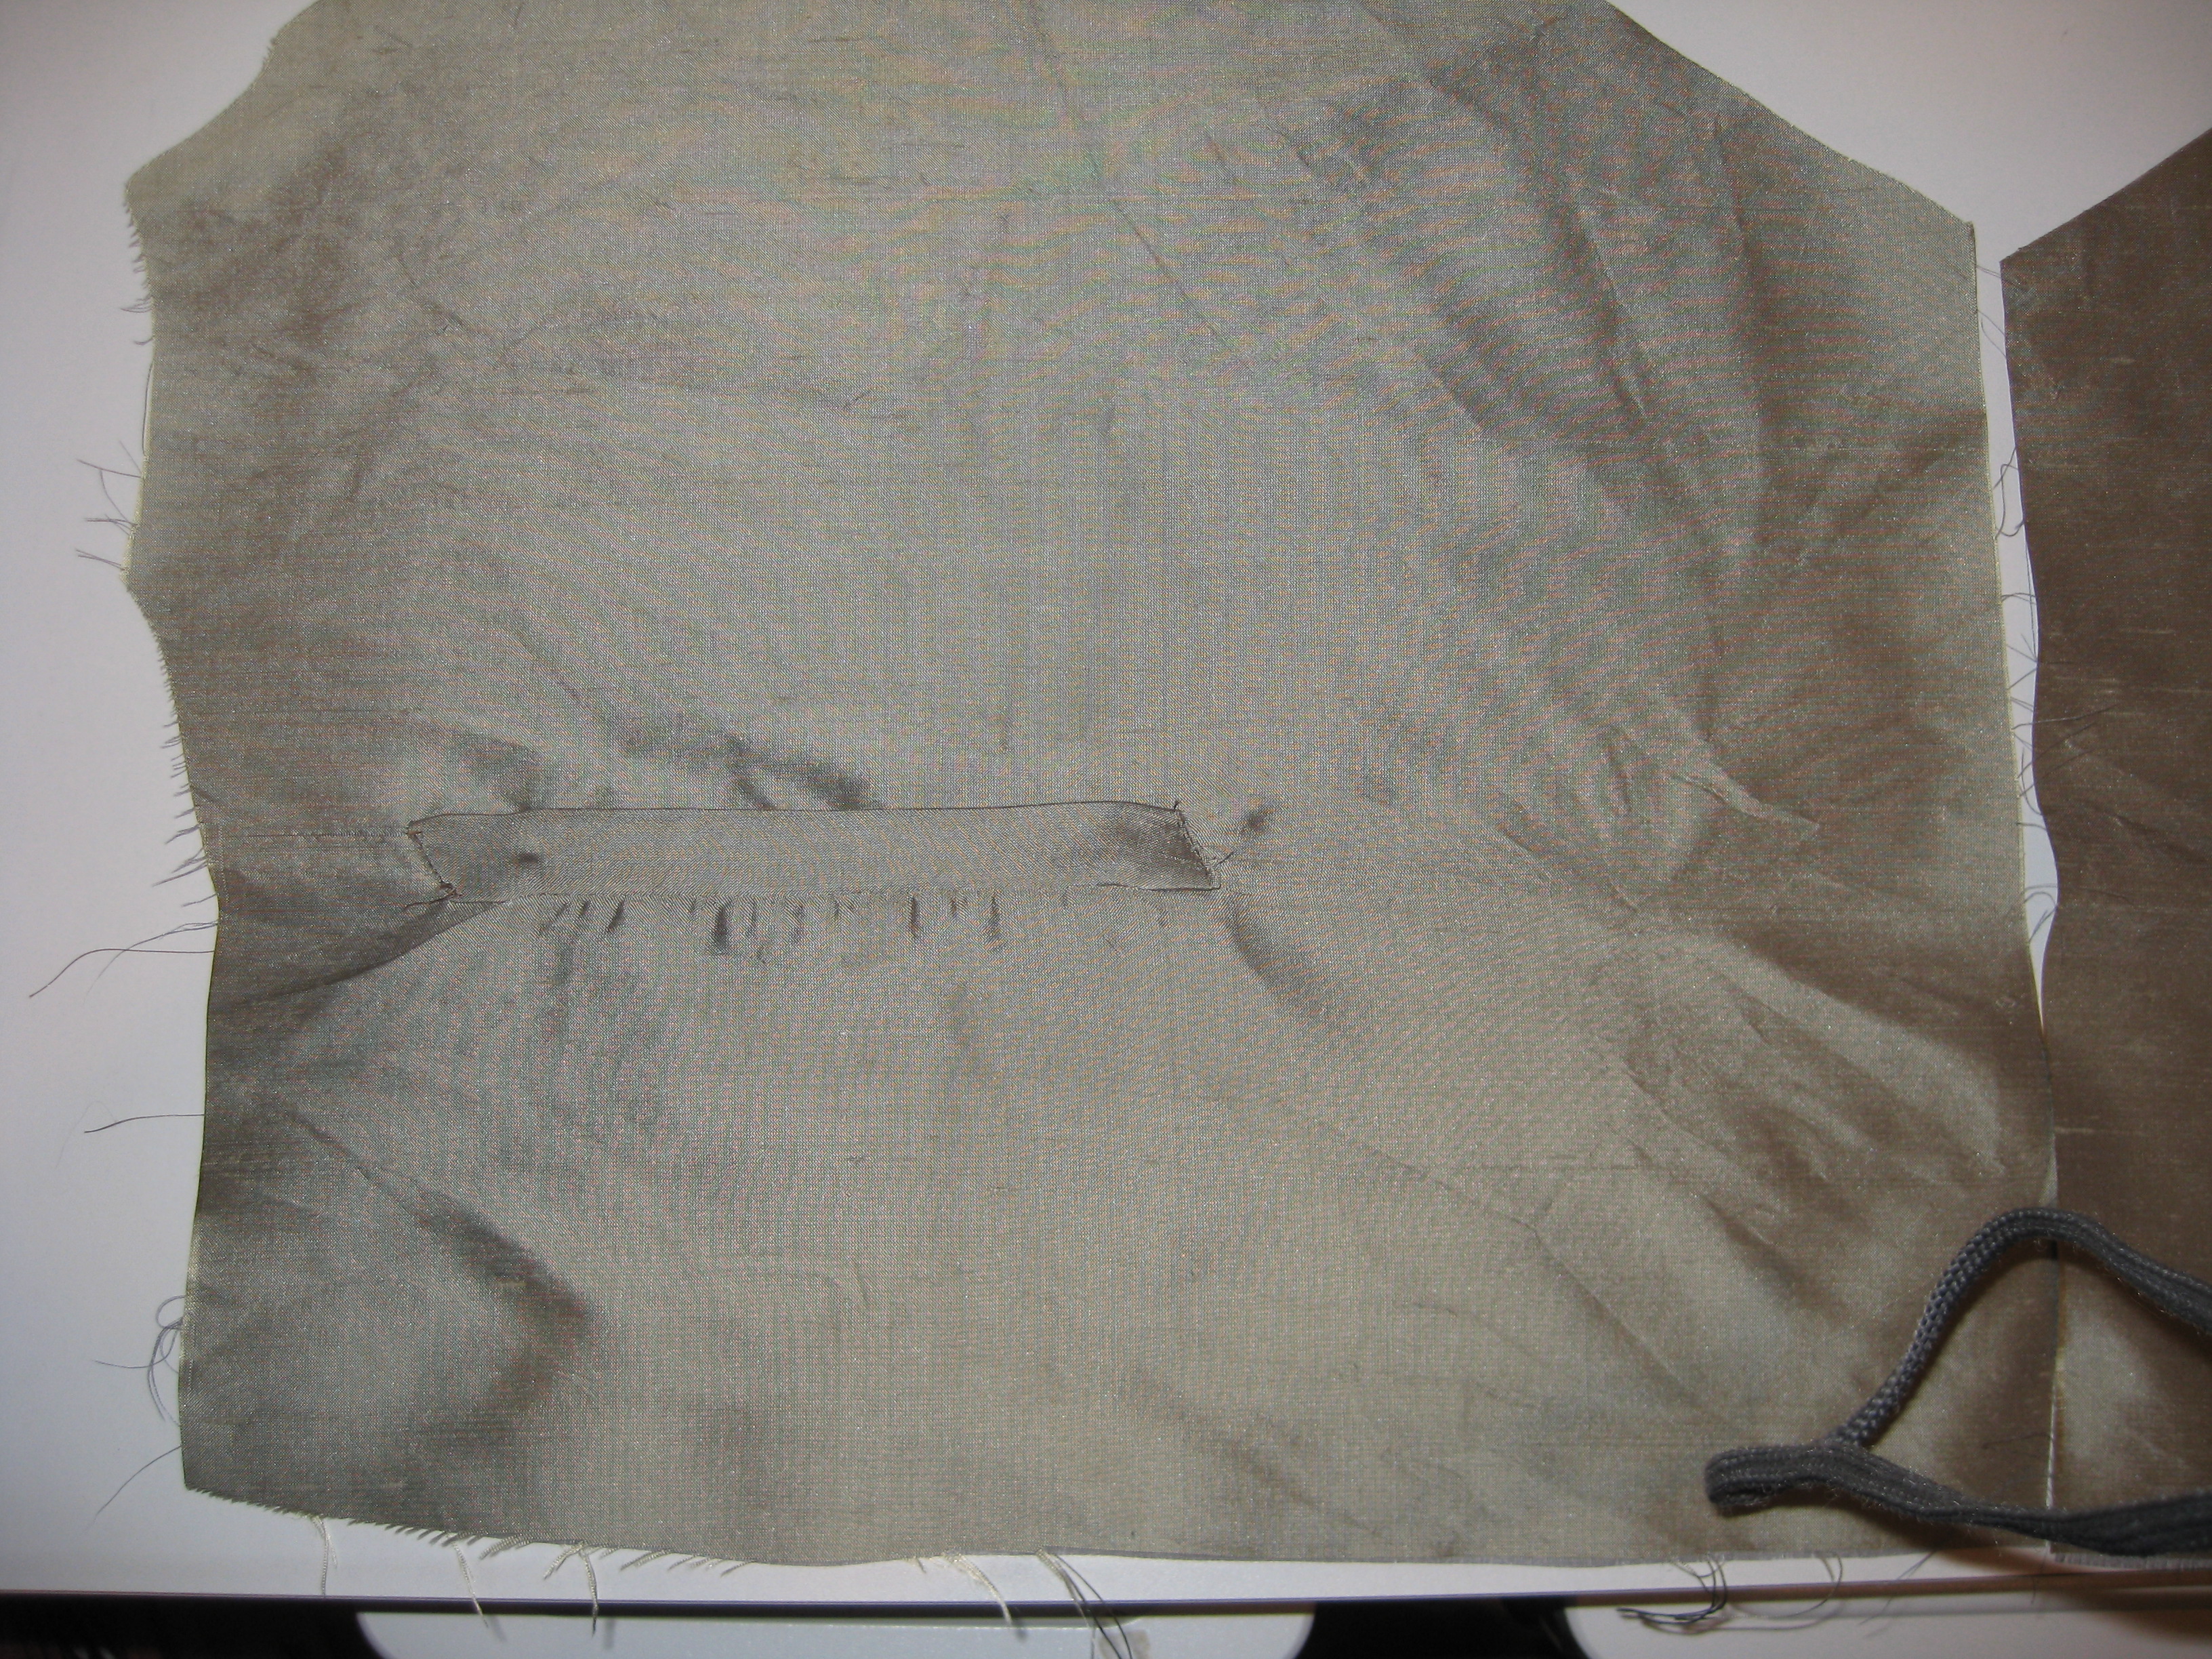
I did a couple test attempts at single welt pockets on muslin. Here's a photo of the first attempt:
It turned out poorly because the tracing for the opening of the pocket was too big by about 1/16th of an inch on each side, so the pocket was slightly larger than the welt. Not good.
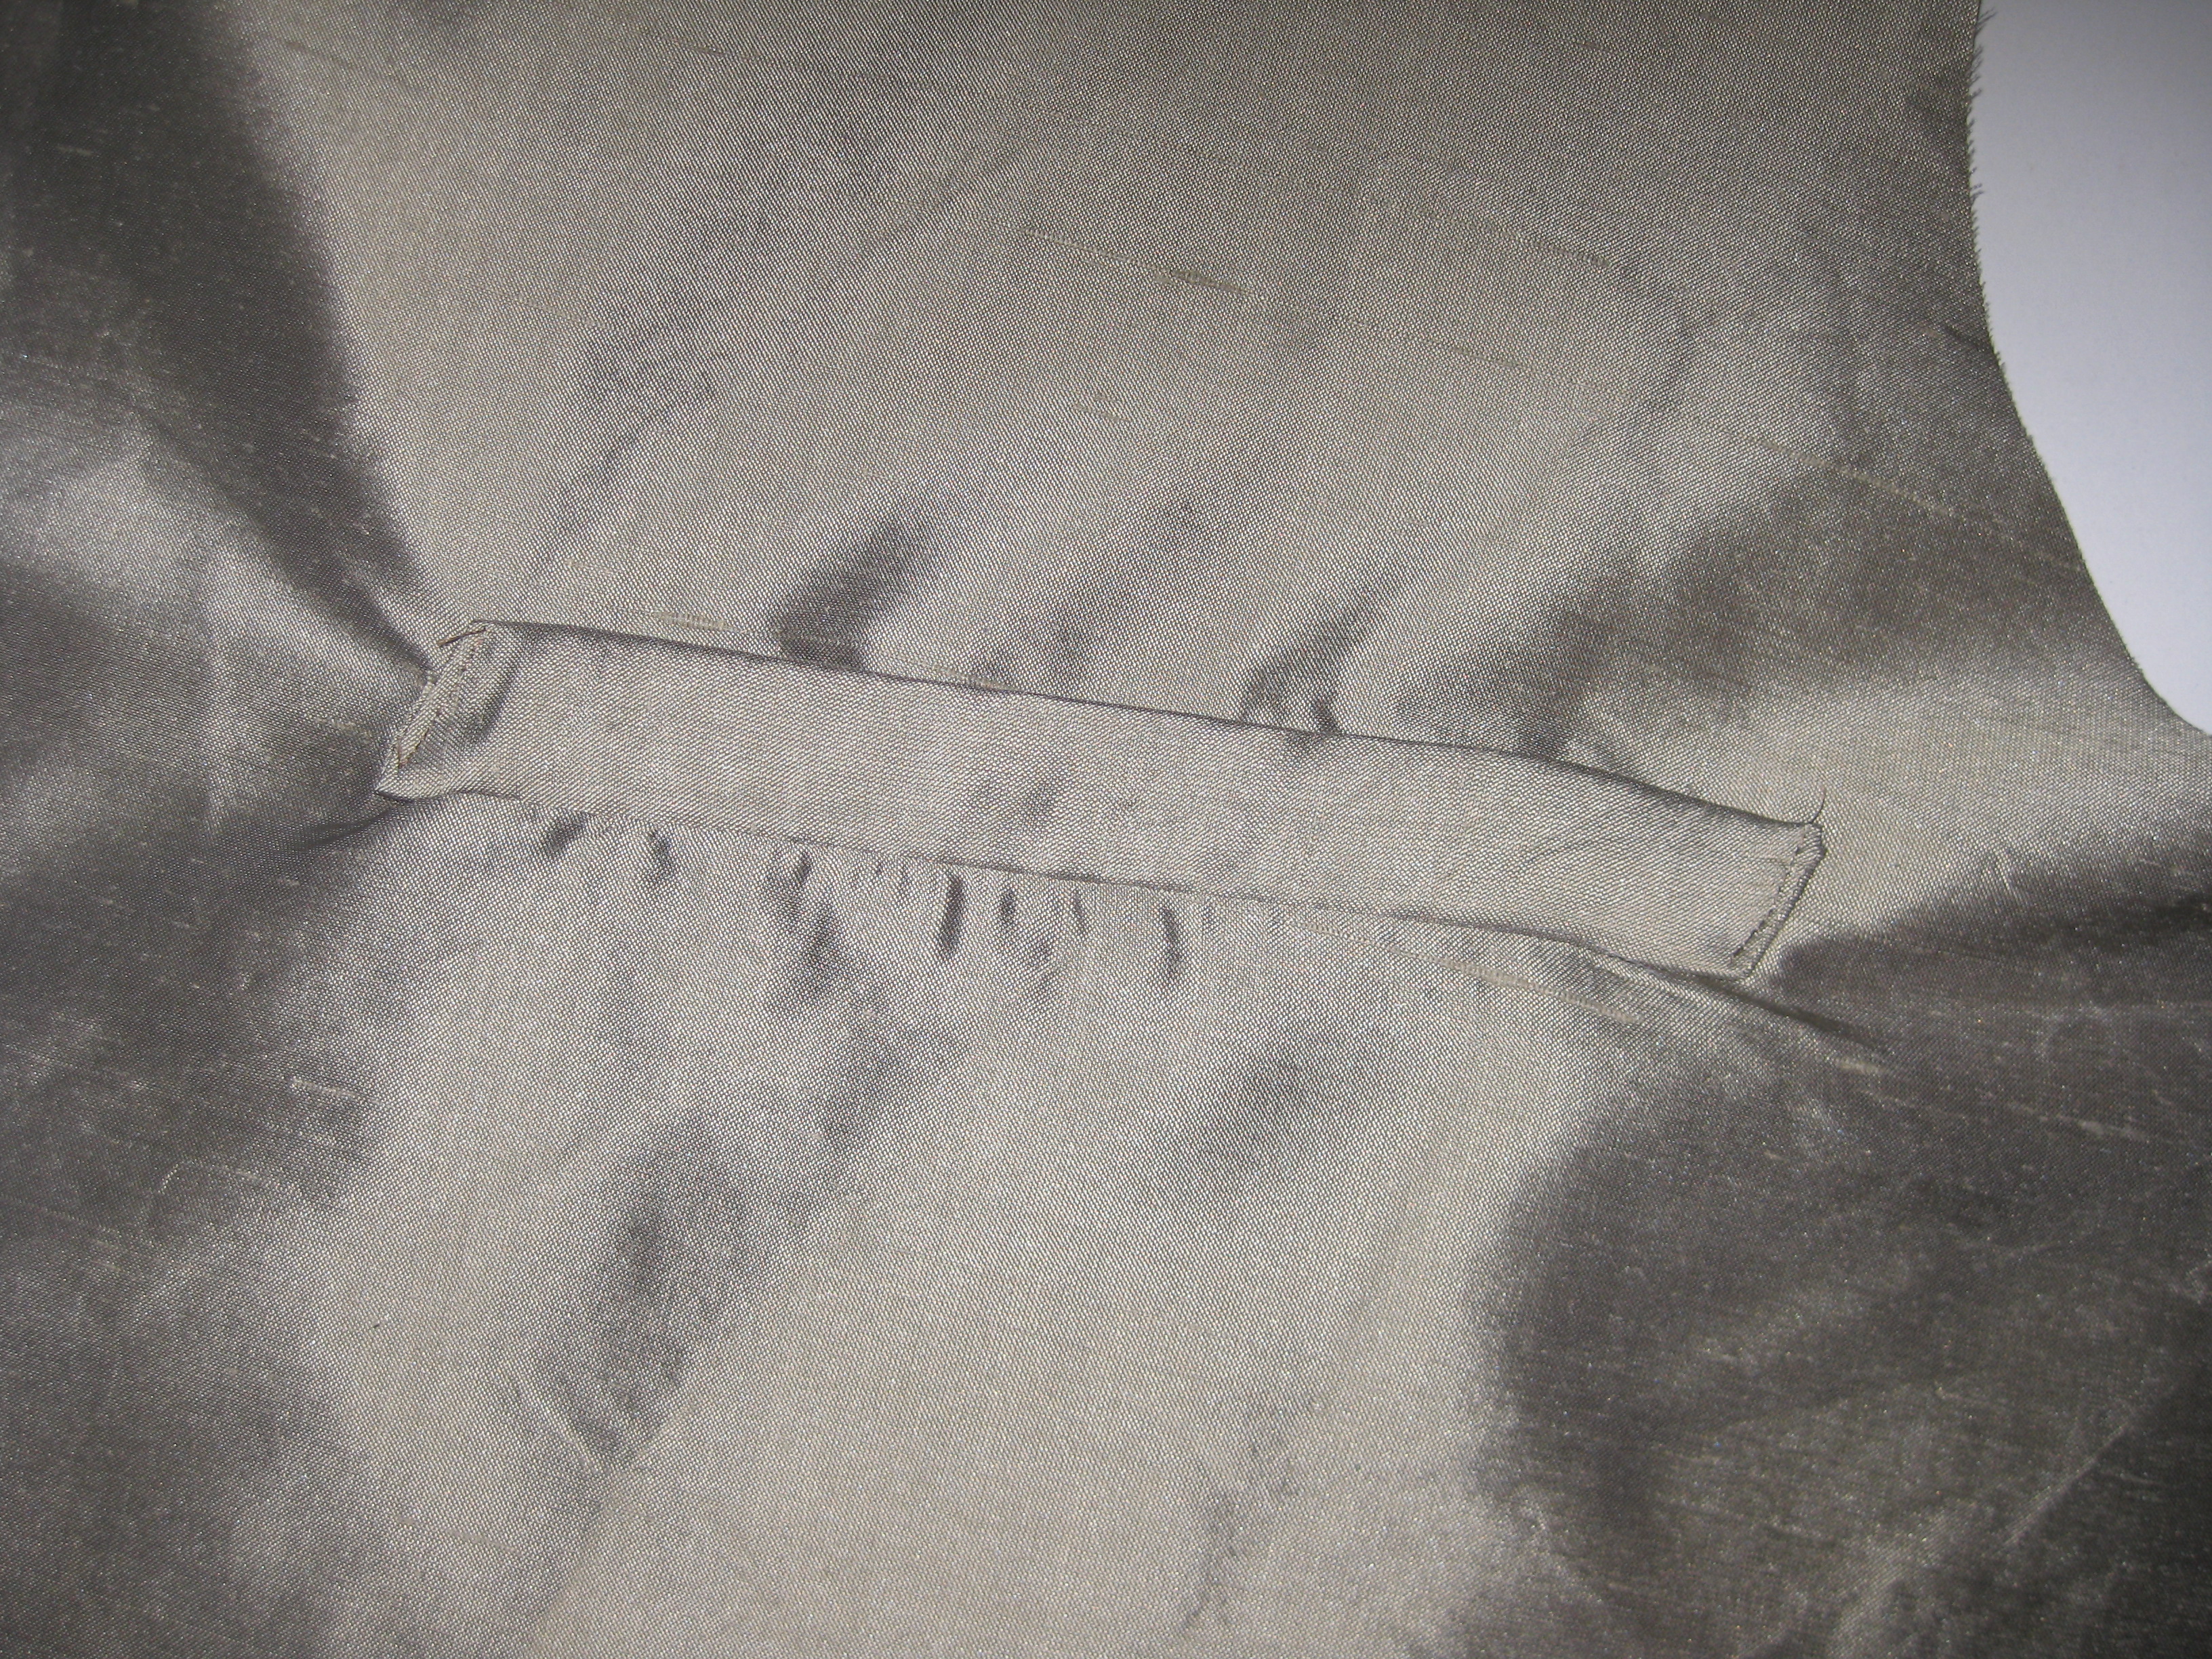
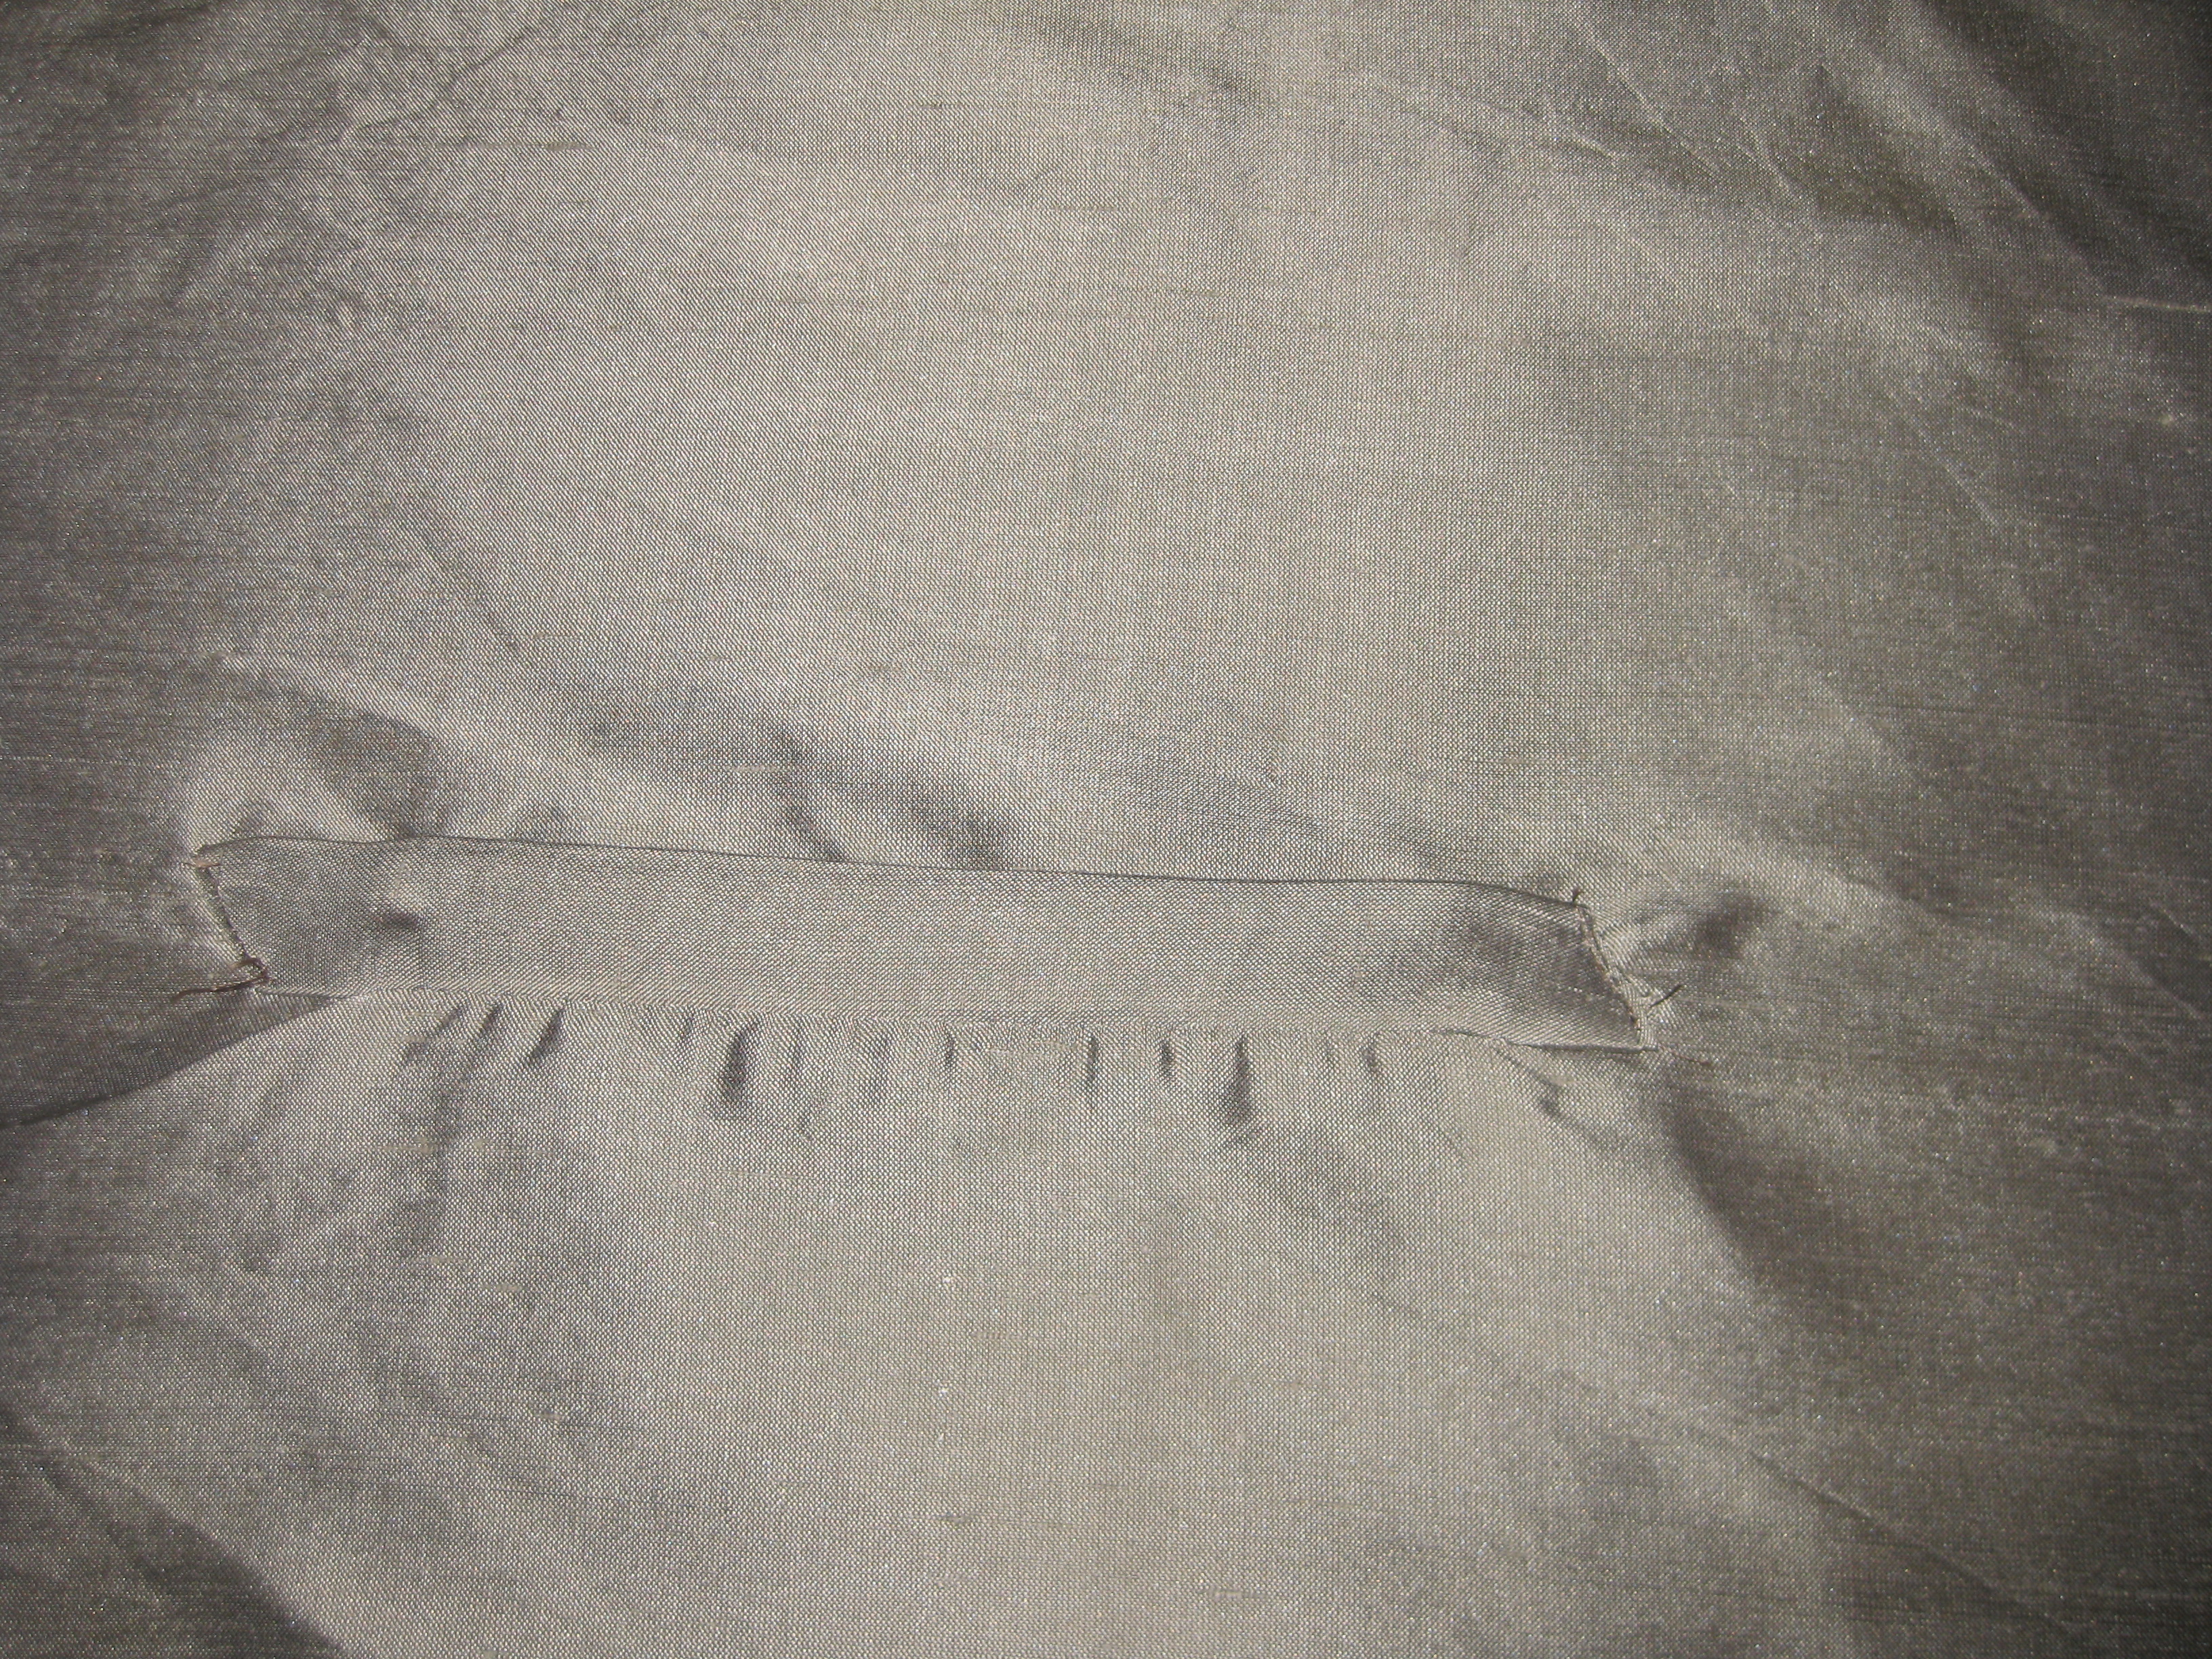
I tried again, this time taking off that 1/16th of an inch in the tracing on either side. I'm not sure if I messed up tracing, or with sewing the welt. In any case, the second attempt went much better.
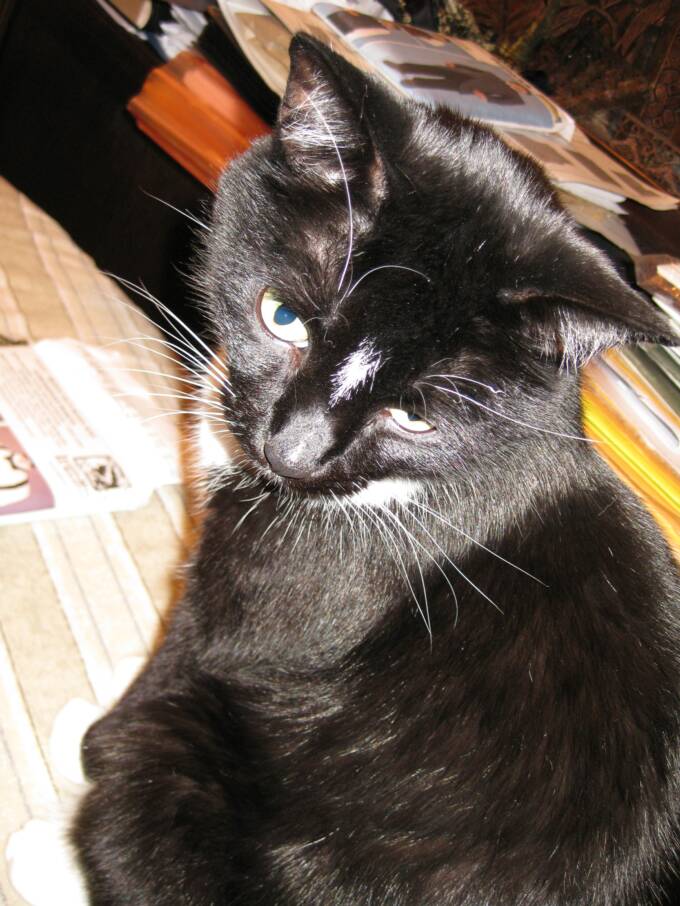
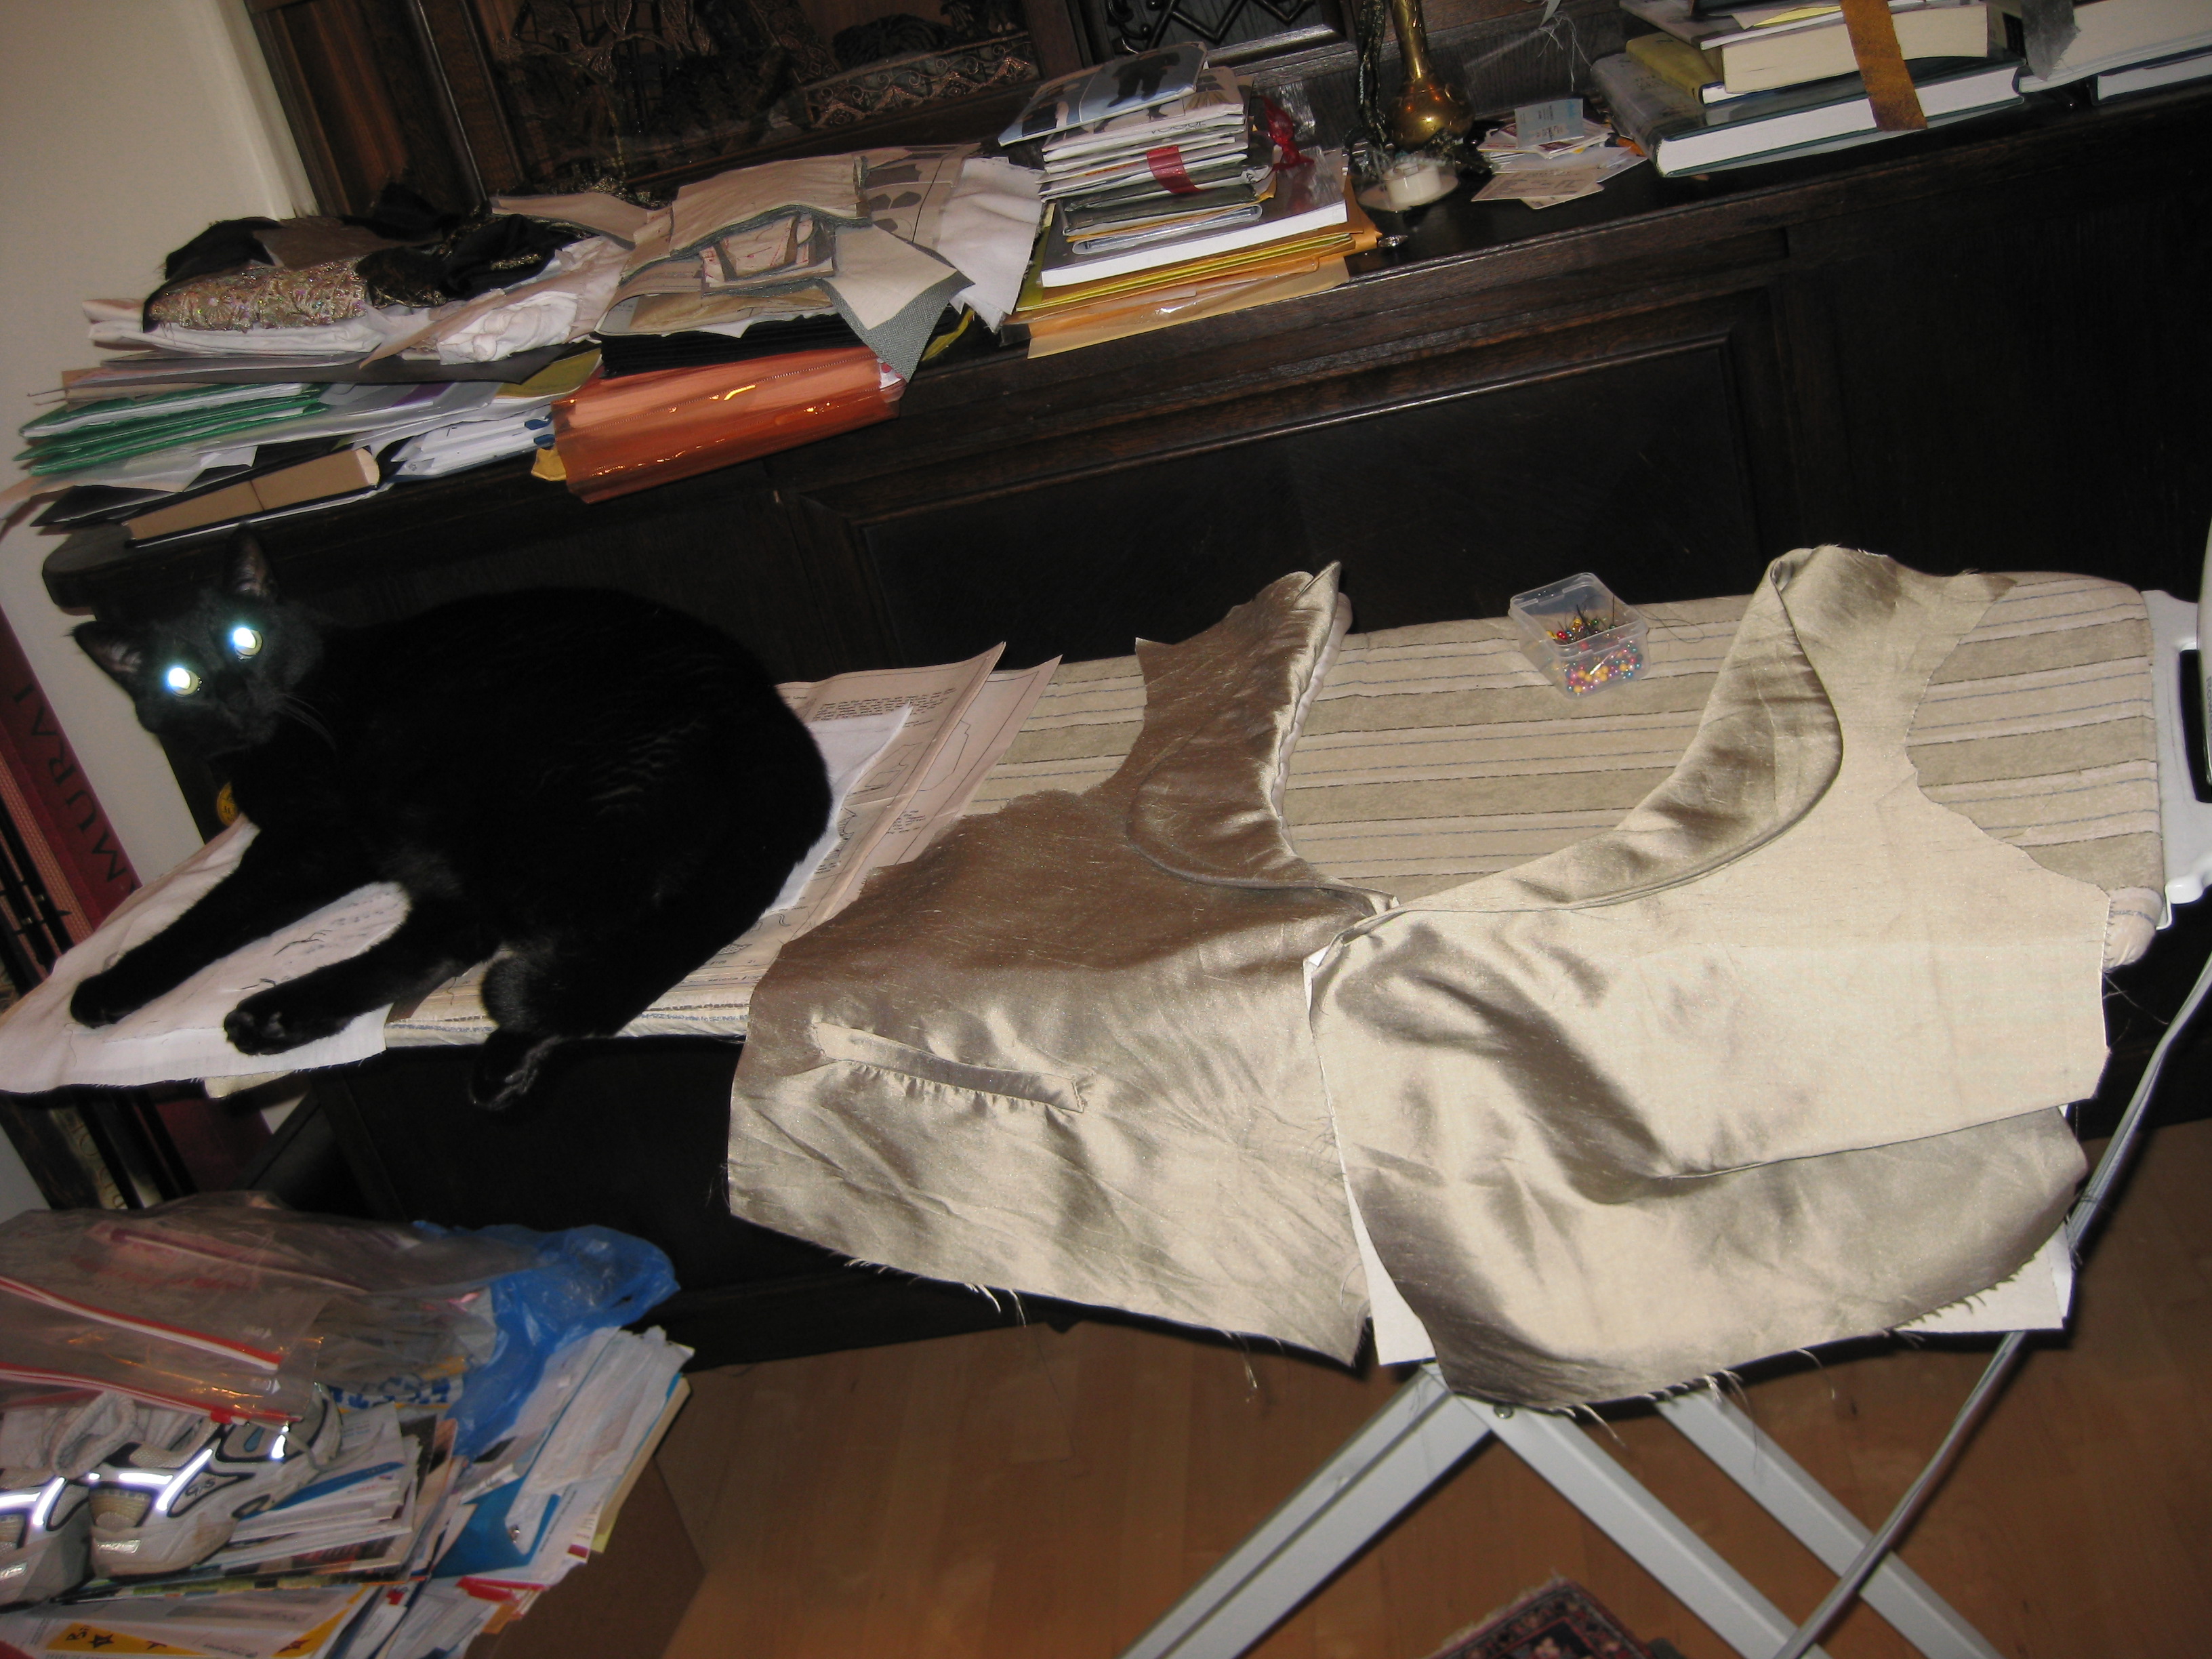
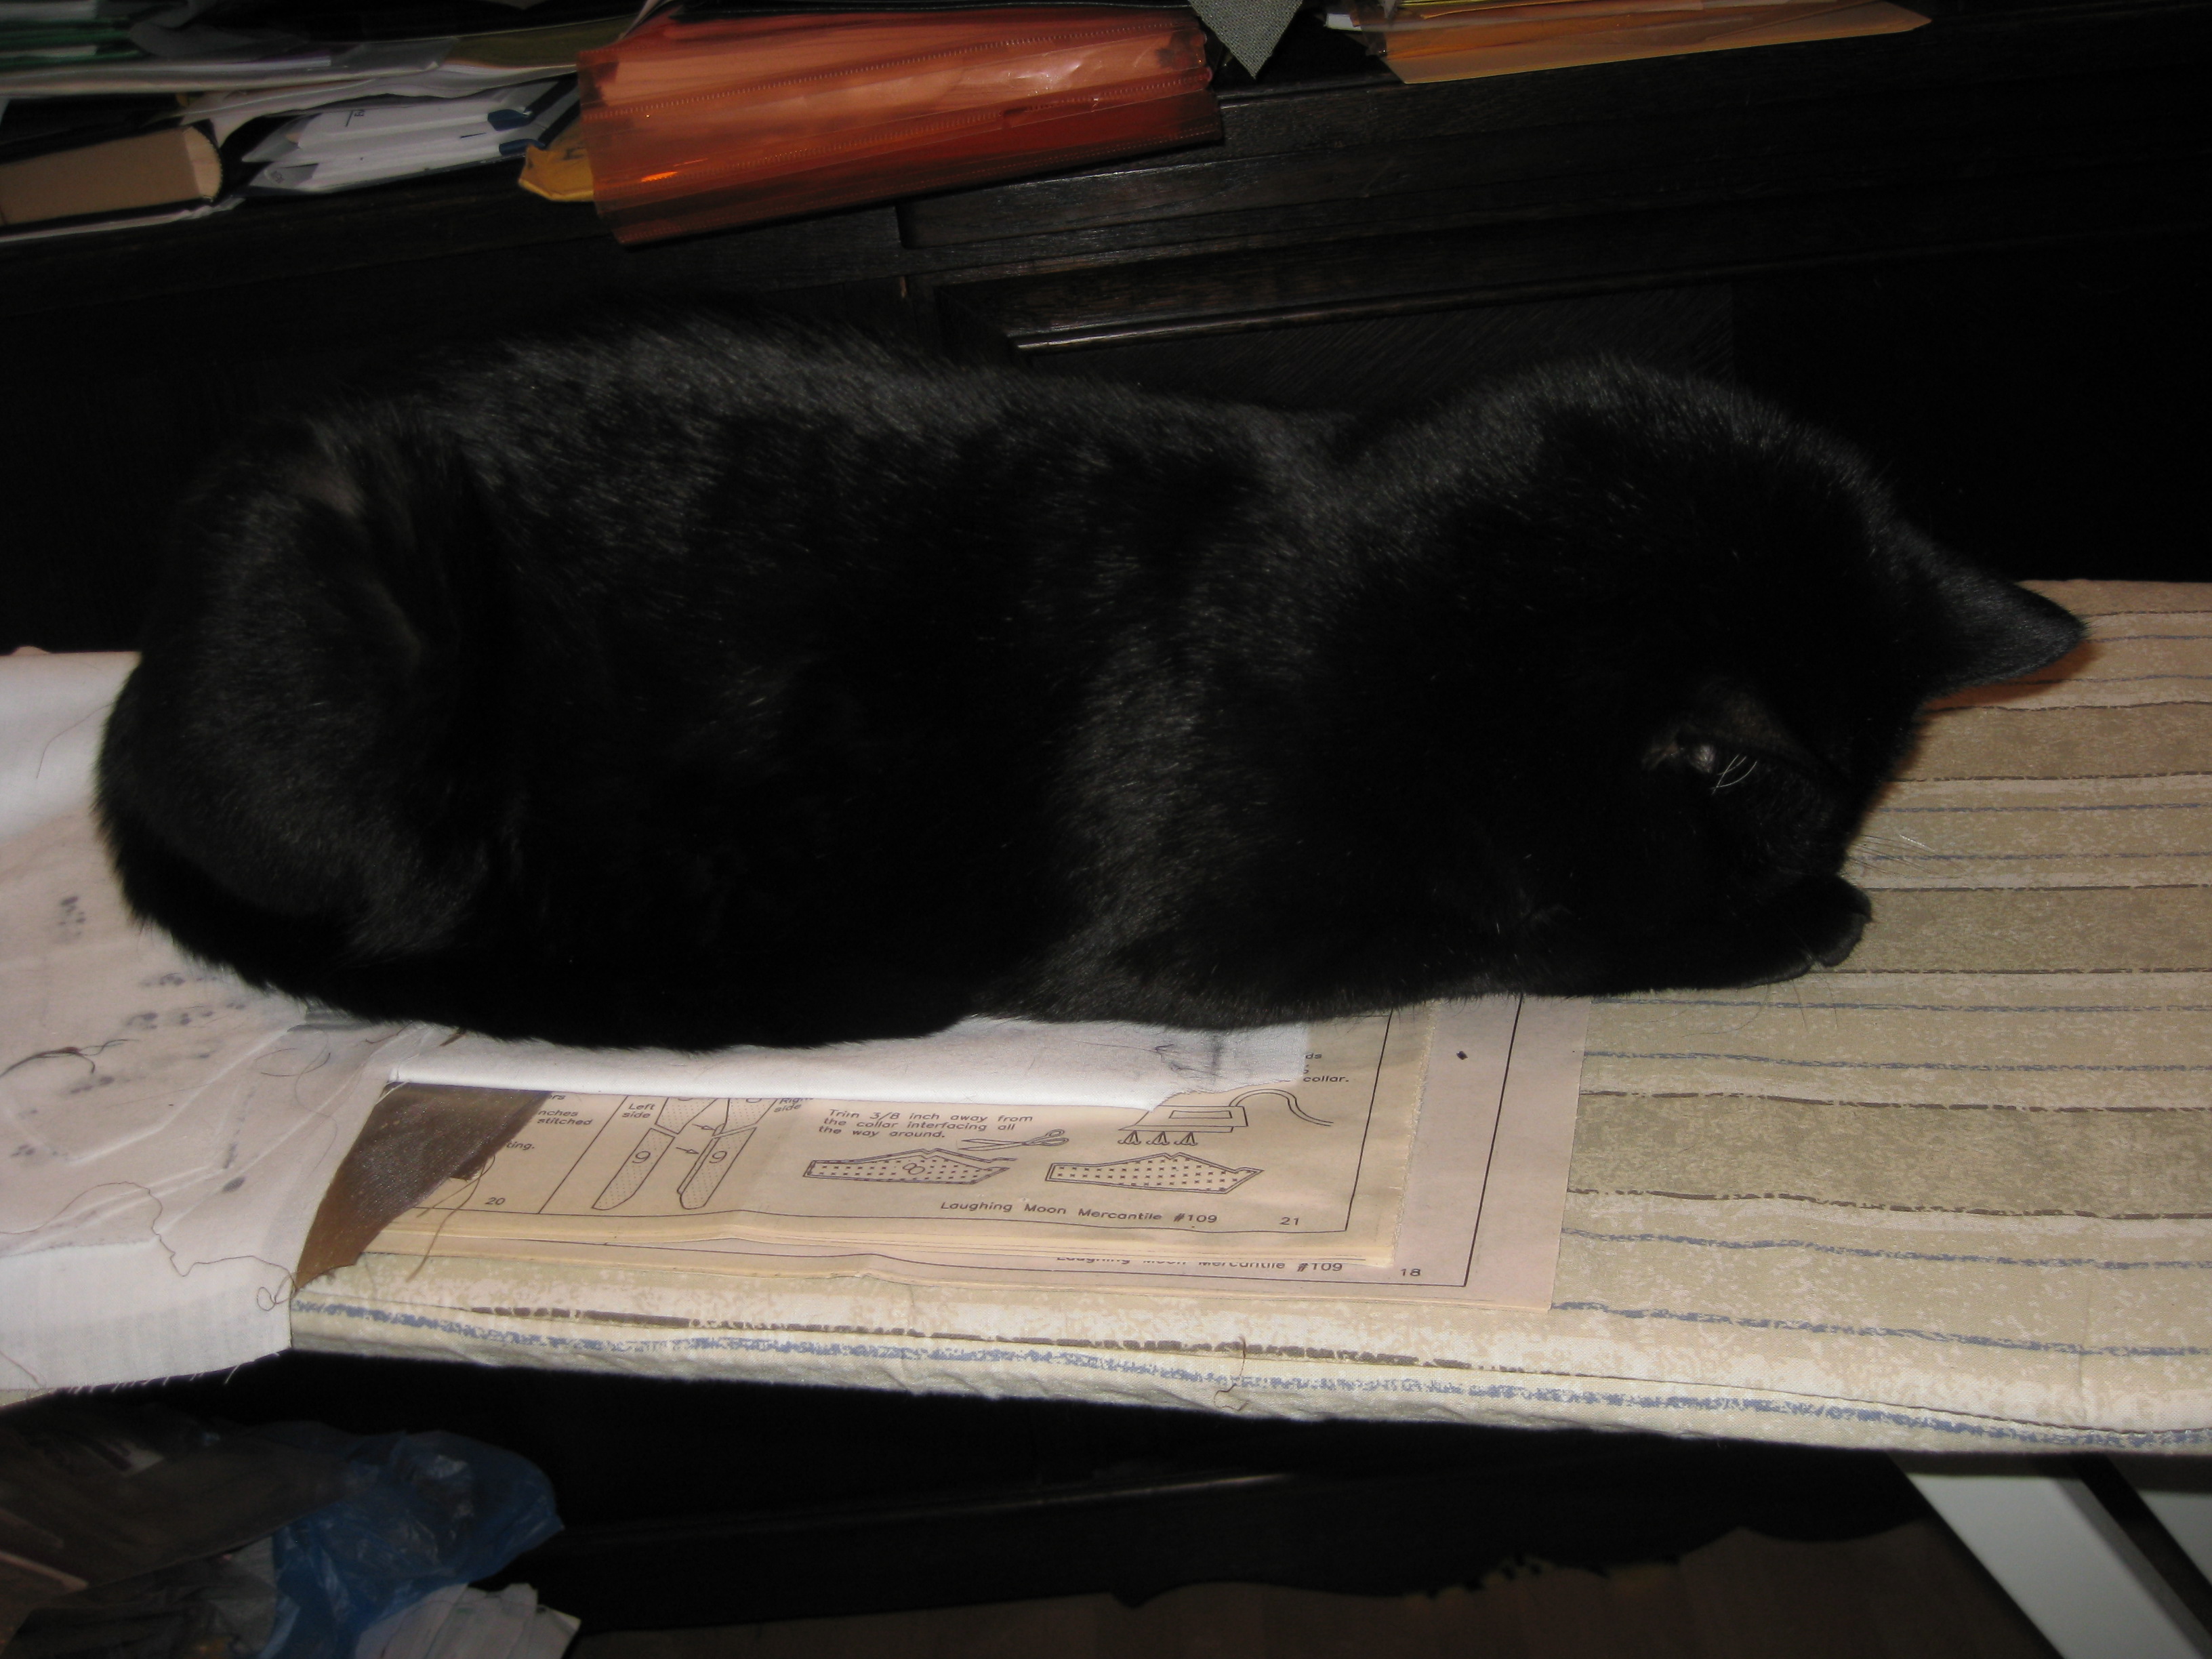
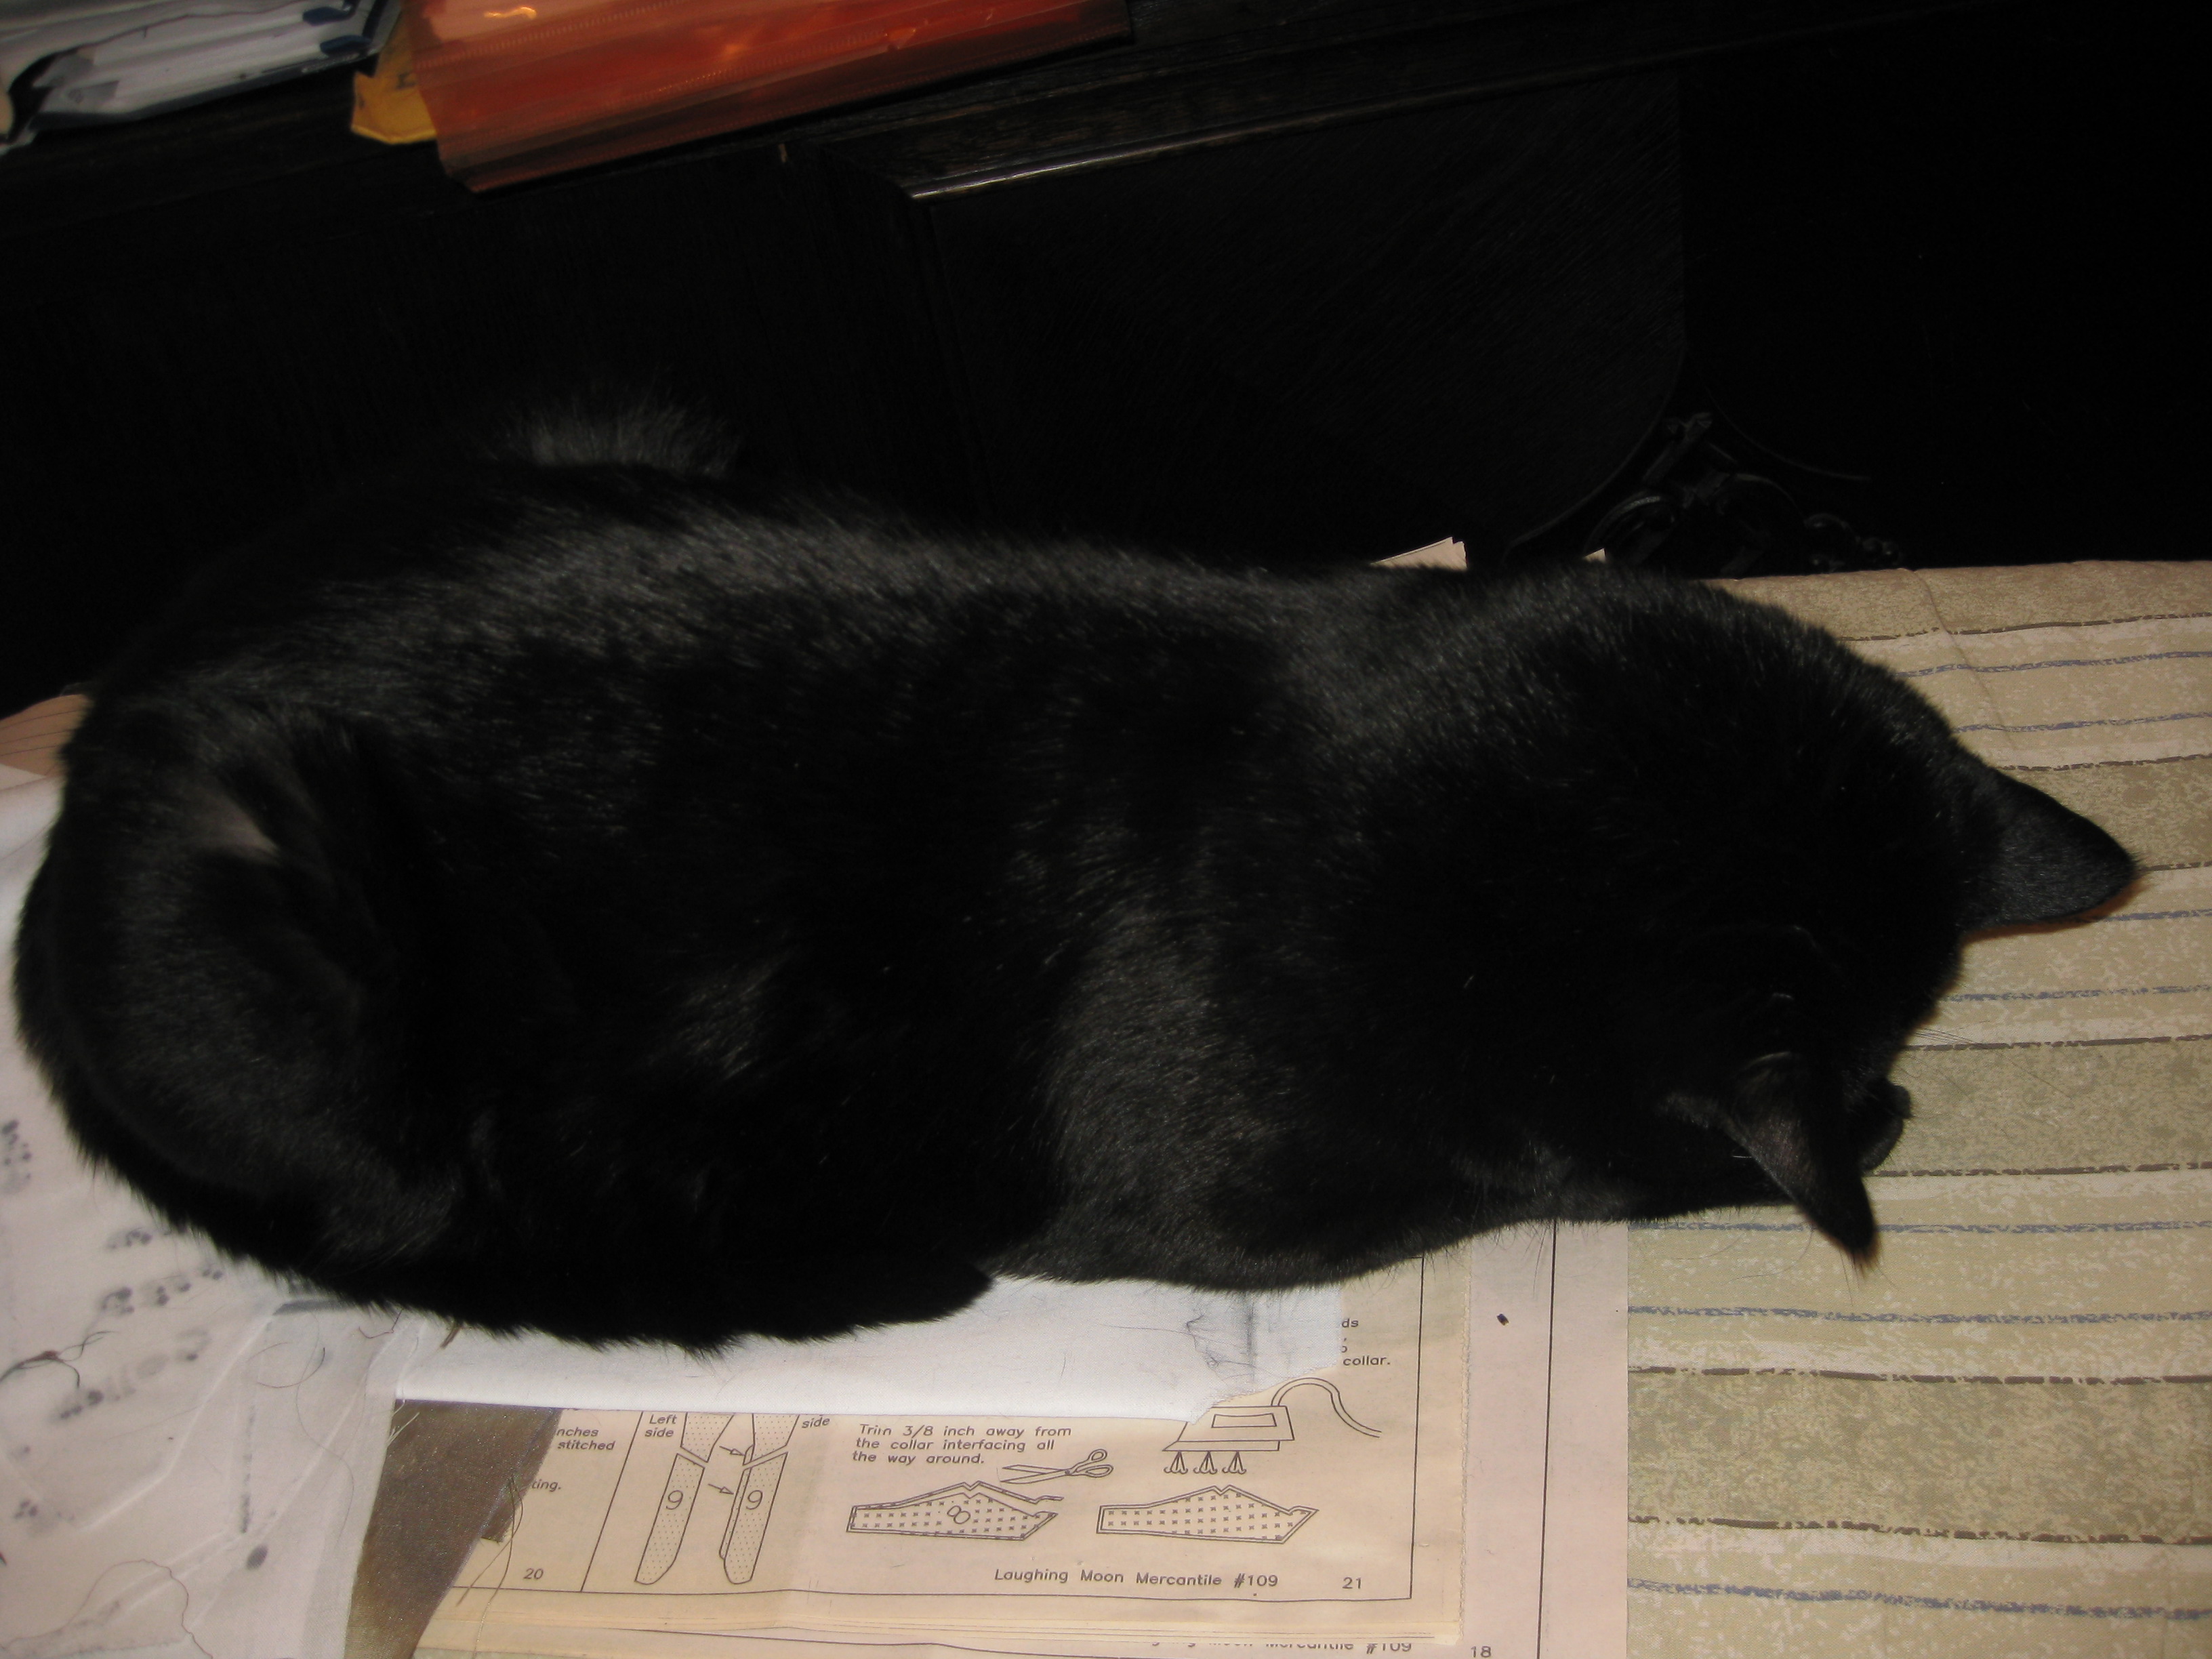
Seuss approved. He watched on as I ironed and took the photo.
Yes, that's his tail there next to the pocket. When I do this on the actual vest, I plan to hand stich the sides of the welt so that the stitches securing the flap upwards will not be visible. Oh, and the gray you see in the photos is from the marker I had used to trace the position of the welt.
June 7, 2009: Cut out the vest fabric, and then cut out the pattern pieces to the Laughing Moon Victorian's Mens Dress Shirt pattern. I'll be doing a muslin of that next.
August 26, 2009:
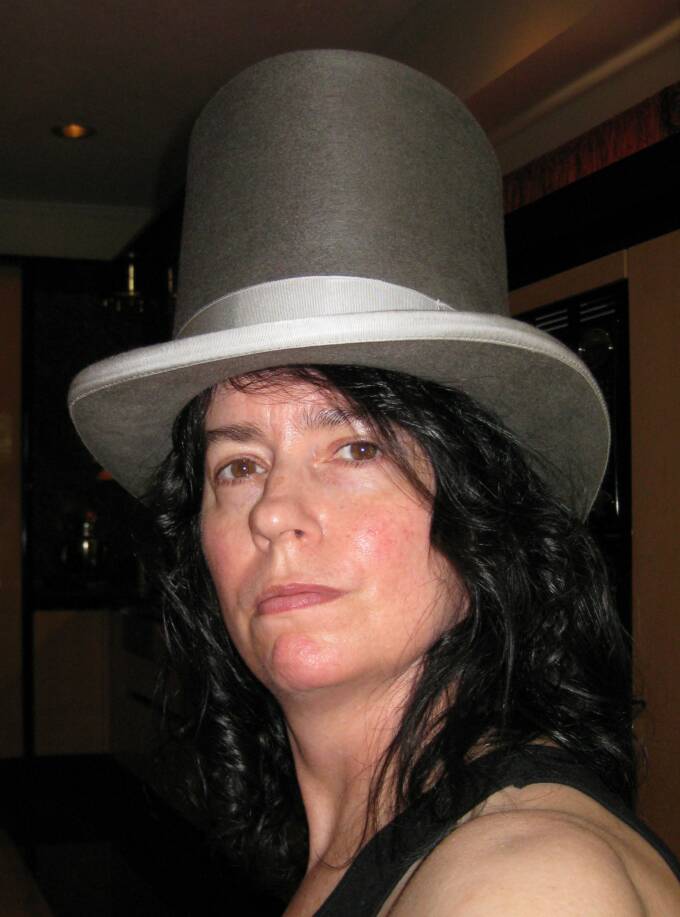
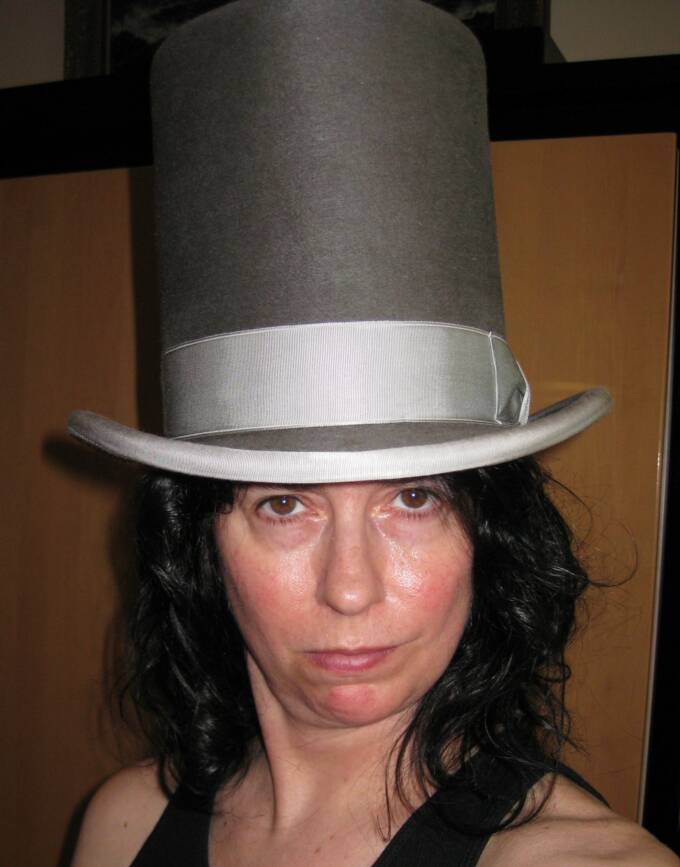
I got the hat back from repair a few days ago. Love it!
The delay caused by the damage & the time it took to repair forced me to put this project off one year, and that is why things stopped here for a while. I will continue working on it, and I hope to have it ready for D*C 2010.
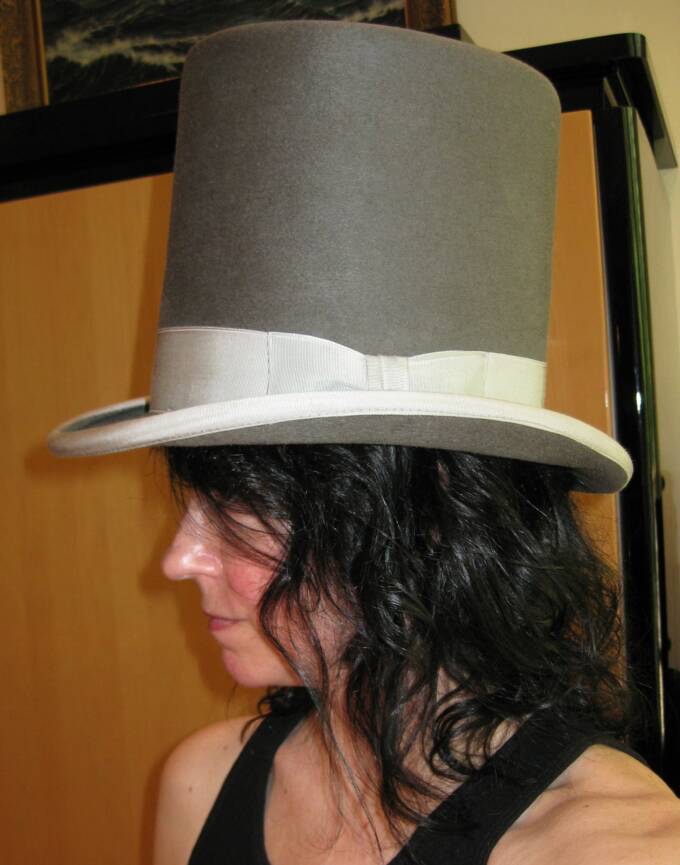
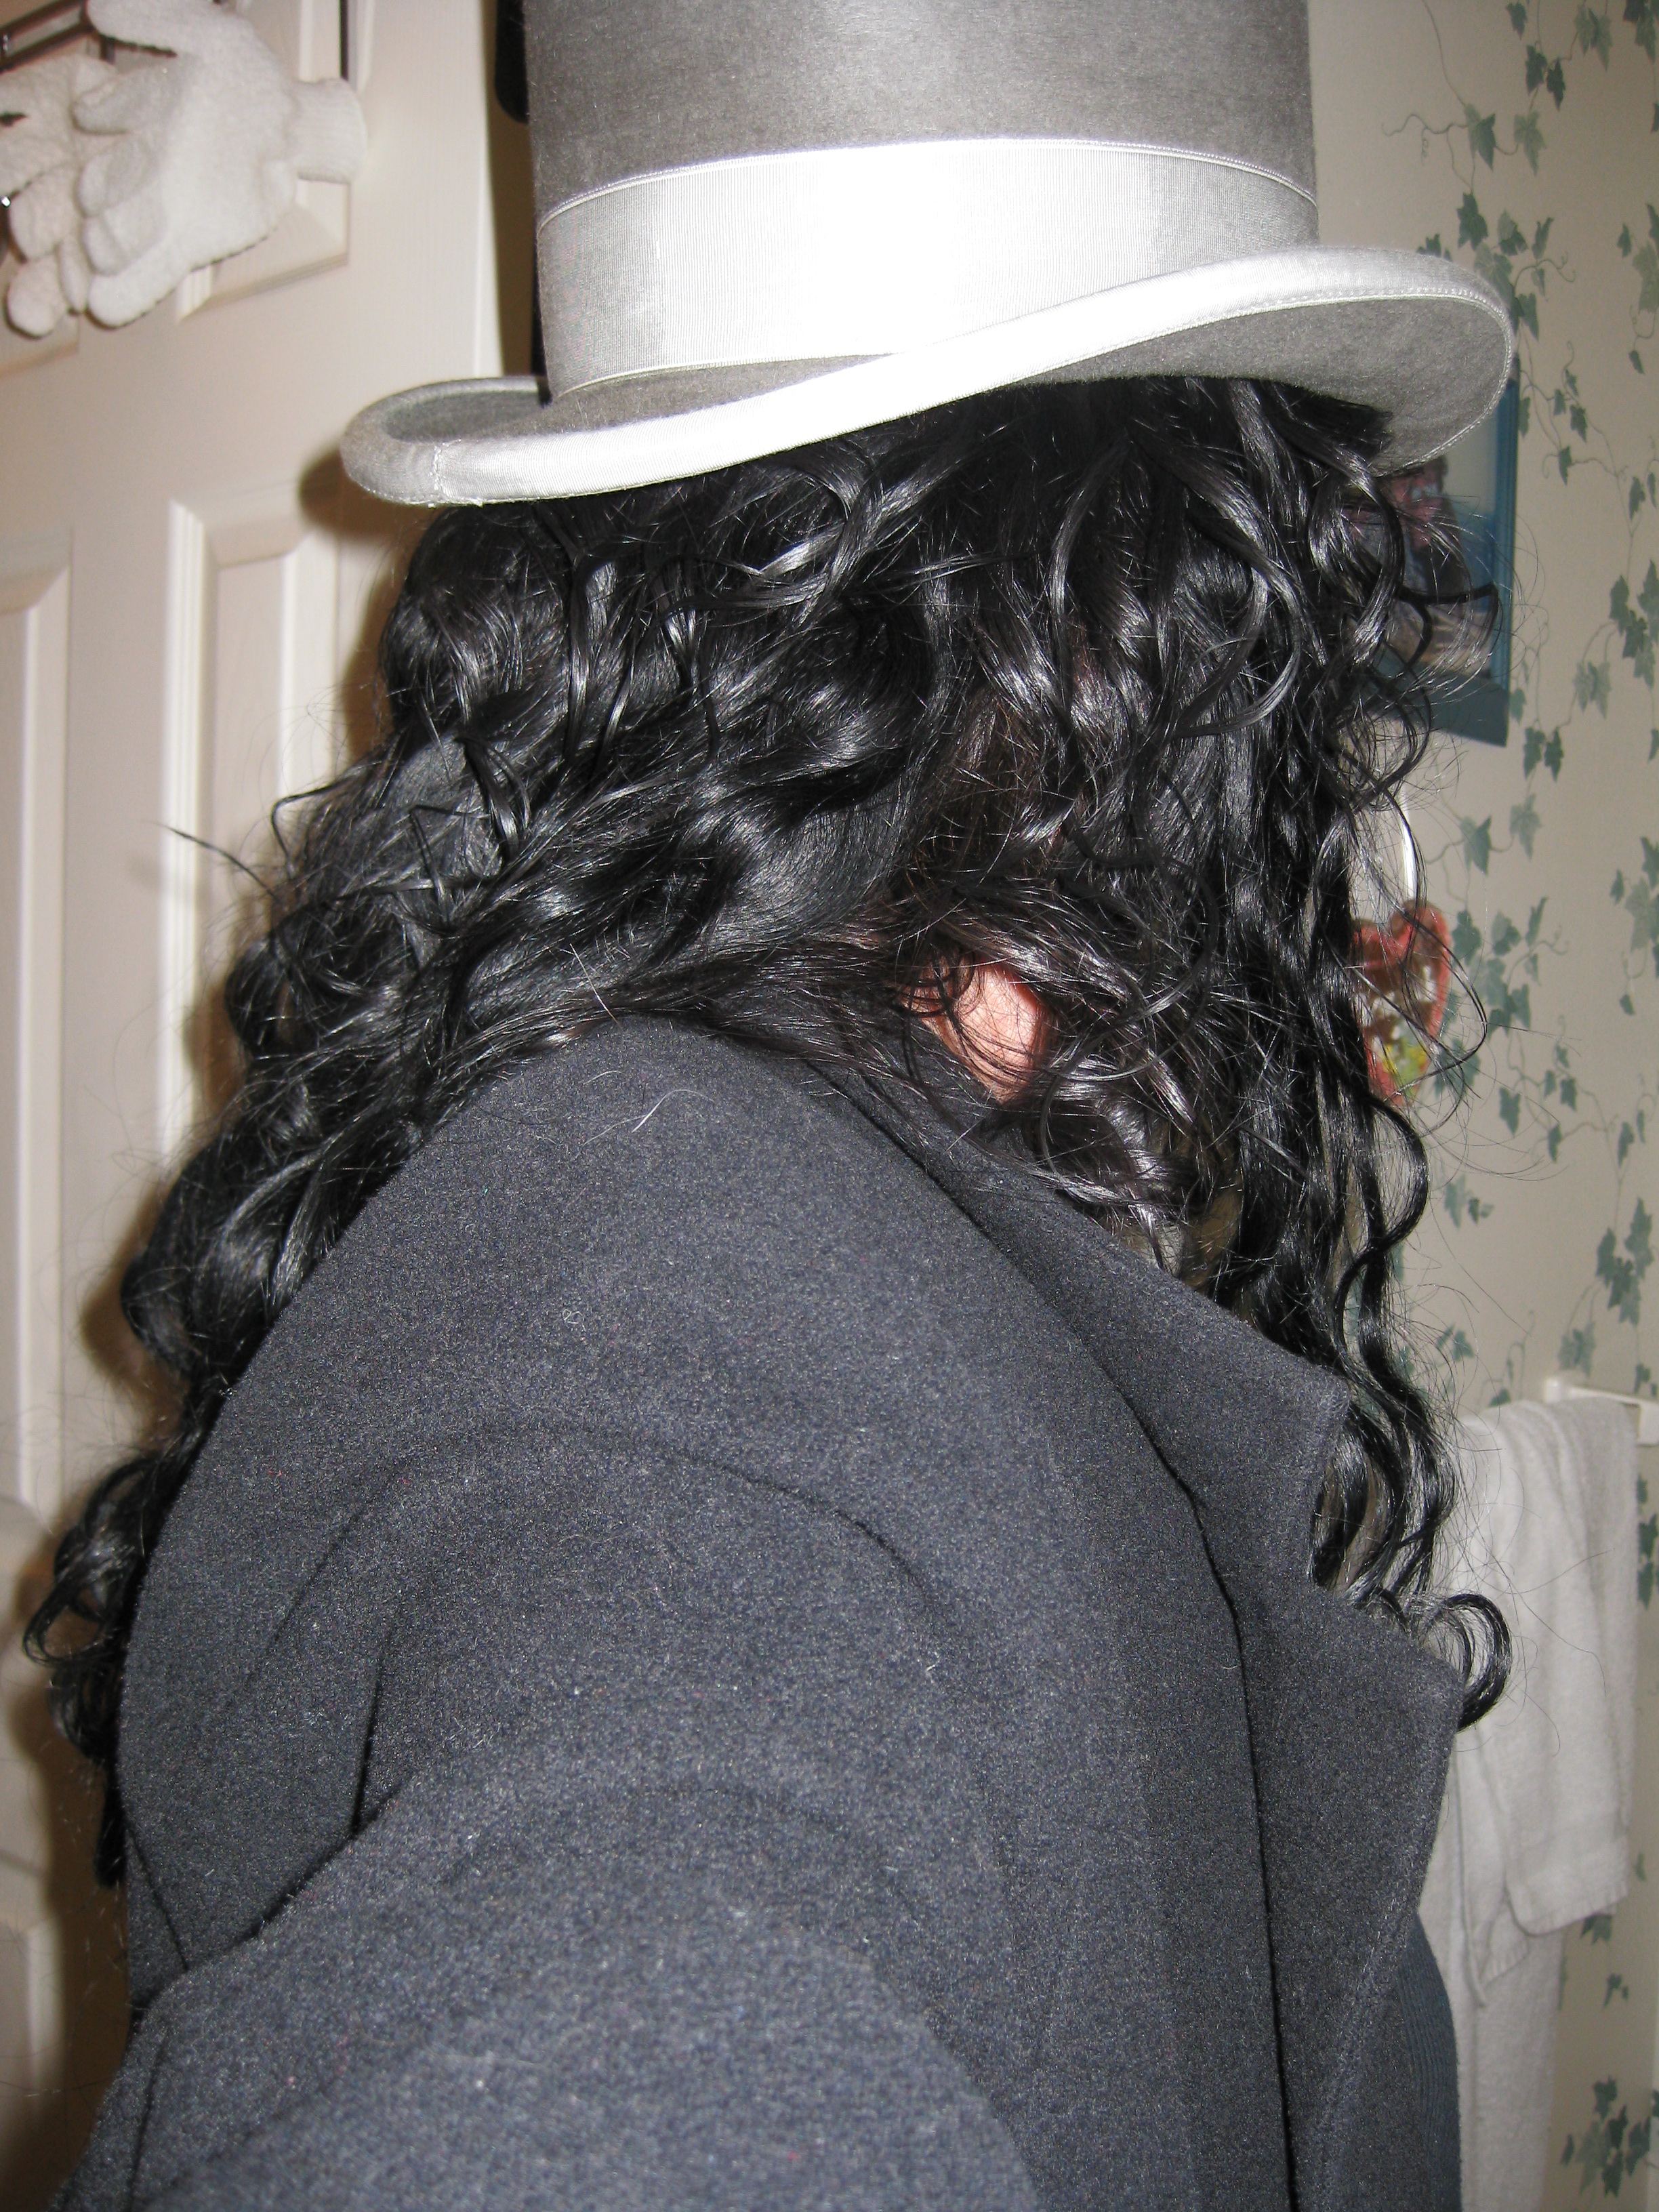
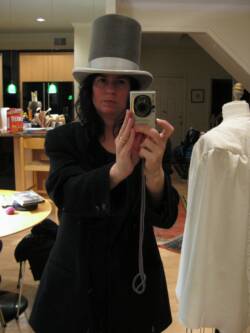
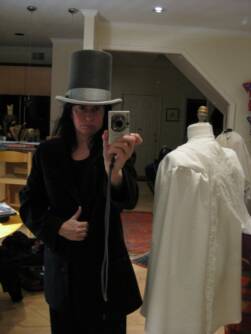
Here are a few photos of me wearing the hat...
October 26, 2009:
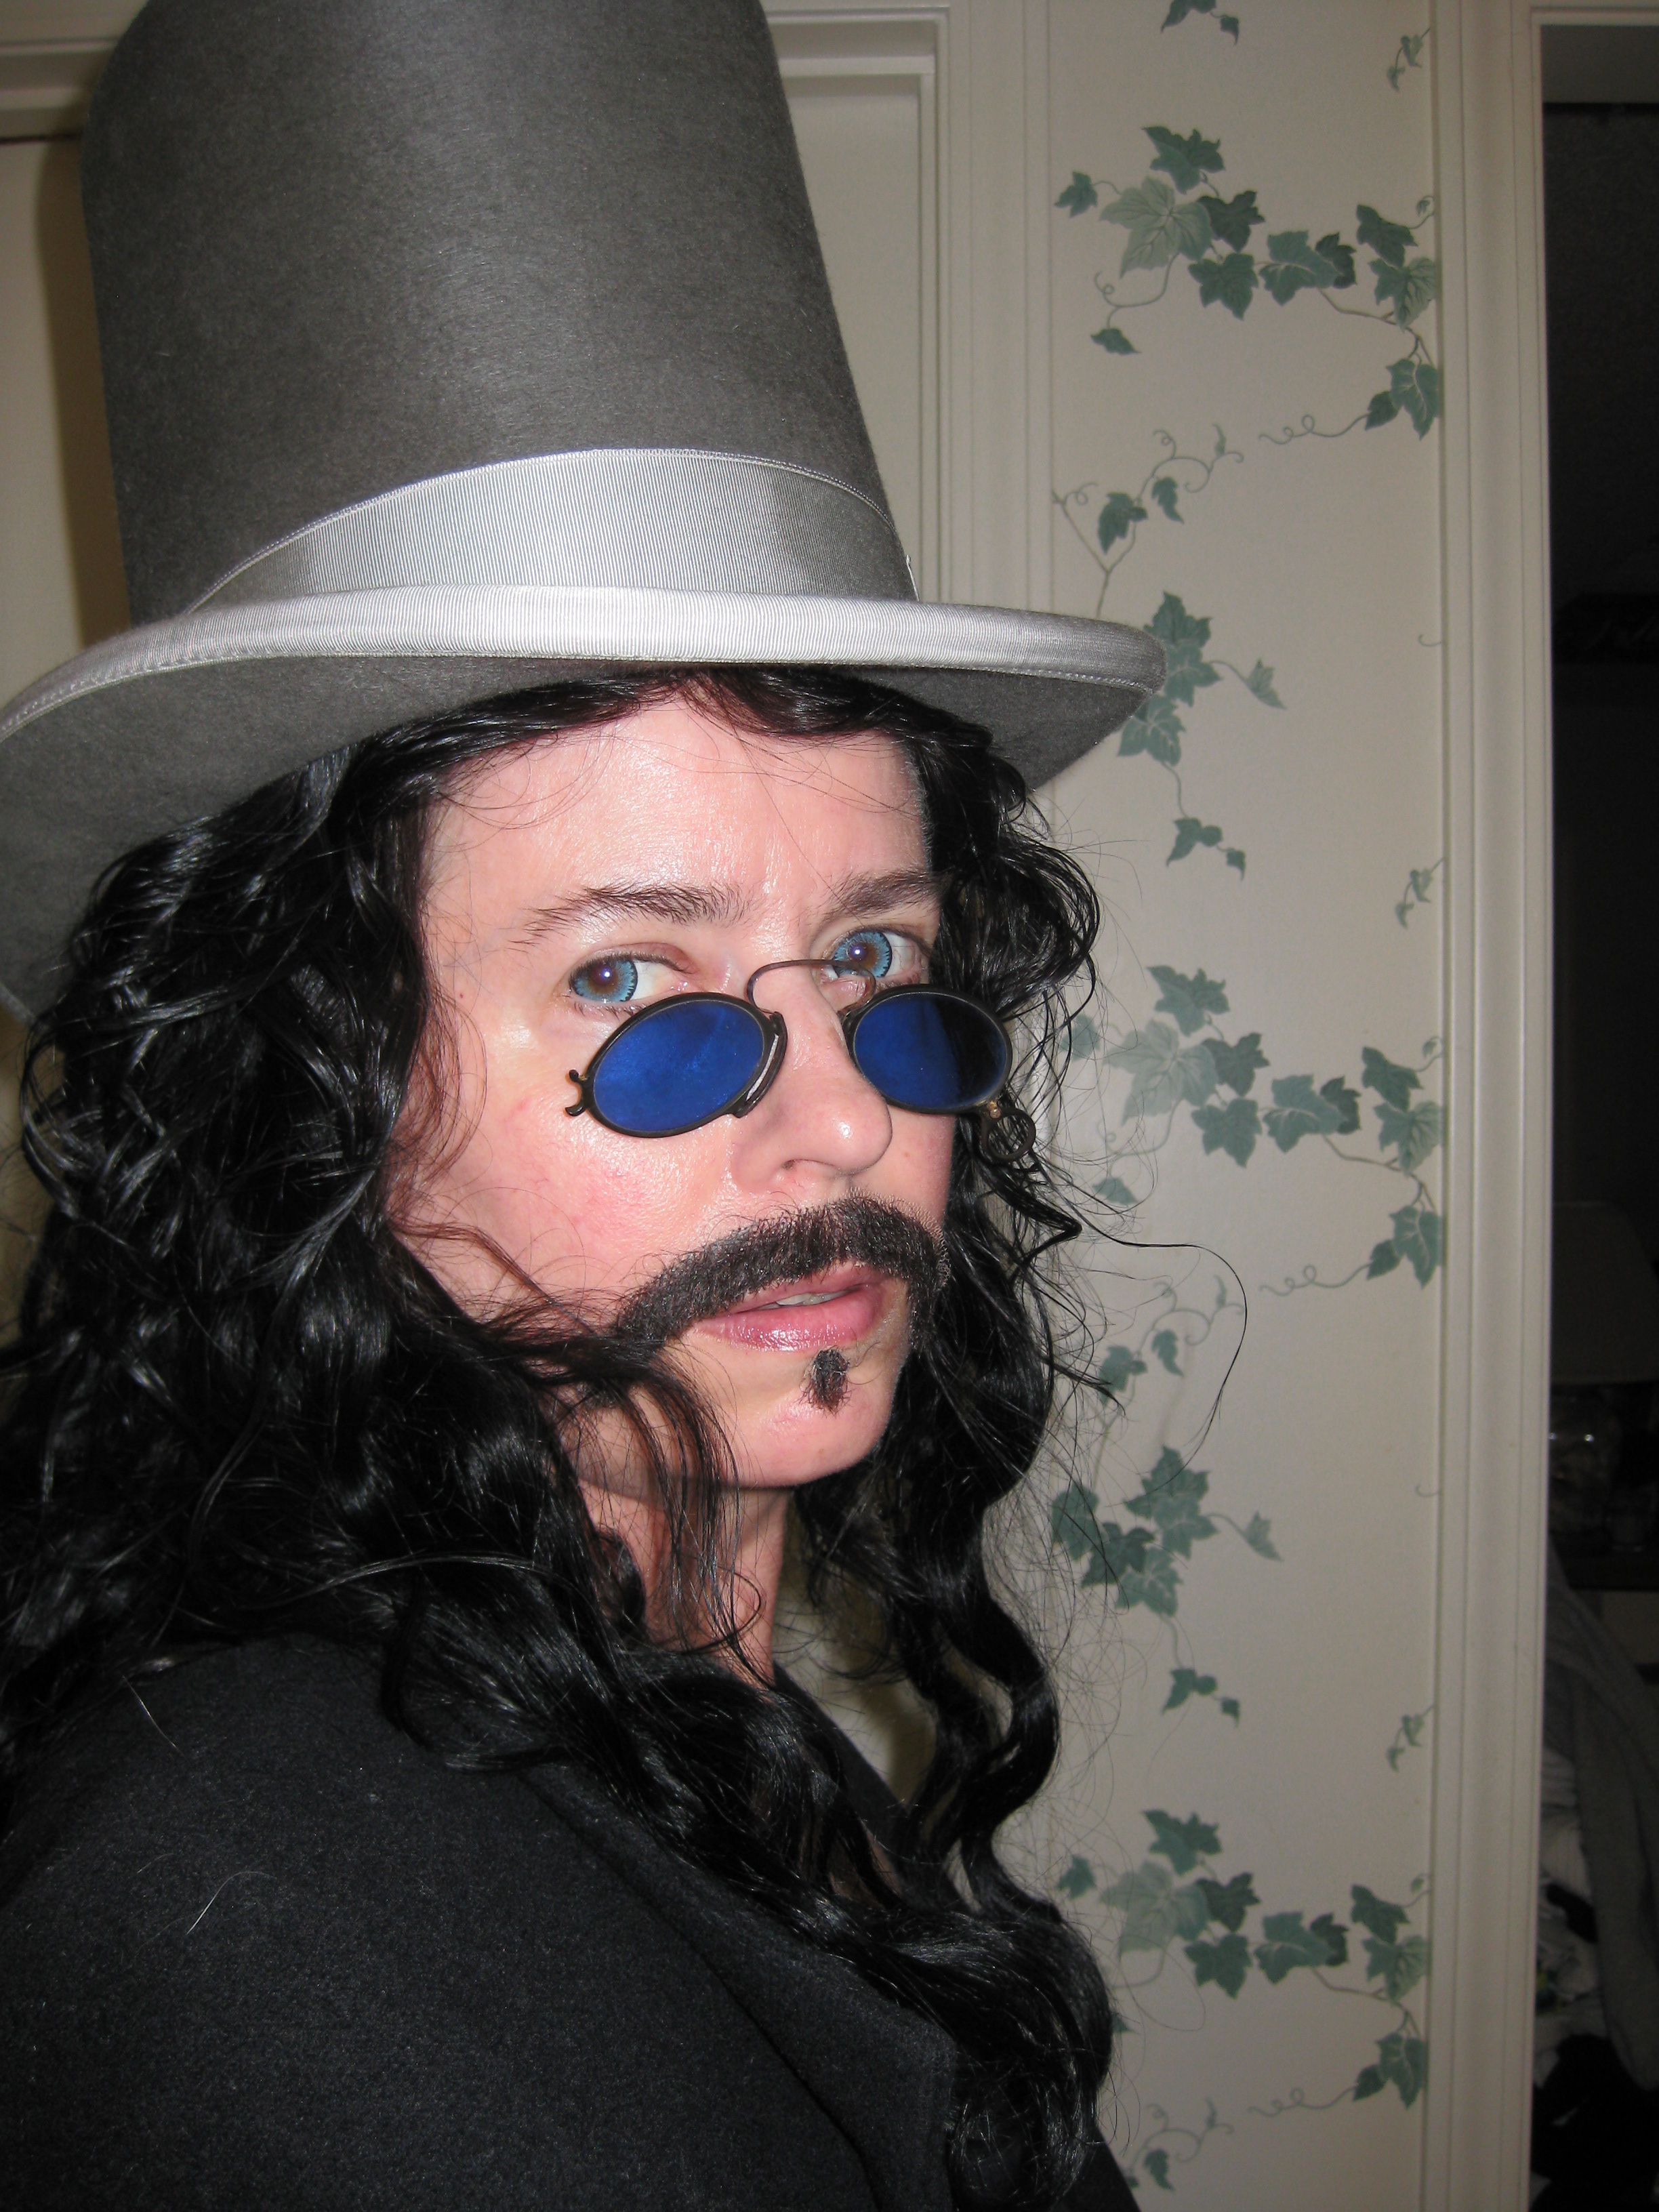
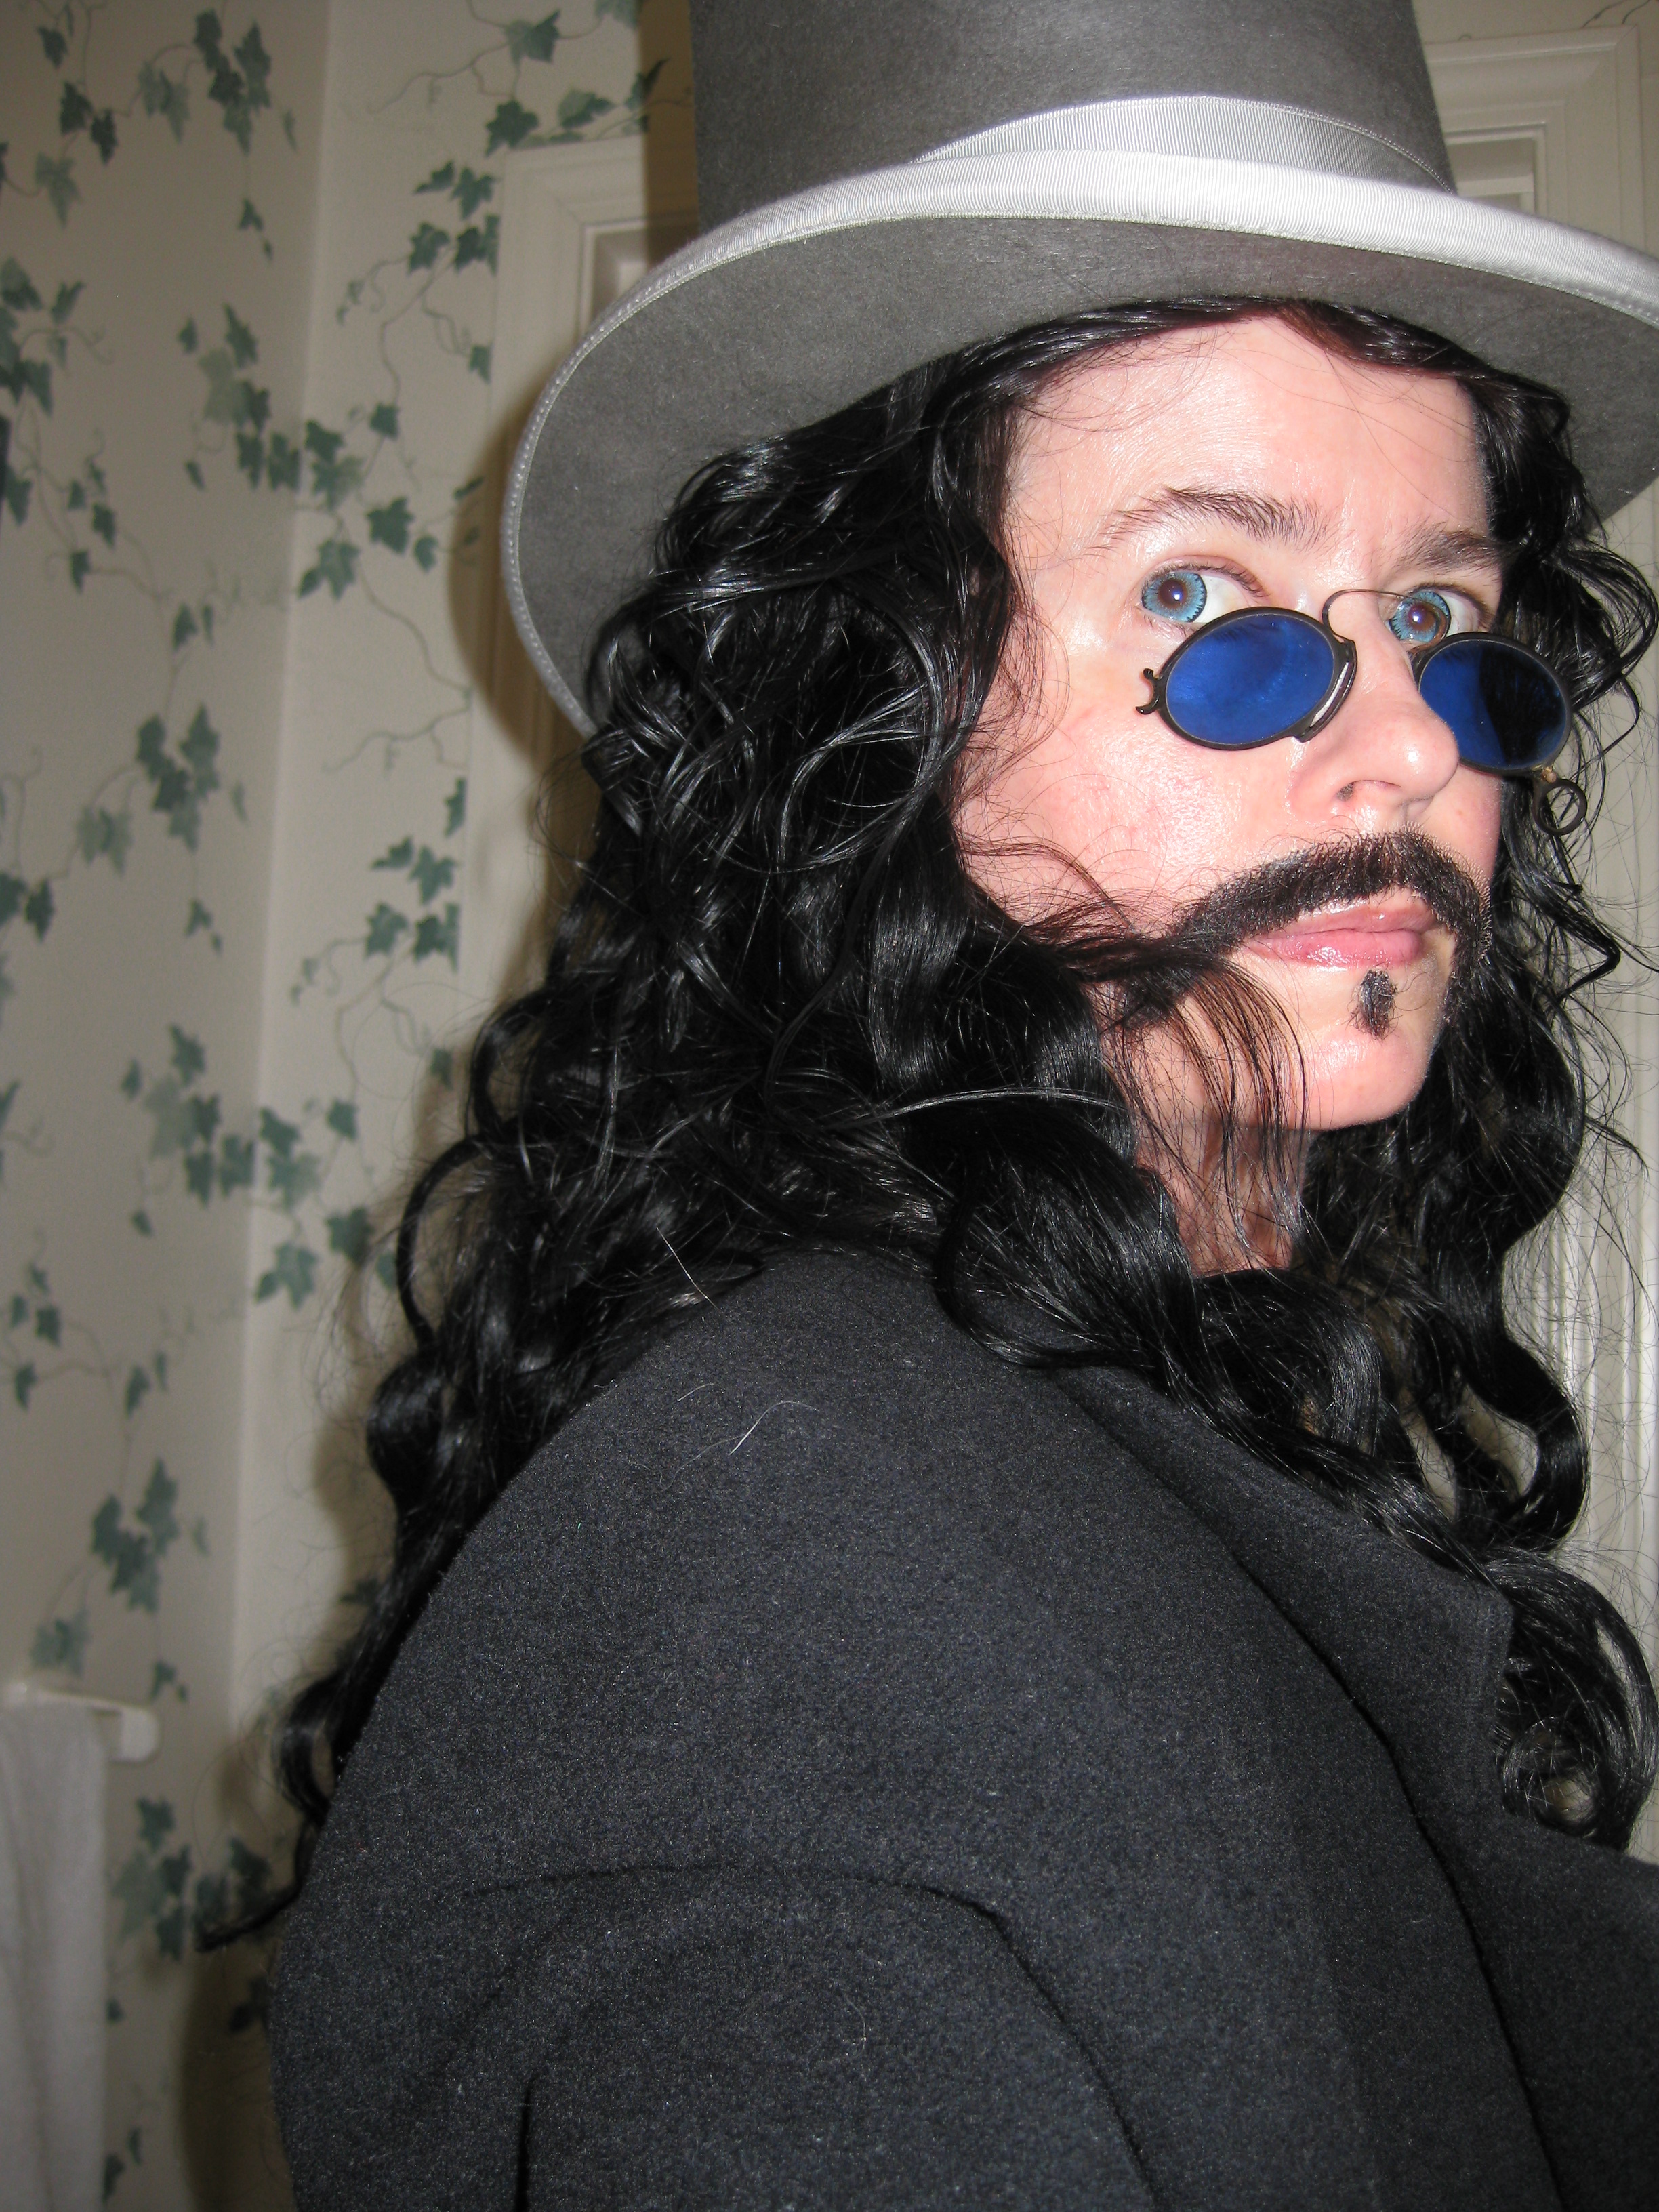
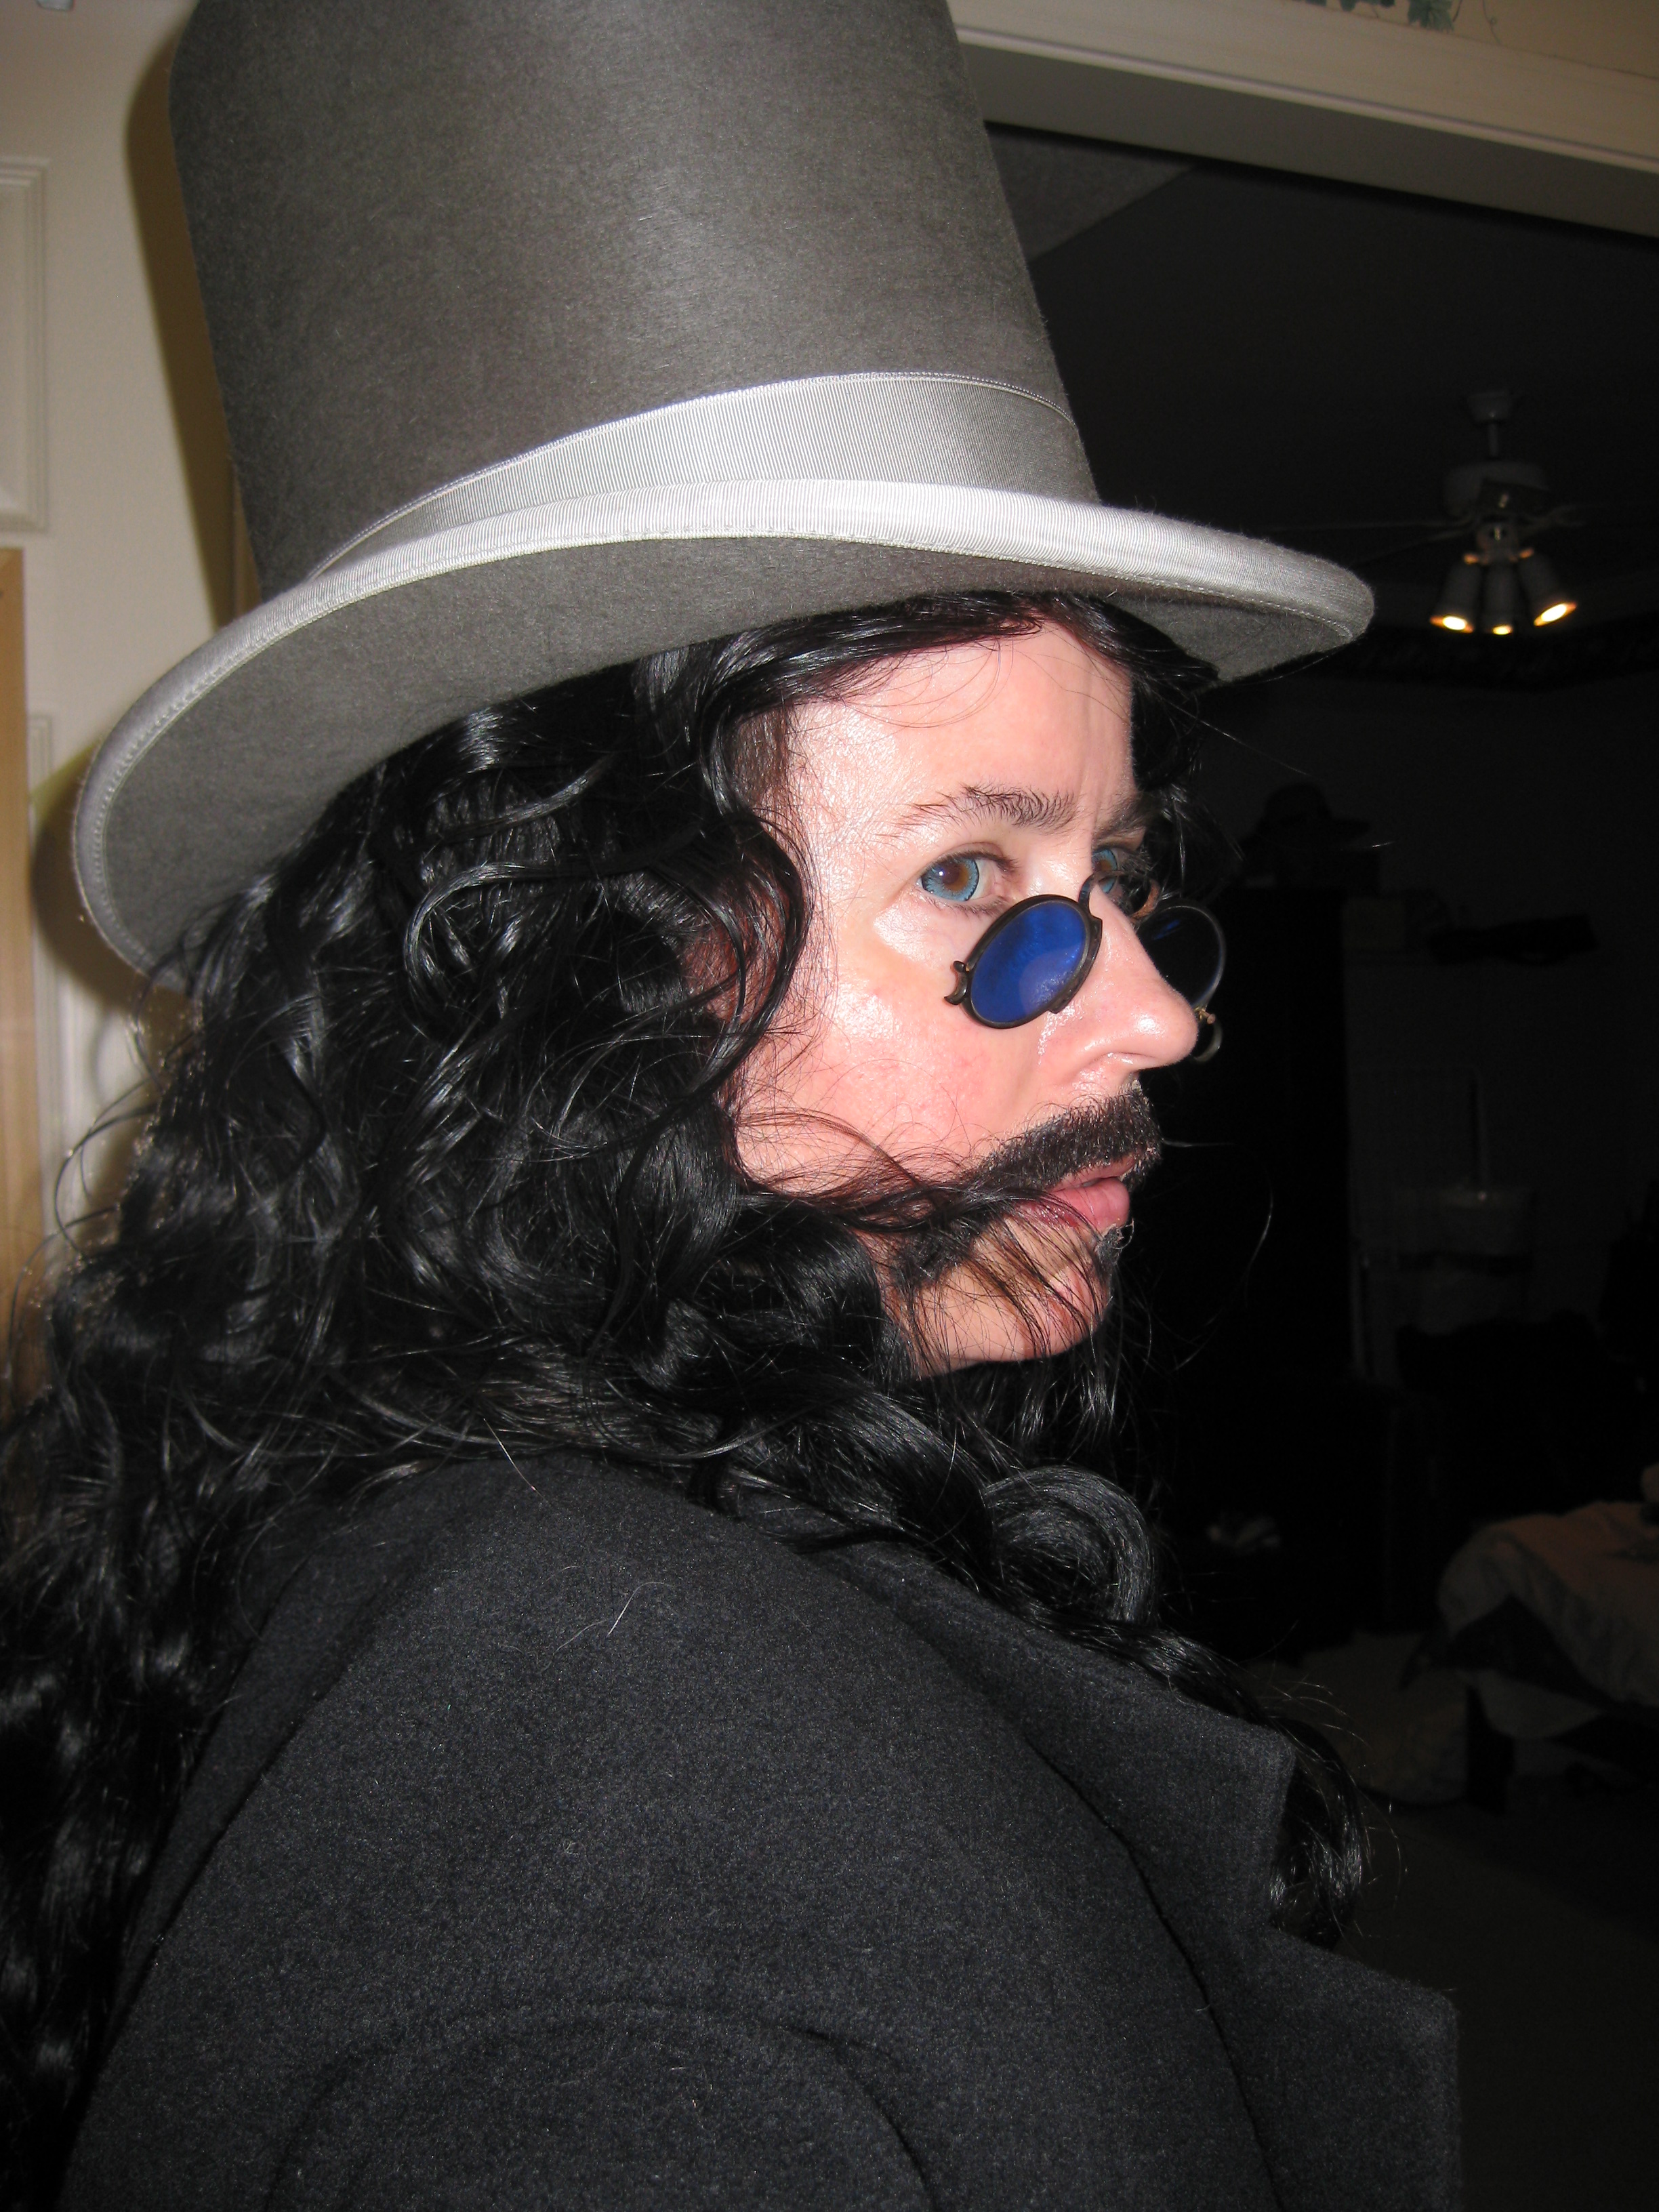
On a recent trip to NYC I found an awesome wig store and purchased some extensions they put into clips there. The store is Wigs and Plus, in the Fashion District, www.123wigs.com. Highly recommended!
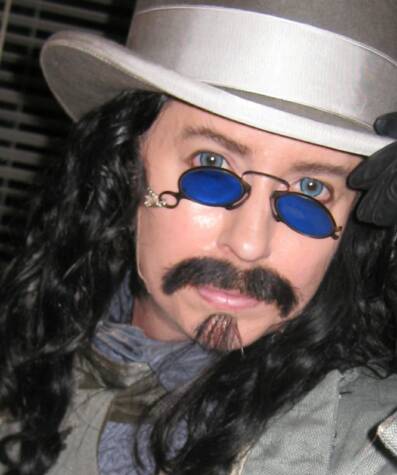
I wanted to see how these new extensions would work, so I tried them on with the hat and Ringo's 'stache and soul patch, the pince nez and a black coat. Here's how things looked...
May 25, 2010.
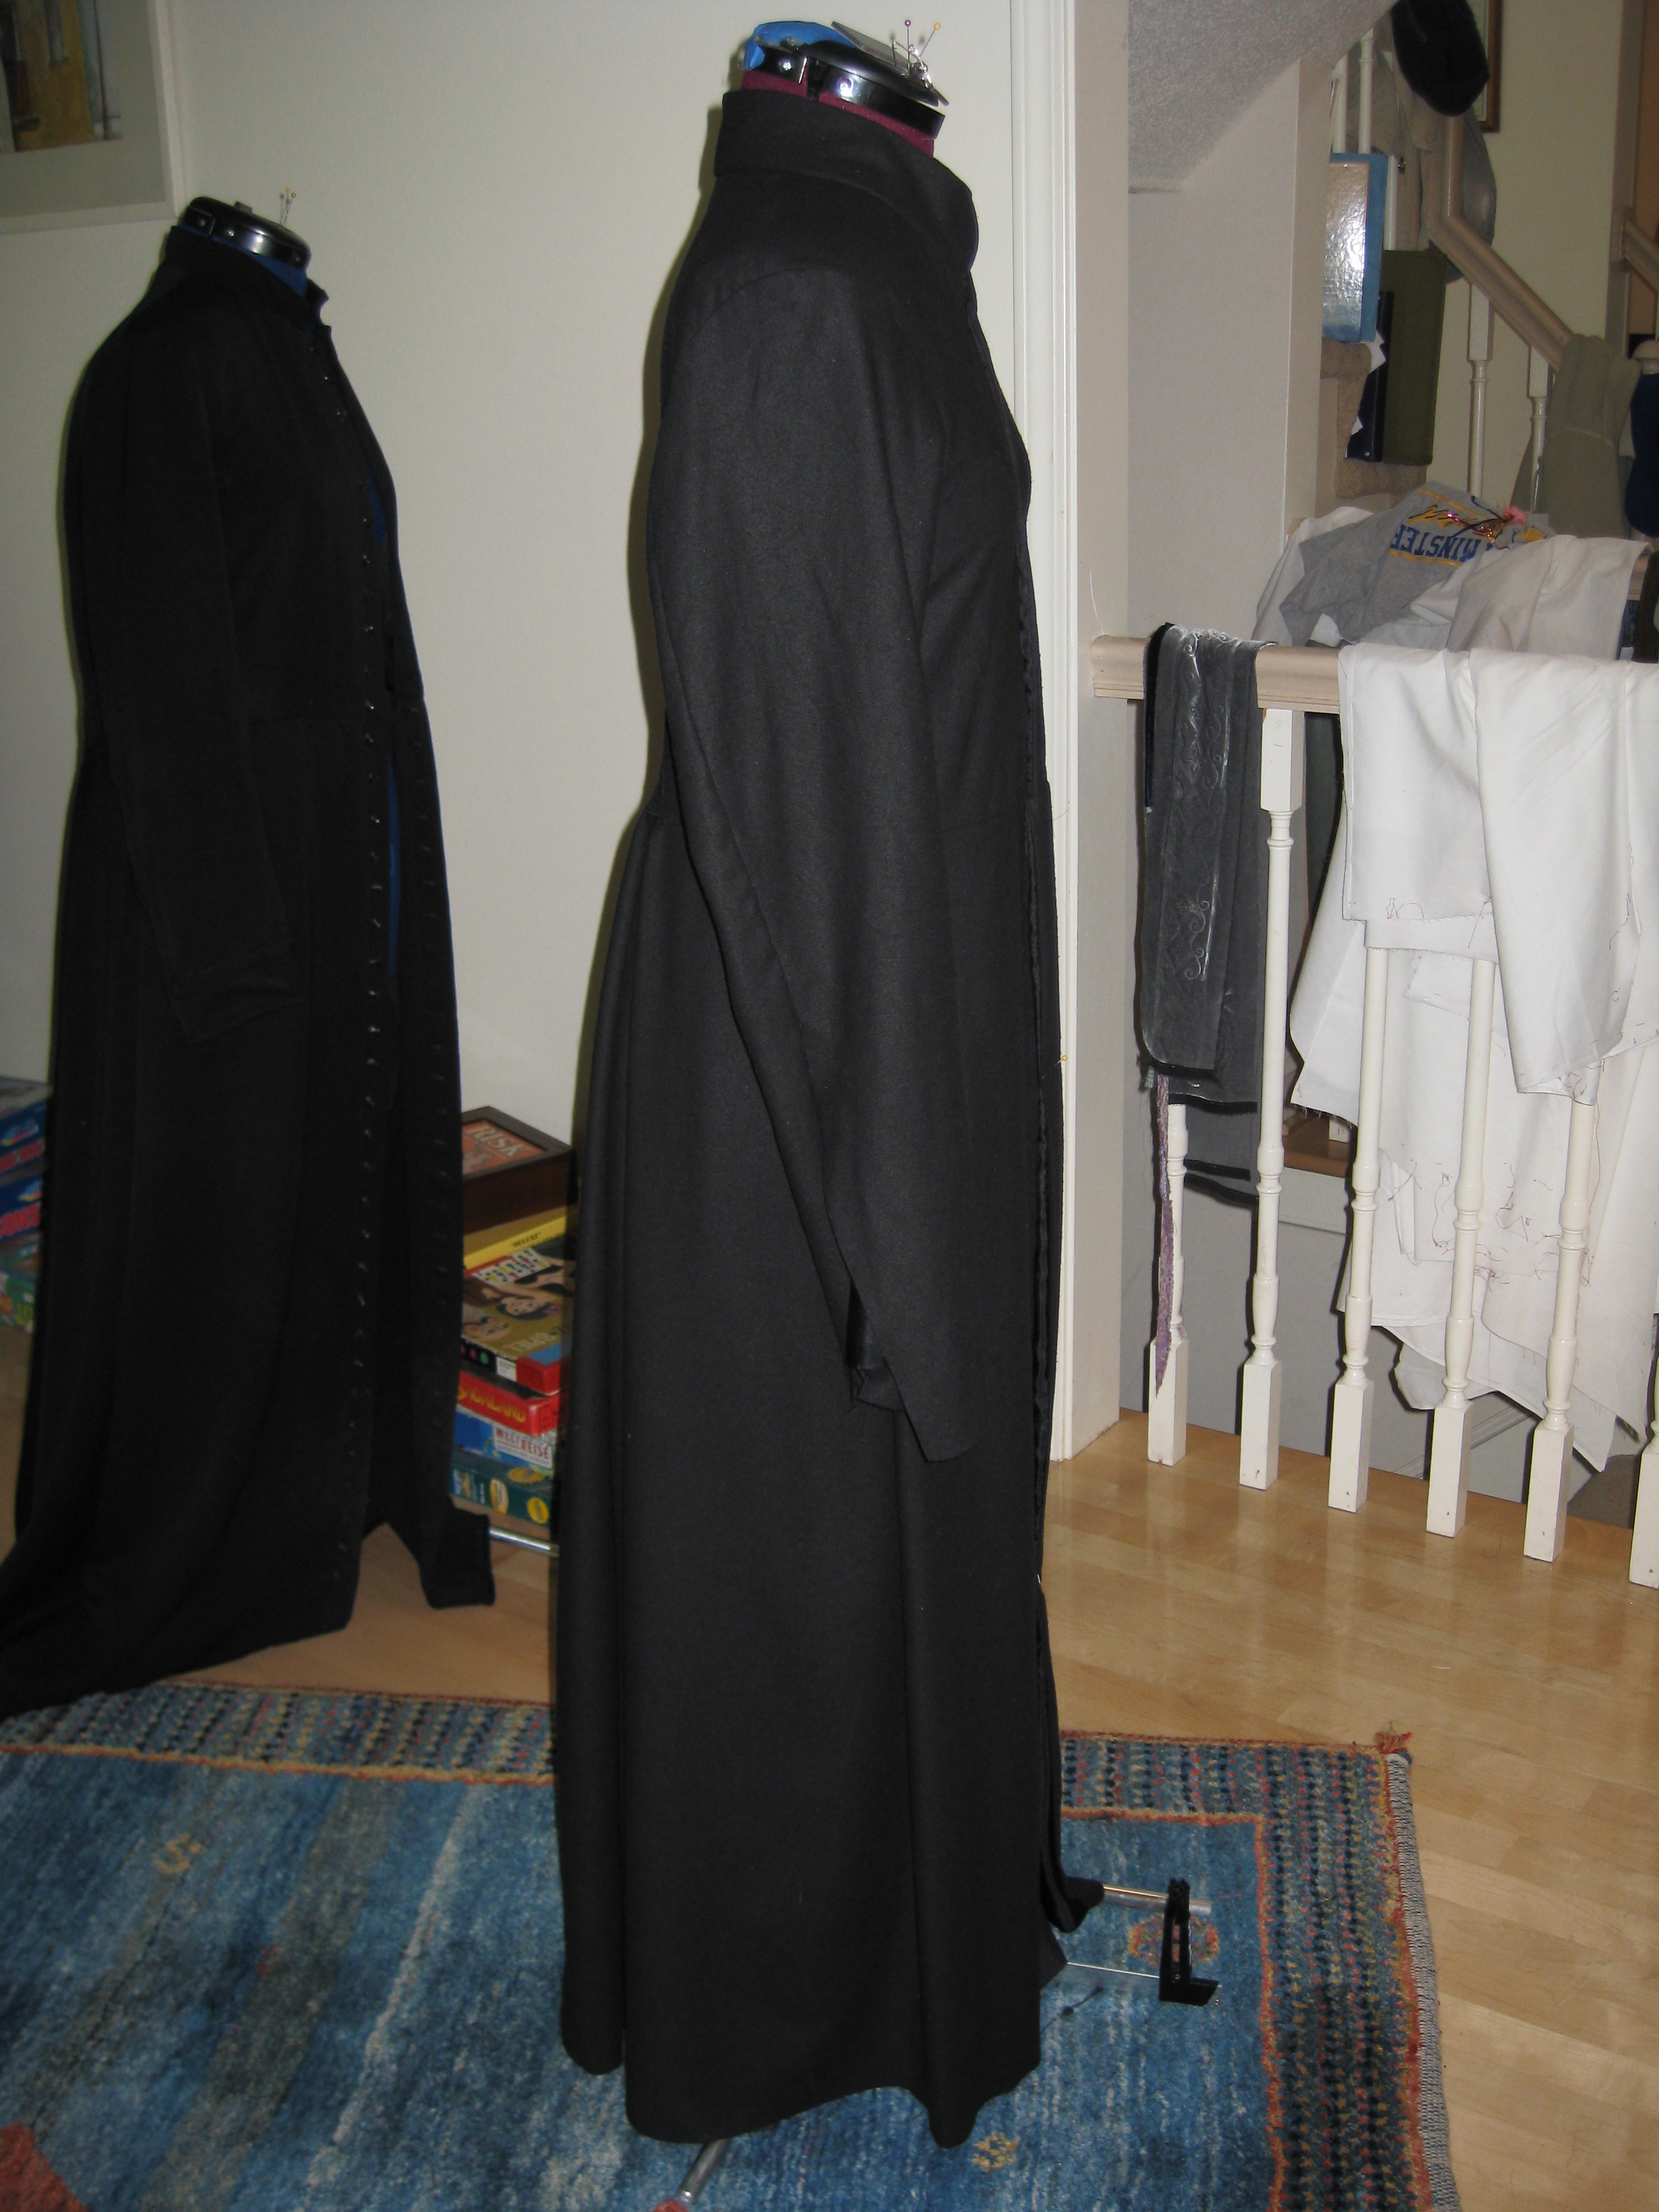
On that same trip to NYC last year, I found an old Russian Cassock in a vintage clothes store. I'm recreating one like it for a friend, and I will use parts of the pattern I get from that to make Prince Vlad's coat...
This means I will only have to figure out the lapels.
Here are some photos of the cassock in construction. The original is next to it in one shot.
July 27, 2010:
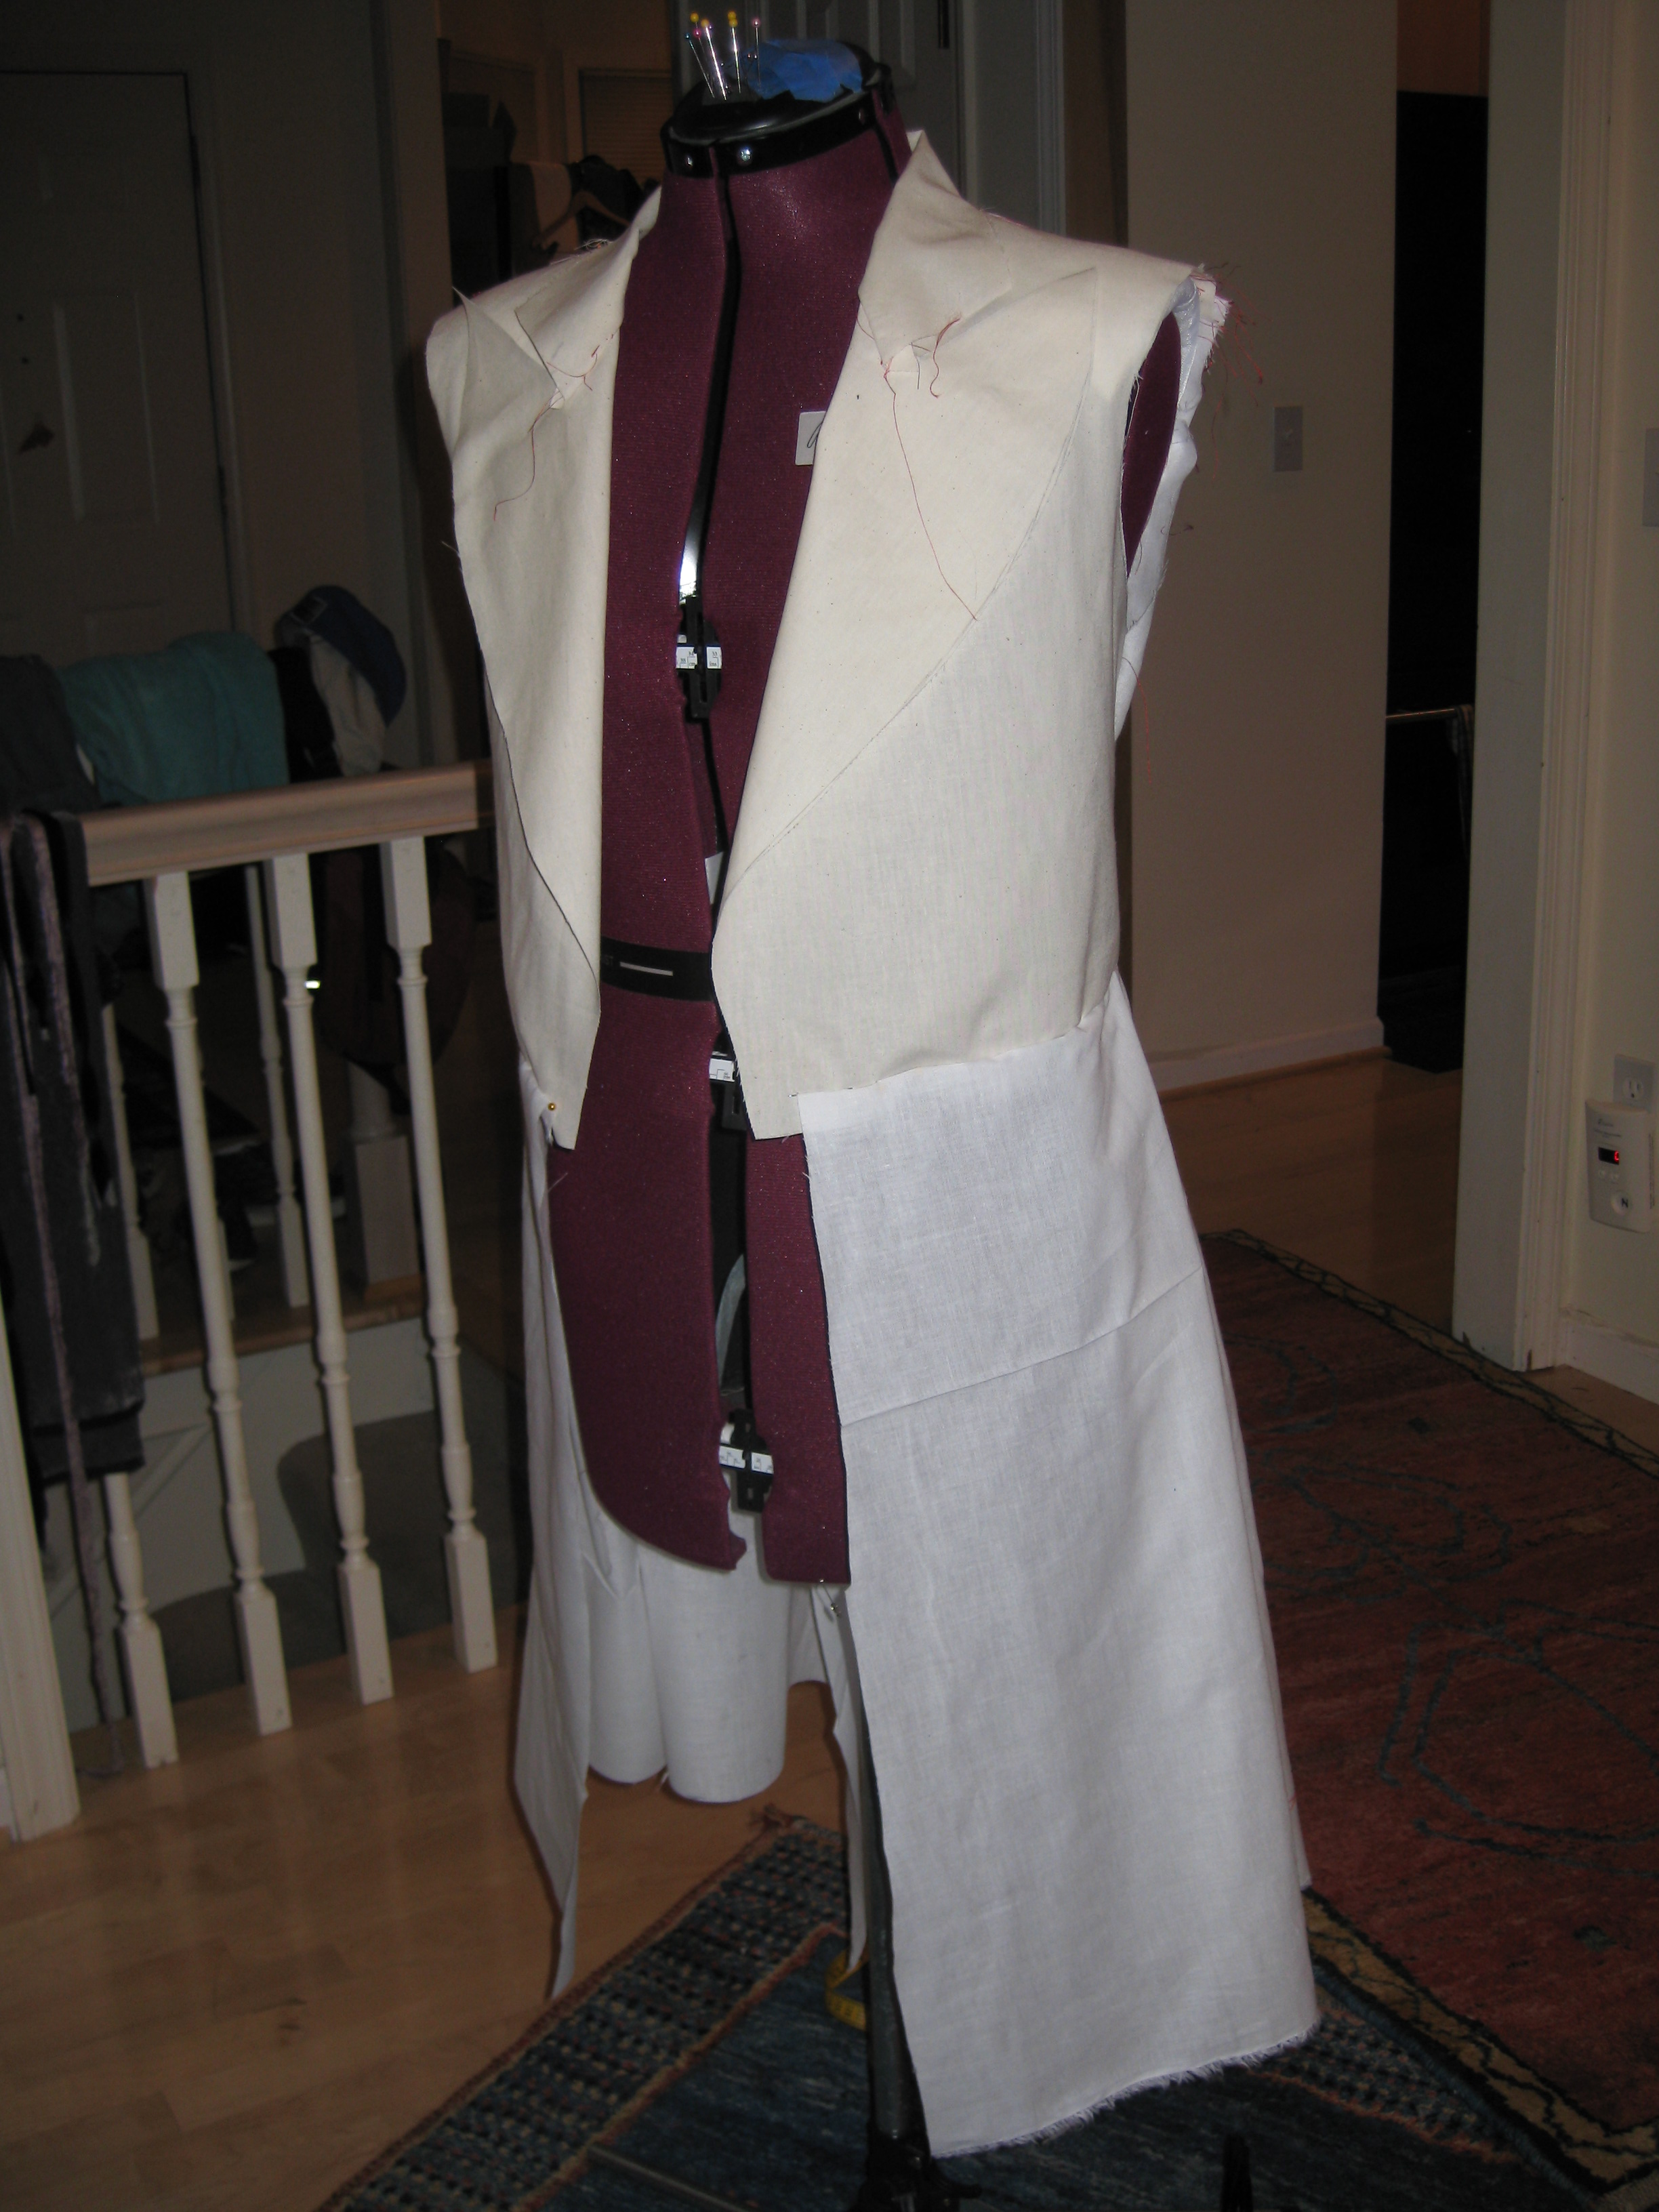
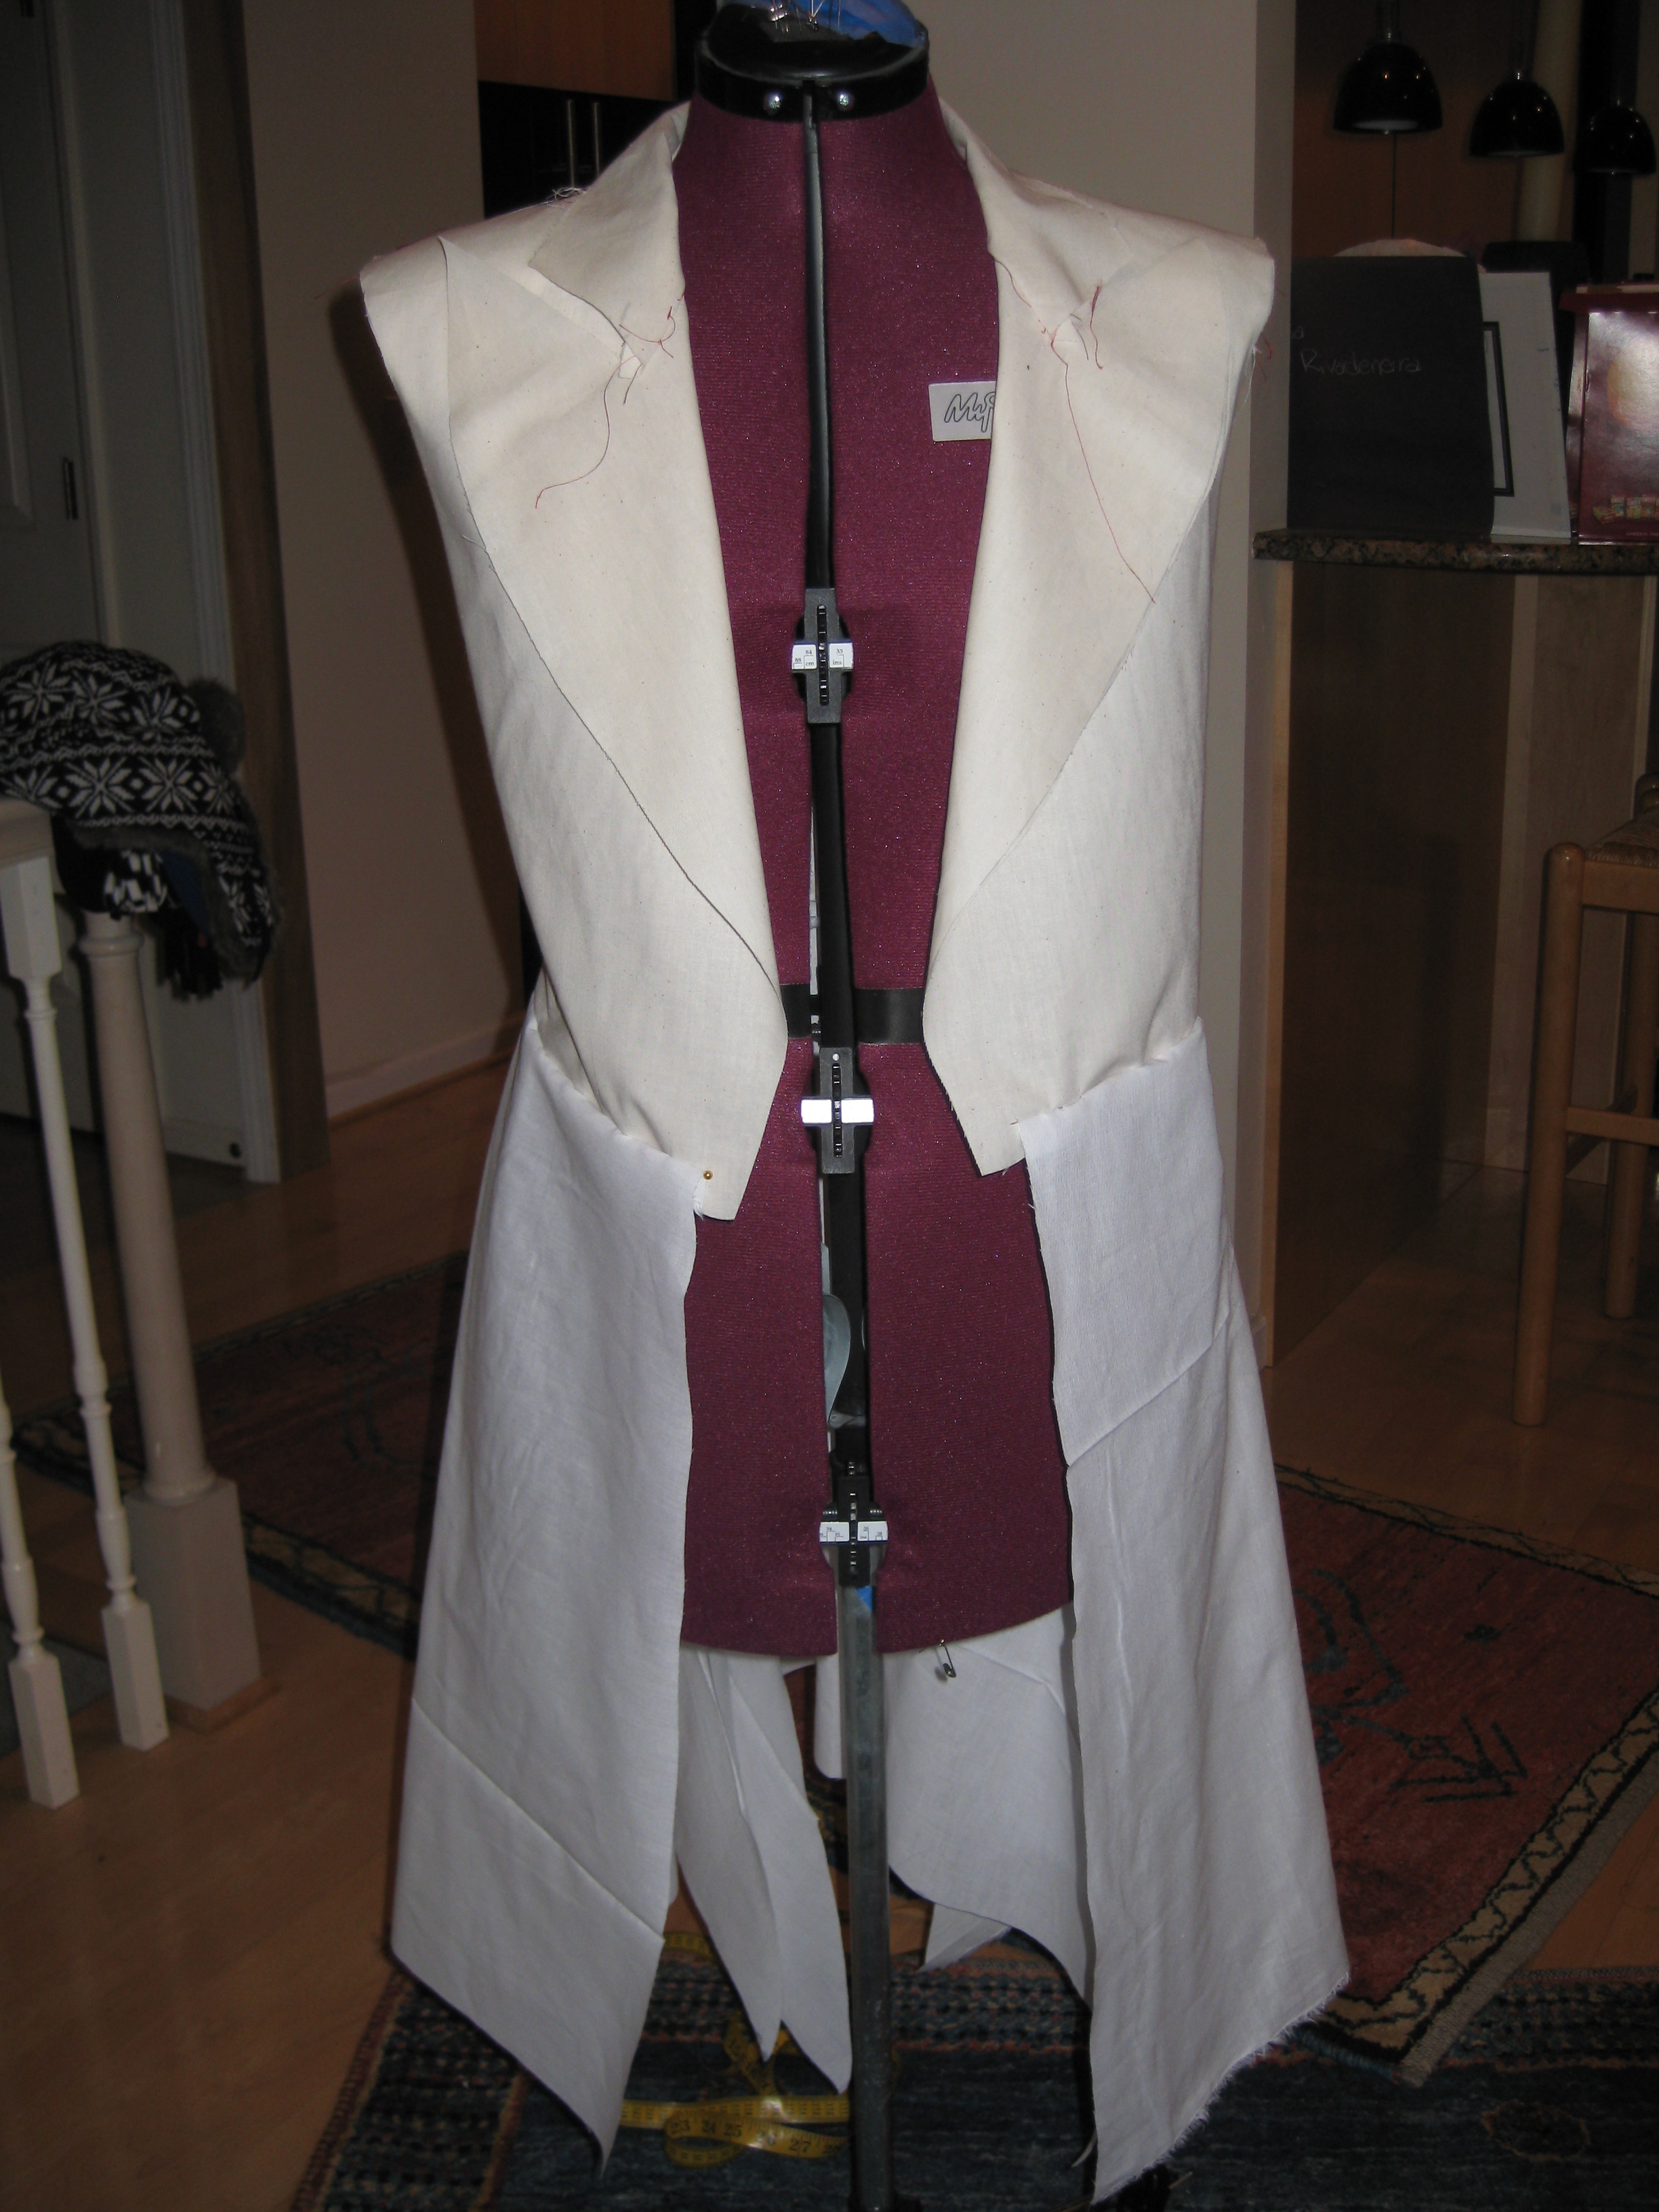
I began trying to figure out the shape of the lapels. It was not easy!
My first attempt... I saw where I went wrong when I sewed the parts together.
Five mocks later this is where I was...
July 28, 2010:
Next, I shaved off the excess, and this was my final result. I'm happy with them. They remind me of bat wings. There is more curve here than in the original, but this is a change I wanted.
Now, looking at the hat on in these photos I got concerned, wondering if it was just too big. But... I thought things would change with a coat... So I tried that...
July 28, 2010, later...
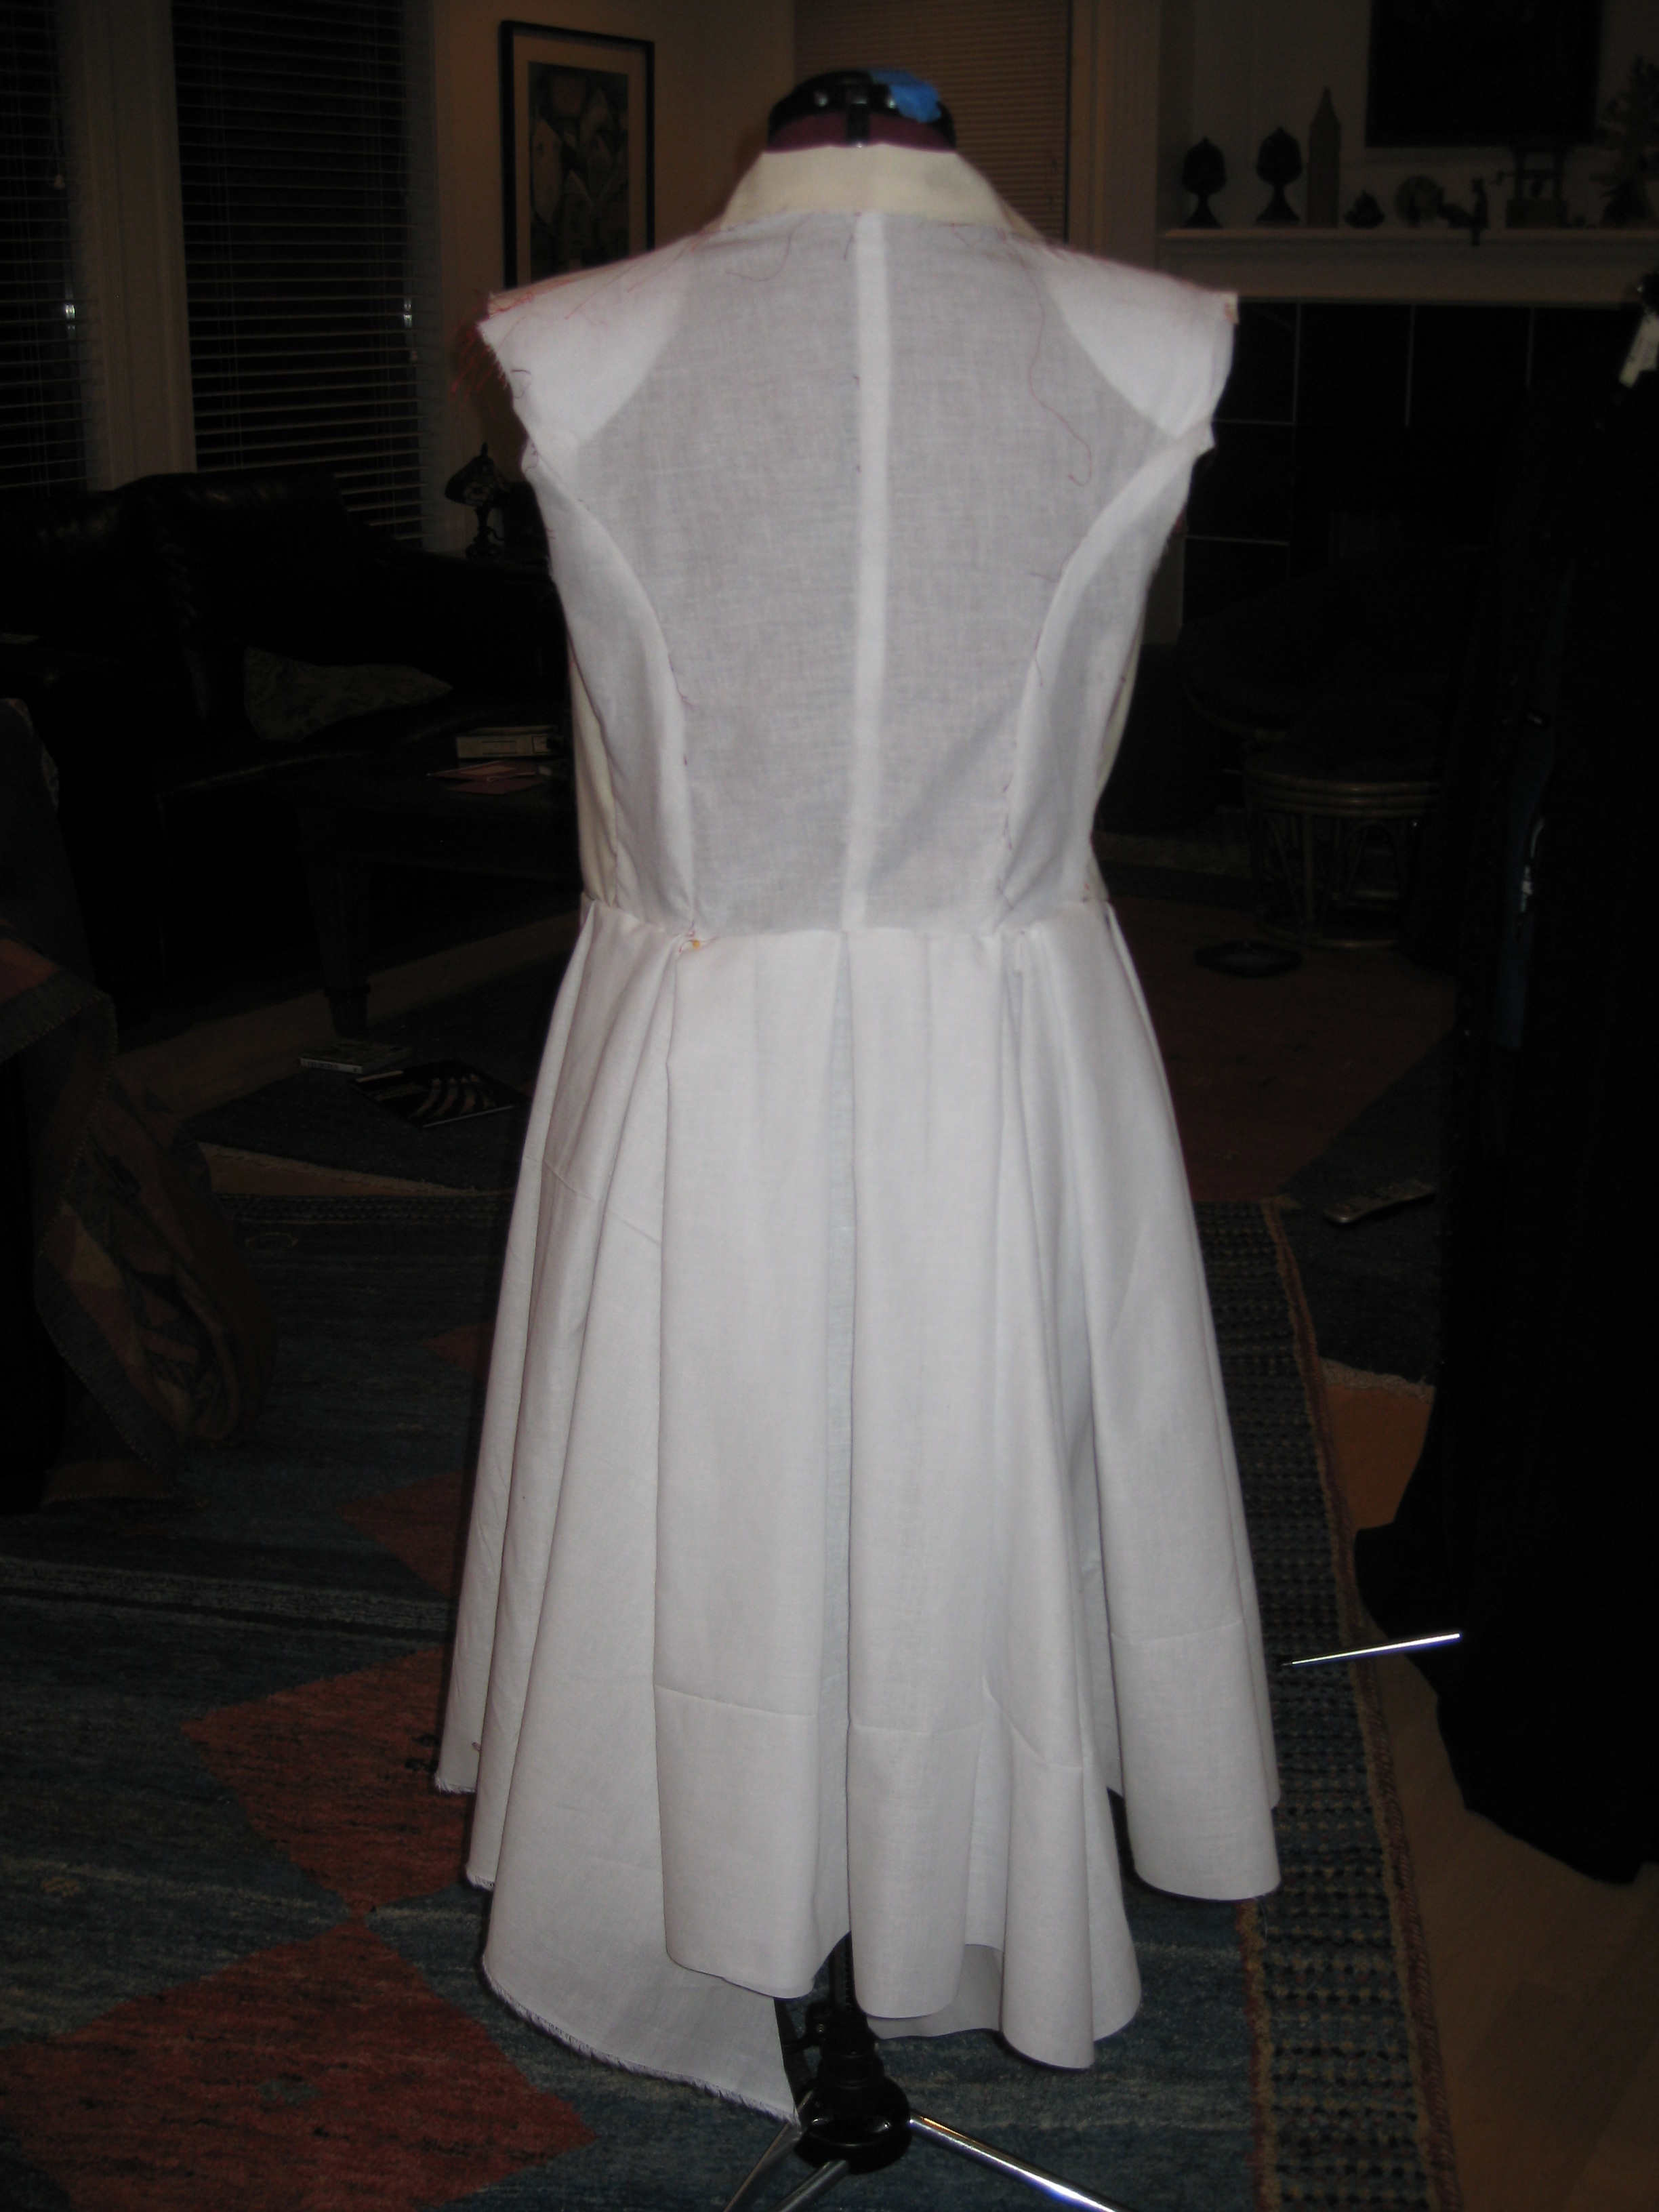
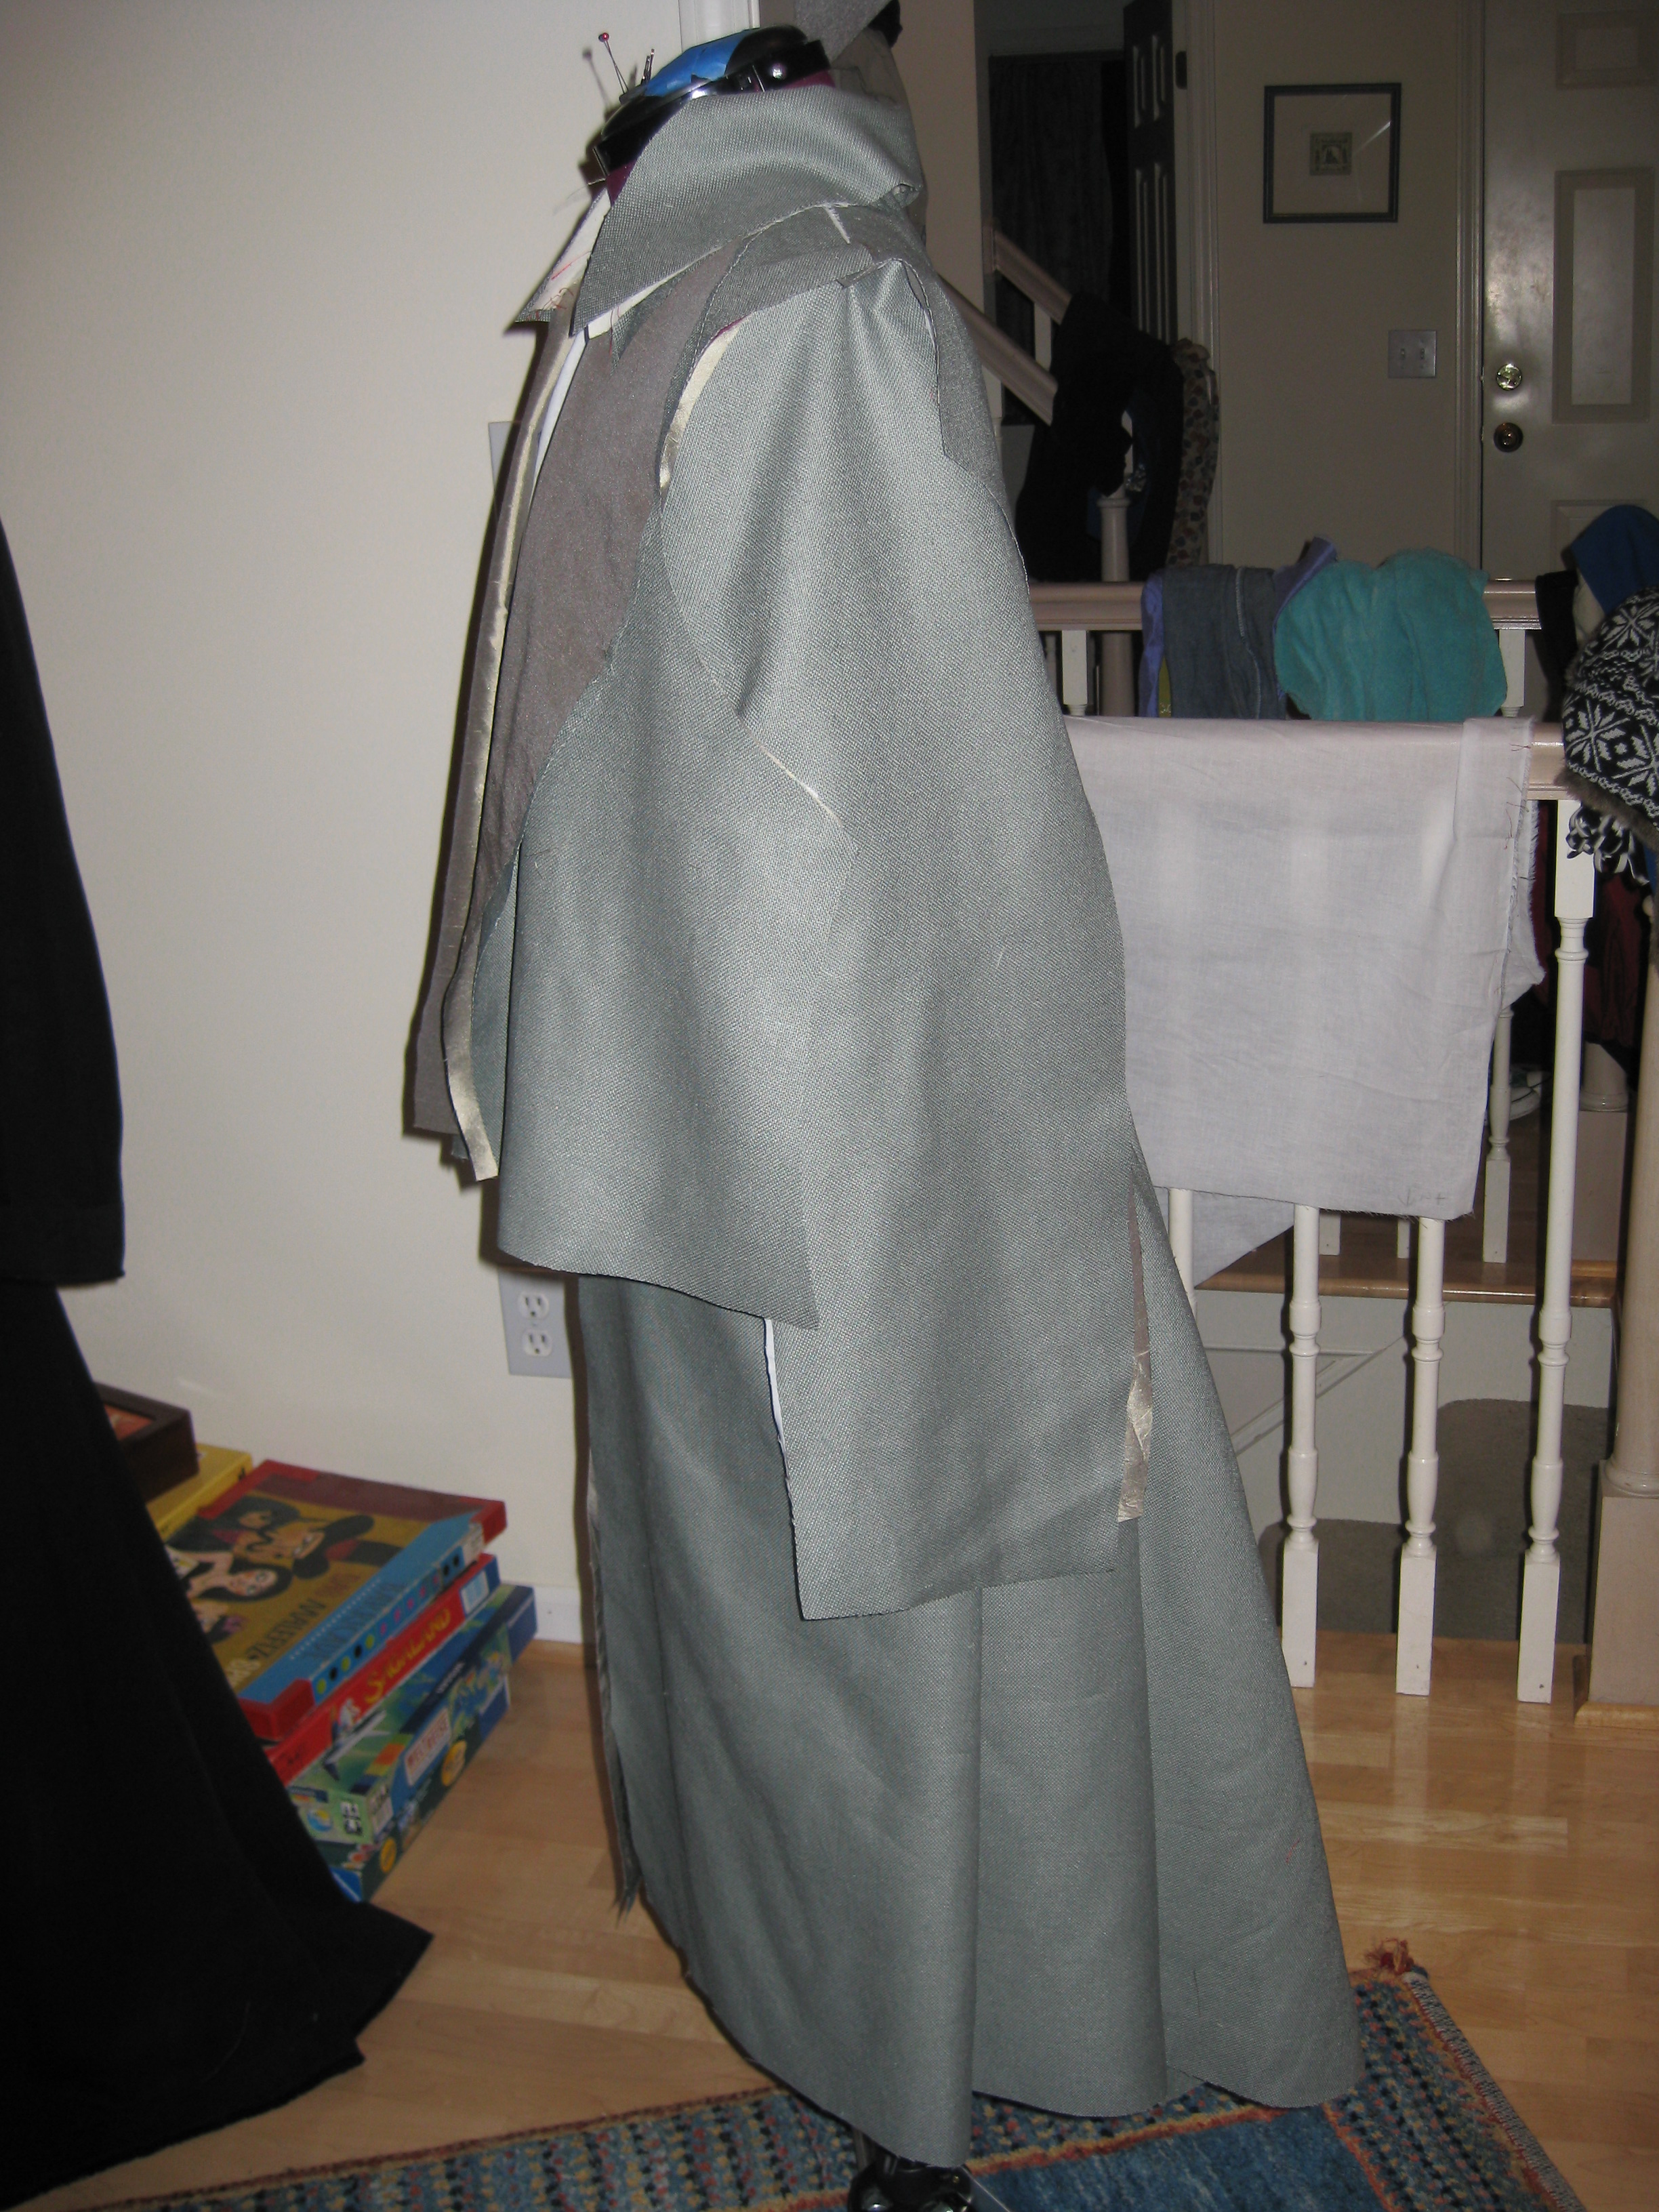
I'm using the pattern I drafted based on the NYC Cassock... but I recut, keeping the same length I had at the bottom hem, but bringing the hem up to drop just 24 inches. I like full skirts.
These are just pinned, as I'm not tired yet. I also slipped the shoulder pads in, and like how they look.
July 28, 2010:
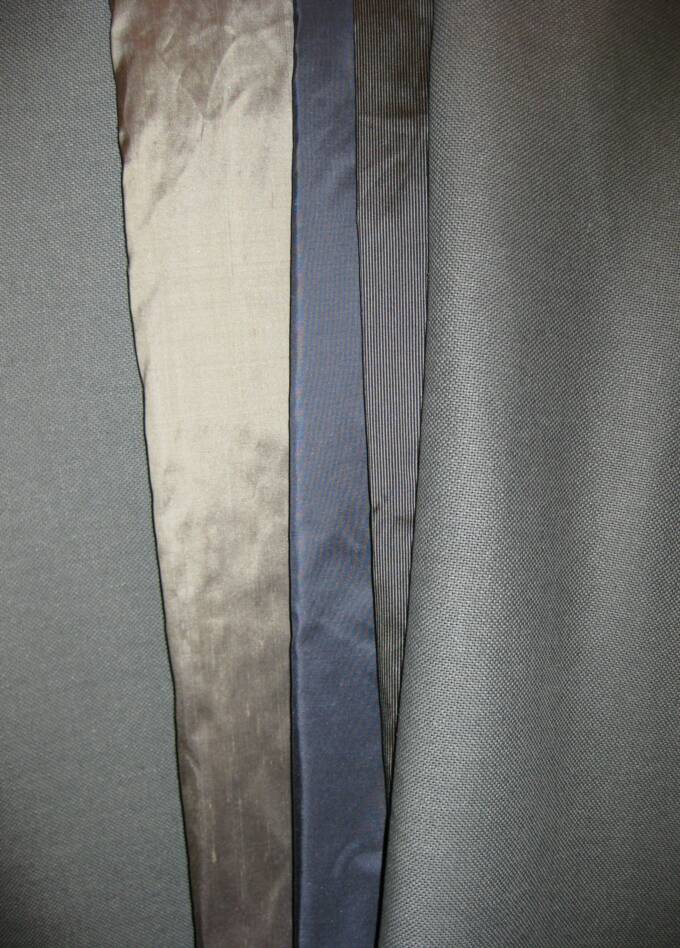
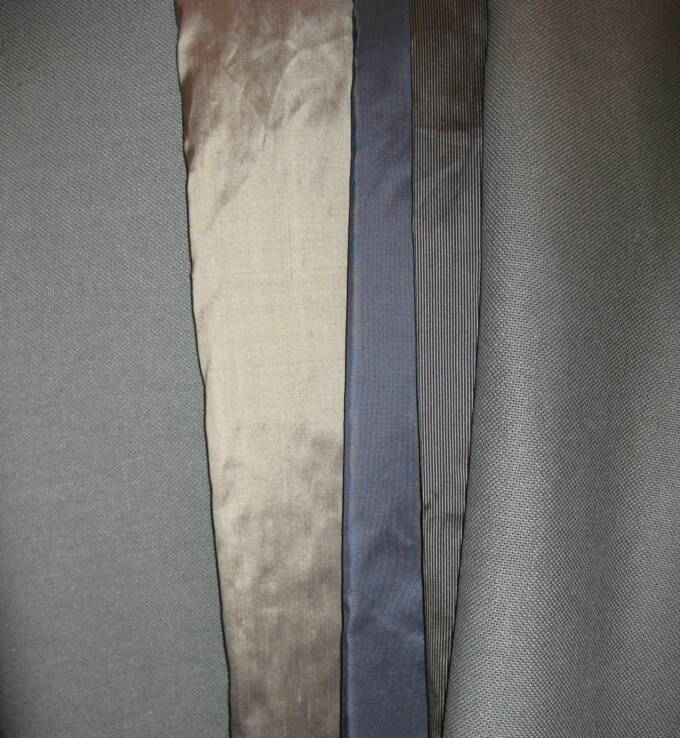
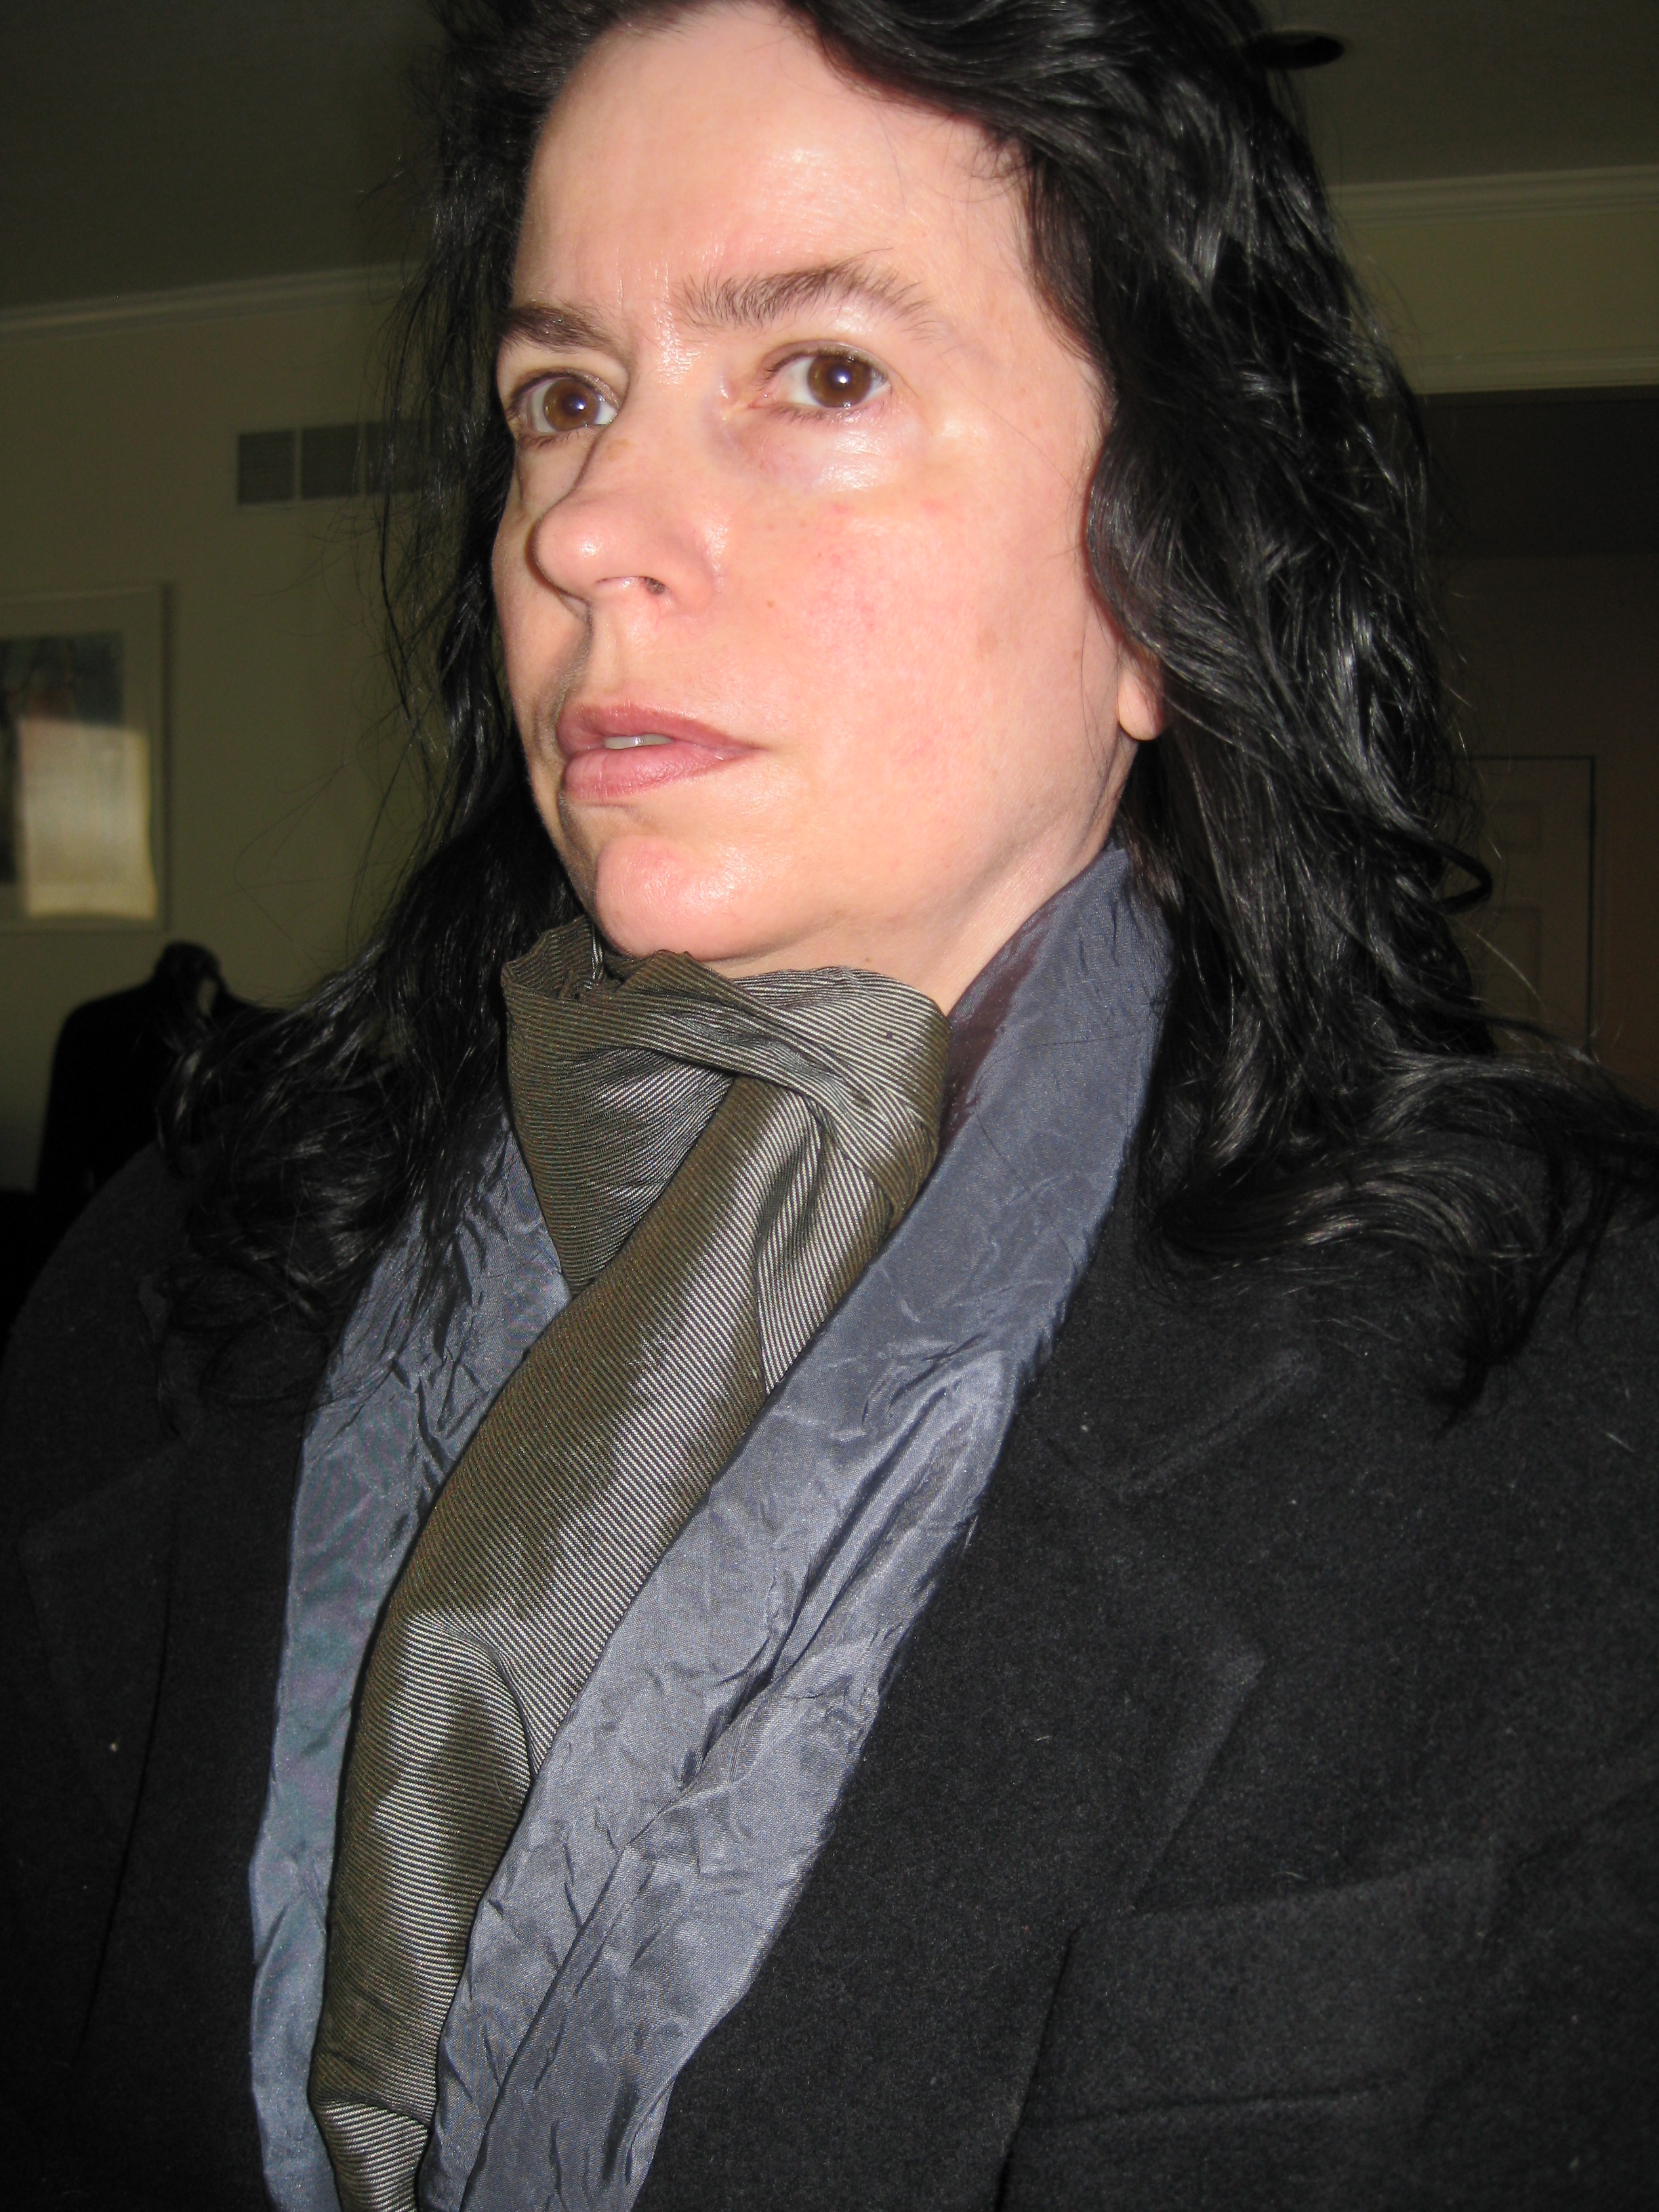
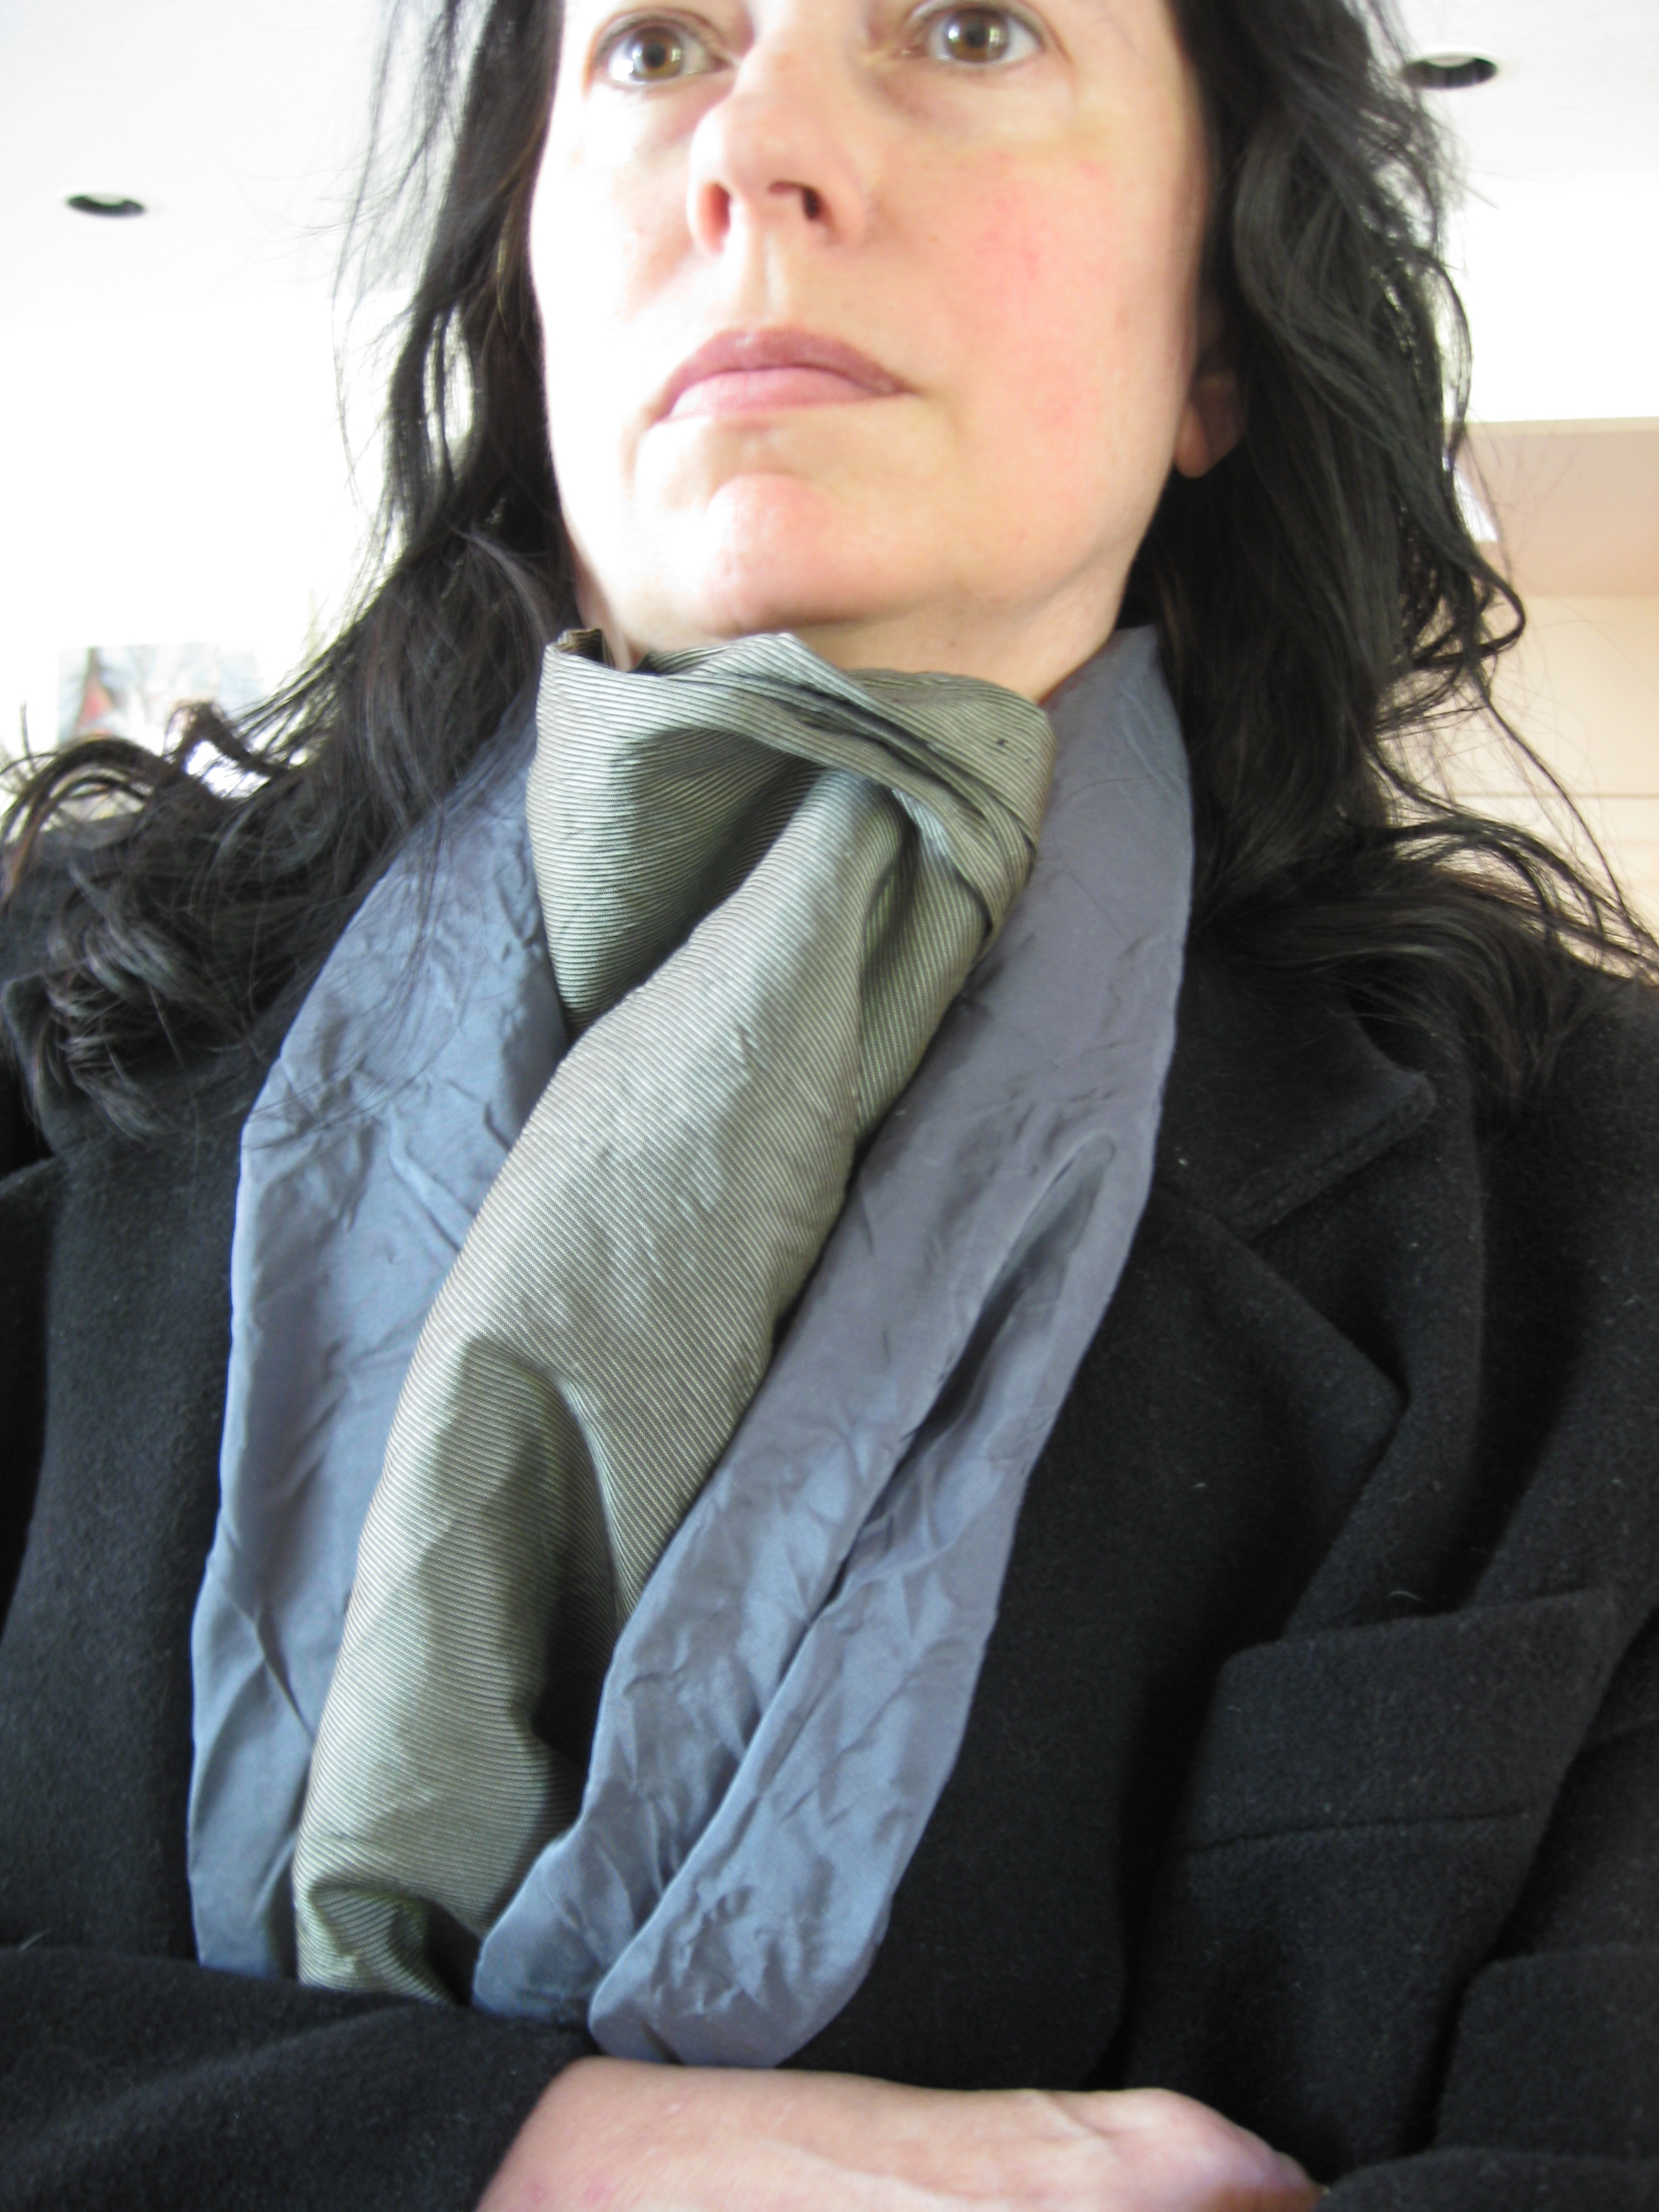
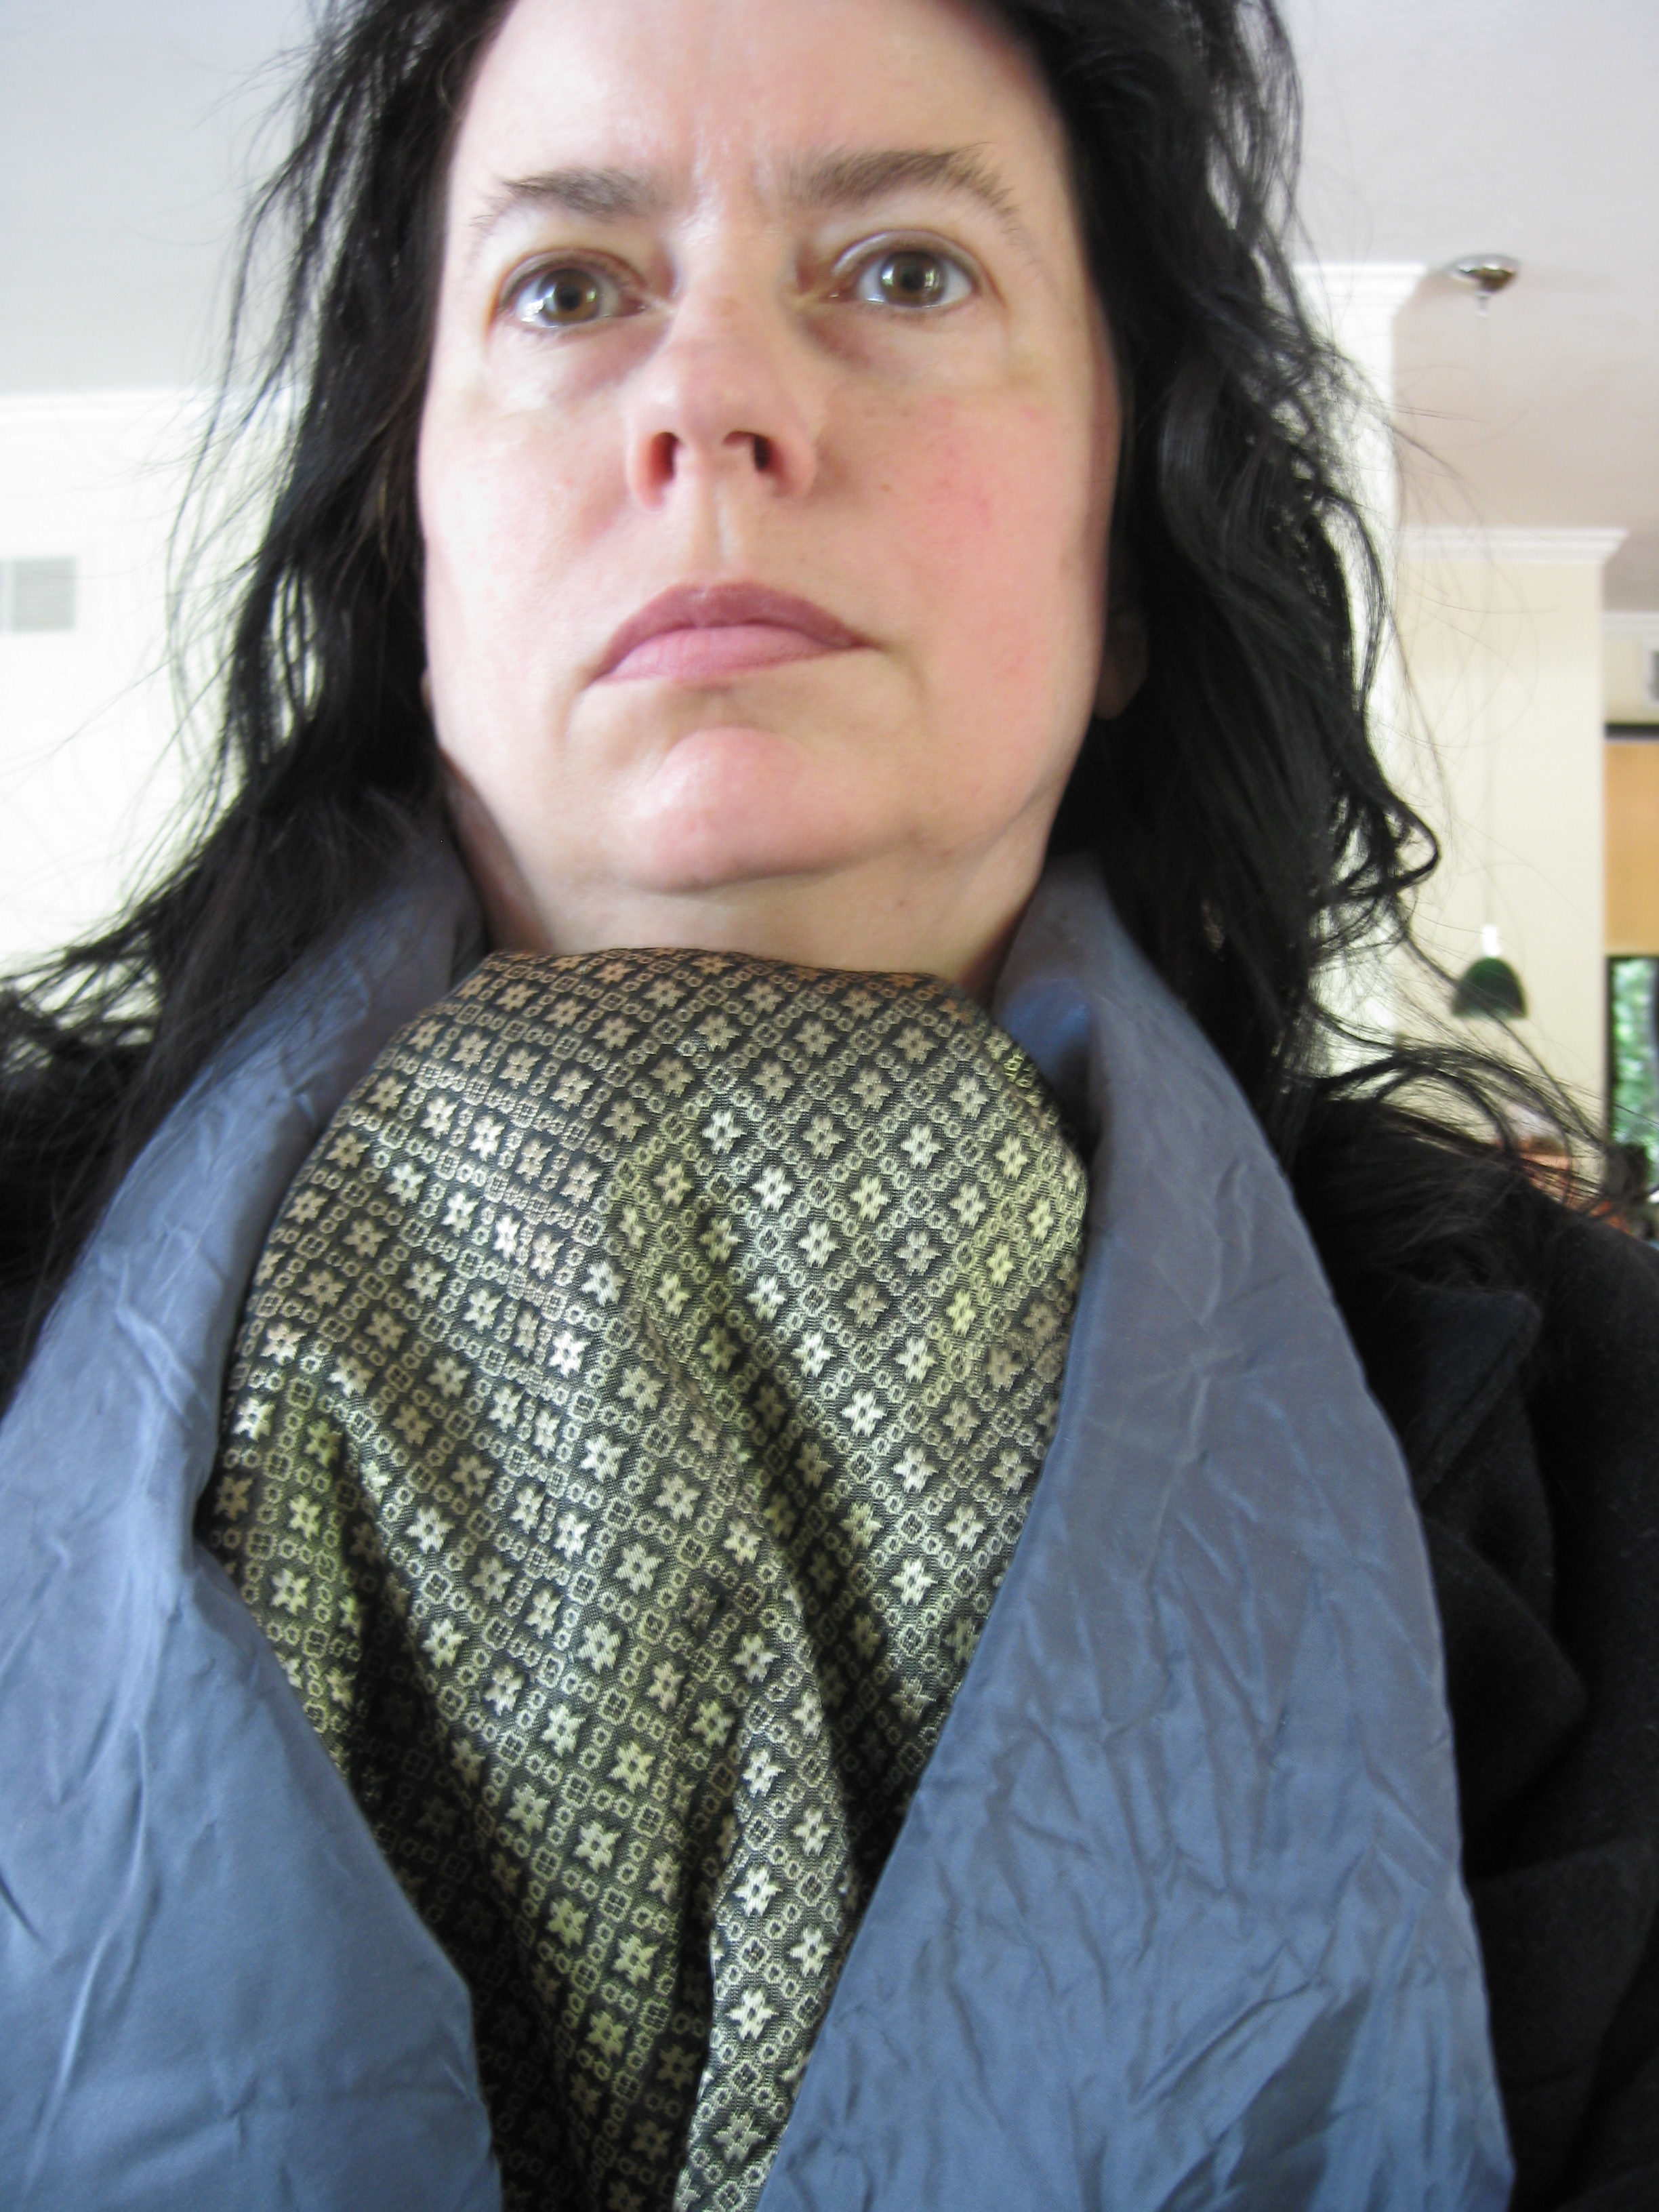
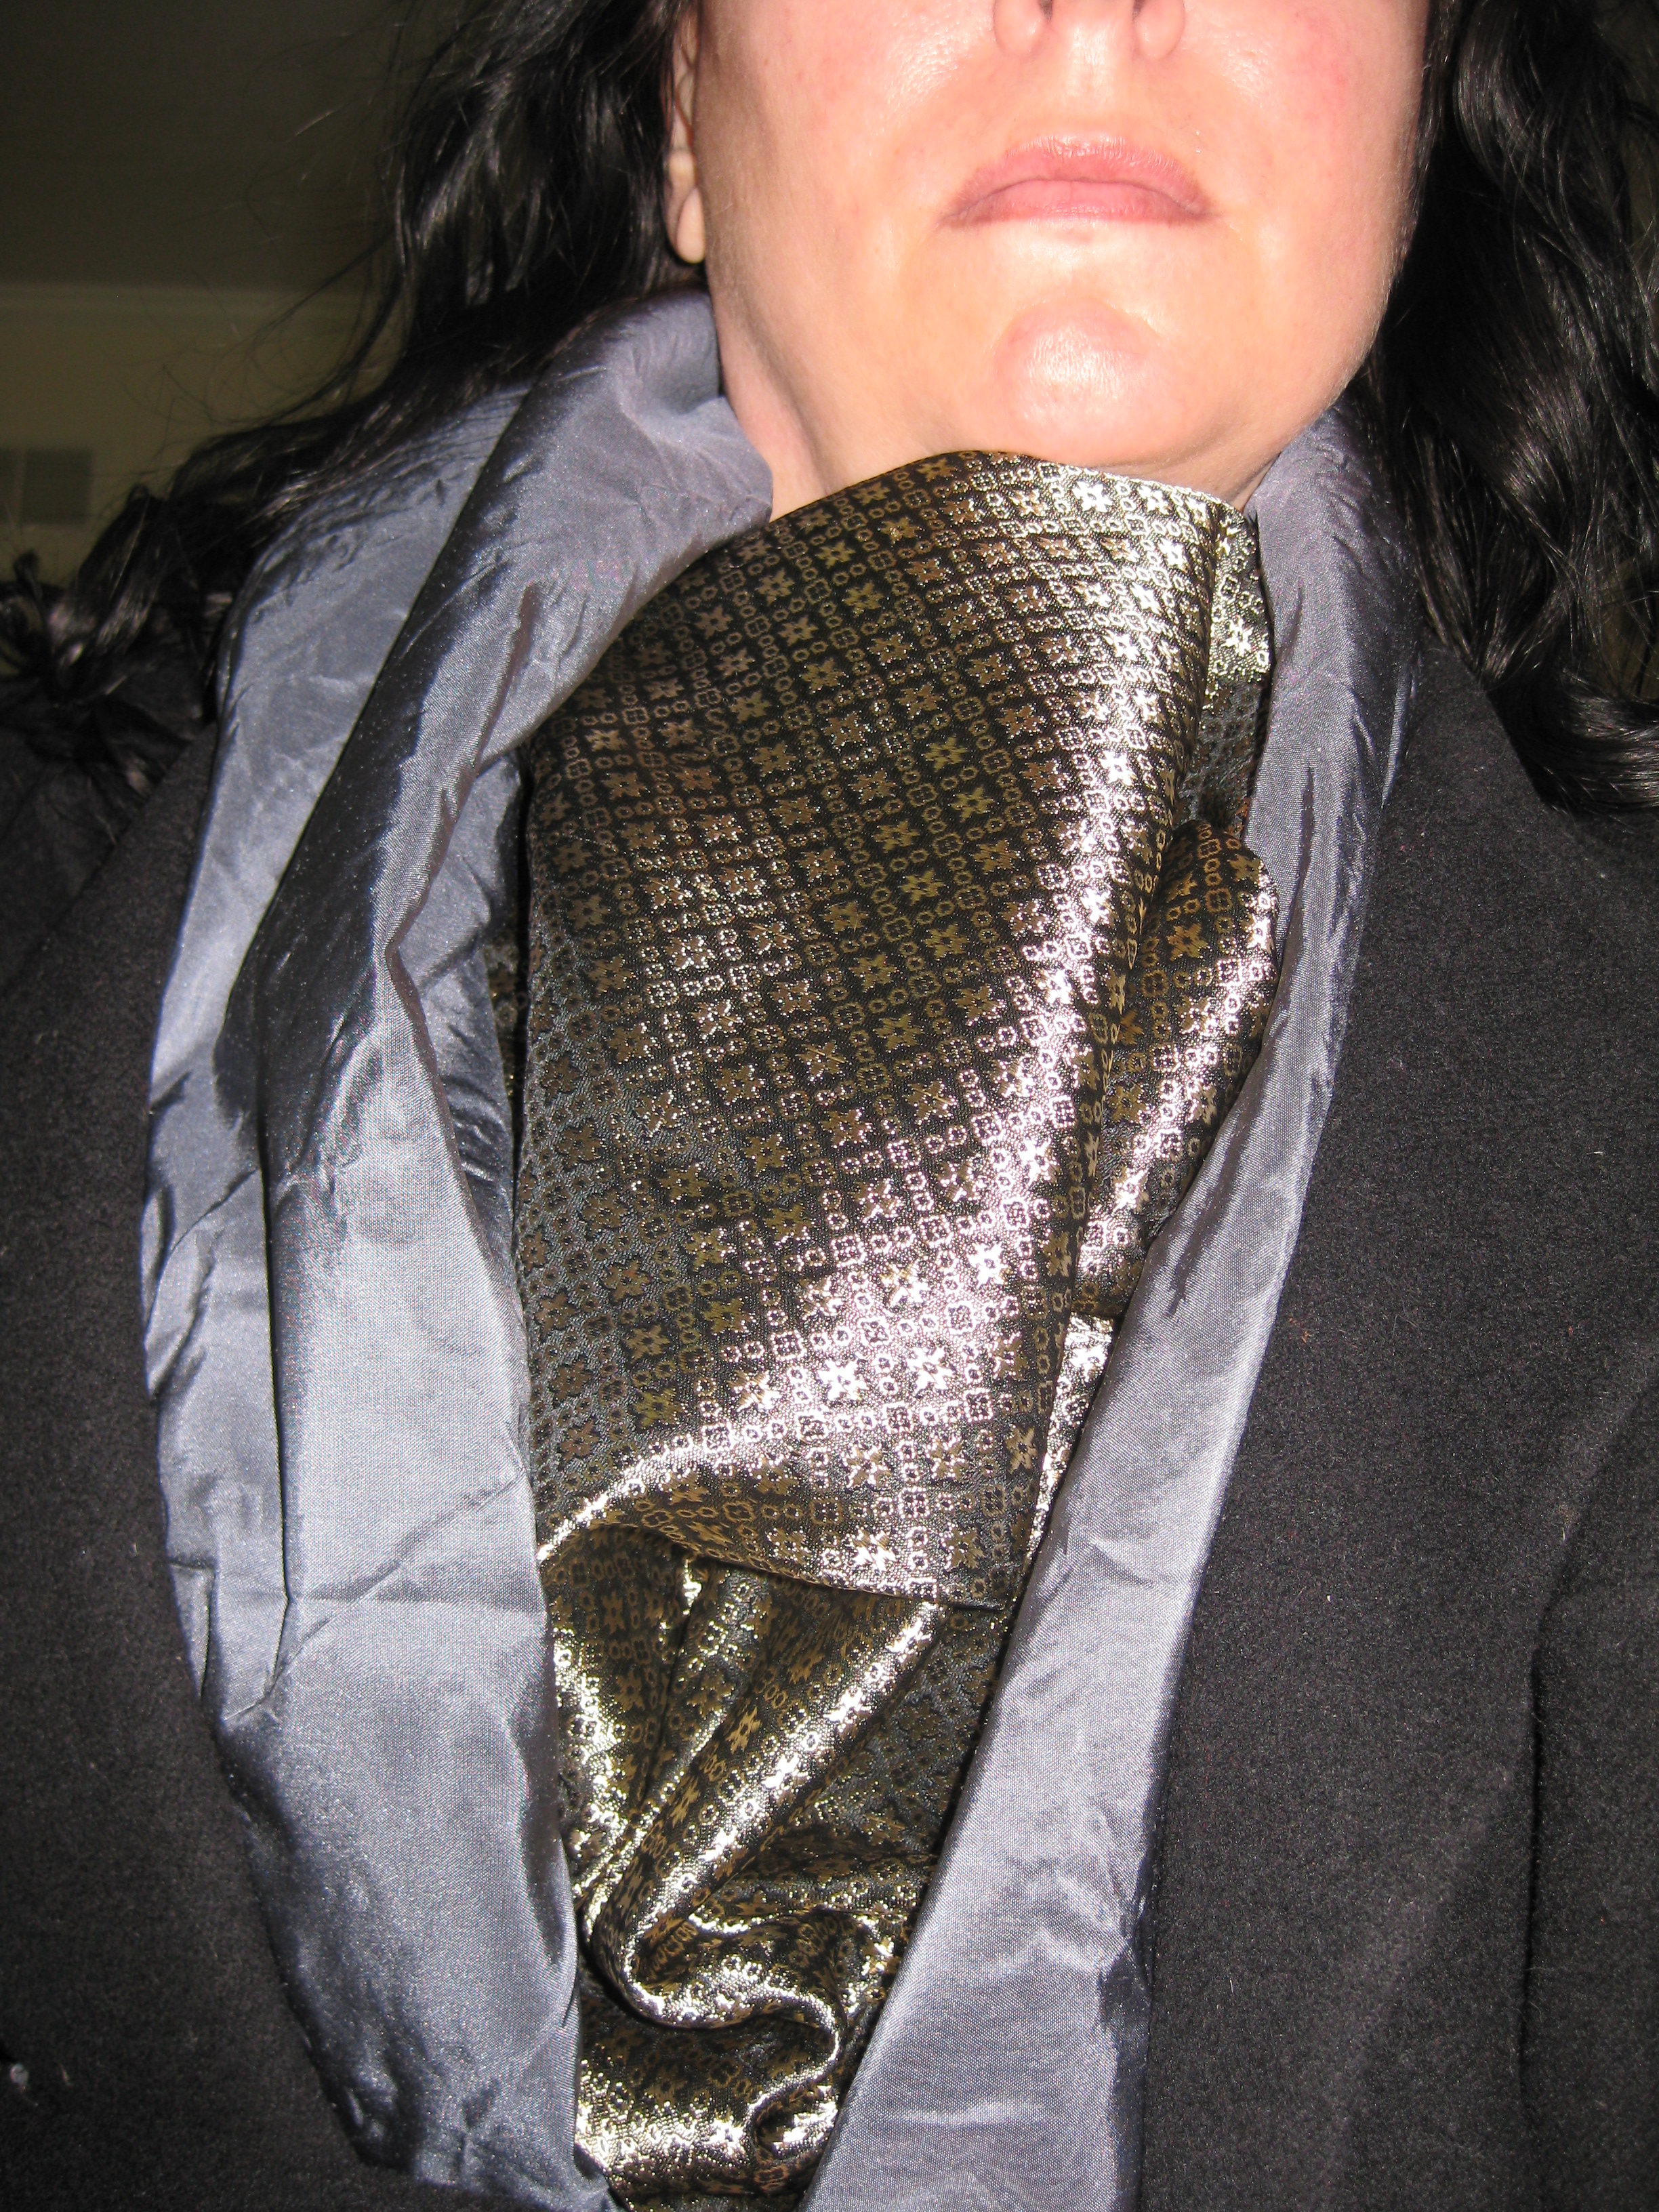
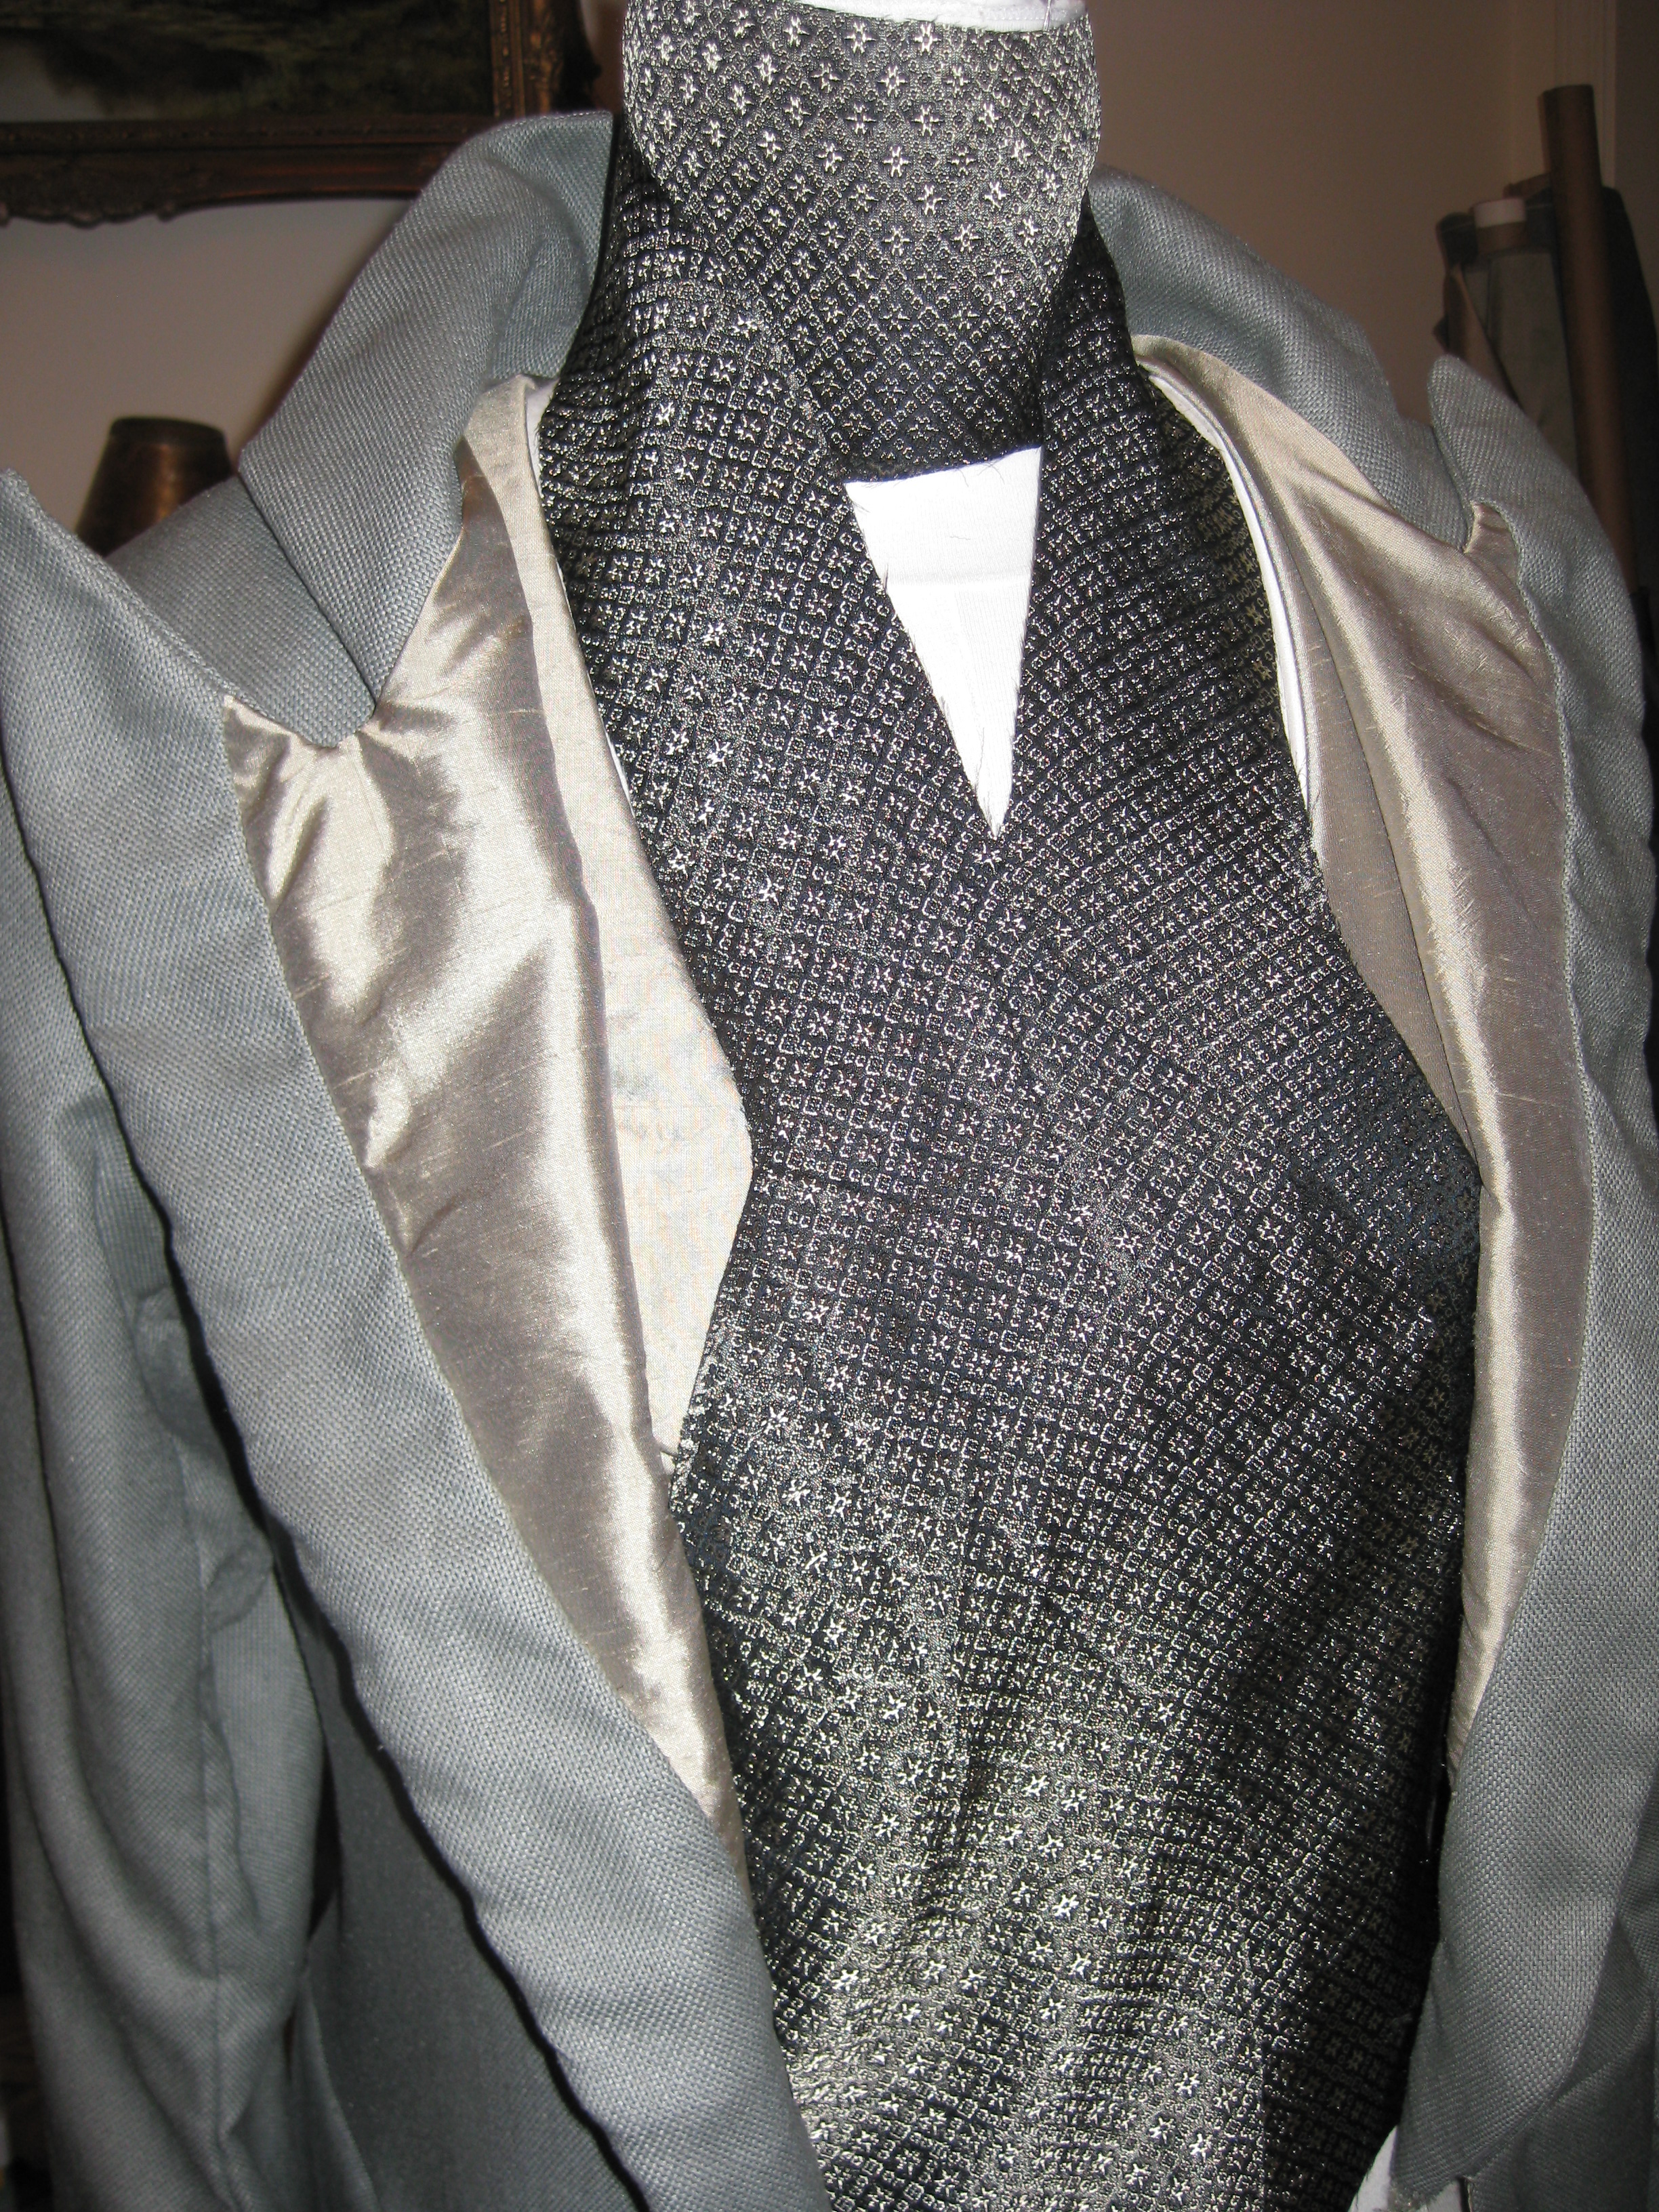
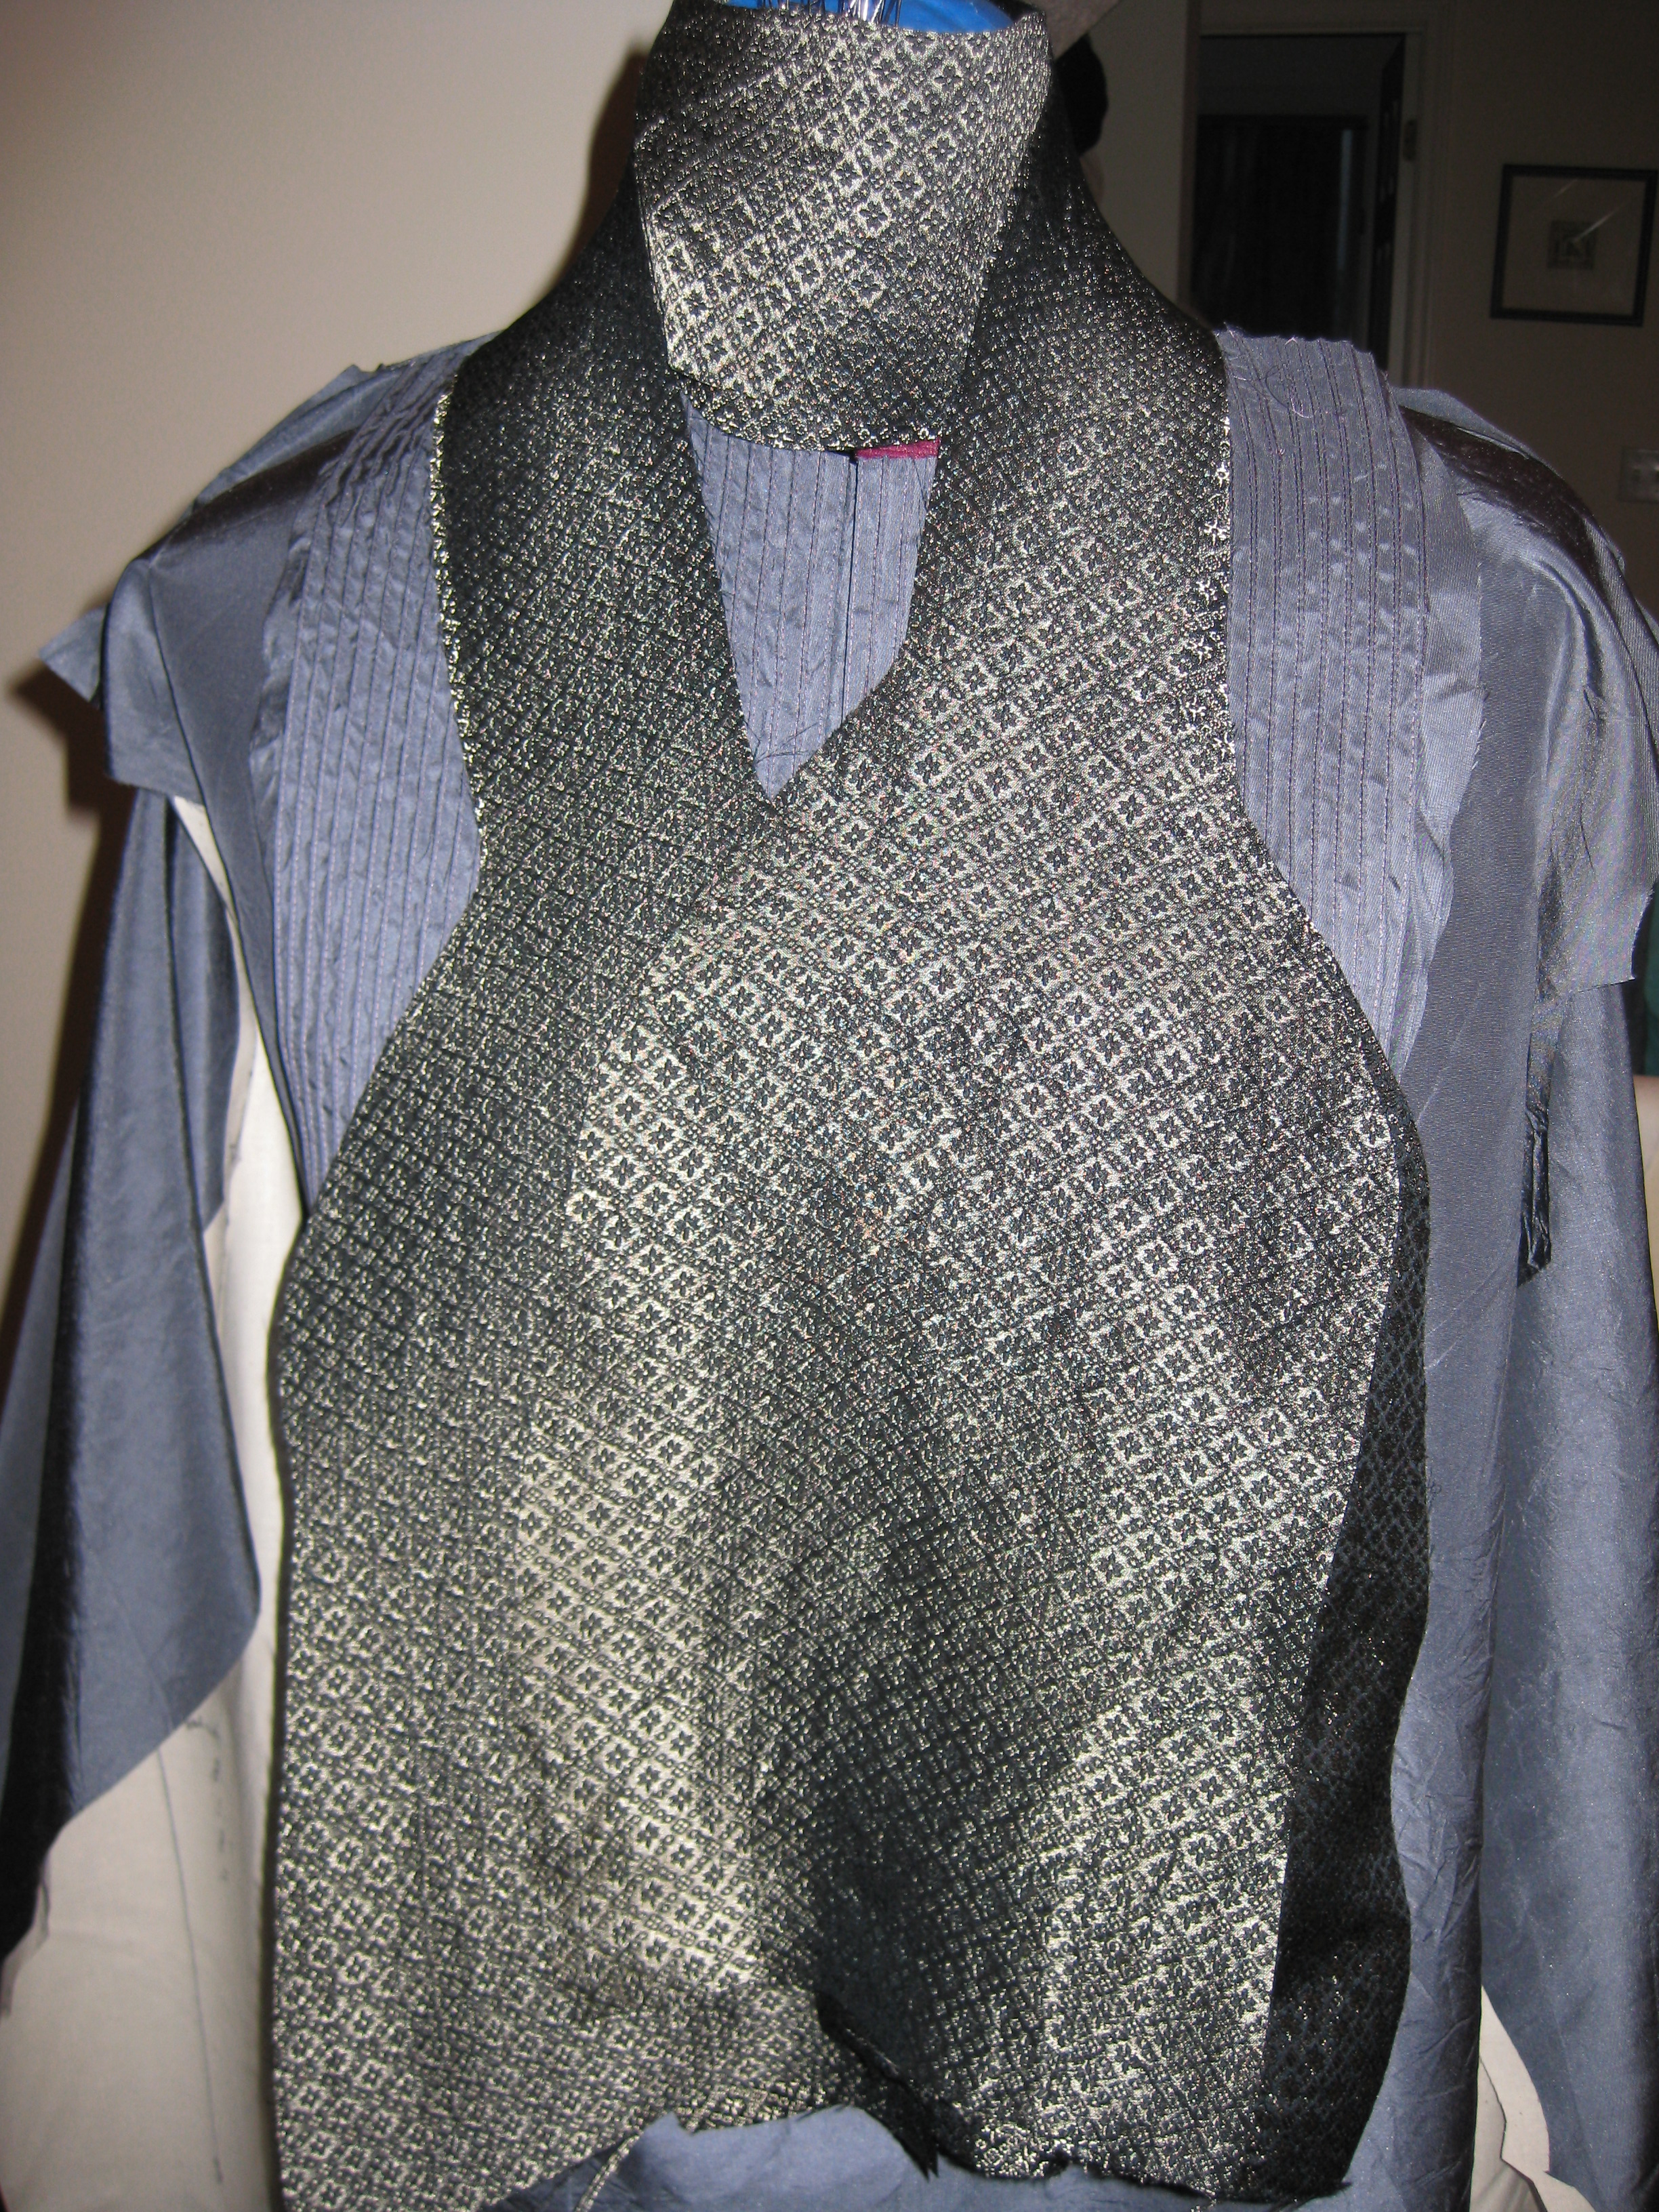
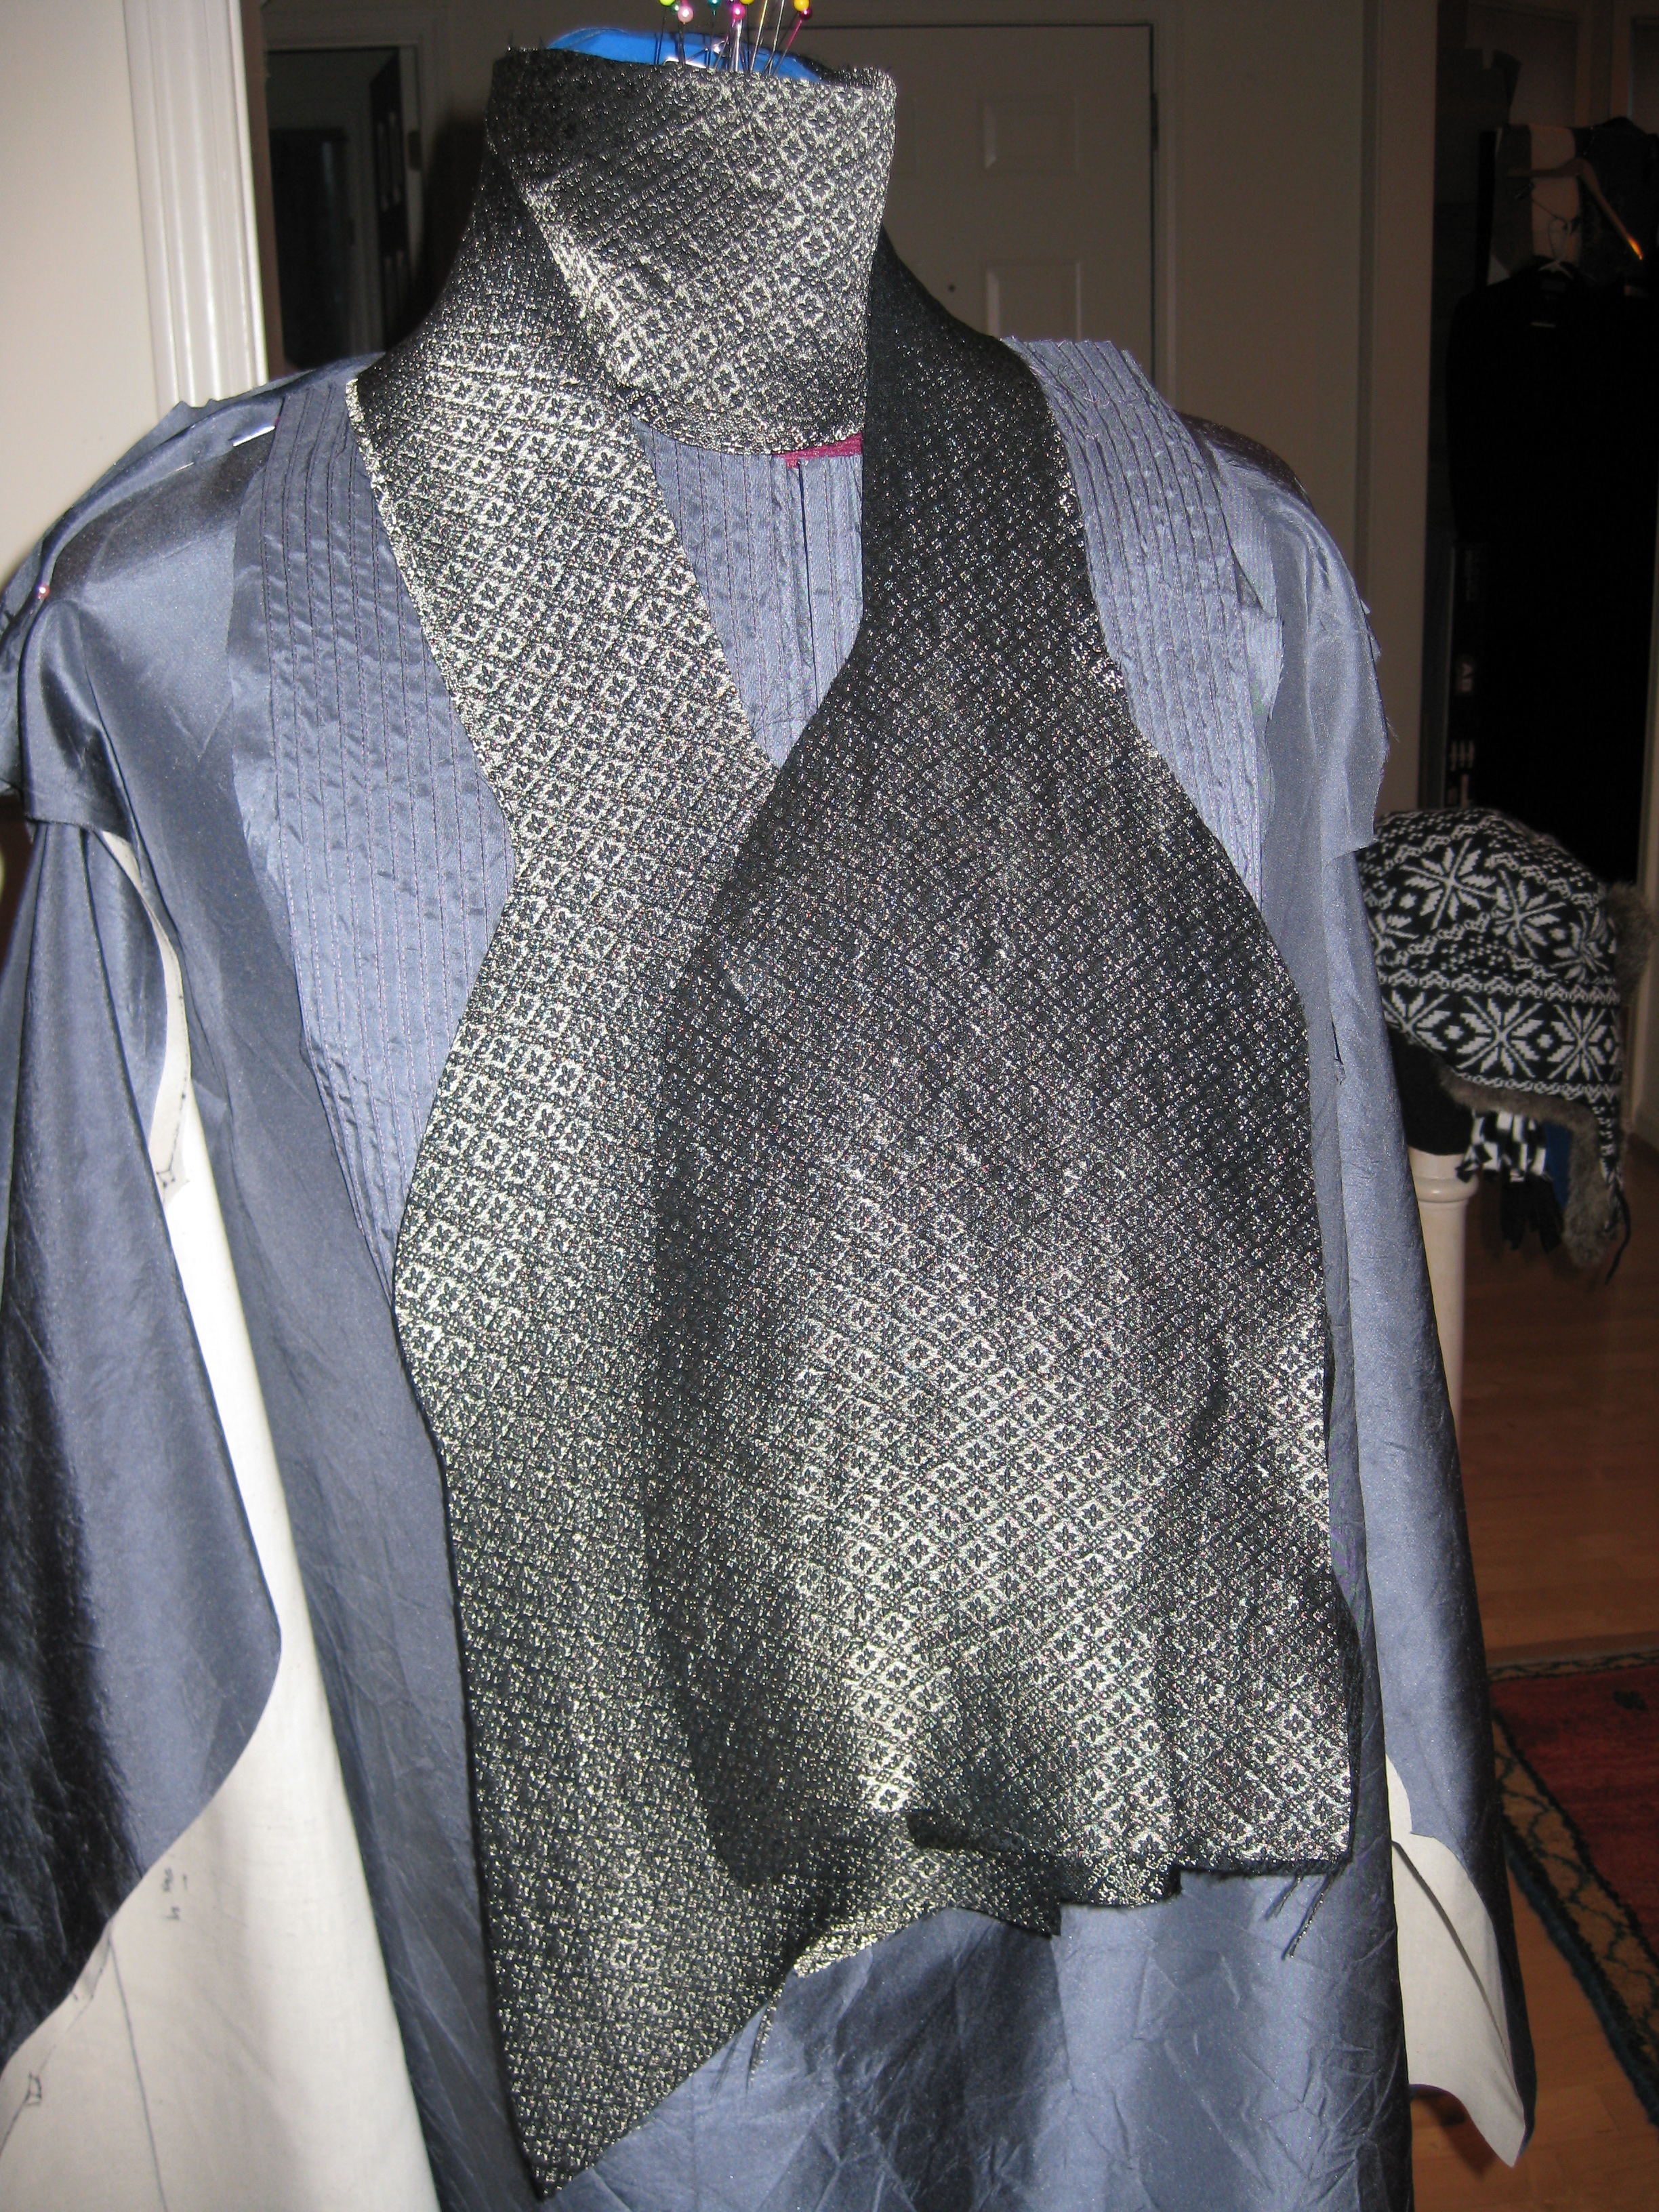
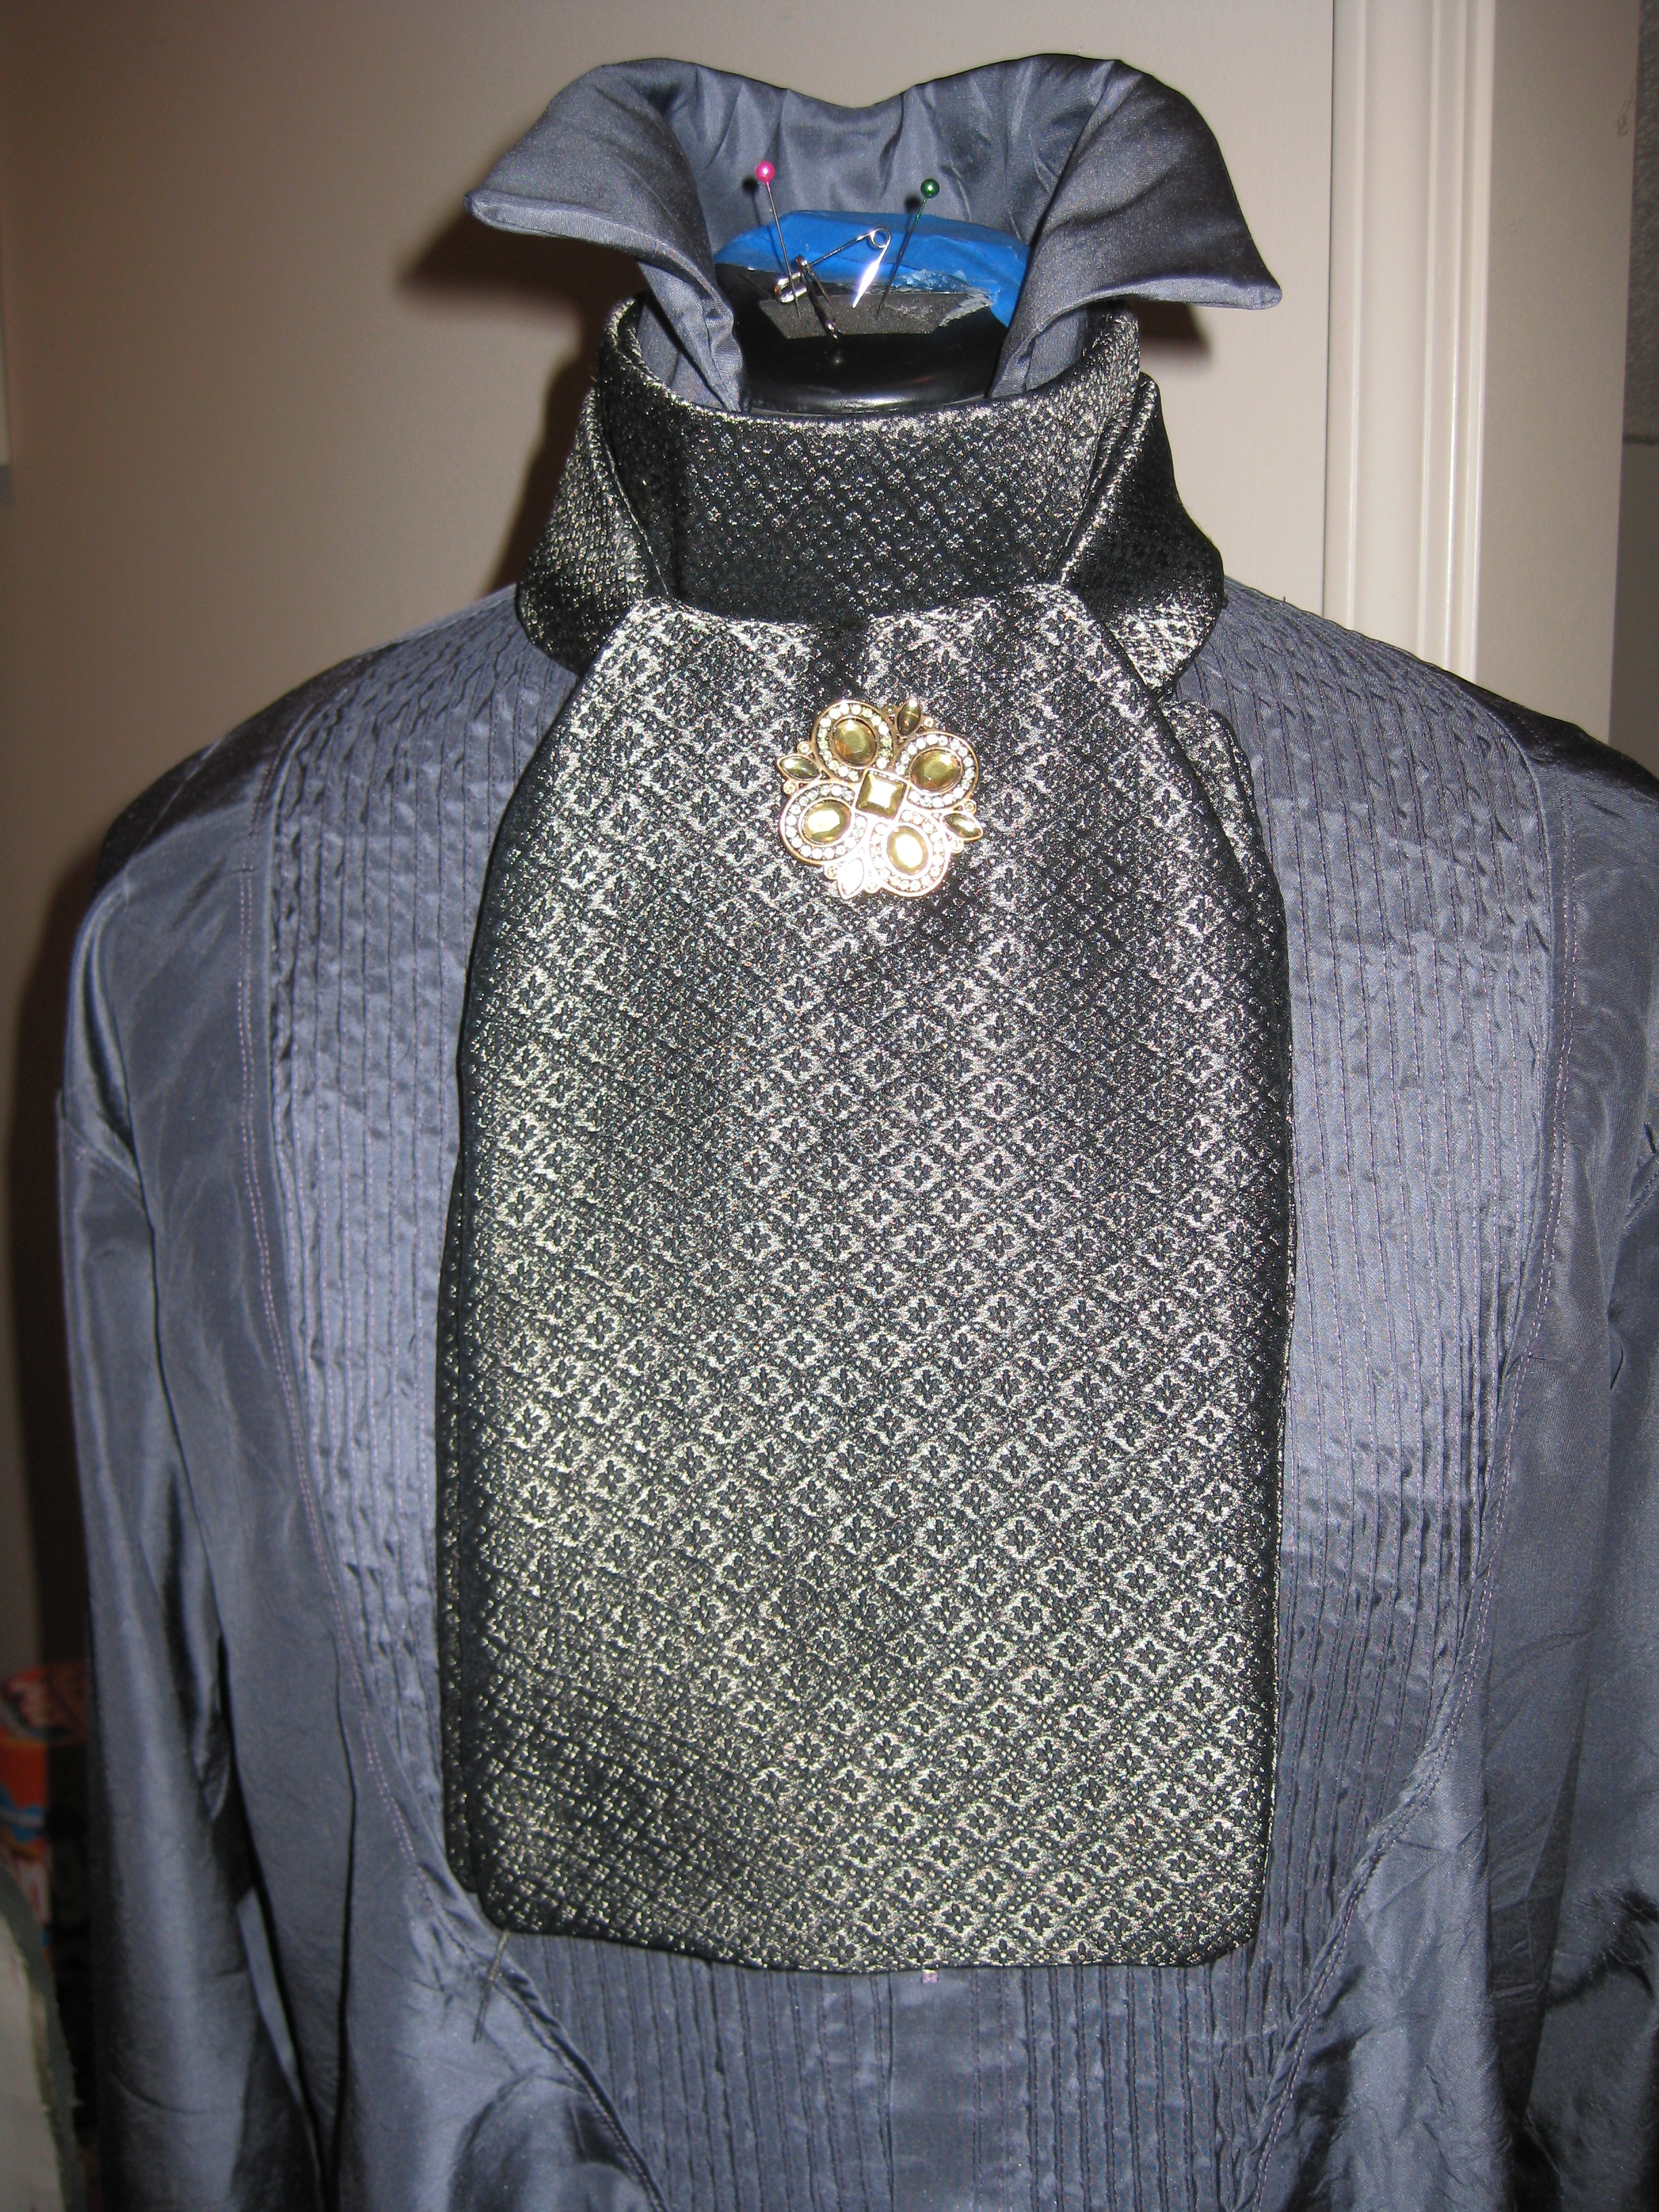
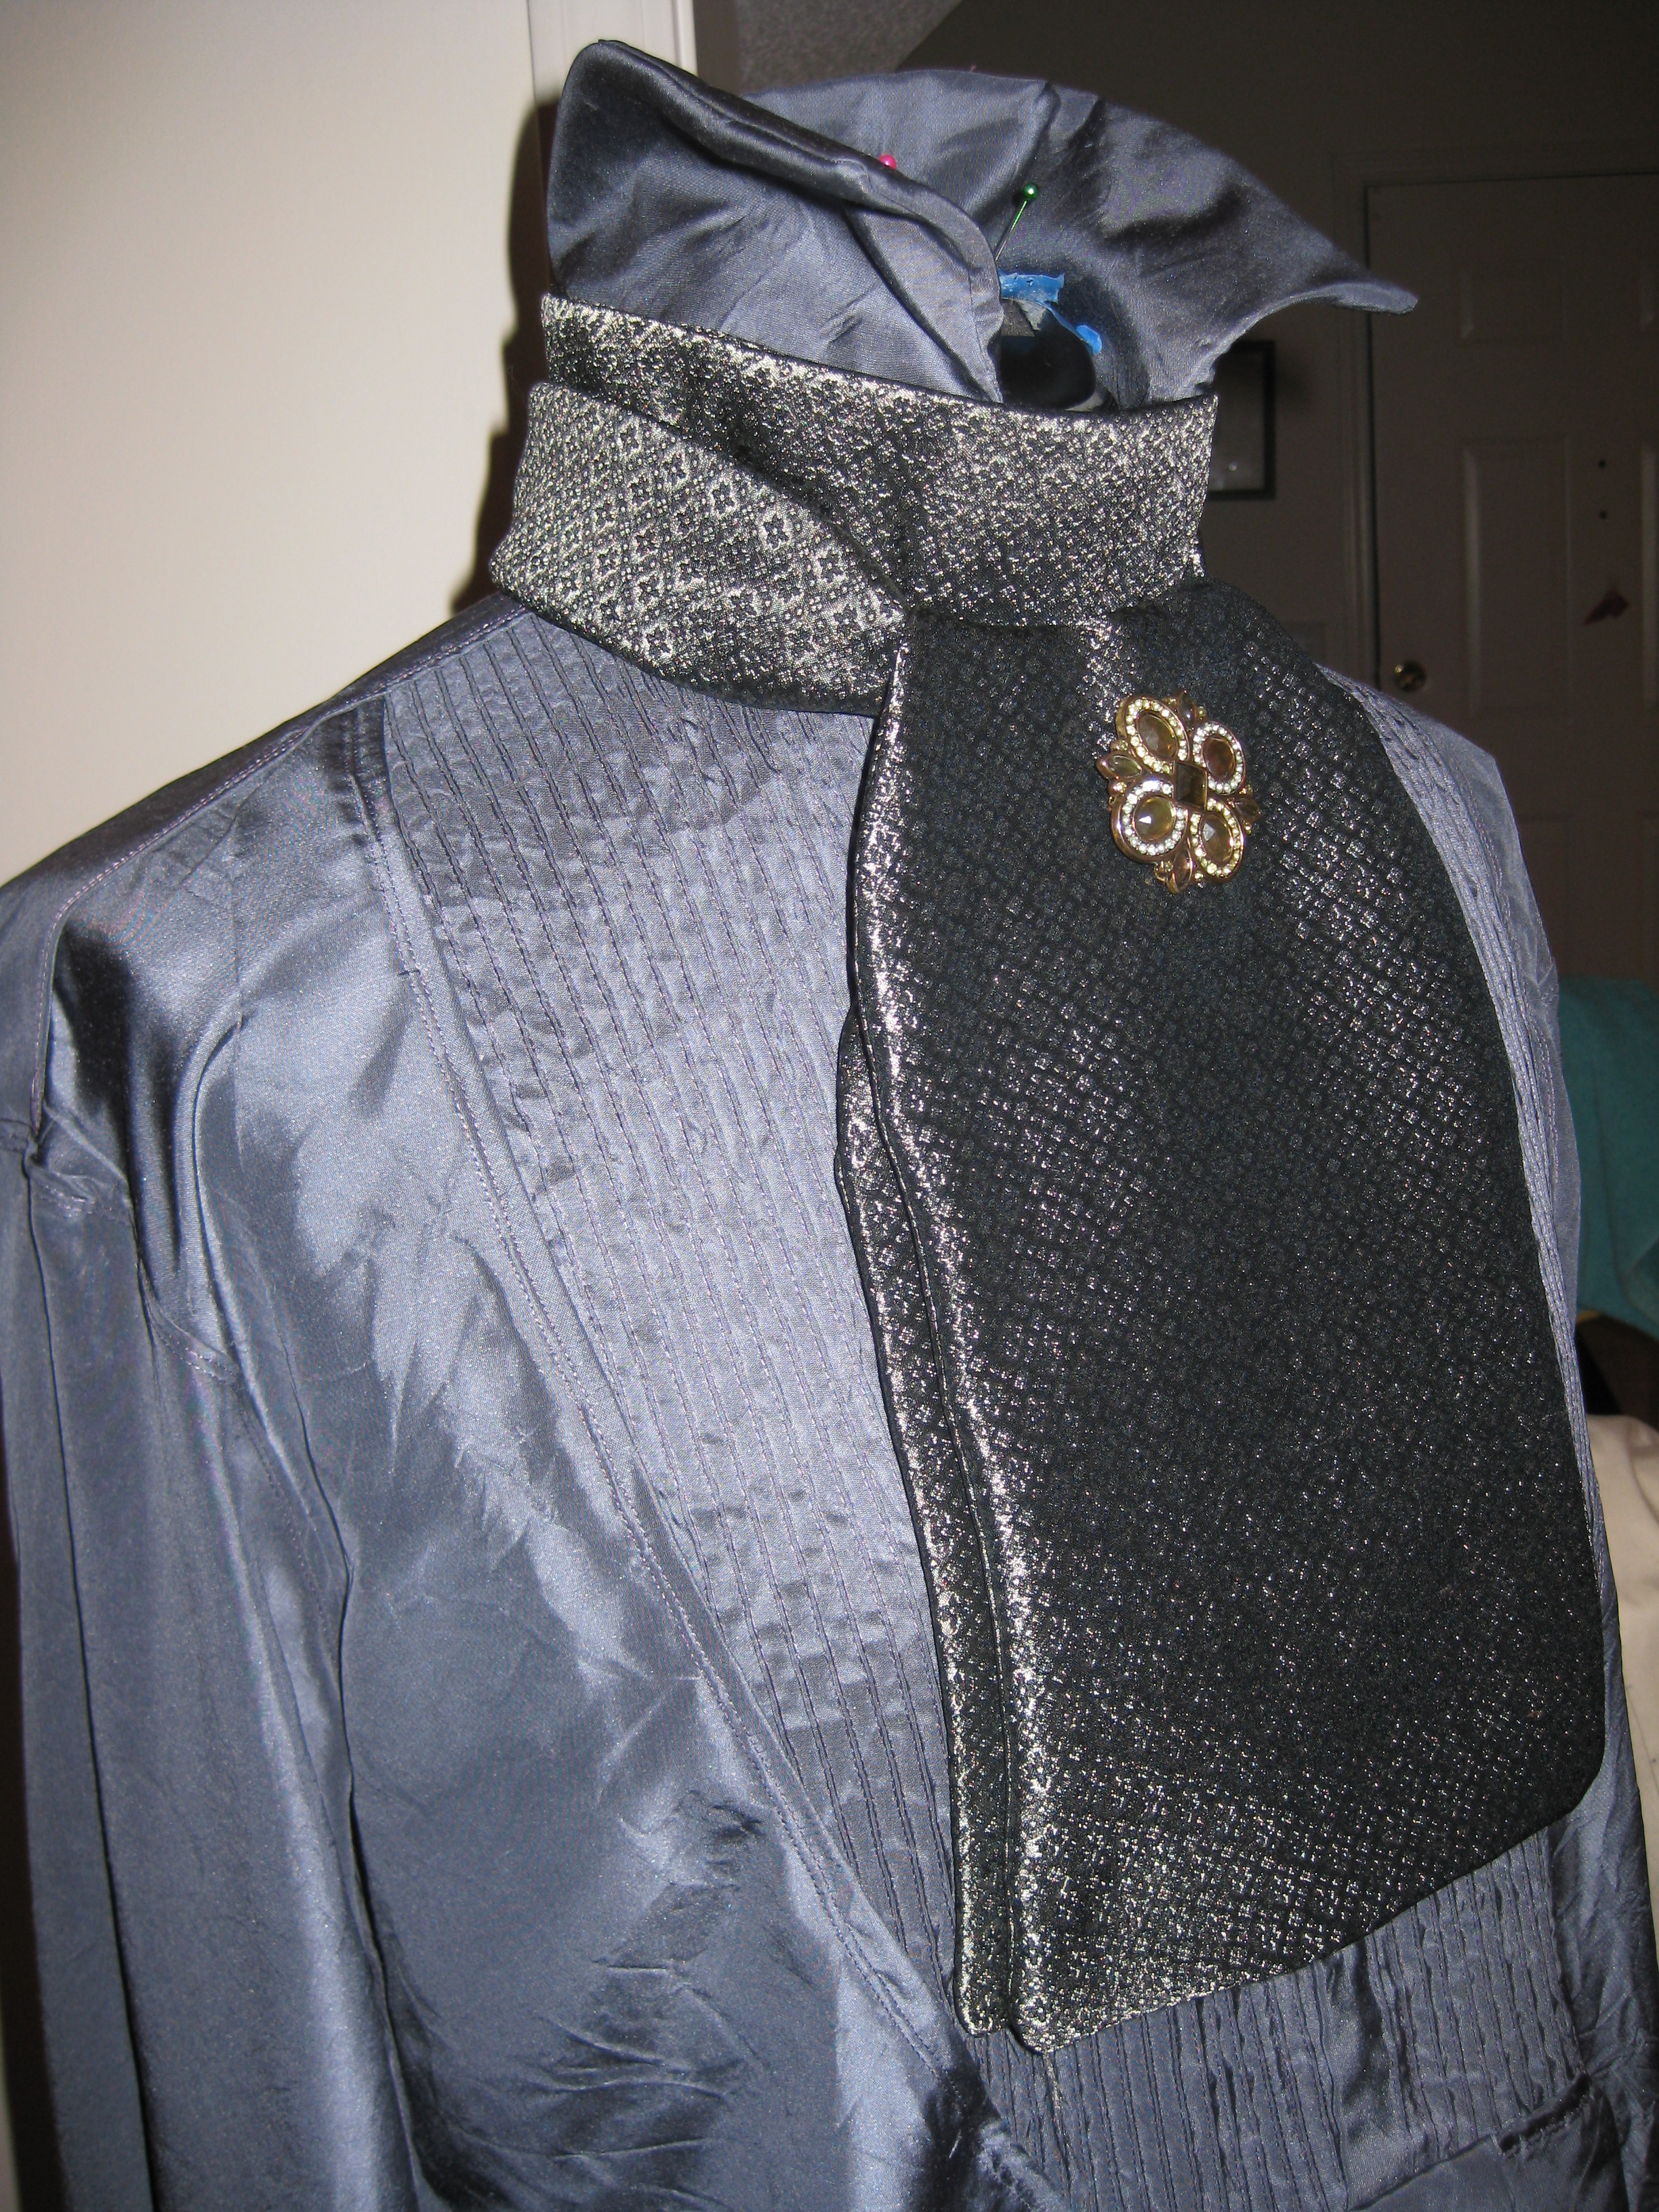
Again later. I pulled out my choices for cravat fabric. I have a favorite, but still I hesitate...
I thought it would be good to see it in photos.
Of course, the coat will be gray, not black. The outer gray blue fabric is the shirt fabric, and the center is the cravat fabric, two choices.
The first seems closer in spirit to the original in the film, but I love the look of the second. Both fabrics are photographed with and without flash.
July 28, 2010:
Later, again. I have been busy!
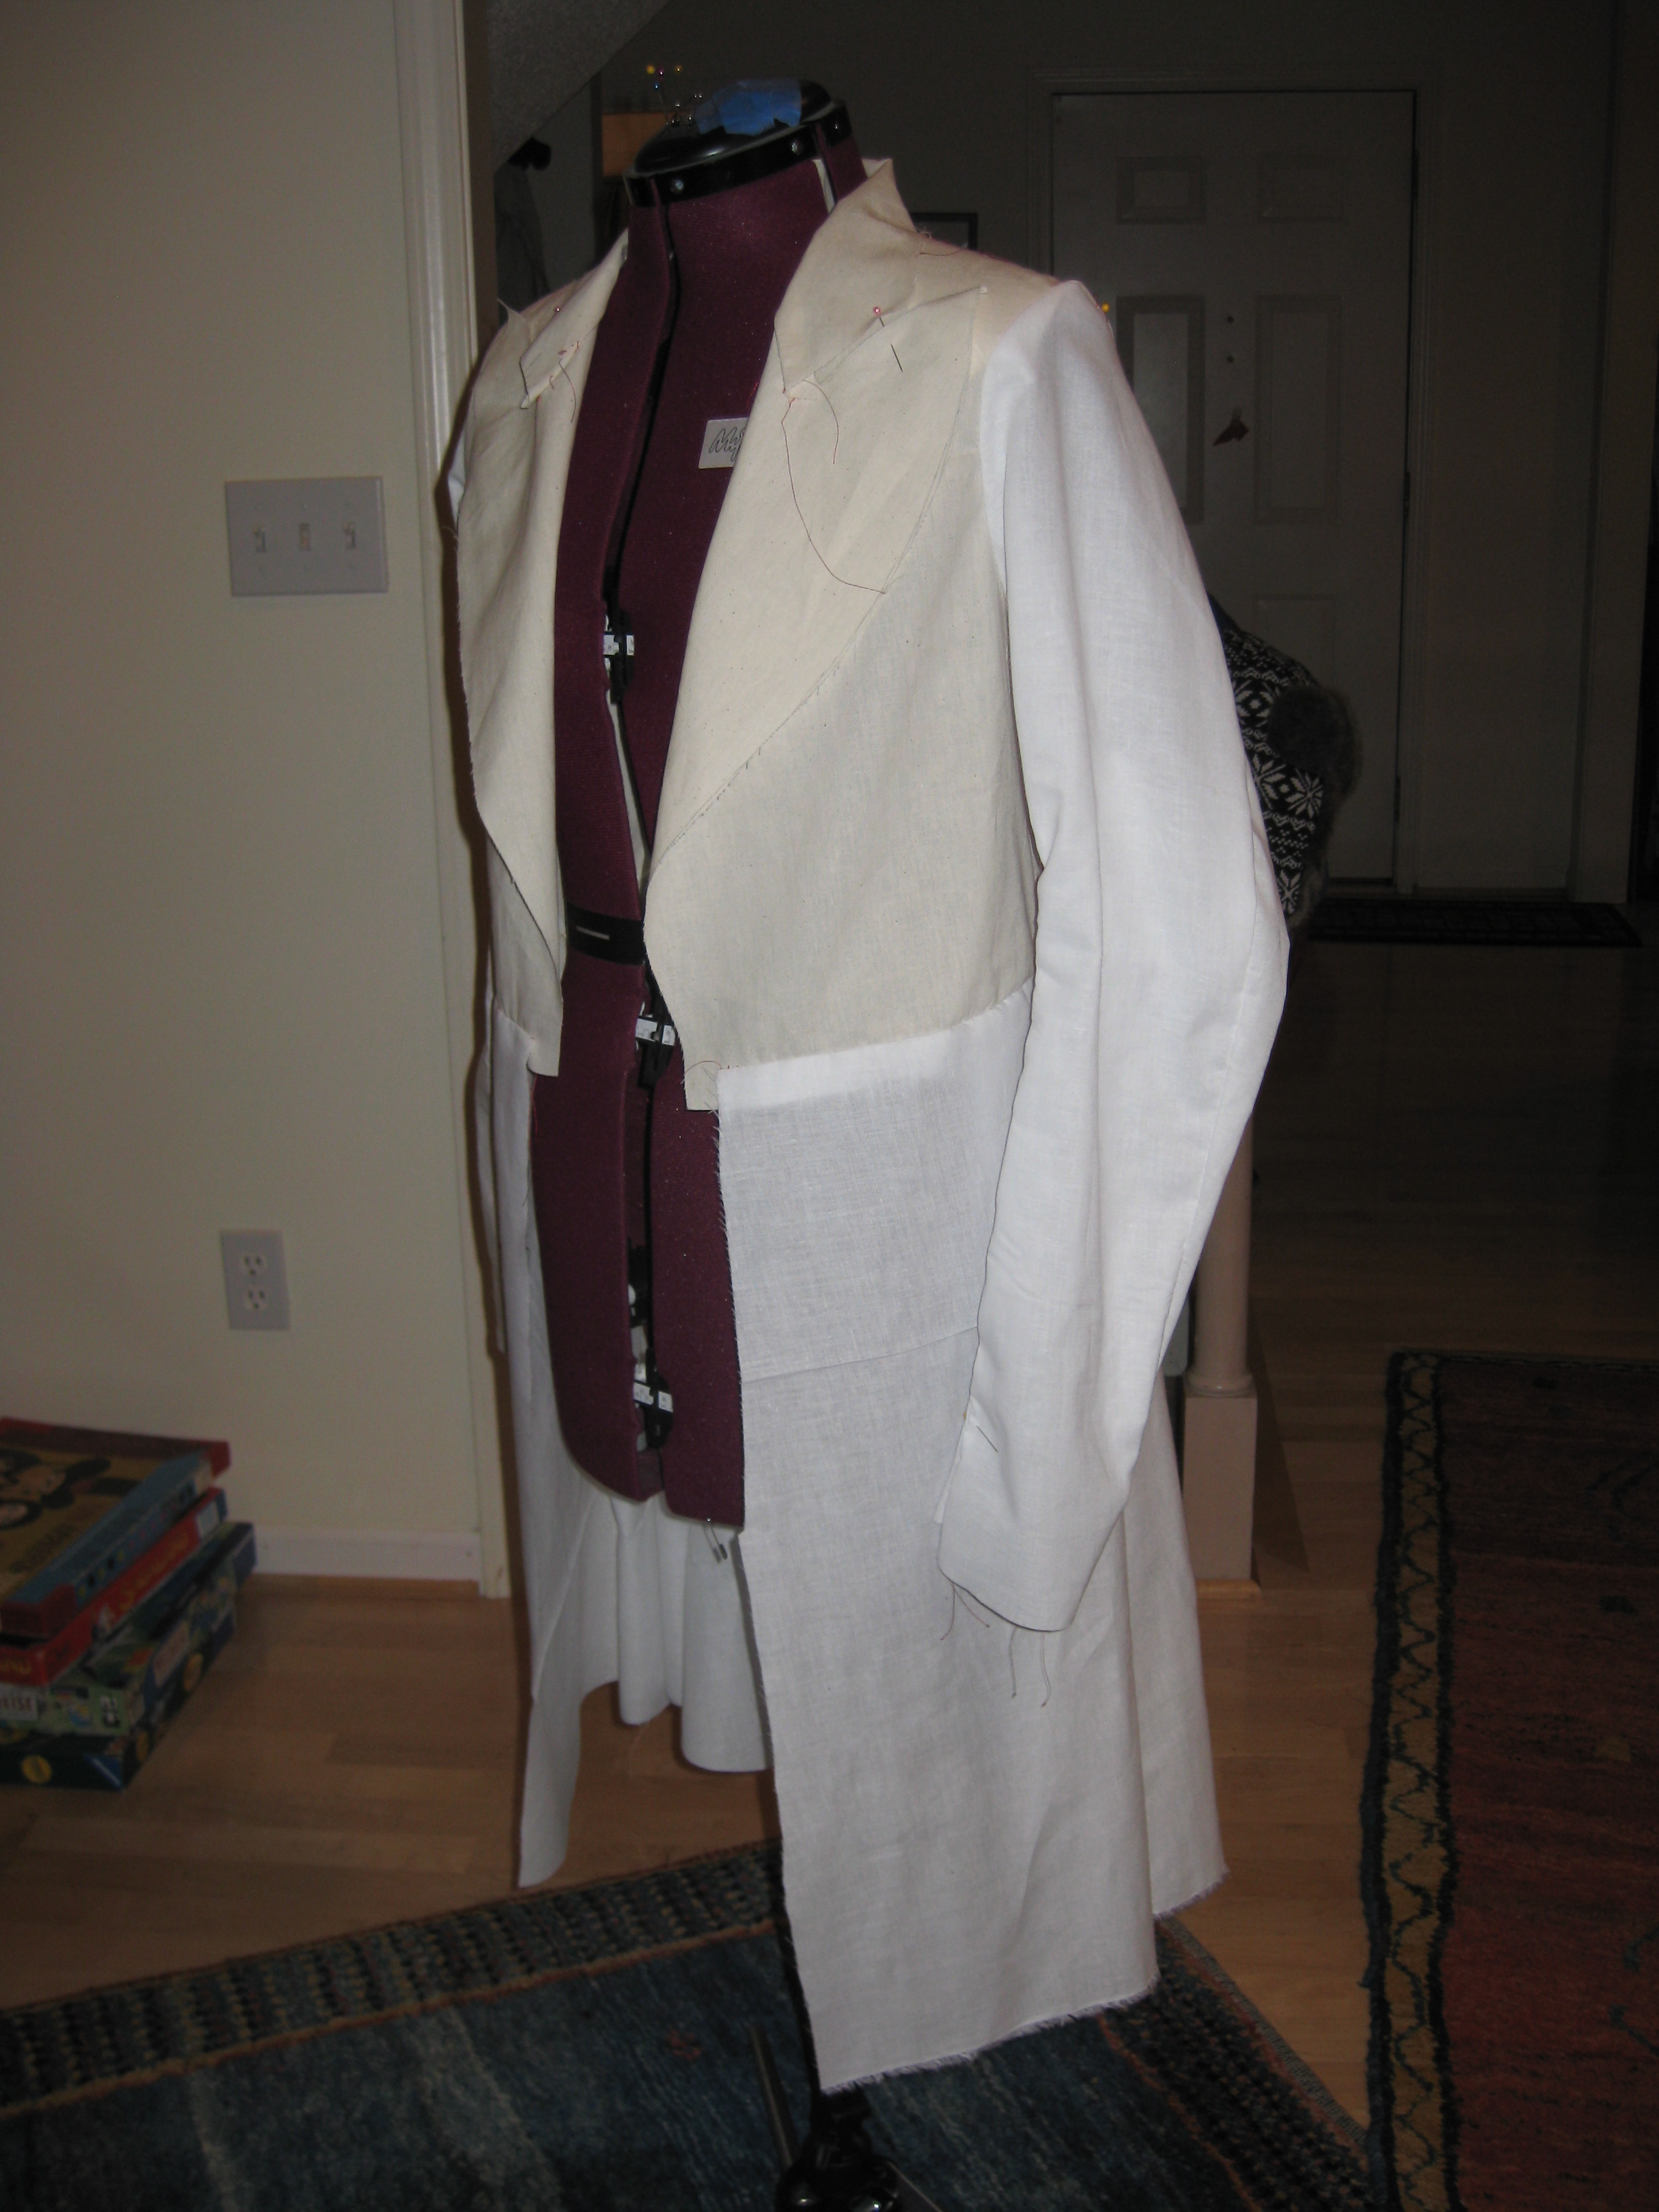
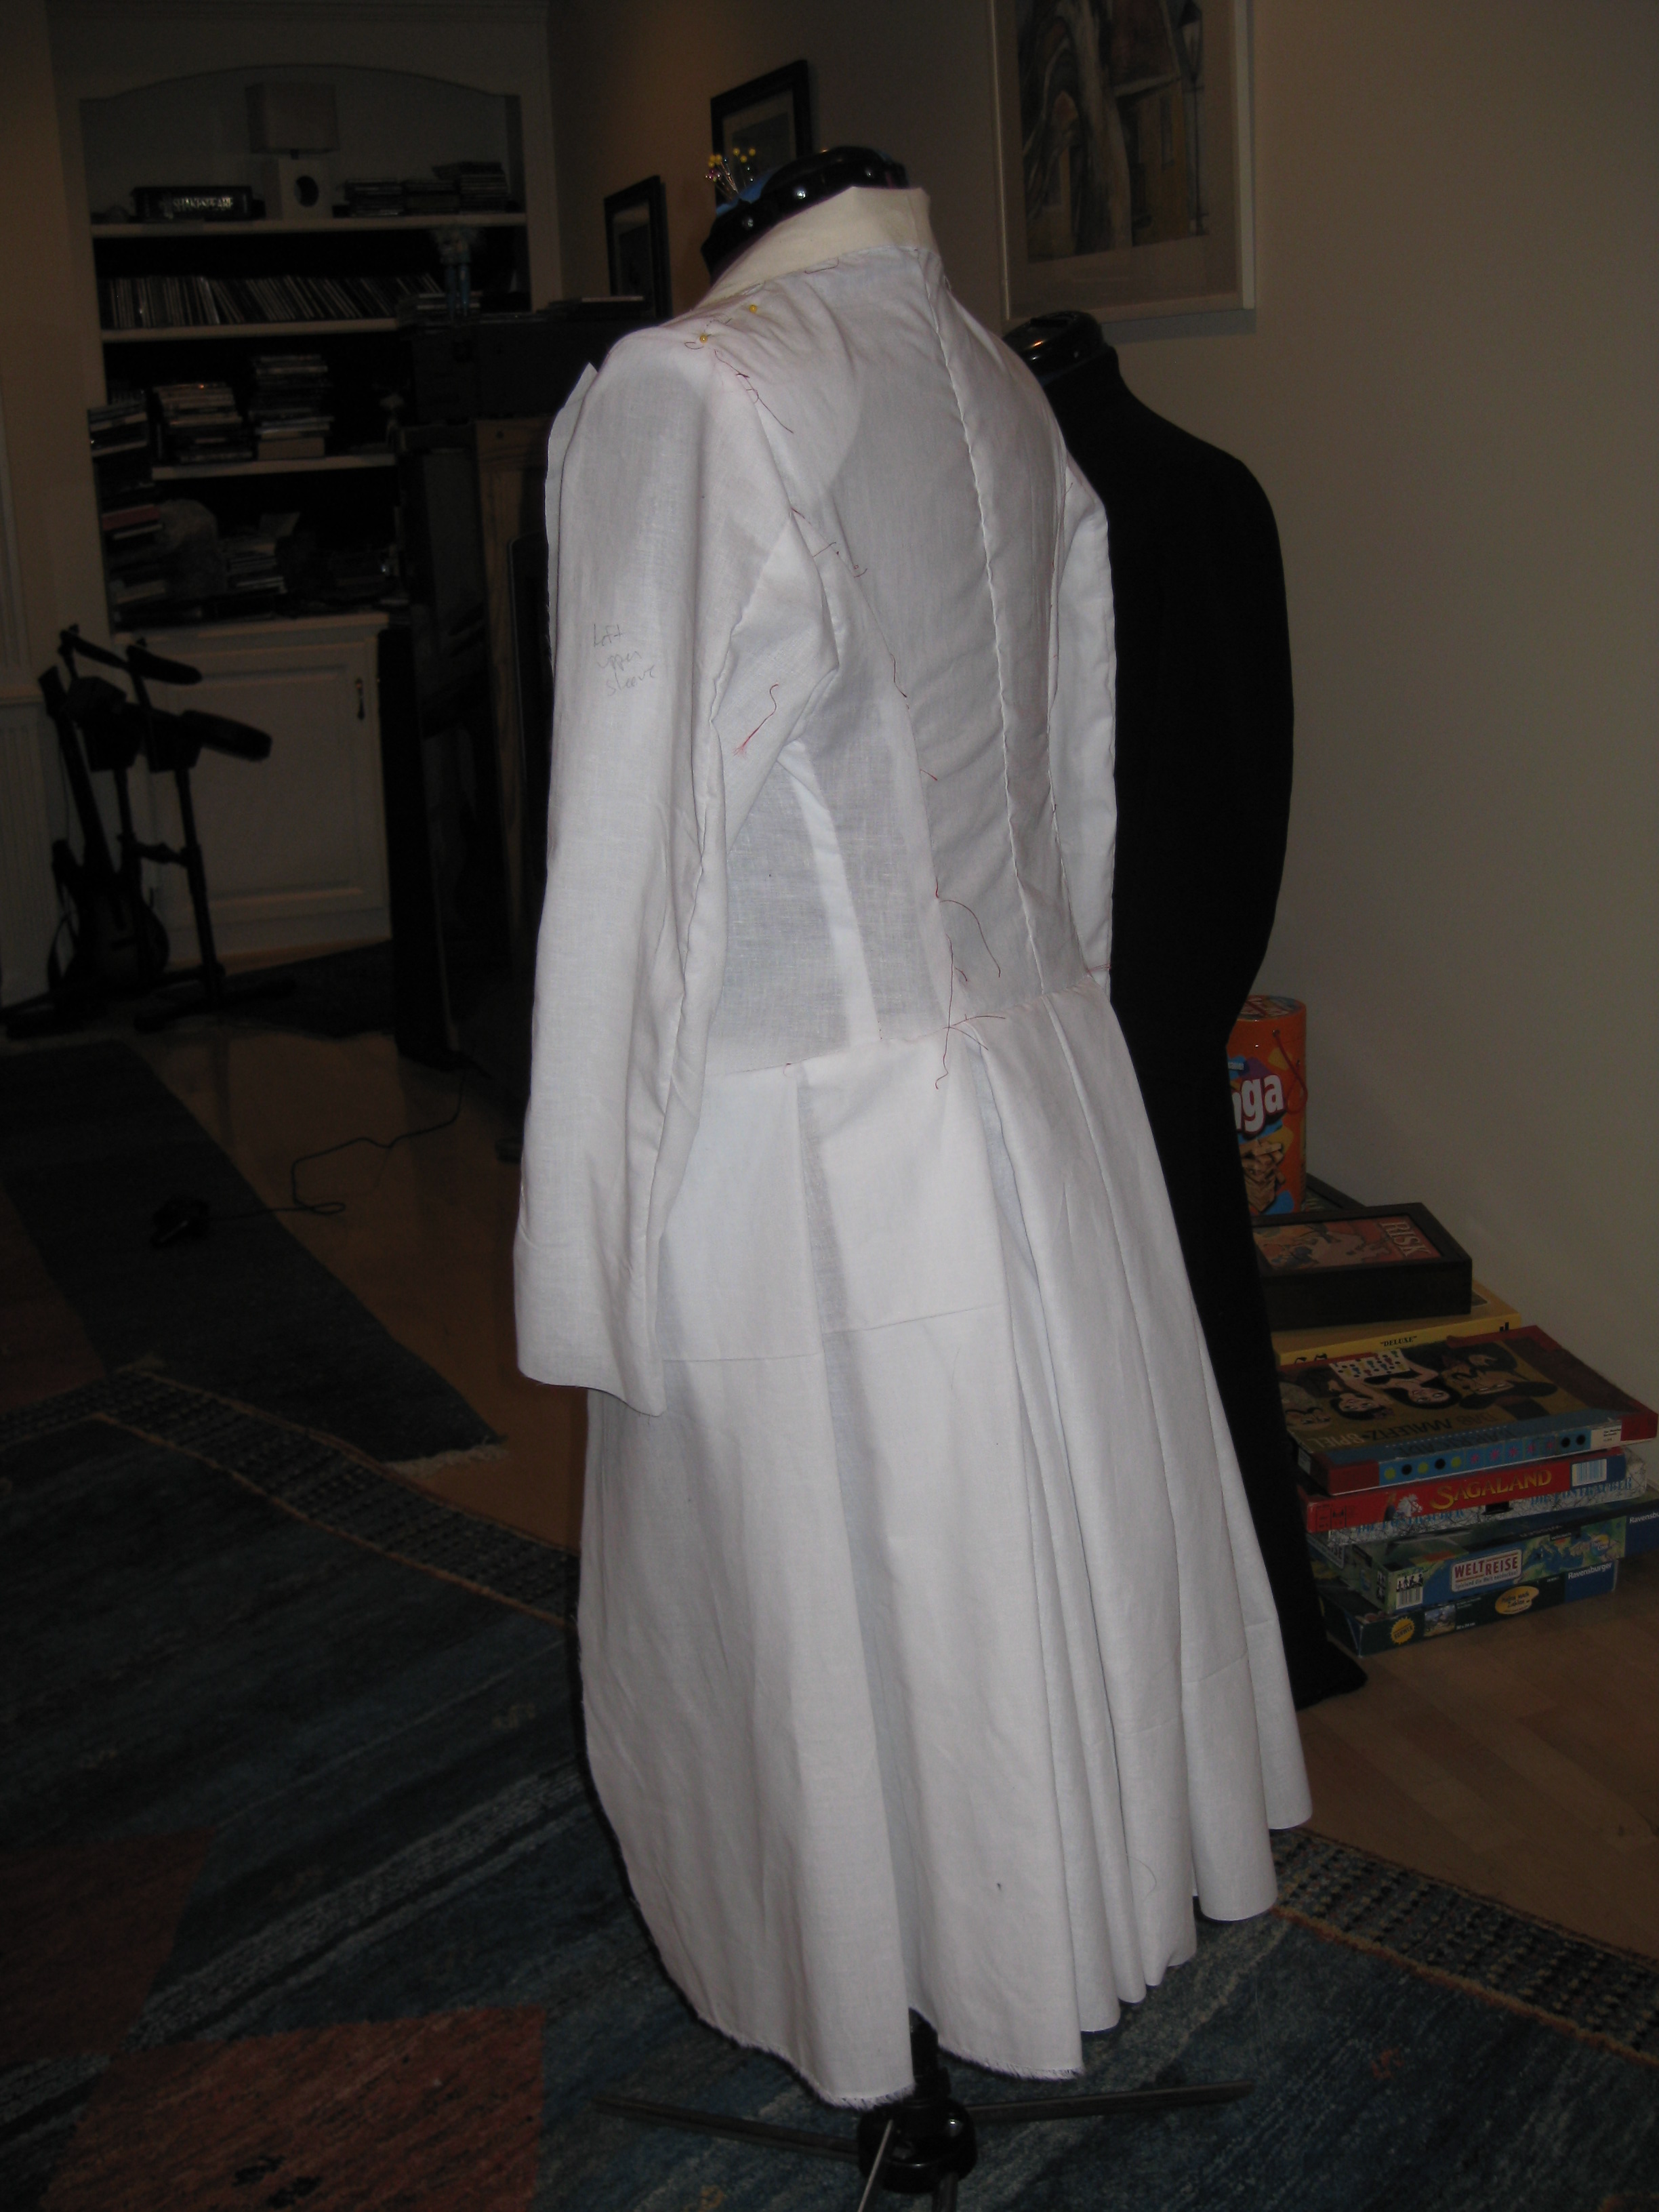
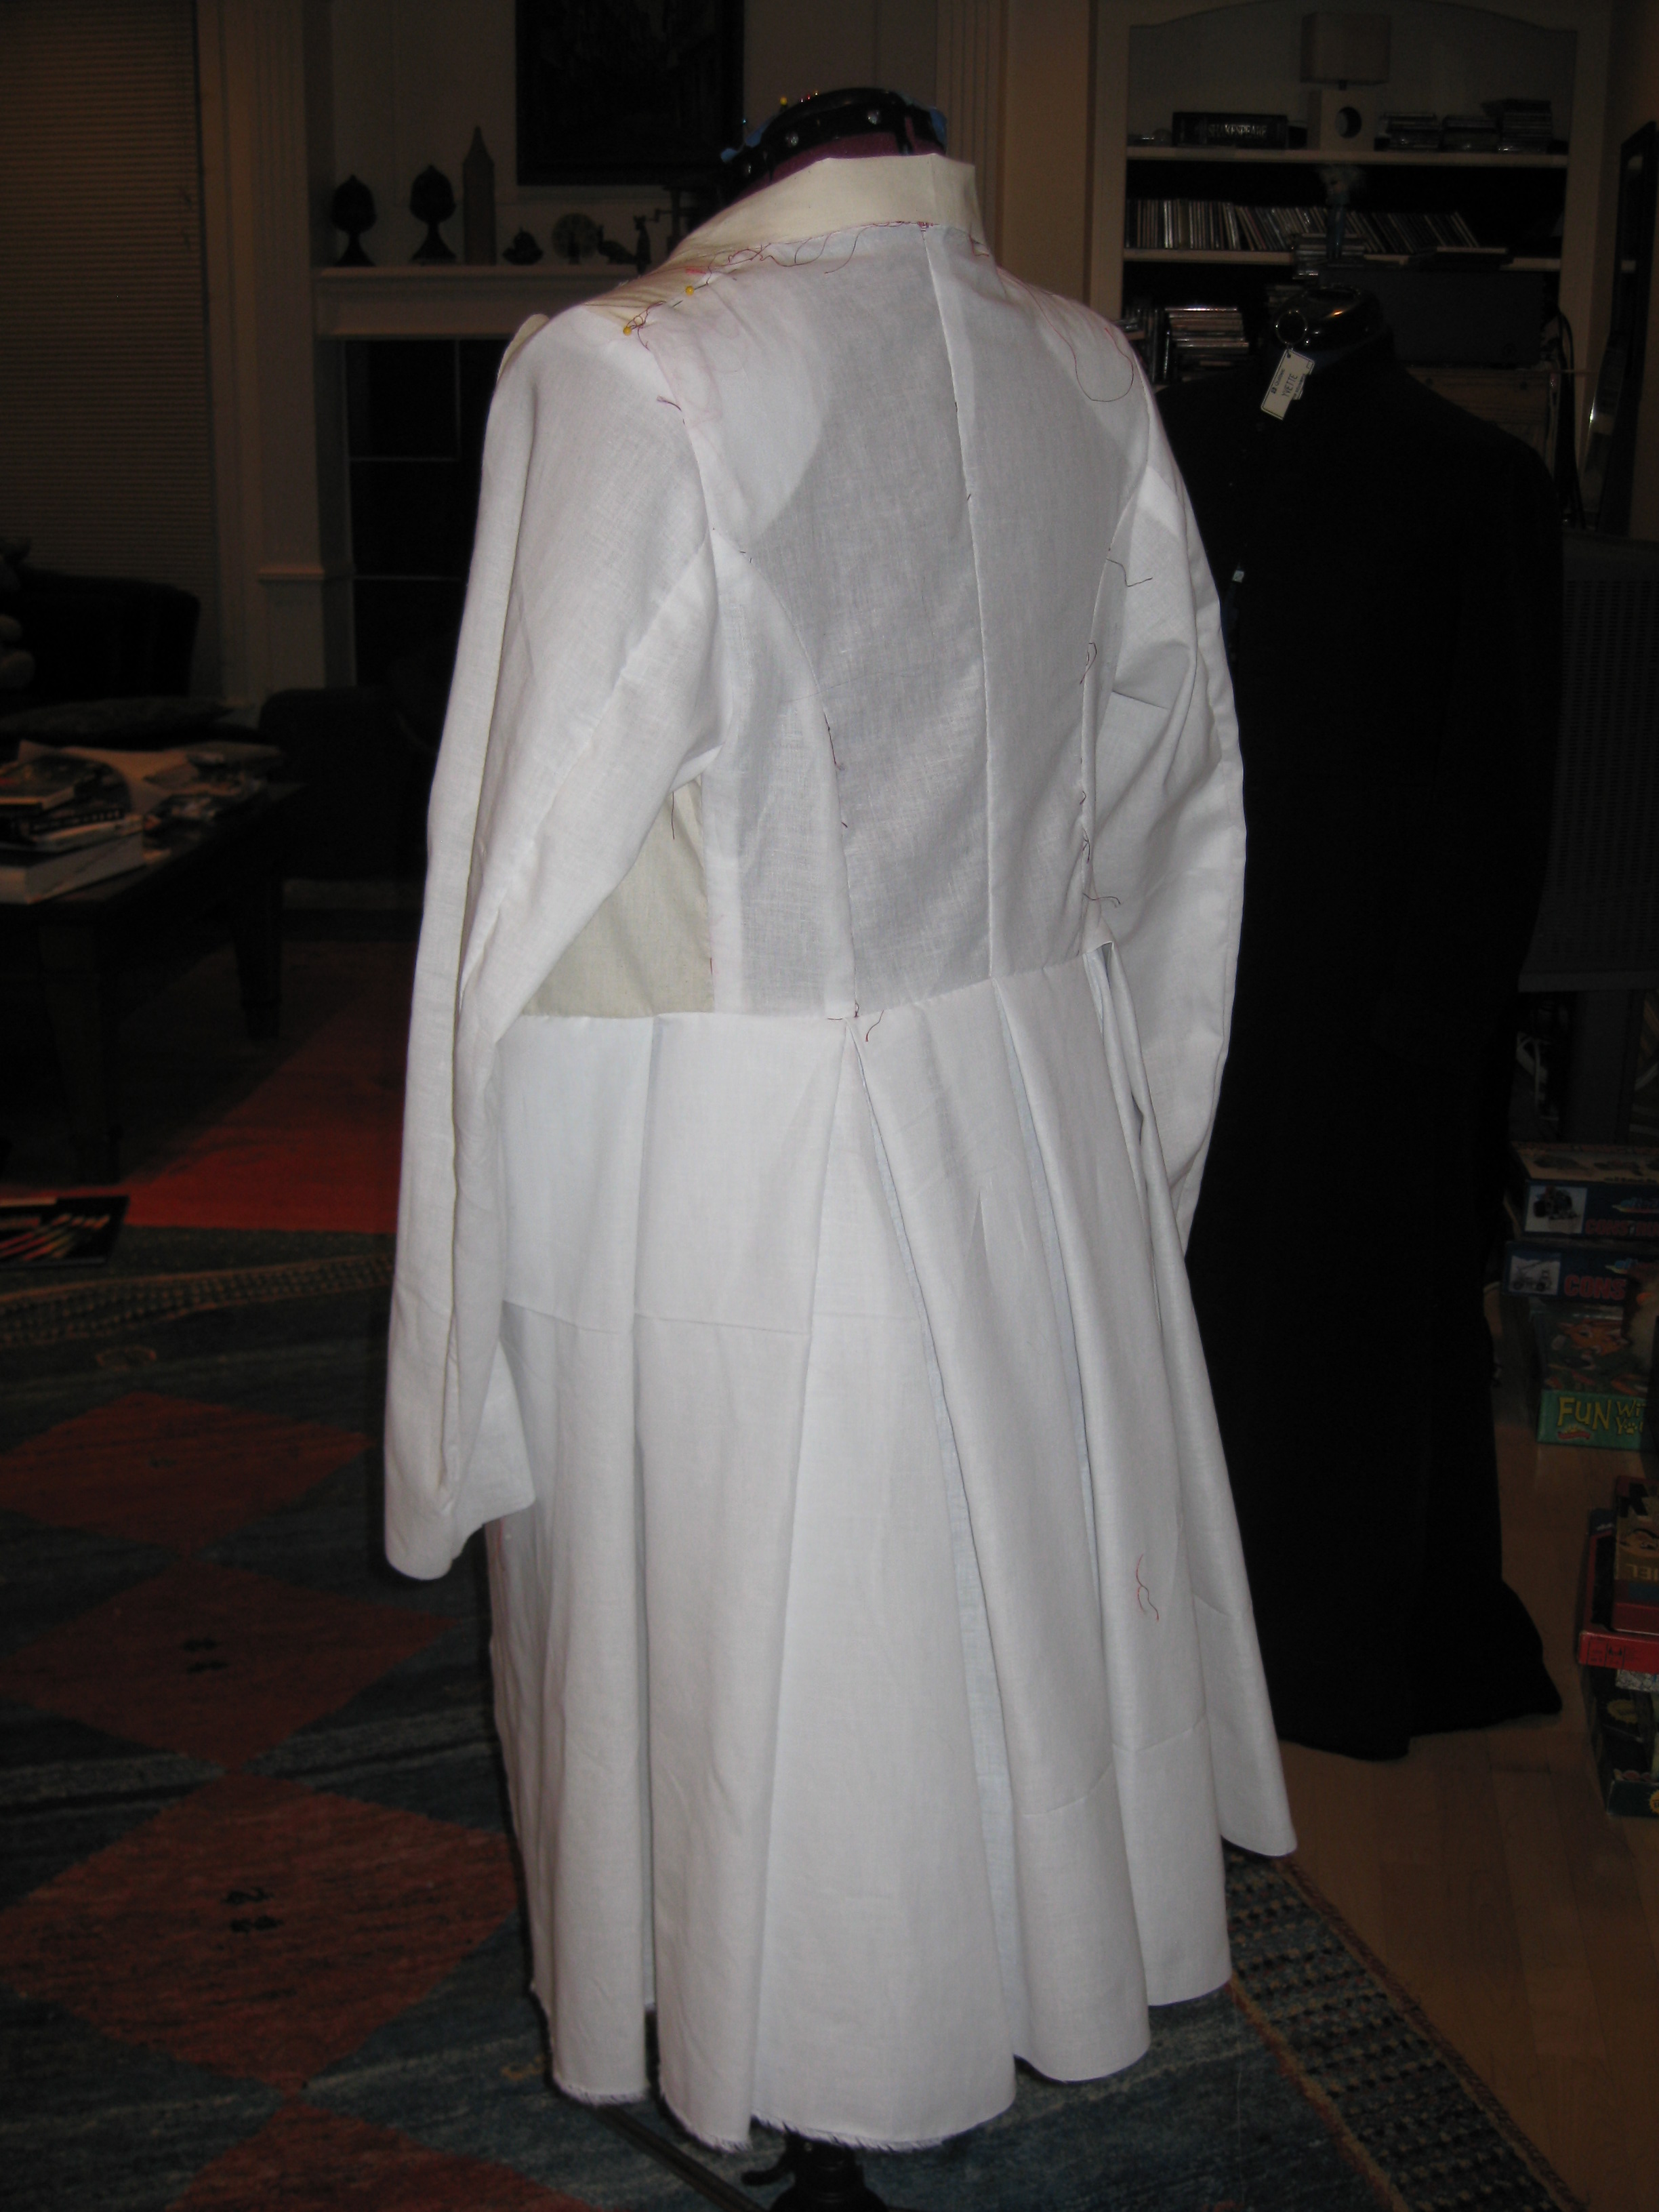
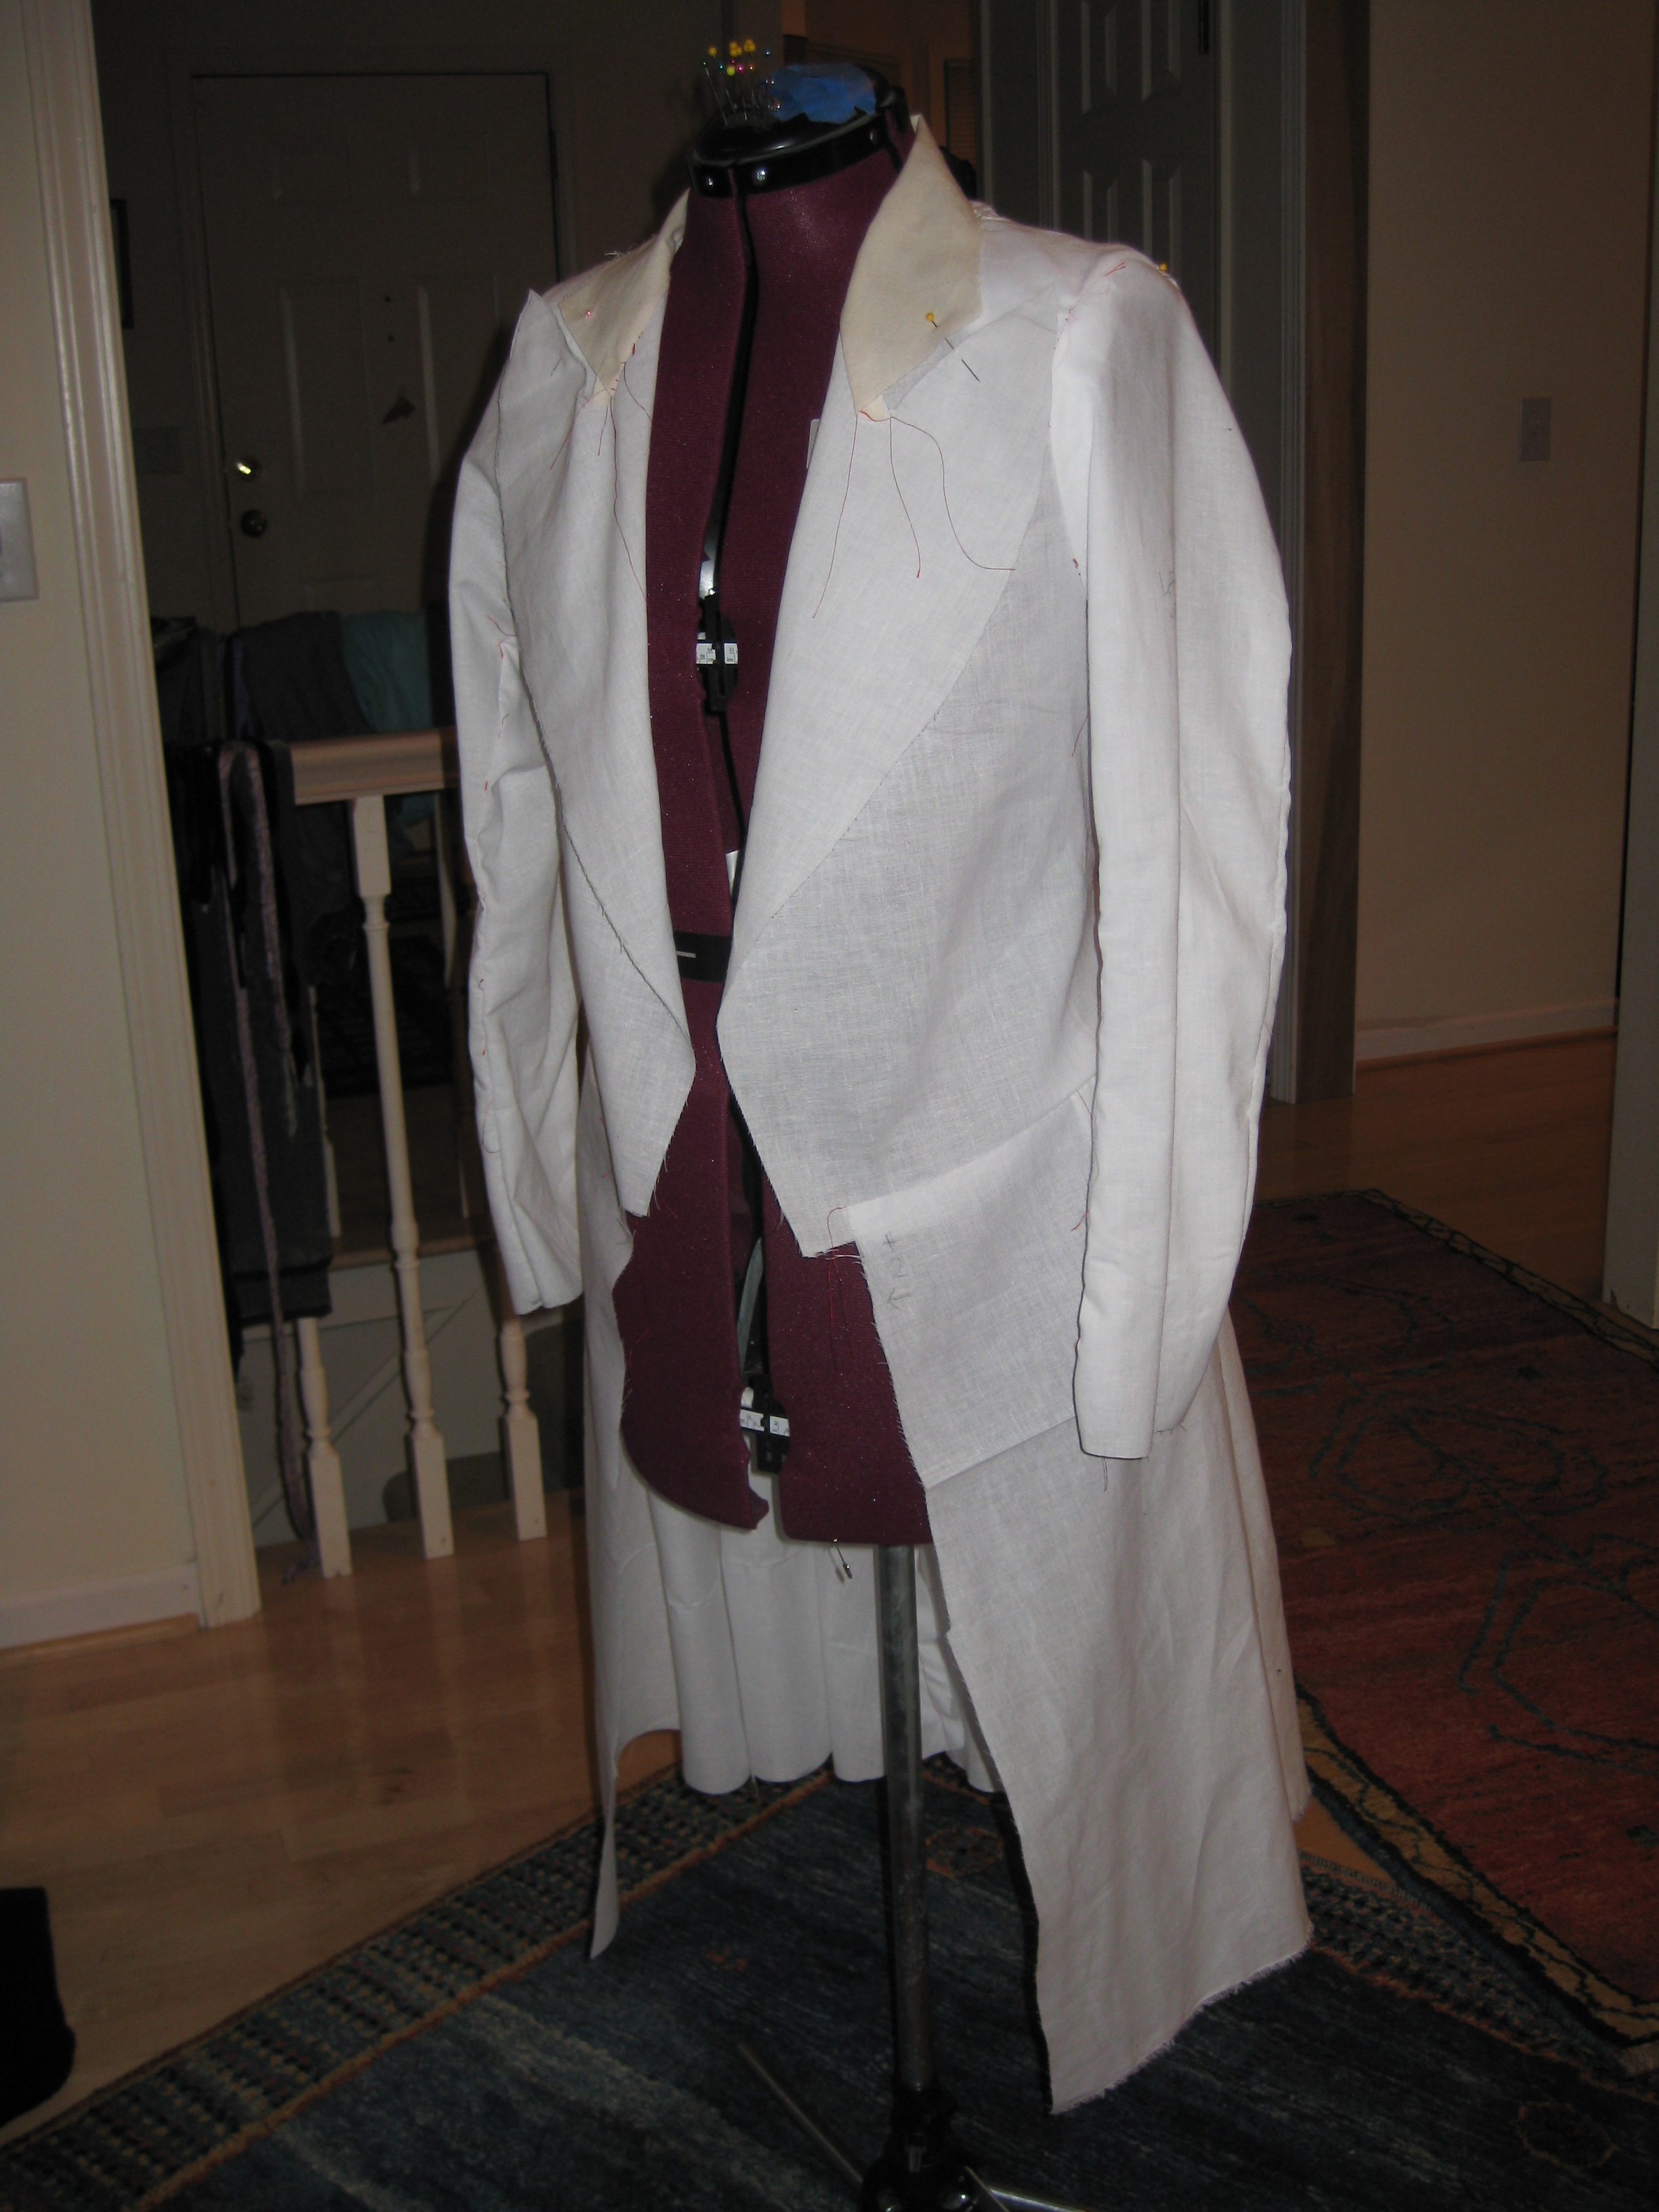
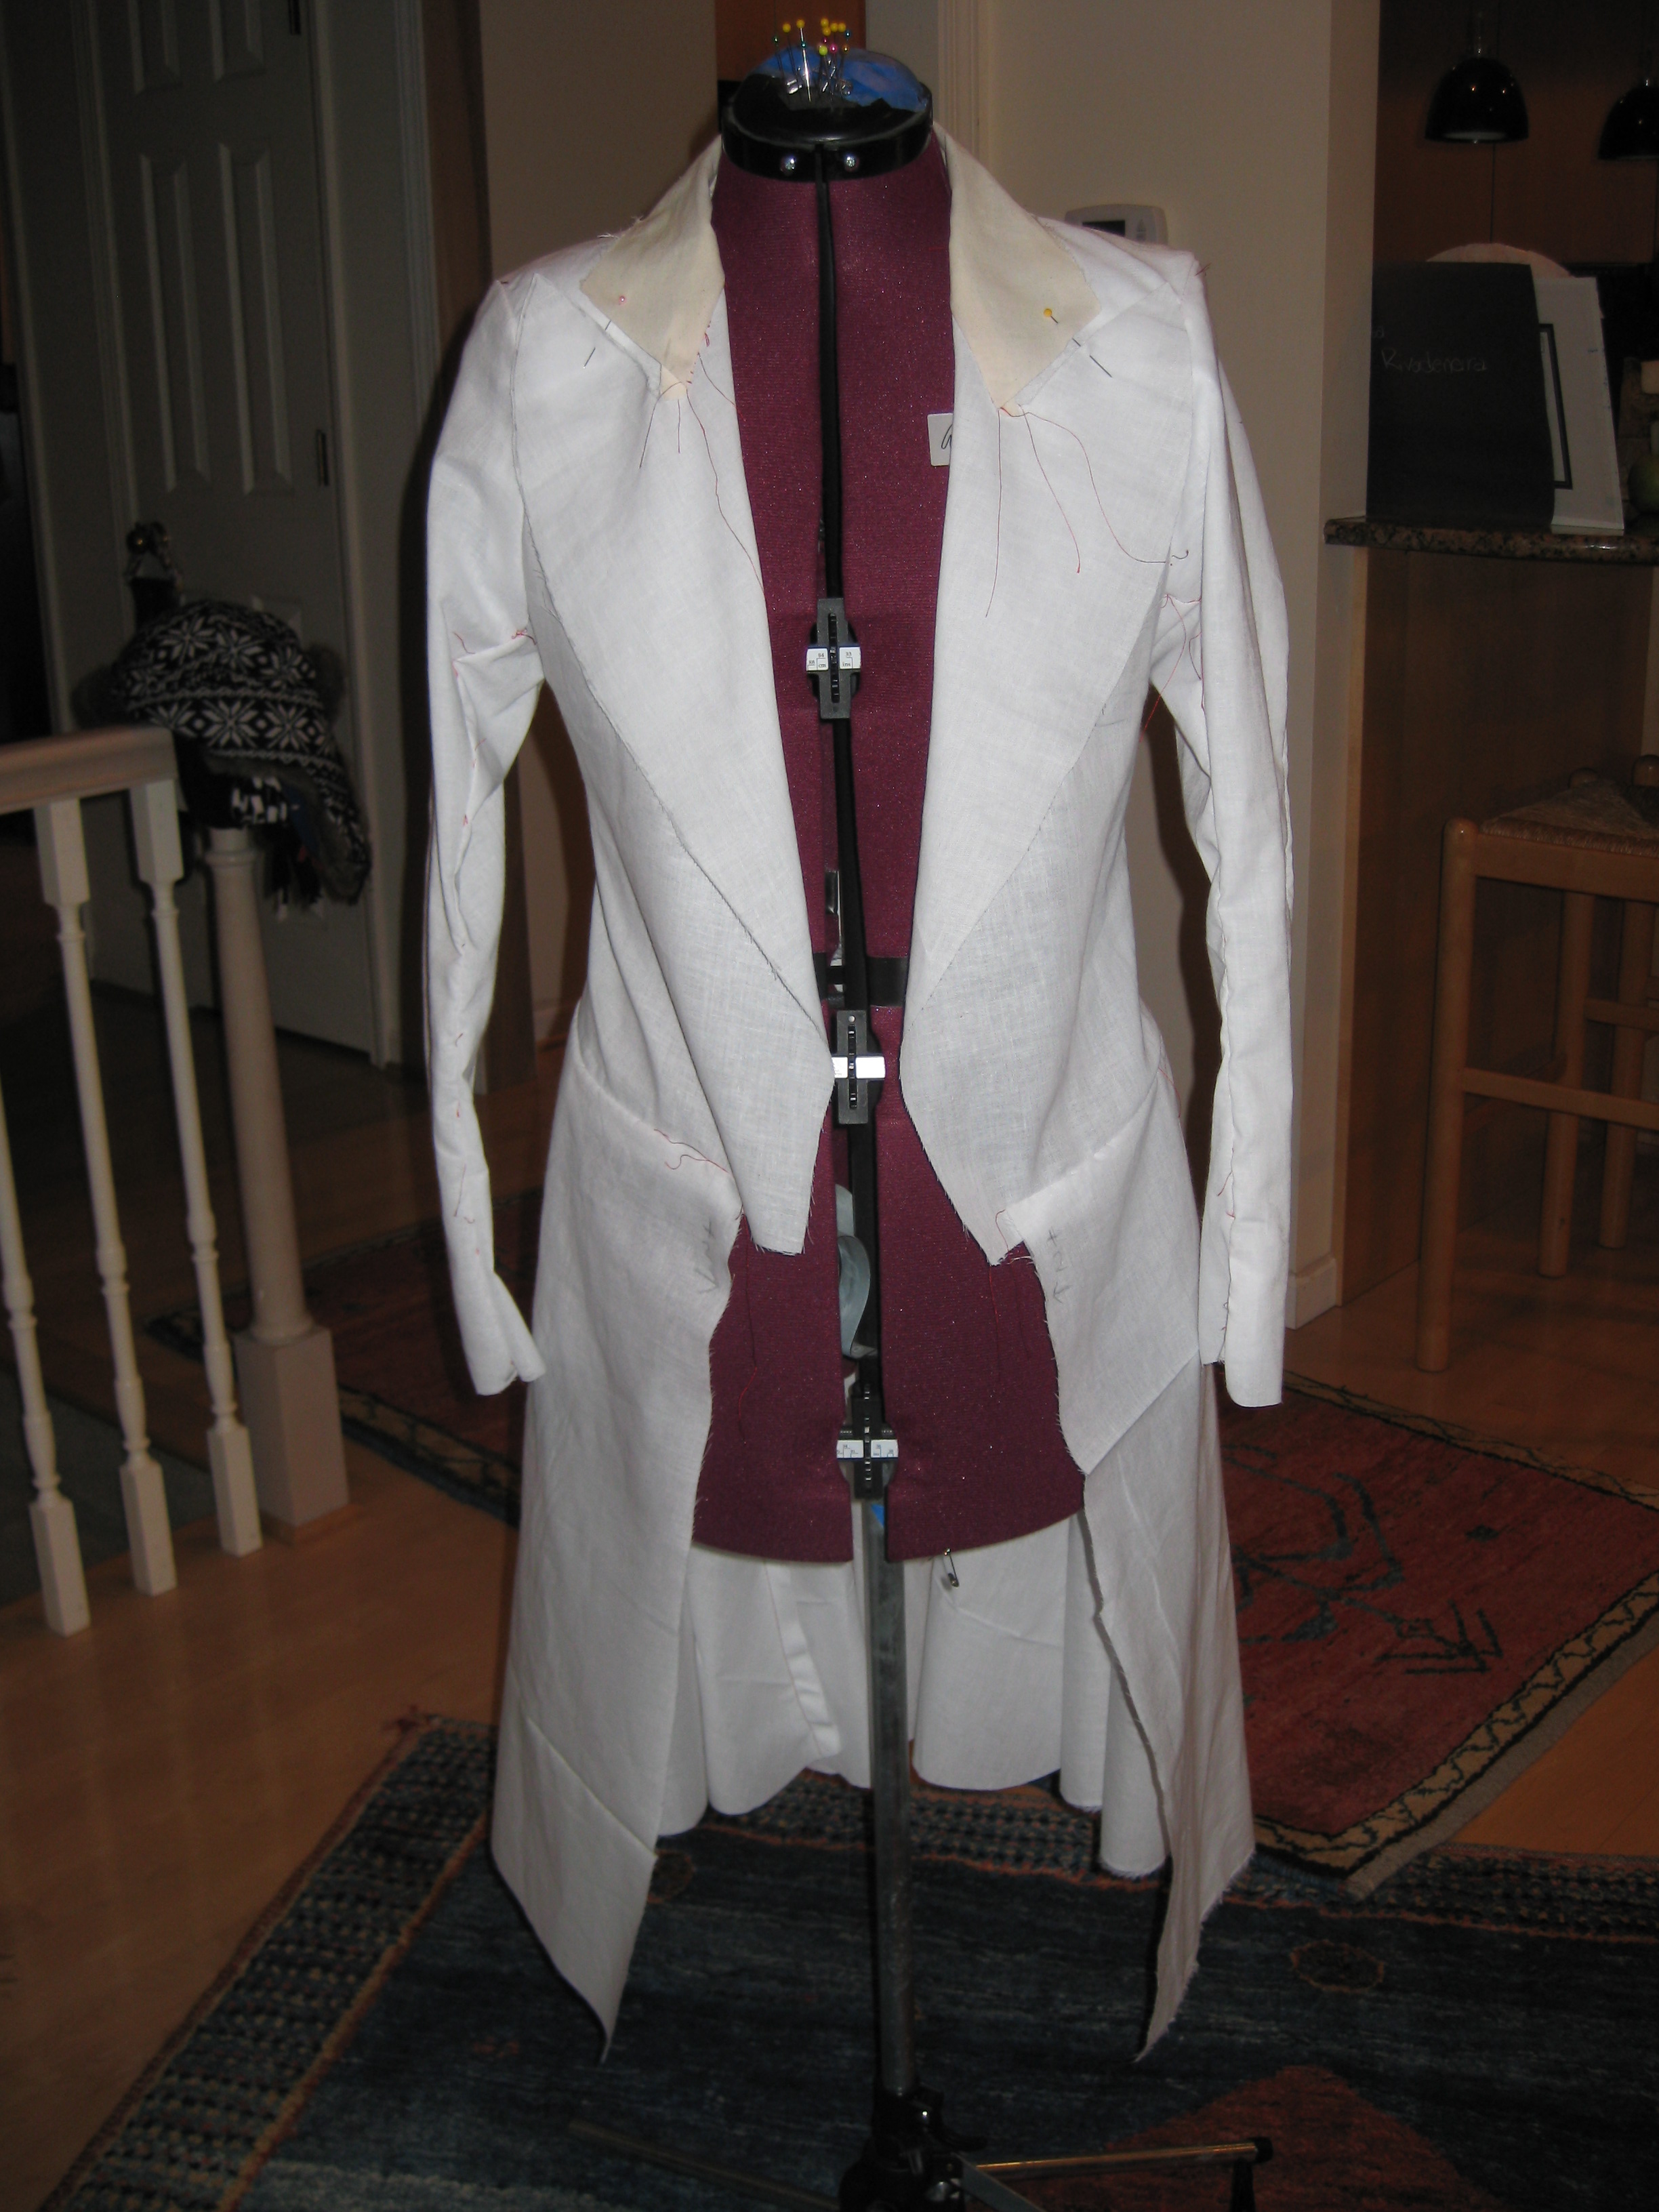
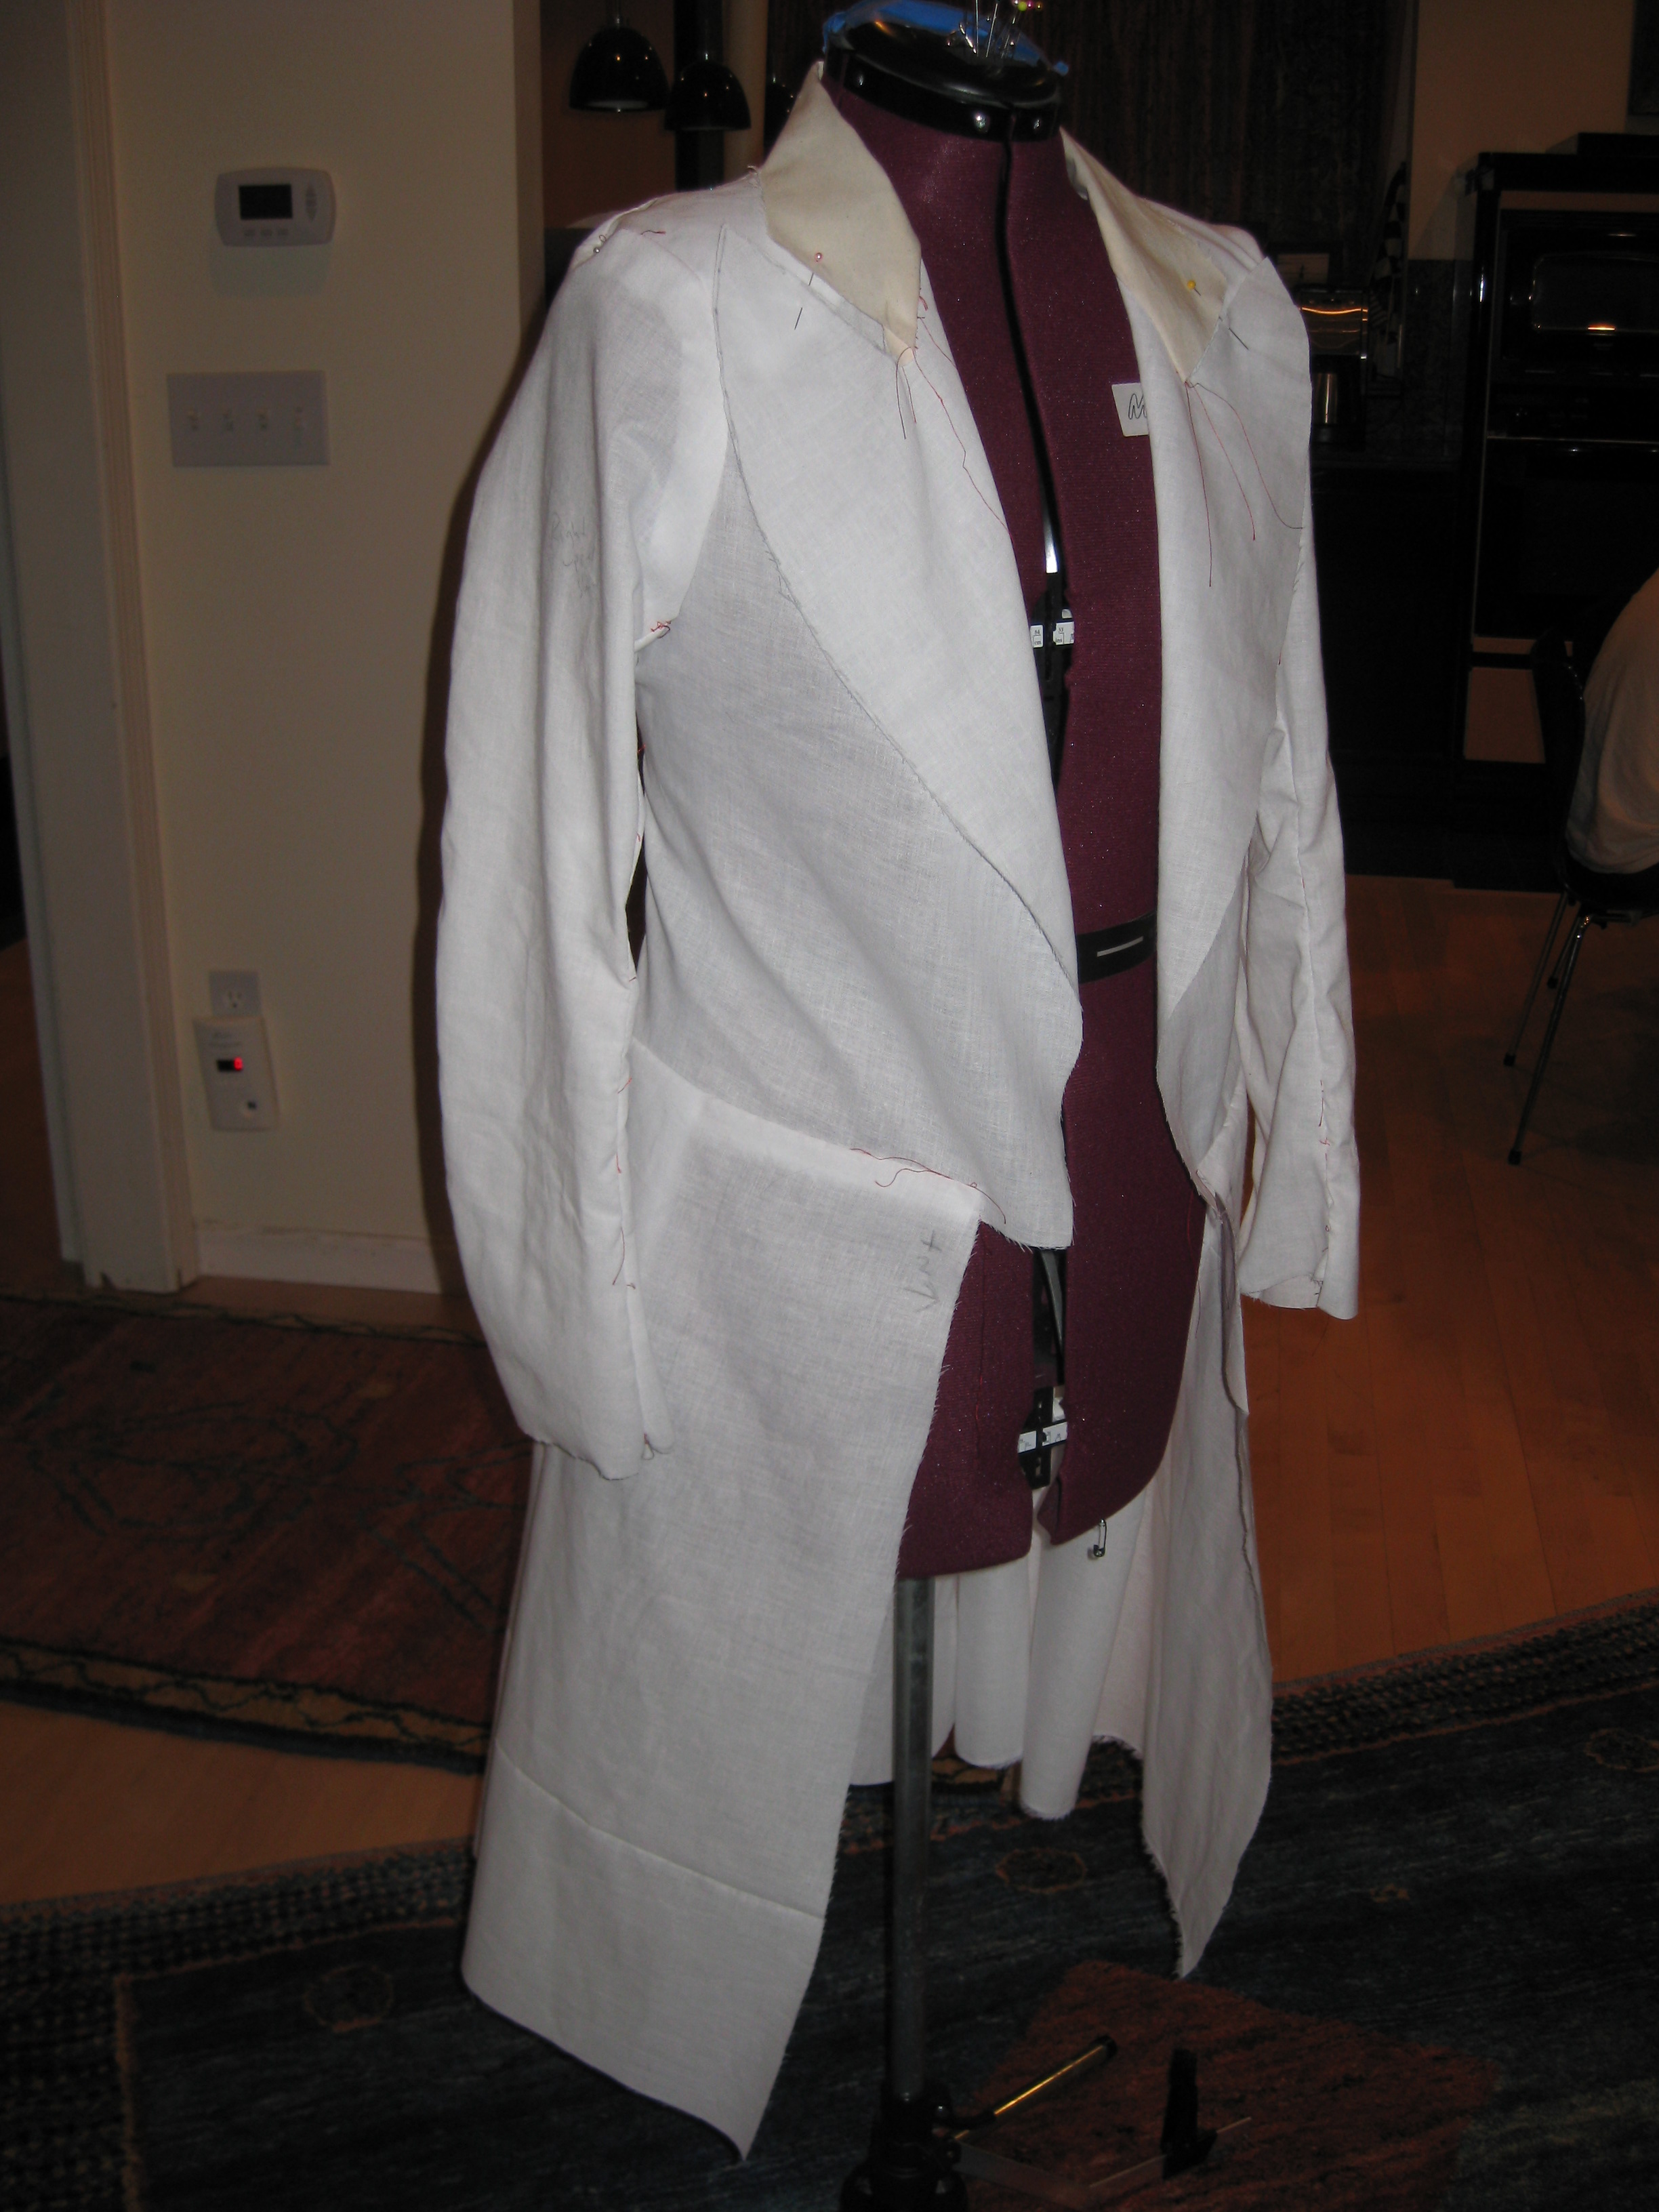
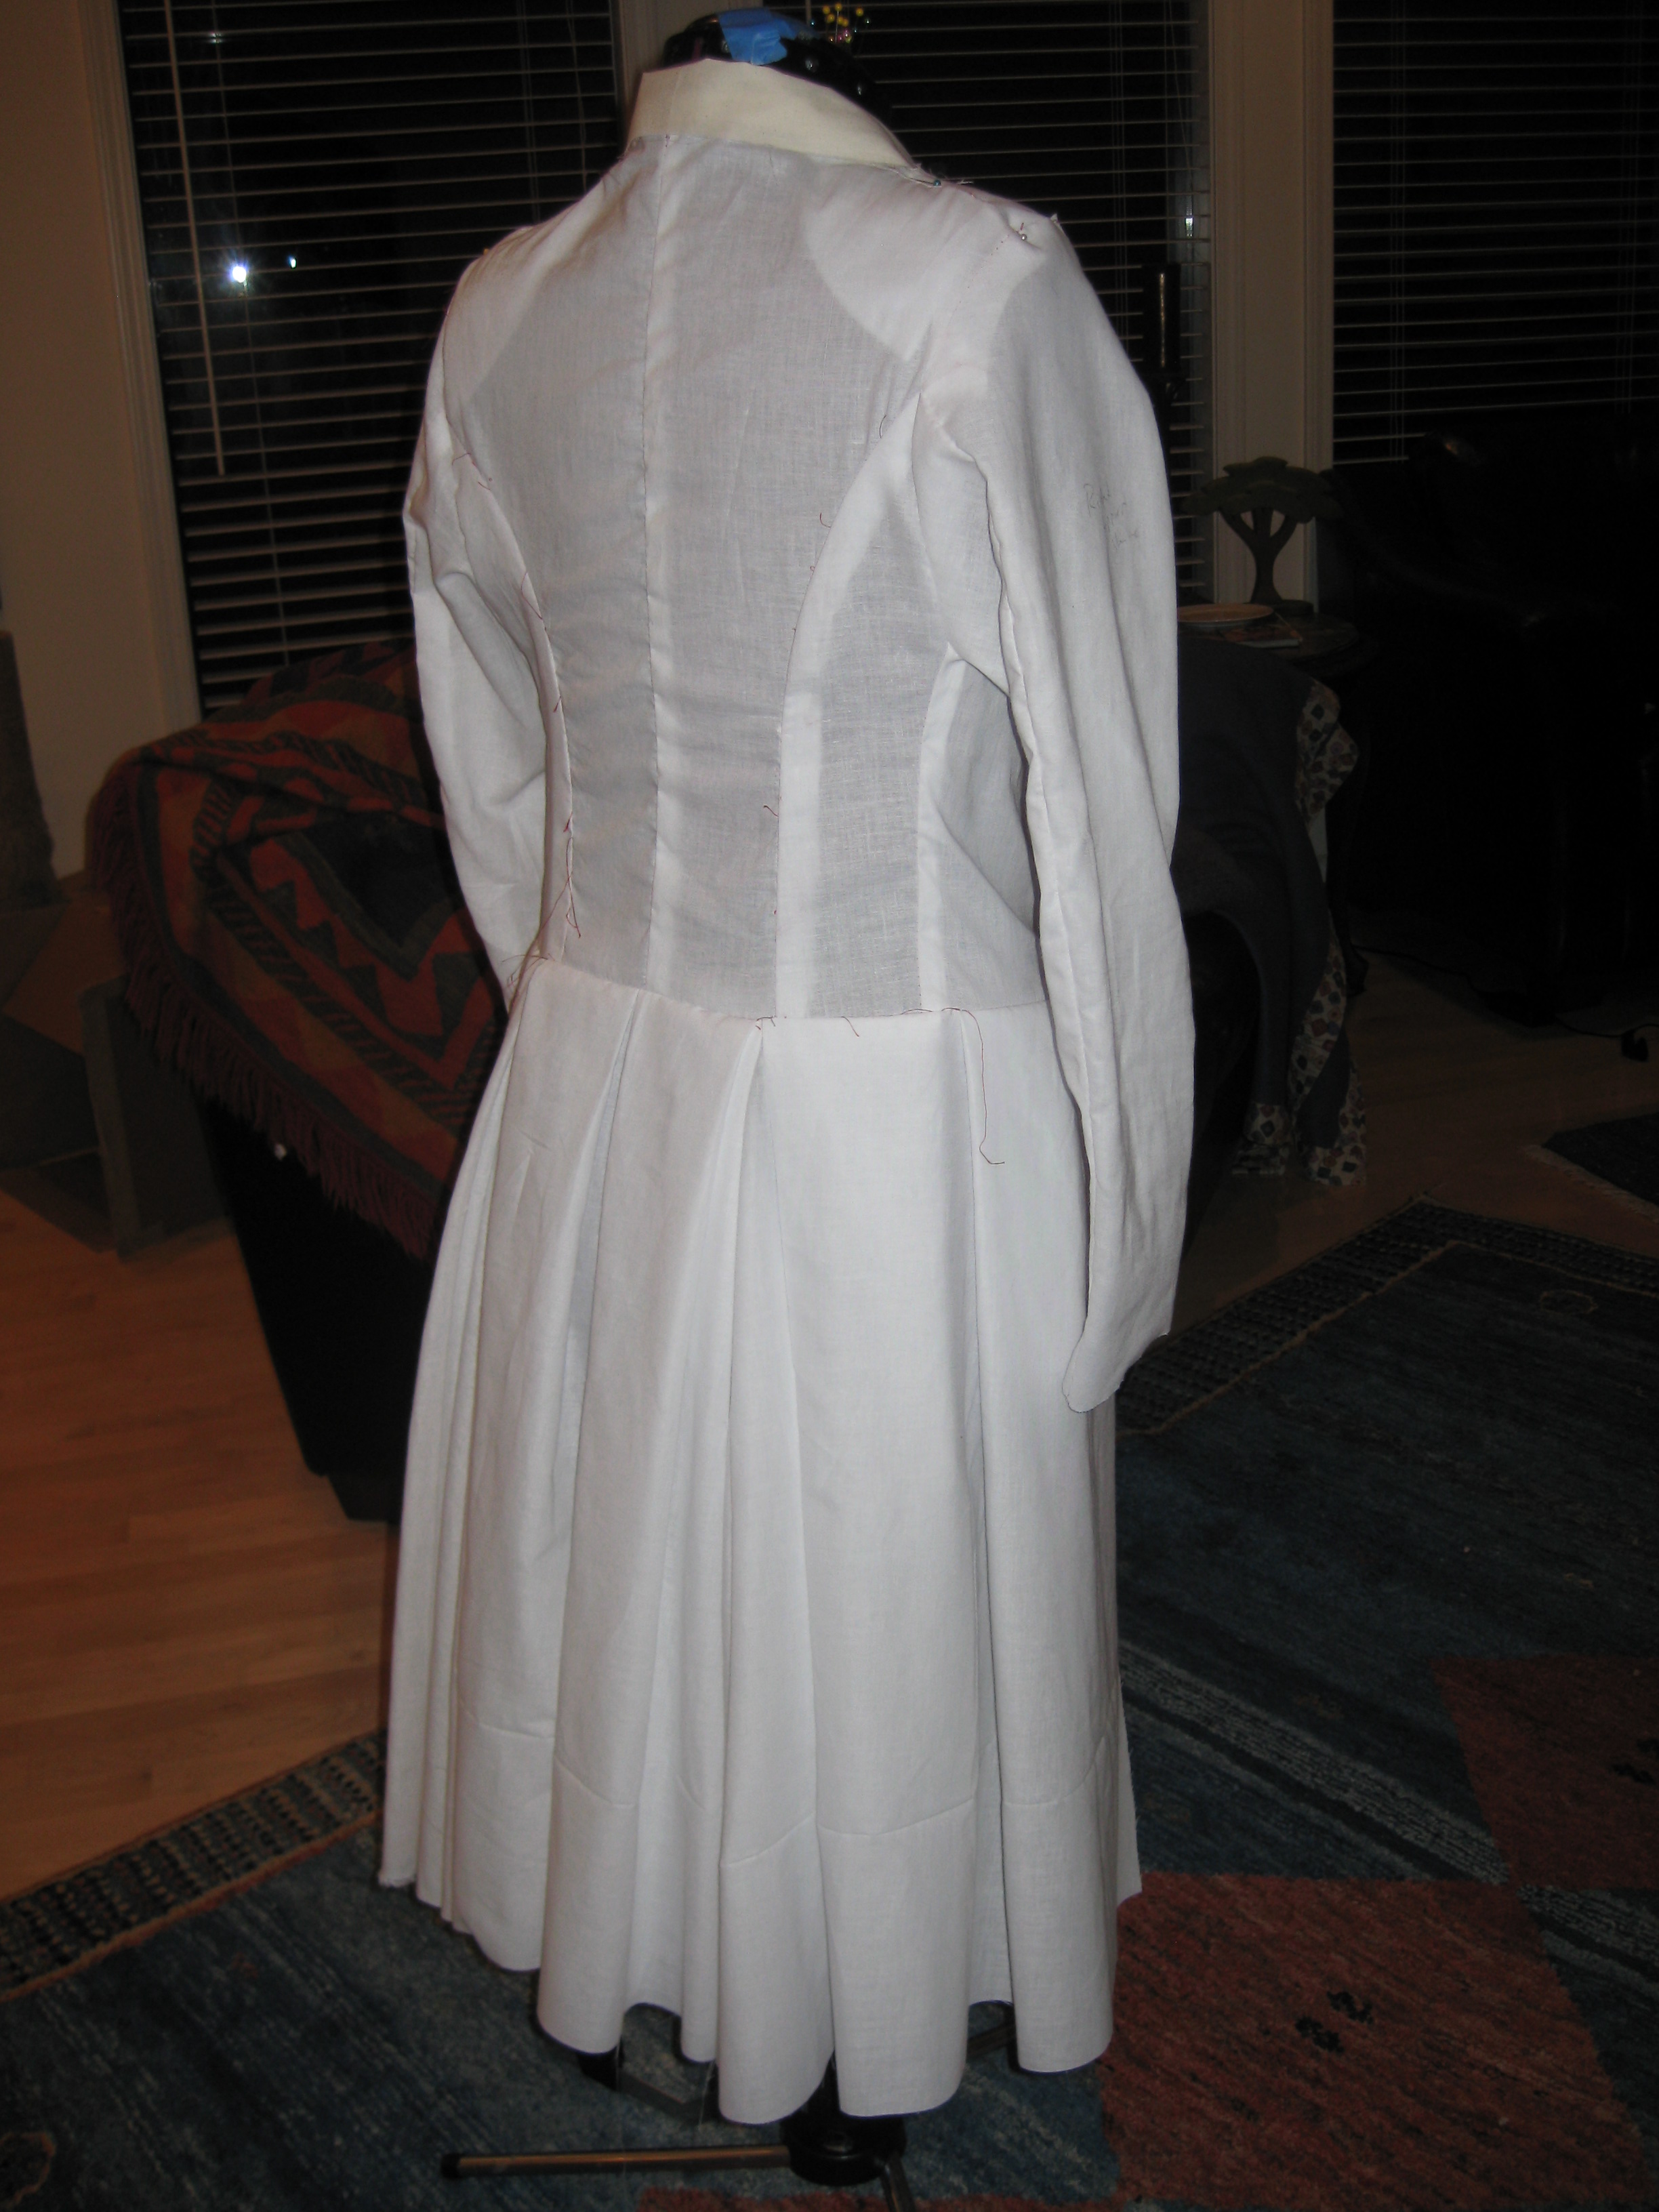
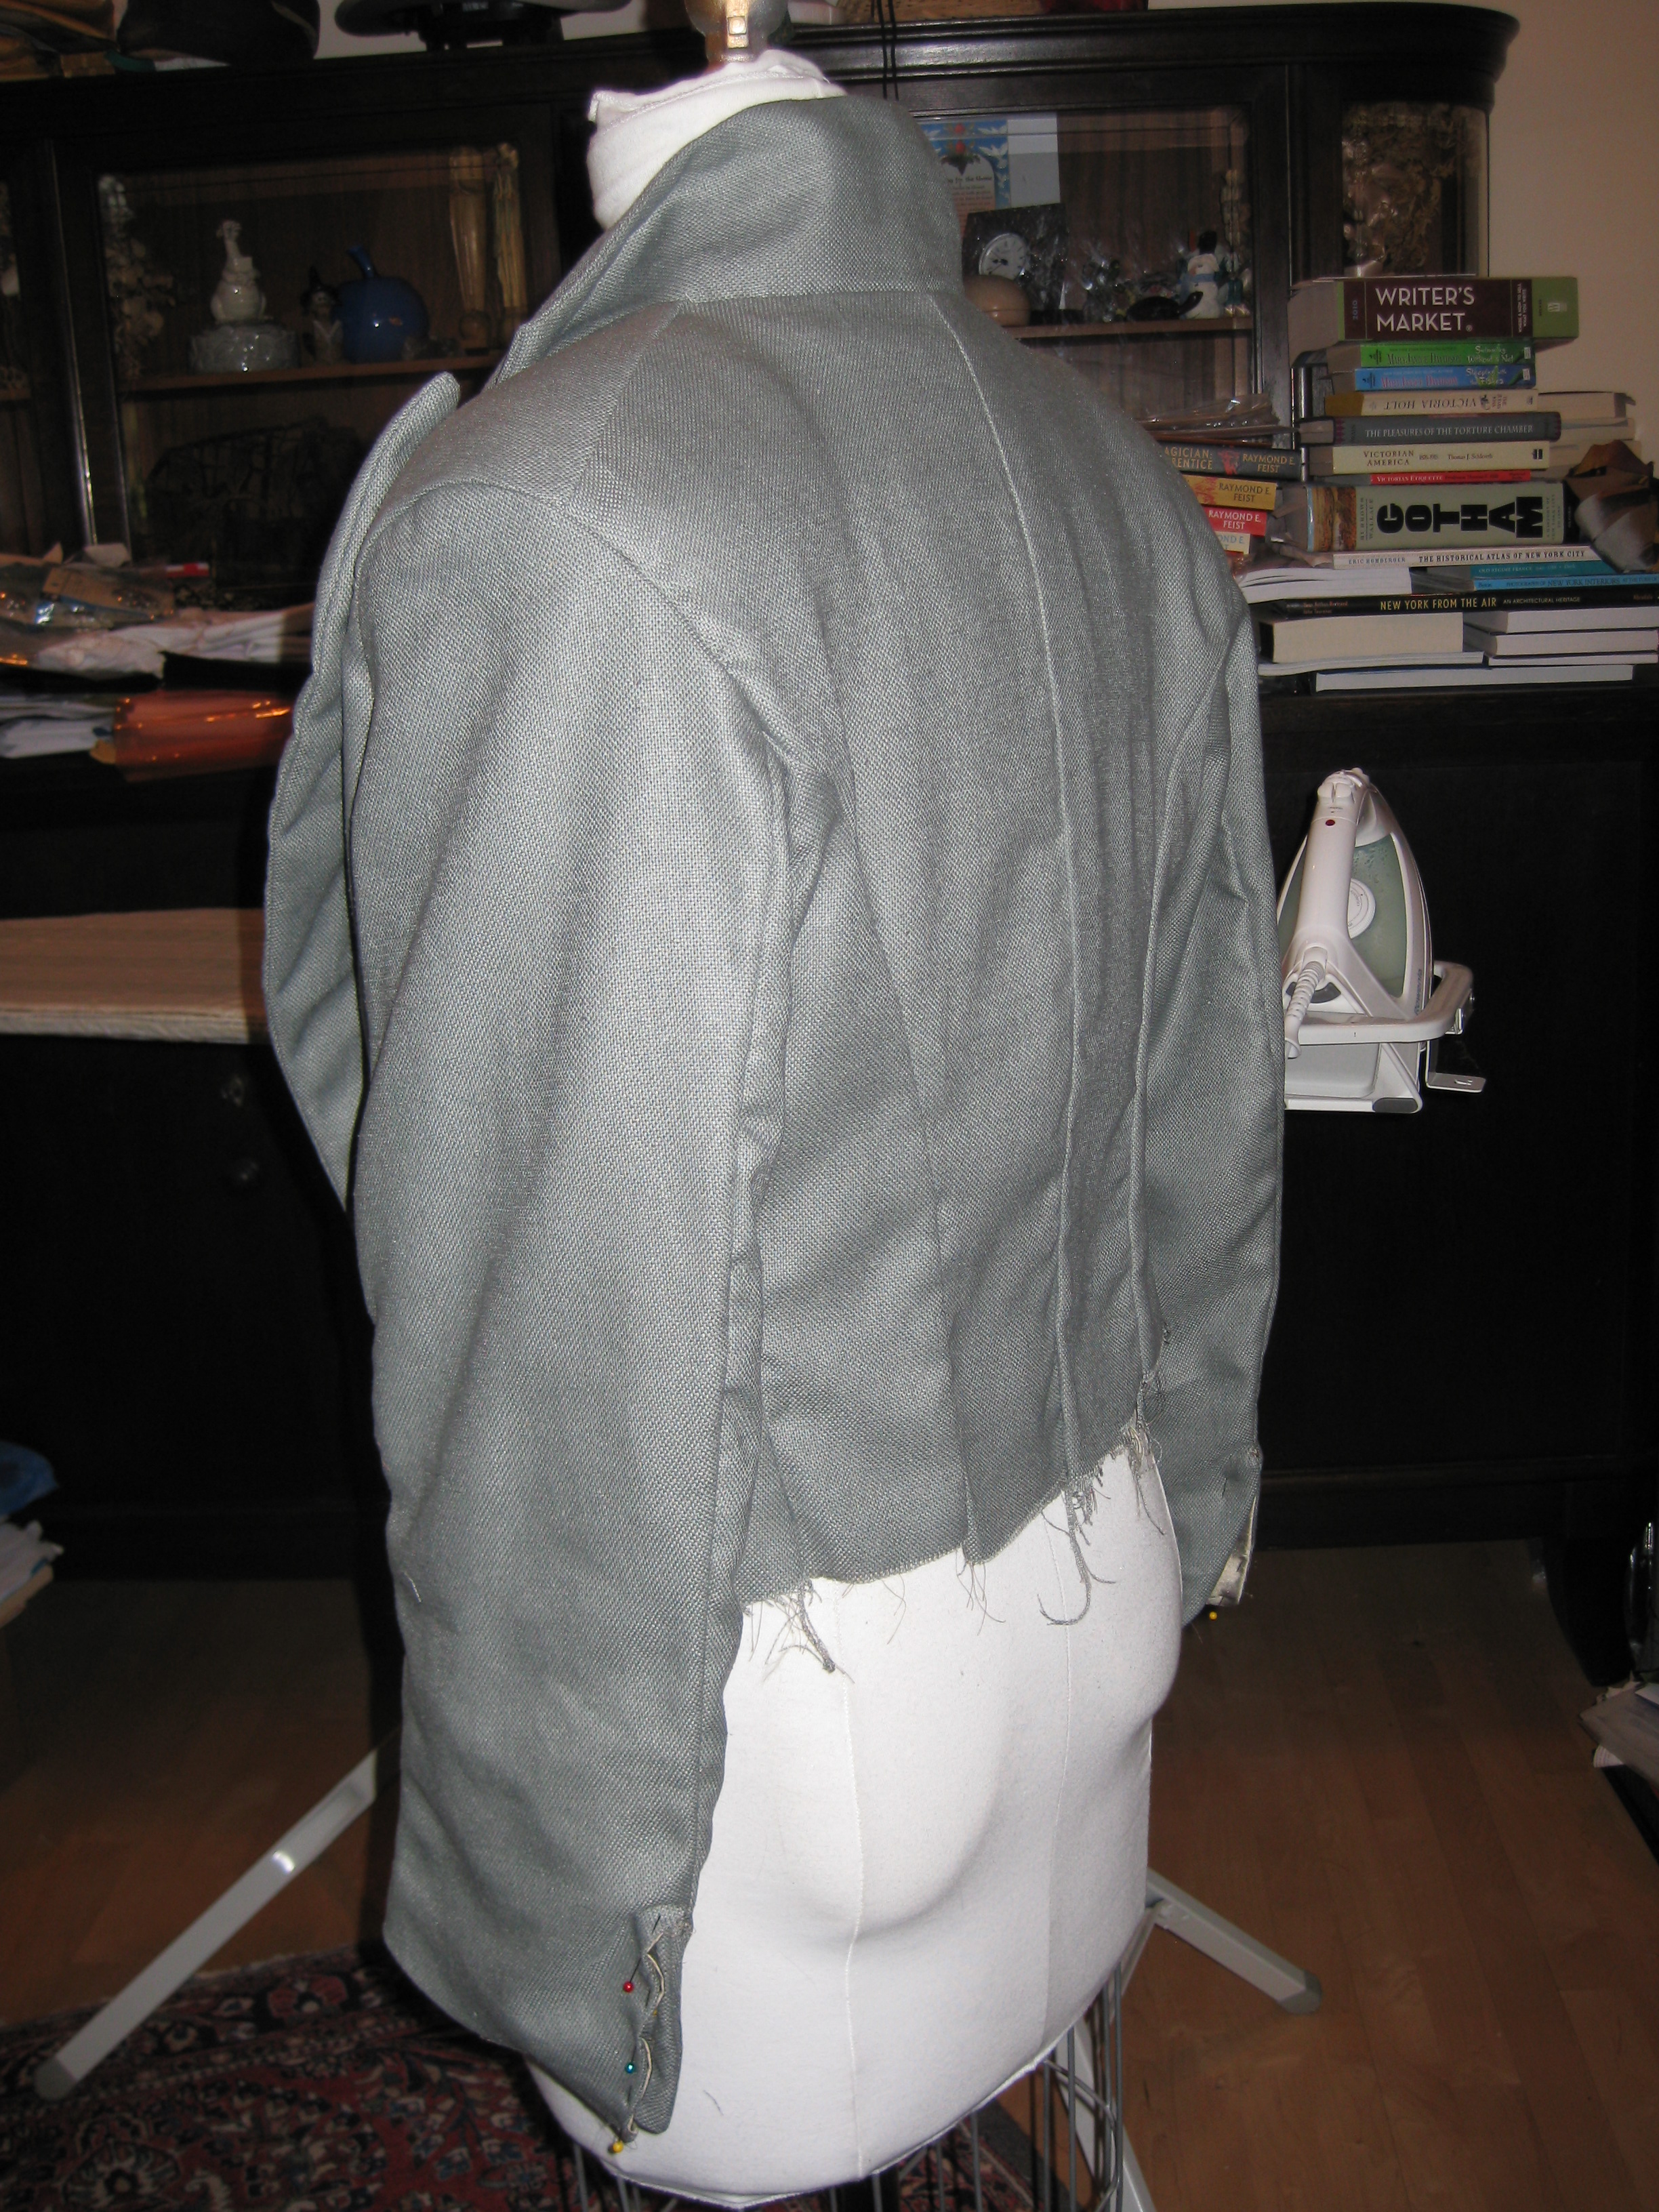
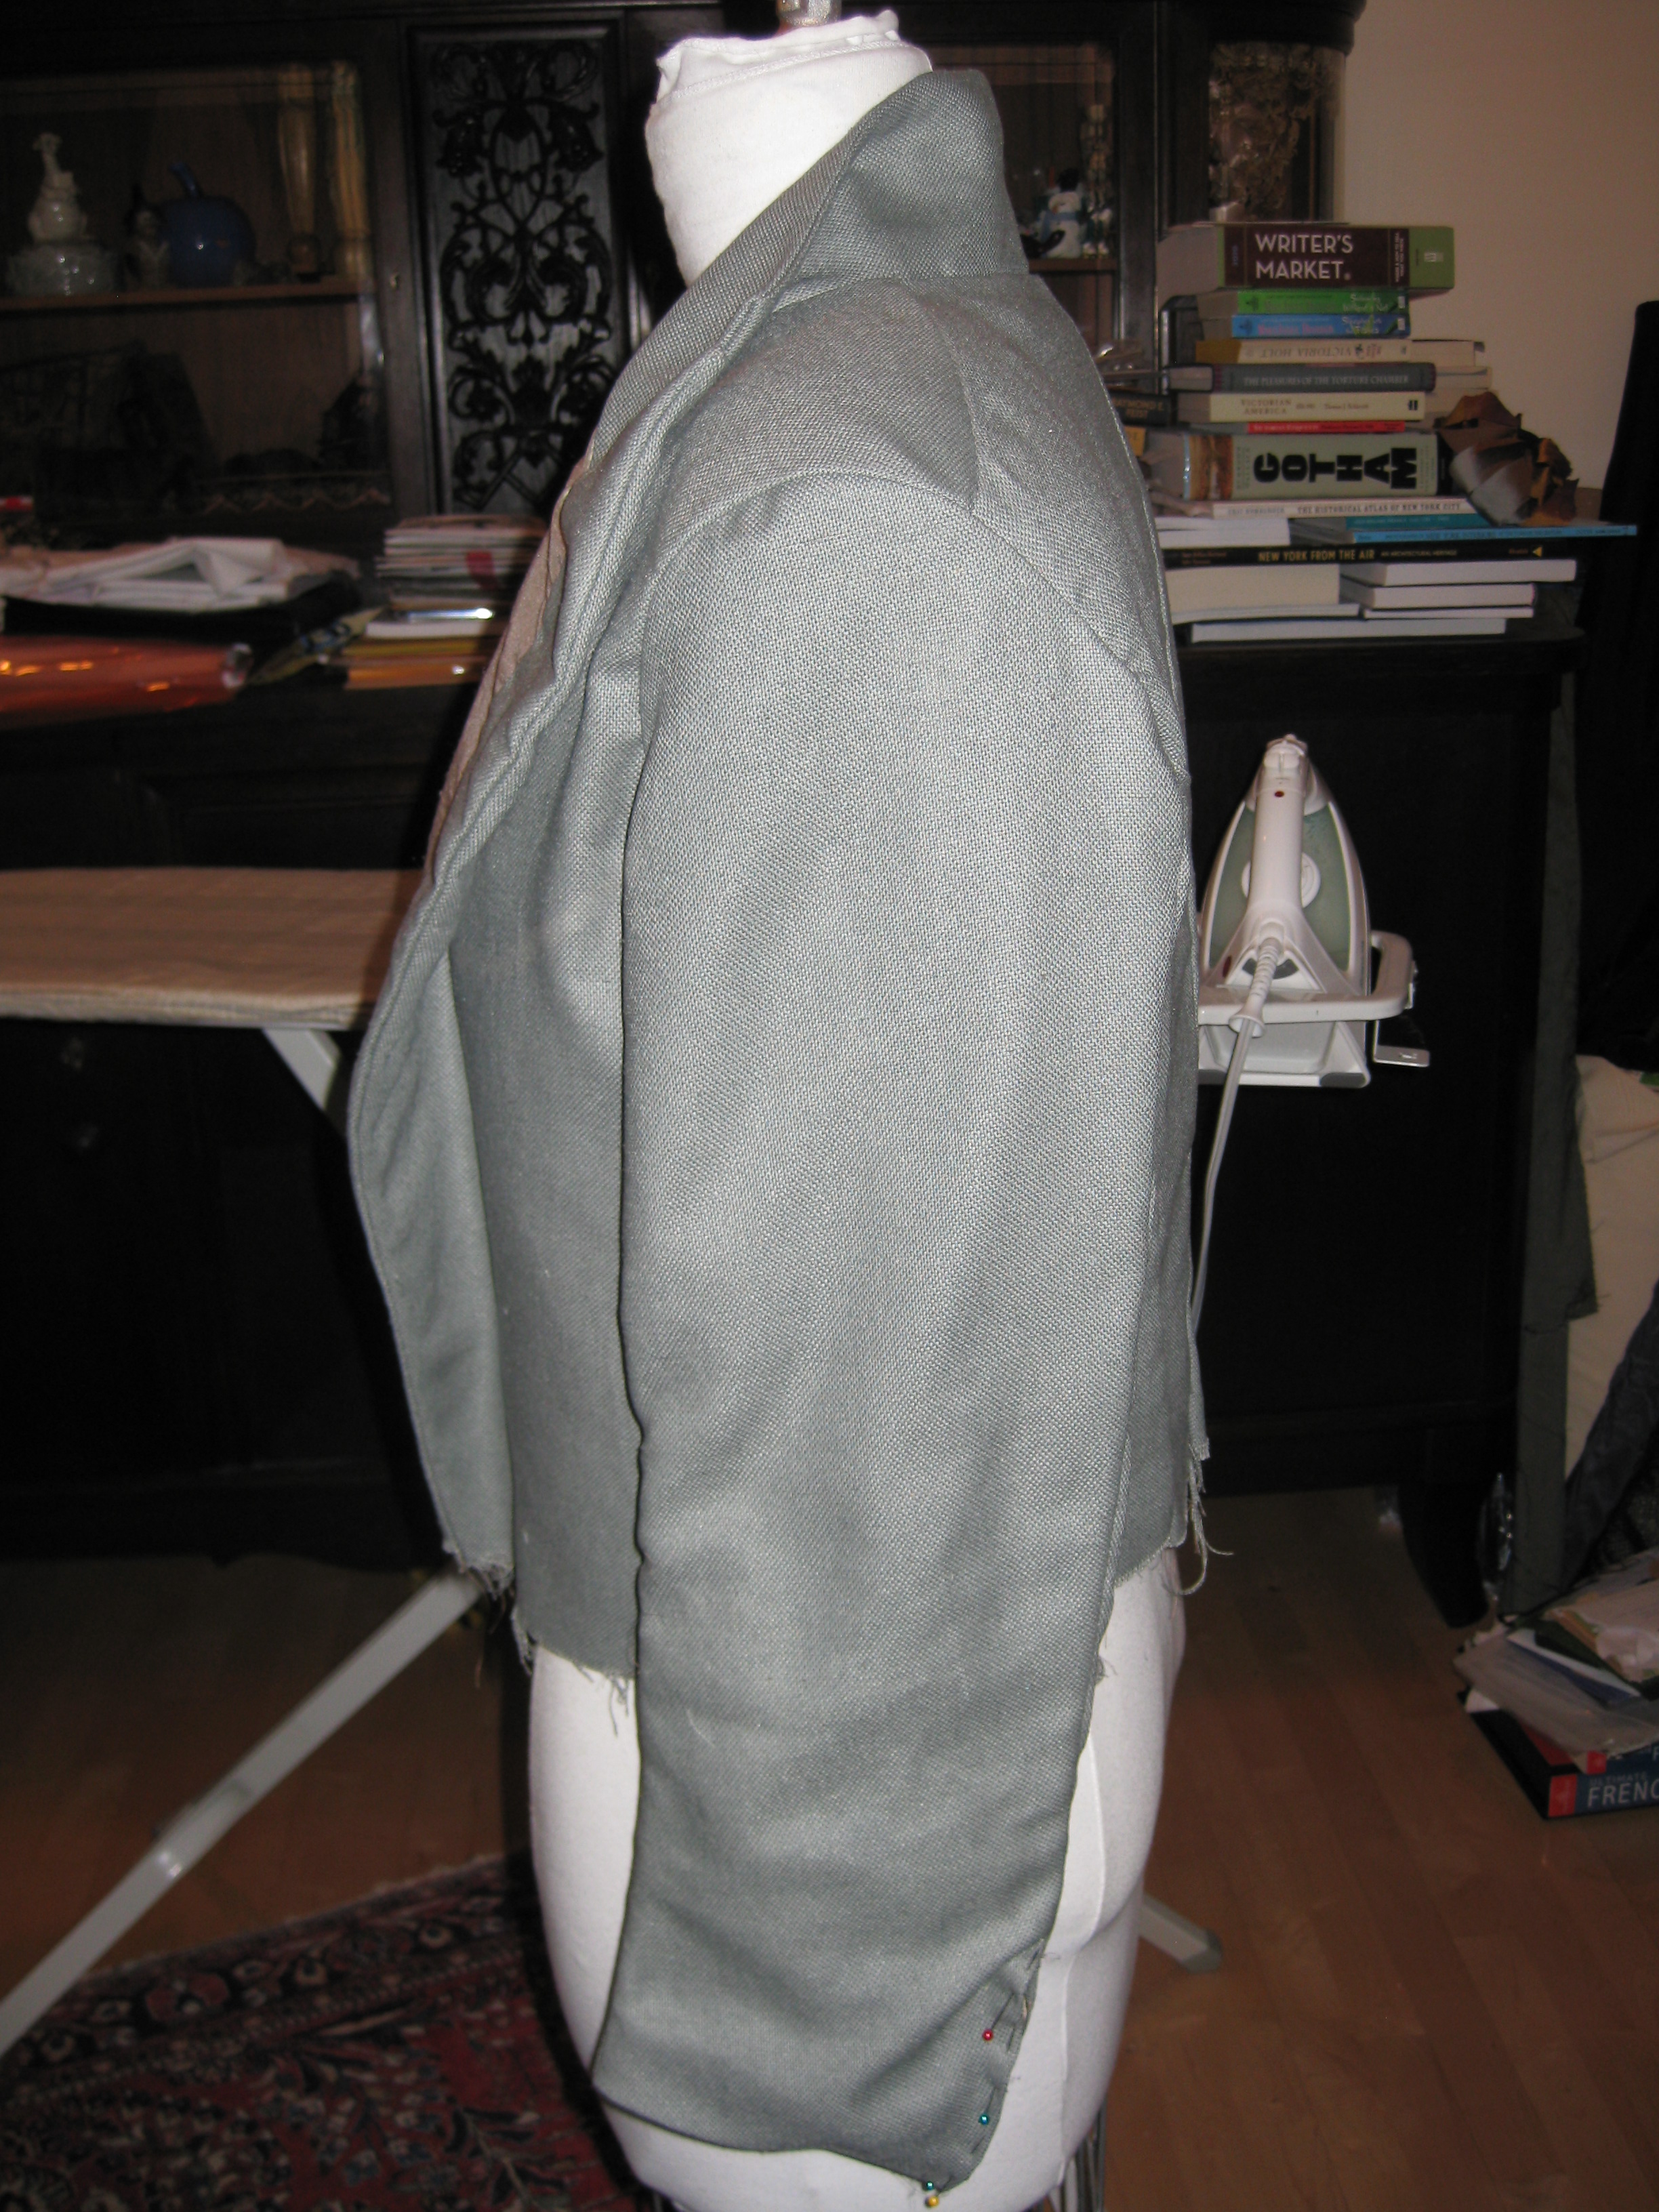
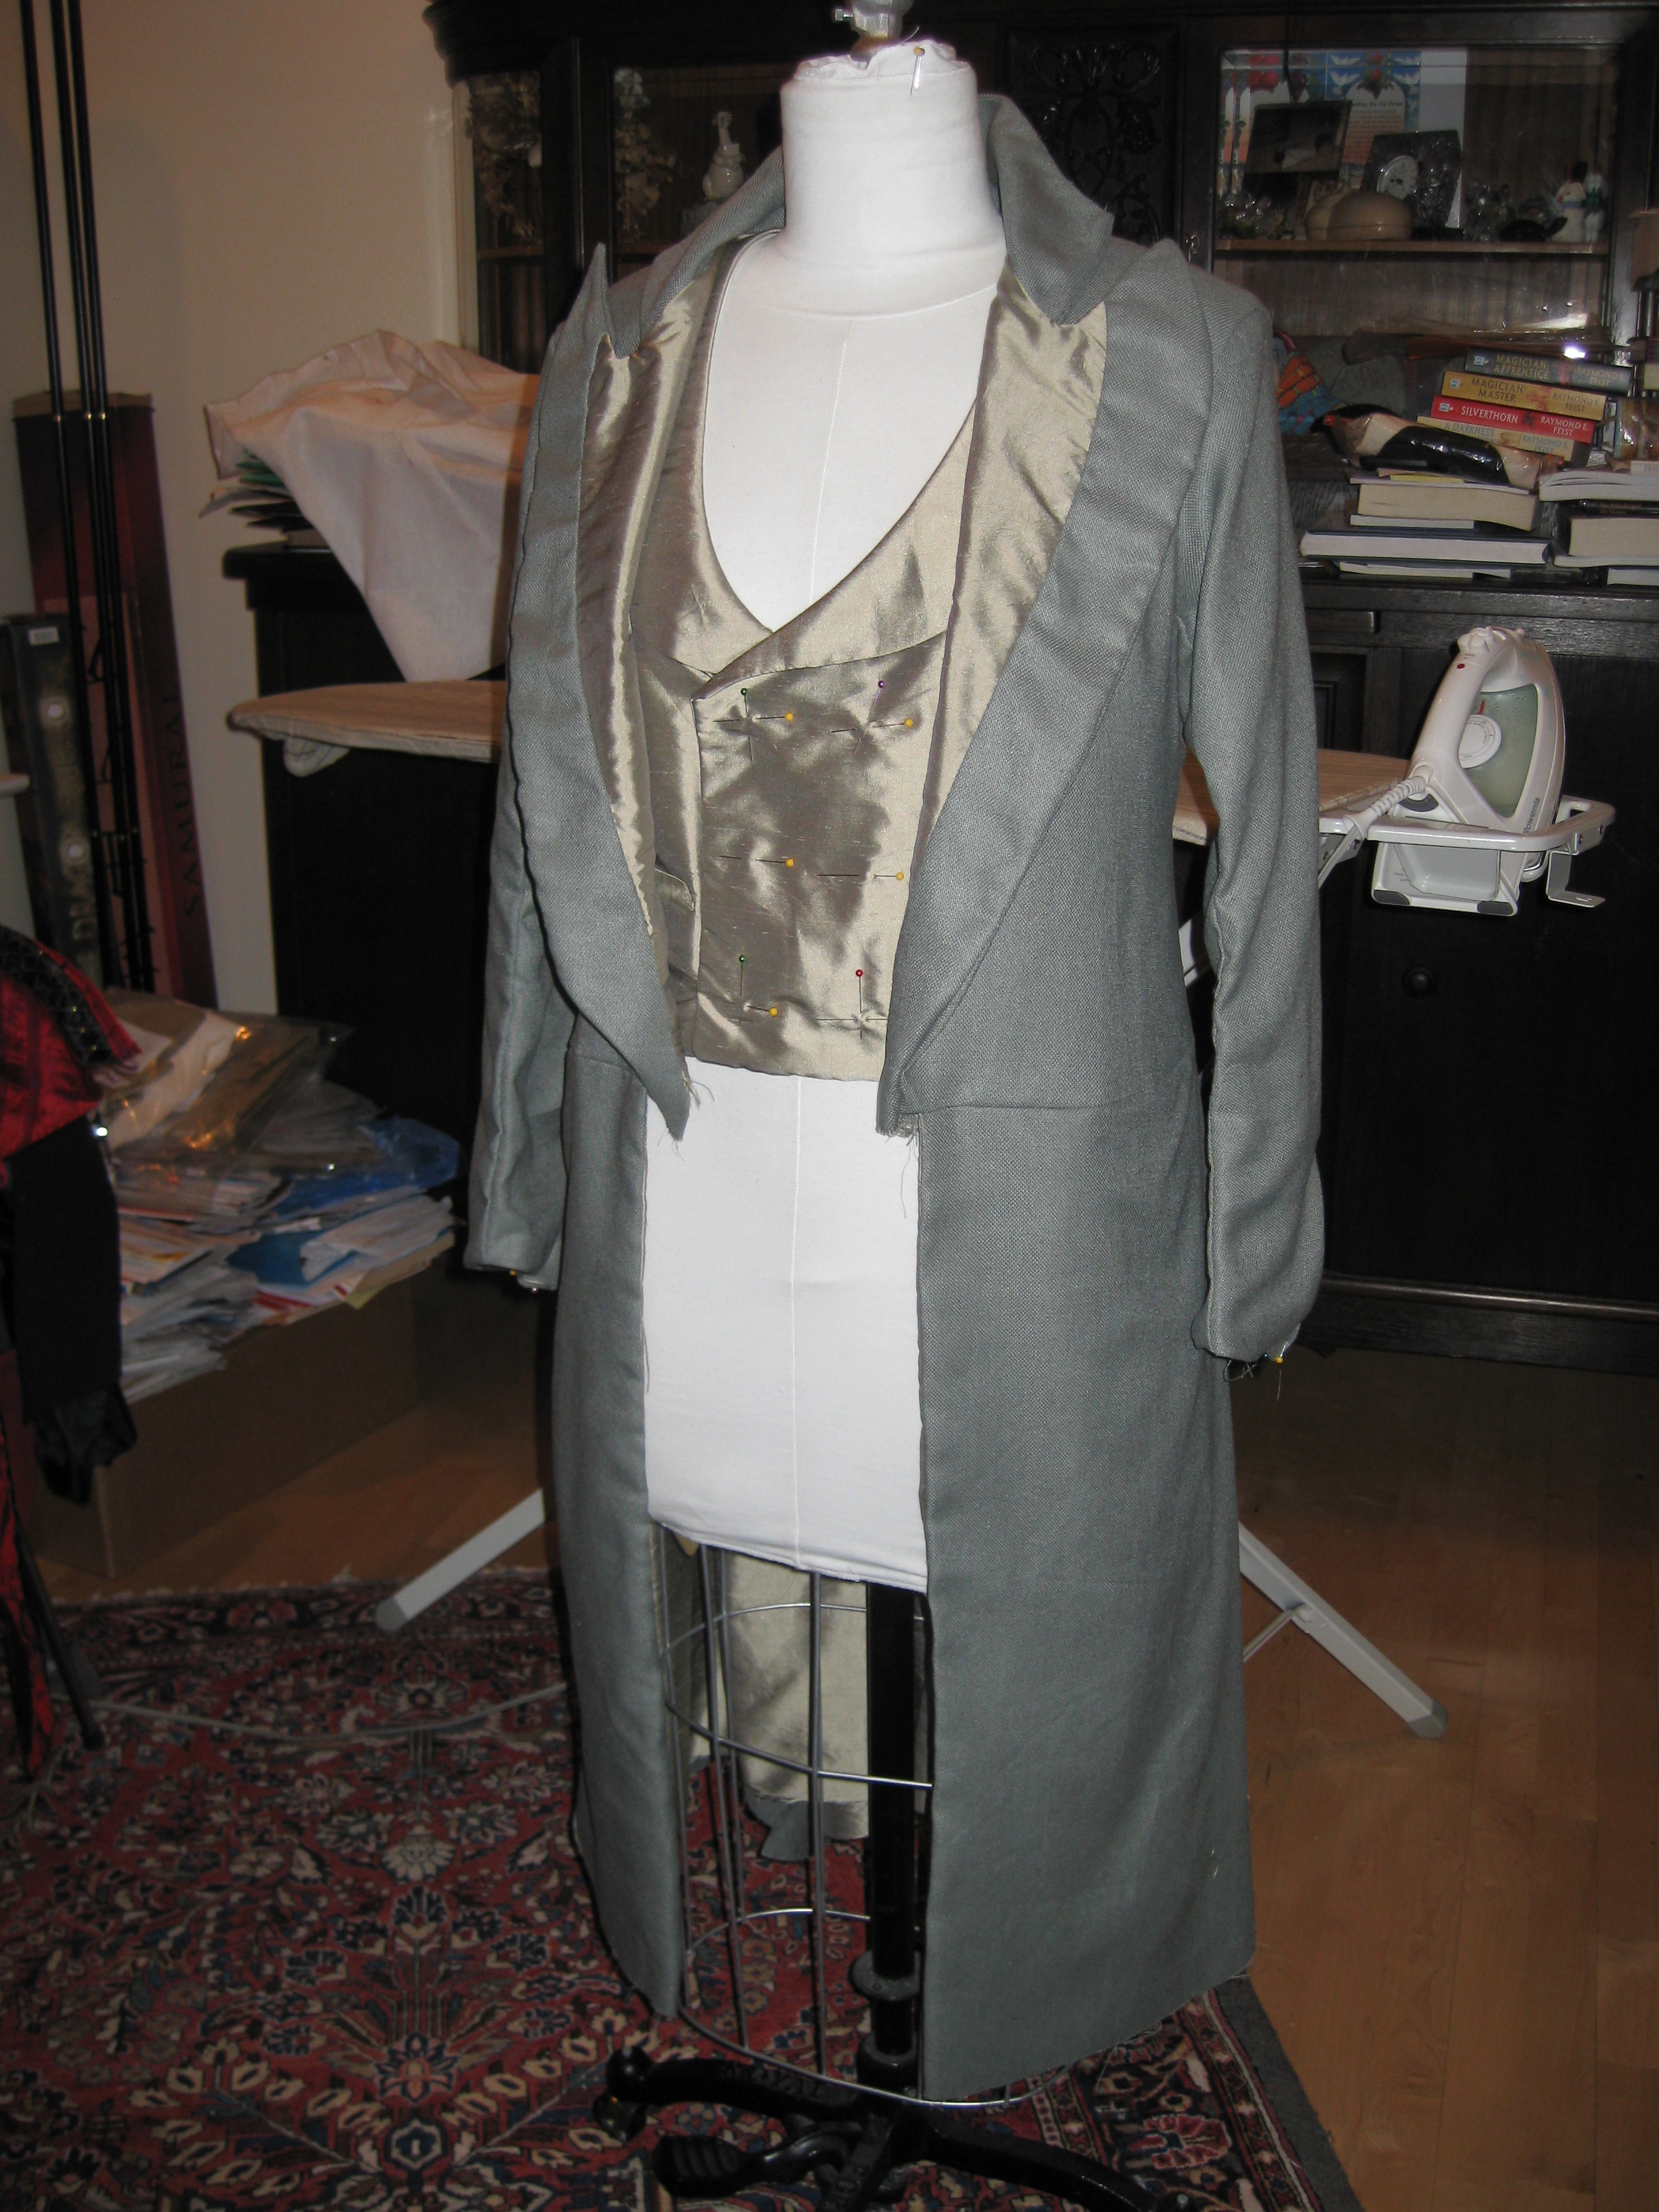
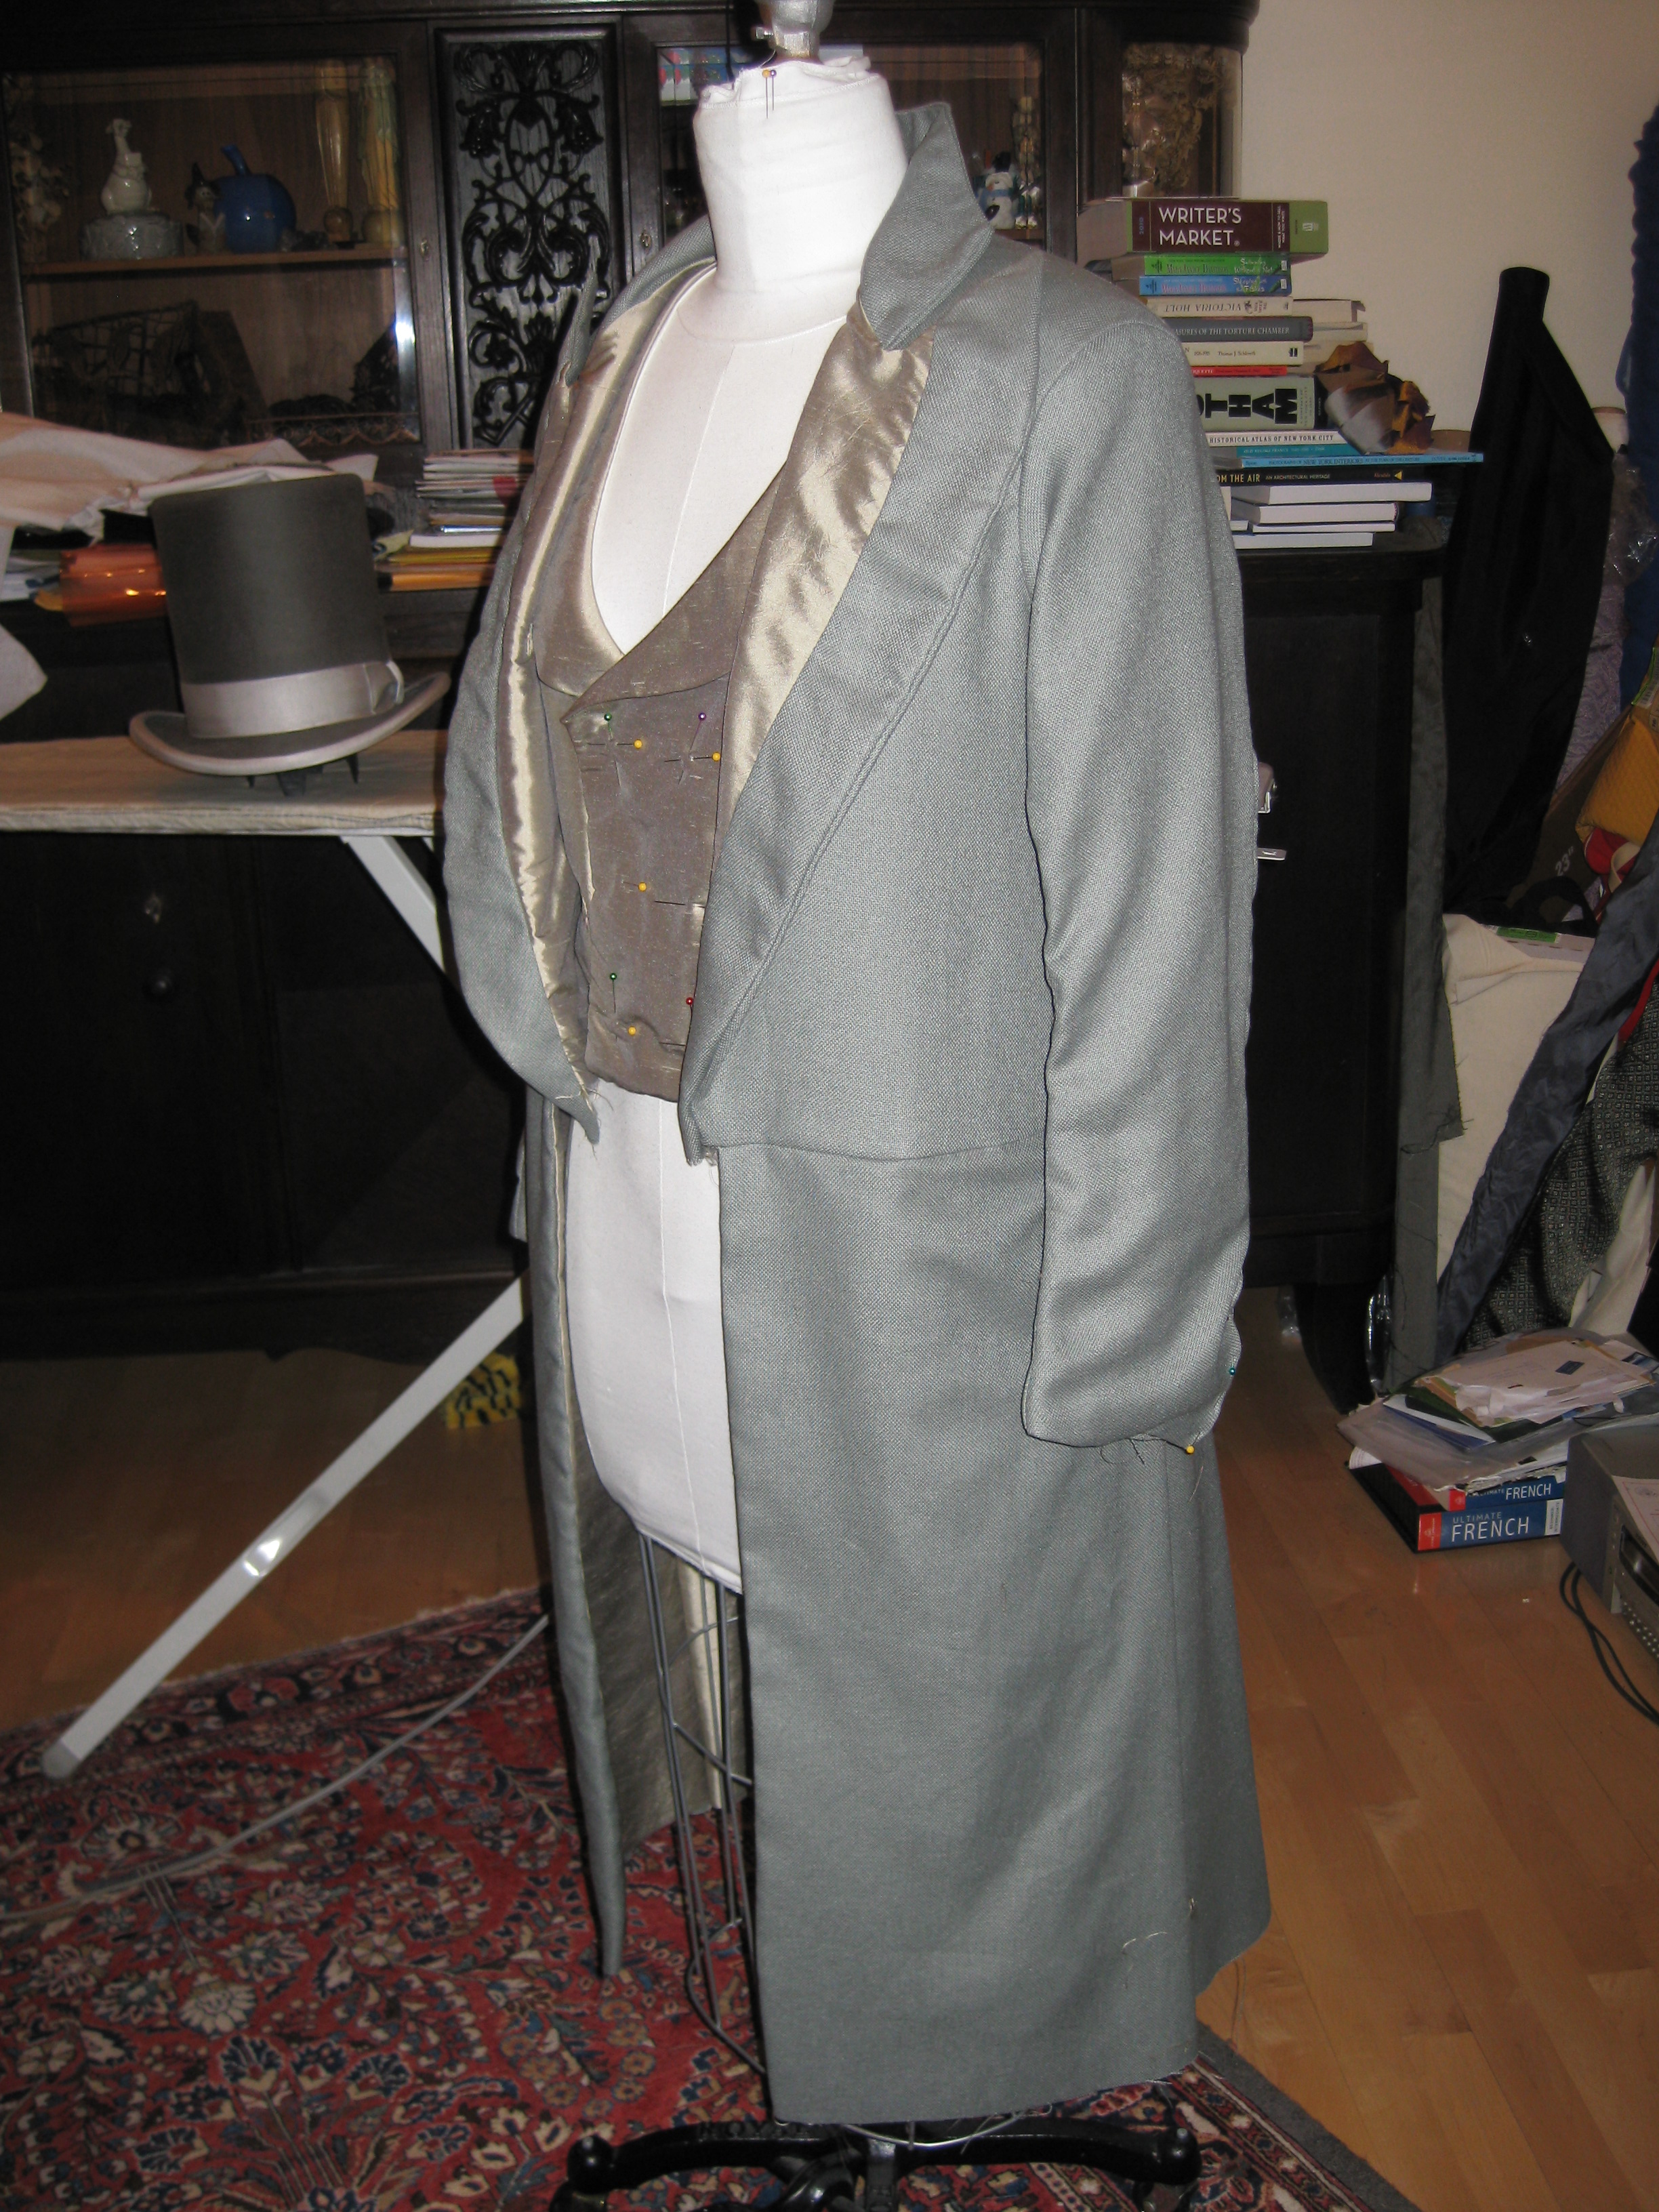
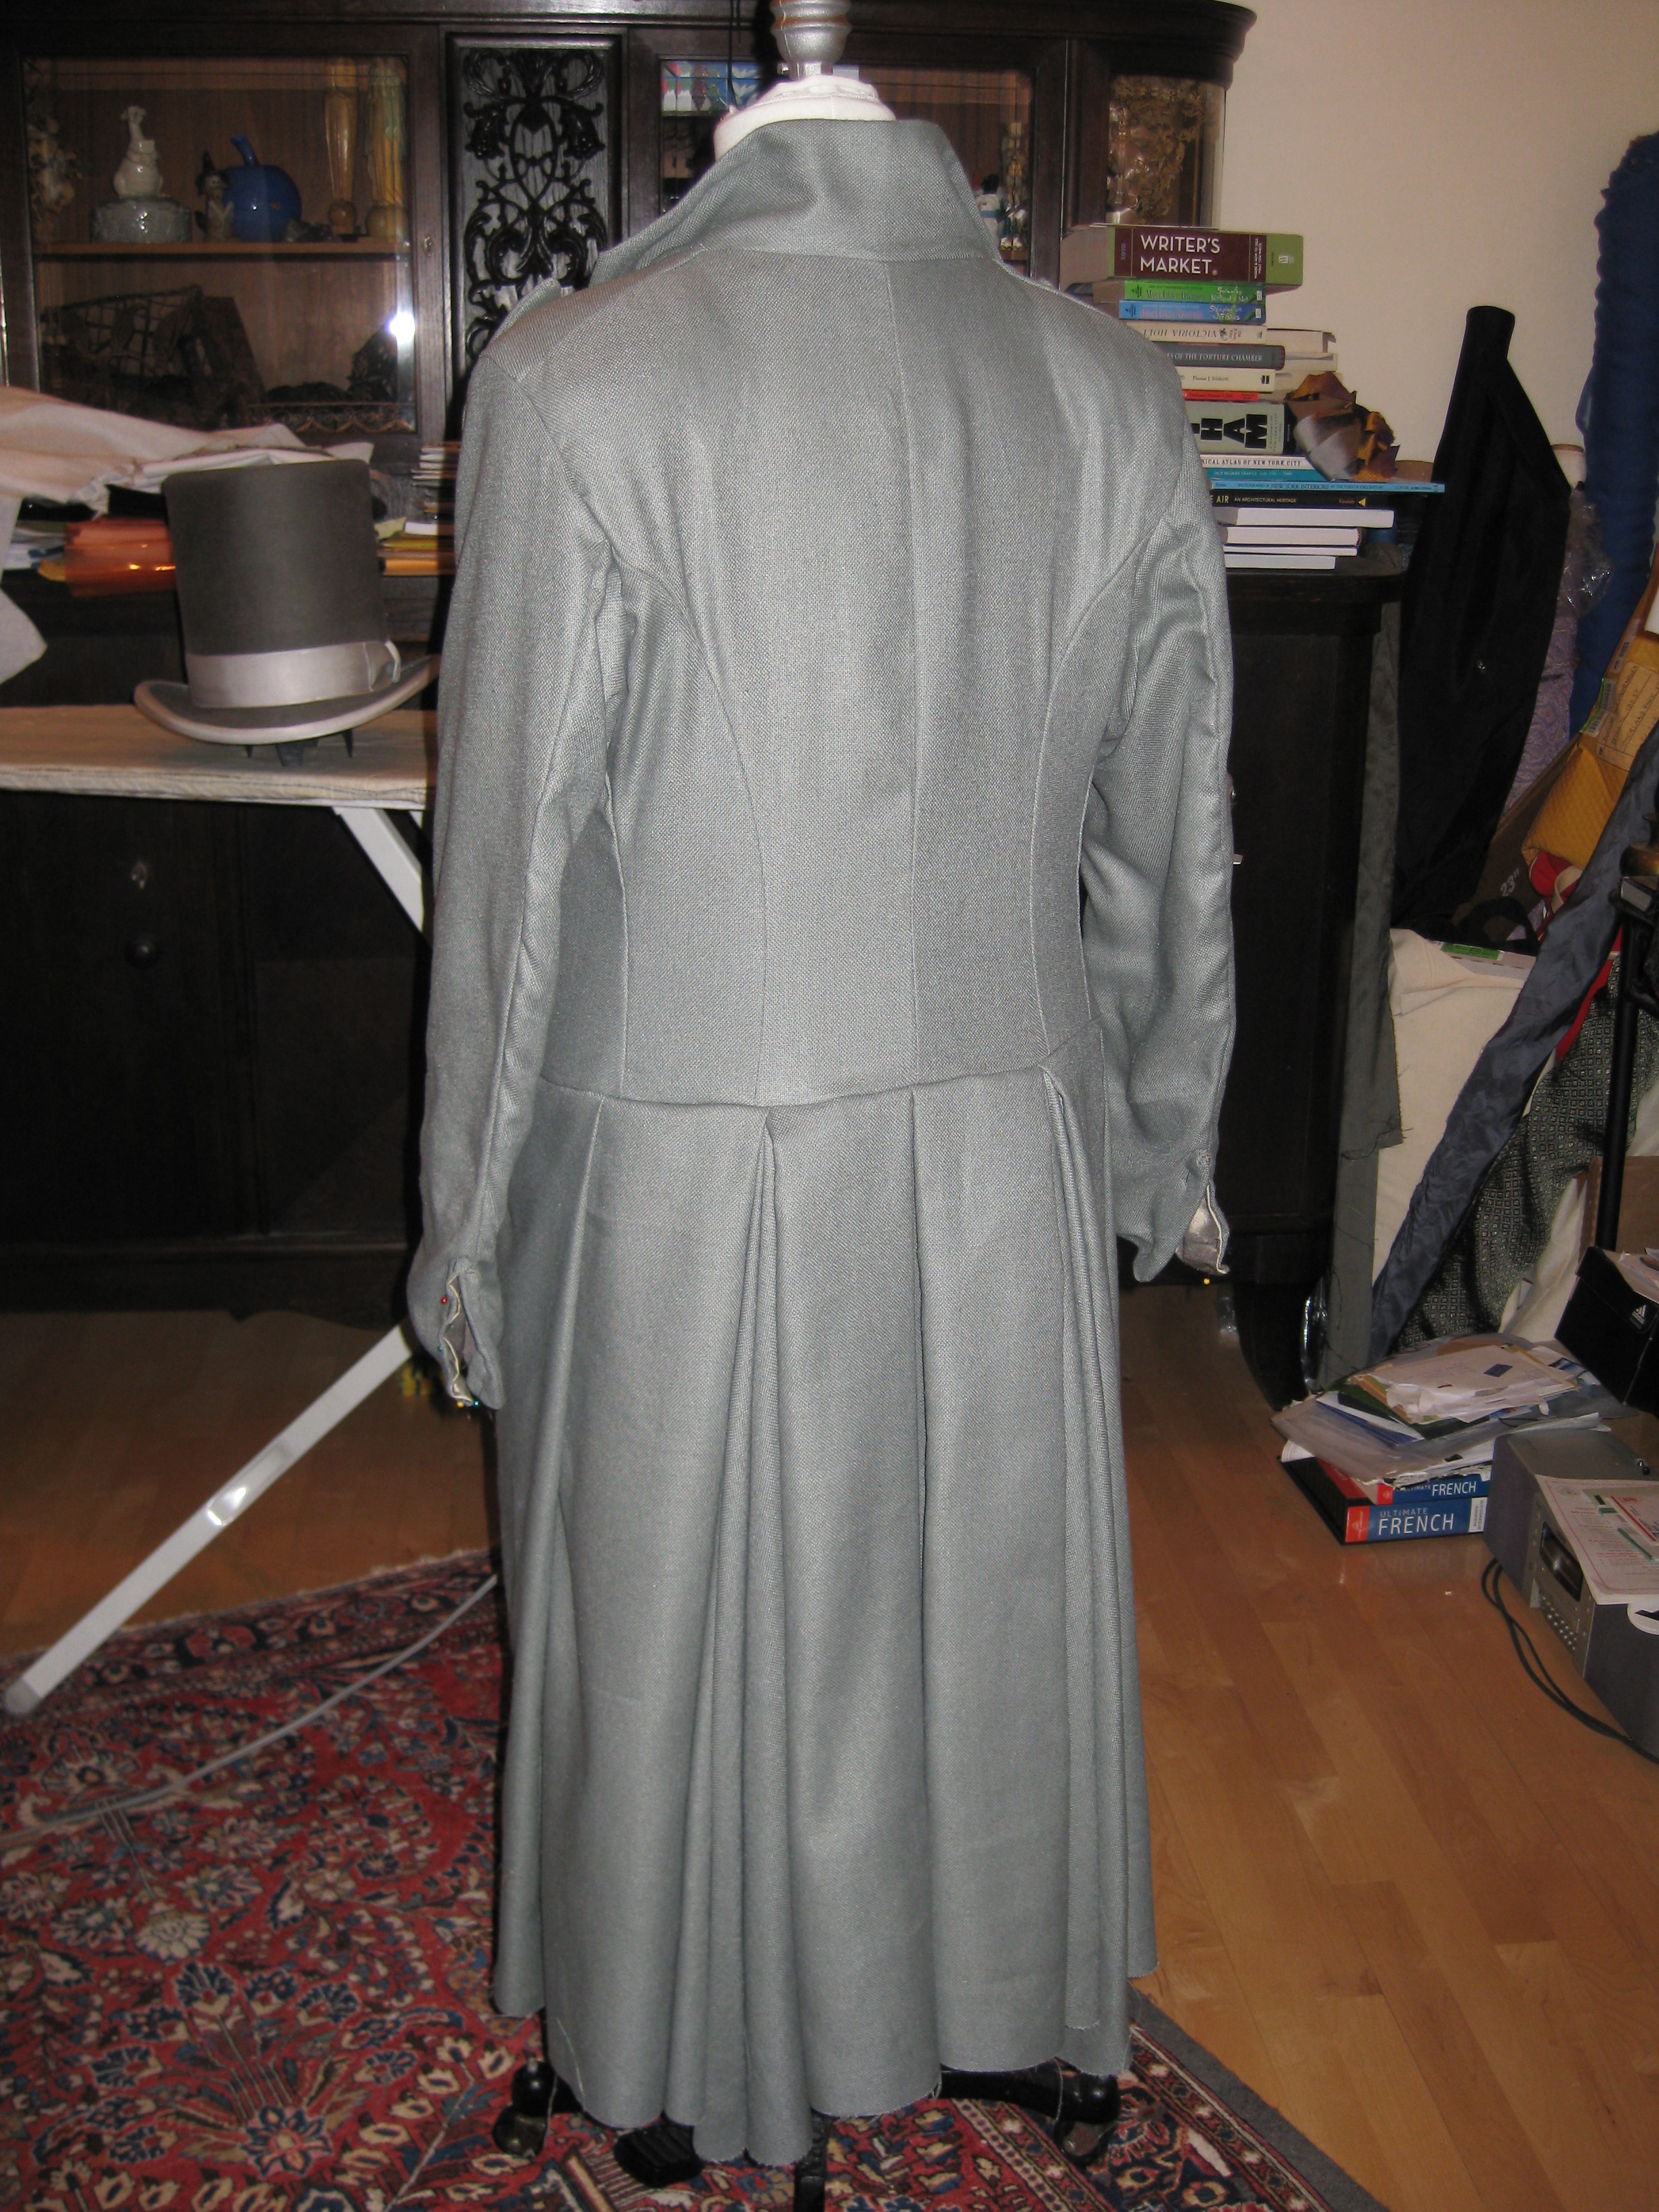
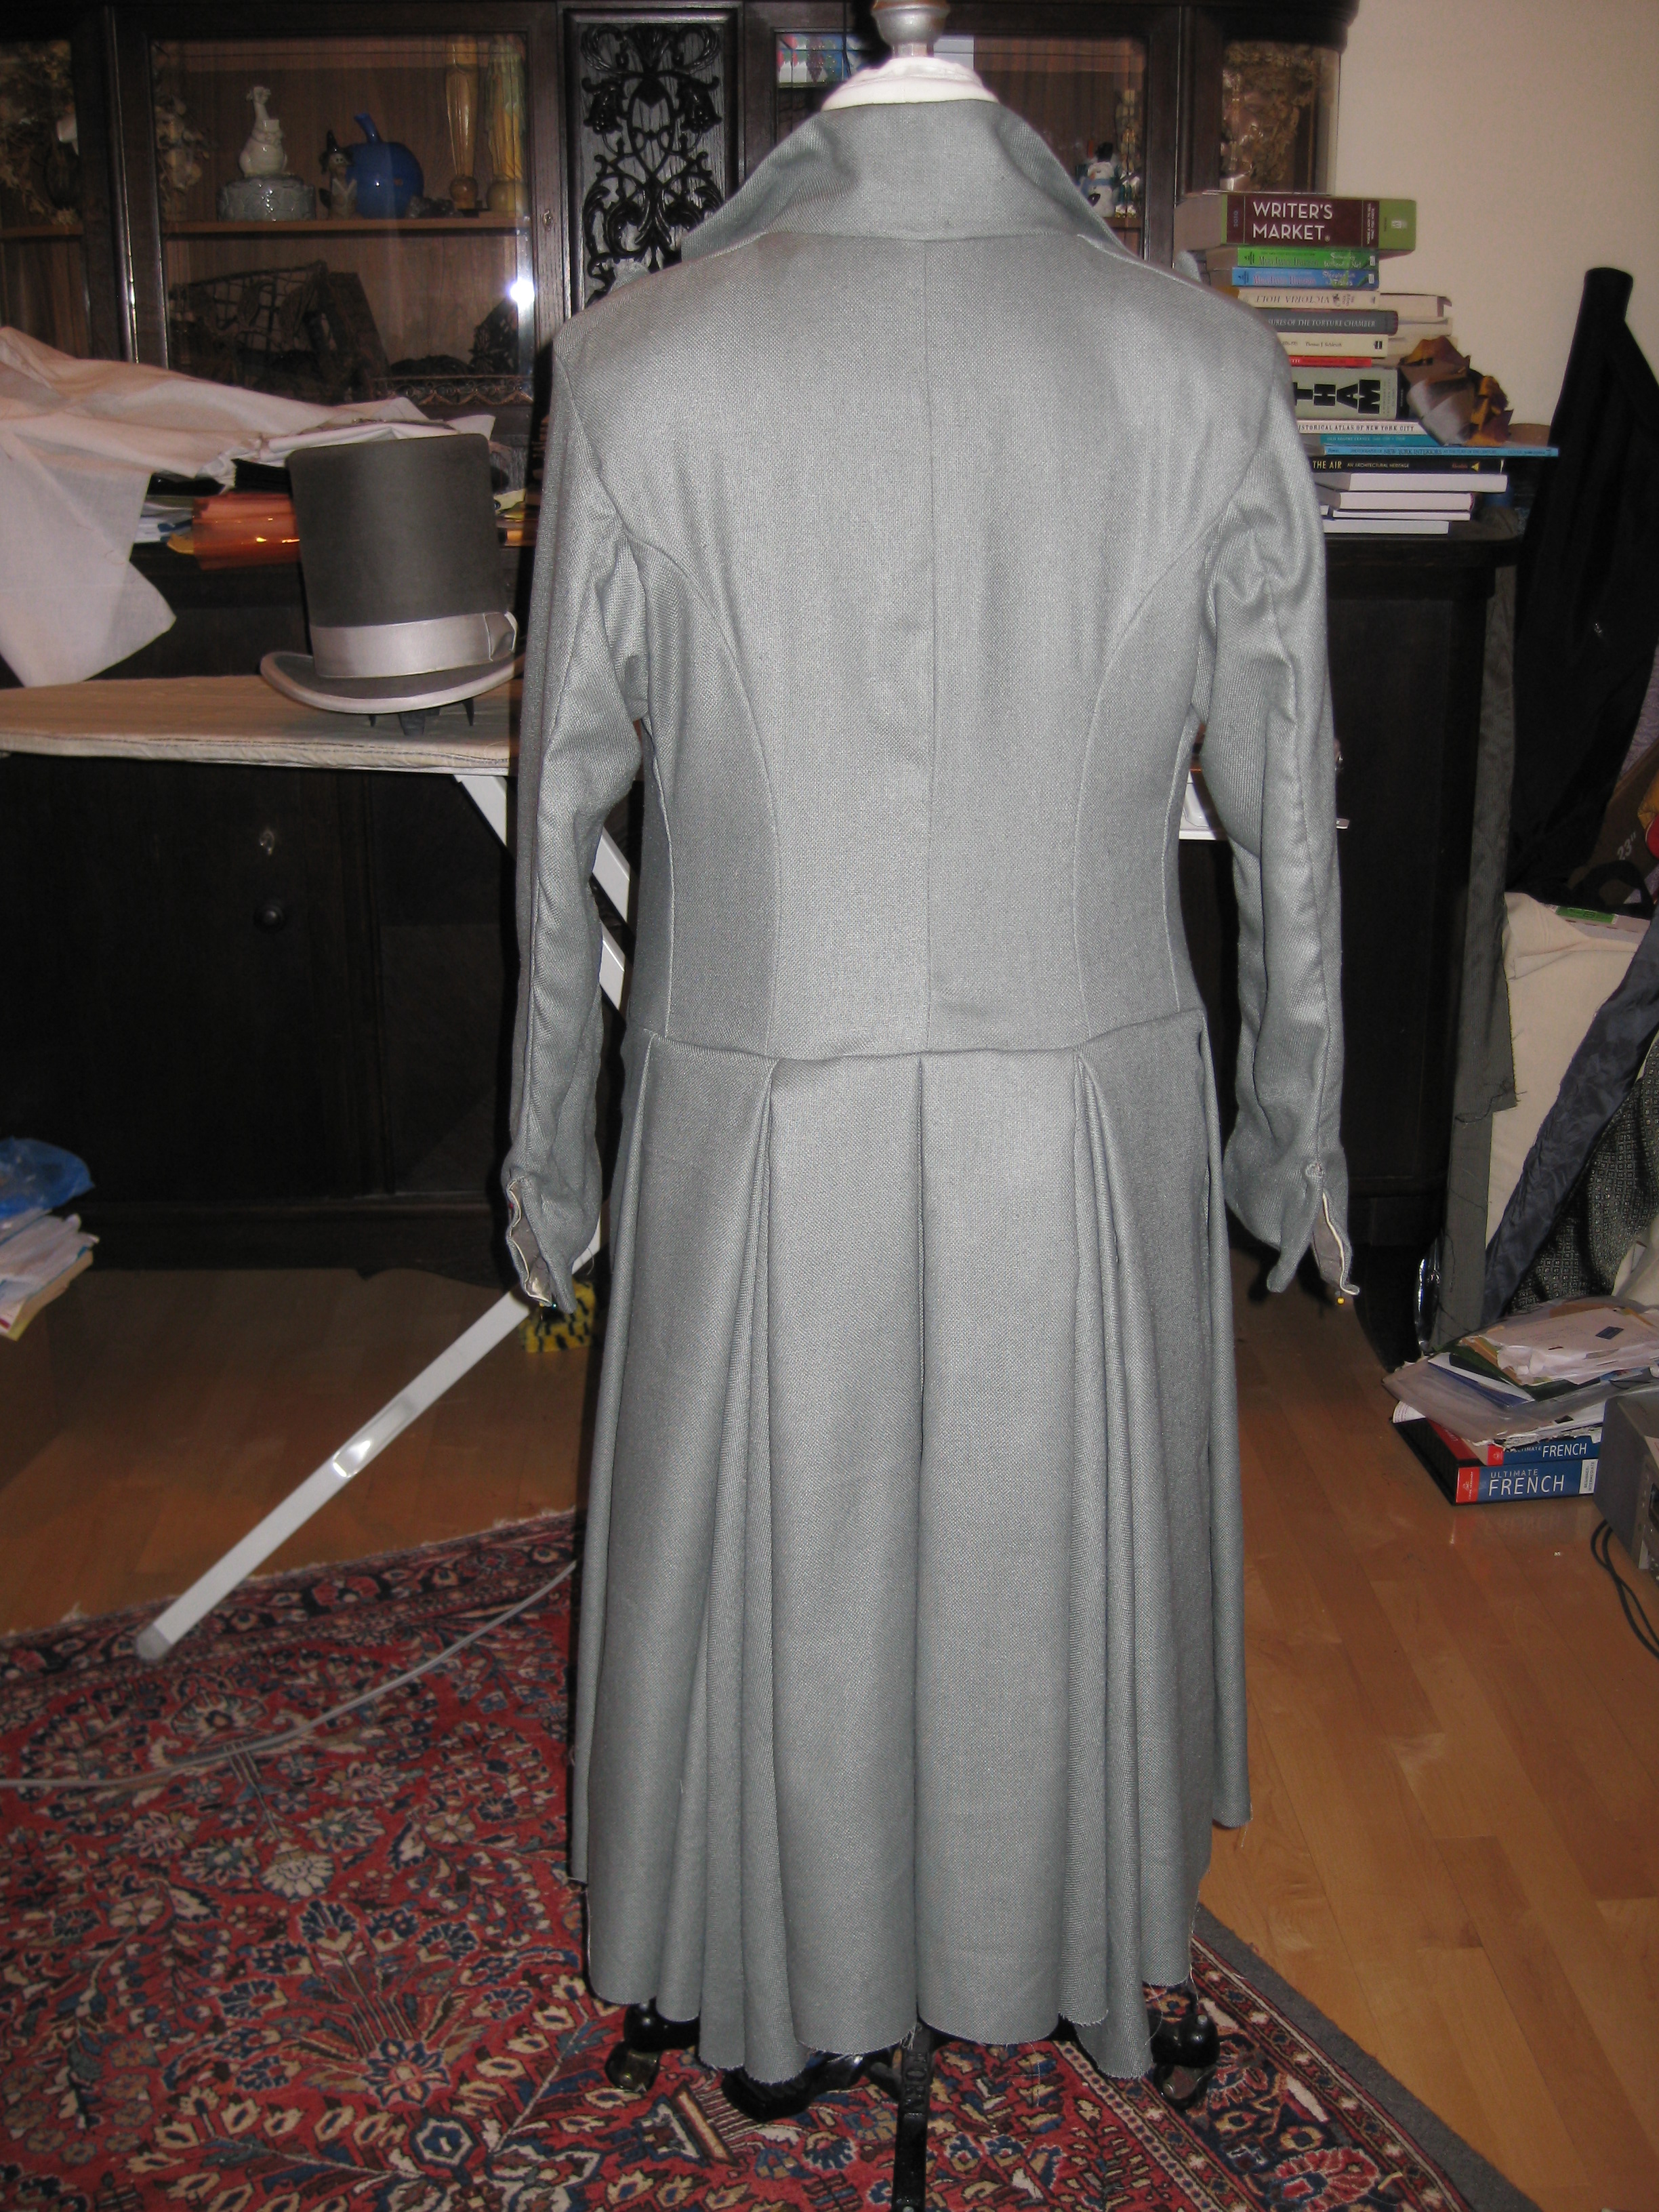
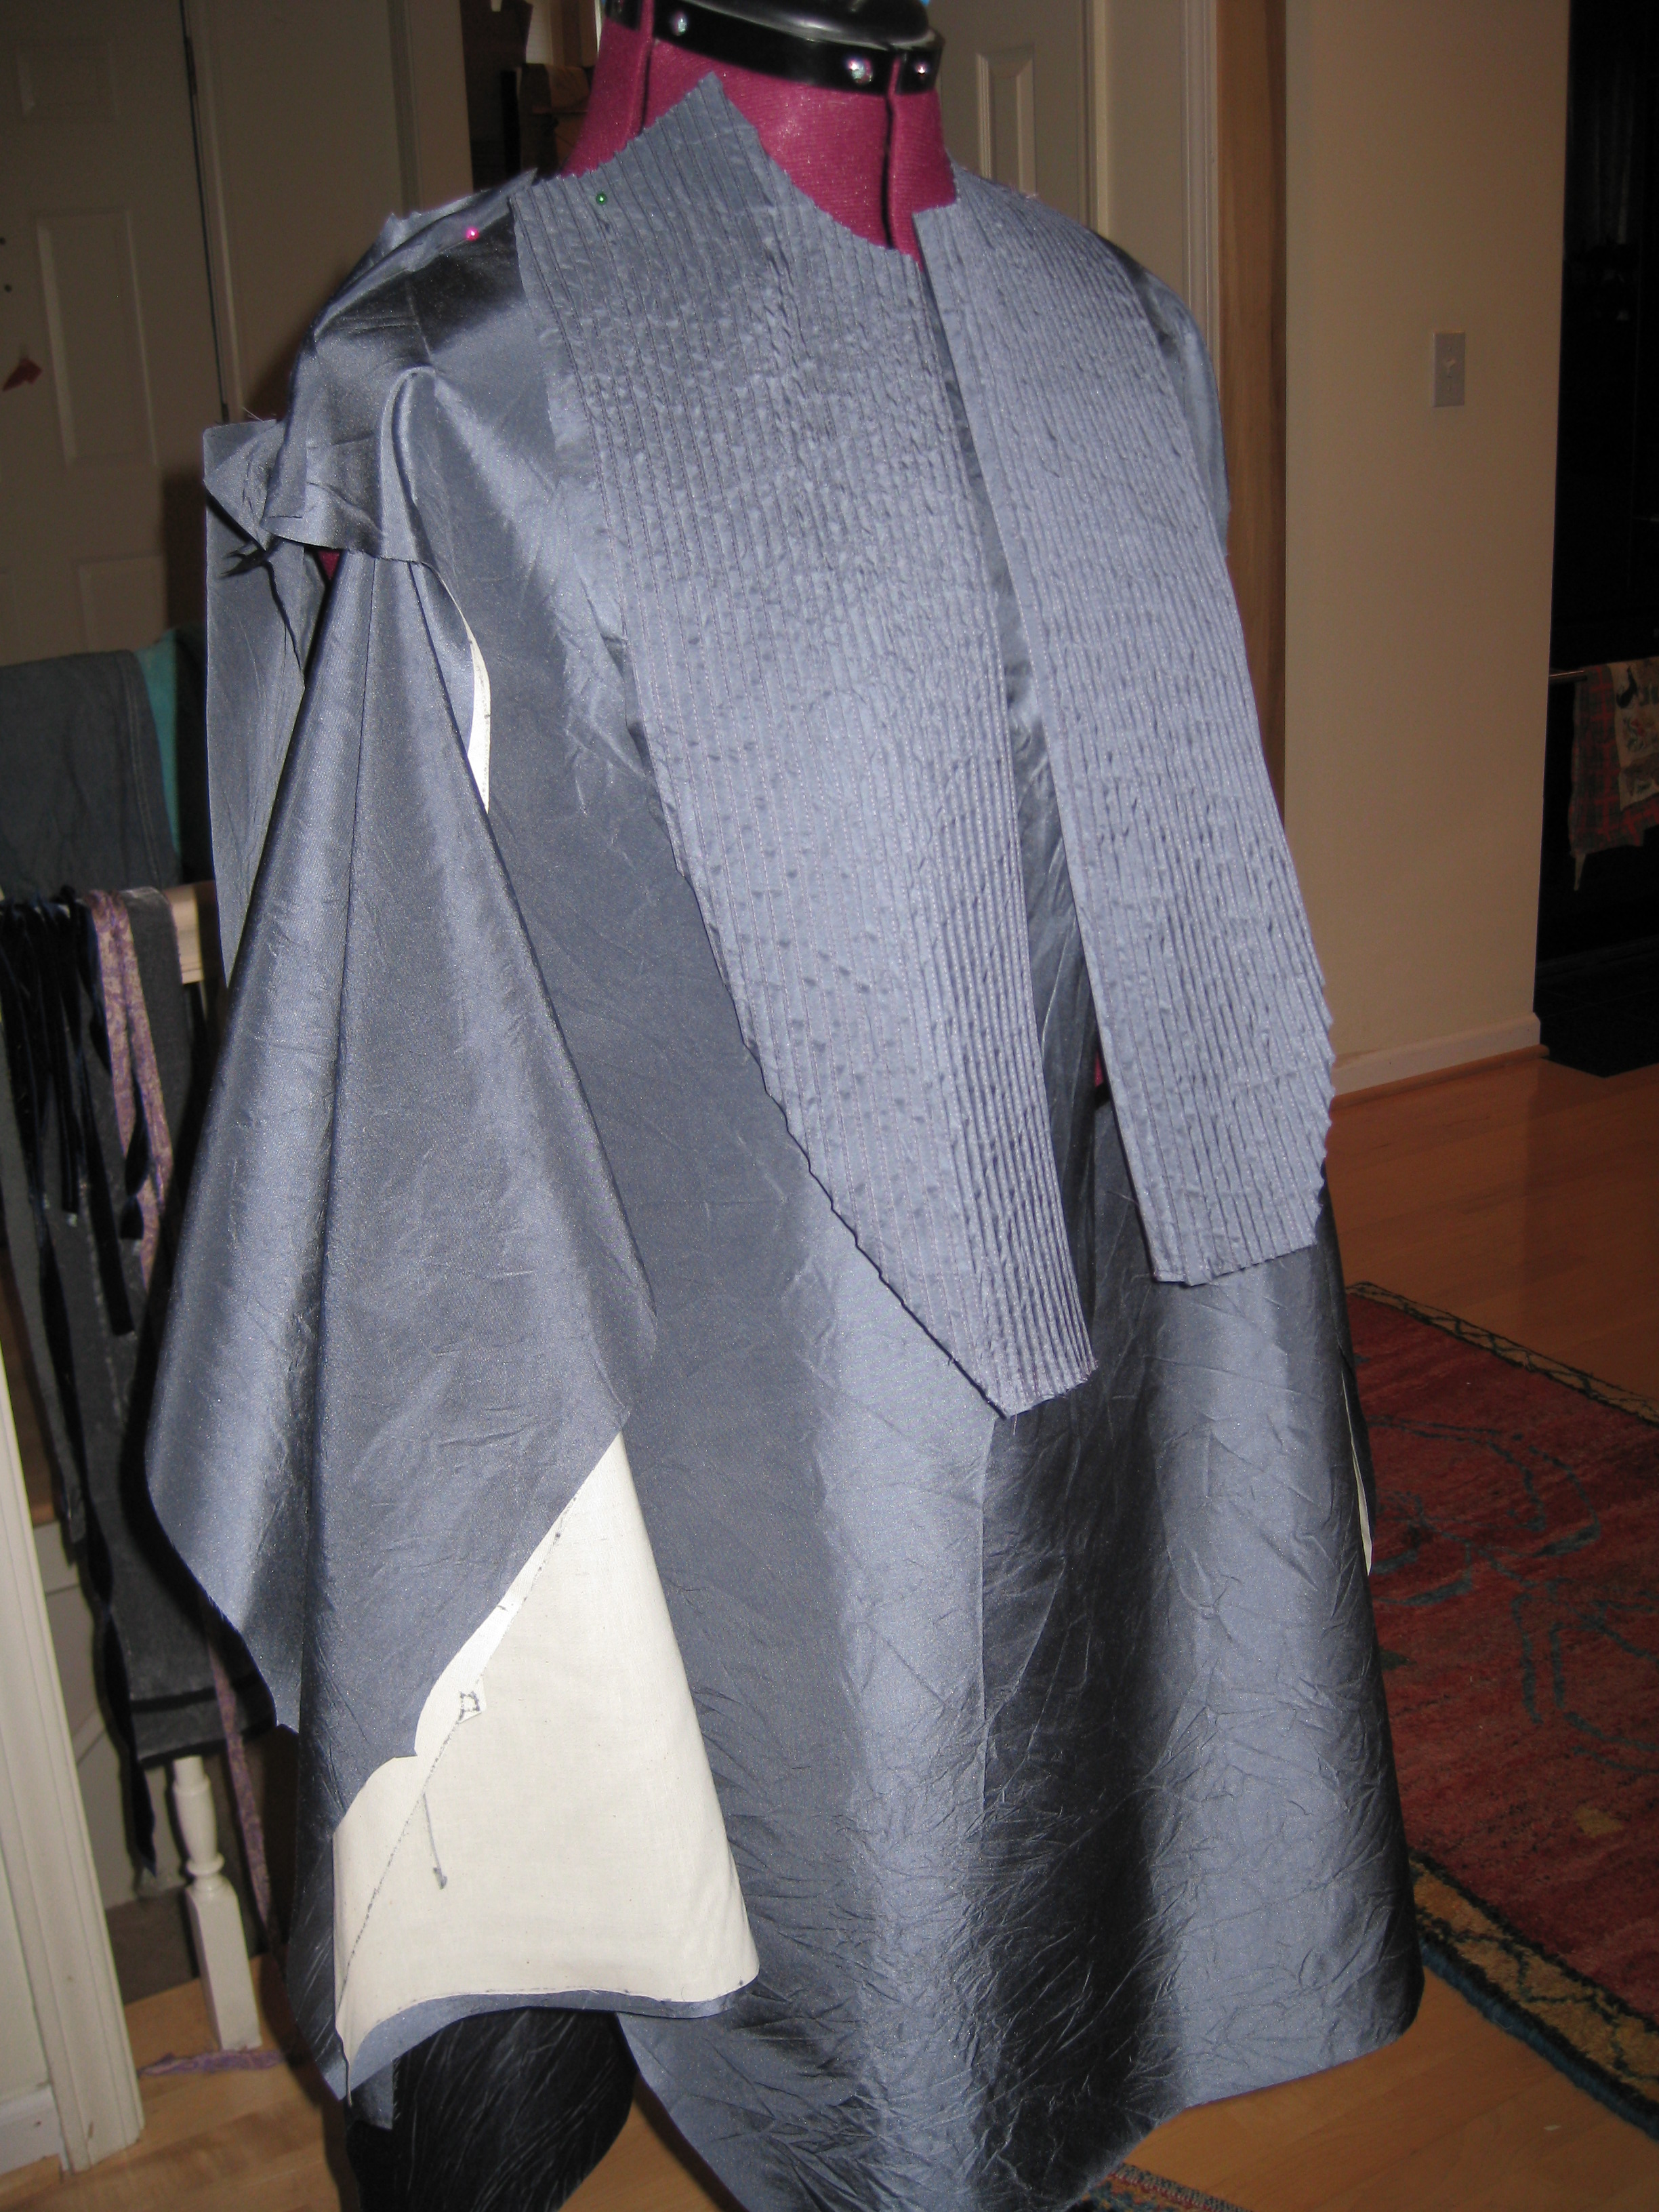
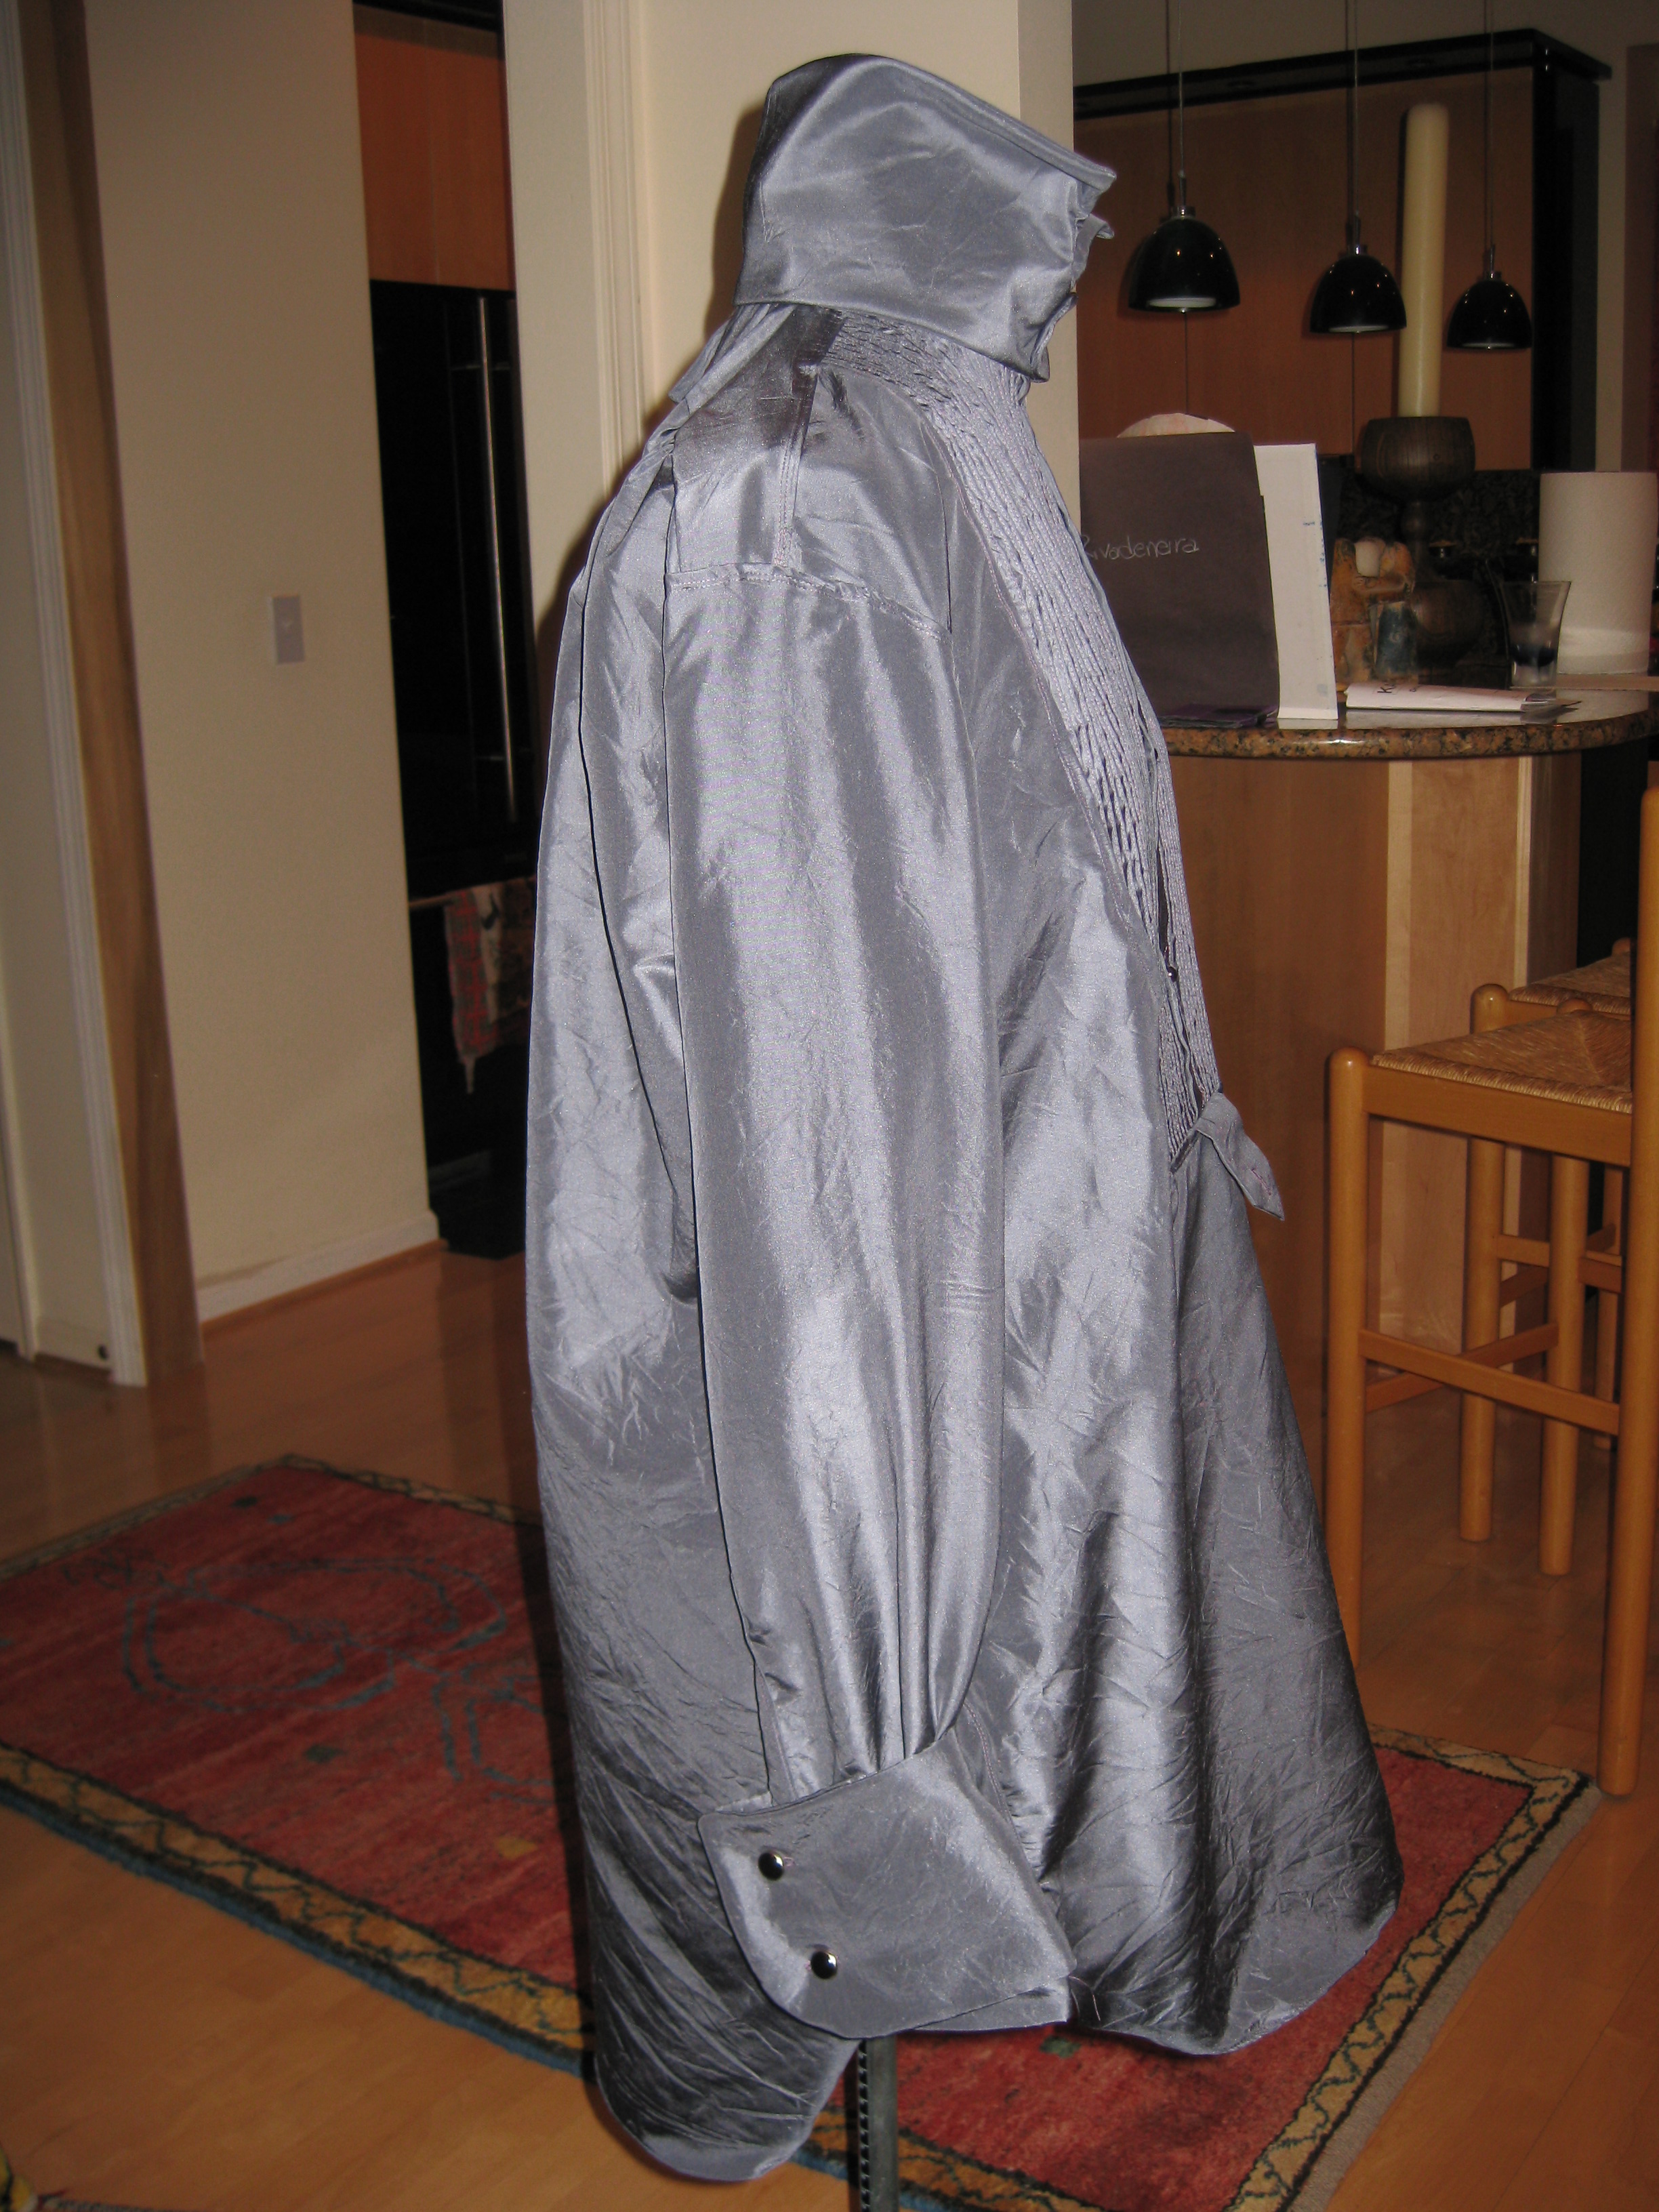
The coat muslin is (nearly) finished. I need to shorten the sleeves by about 3.5 inches. And I contemplate lowering where the waist seam hits by about two inches or so... It needs it, I think.
Photos!
Jul. 29th, 2010 at 11:54 PM
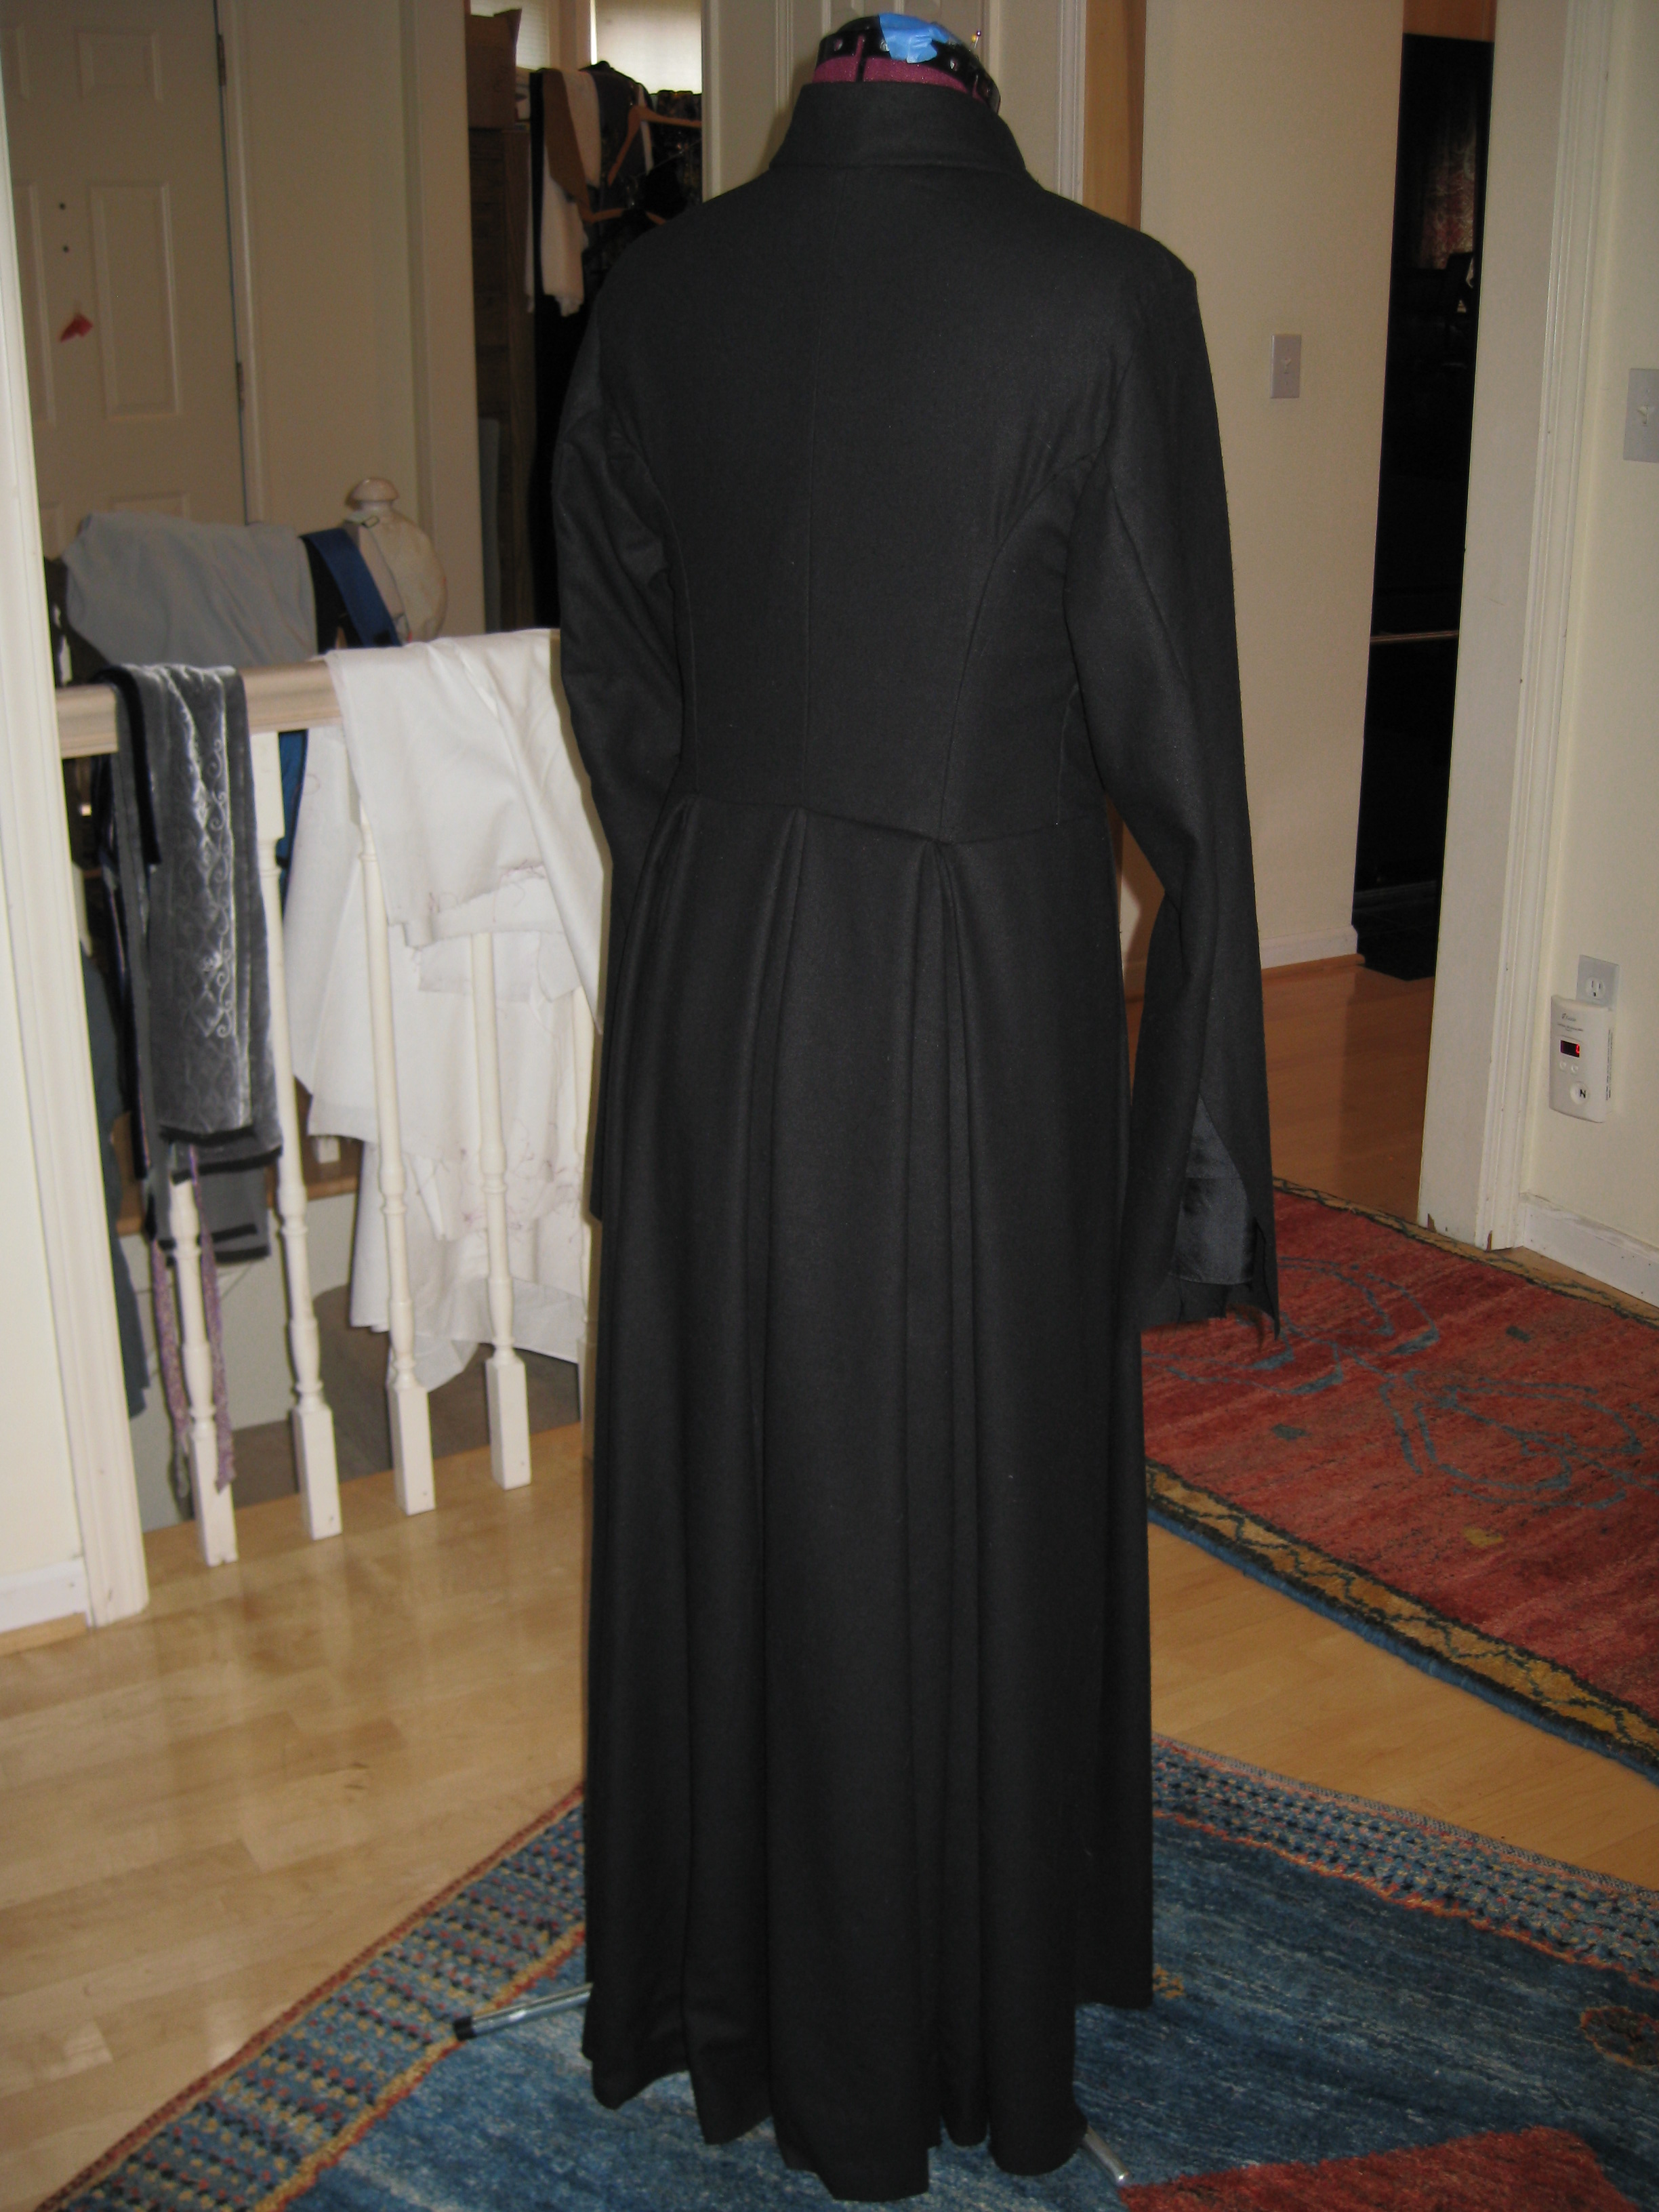
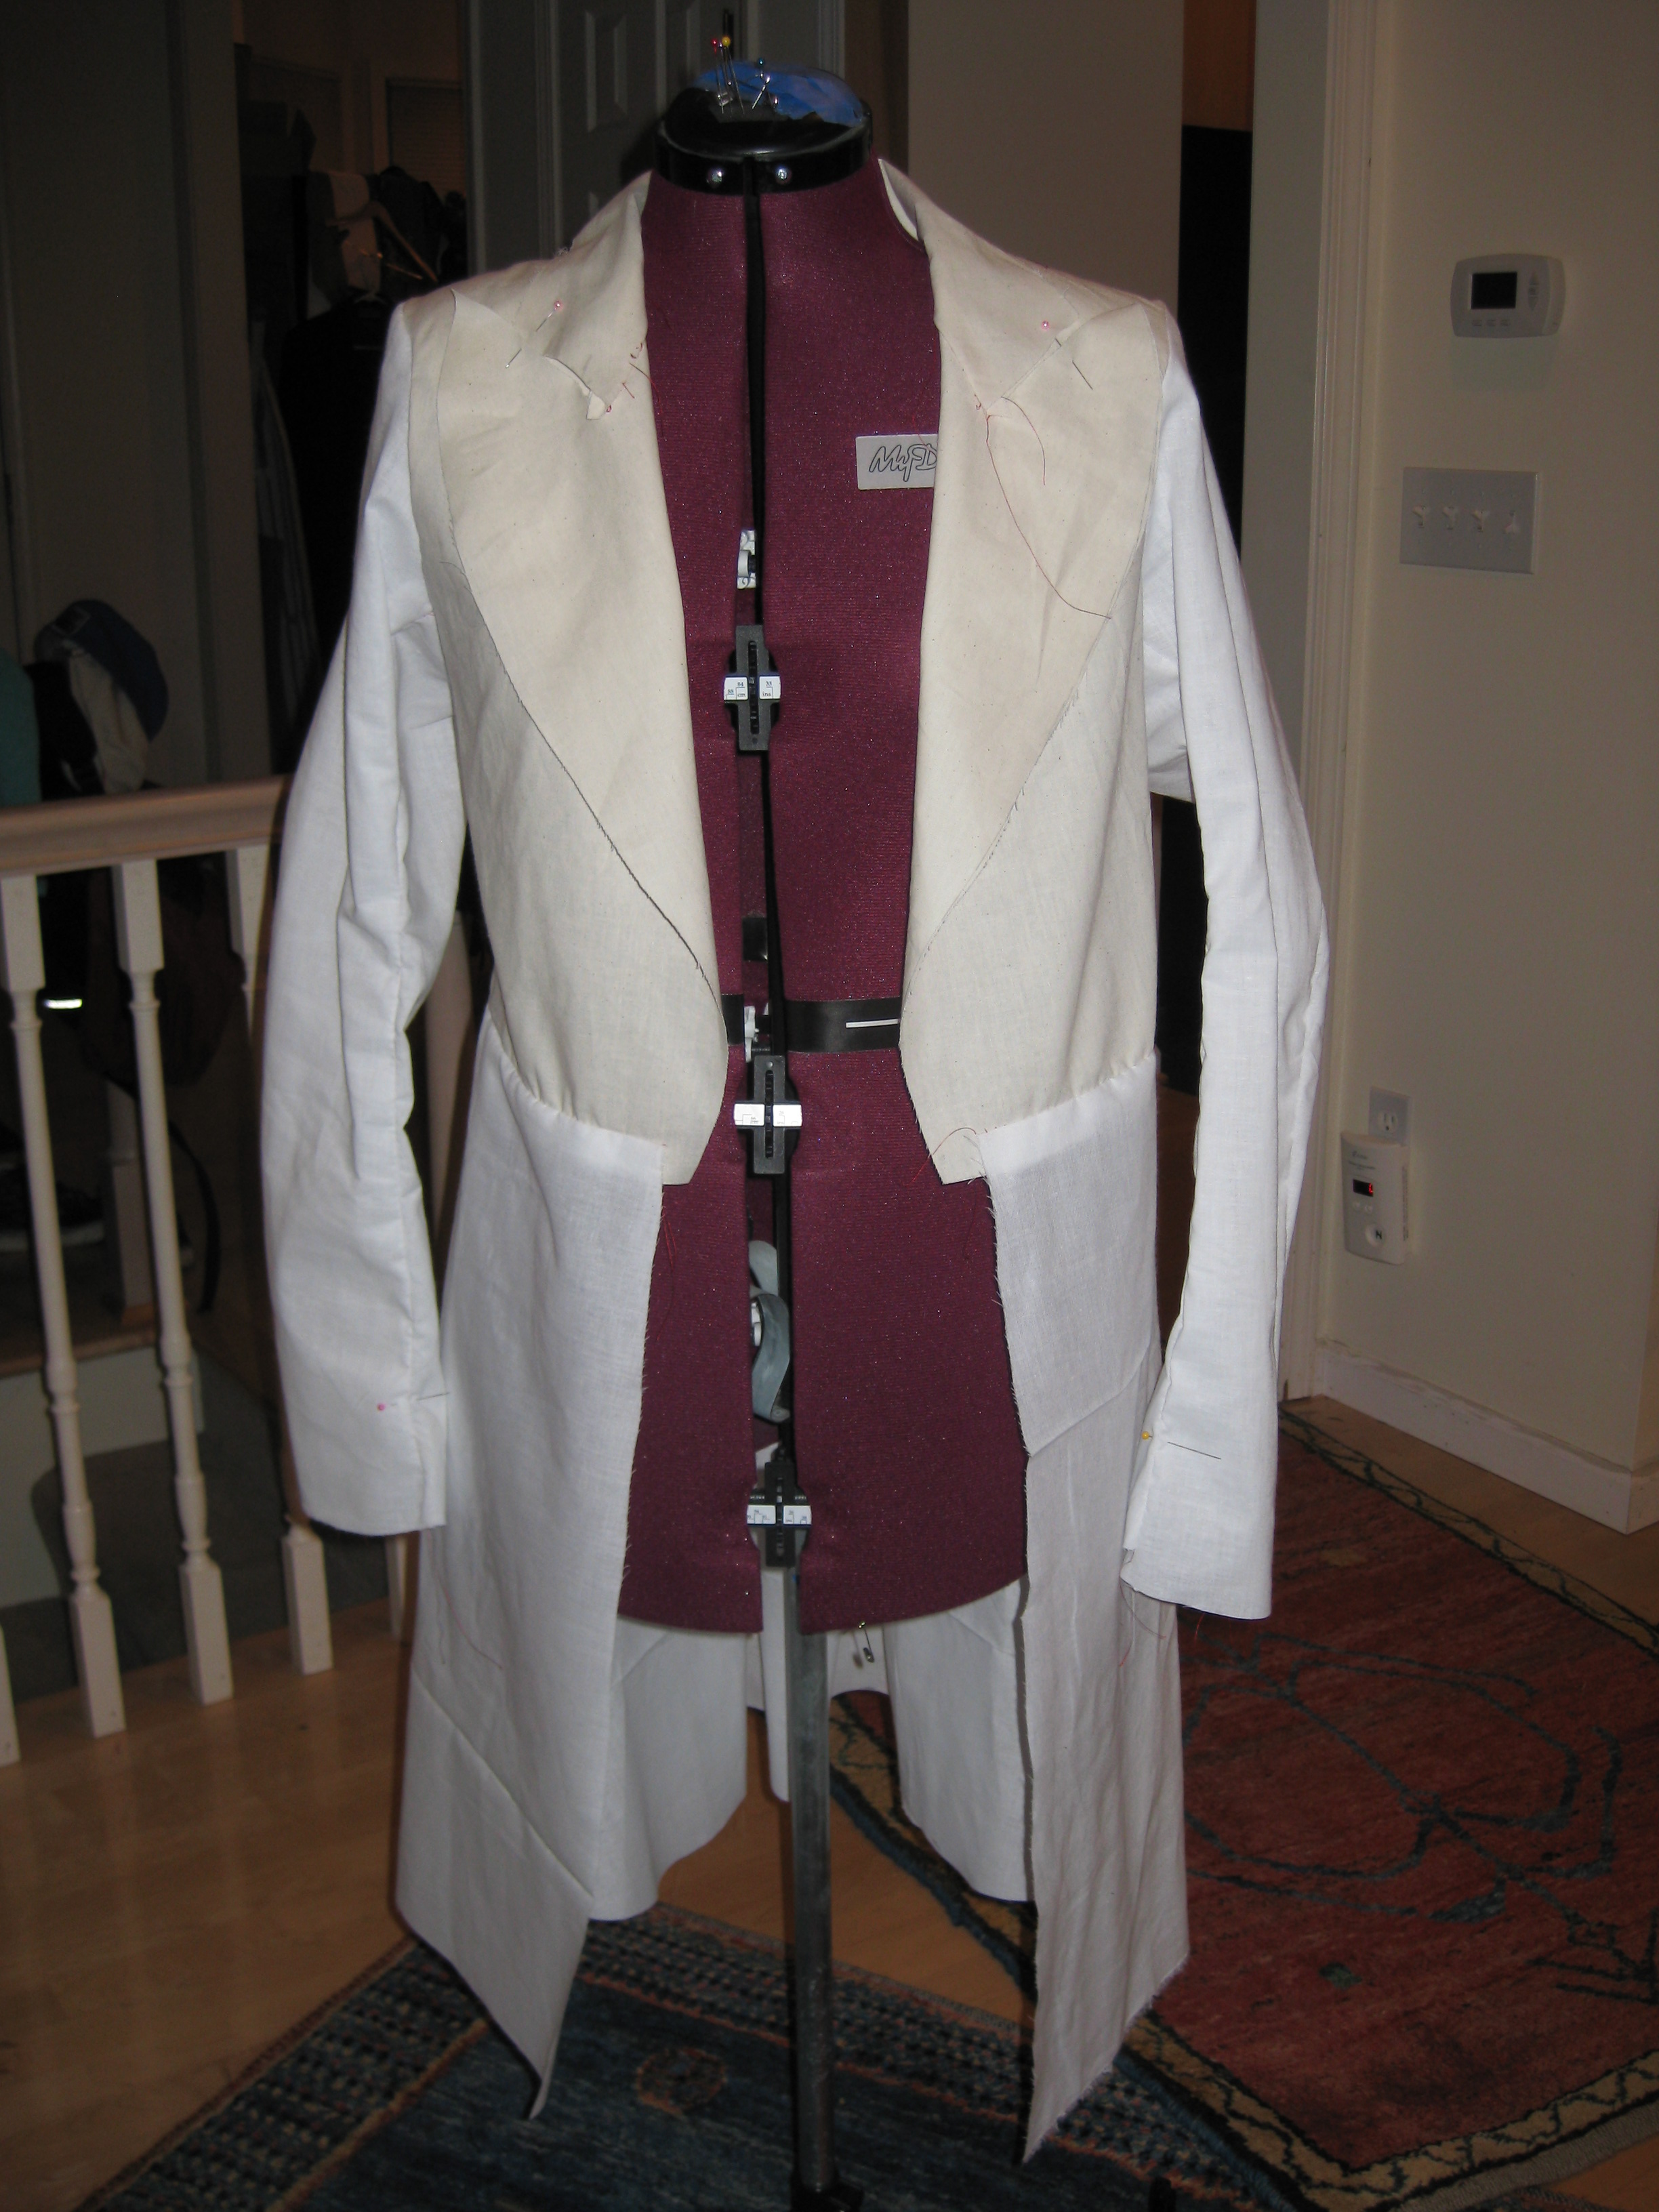
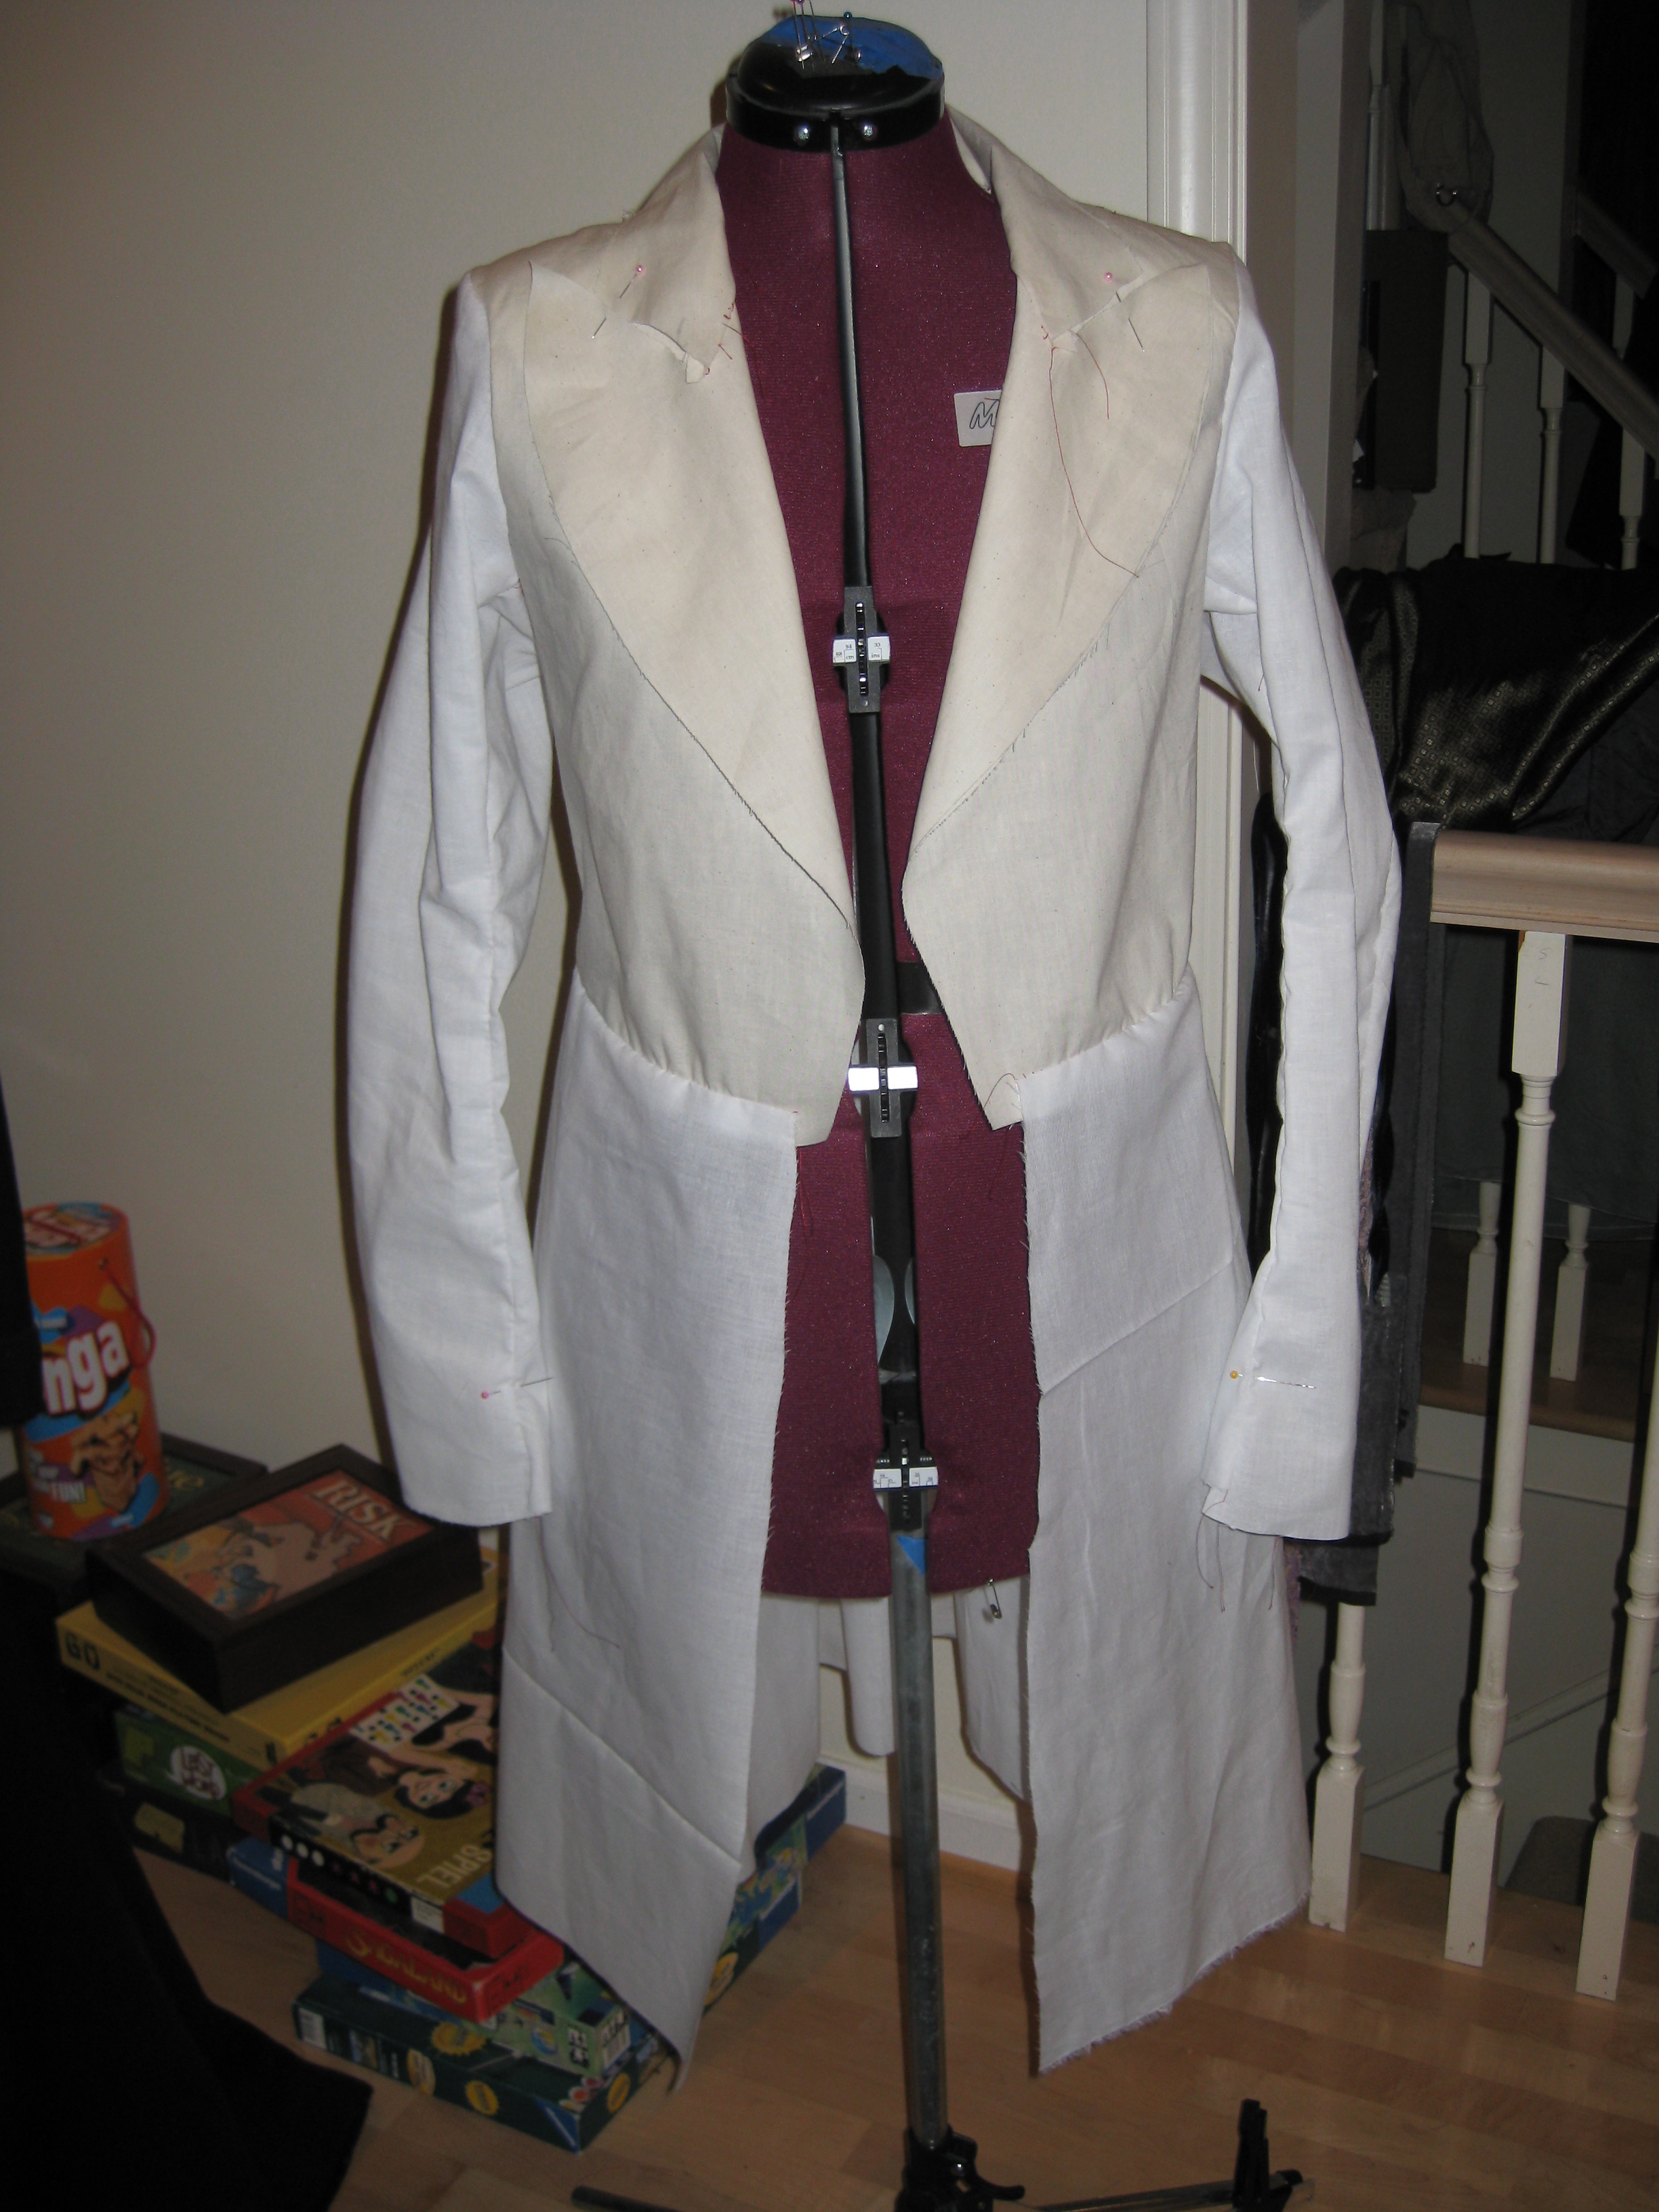
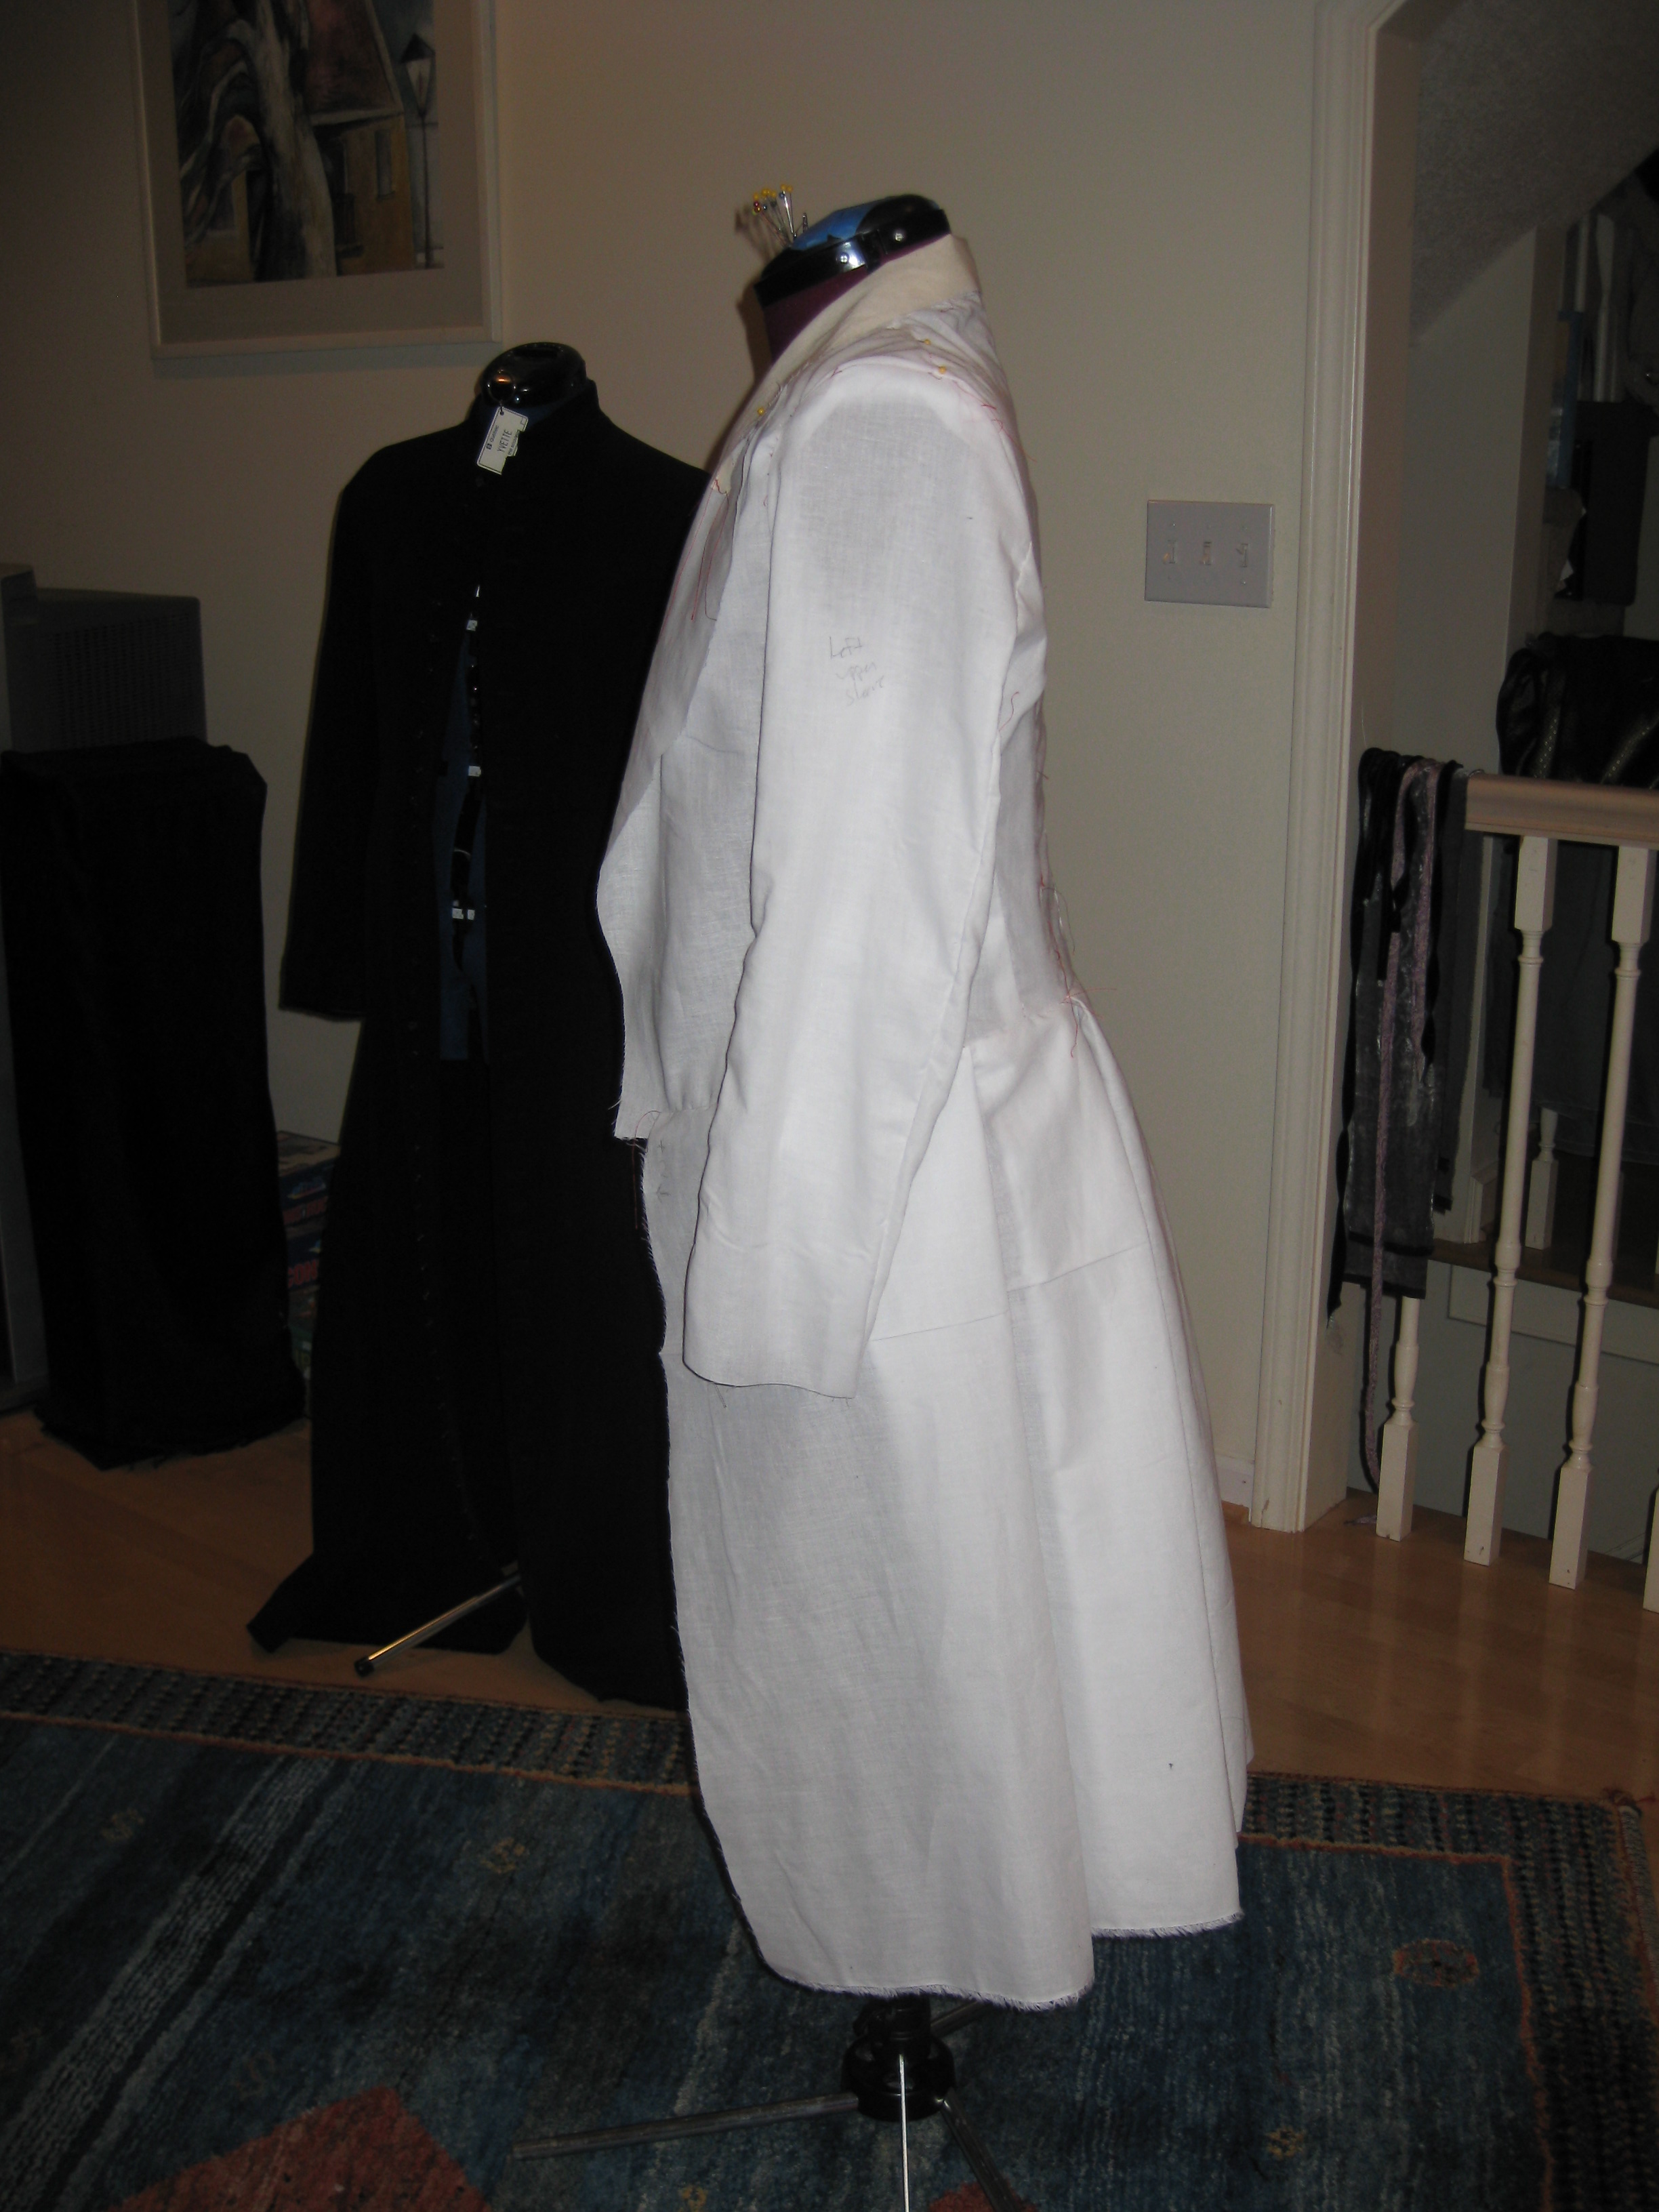
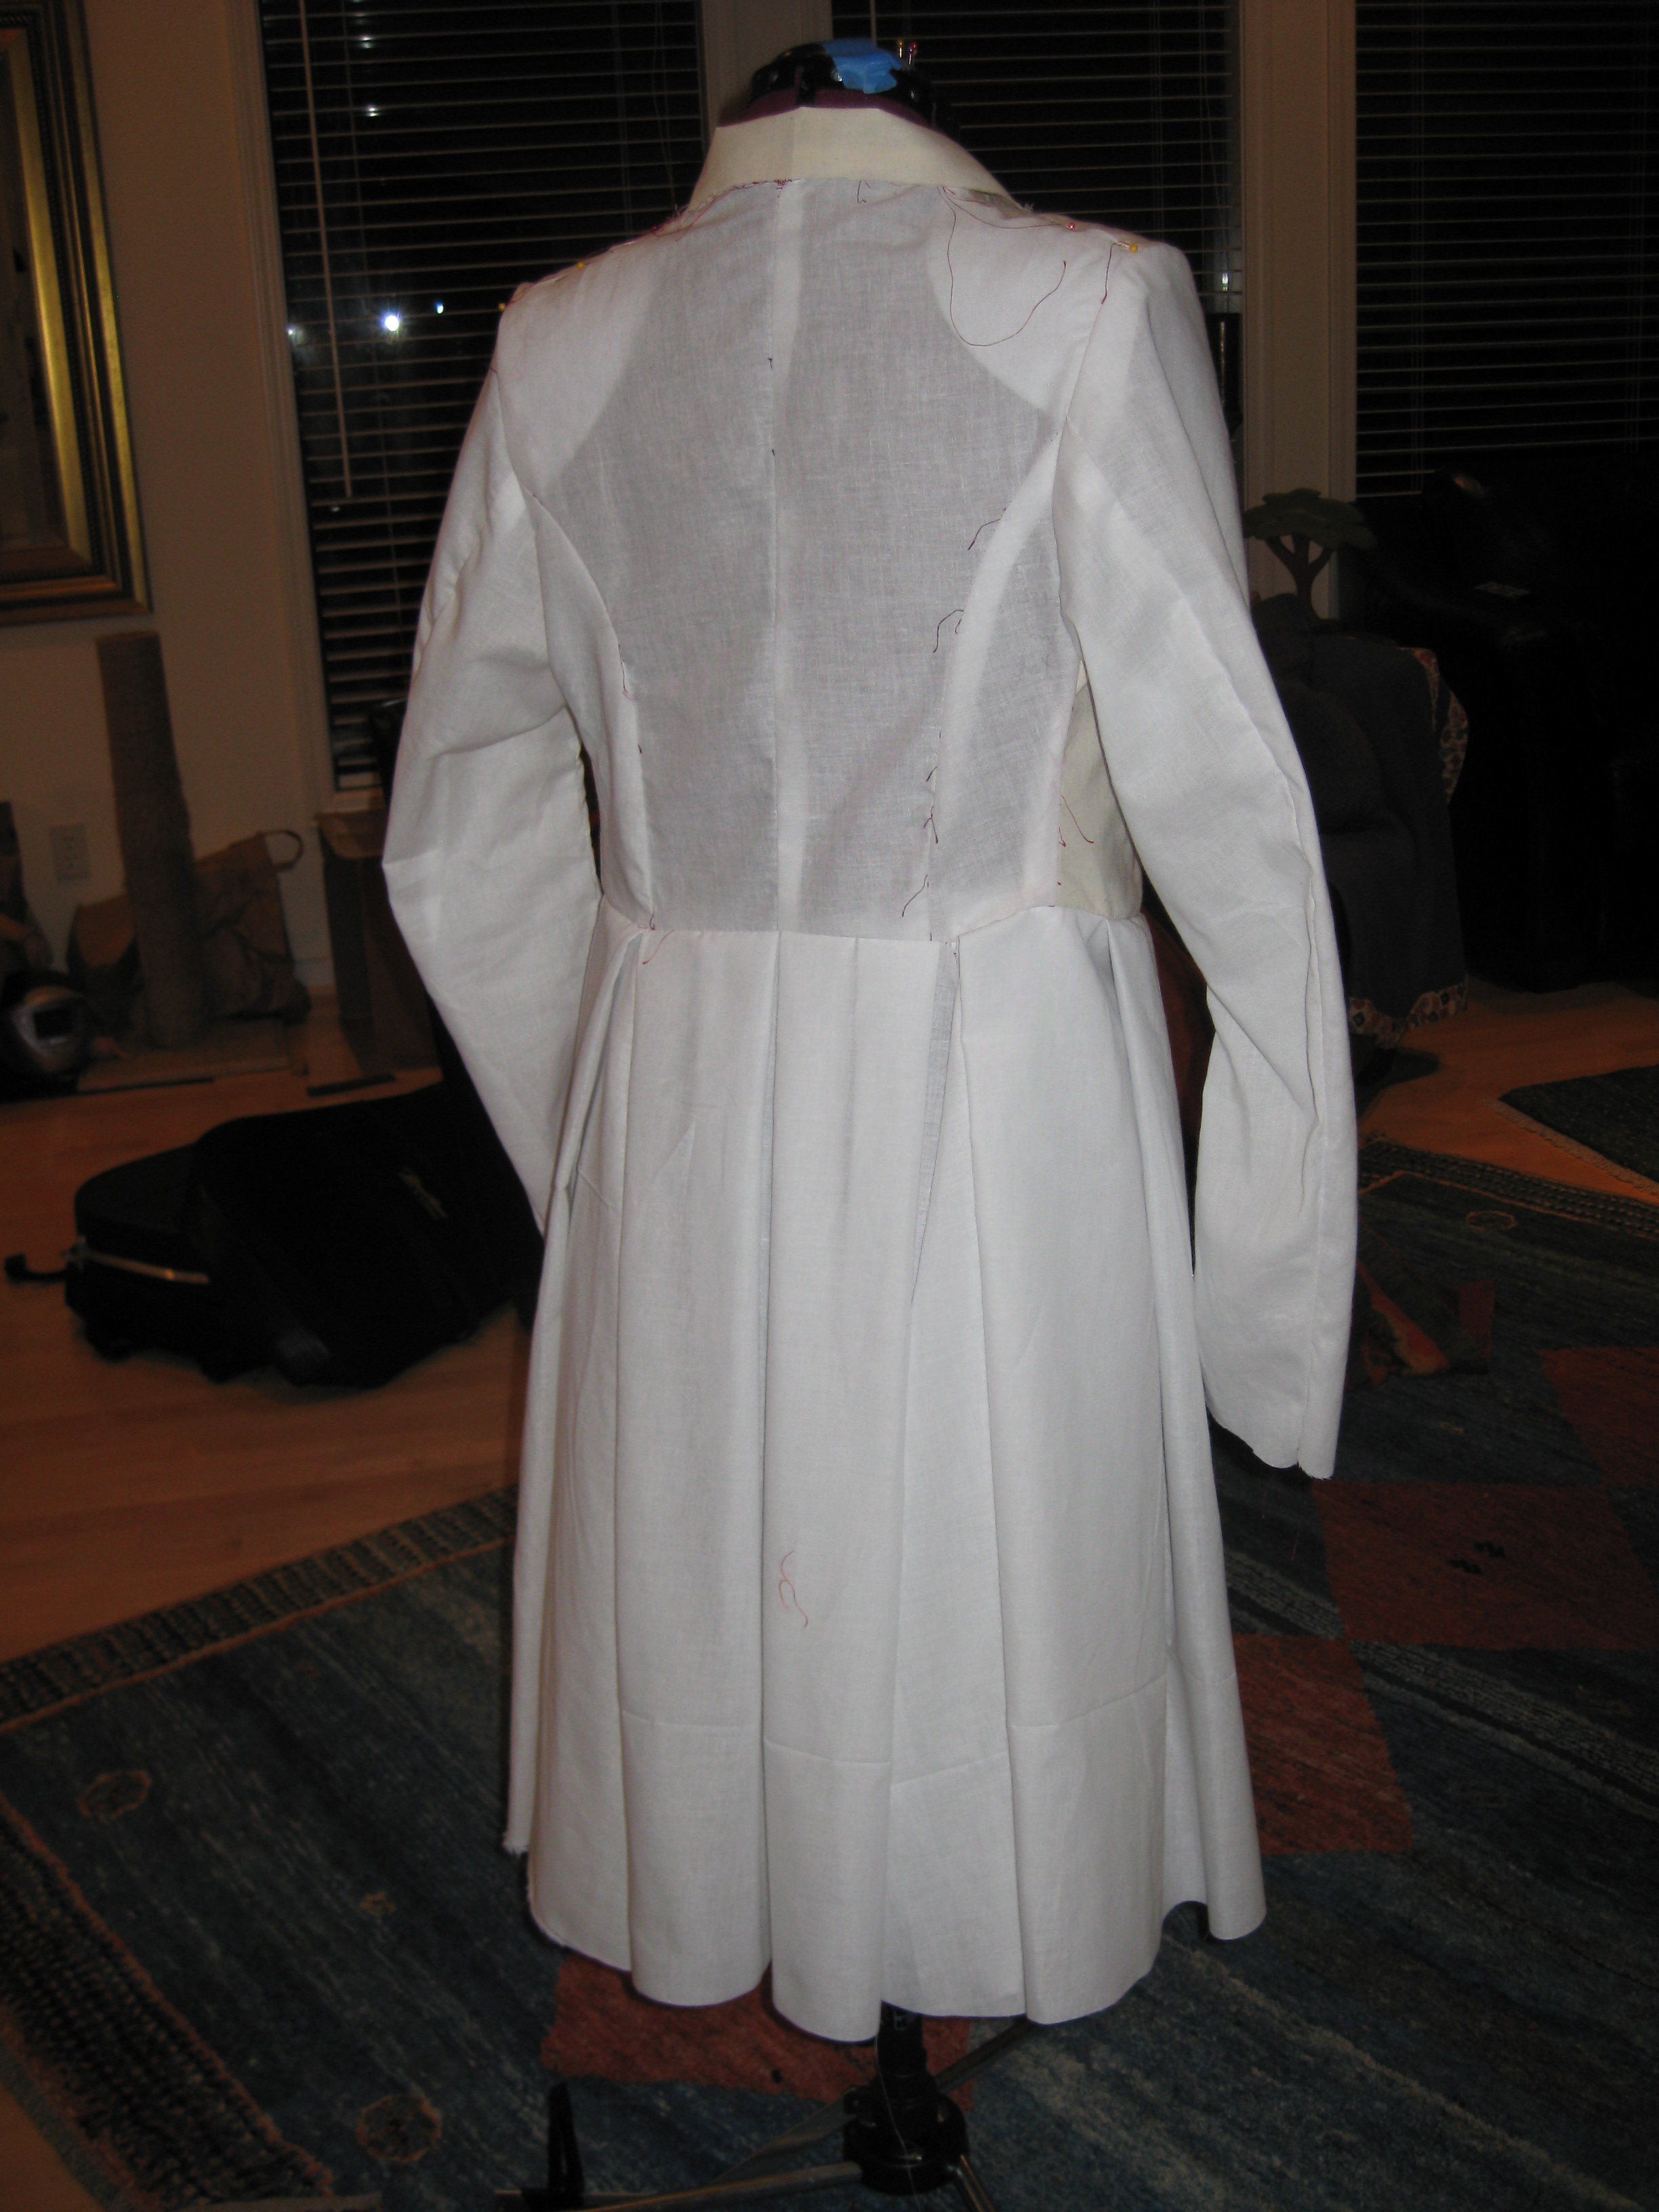
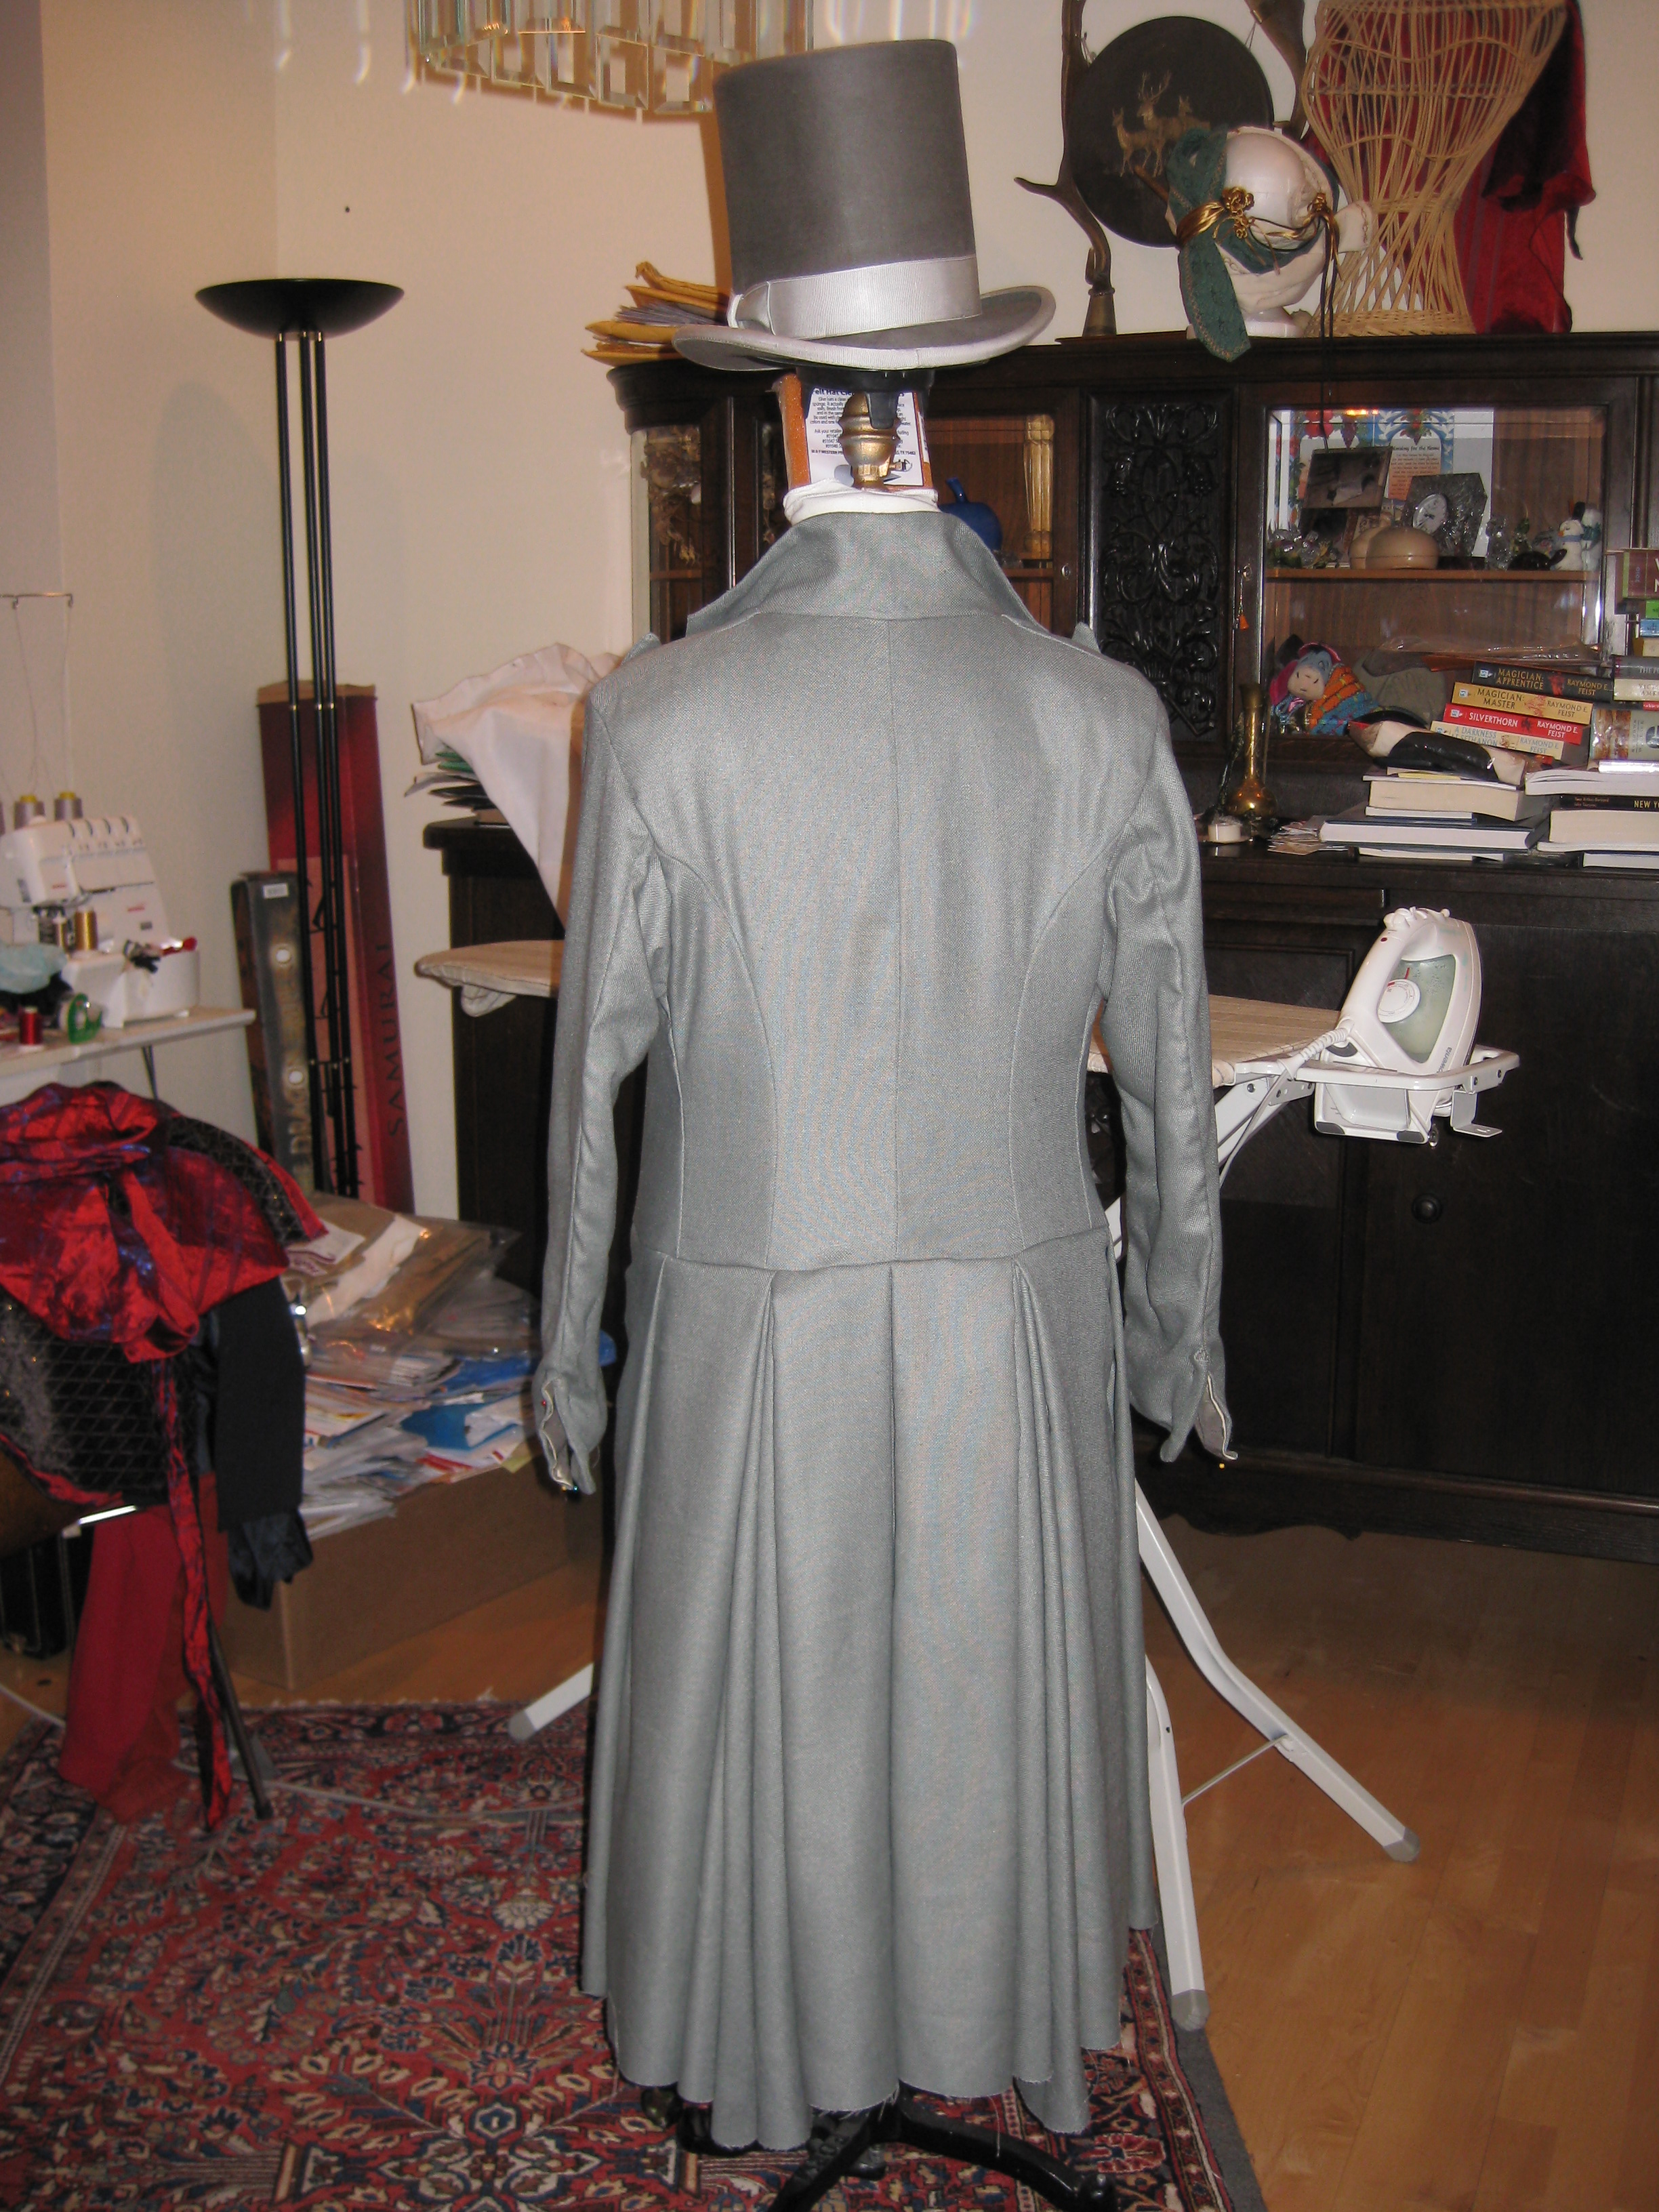
Prince Vlad's Frock Coat, final muslin photos...
.. Because I'm DONE!
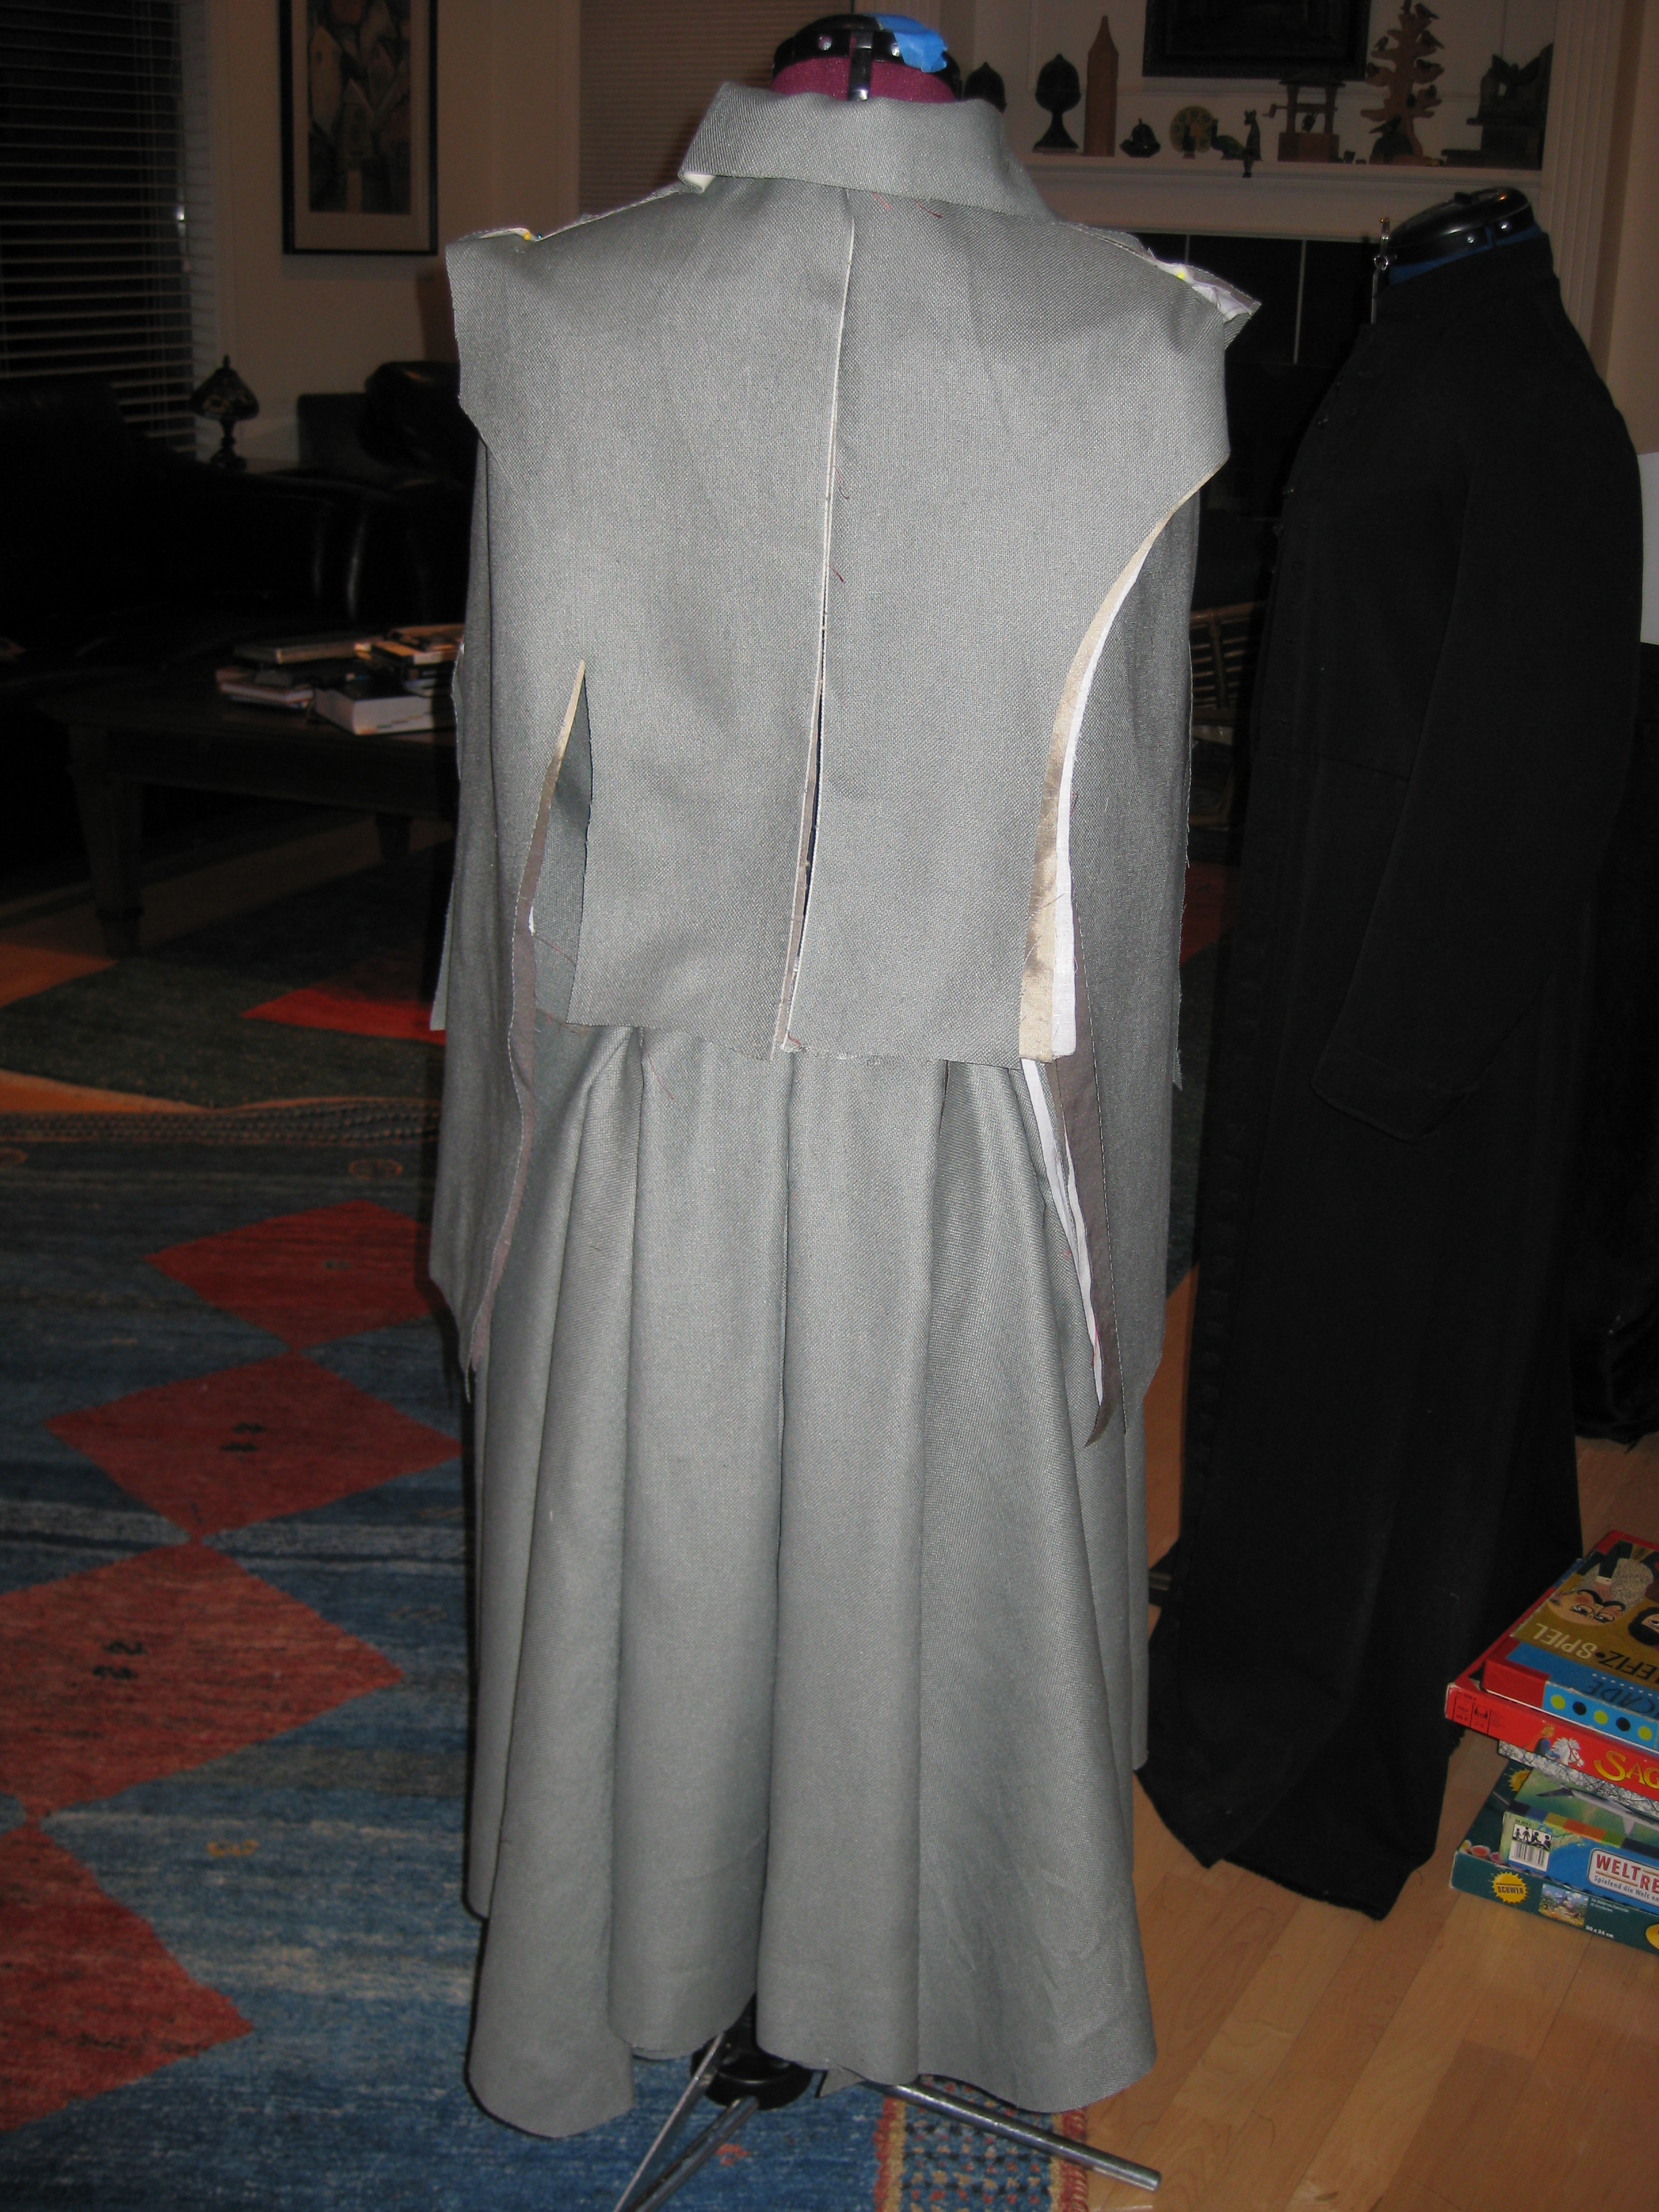
Lowering the waist seam required modifying the back side seams. It went smoothly, thank goodness.
Here is the final version on the left. Next to it was what I had last night, with the higher waist seam and longer sleeves...
The effect is I will look taller. And more slender.
Sometimes I'm very glad for my perserverence. Now is one of those times.
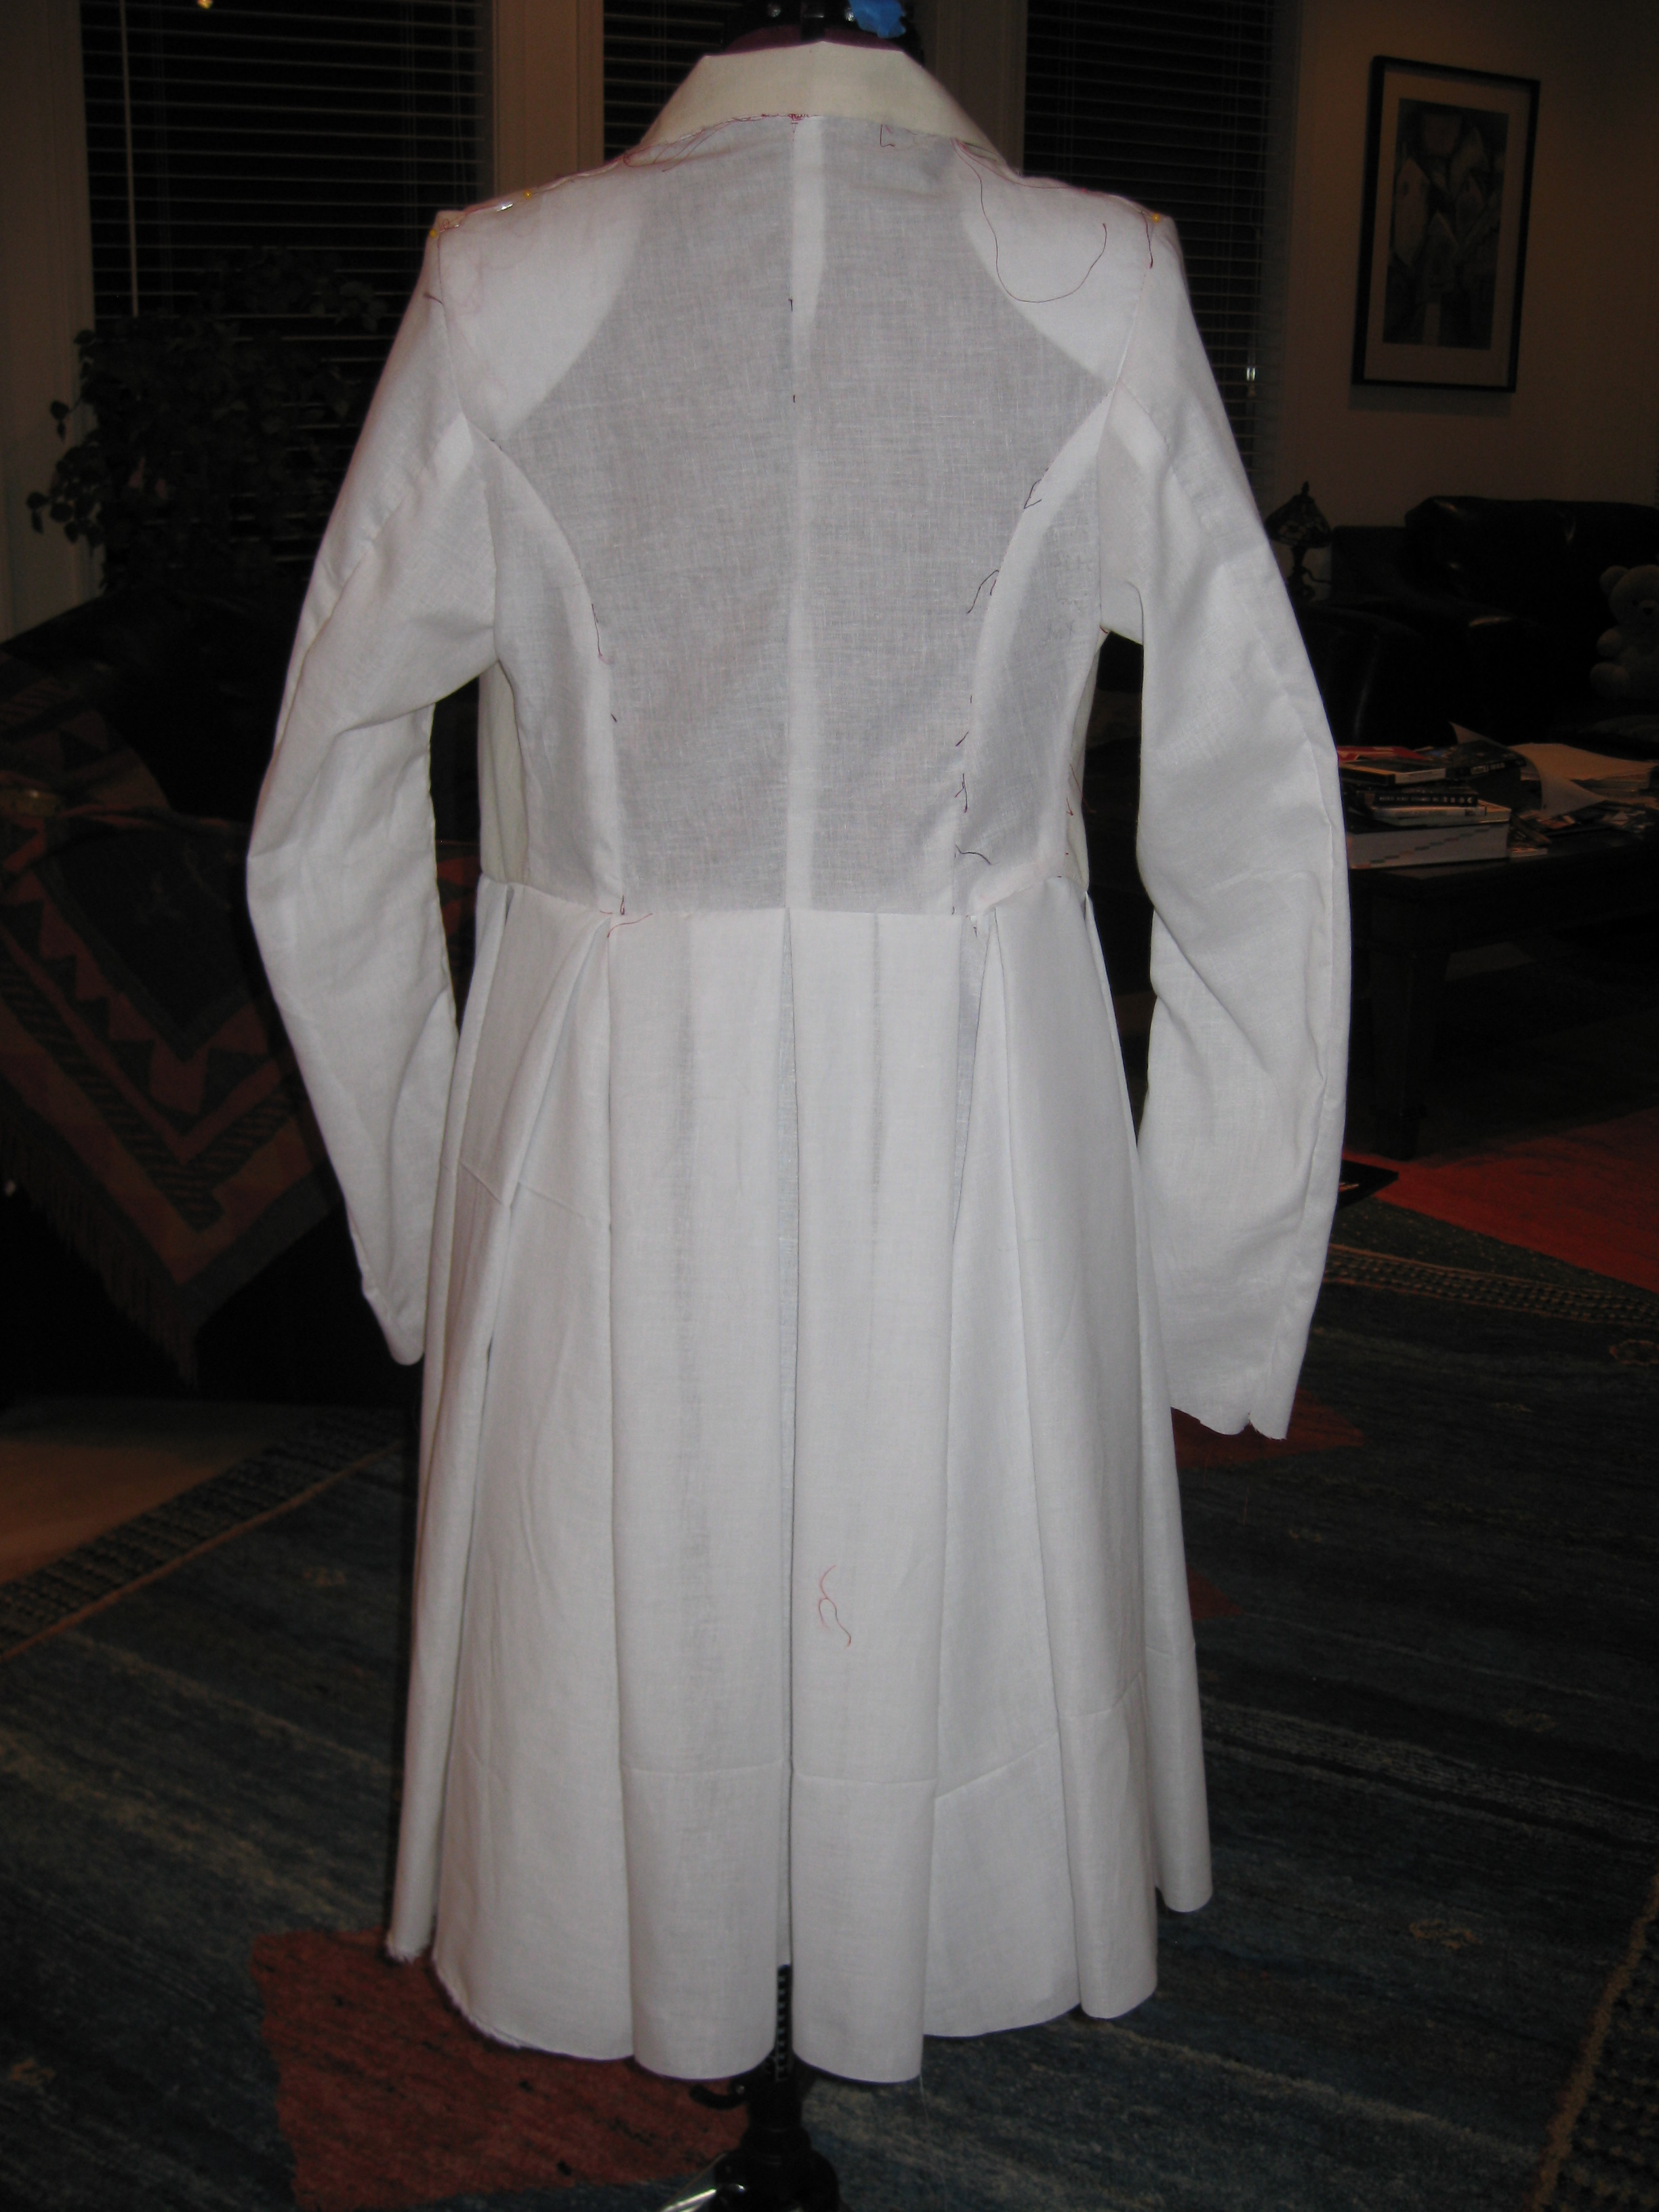
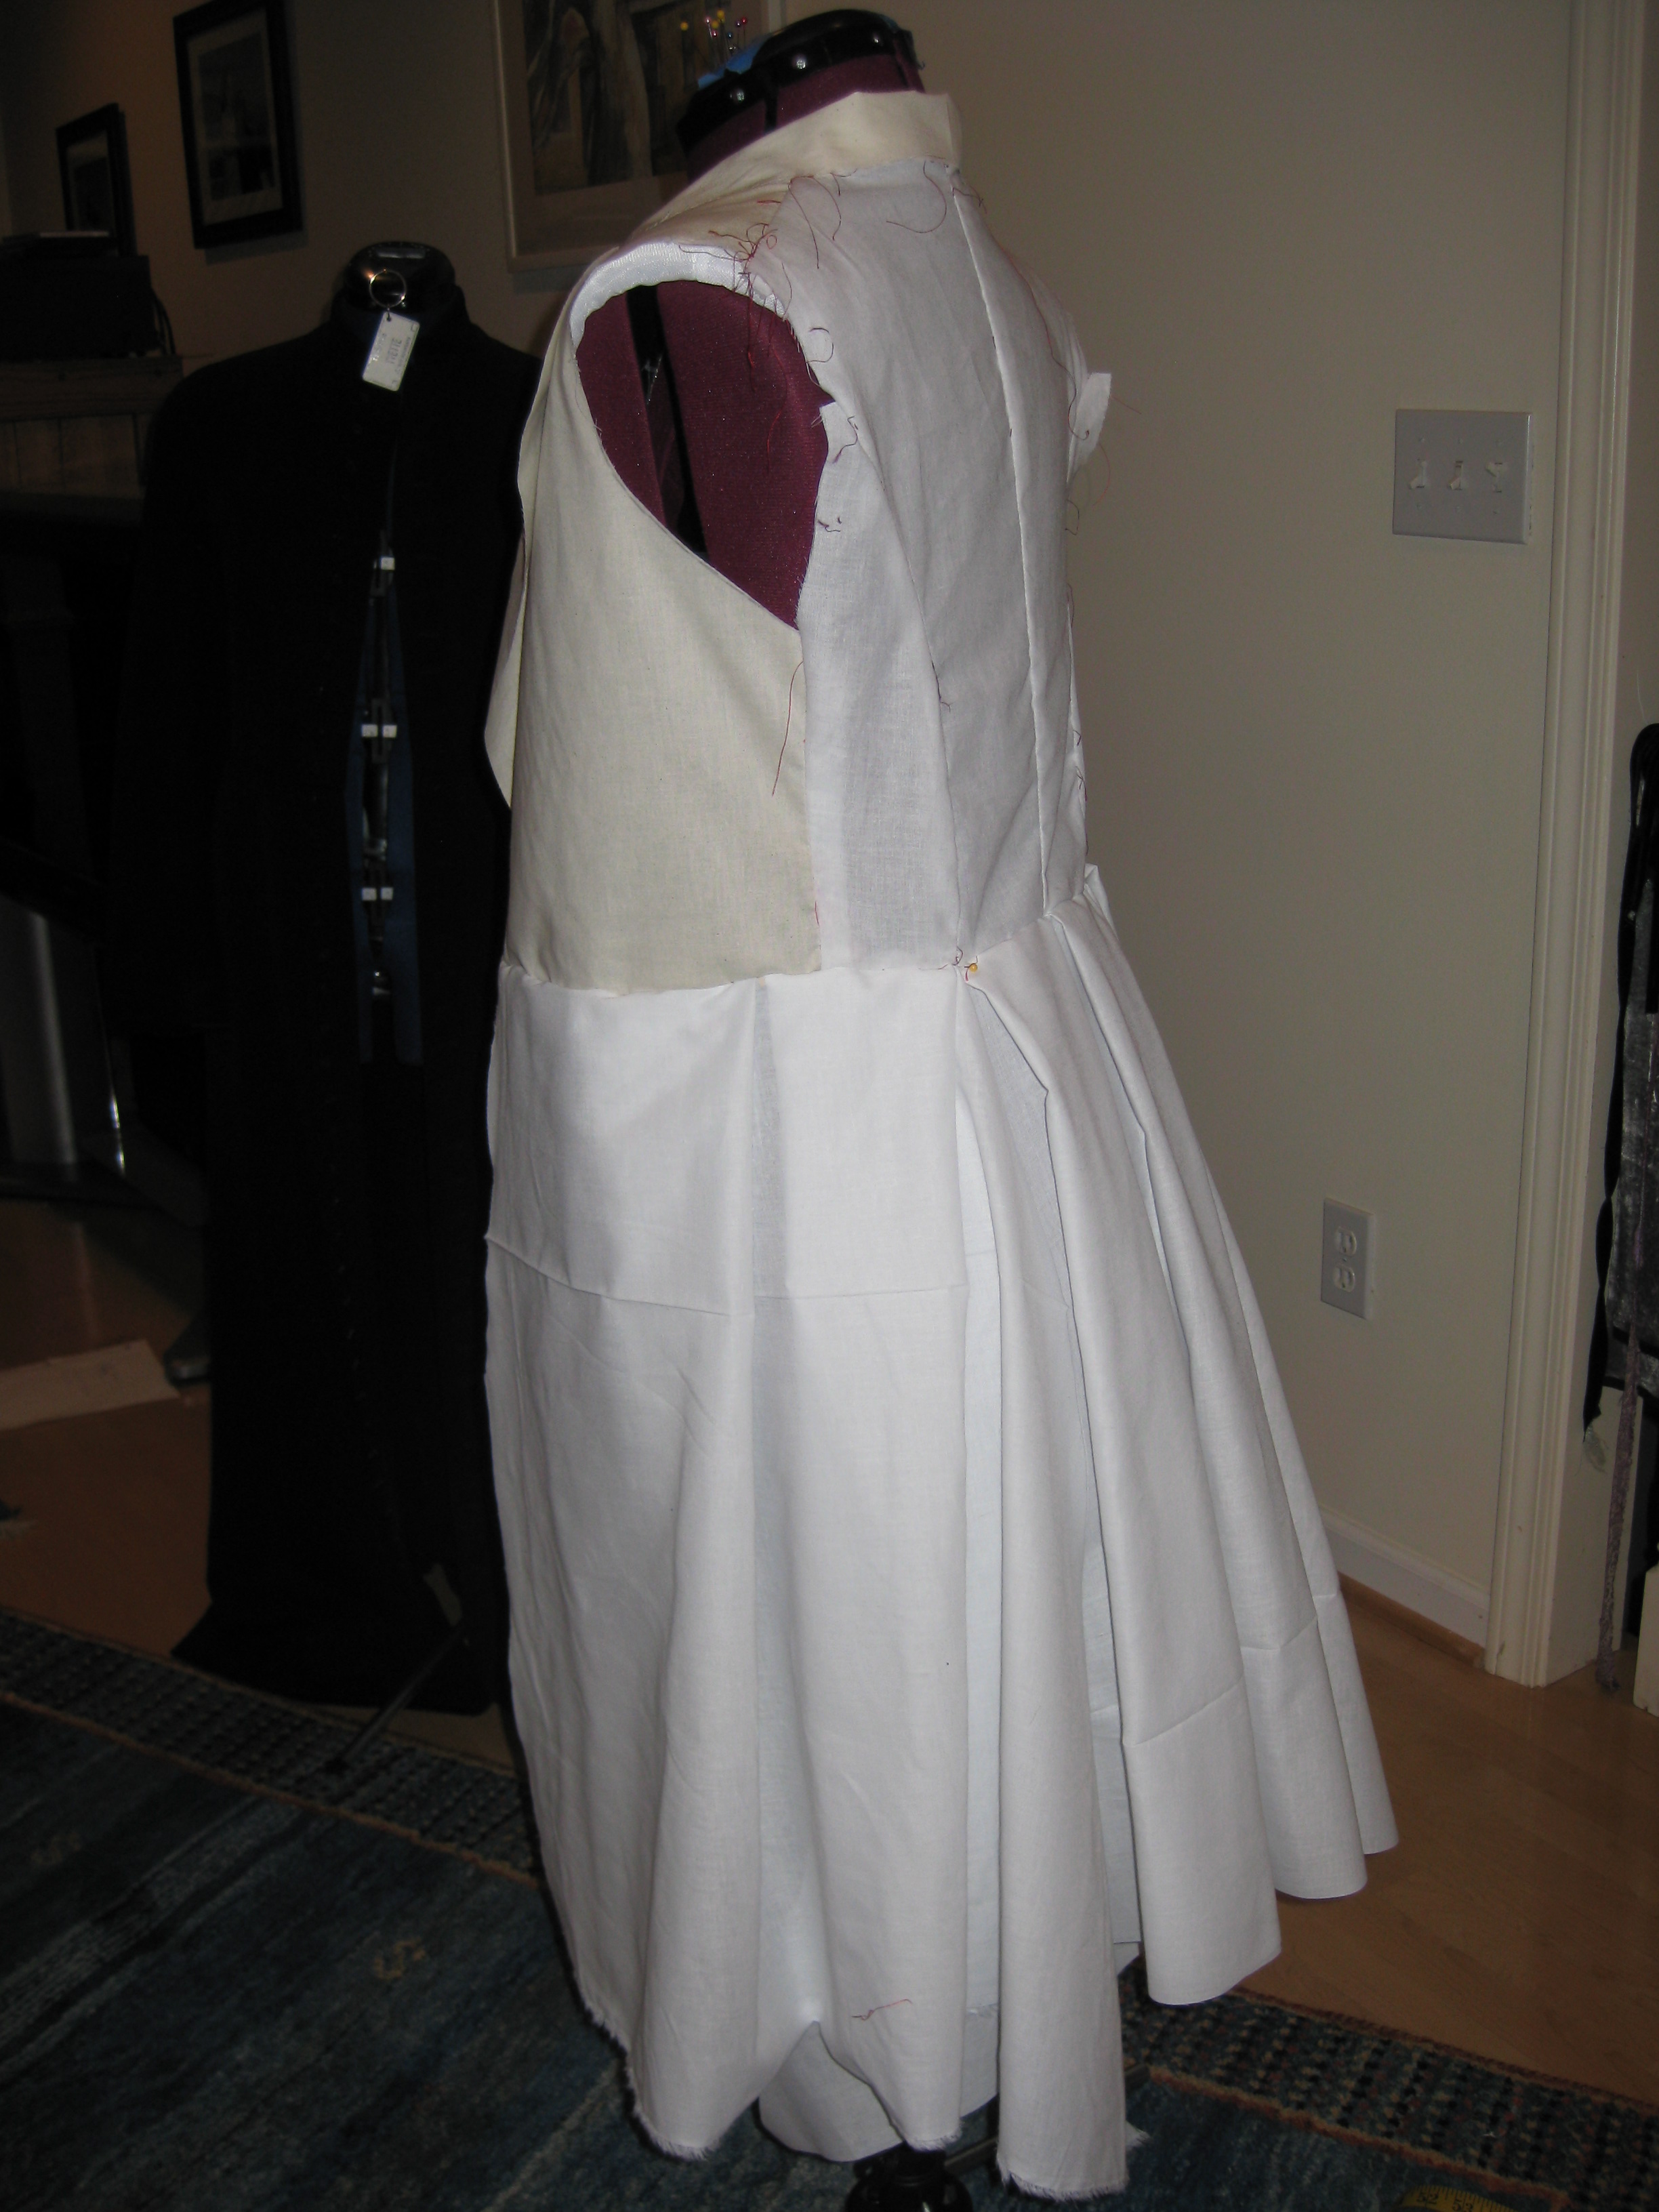
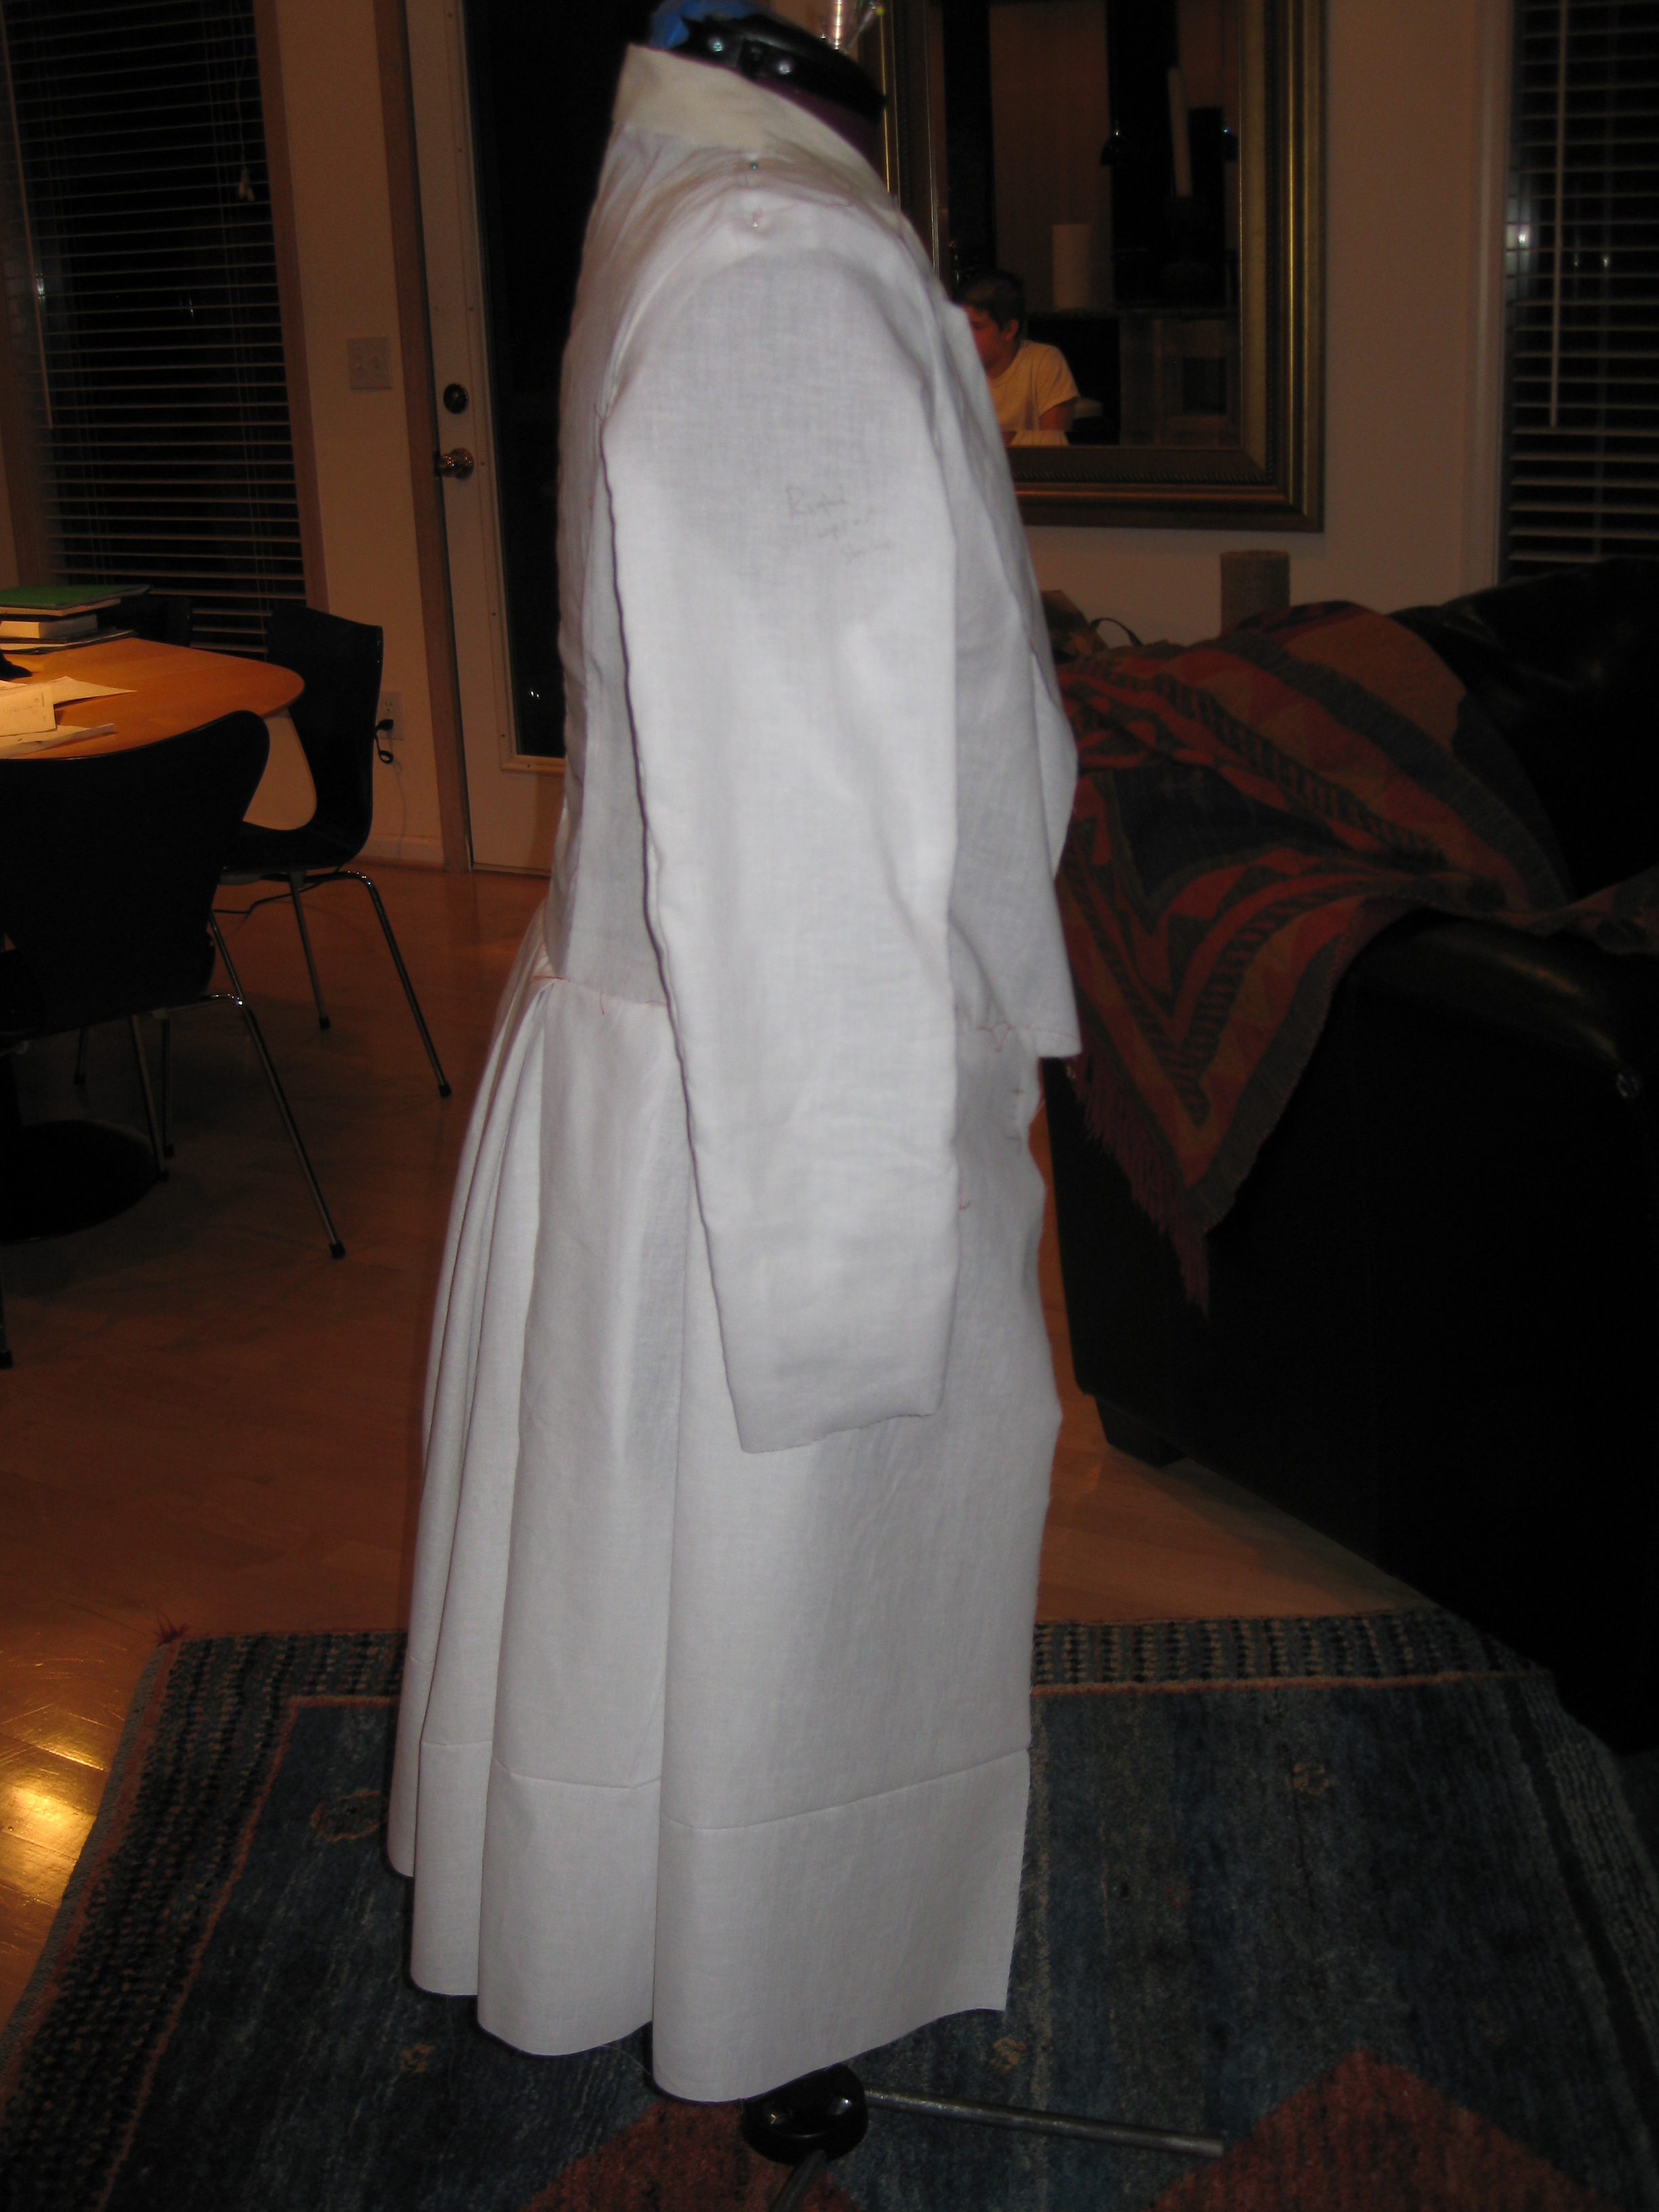
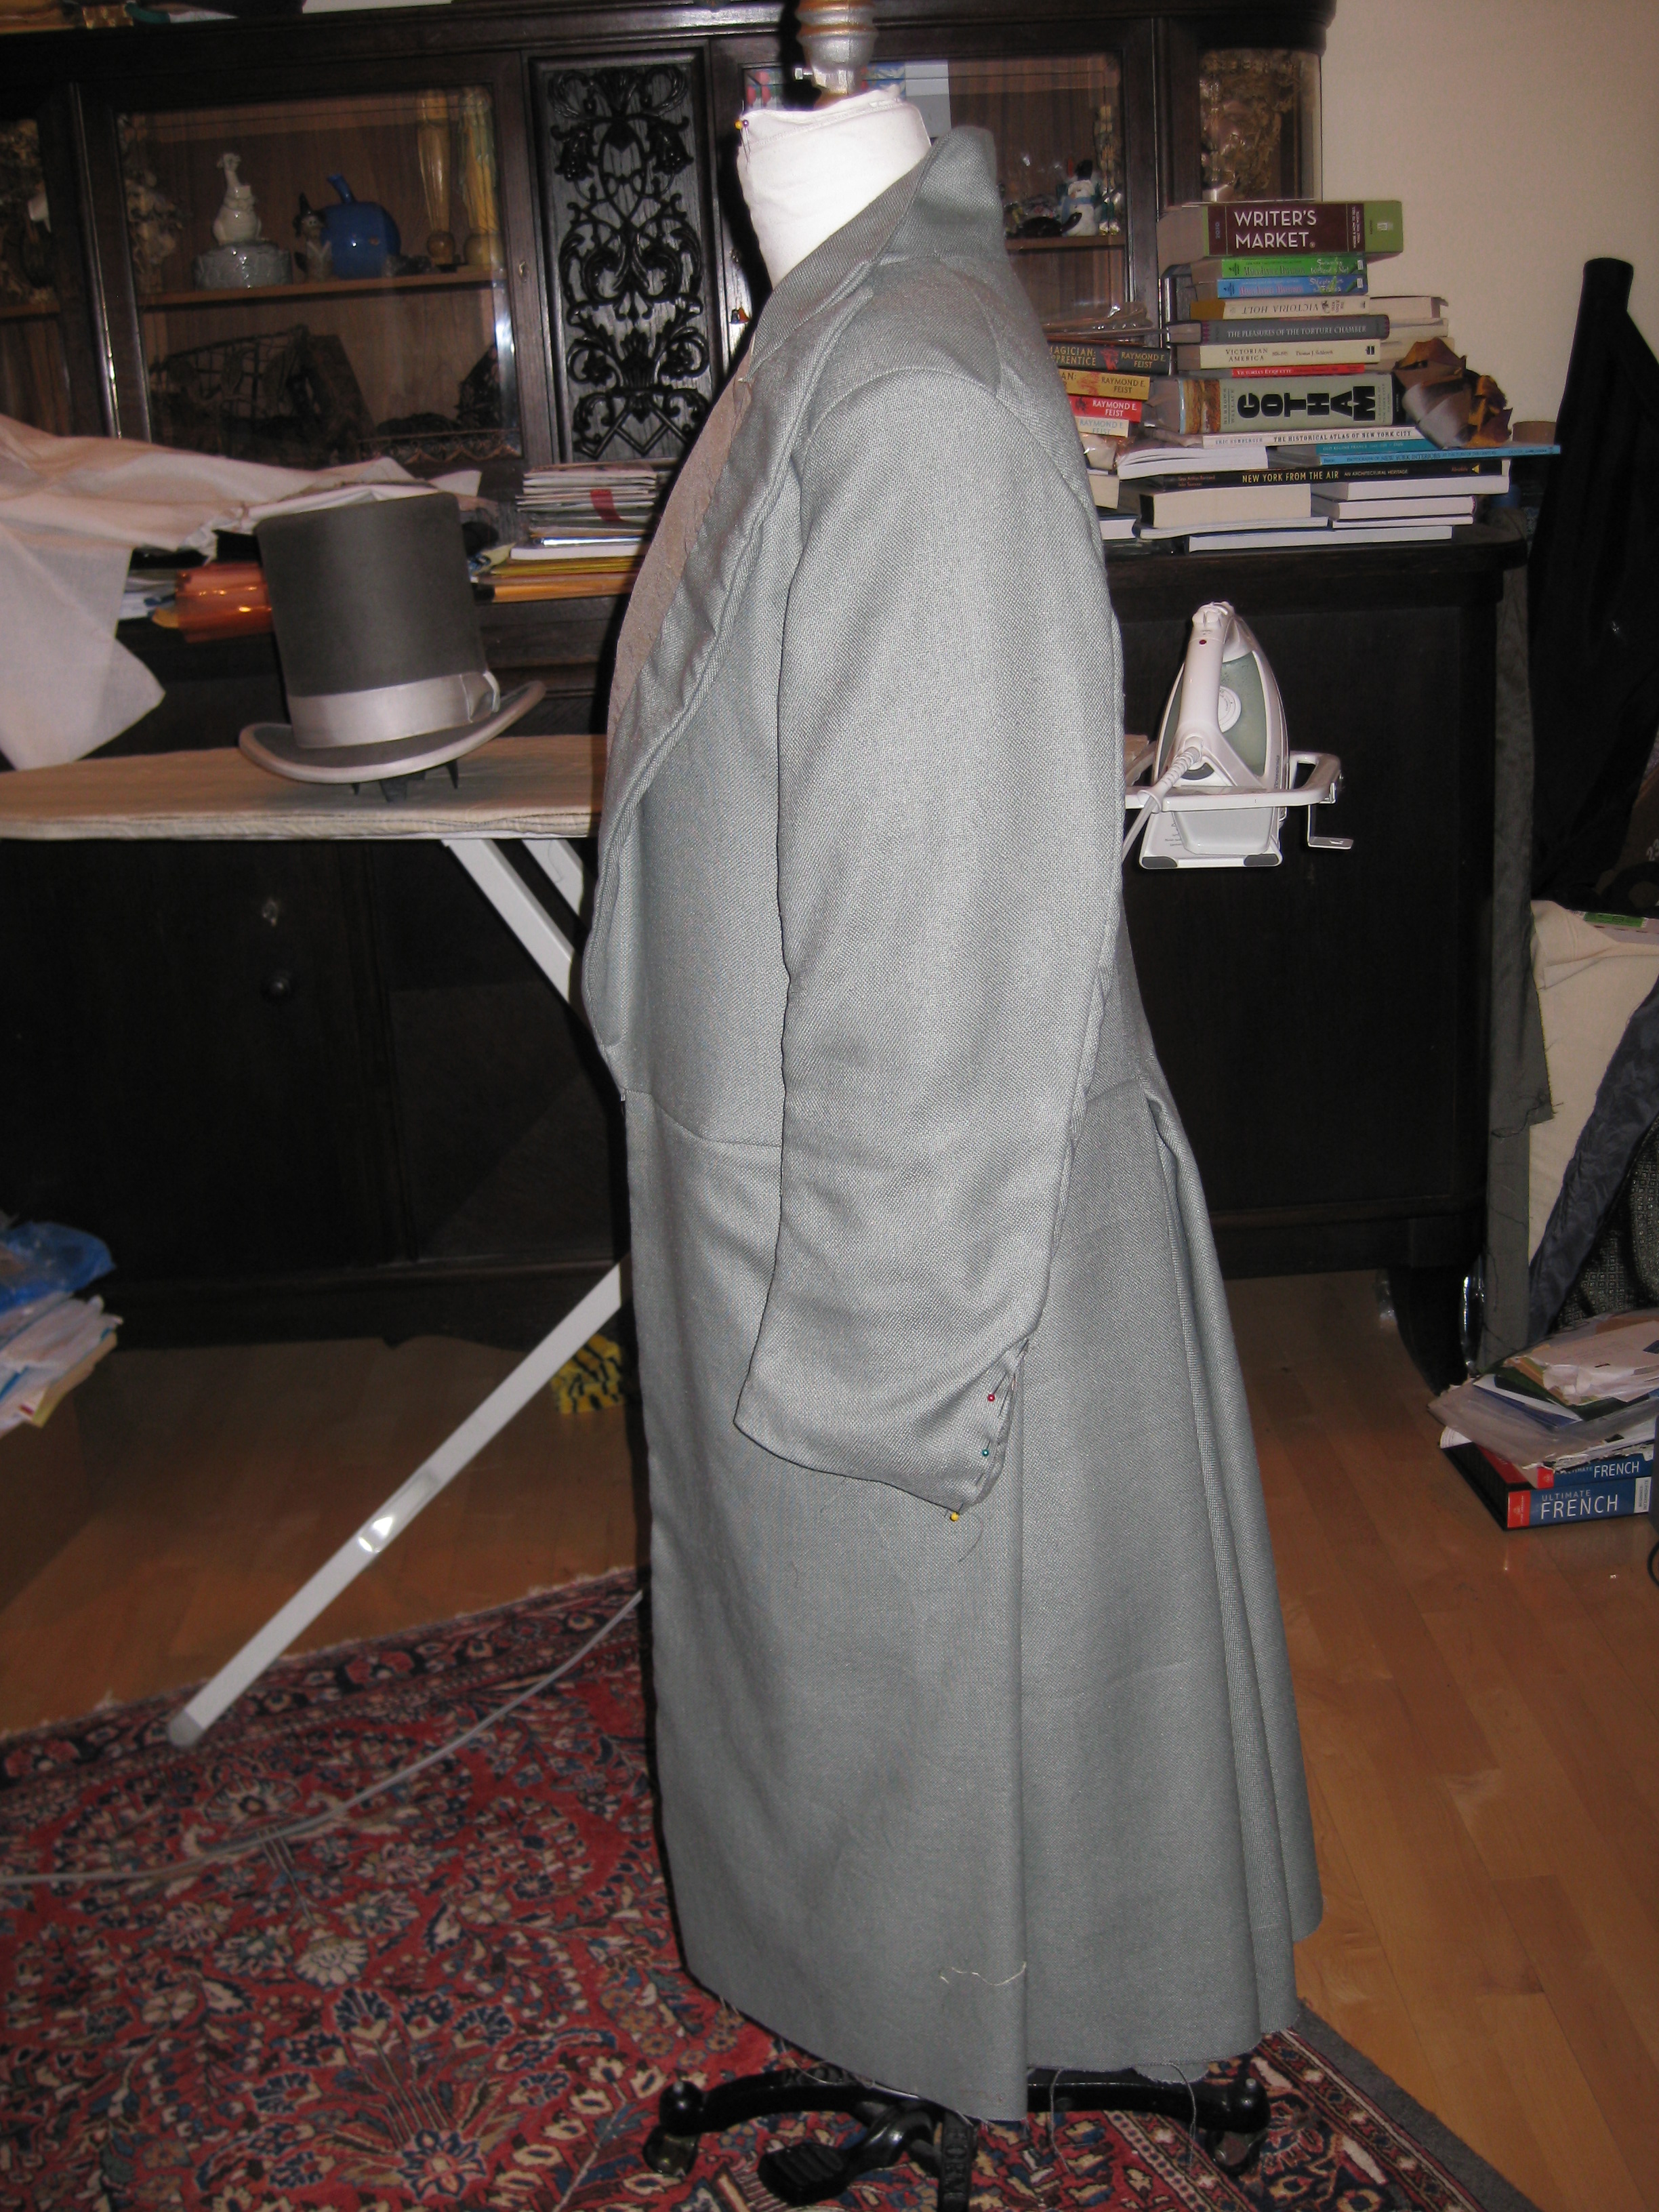
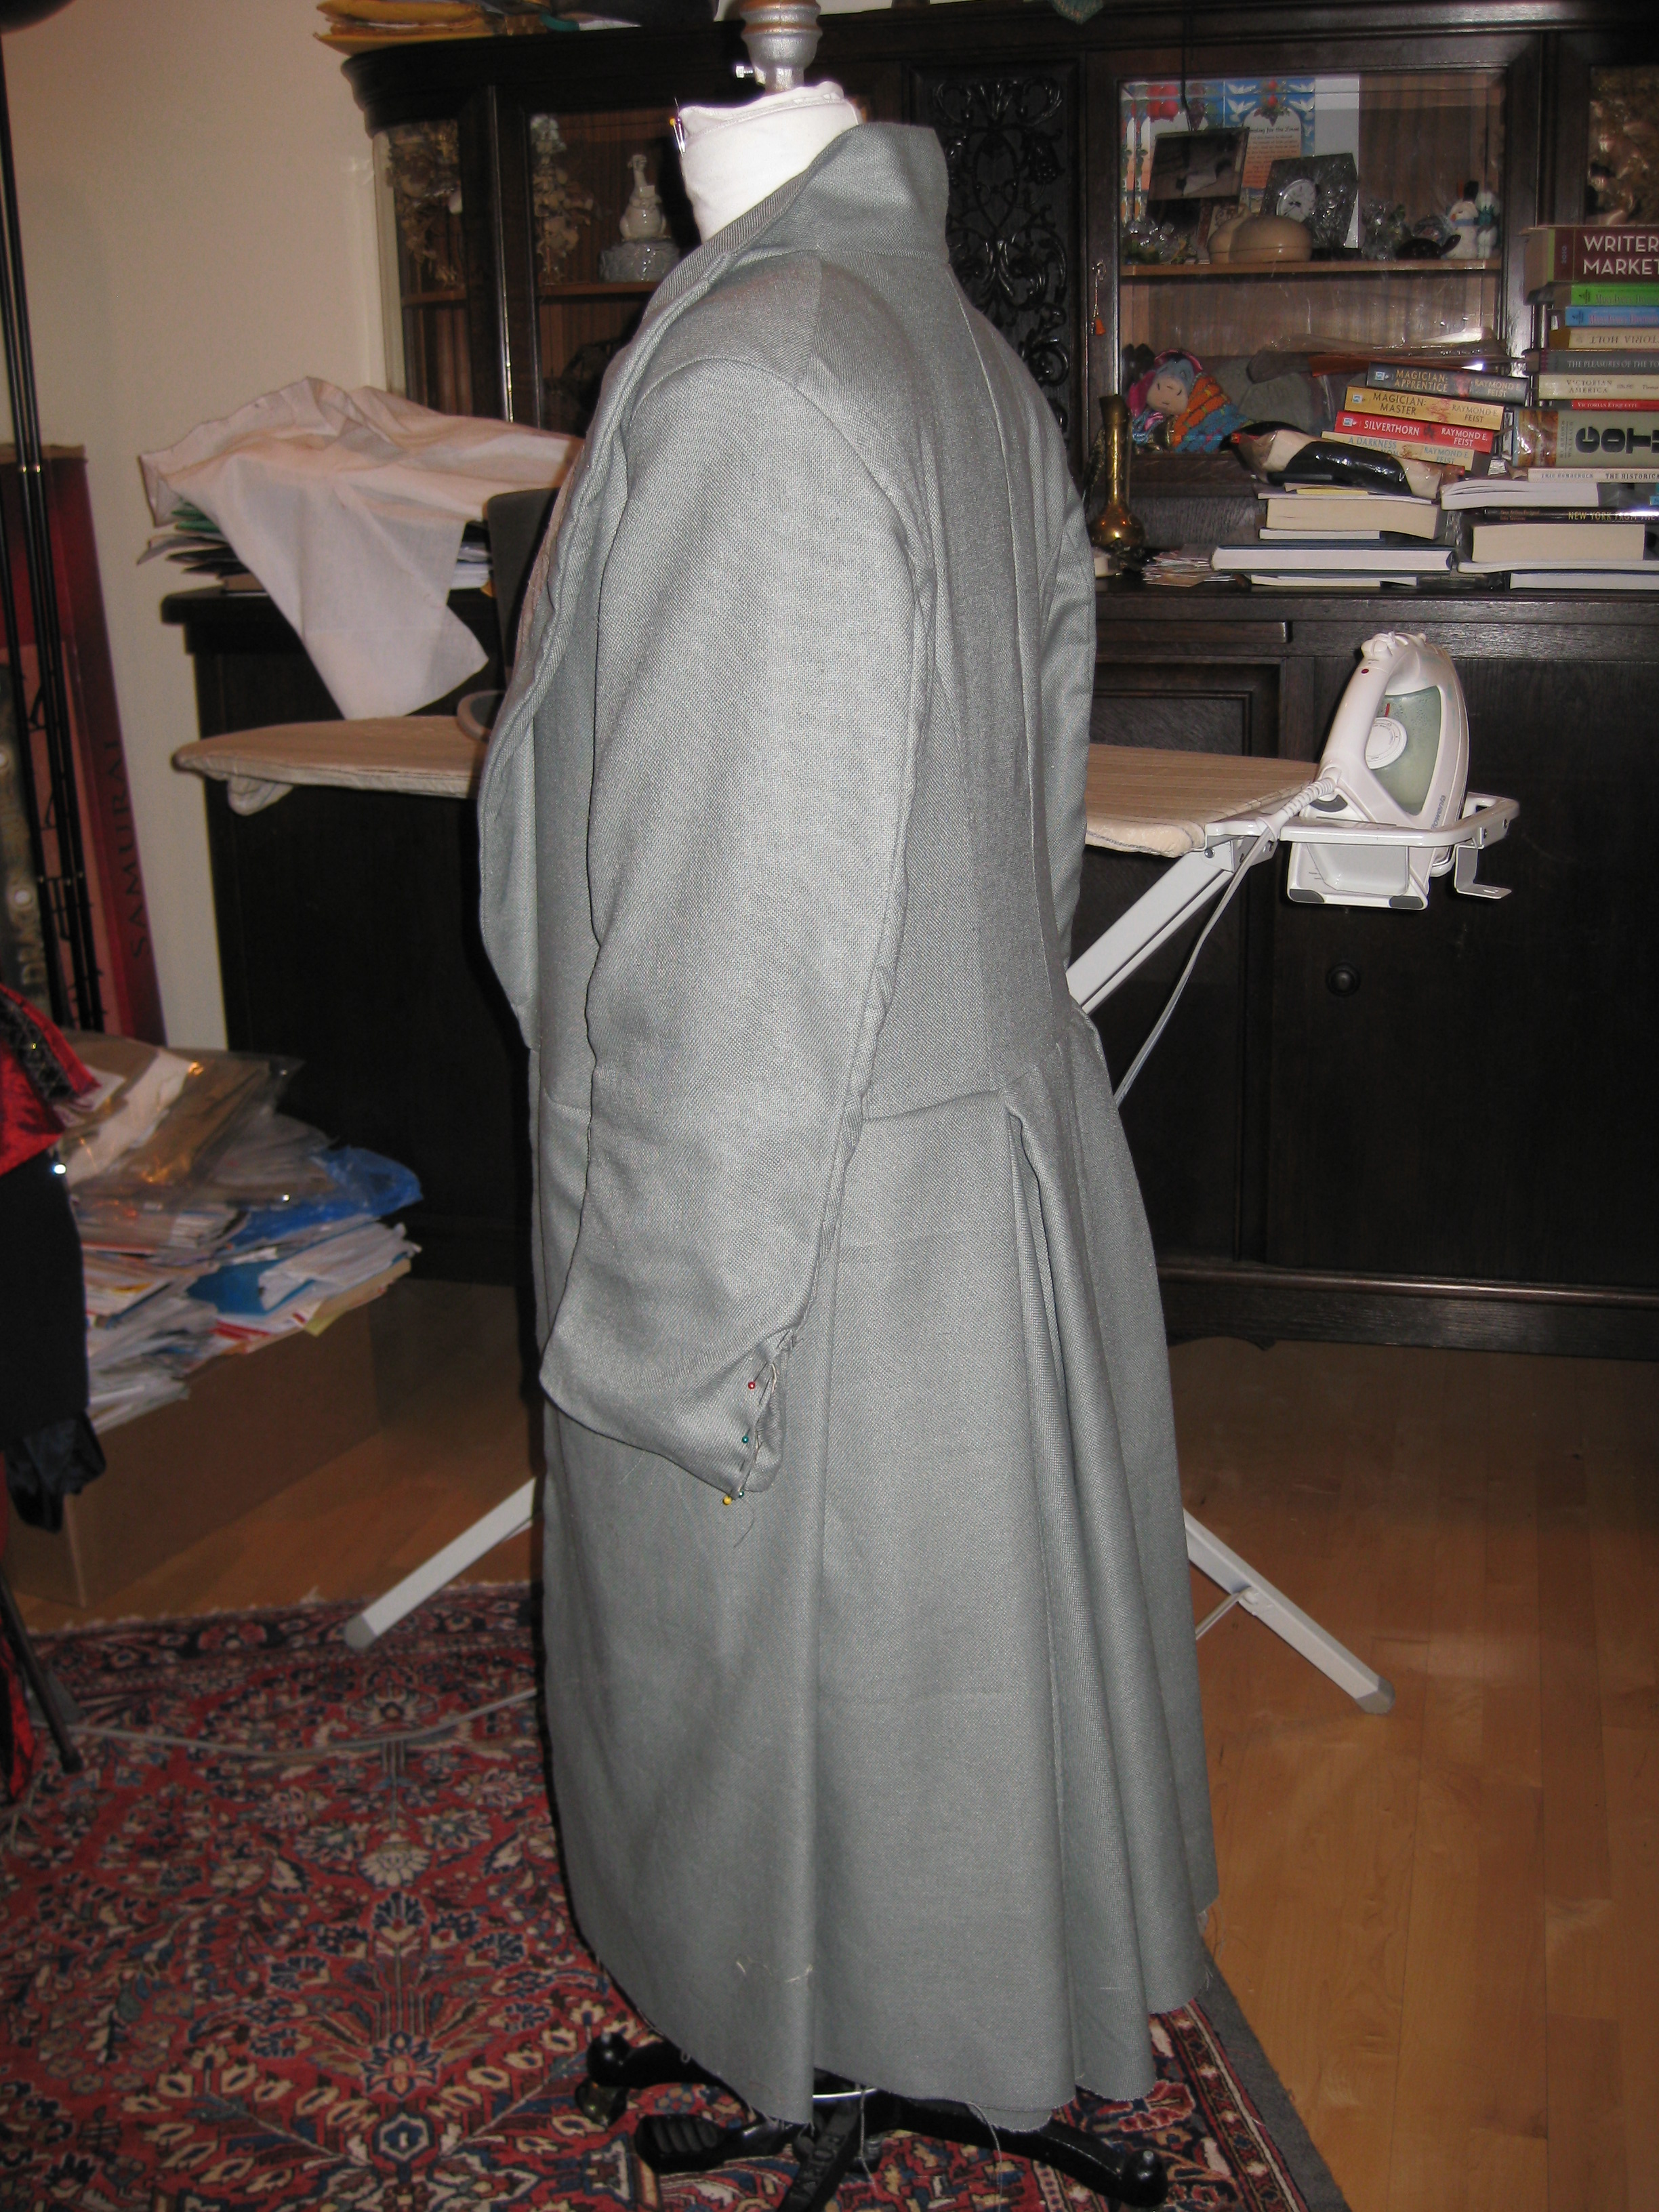
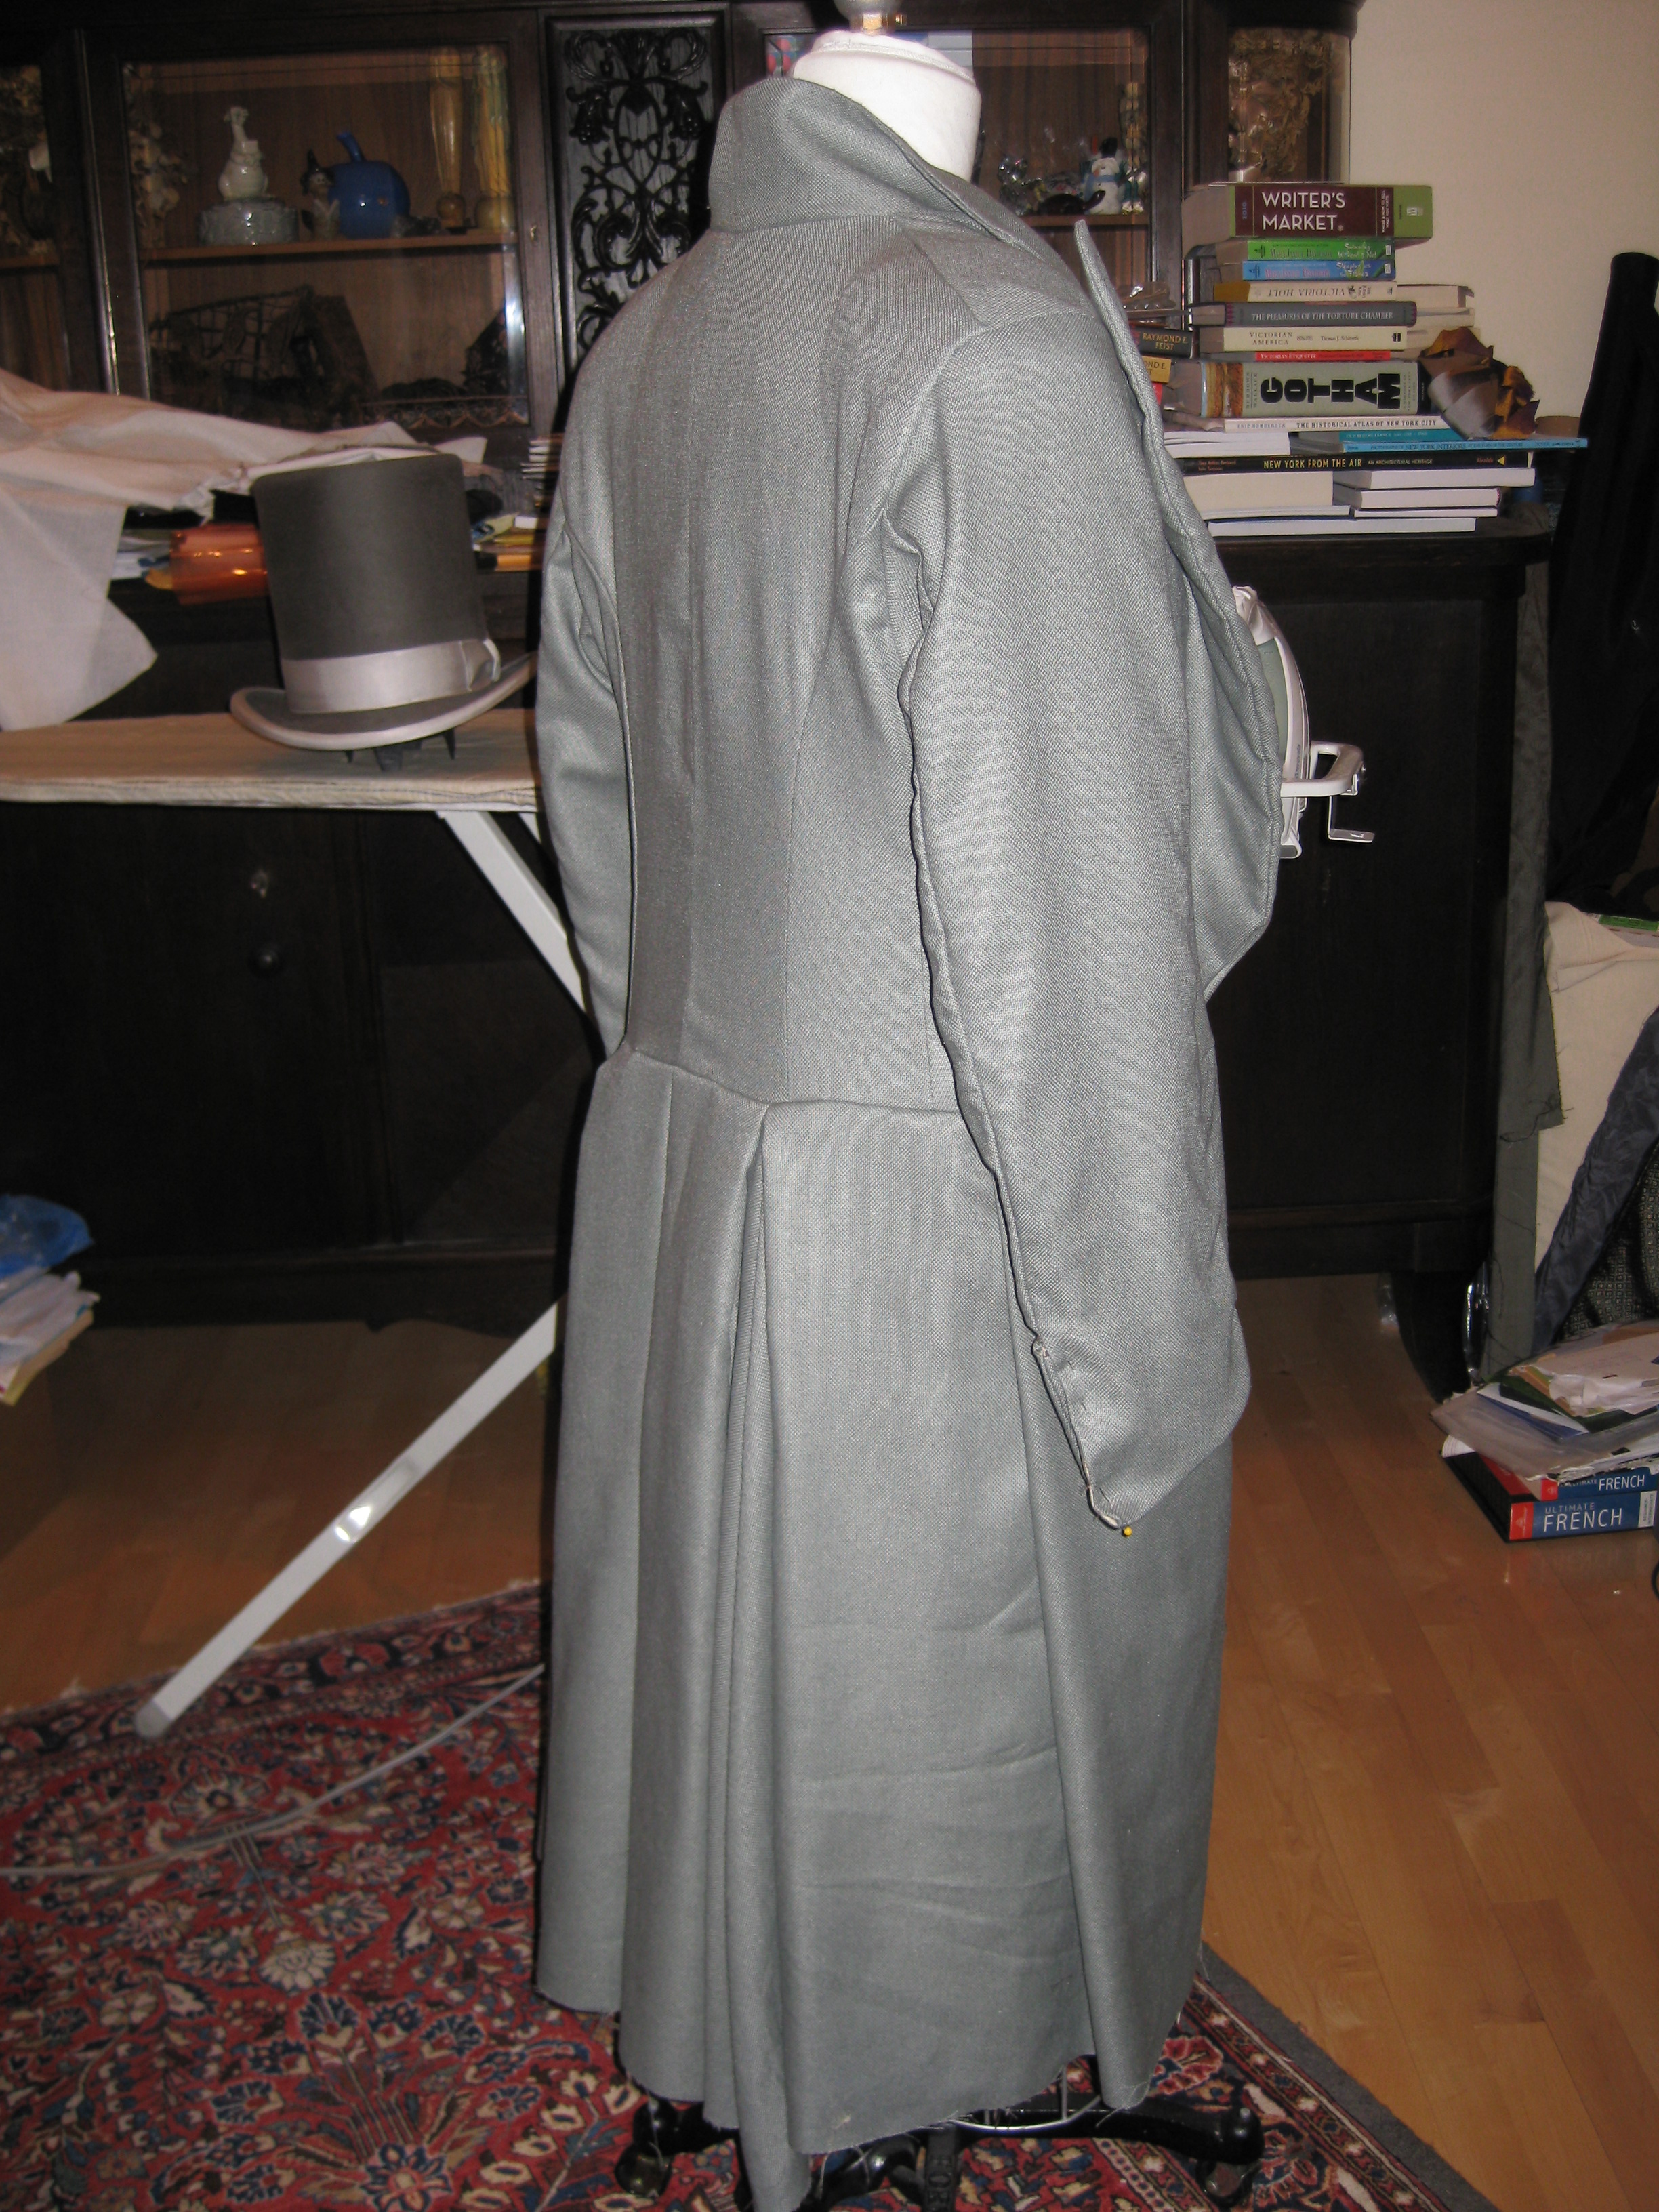
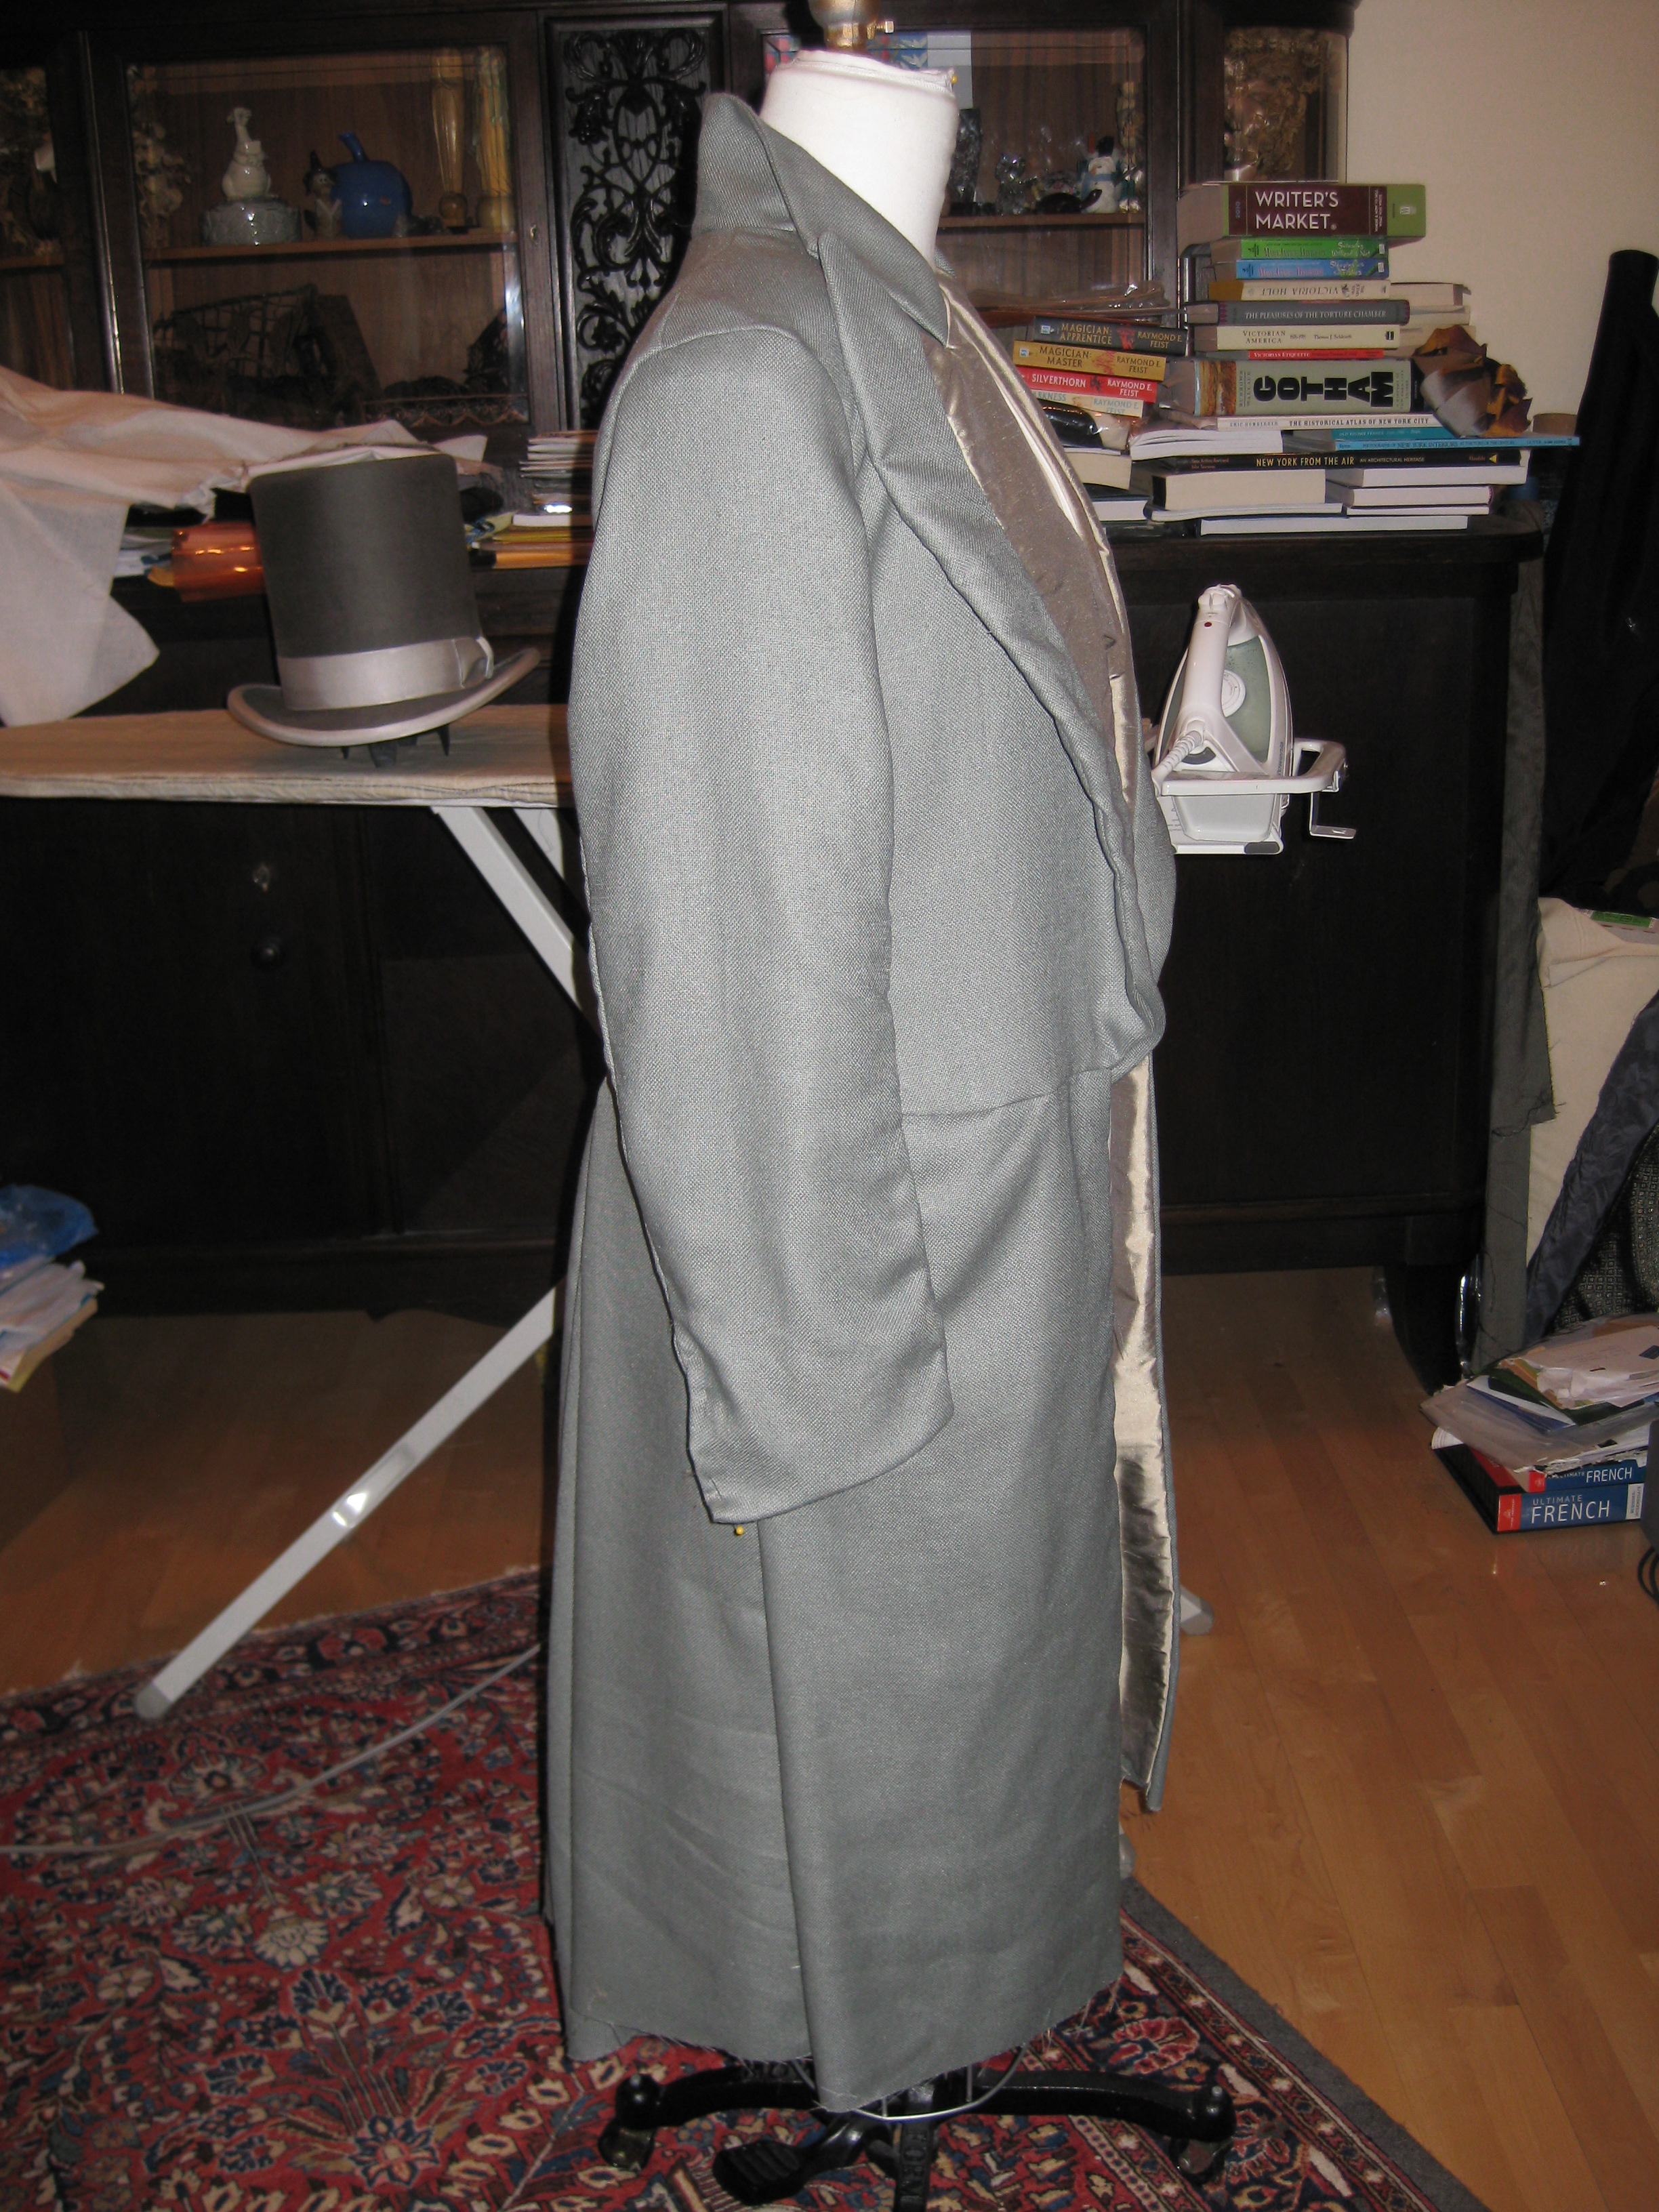
More photos, and I'll continue with the side by side thing, because I want to see the difference... Left is the final, right is what I had last night.
For the next one, I did not take a side shot last night. Unfortunately. But I have a near side shot from before I added the sleeves and trimmed the skirt.
By the way, I intend to cut the right and left skirt panels somewhat longer, so that they are flush with the upper part of the coat. What happened? I decided to make the second pleat deeper. So the piece needs to be longer... and I might try tapering it at a very slight angle, because I like where the bottom of this hits. It will be like adding a very long and narrow triangle there. Kind of reminds me of the justaucorp. Yes.
Now I can say I'm happy. And I love coats. No doubt, I do love coats.
Have I mentioned? Julien is getting one of these. I will, of course, alther the lapels for him...
Ironing is next, and some washing, because I need some lining fabric...
And then cutting! YAY!
Things are coming together.
Prince Vlad's Frock Coat!
Aug. 2nd, 2010 at 3:12 AM:
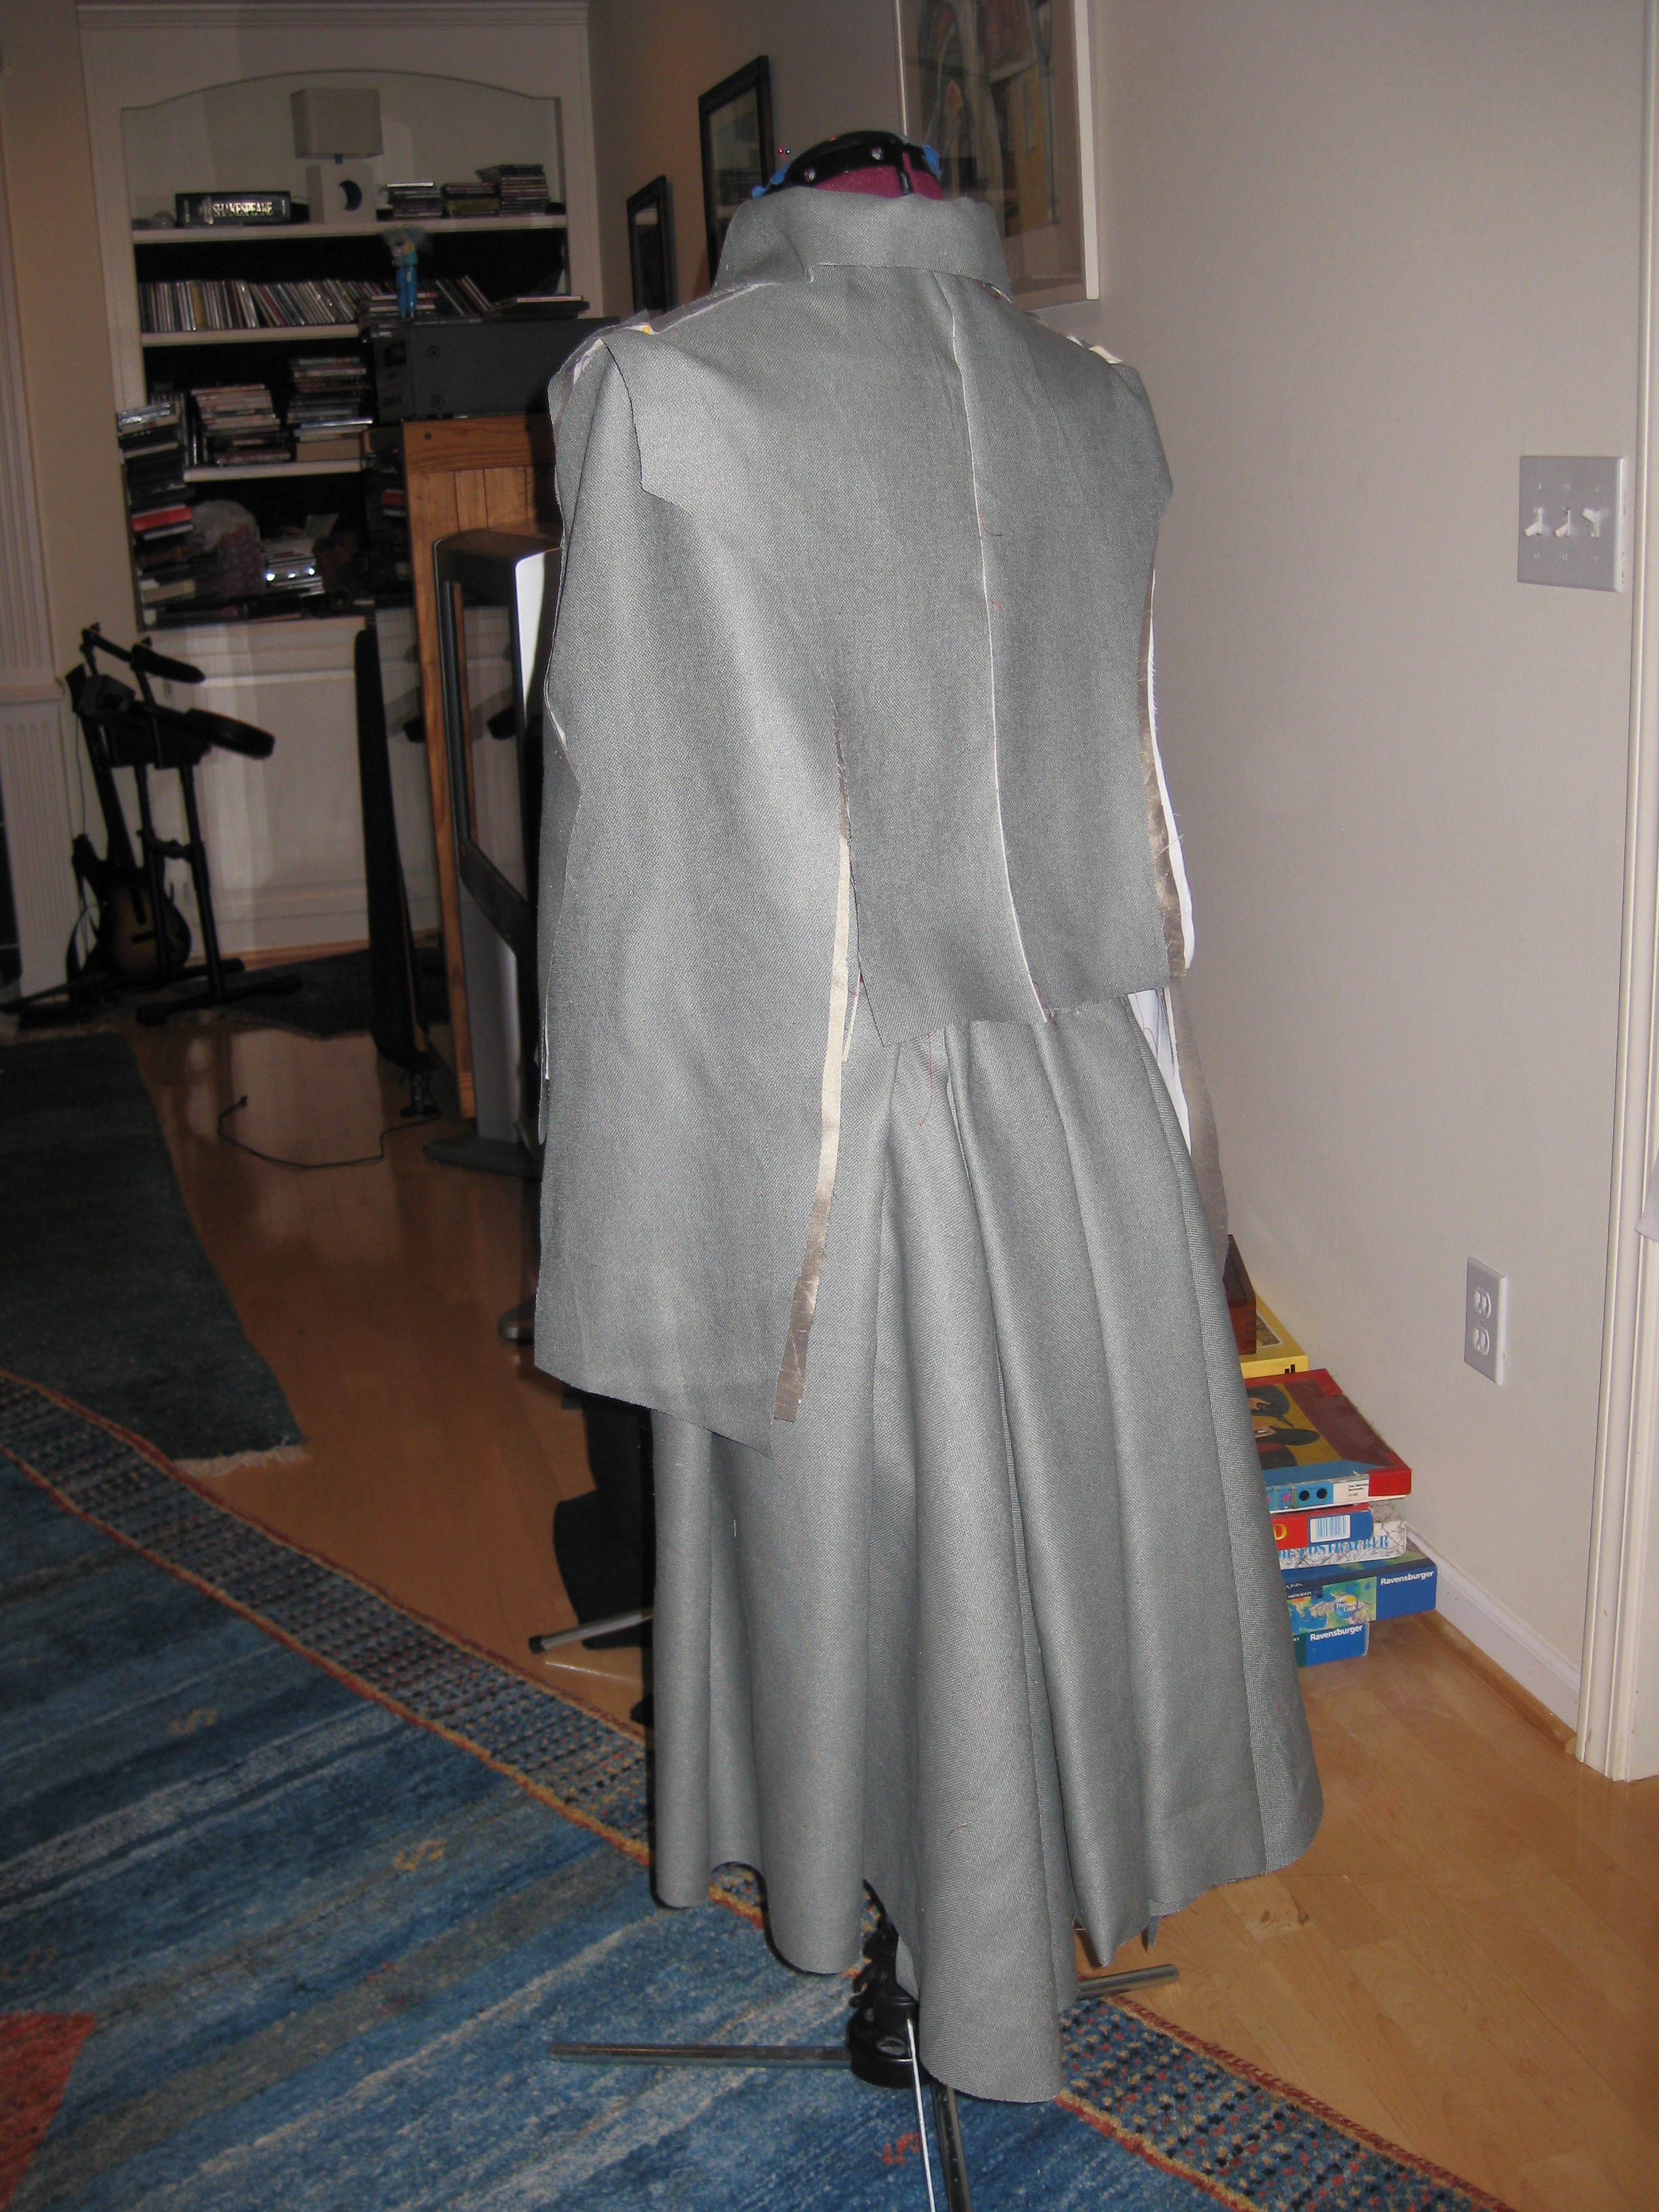
Prince Vlad's Frock Coat!!!
It's cut and hanging!
I do not have that long narrow triangle cut into the front skirt panels. Will do that after it hangs a while.
The only parts left to cut out are the pockets.
Later on today, after I sleep, I'll cut out the pants, so they can hang out with the coat. ;P
Then I'll be examining the Laughing Moon shirt pattern I cut out last year, to see if I'll use it or not... I might mock up one to see how they are.
I might have enough of the dark gray fabric to make two shirts. That's what I hope, anyways... One cannot have too many shirts.
Now is way past time for sleeping... so I'm off to bed!
Aug. 3rd, 2010 at 11:24 PM
Prince Vlad has welt pockets!
I practiced once on scraps of fabric, and did my best with drawing in the lines, etc. But that didn't seem to do me any good. In other words, I hated drawing the lines on the fabric, and the lines didn't keep me straight. *sigh*
So, then I thought I'd just eyeball it, like I often do, especially after I've gotten to know a shape, and figured out the technique. How is it I can sew straighter than I can draw a line? I don't know. But it seems to be the case, though they're still not straight...
At this point I decided I'd practice on Prince Vlad's coat, since those pockets would be hidden, anyways...
So, here's two that will be hidden inside as breast pockets in the coat:
I didn't draw any lines. And that's how they came out.
I'm glad they'll be hidden! But I'm still kinda proud of them, in spite of flaws.
And I'm glad I got to practice on something that will Count. (Lol. I said a funny! Excuse me, my mind is just working that way right now.)
Then, because I couldn't wait anymore and didn't think any more practice would improve my learning curve by much, I moved on to the welt pockets in the vest.
They turned out a little better, and I'm glad for that. Because they will be in open view.
I like welt pockets.
I"m sure there are more in my future...
Next, I will put in the hidden pockets in the skirt of the coat. And then I can start sewing things together... YAY!
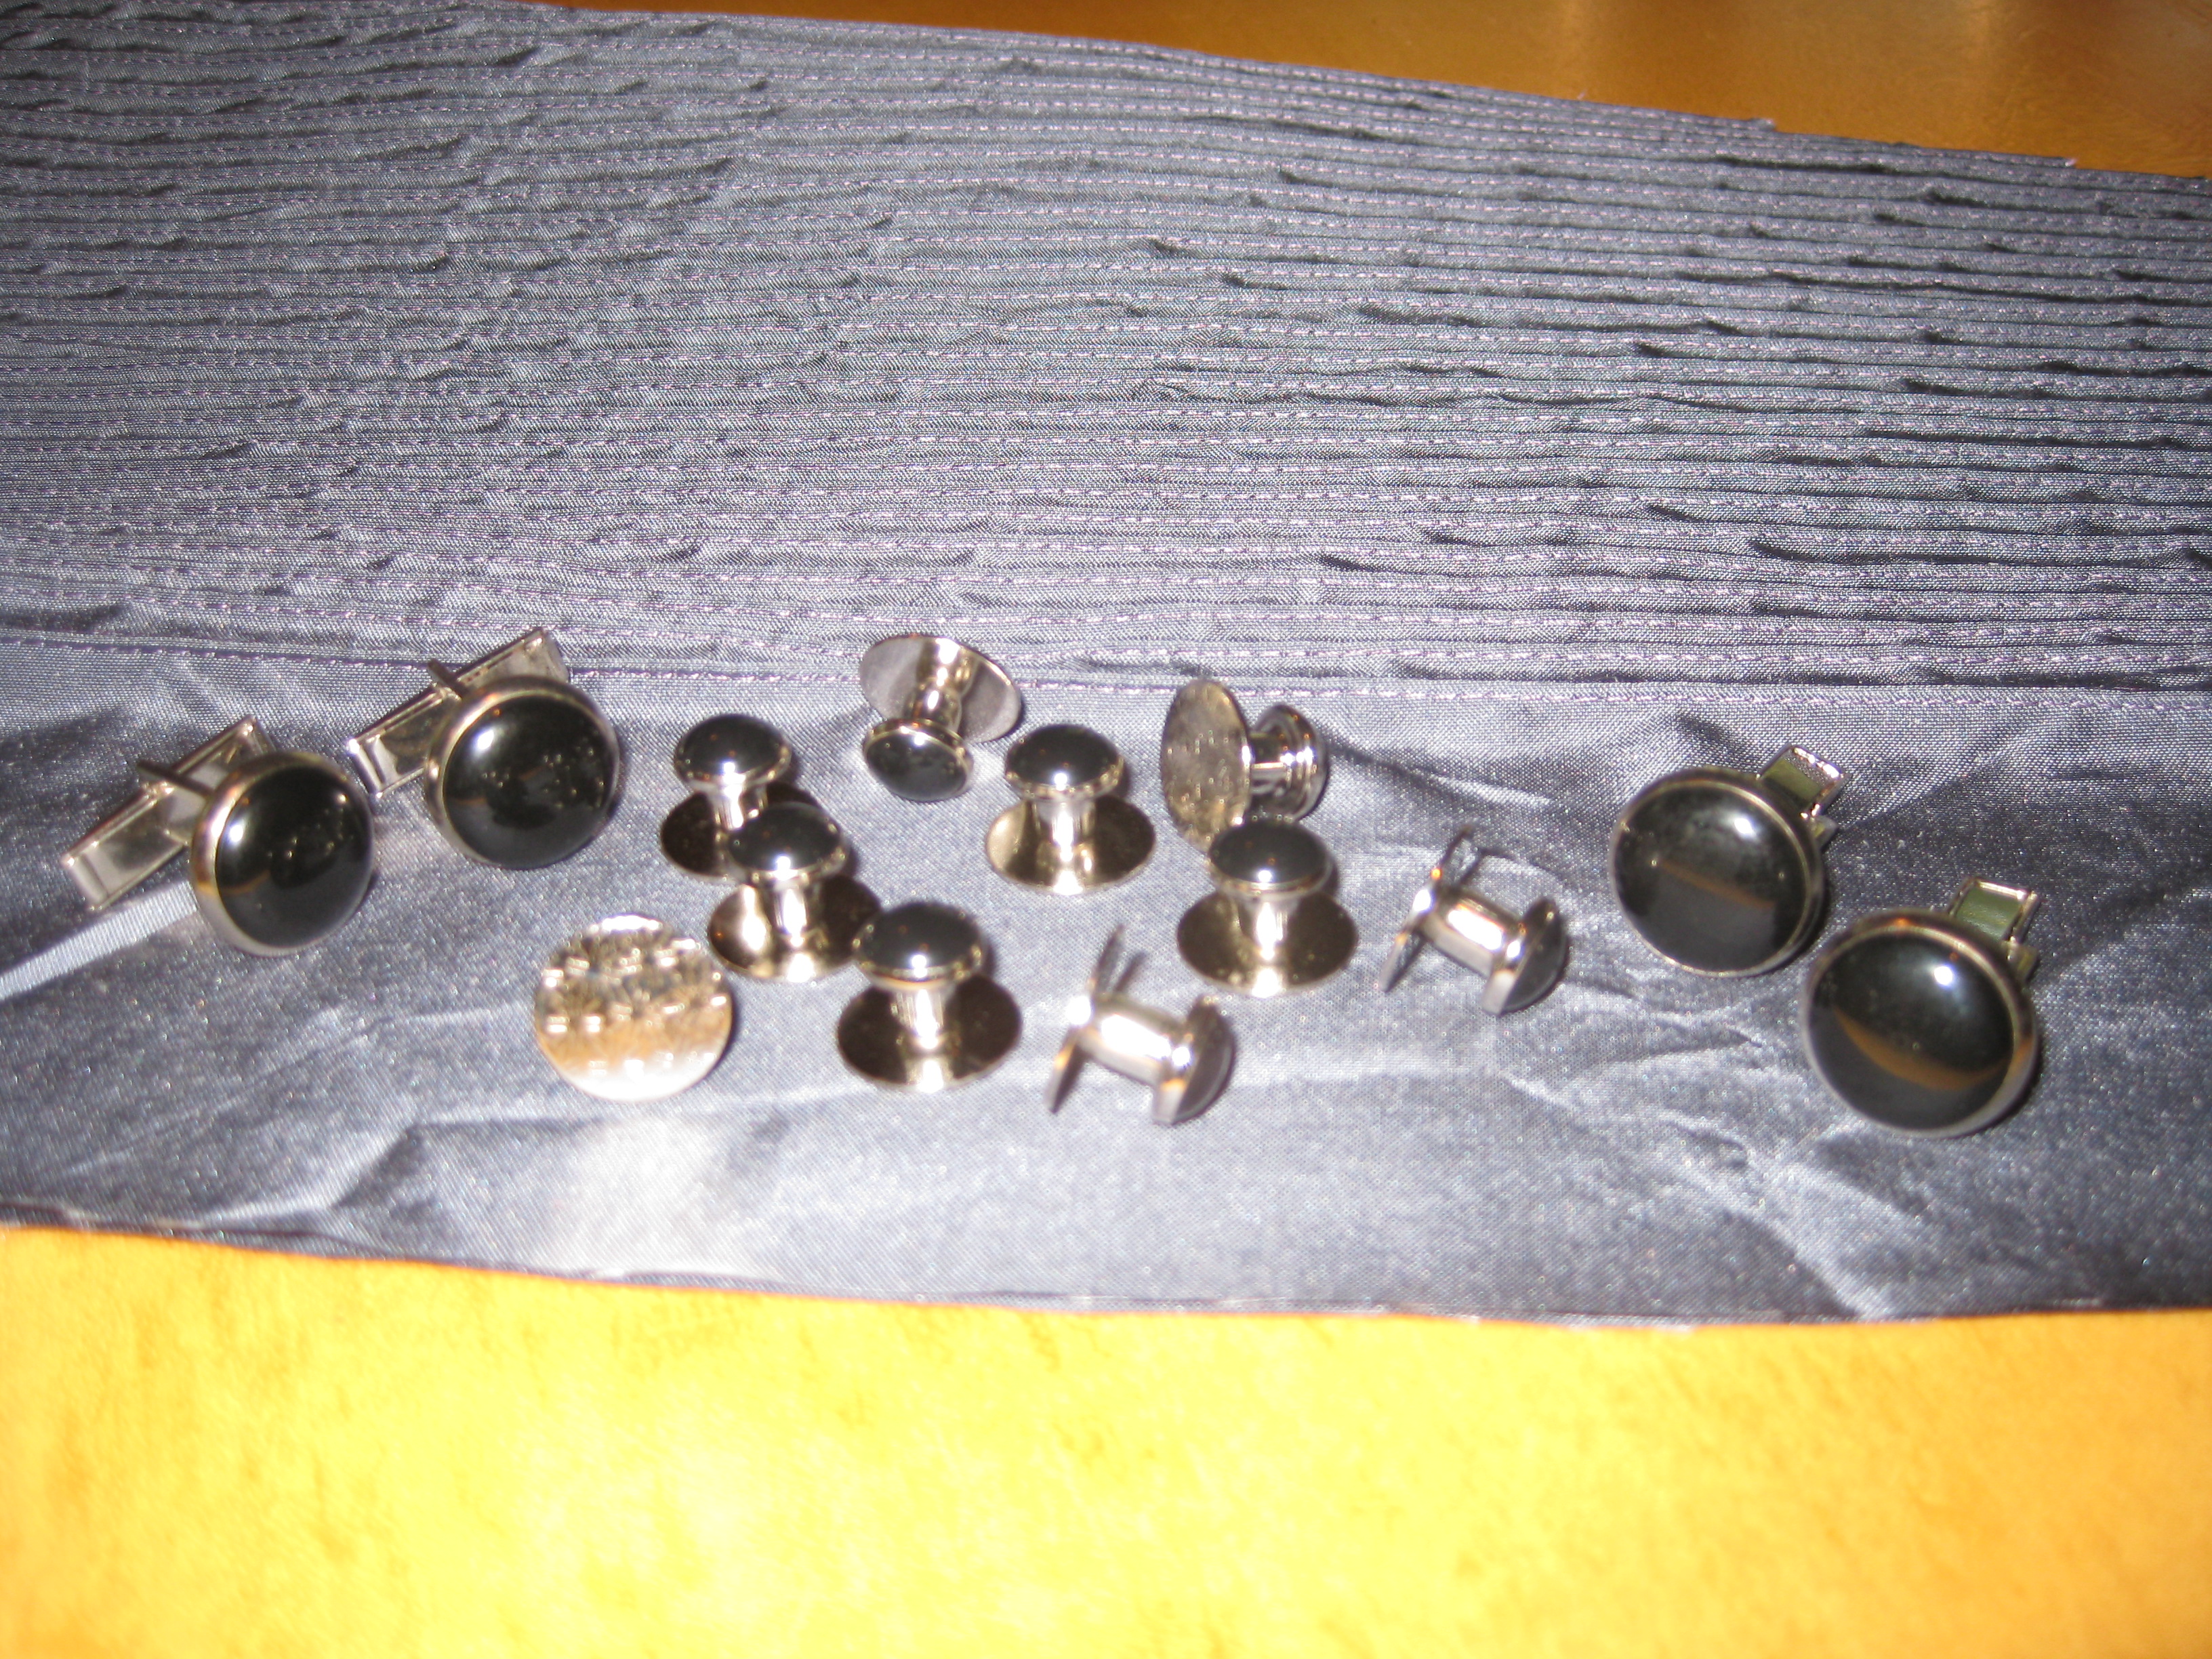
Yesterday I ordered shirt studs and some cotton twill lining fabric for the shirt(s). Yes, I will try to make two shirts, in case I want to bring him out twice...
Onward ho!
Aug. 4th, 2010 at 4:01 AM
Because I was too wired to sleep,
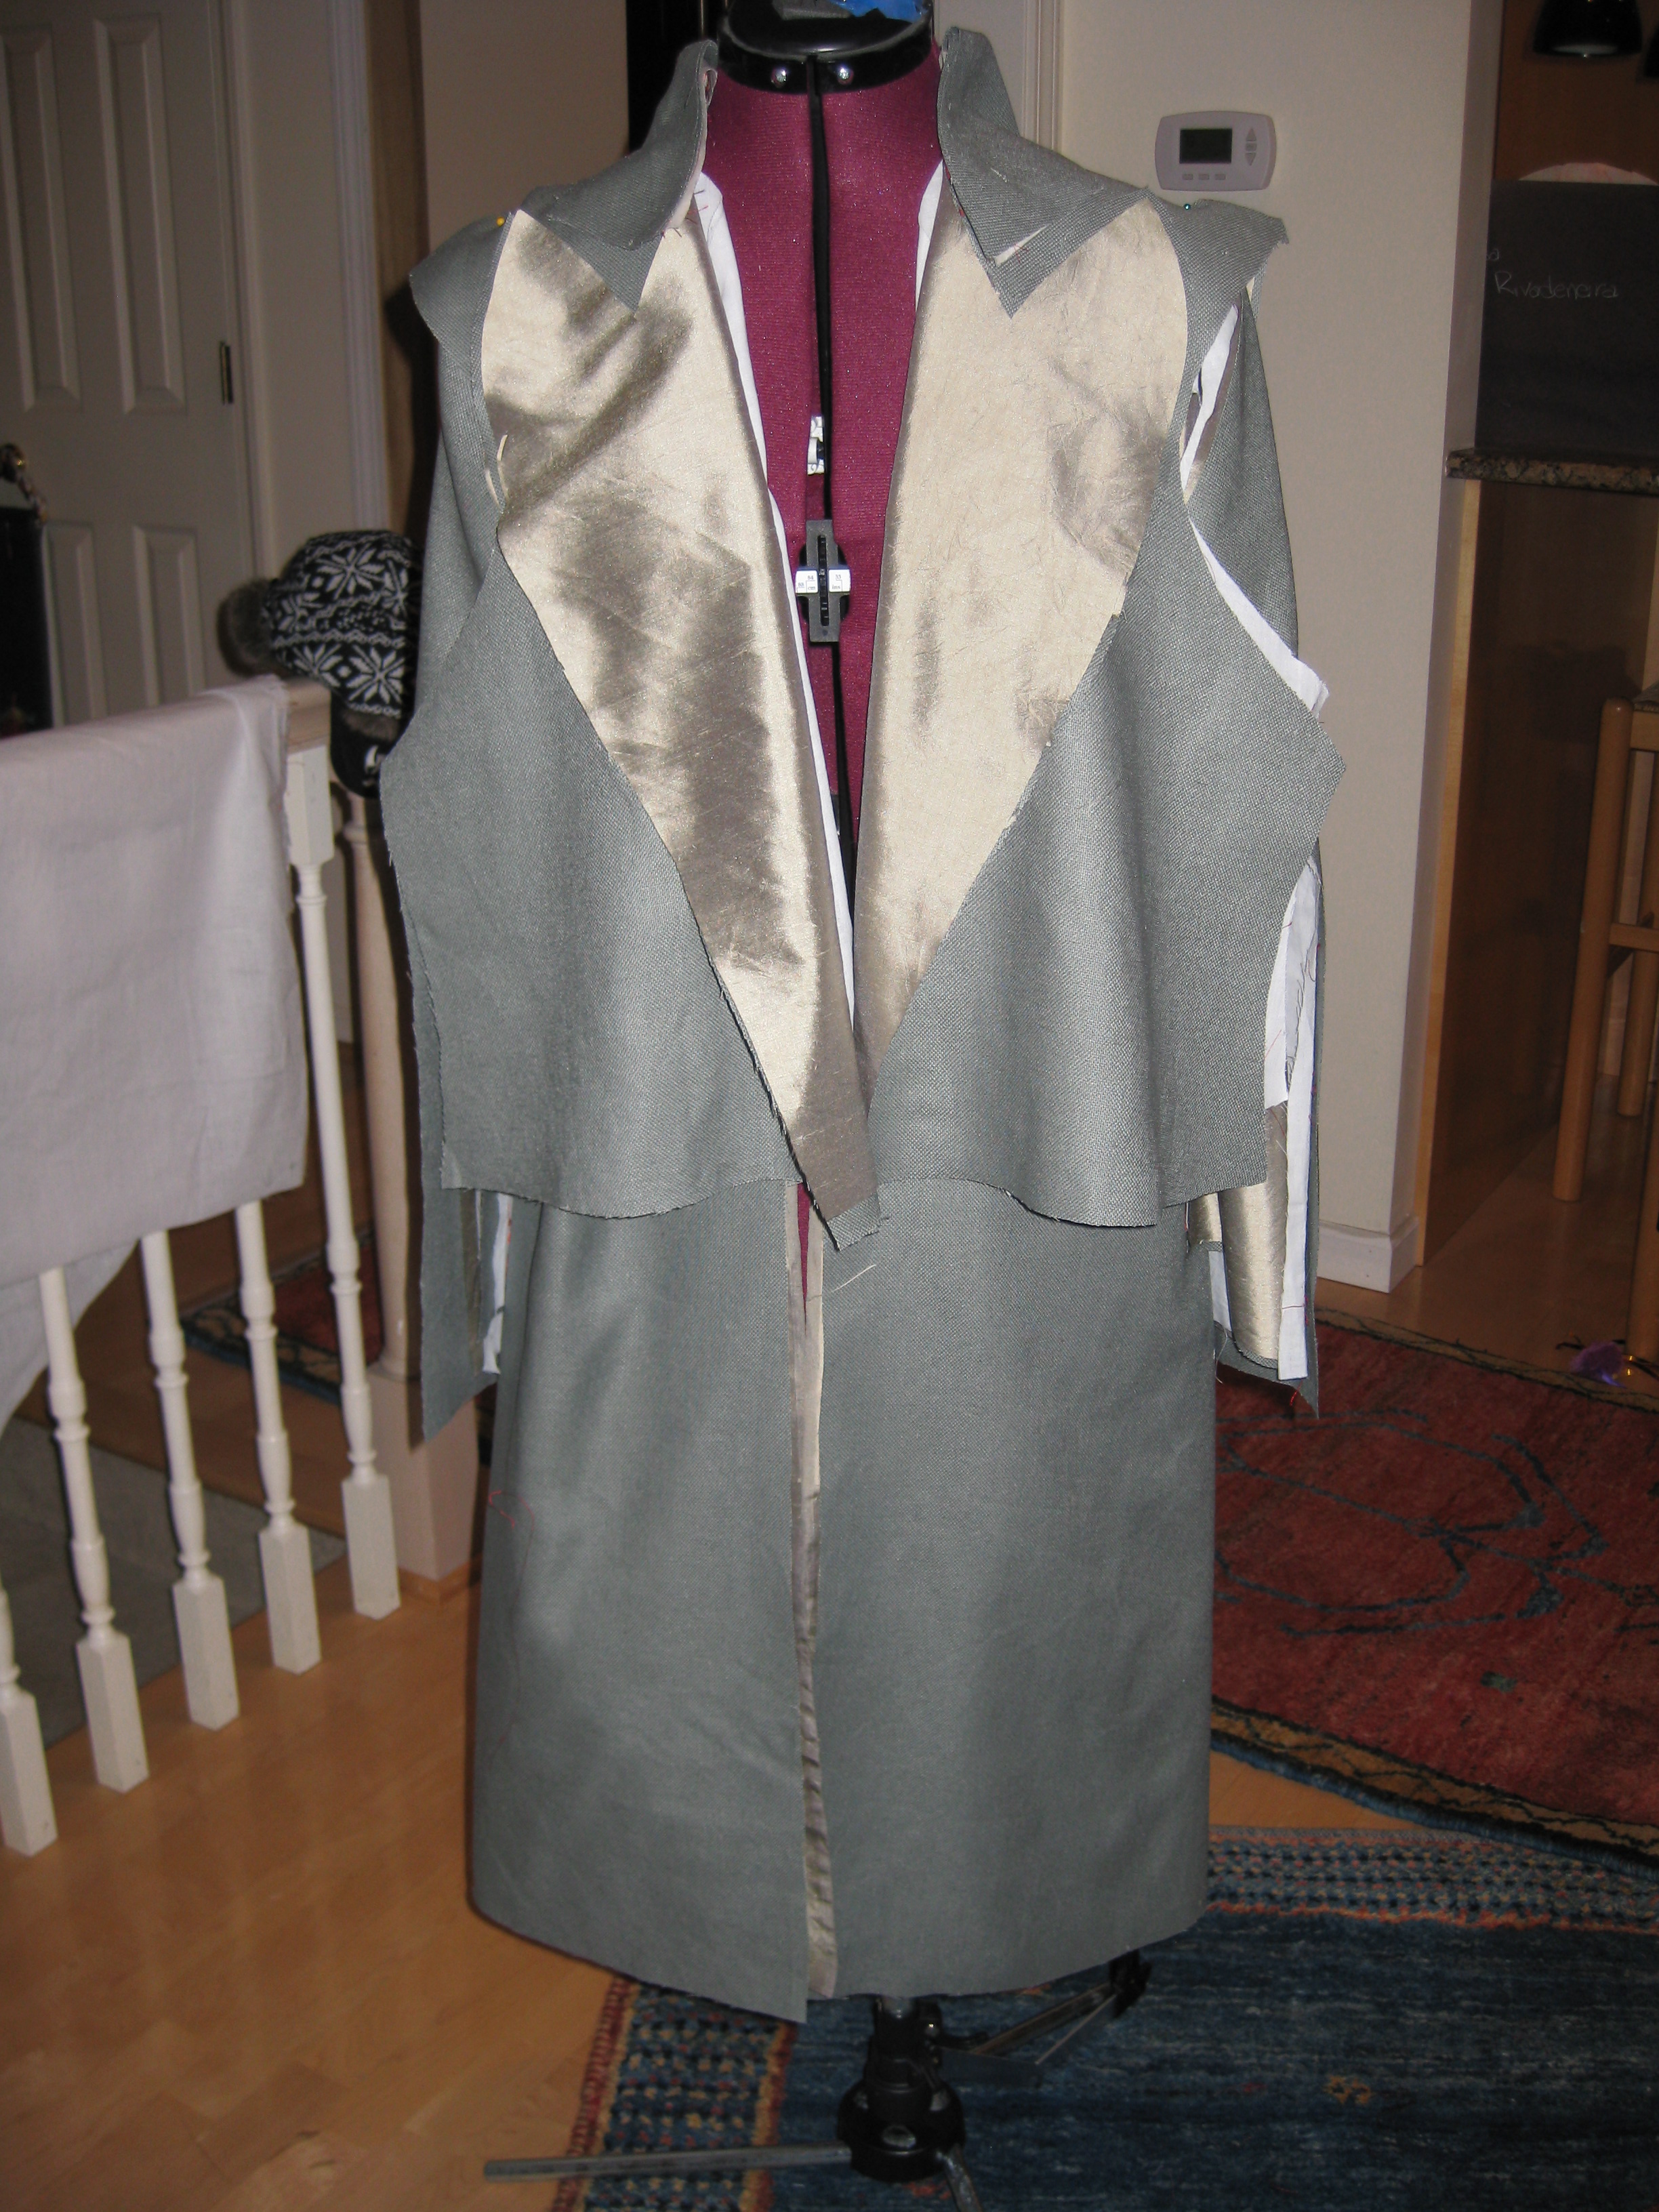
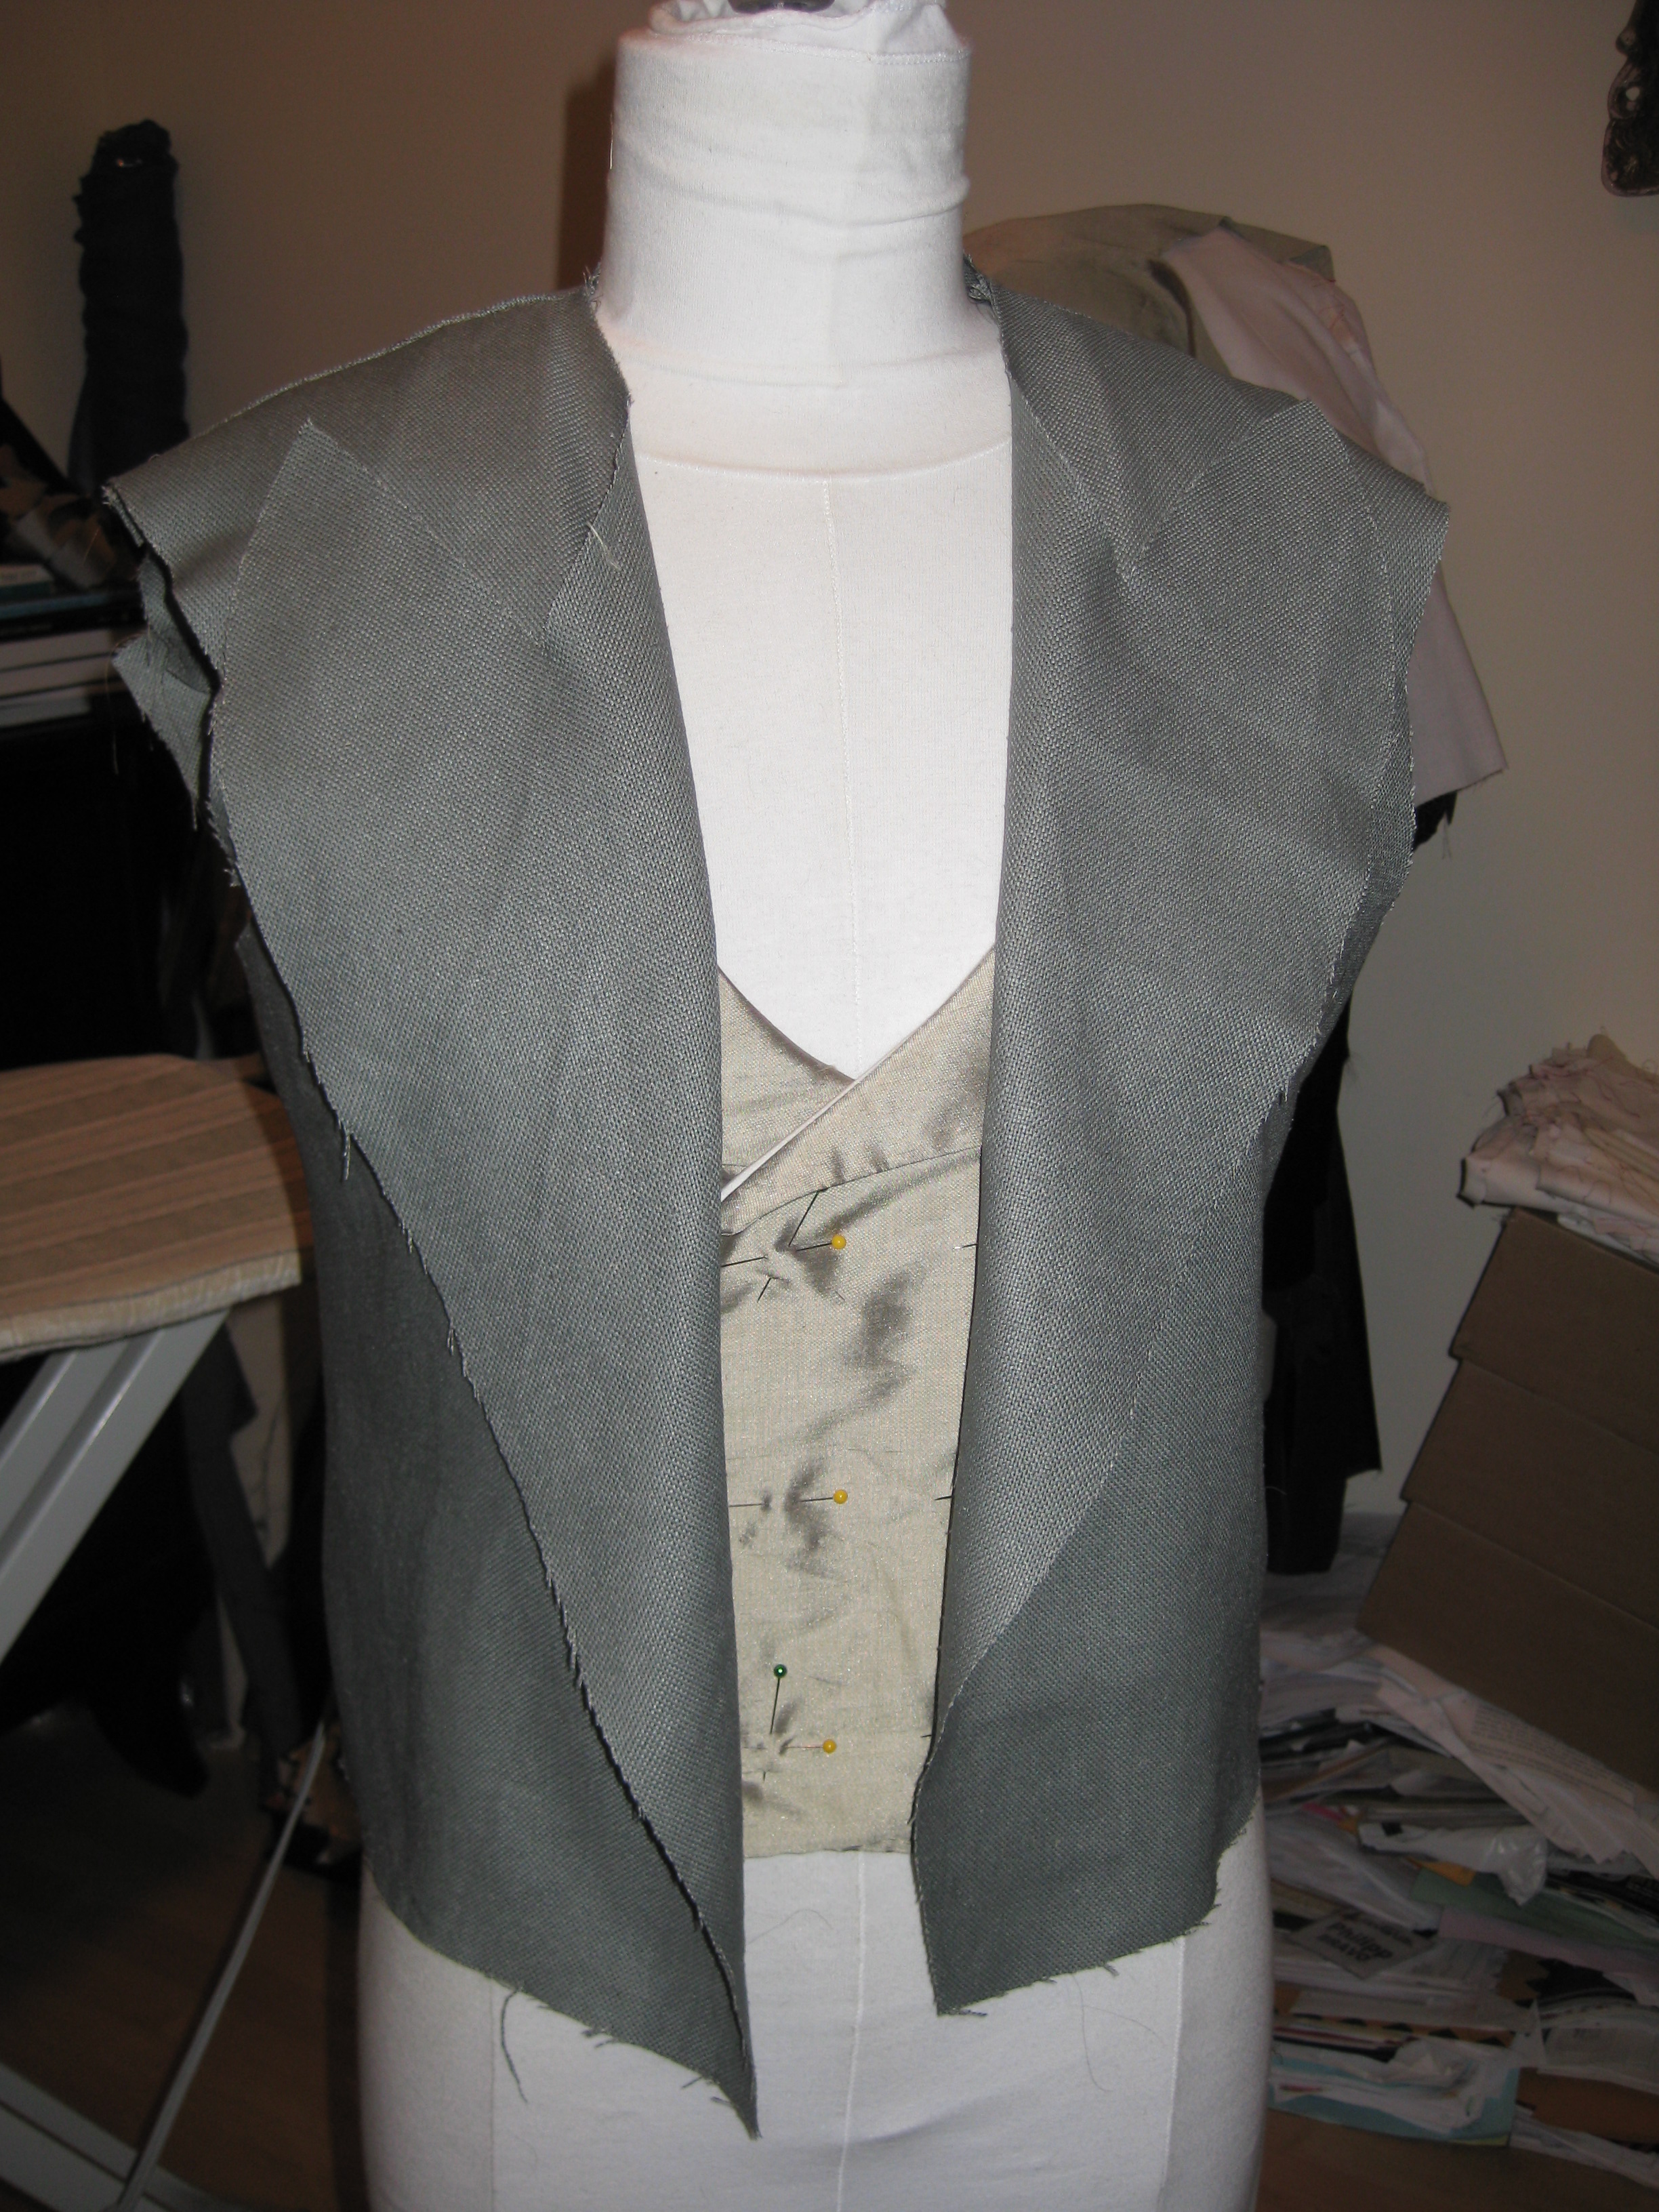
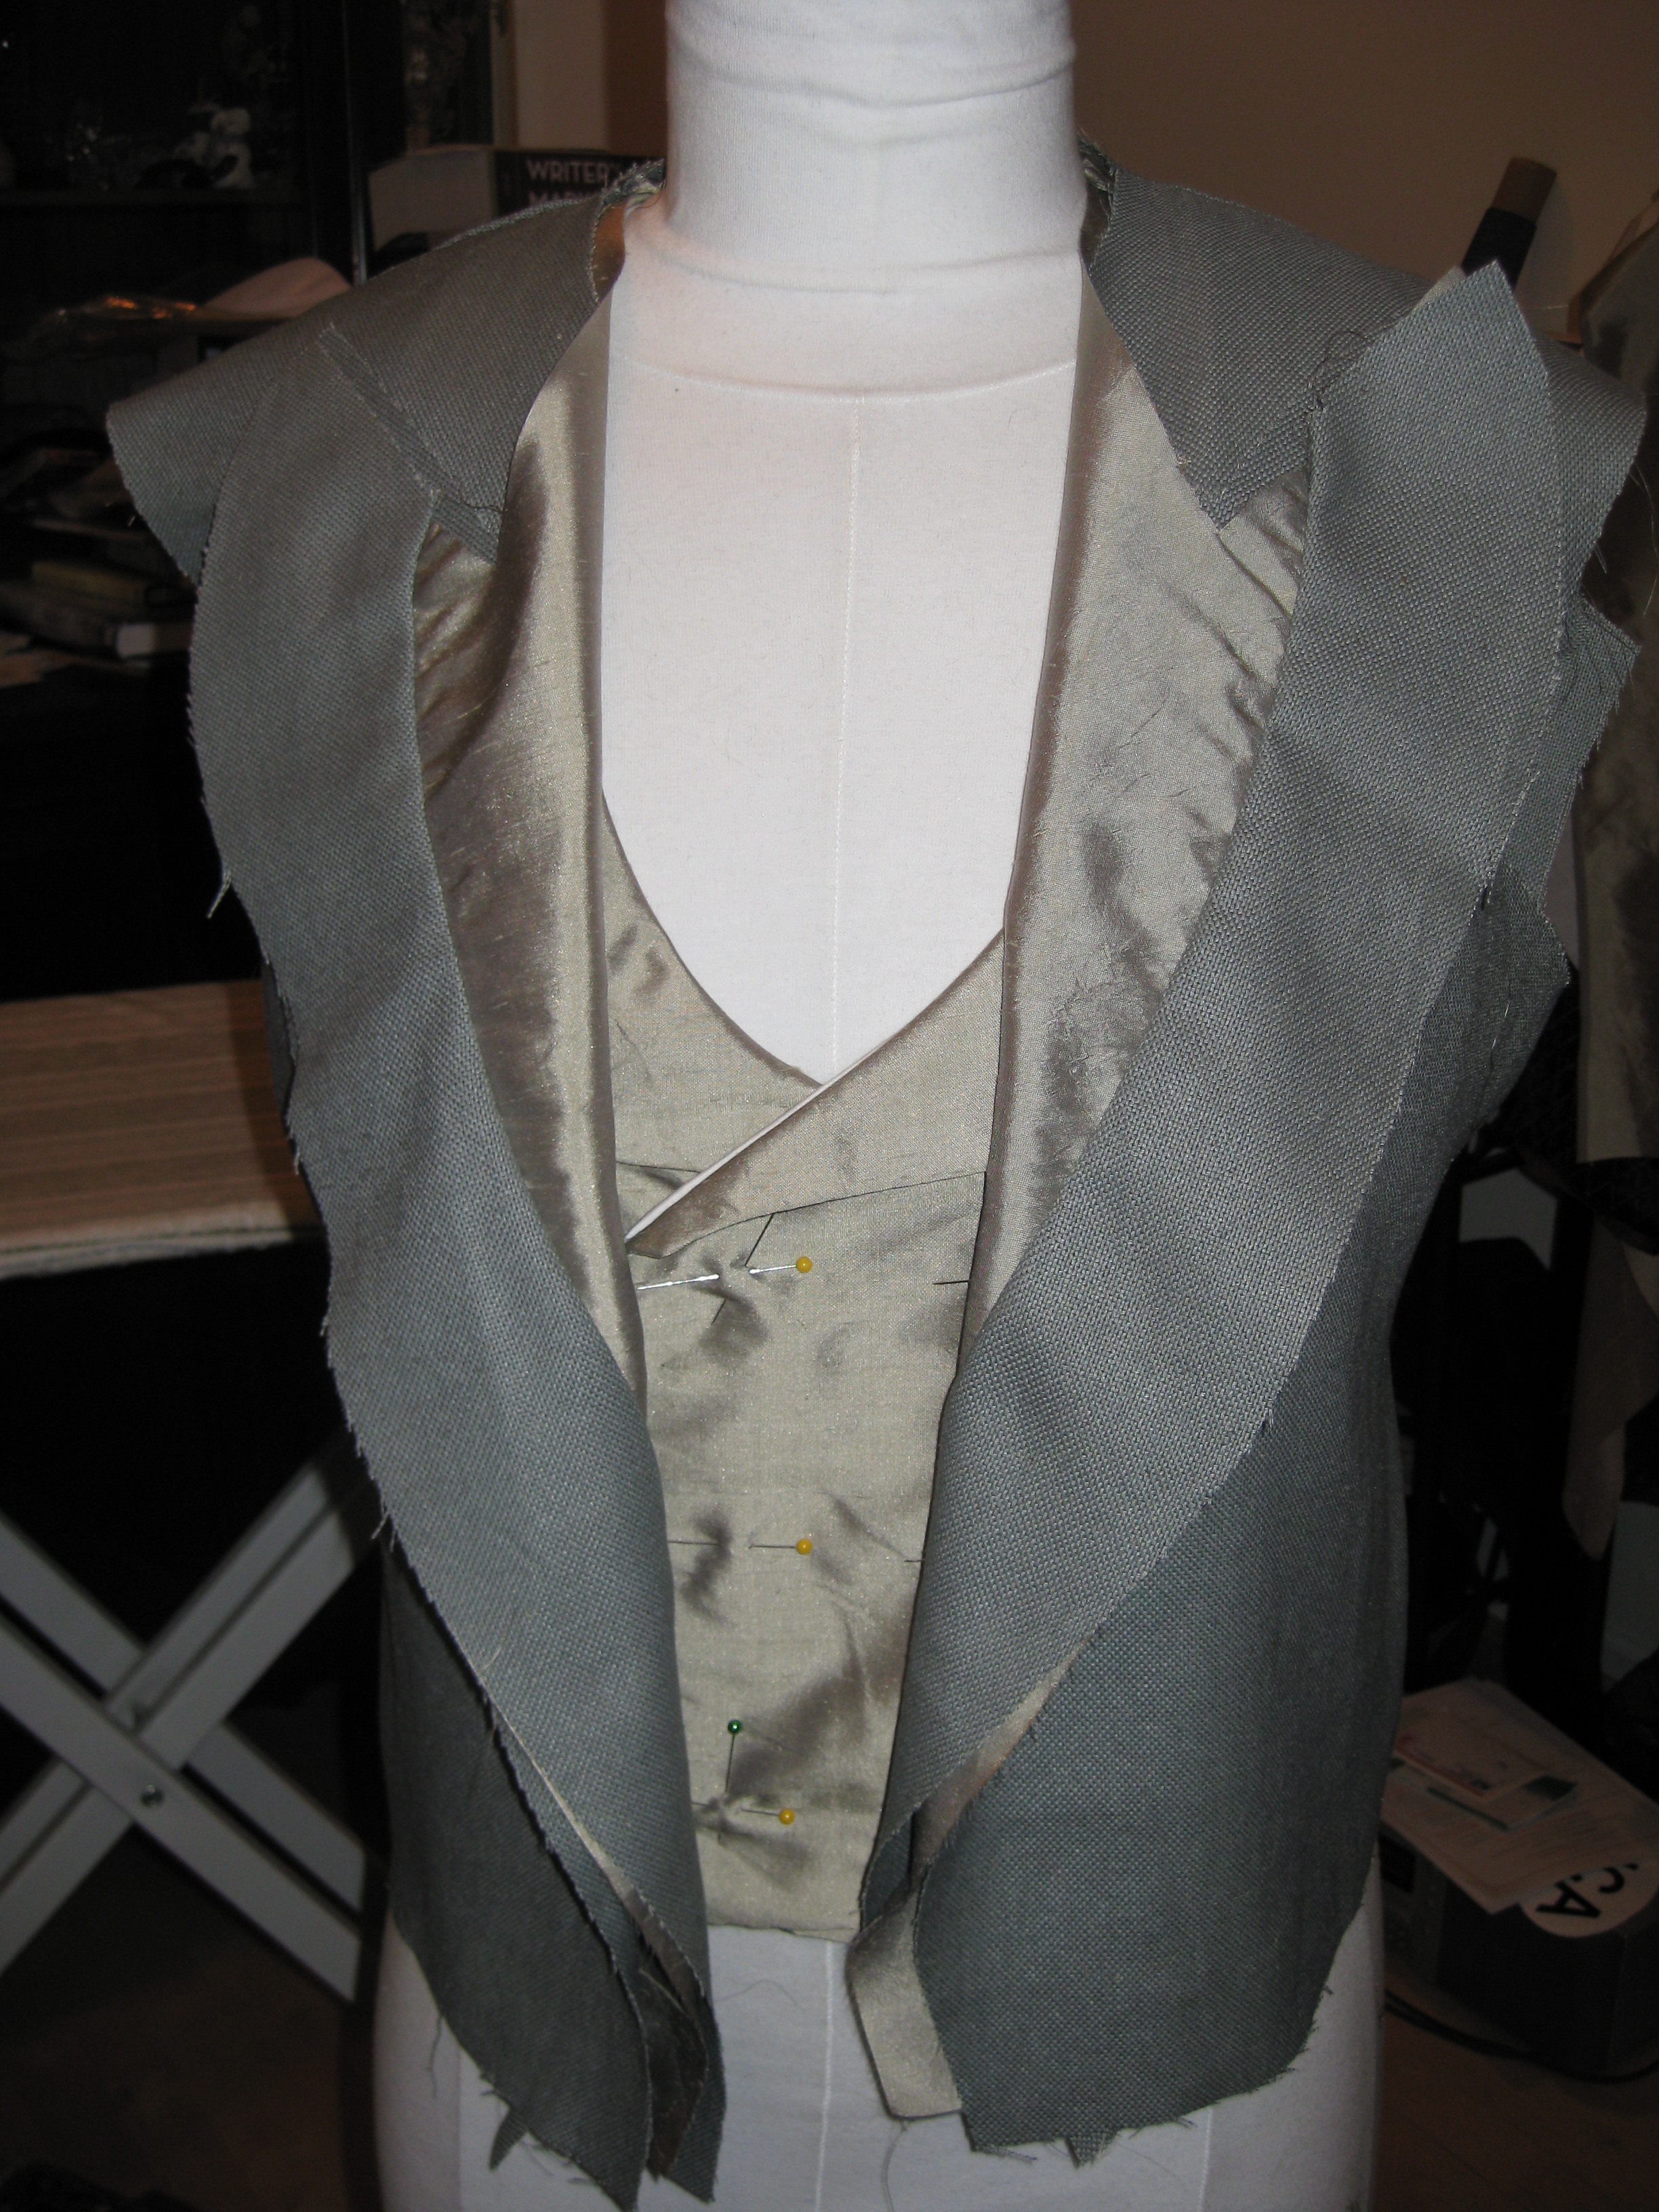
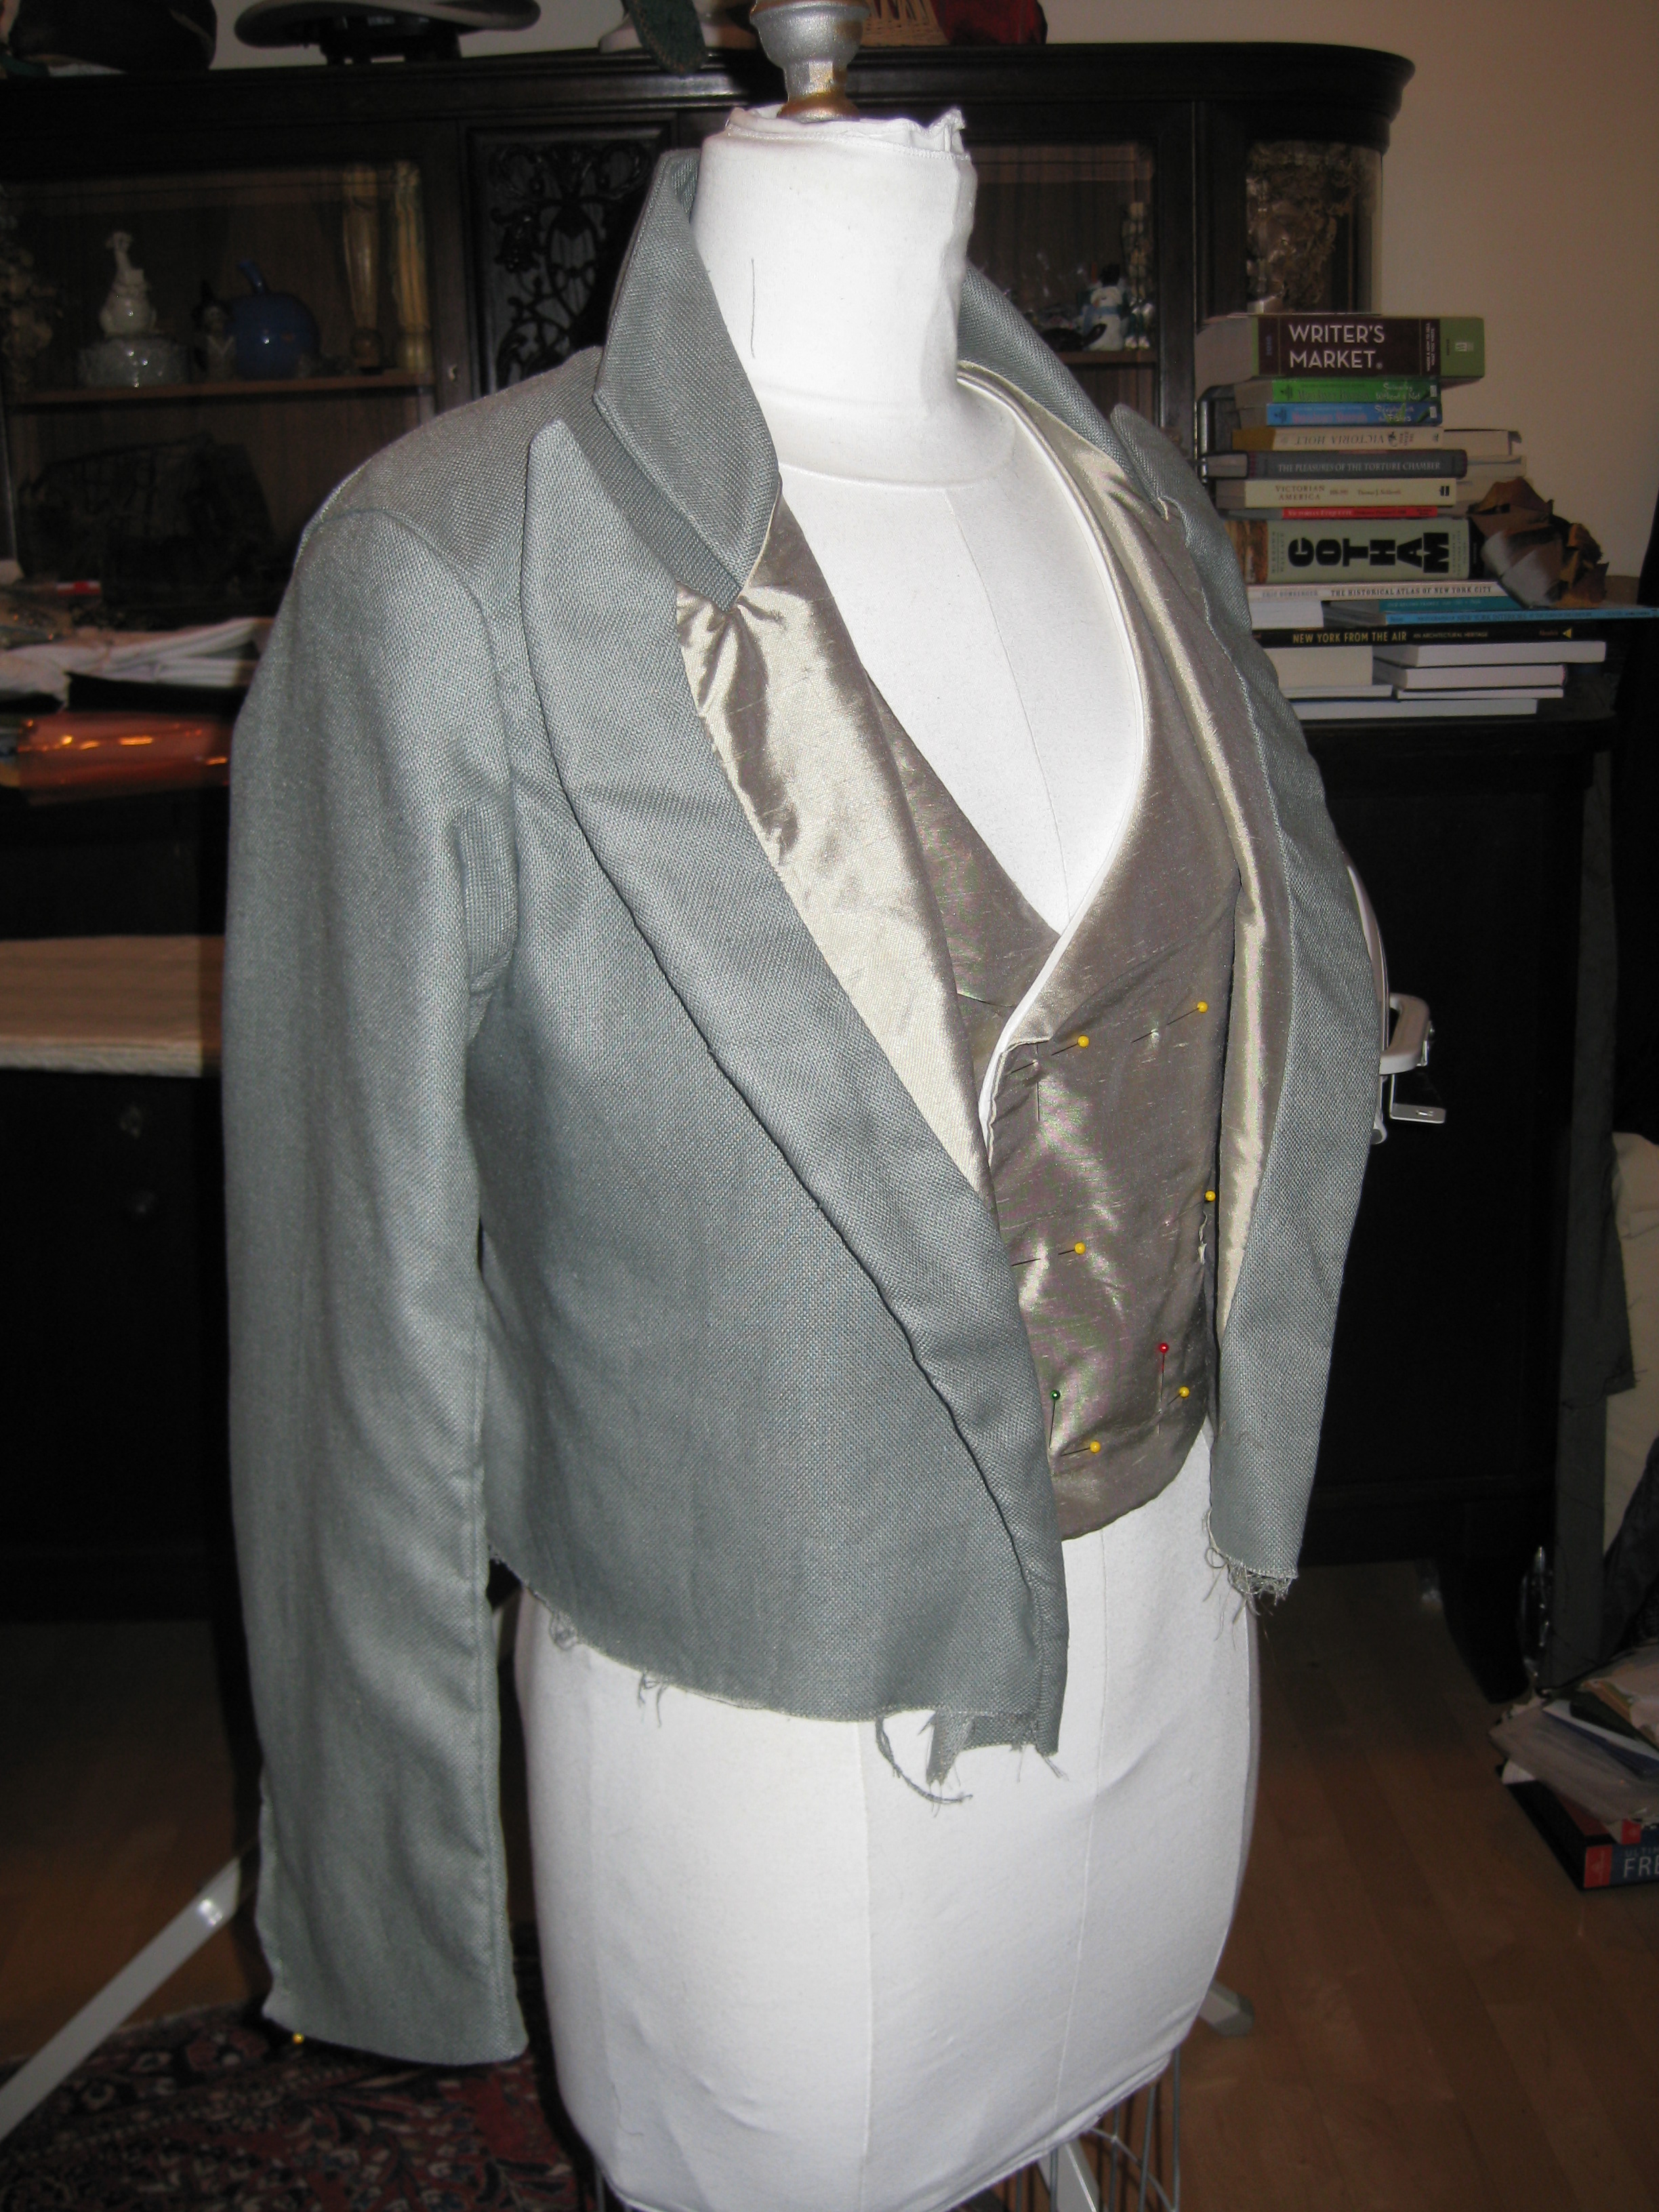
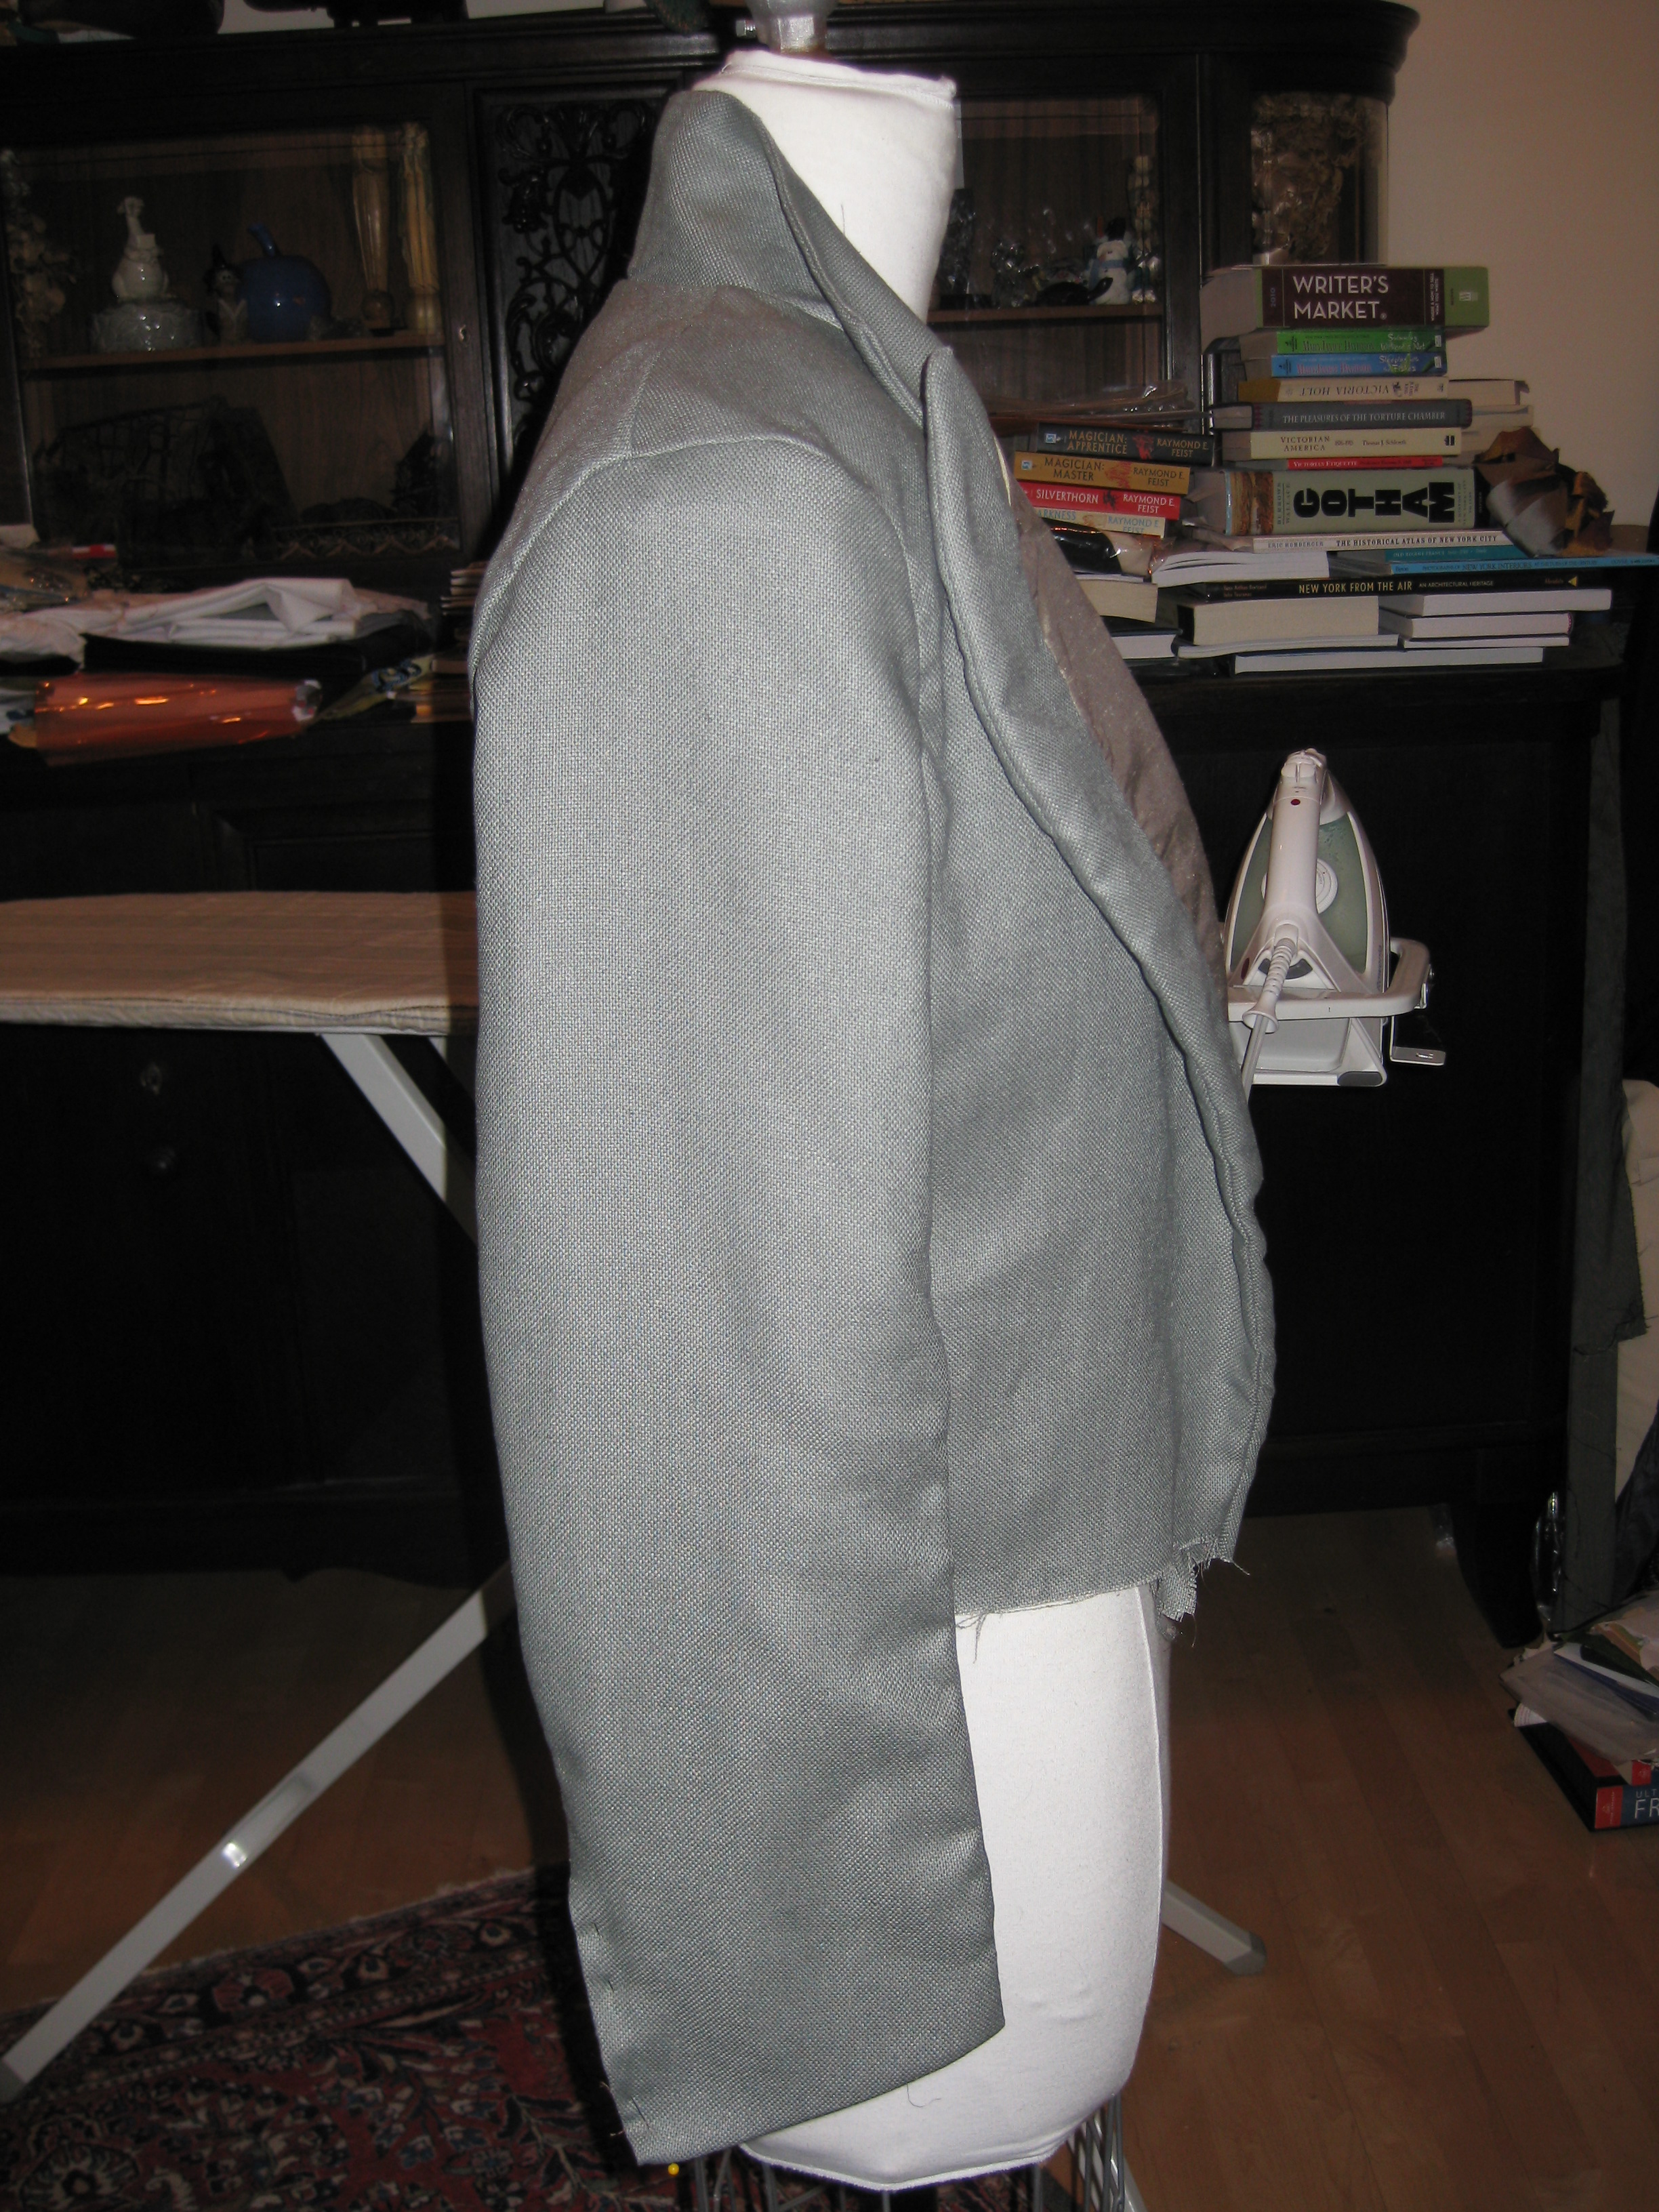
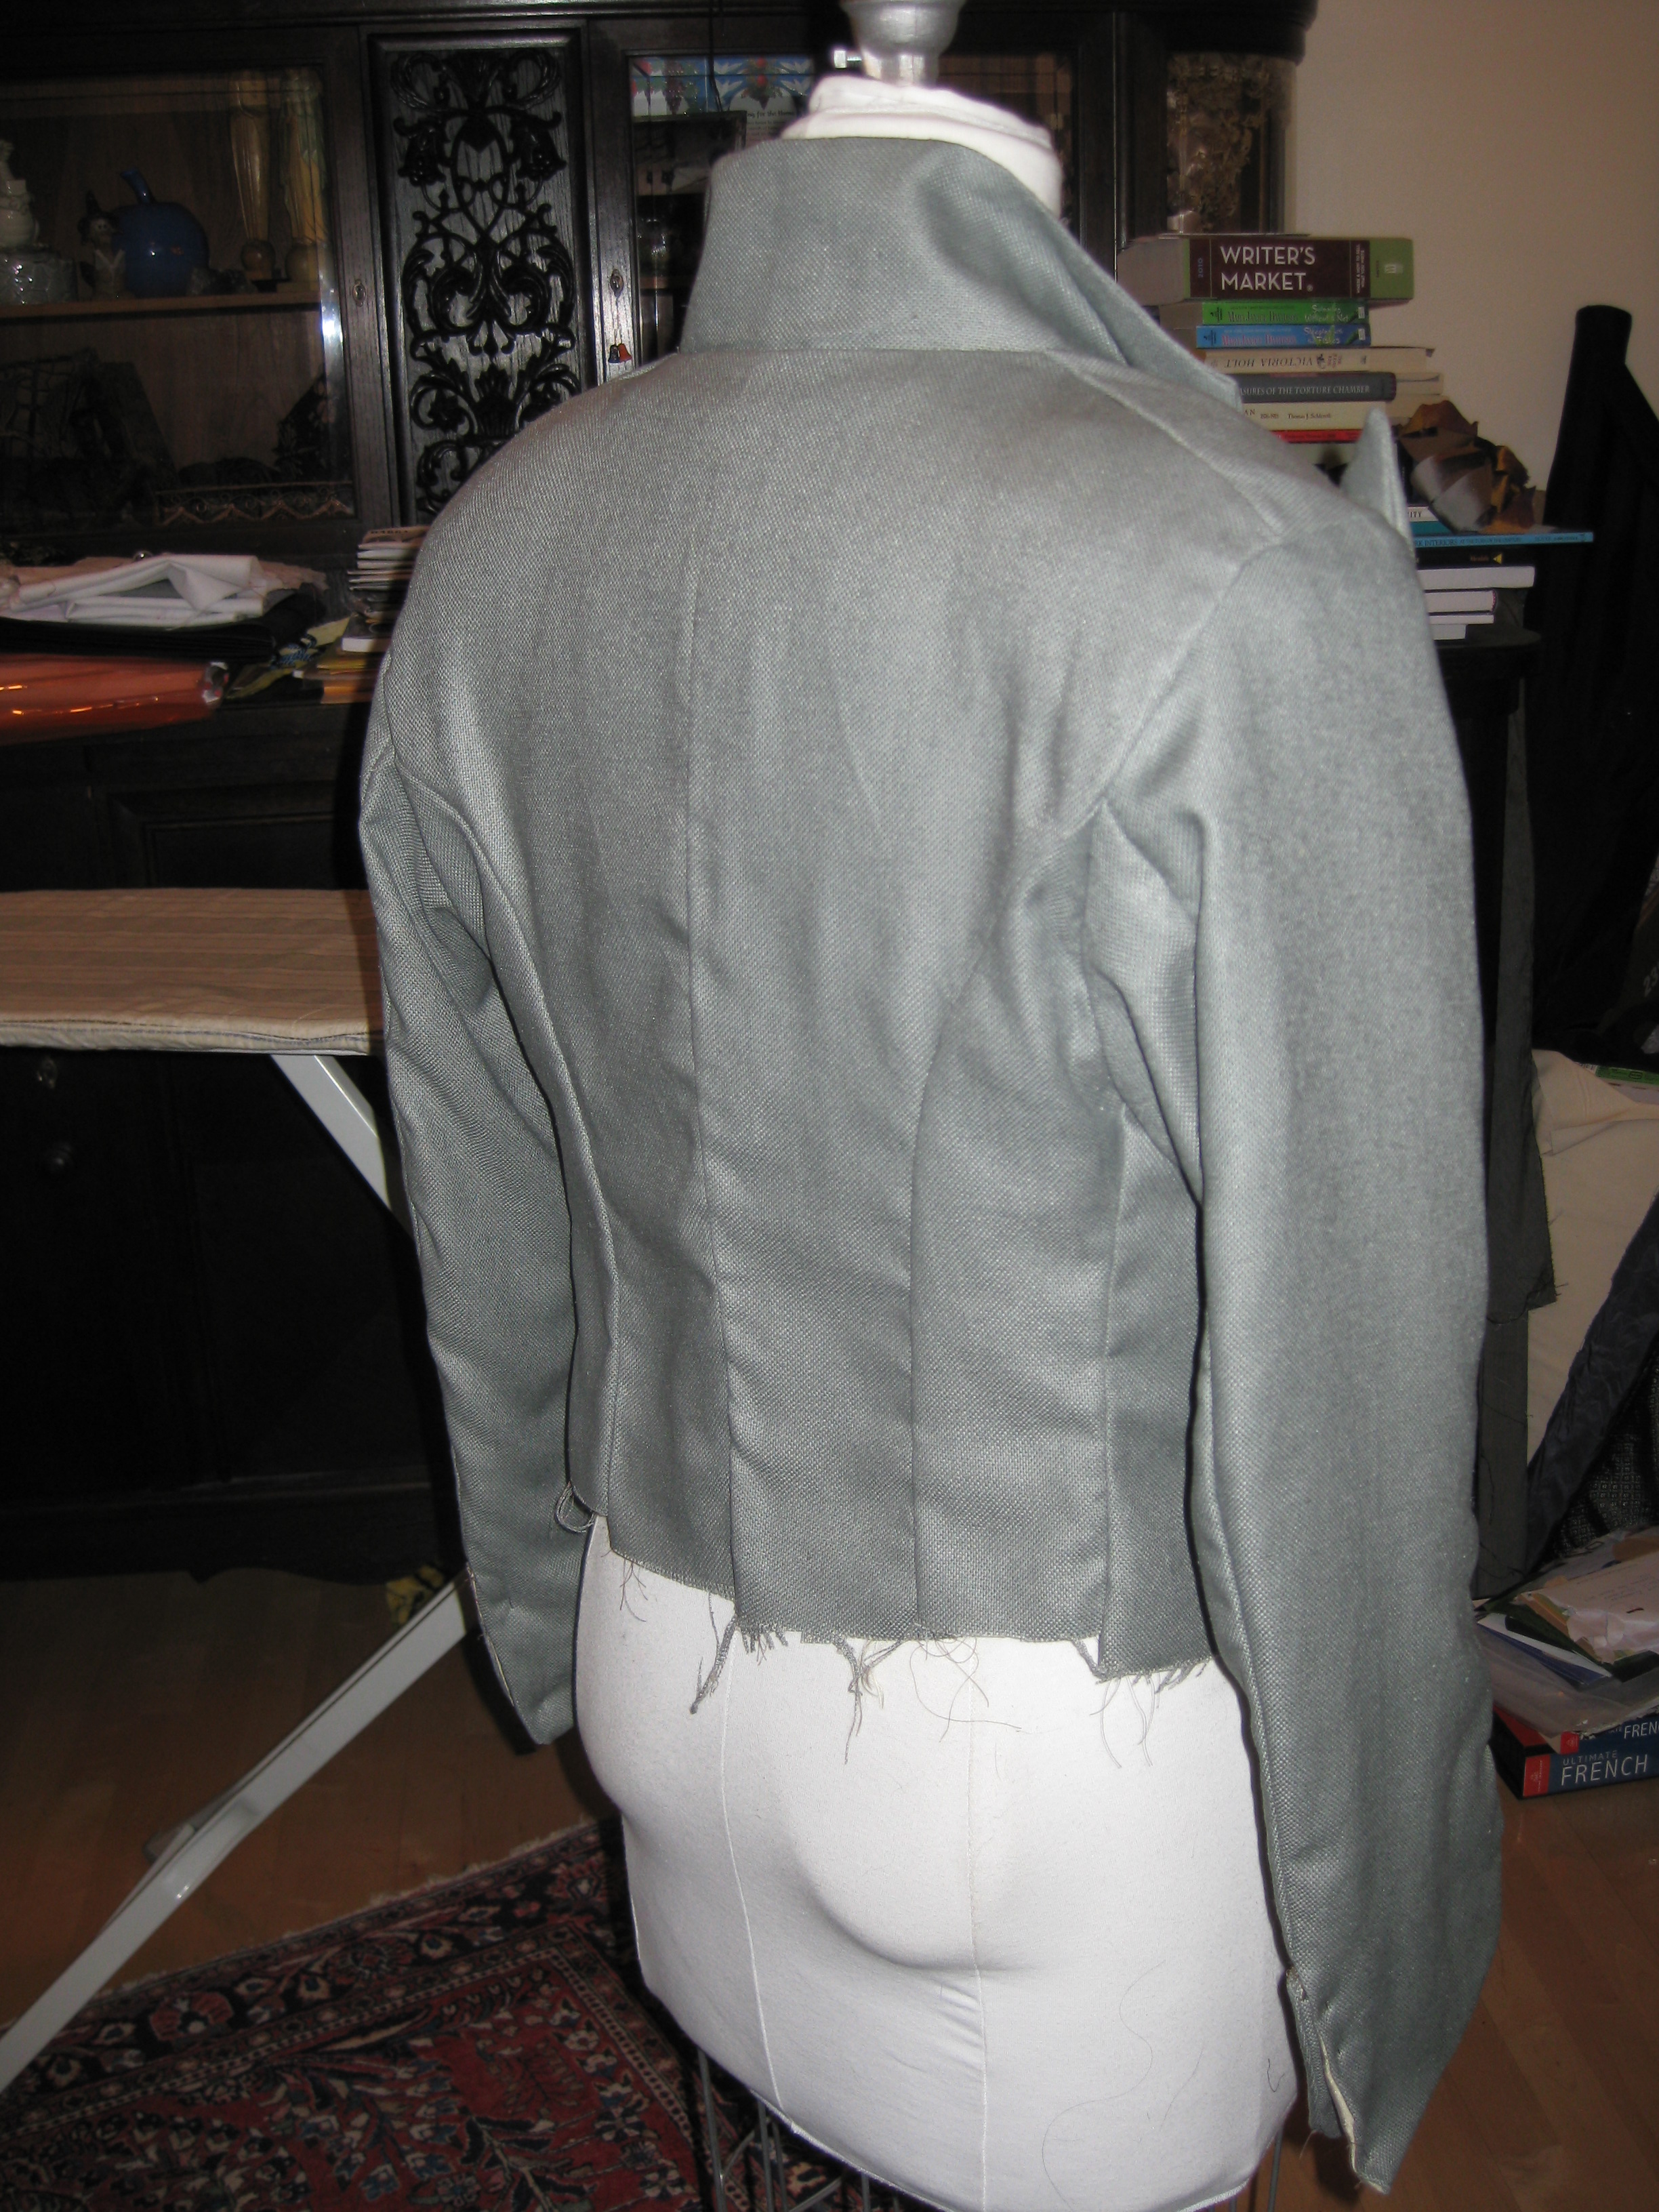
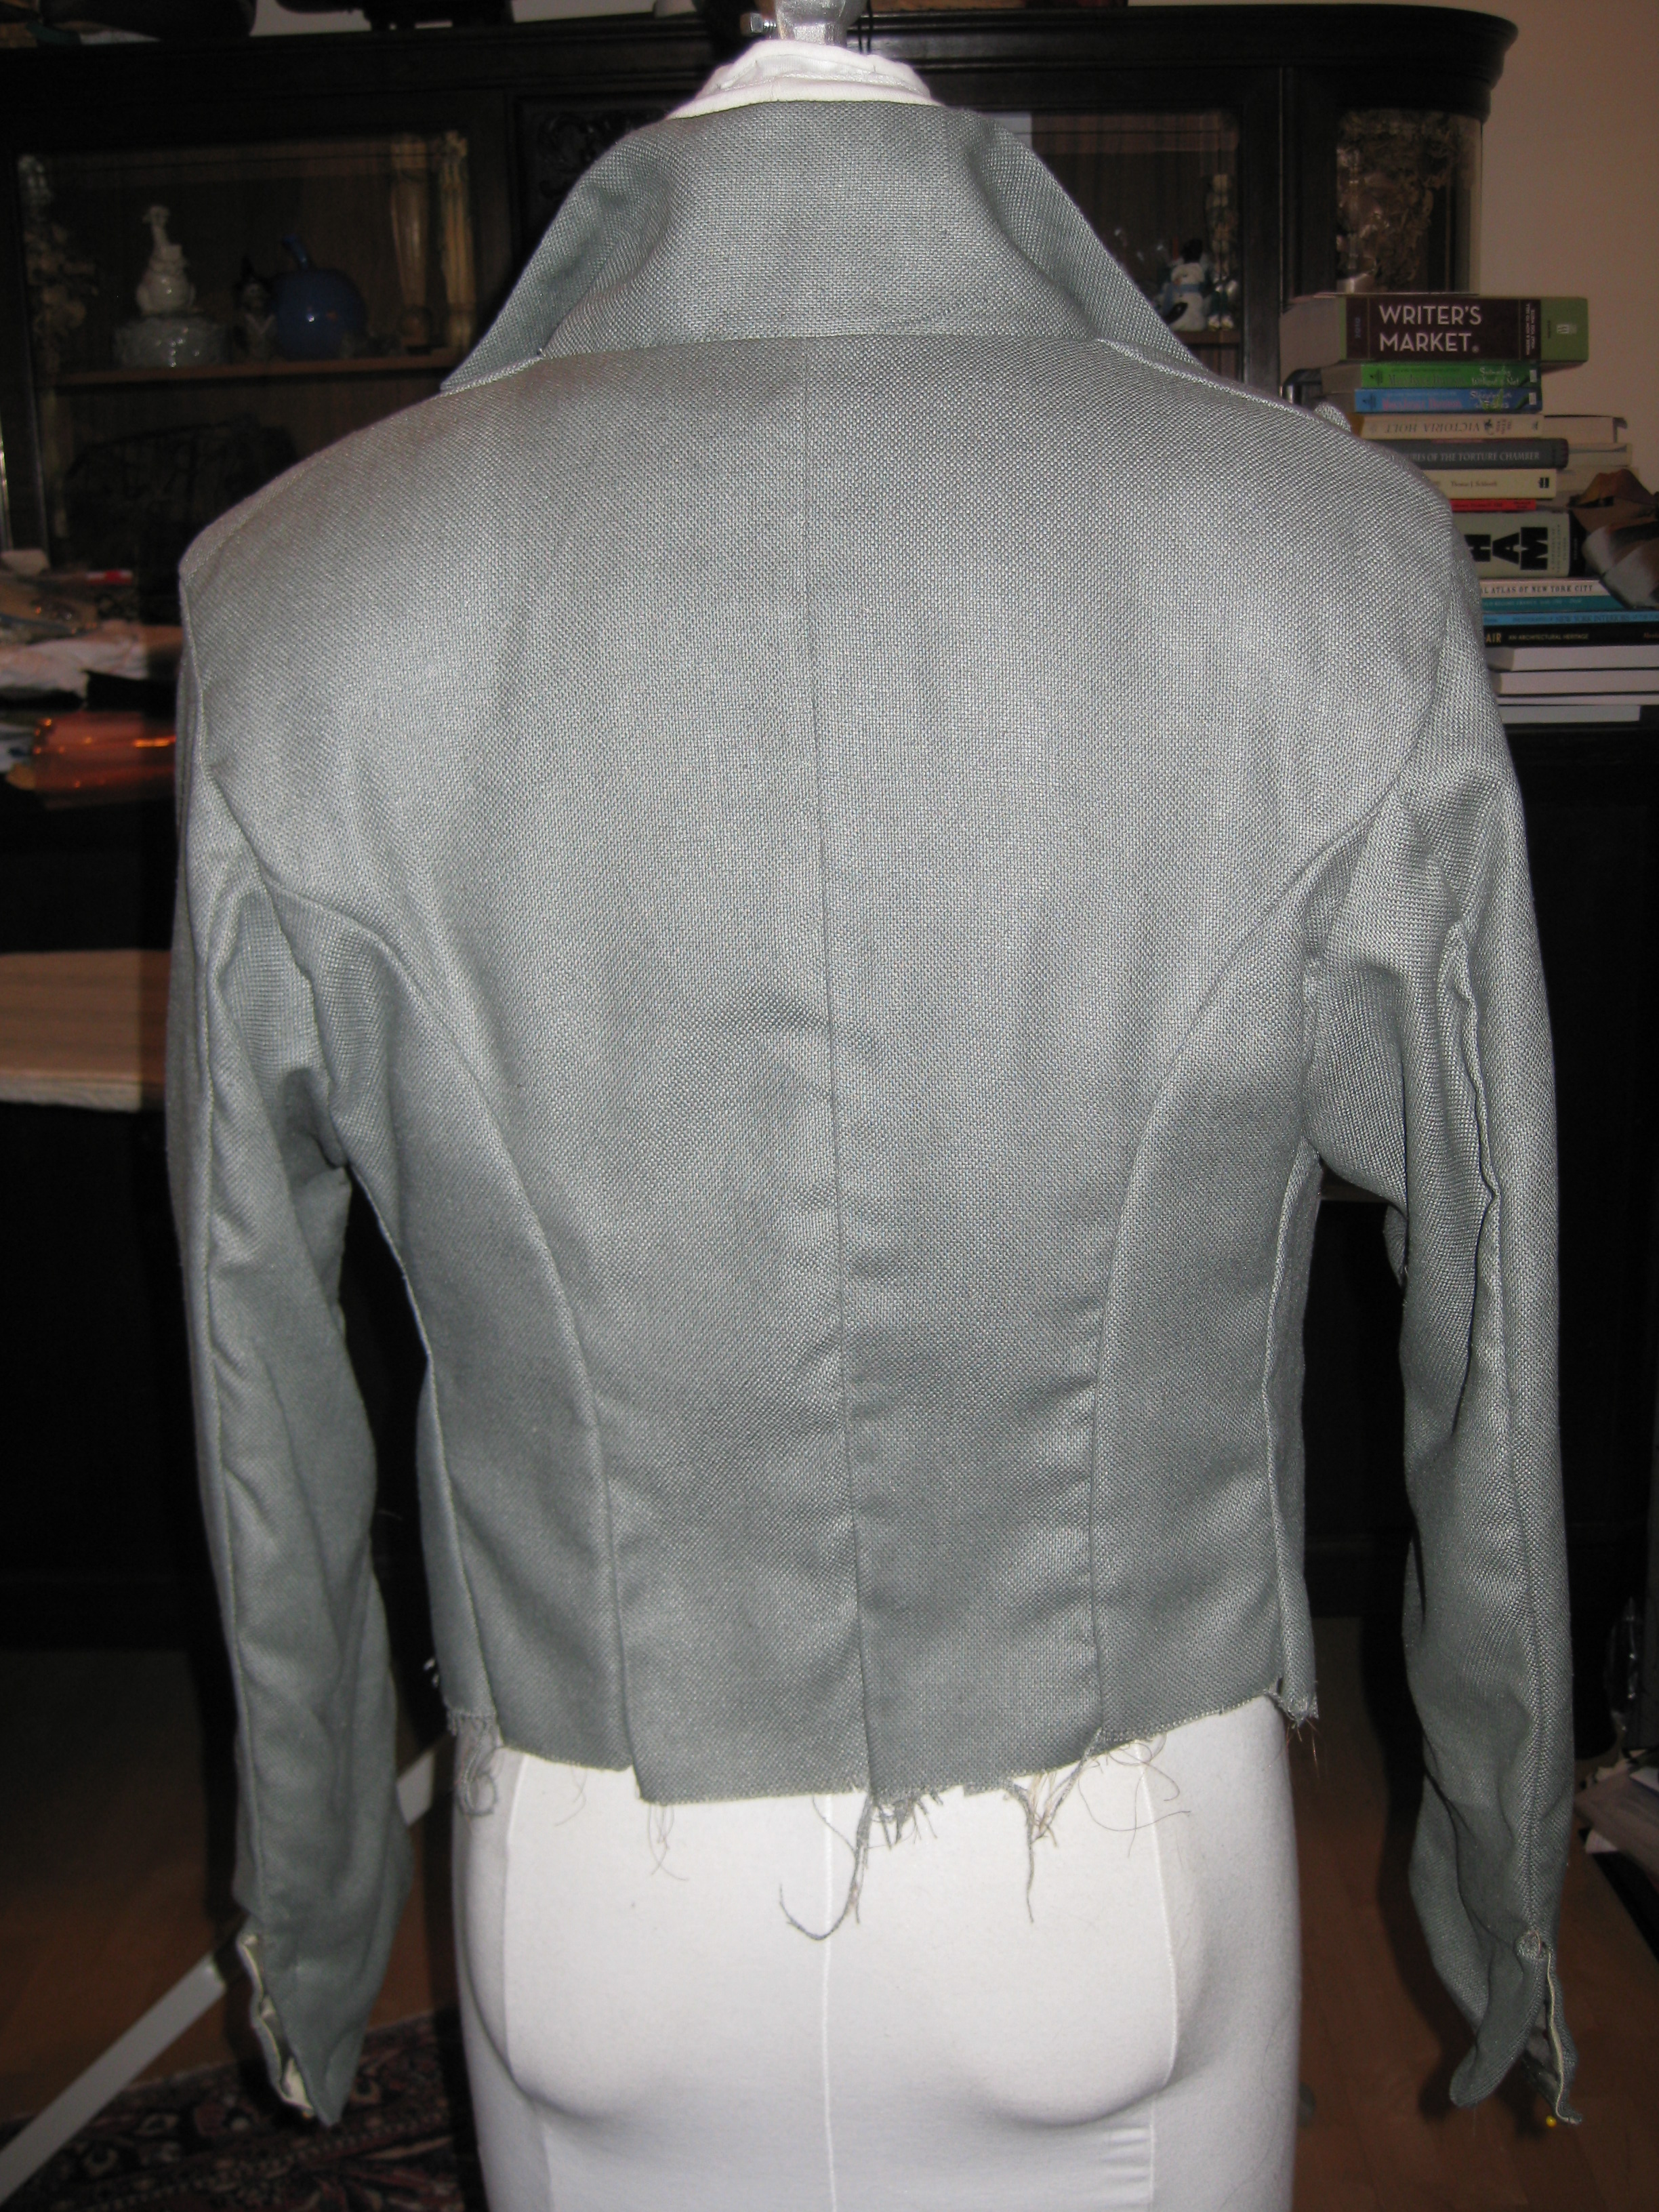
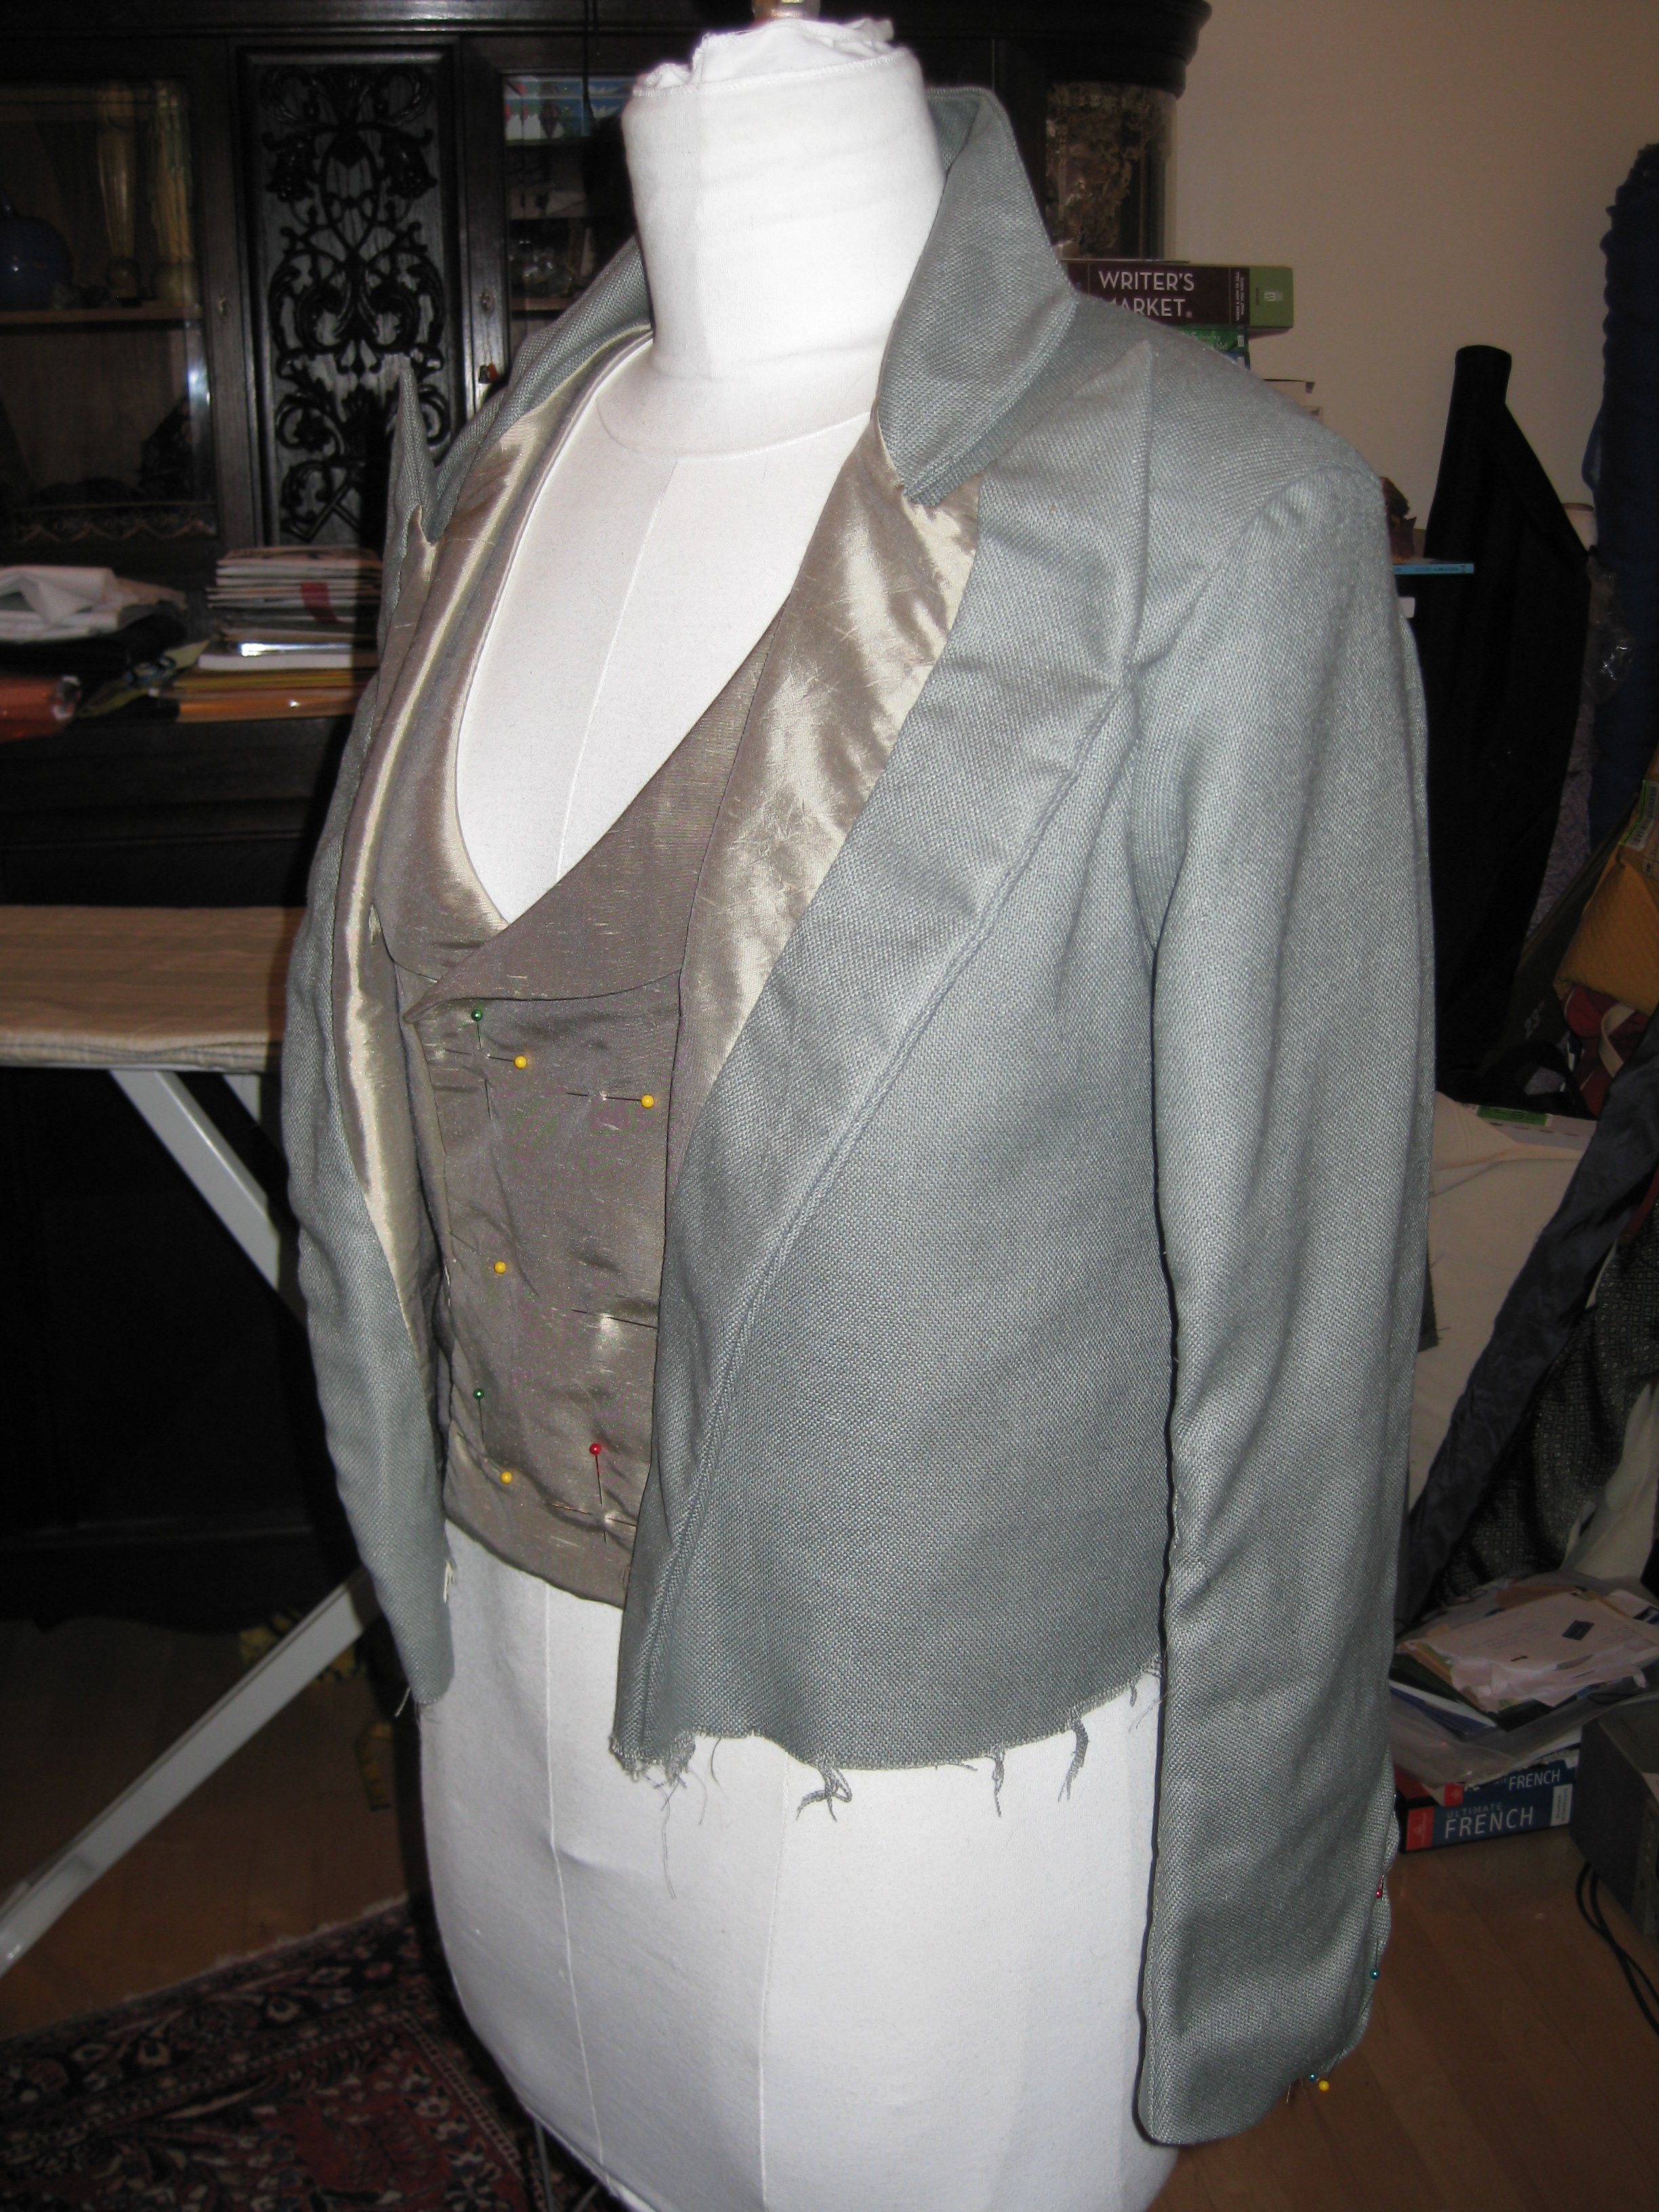
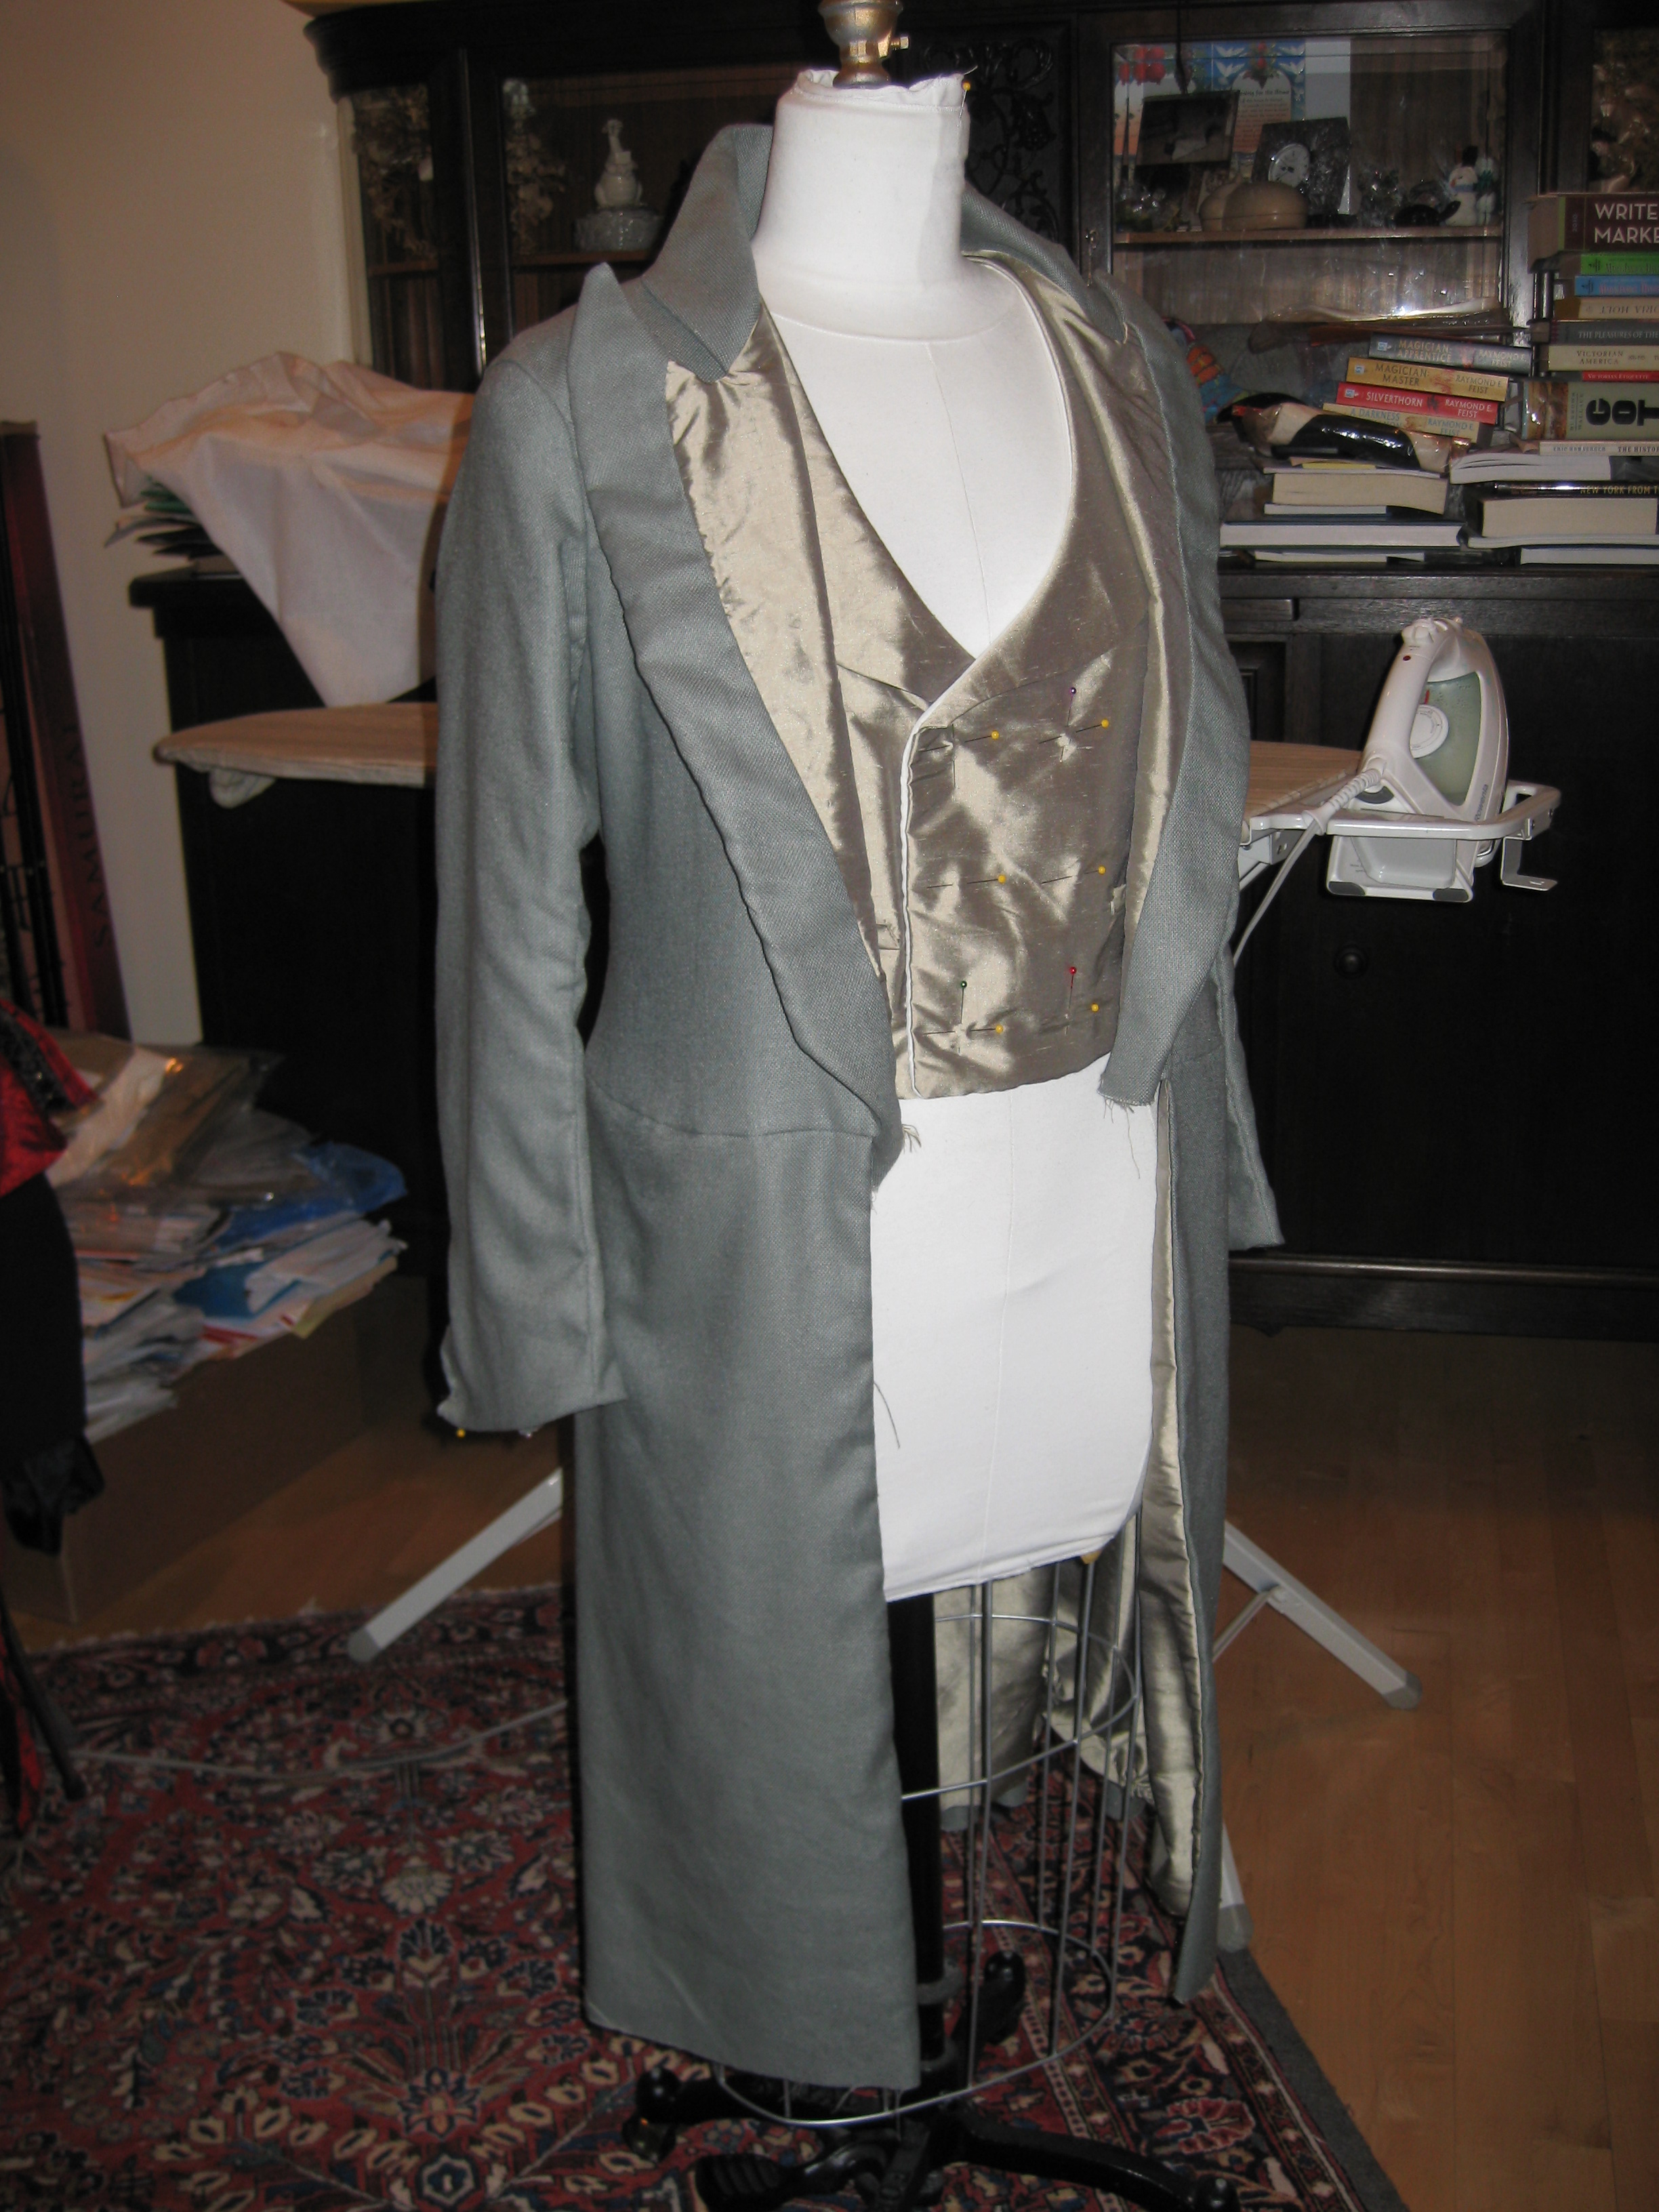
I started working on Prince Vlad's vest lapels..
They're just pinned in at the moment. I was not alone as I pinned away... Jojo is a fine helper.
And Seuss was enjoying the scraps...
Aug. 4th, 2010 at 5:45 PM
Made more progress on Prince Vlad's vest. It's done, except for button holes and buttons. Still haven't looked to see if I have the button kits.
Photo proof!
Did you notice Jojo on the board in the background?
Ah, well then, here's a better look:
I love it when he sleeps like that. He's got his nose wedged between his paws. ;)
What's next? I think I'll look and see if I have those buttons to cover.
Yes.
Aug. 6th, 2010 at 2:55 AM
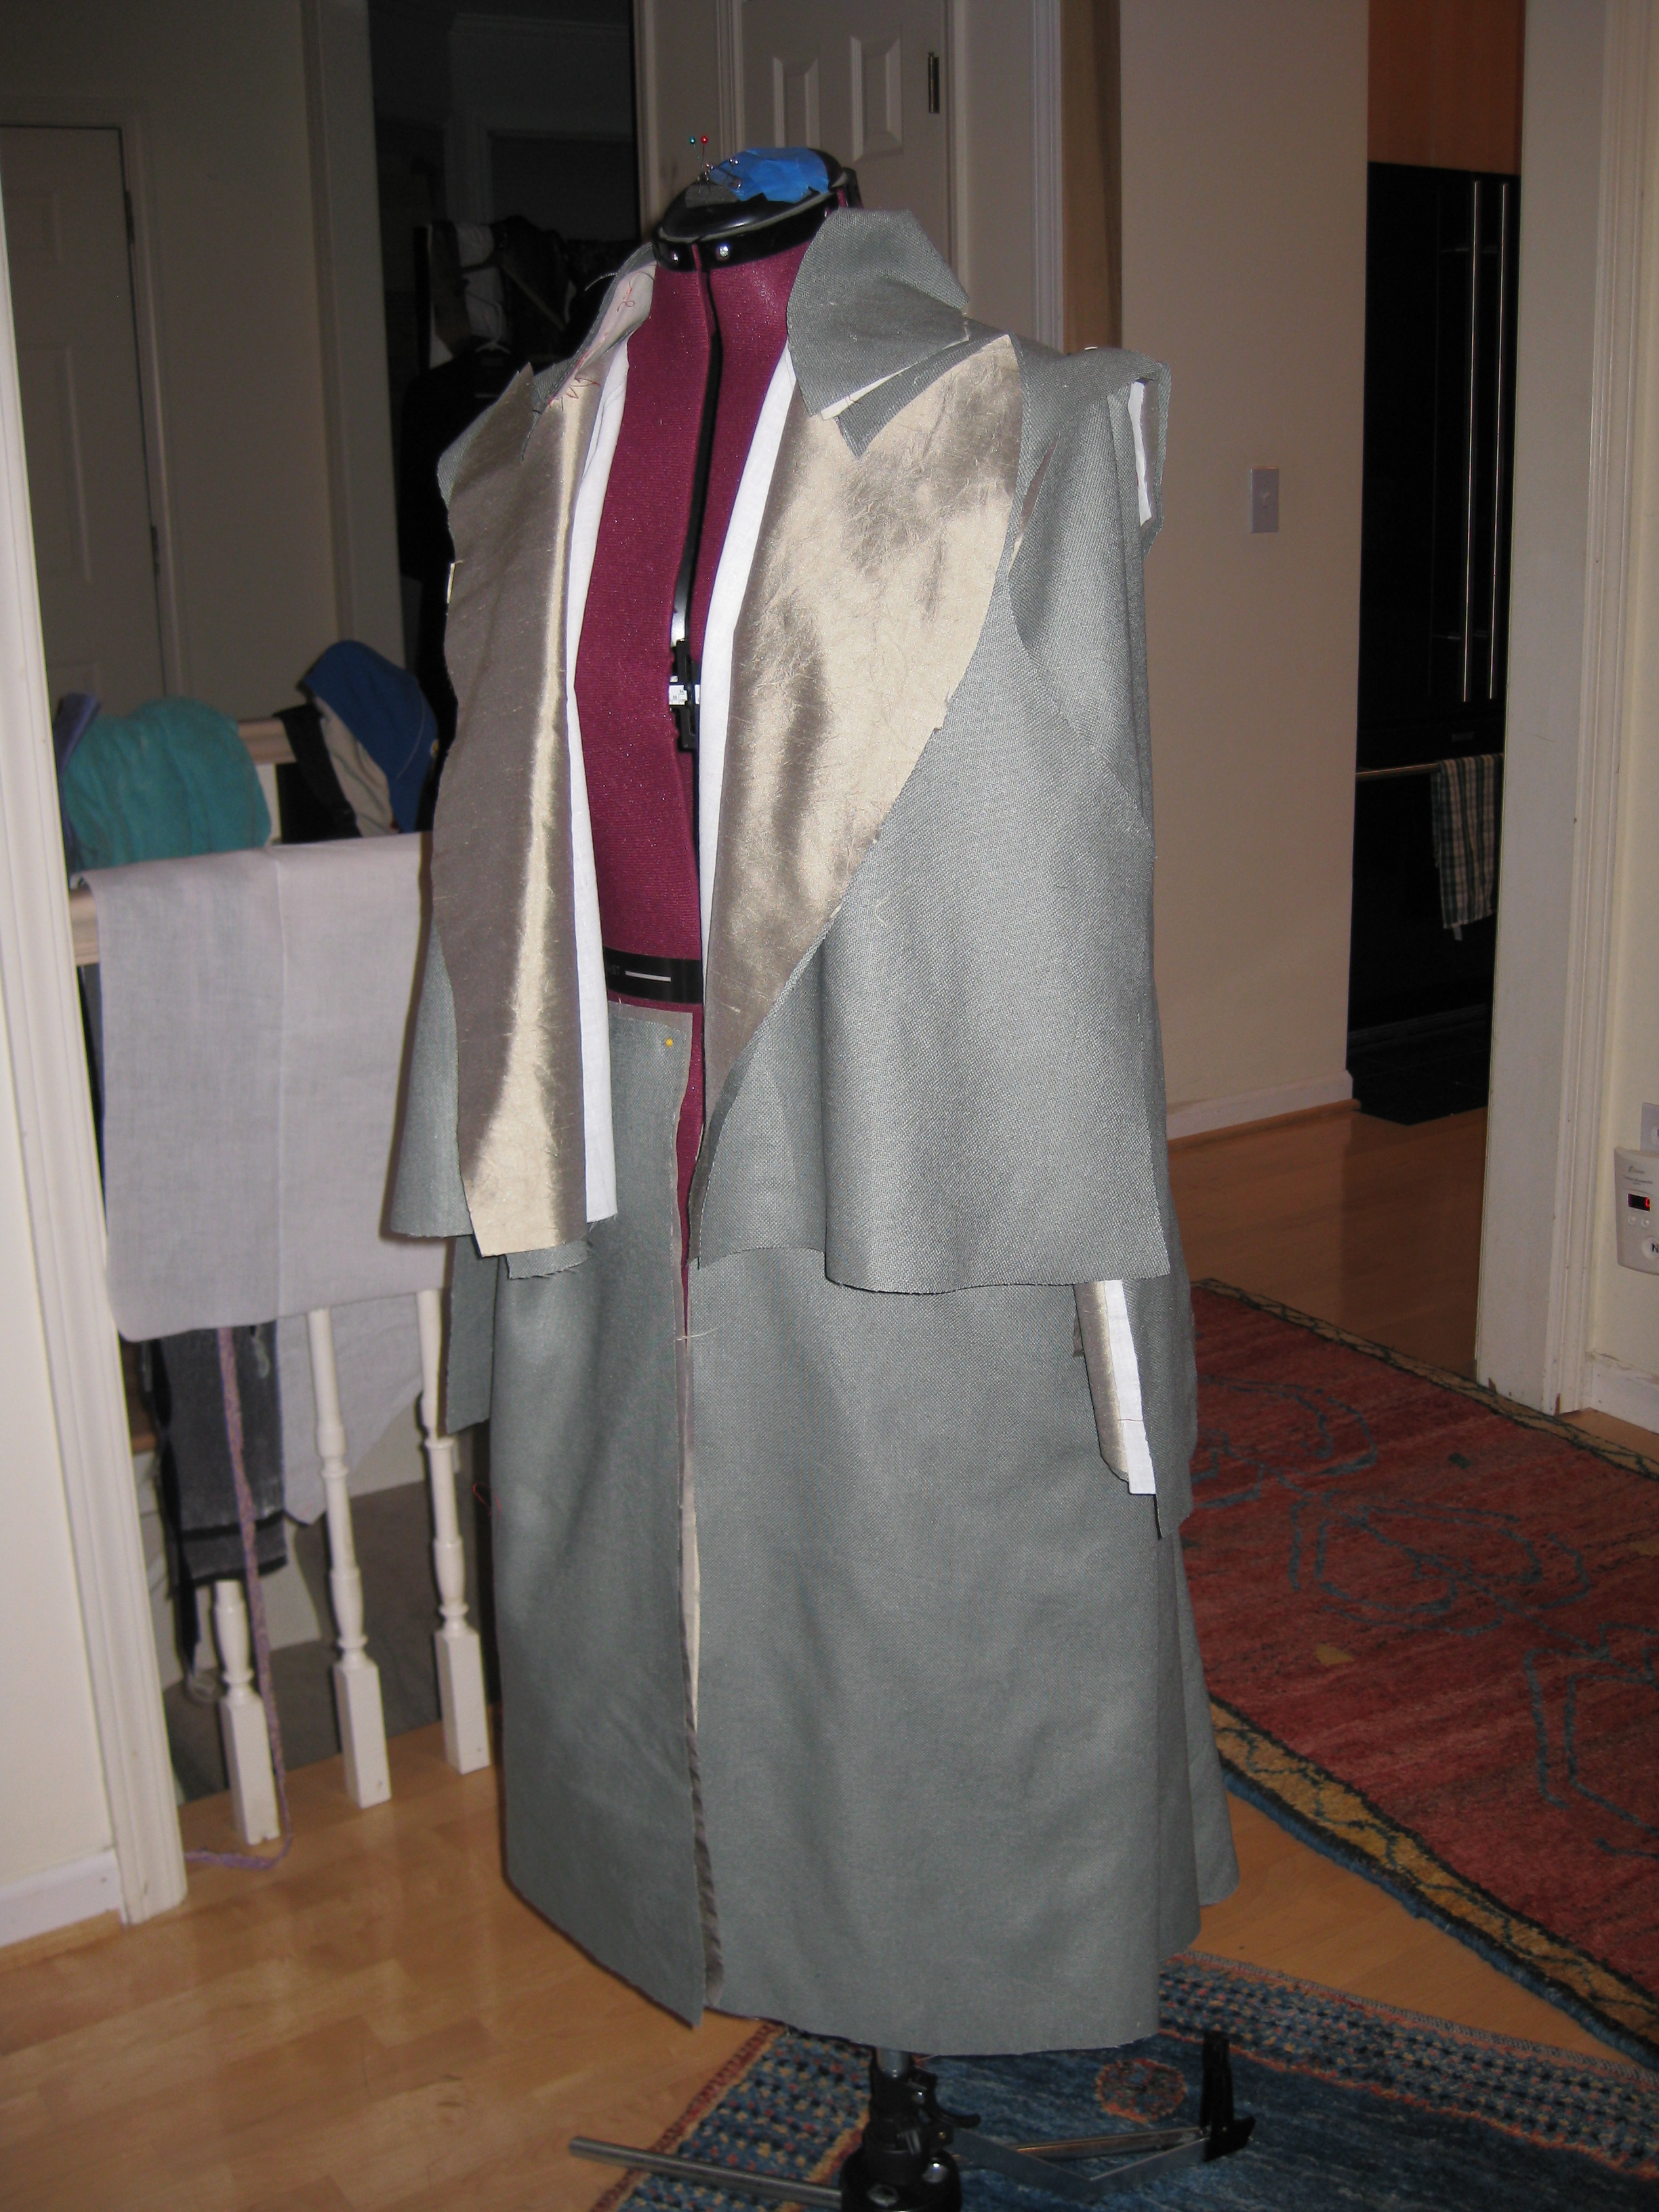
Started the coat today, and here's how far I got...
First, I sewed the body, outer and lining layers separately. Then I put the edging of the outer fabric into the lining layer.
Then I pinned the collar in, trimmed it a tad, pinned it in, and trimmed again until the alignment was just right. After that I pinned the lining layer in, sewed the two parts together. and ironed. It needs more ironing, but here it is so far:
So, a snafu. I'm not liking how things are joining with the lapel corners, so I will be seeing what I can do to iron that out...
Aug. 6th, 2010 at 2:56 PM
No, I couldn't leave the lapels like they were.
After sleeping on it, I decided to press on, realizing it was a fight with the bias, and I didn't want to give up too easily. So, I undid things, straightened and tugged, trying to smooth out the kinks, and sewed in more of a curve. And I was successful!
Here's a look. The current state of things is on the right, next to a photo from how things were last night.
A couple more shots at an angle:
And a closer look now. Here the collar is flipped up in the back. I like that variation.
So glad I persevered.
Now I can move on to setting the sleeves in.
Aug. 8th, 2010 at 7:09 PM
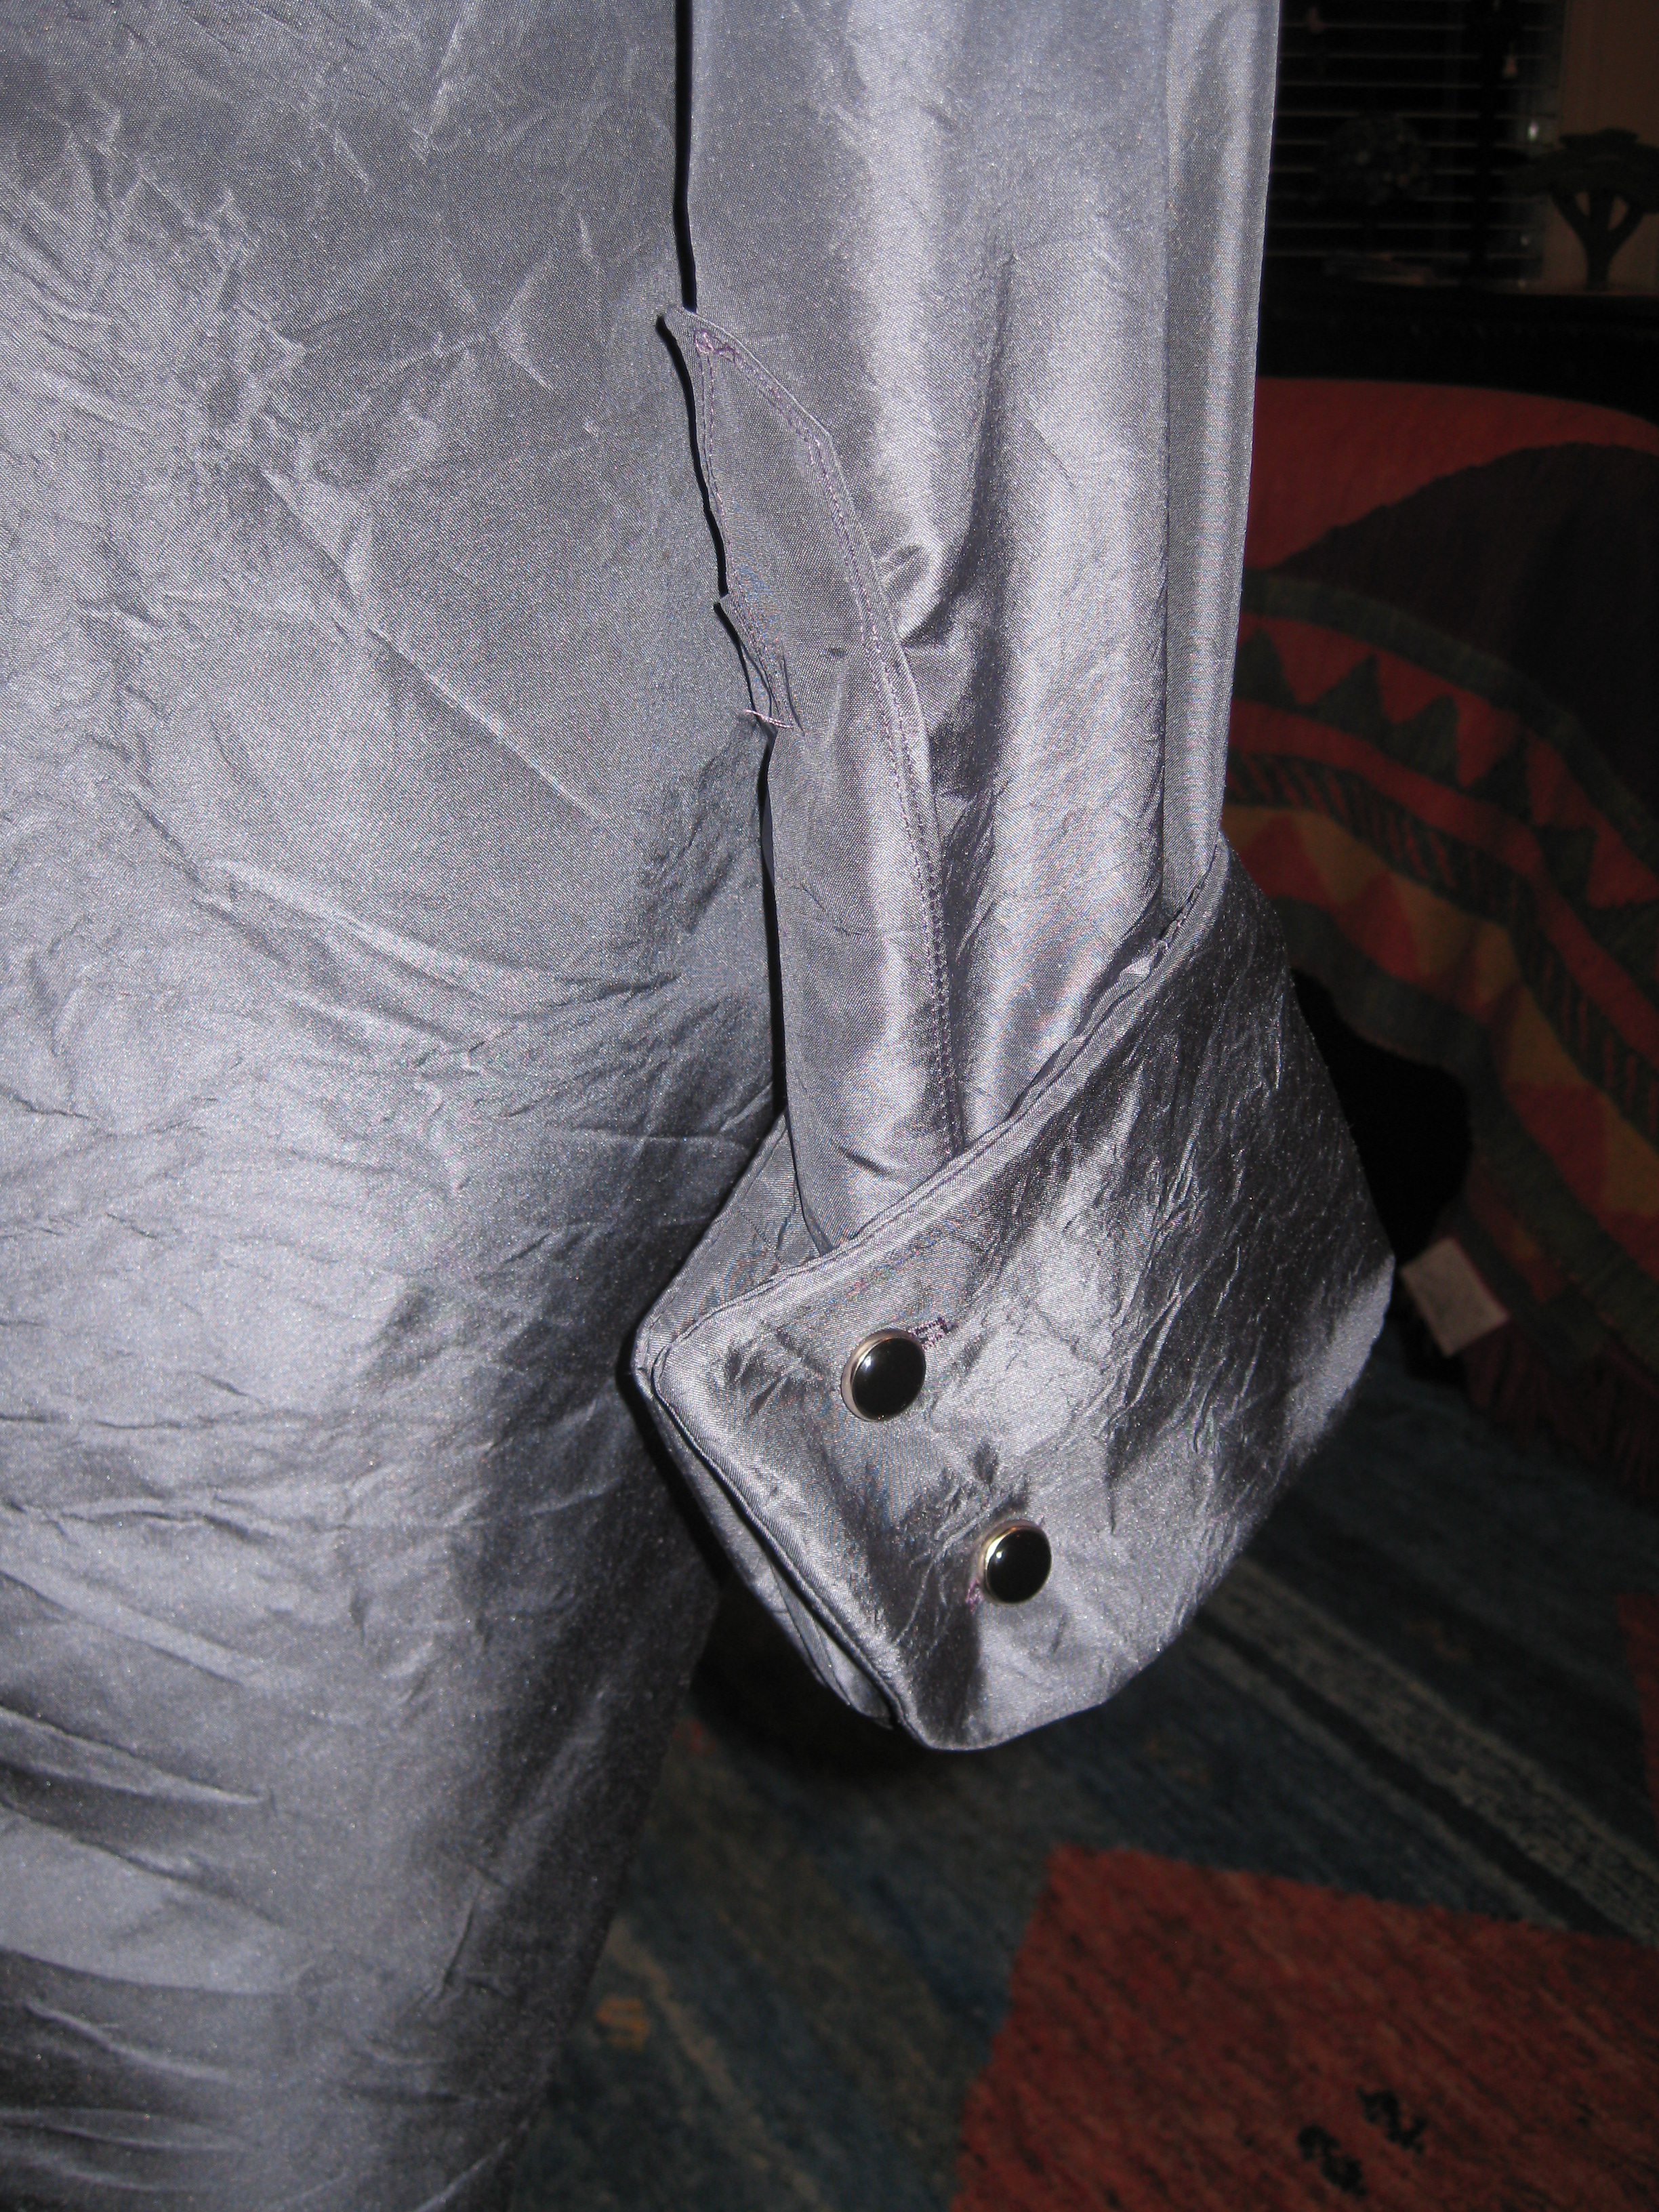
Prince Vlad's coat has sleeves! They are finished, except for the button holes and buttons.
Picture time!
Next come the skirt panels, which involves making more pockets.
I'm waiting on two orders that have not come in yet. The one with shirt studs and cuff links from Farthingales, and an extra set of mustache and beard... If the studs don't get here soon enough I will have to opt for a regular shirt with buttons... and if the mustache and beard set do not come in time, I will have to borrow Ringo's... I hope the shipments come soon.
Just over three weeks left until Dragon*Con 2010, with still quite a lot to do. But I will not stress out!
The other, more curly extensions shown above have been given over to Ripley. from Alien Resurrection. More on that later!
Aug. 9th, 2010 at 5:12 AM
When I should be sleeping, I upload Prince Vlad progress photos...
I really should be sleeping. But I feel light I'm racing the time, so I stayed up until a little while ago sewing the skirts into Prince Vlad's coat...
(It is currently 5:08AM.)
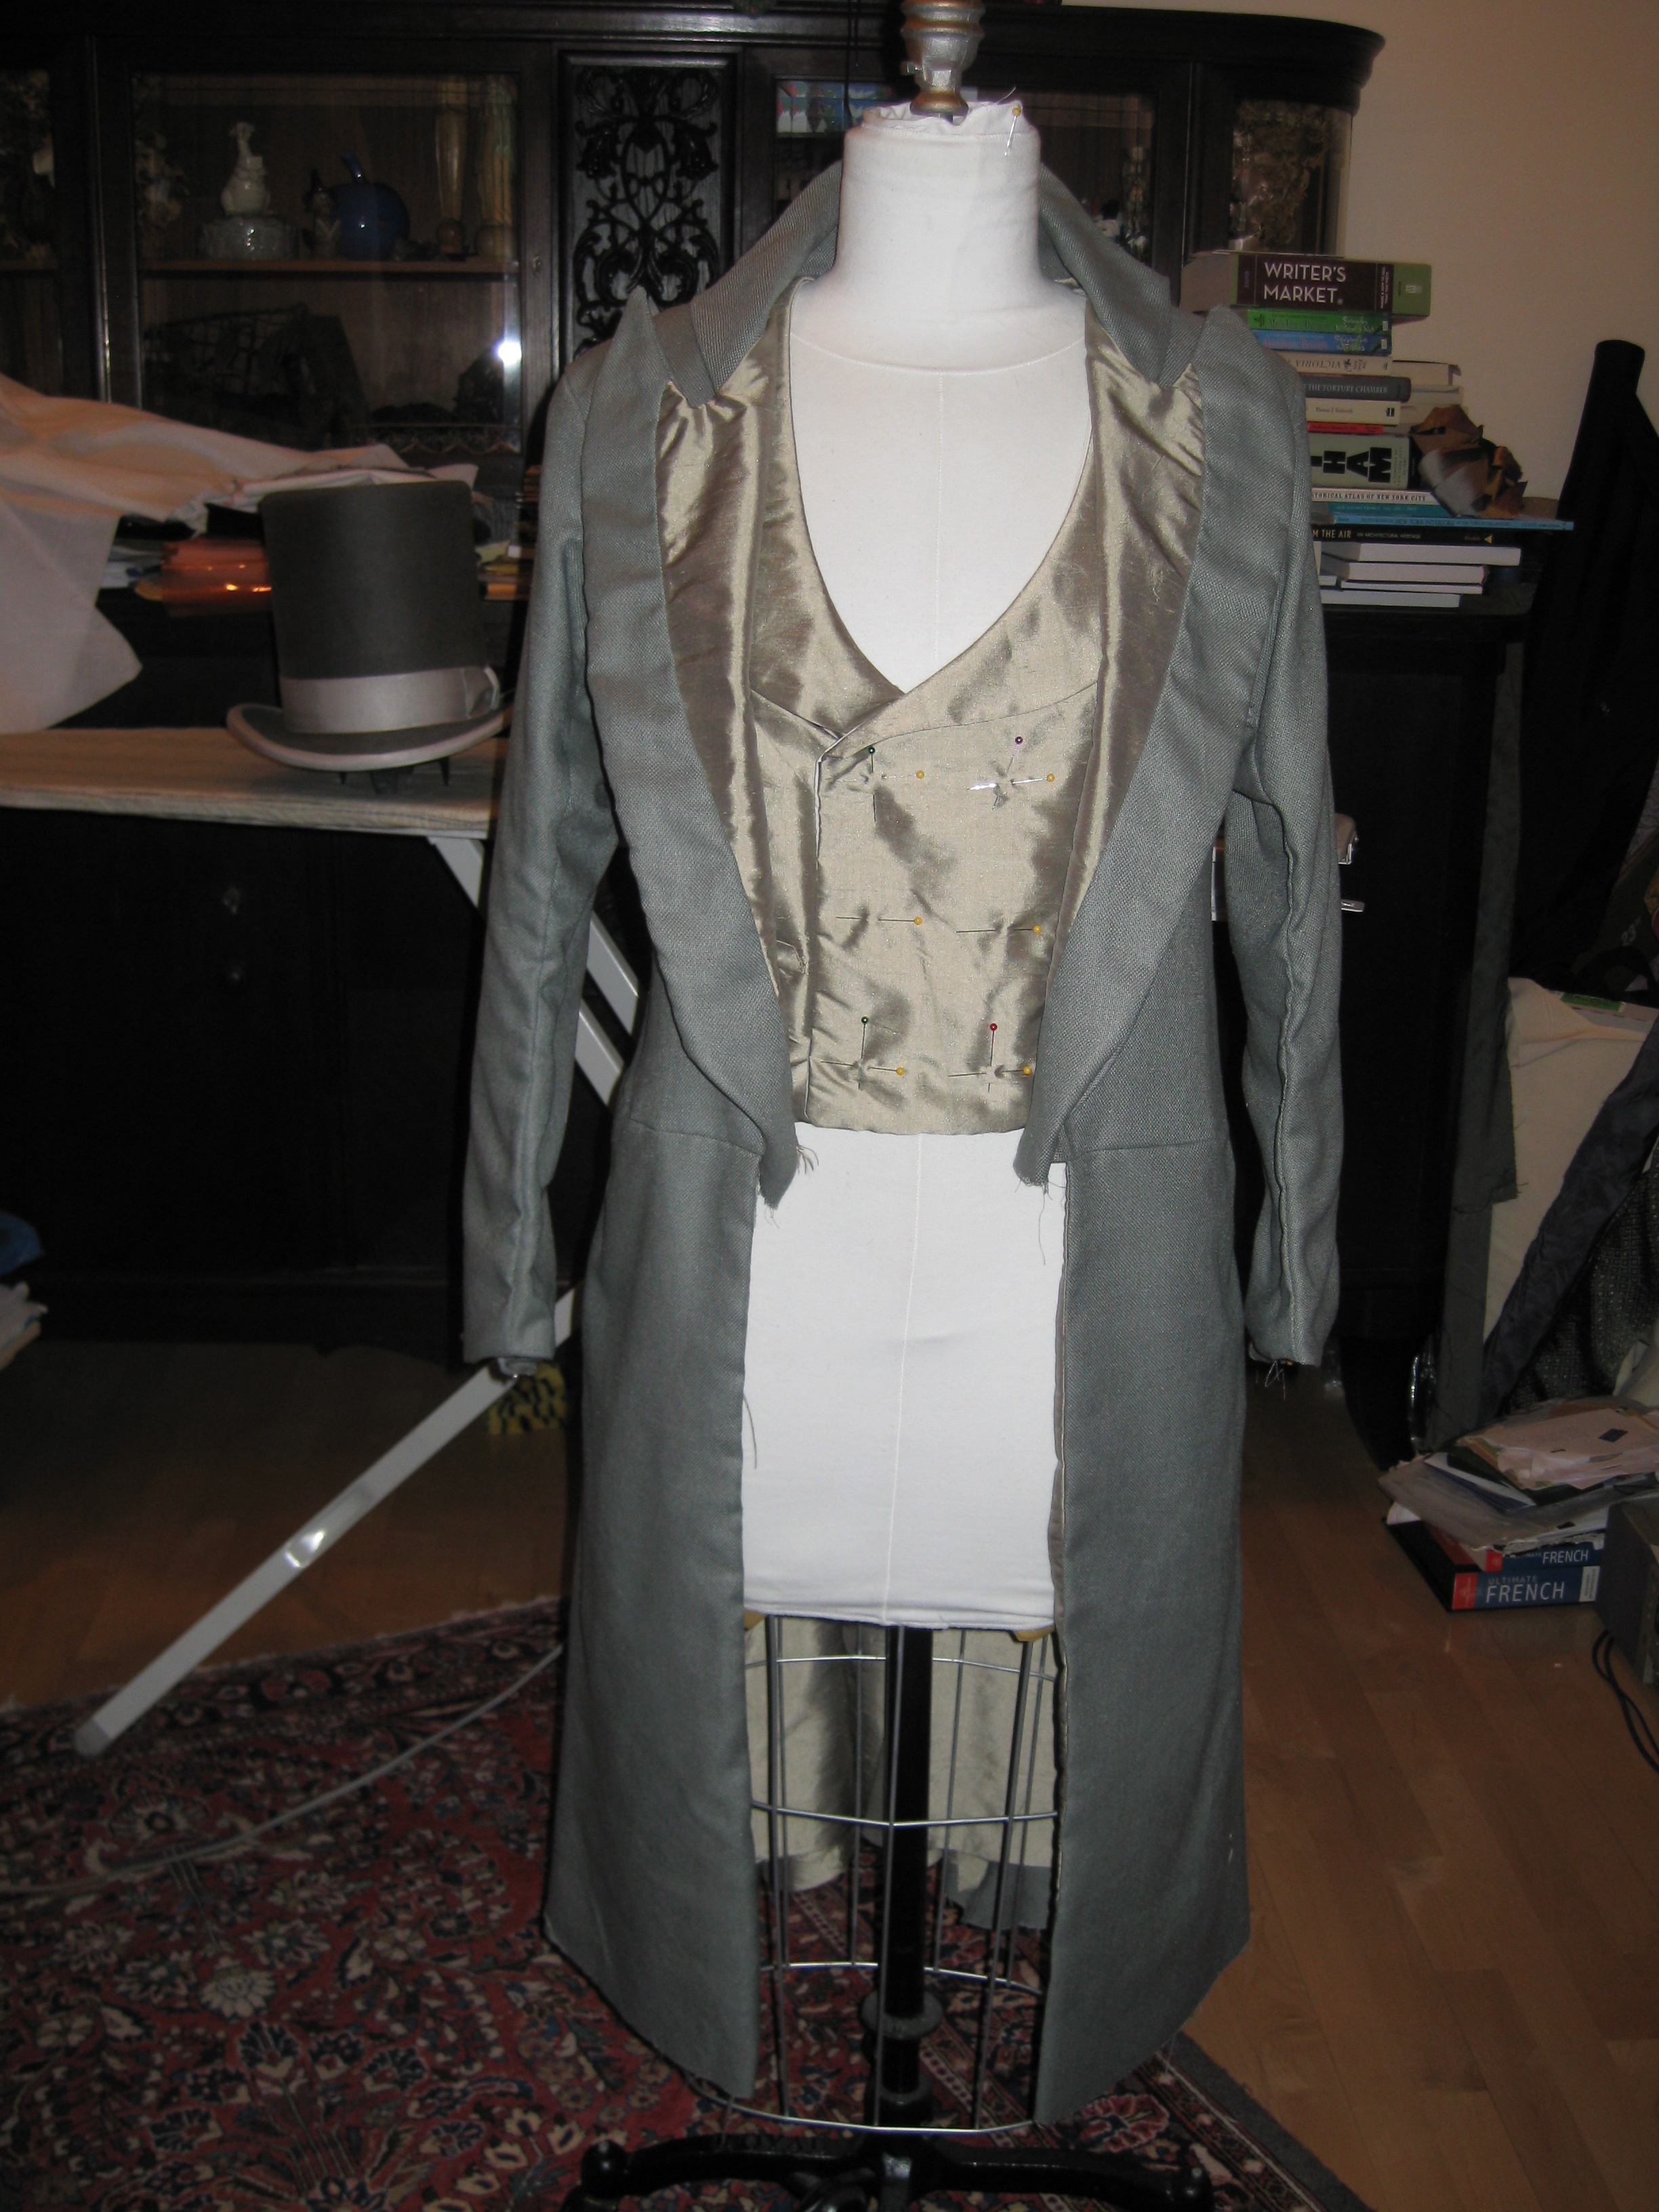
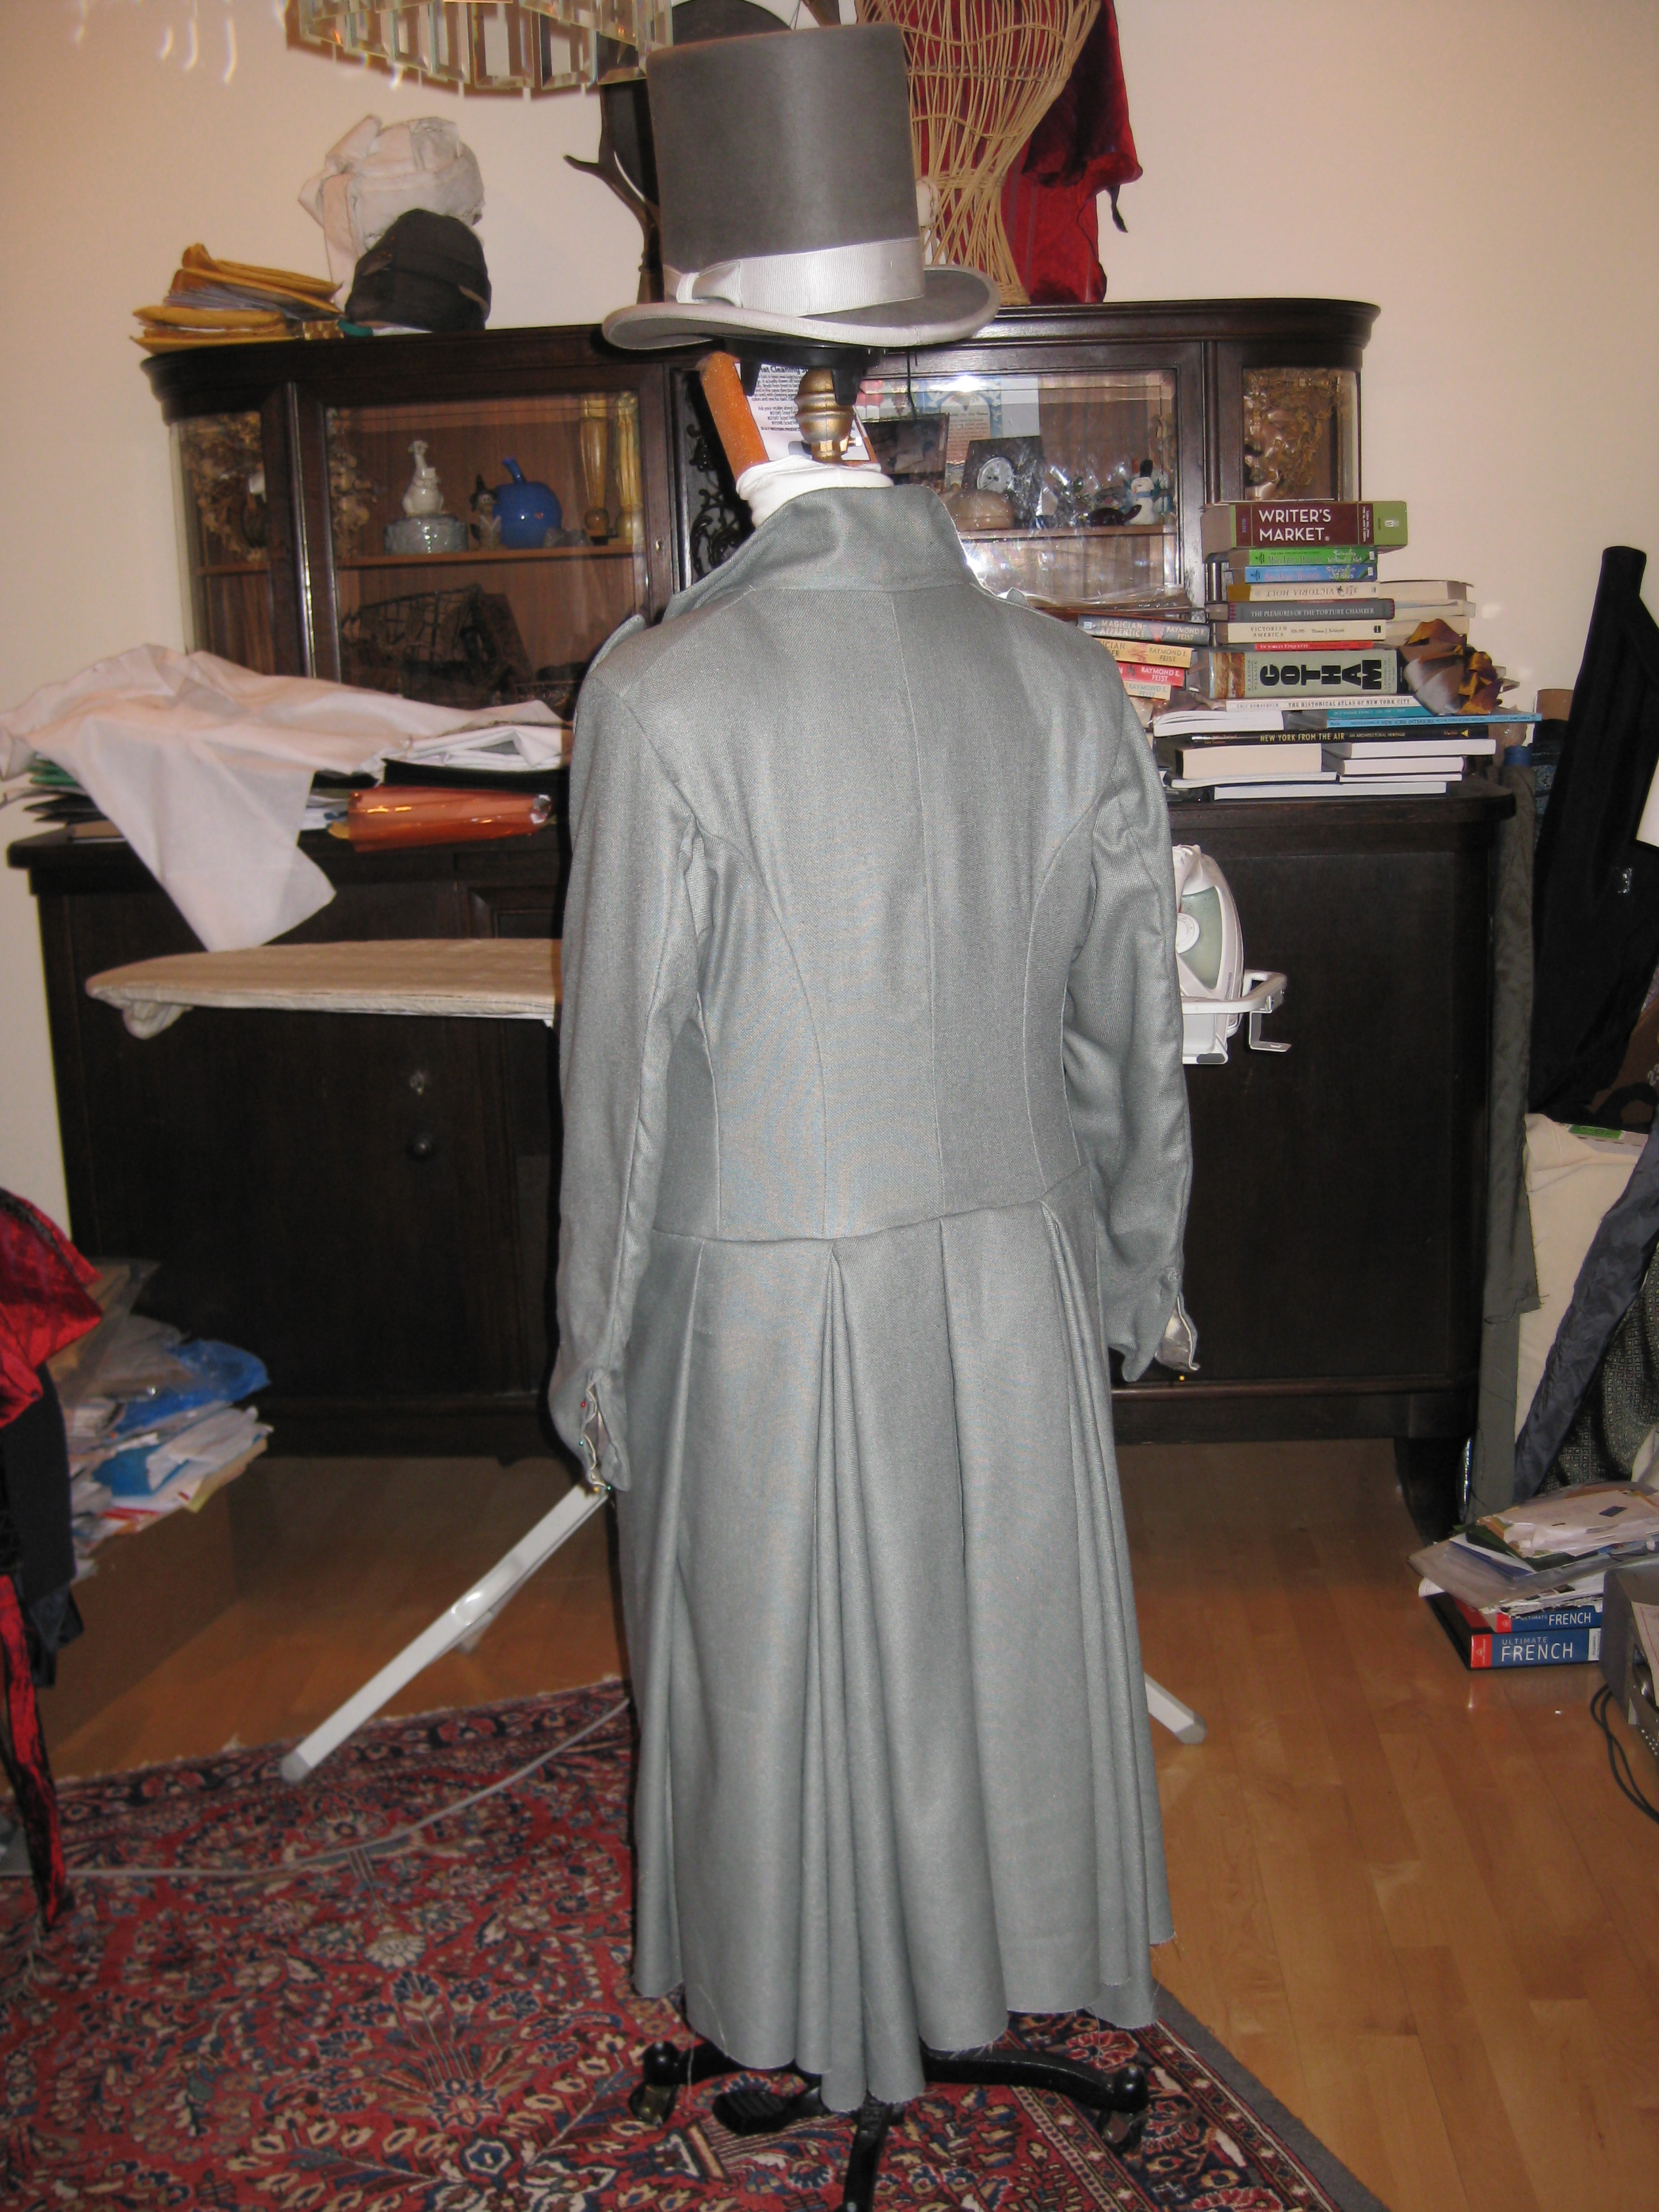
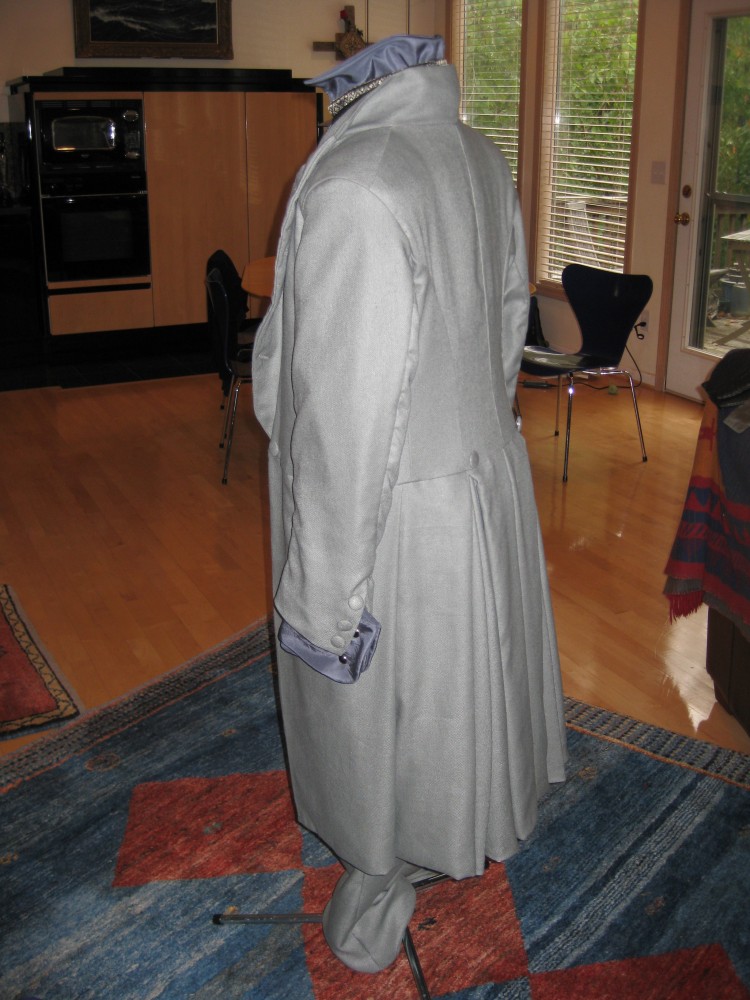
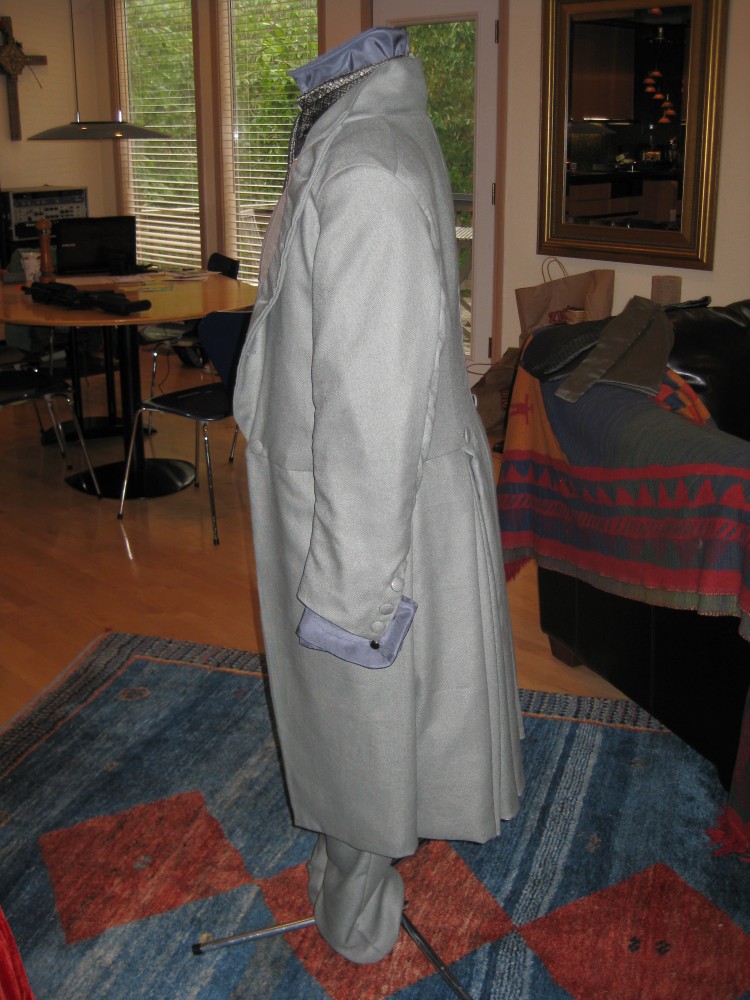
The coat is all the closer to finished. The skirt is in. And I took lots of photos.
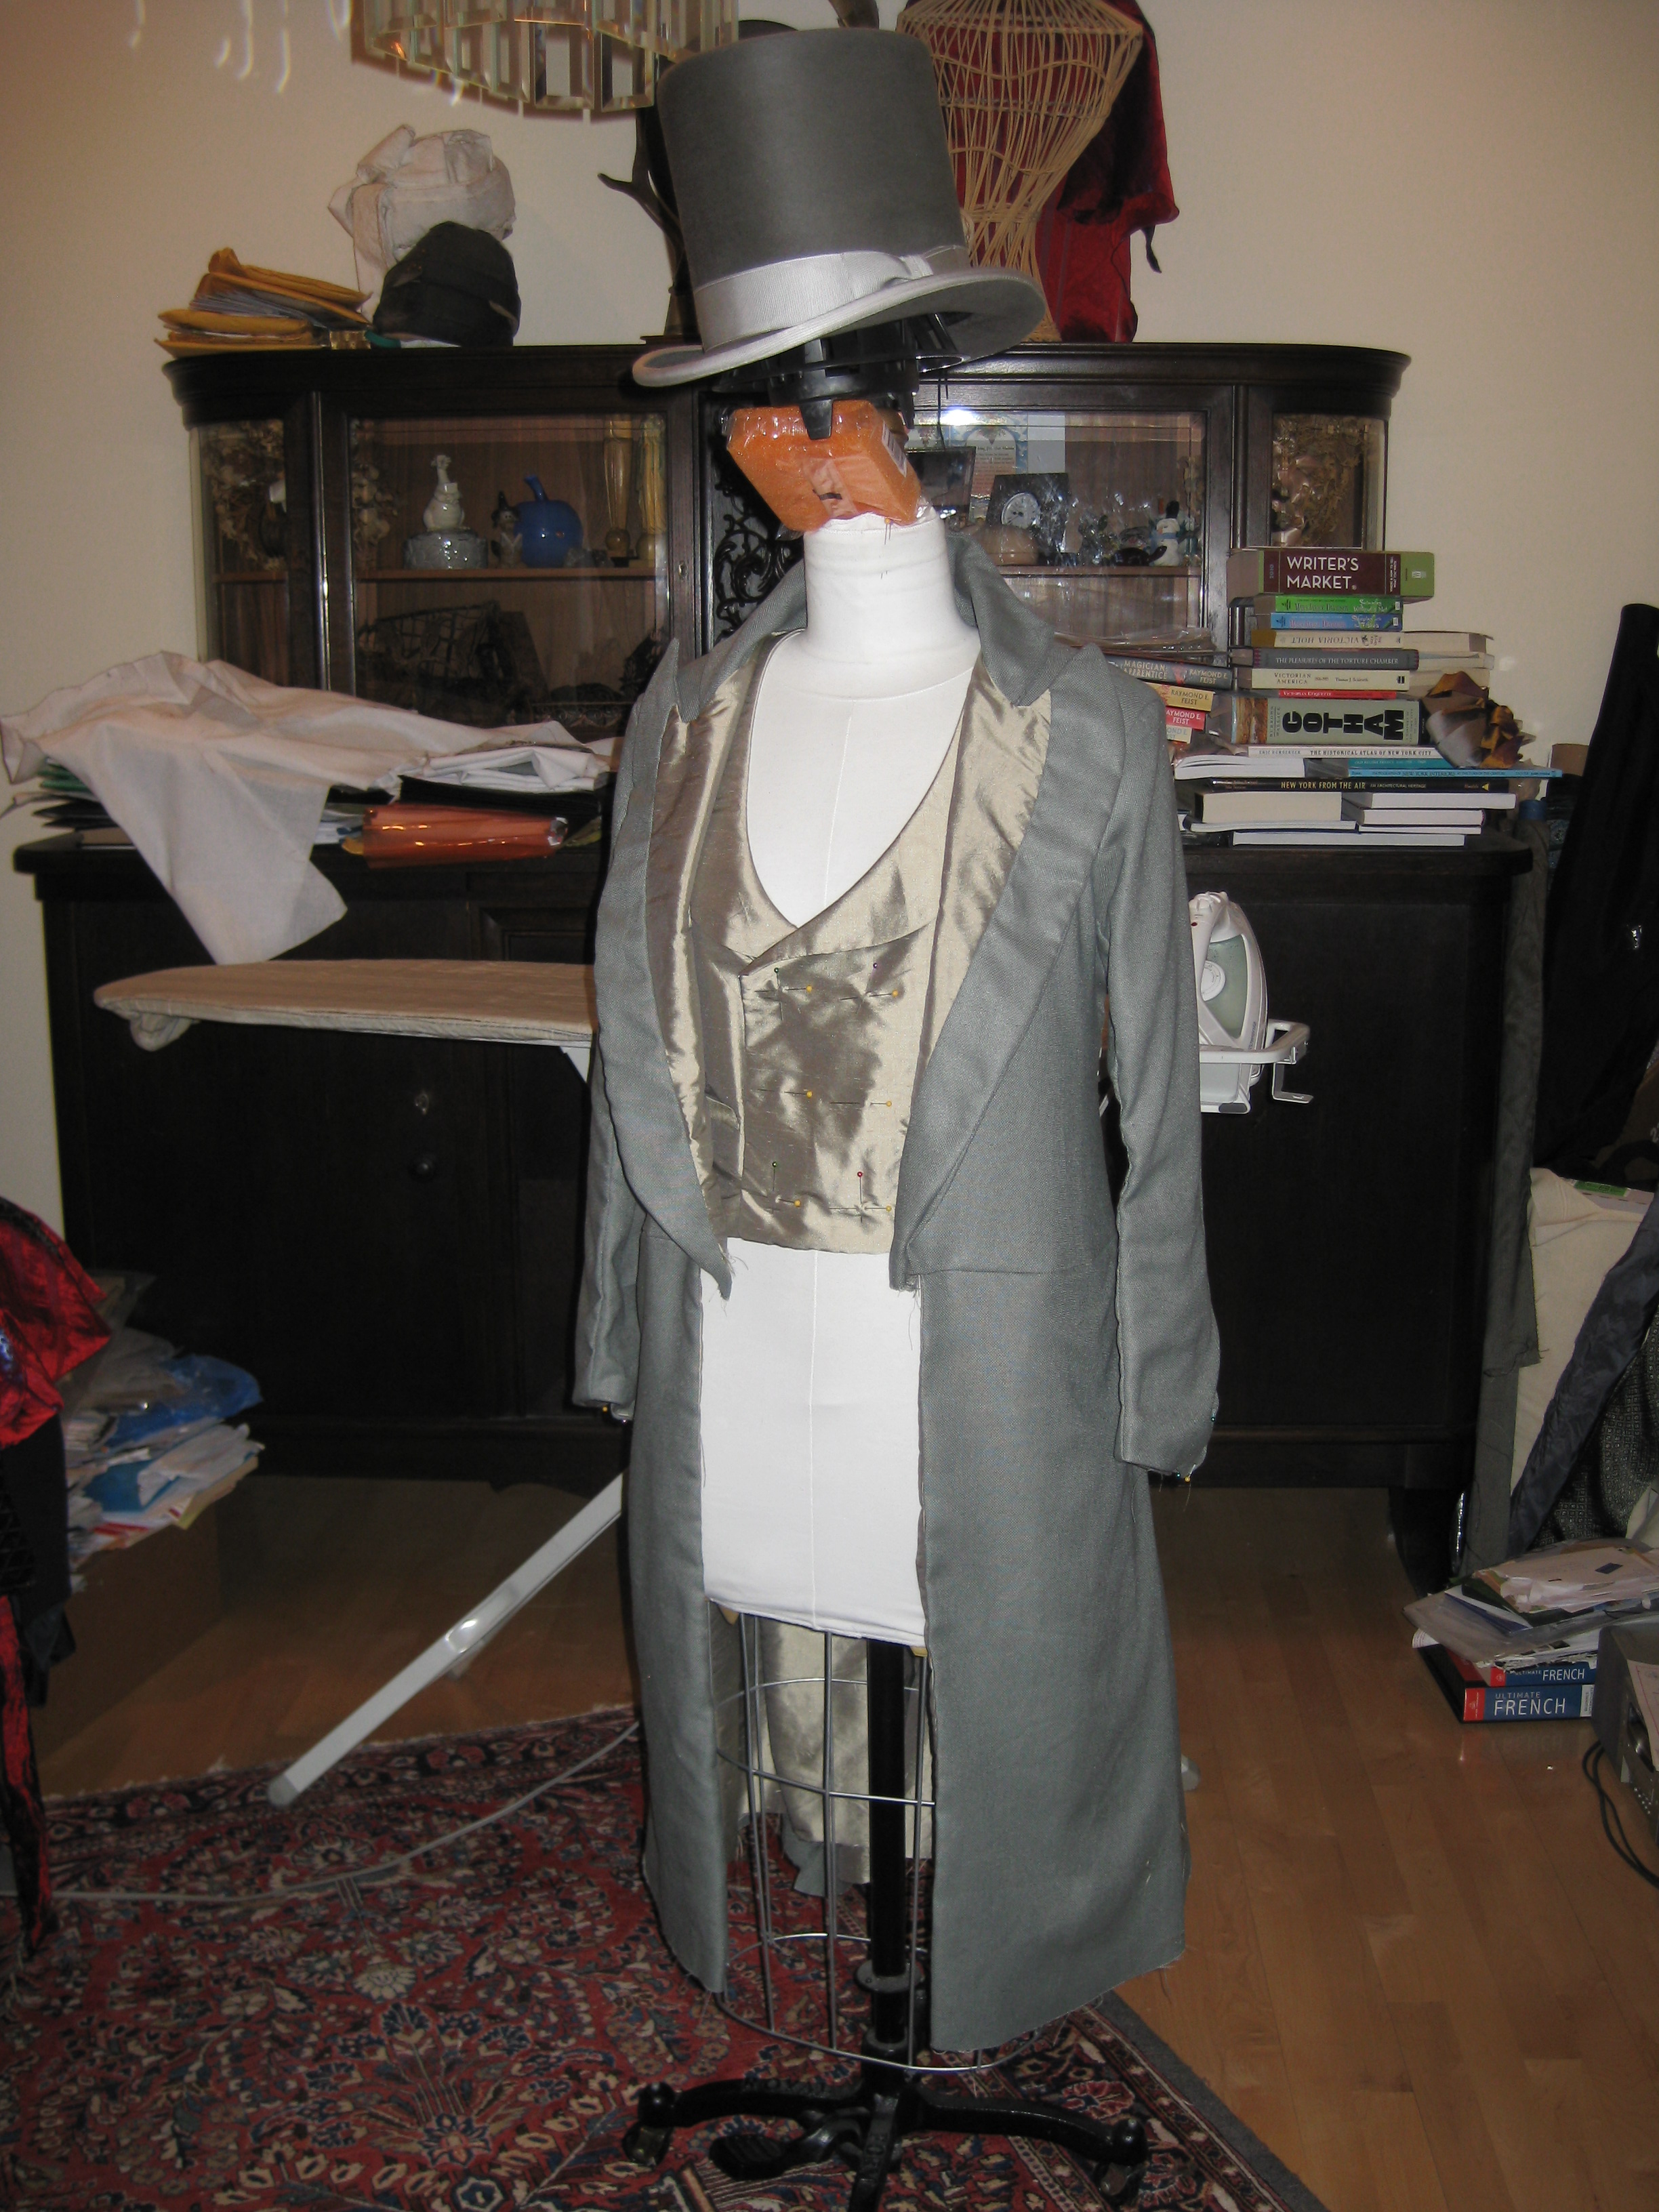
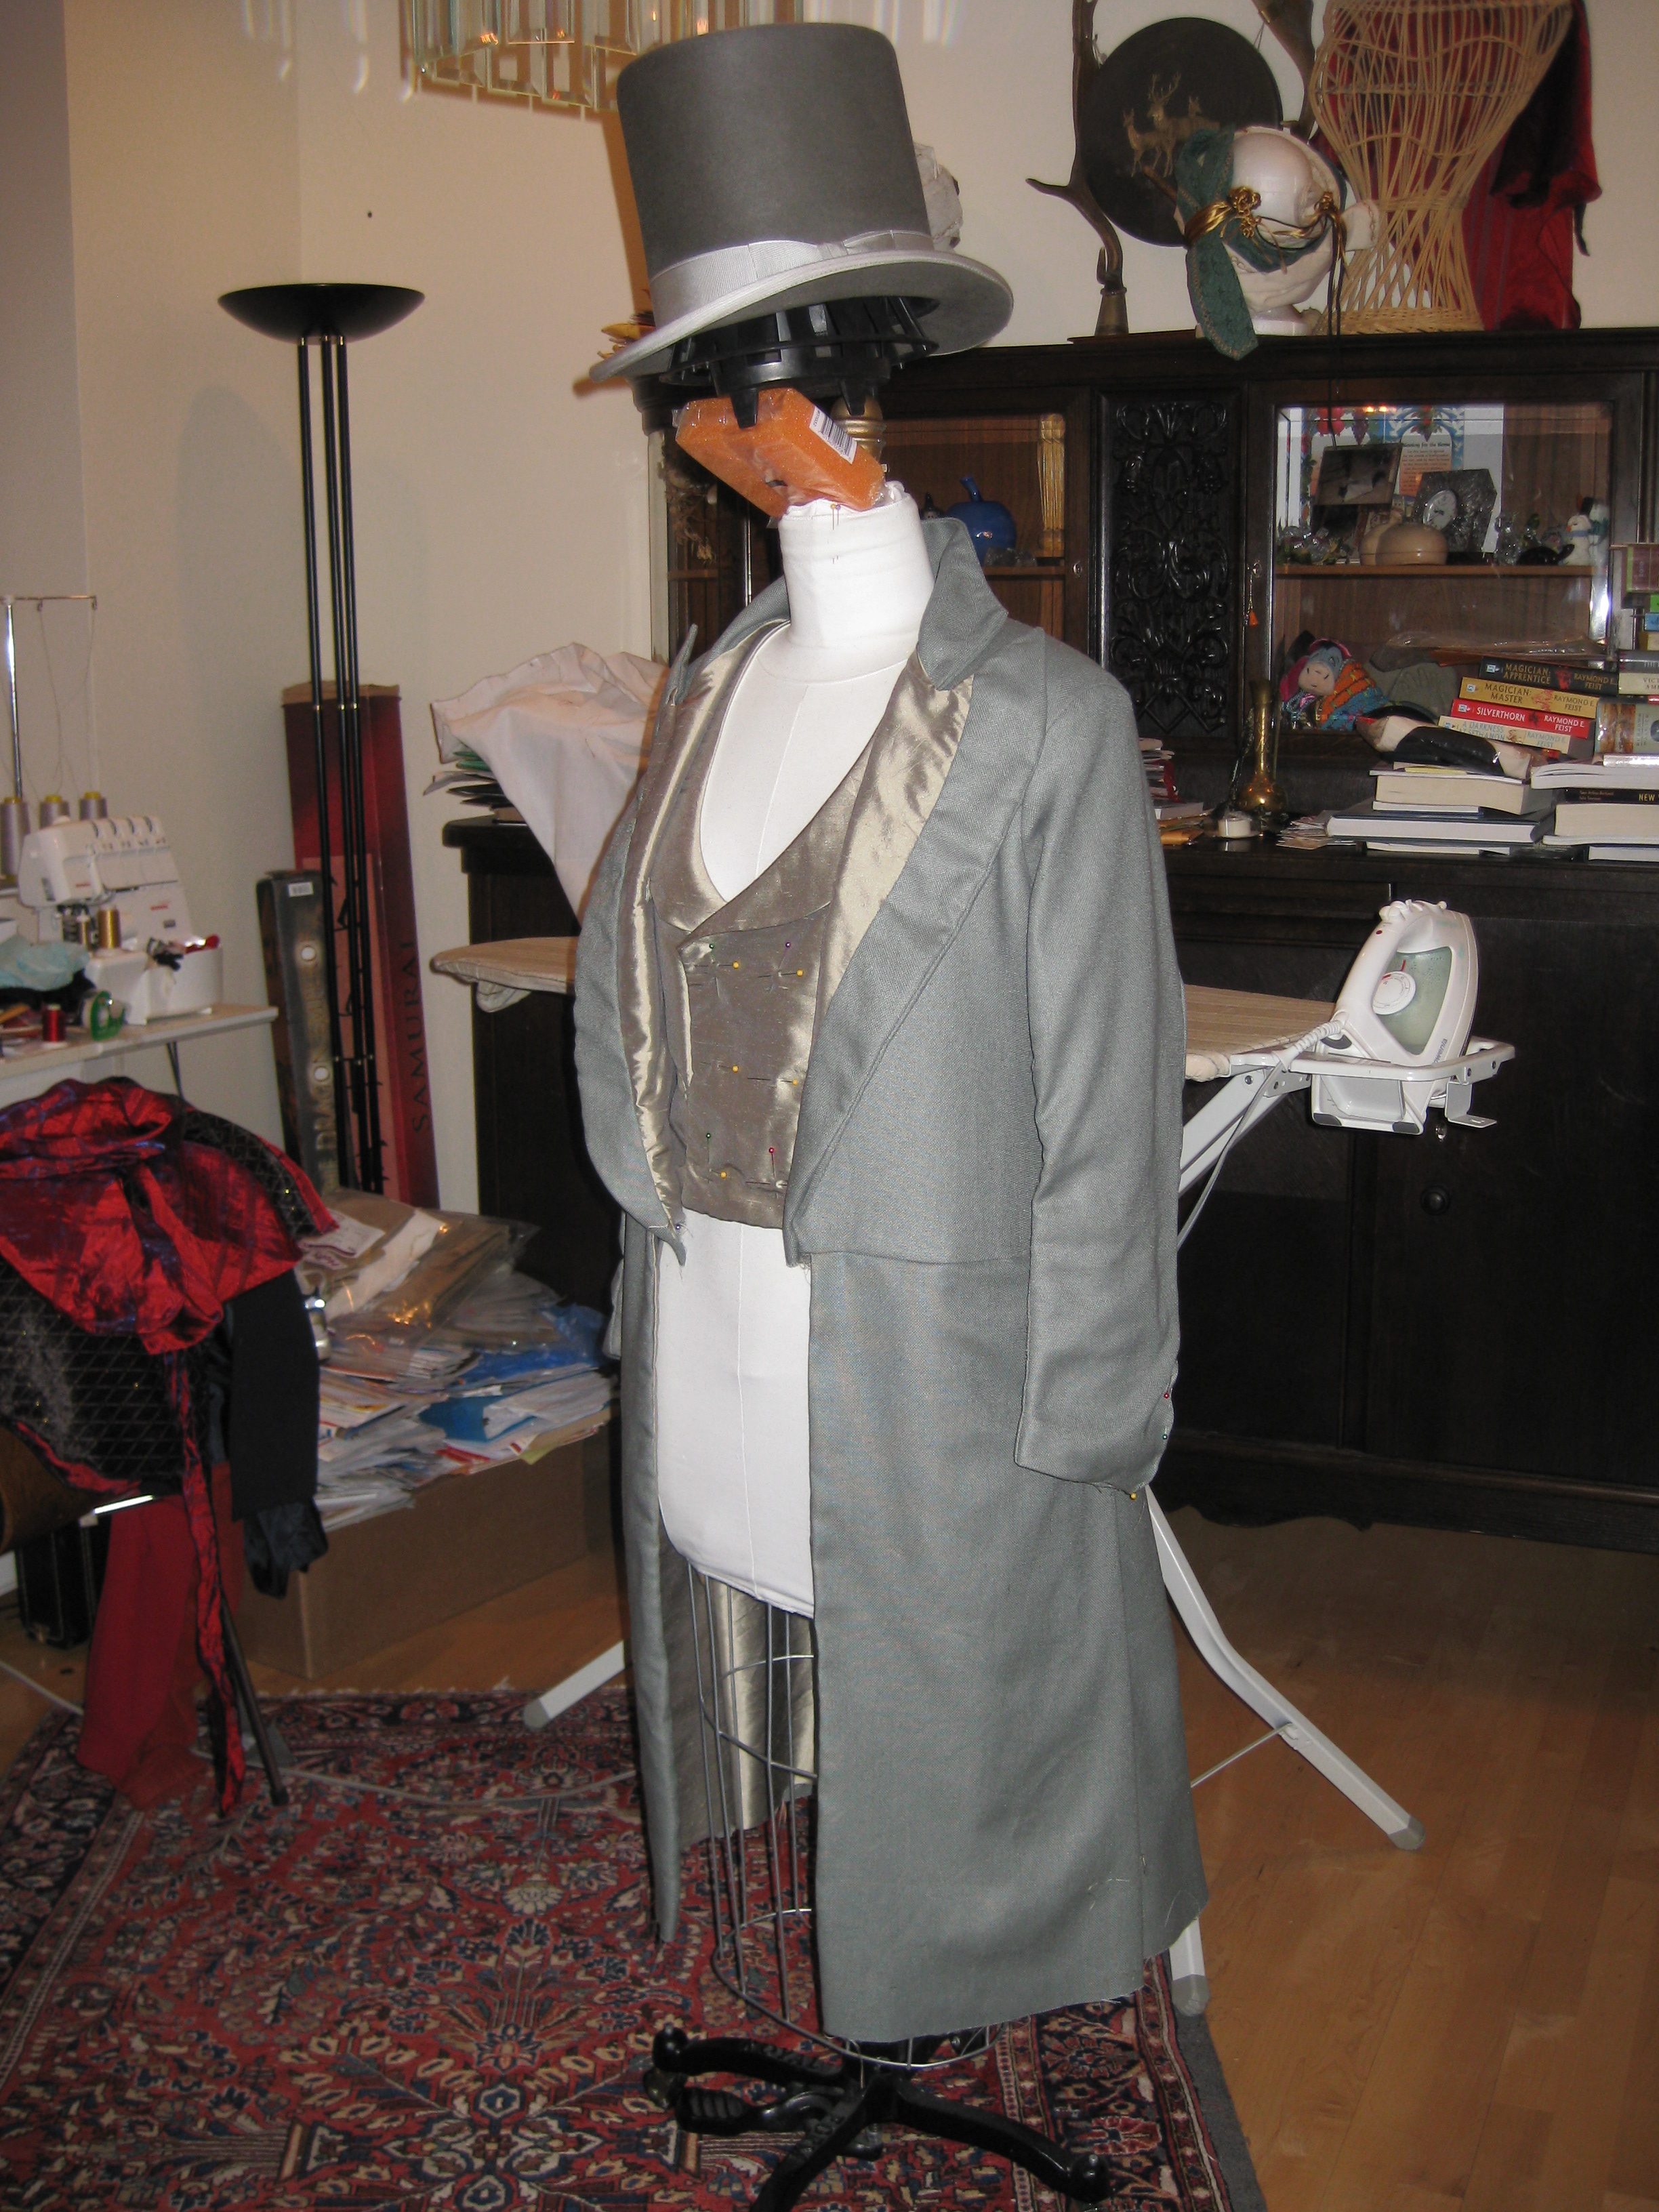
Here's a look! You can see his hat on the ironing board behind the coat...
Eta: I have not yet taken out that narrow & long triangle I visualize to remove from the front skirt edge. But I know I will be doing this... It will create an angled curve to the coat opening that I find very attractive.
I need to tweak the waist seam a tad. But not before bed!
After I took those photos, I balanced the hat stand on the form with an orange sponge, and took pictures of the coat with the hat... because I can't wait to see how this is all going to come together.
Almost looks like an invisible man is standing in there. Lol. I'm tempted to drag out the gloves, slip them inside the sleeves and prop the walking cane there, too. But I'm too tired. Maybe after I've slept!
Speaking of which, I'm going to go do that now.
Aug. 10th, 2010 at 8:49 PM
Ok, so let me do aninventory. The coat is hemmed. All that's left to do includes hand sewing down the lining, buttons and button holes. I cut out one shirt and three cravats. Still need to cut out one more shirt...
Three cravats, you ask? Well, I decided to make both fabric choices, to give myself the choice again every time I dress. And then, as I was ironing the black with gold pattern I discovered that the back of this is also mighty fine, and maybe even closer to the original colors. So, yeah, there will be three cravats...
I contemplate cutting out the second shirt now, but I'm feeling more driven to actually start putting one together first. So, some sewing is next. And I've already done some on the shirt. More on that below...
In other news, my shirt studs and cuff links arrived. YAY!
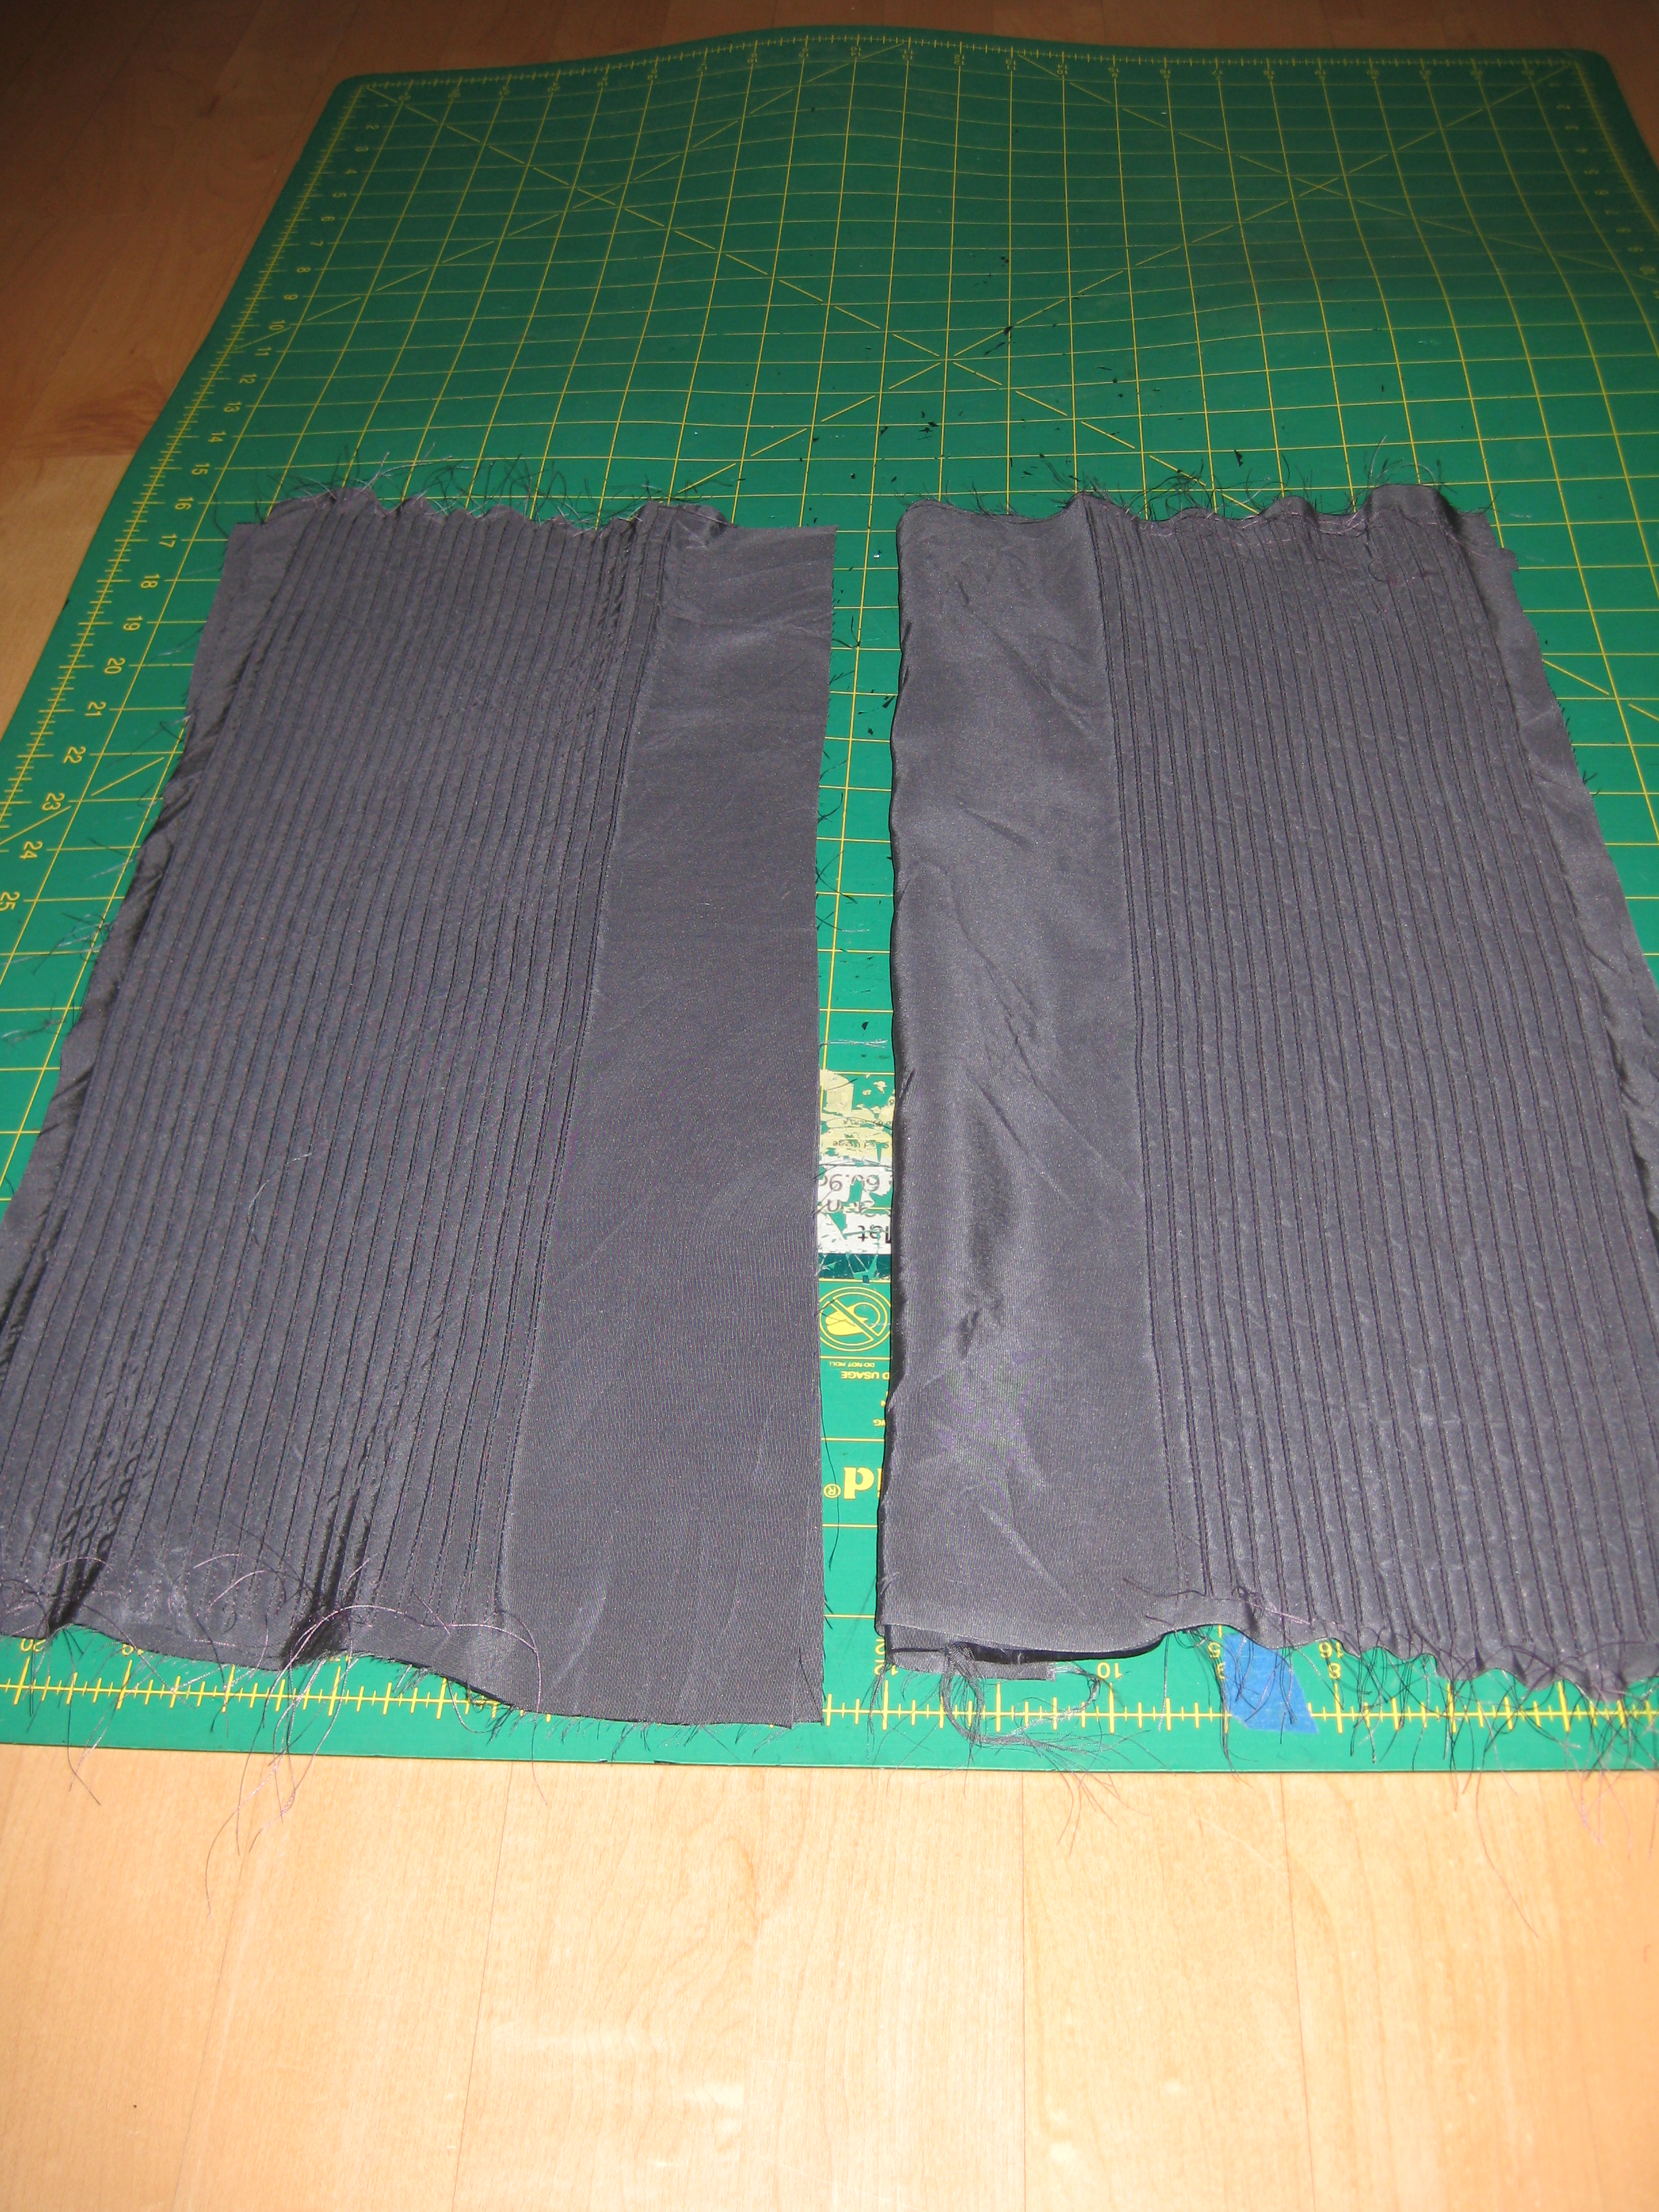
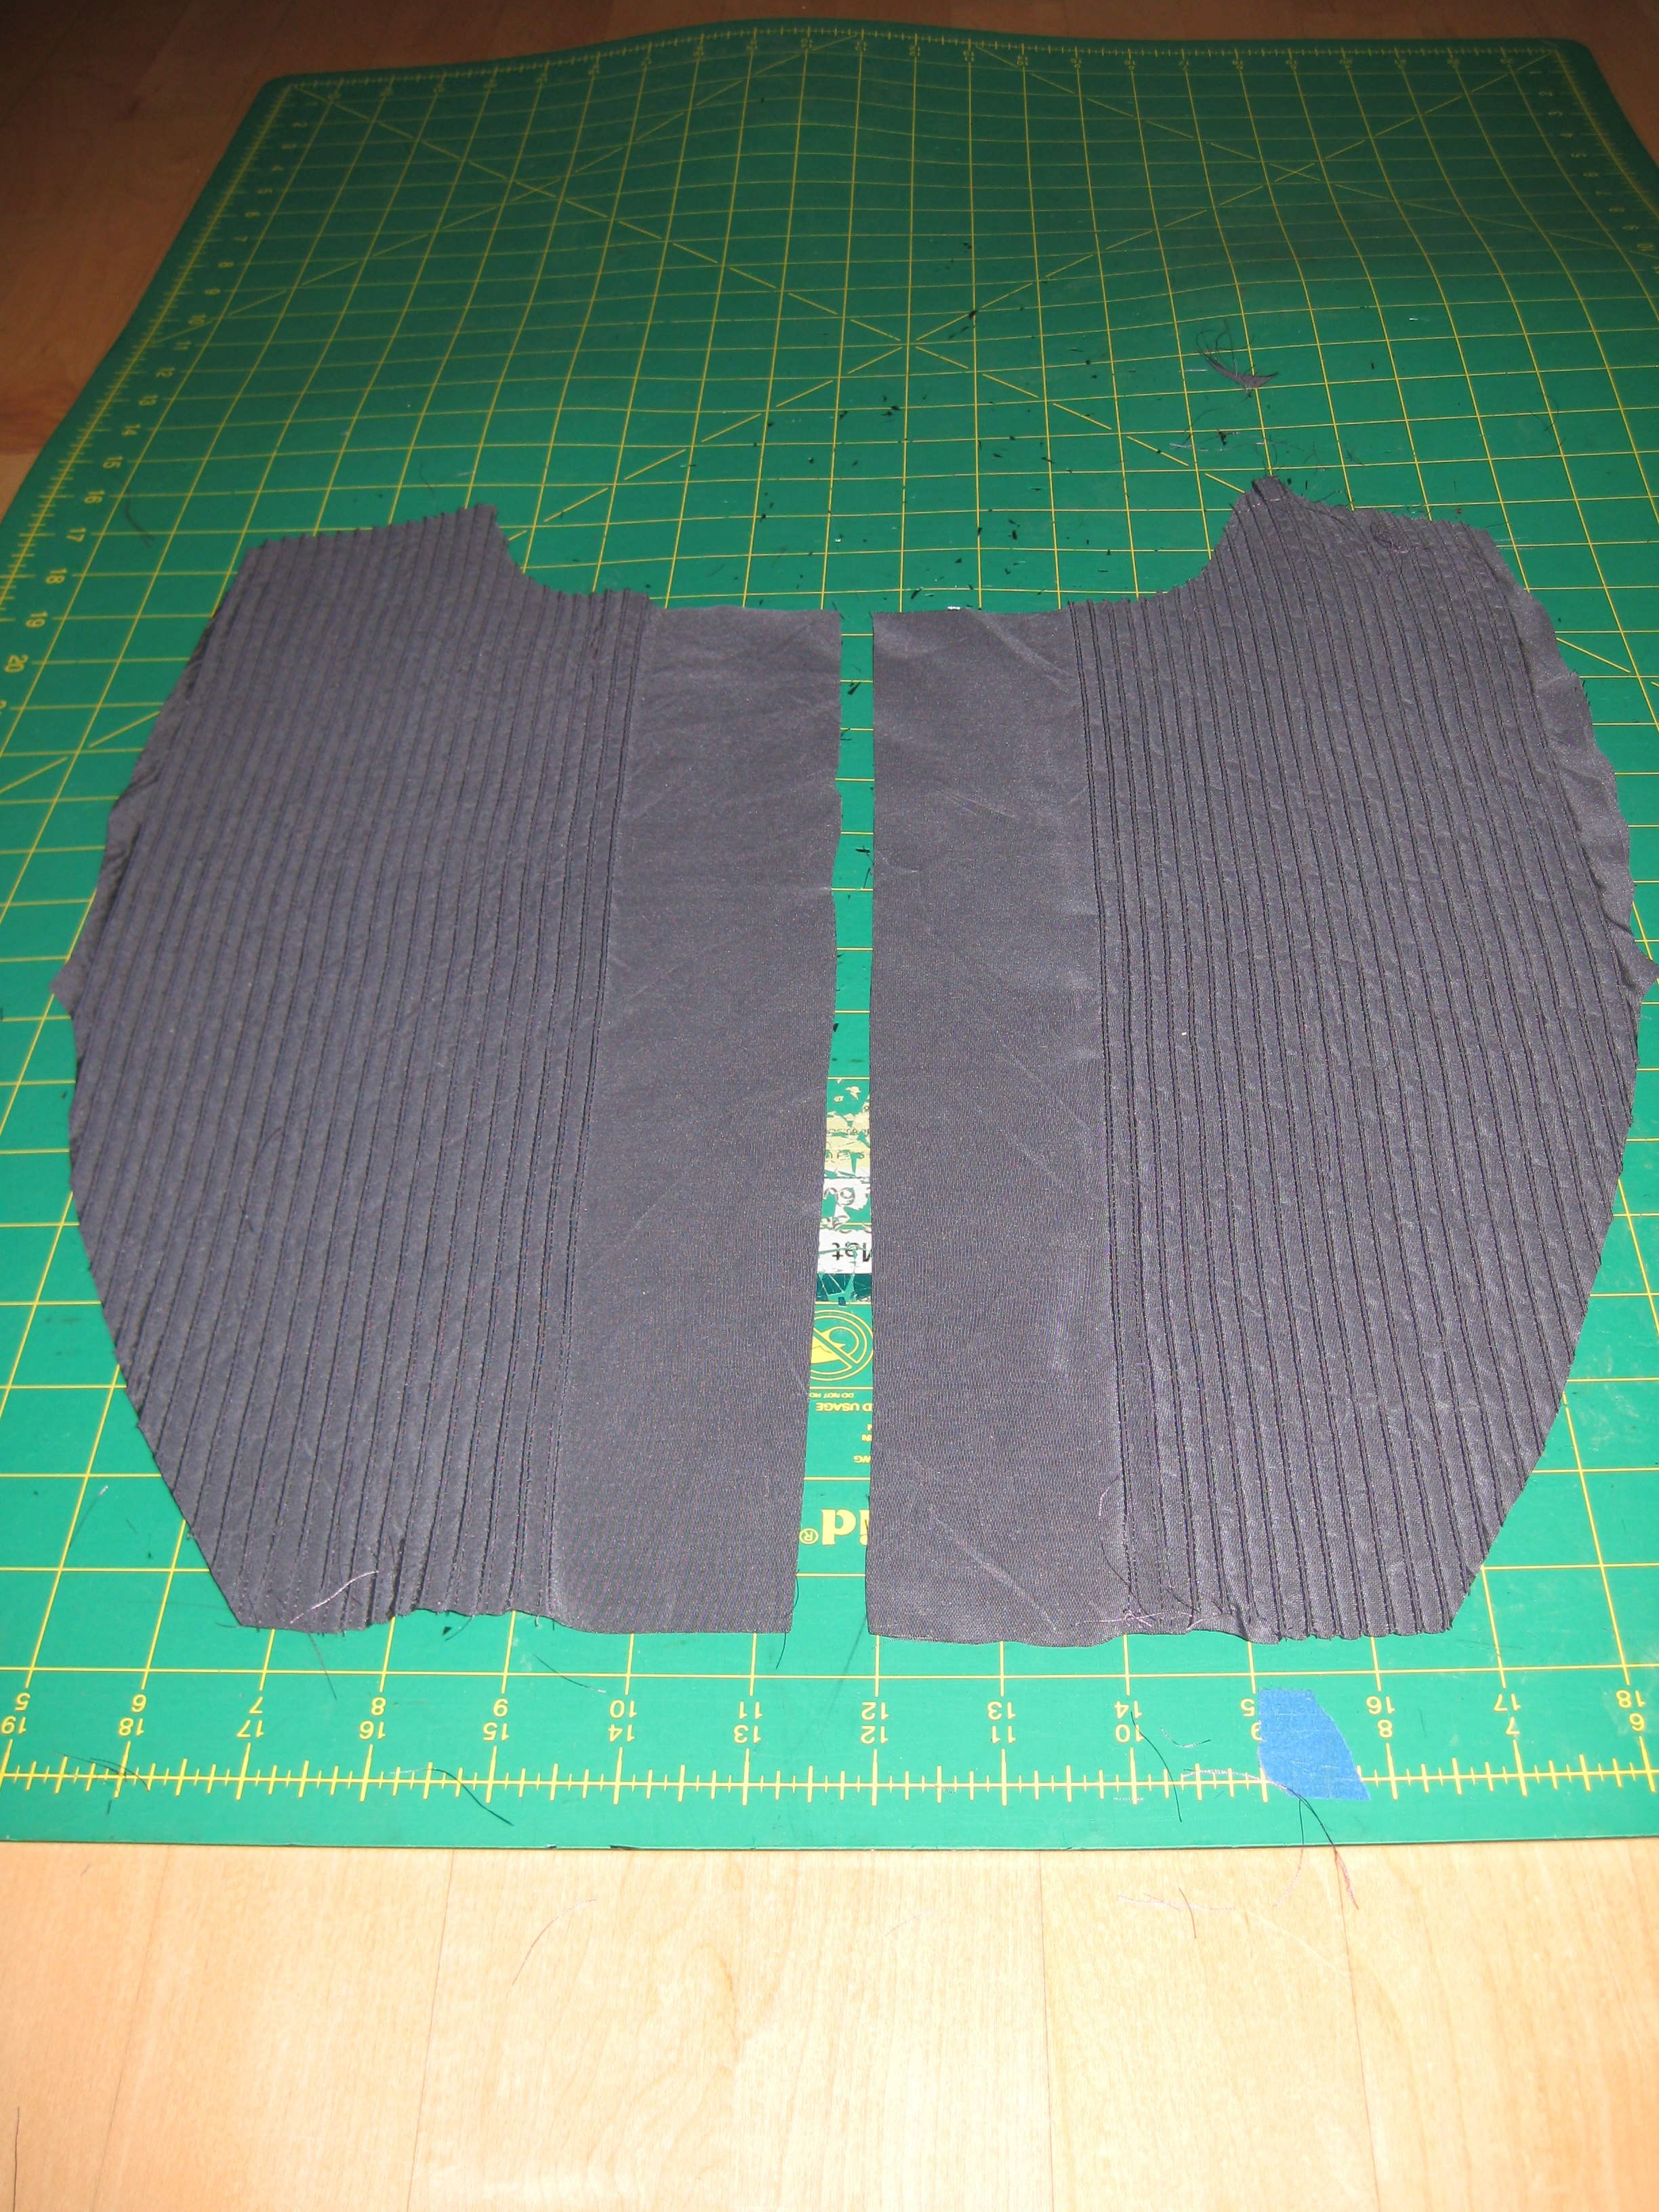
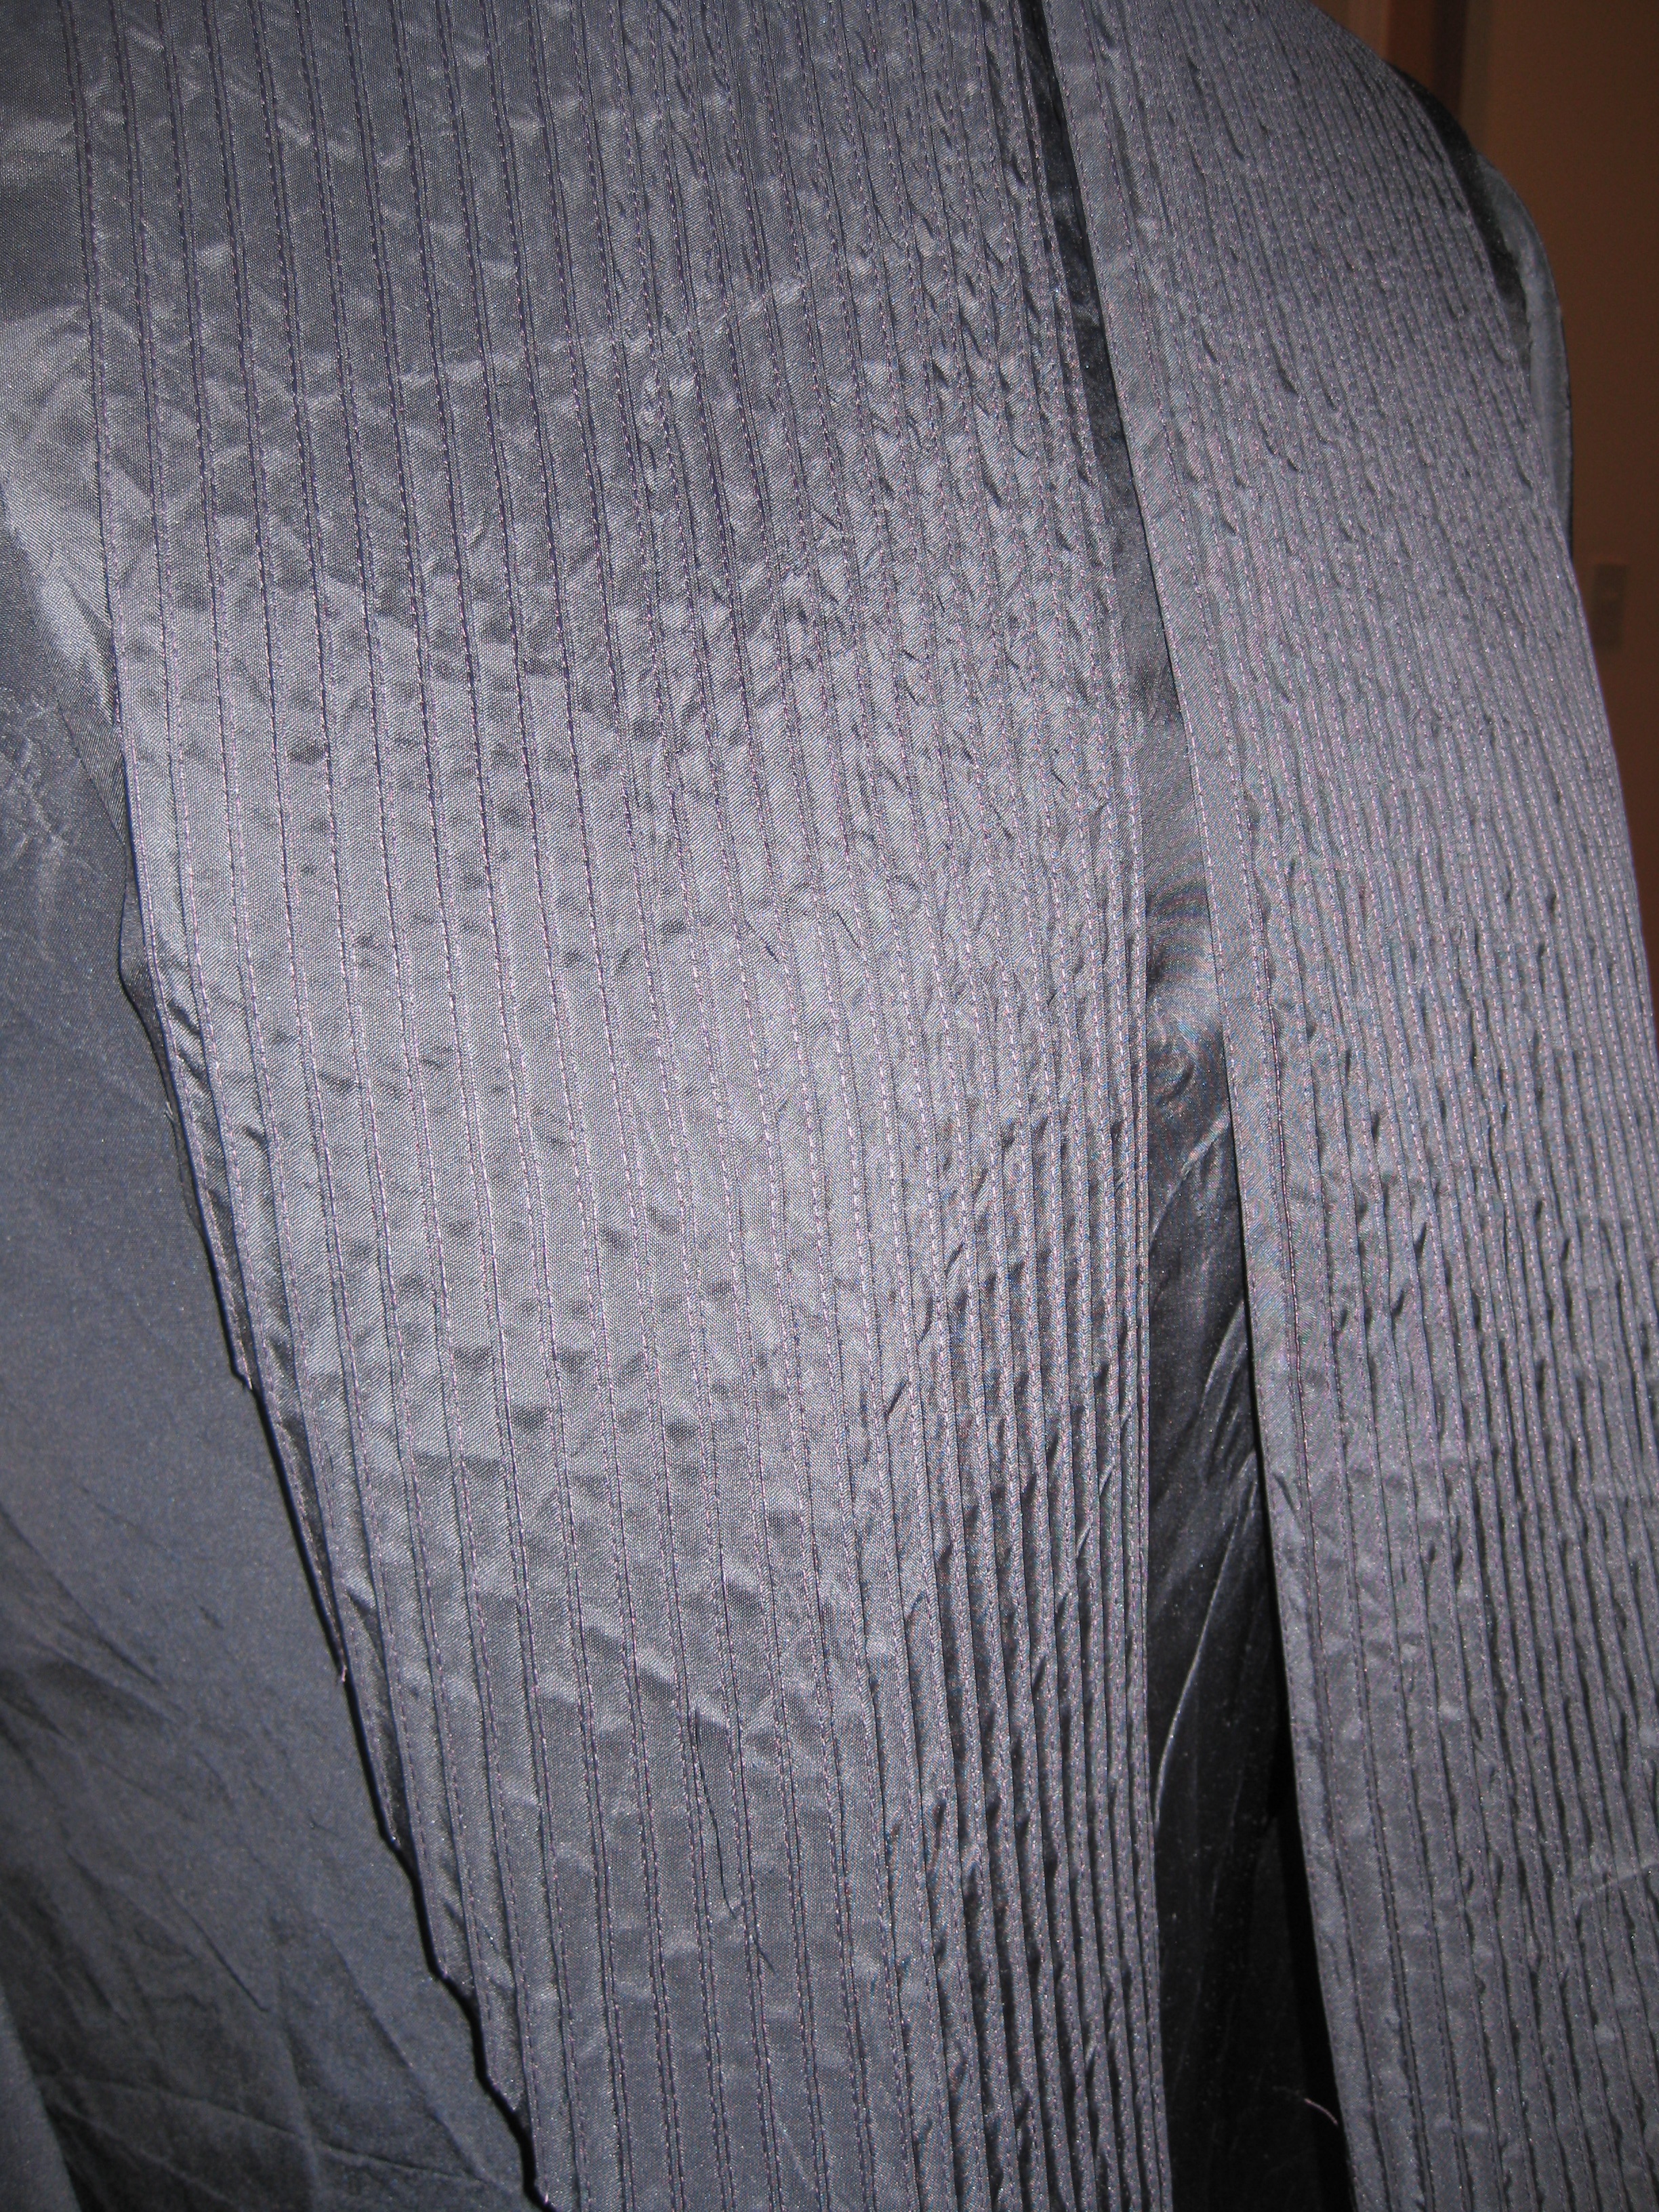
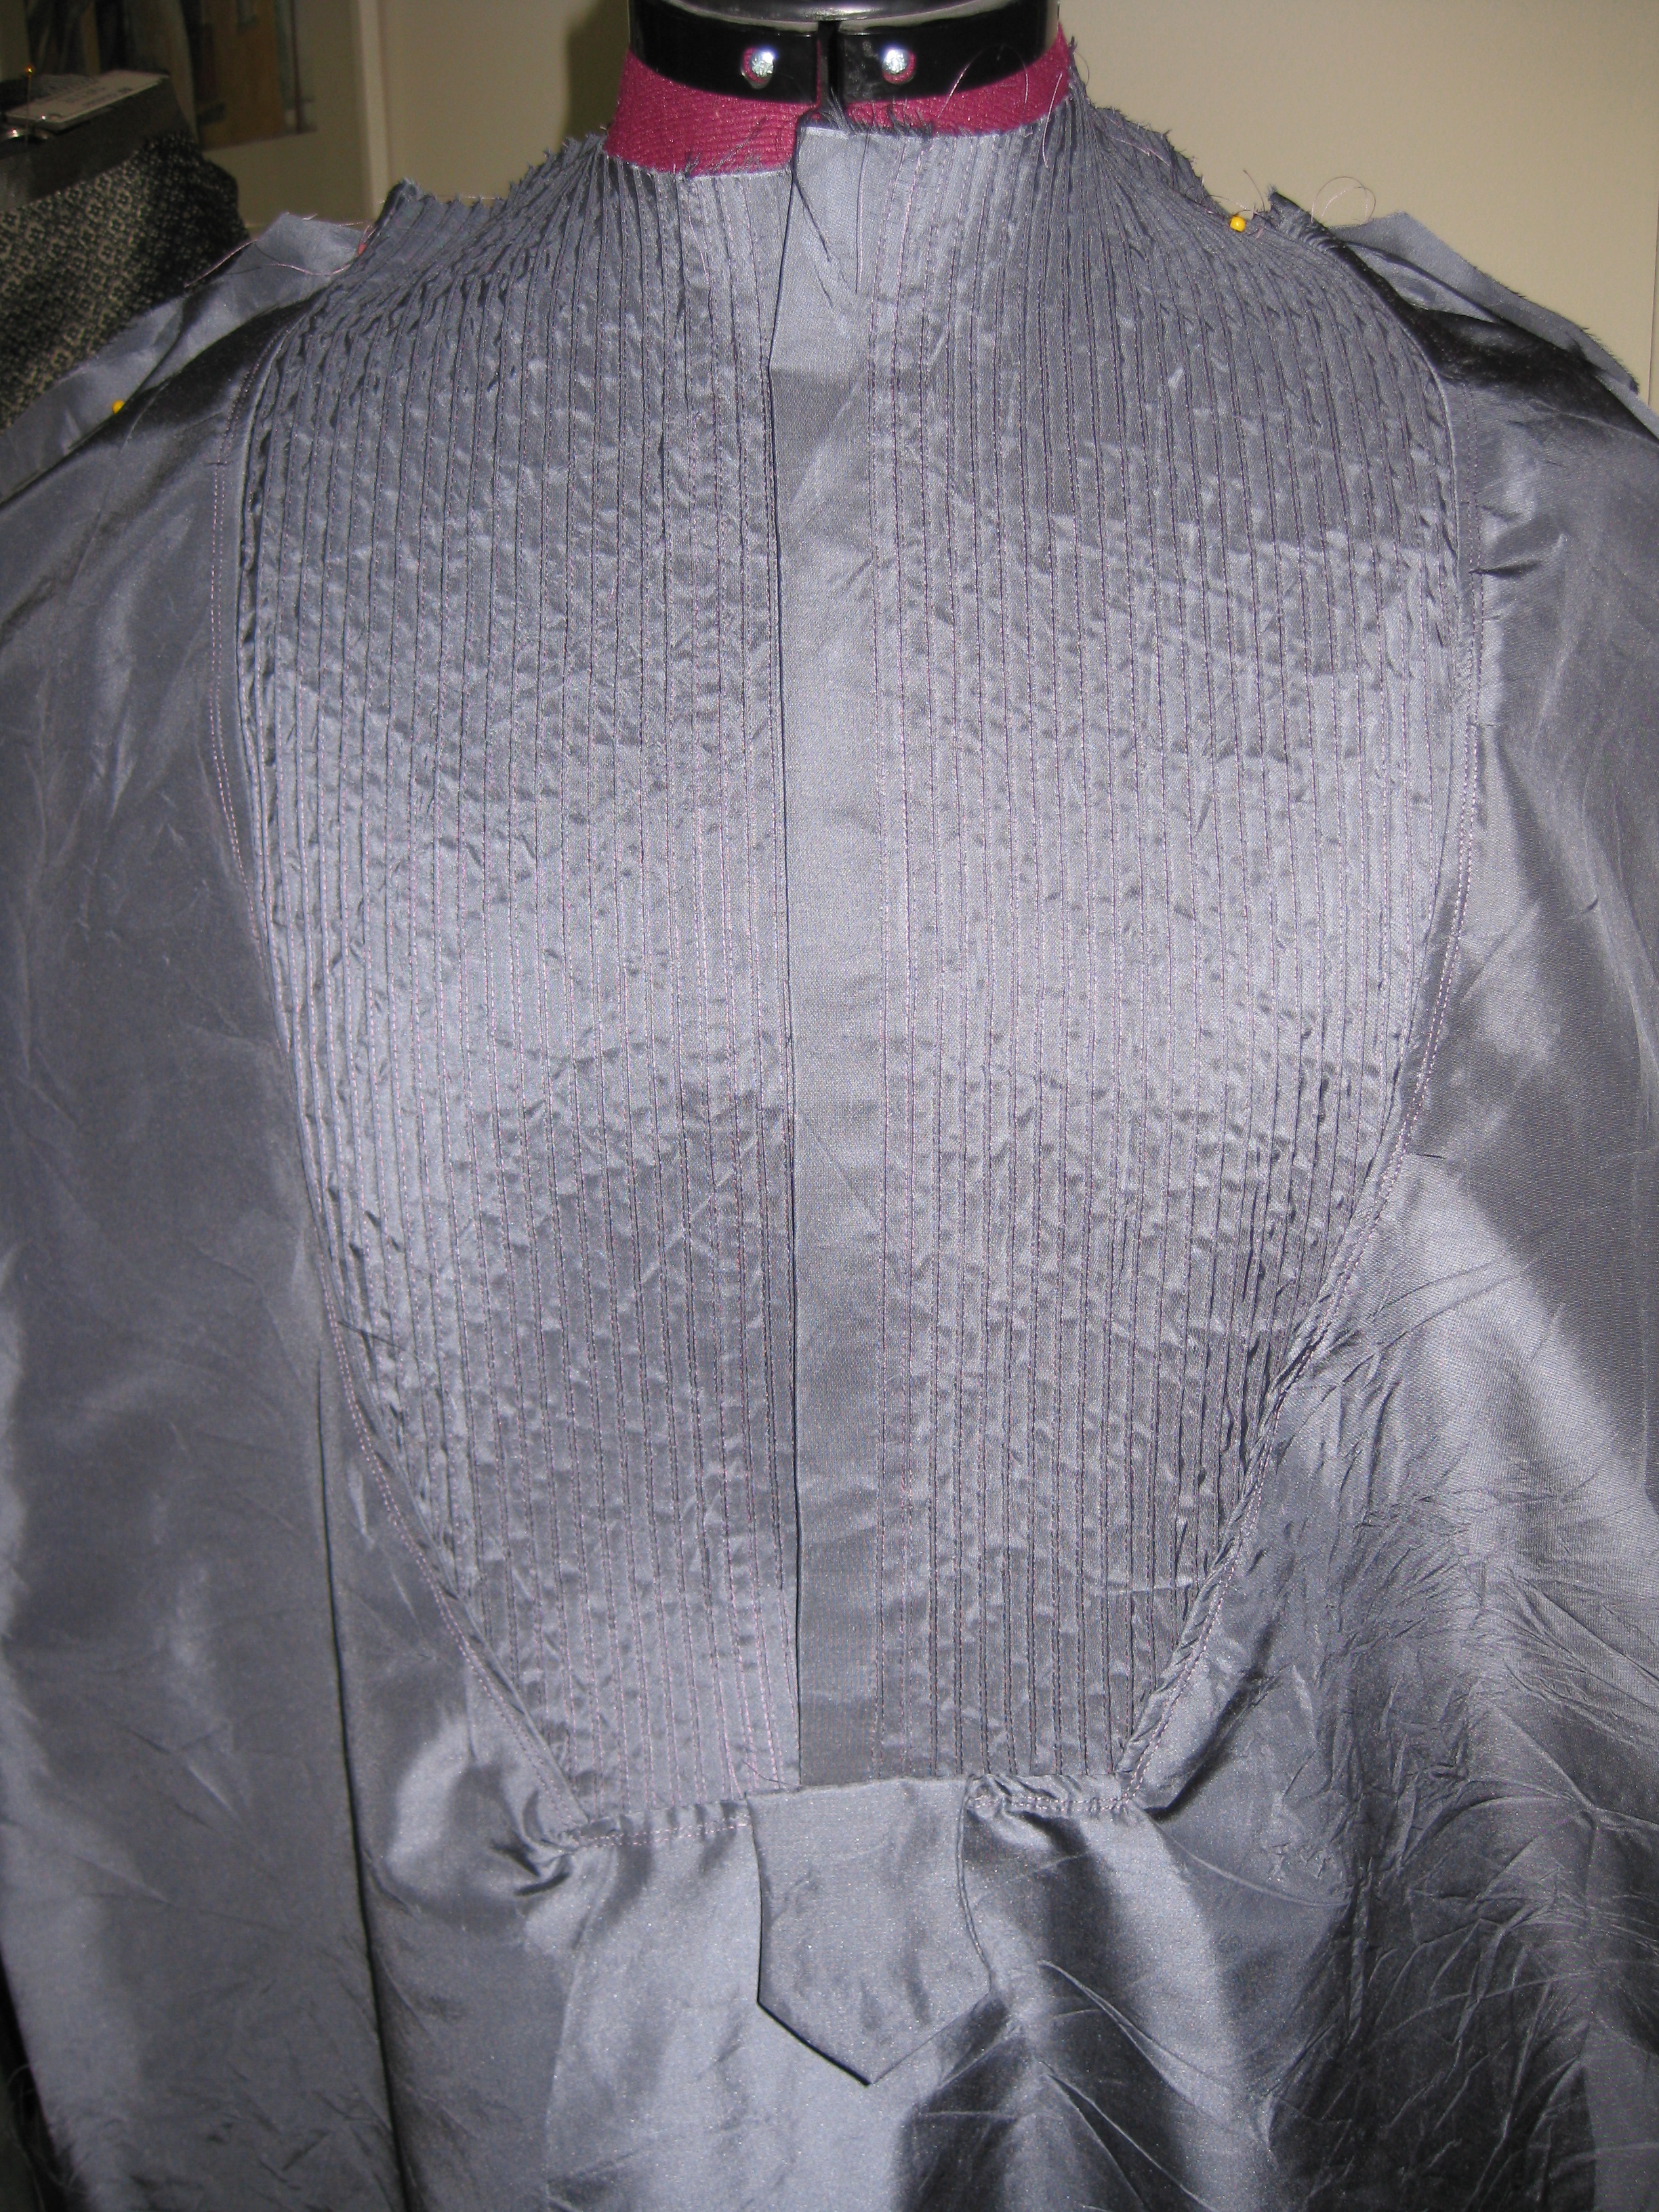
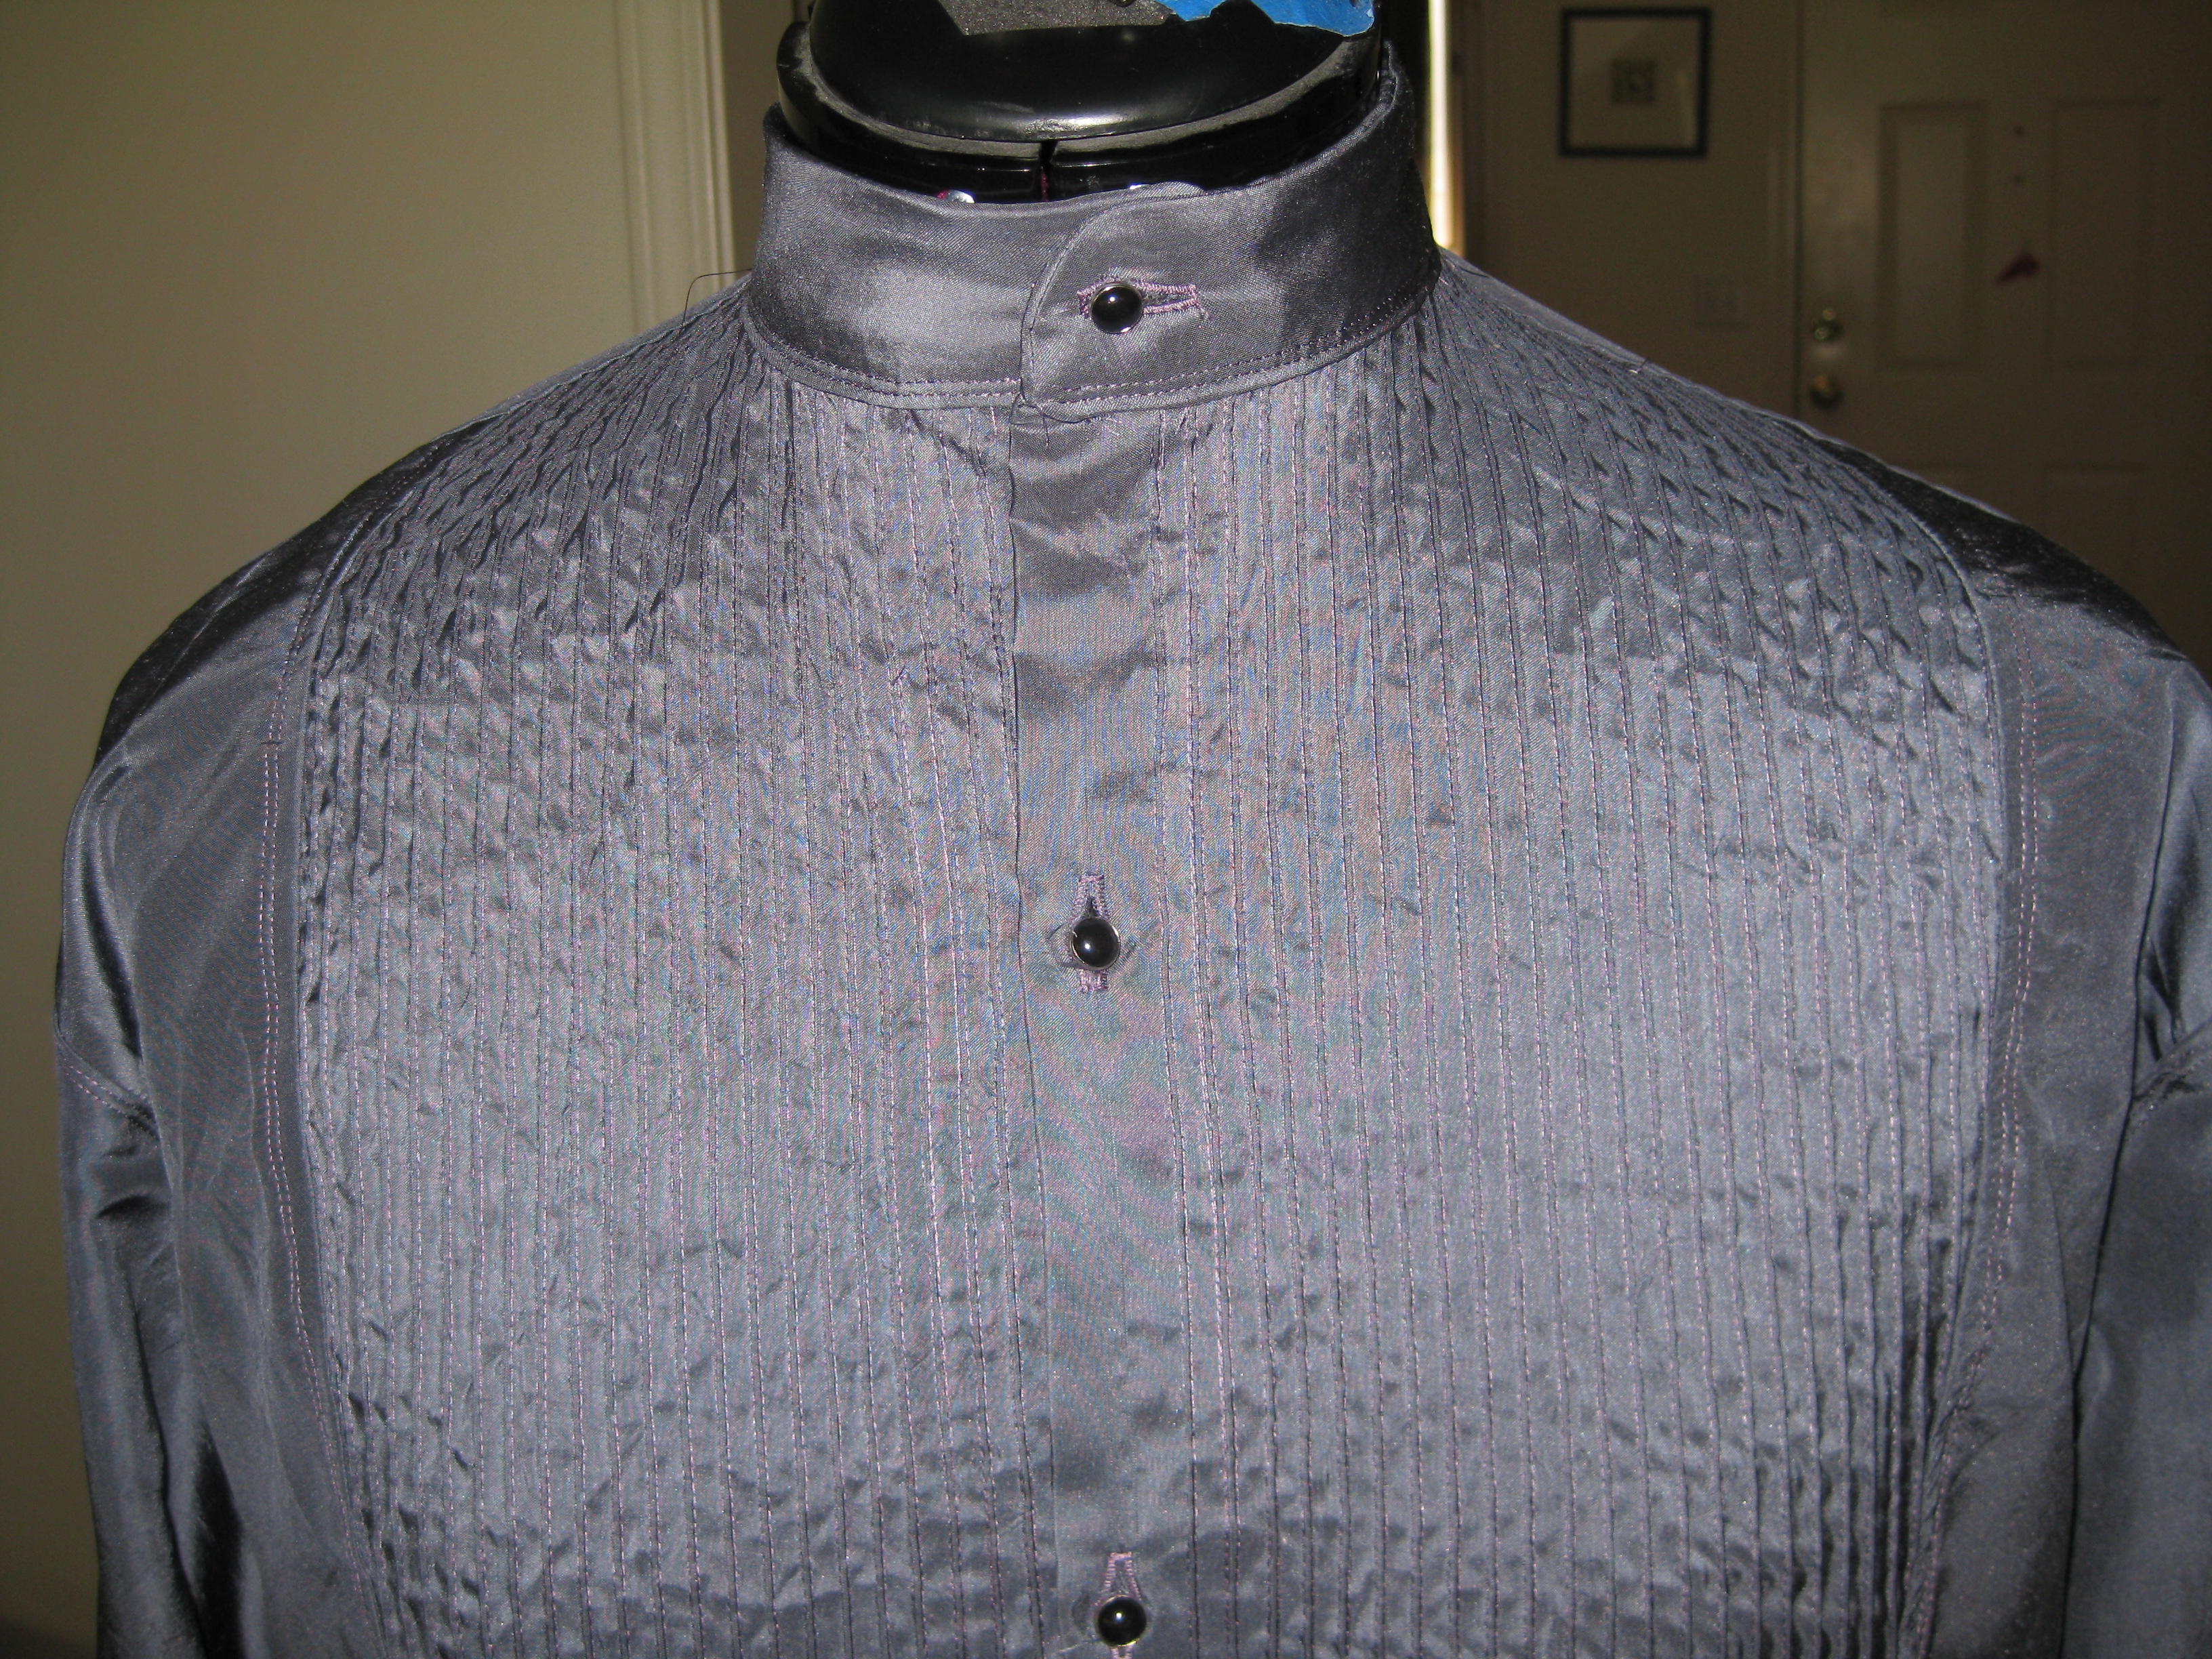
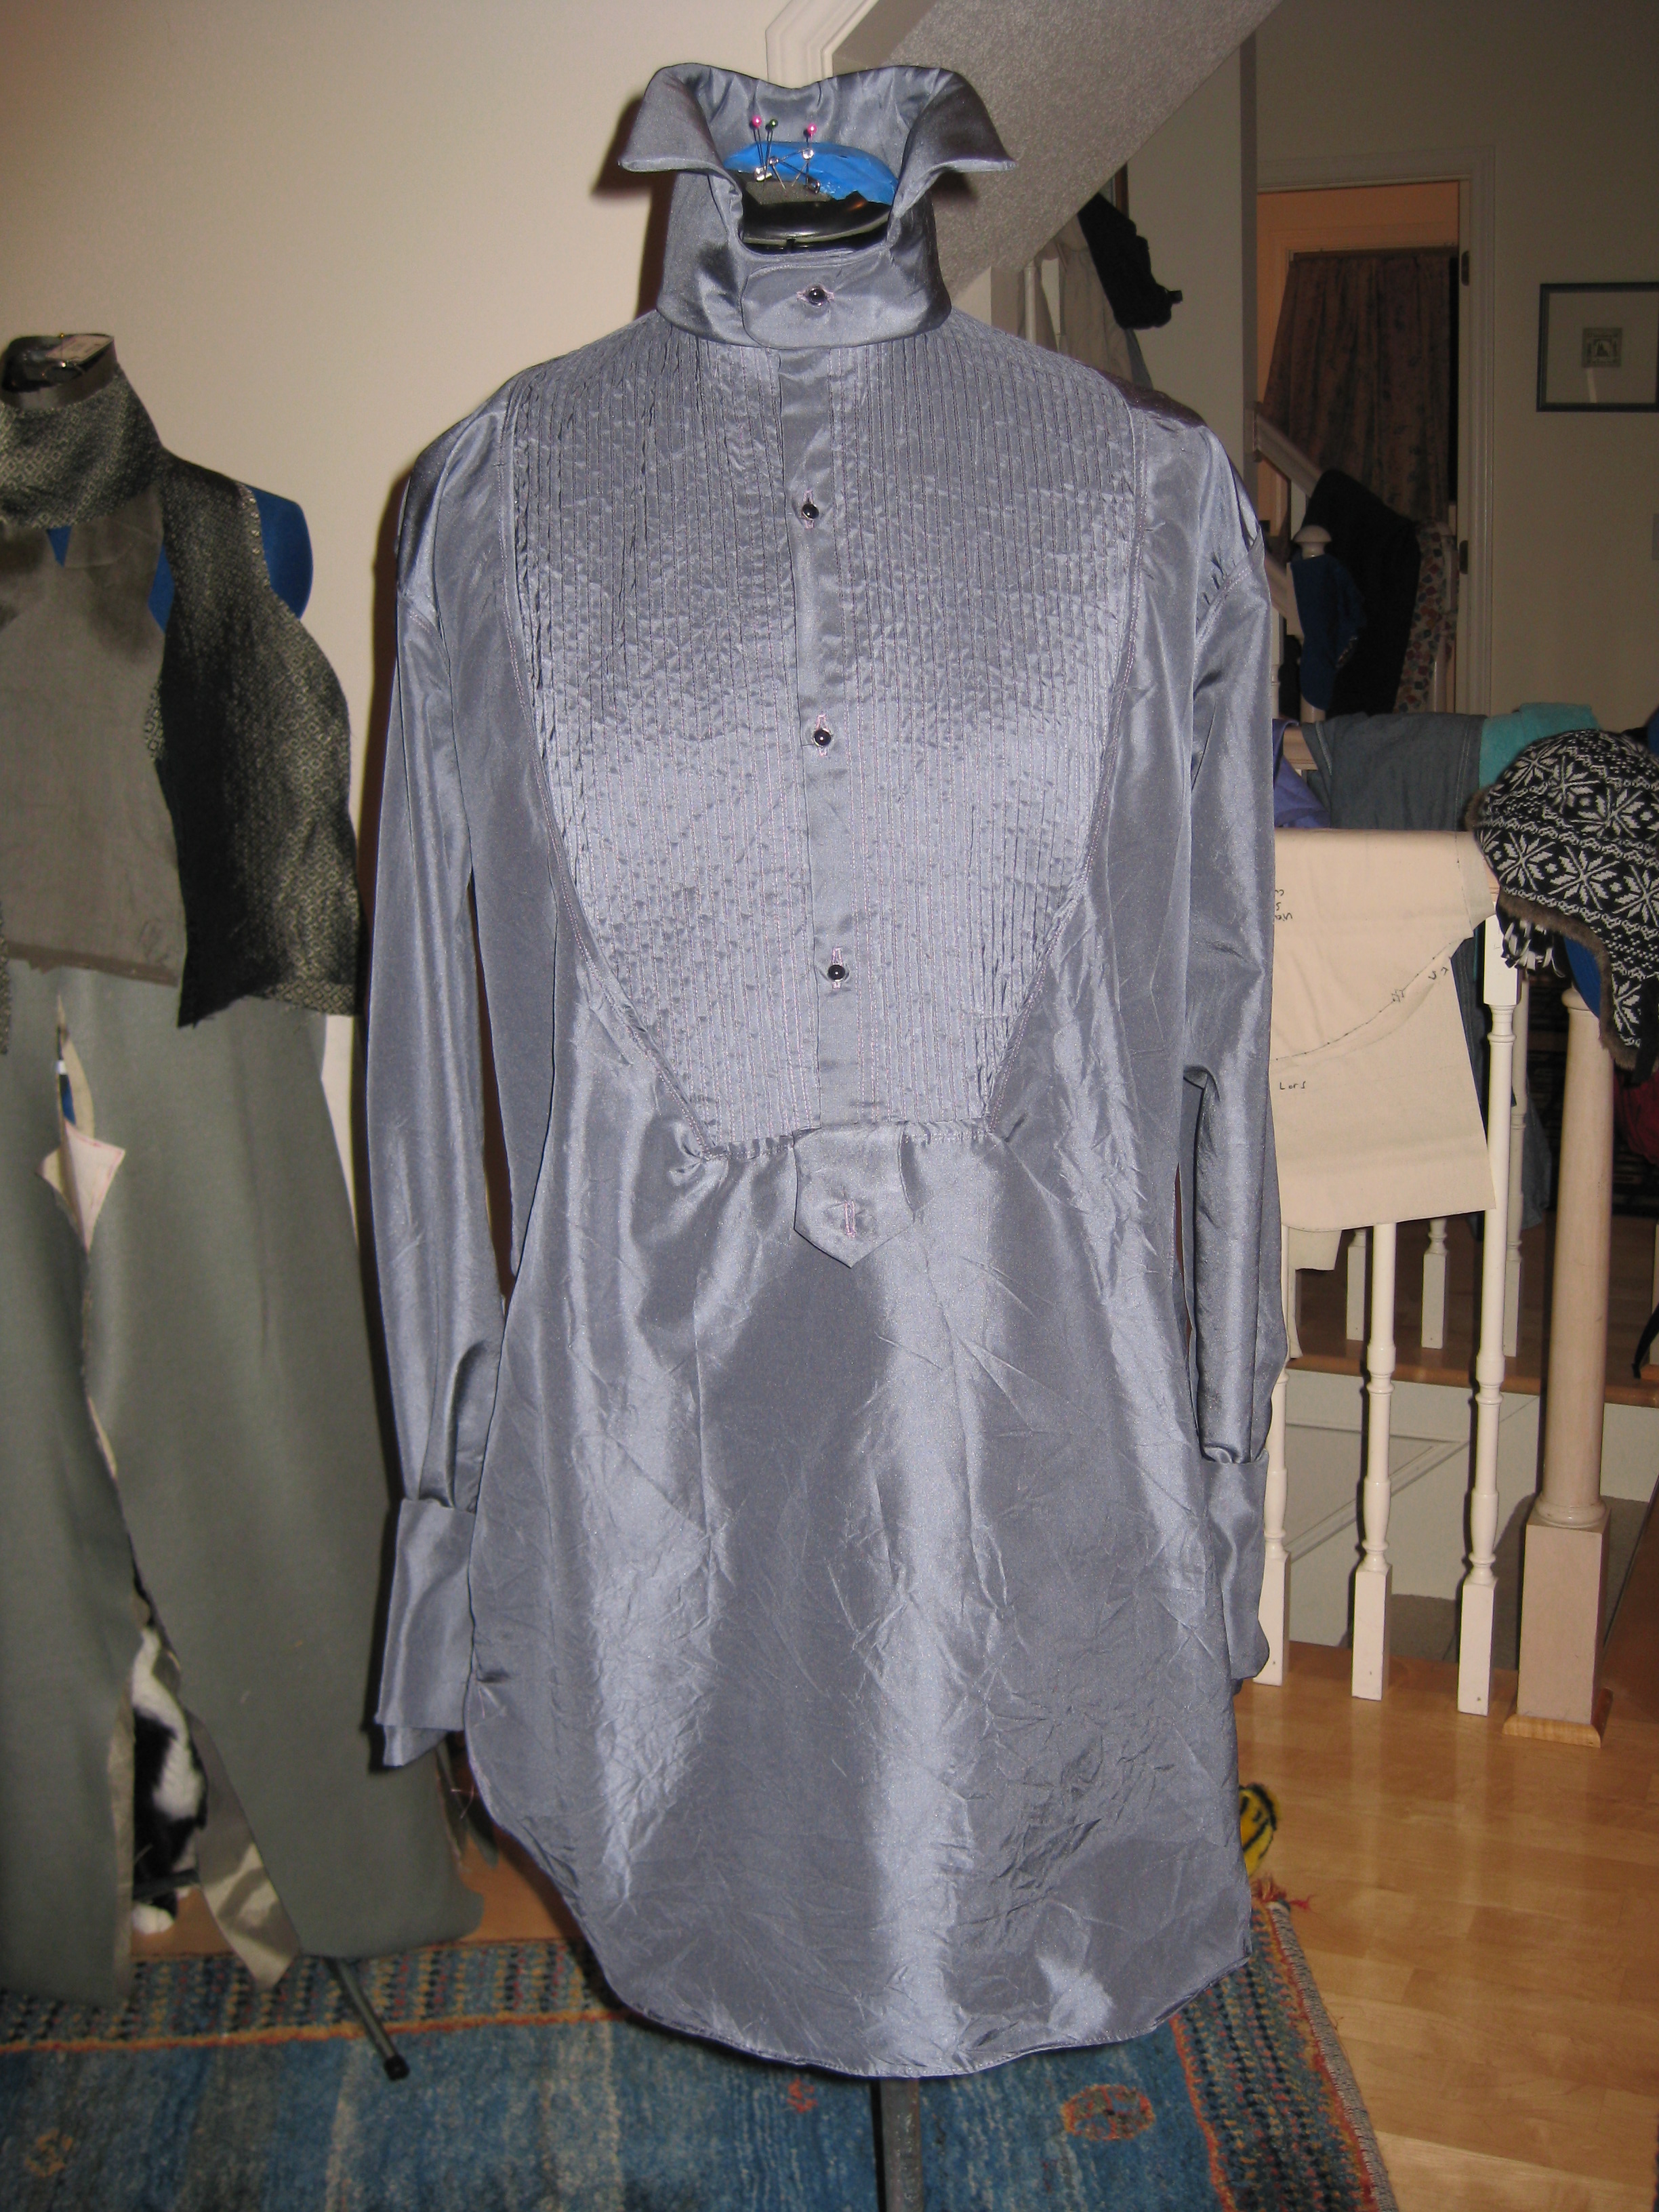
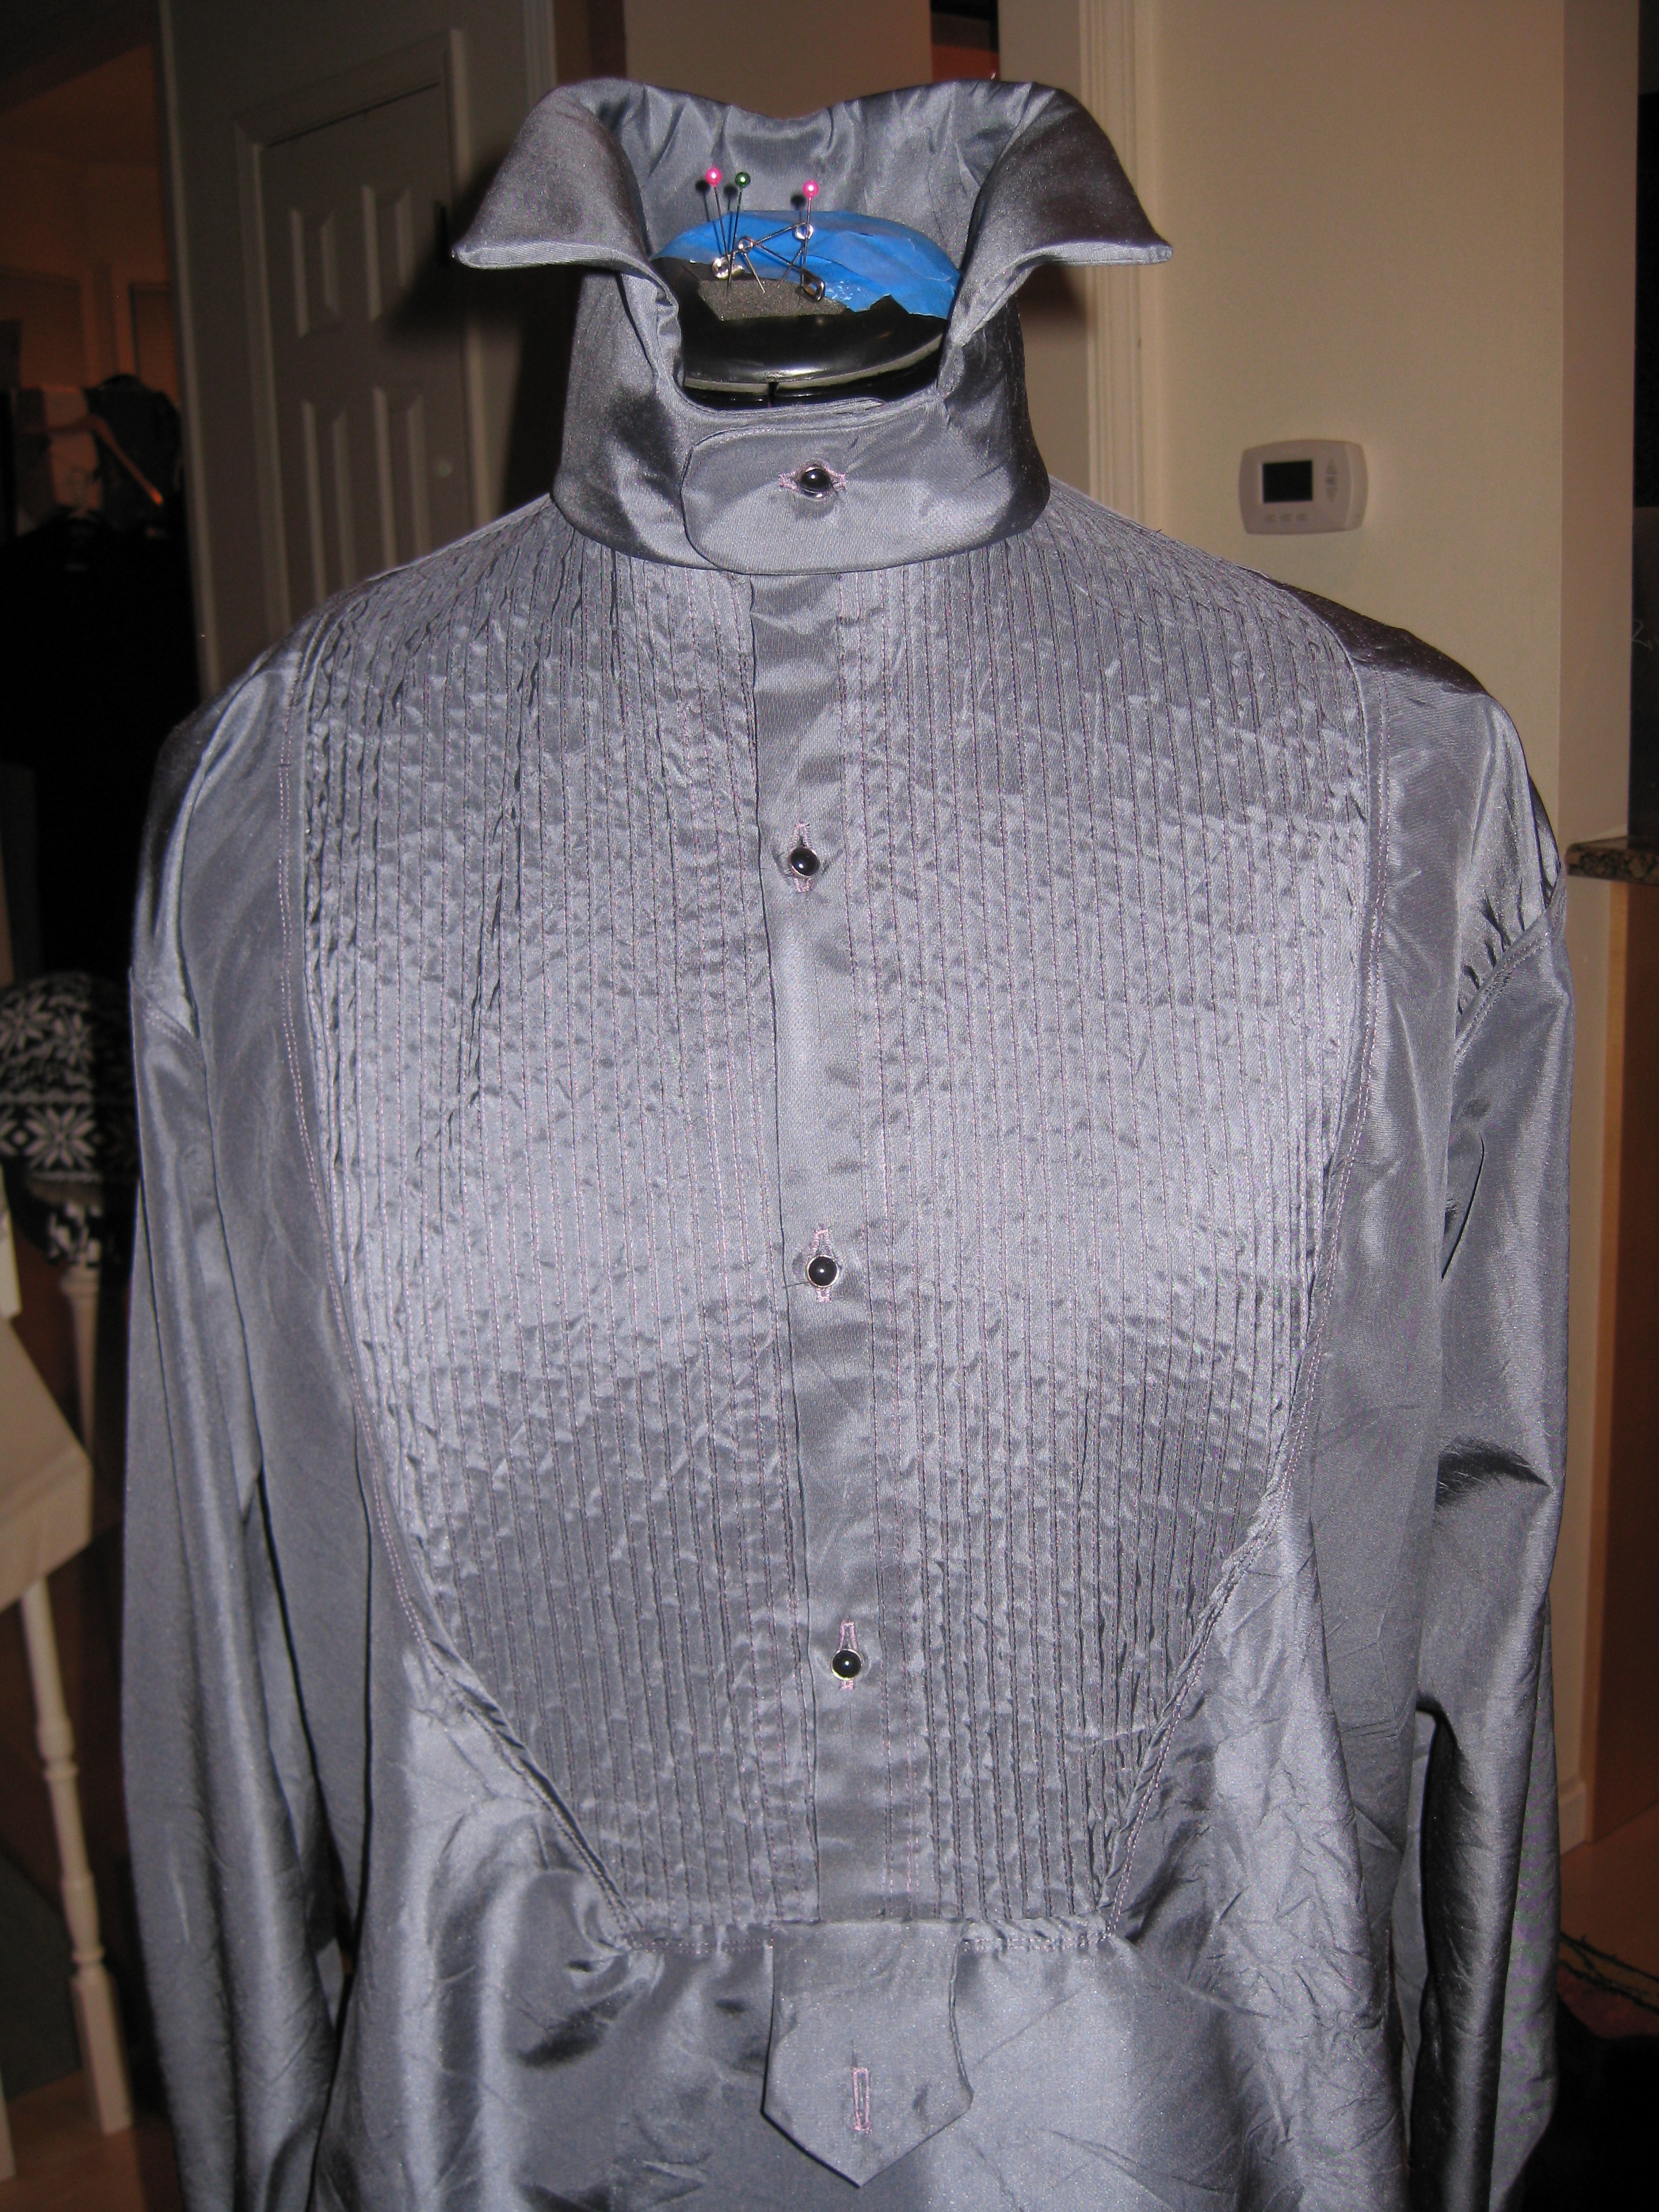
Last night, needing some calming activity I began looking at the Laughing Moon instructions for the shirt. Cut out two pieces of fabric wider than the bosom and started pintucking, as that will be the ornamentation on this first shirt.
Each side has 25 pintucks. Doing all those did in fact prove very calming. After I was done with that, I cut out the bosom.
Here are photos of my progress.
Not sure what I'll do on the second shirt. Maybe pintucks at an angle. Or maybe pleats. Or I could do a combo of pintucks and embroidery. We shall see what I feel like when I get there.
It's funny, but none of this detail will be visible when I'm fully dressed. But it will make dressing all the more fun!
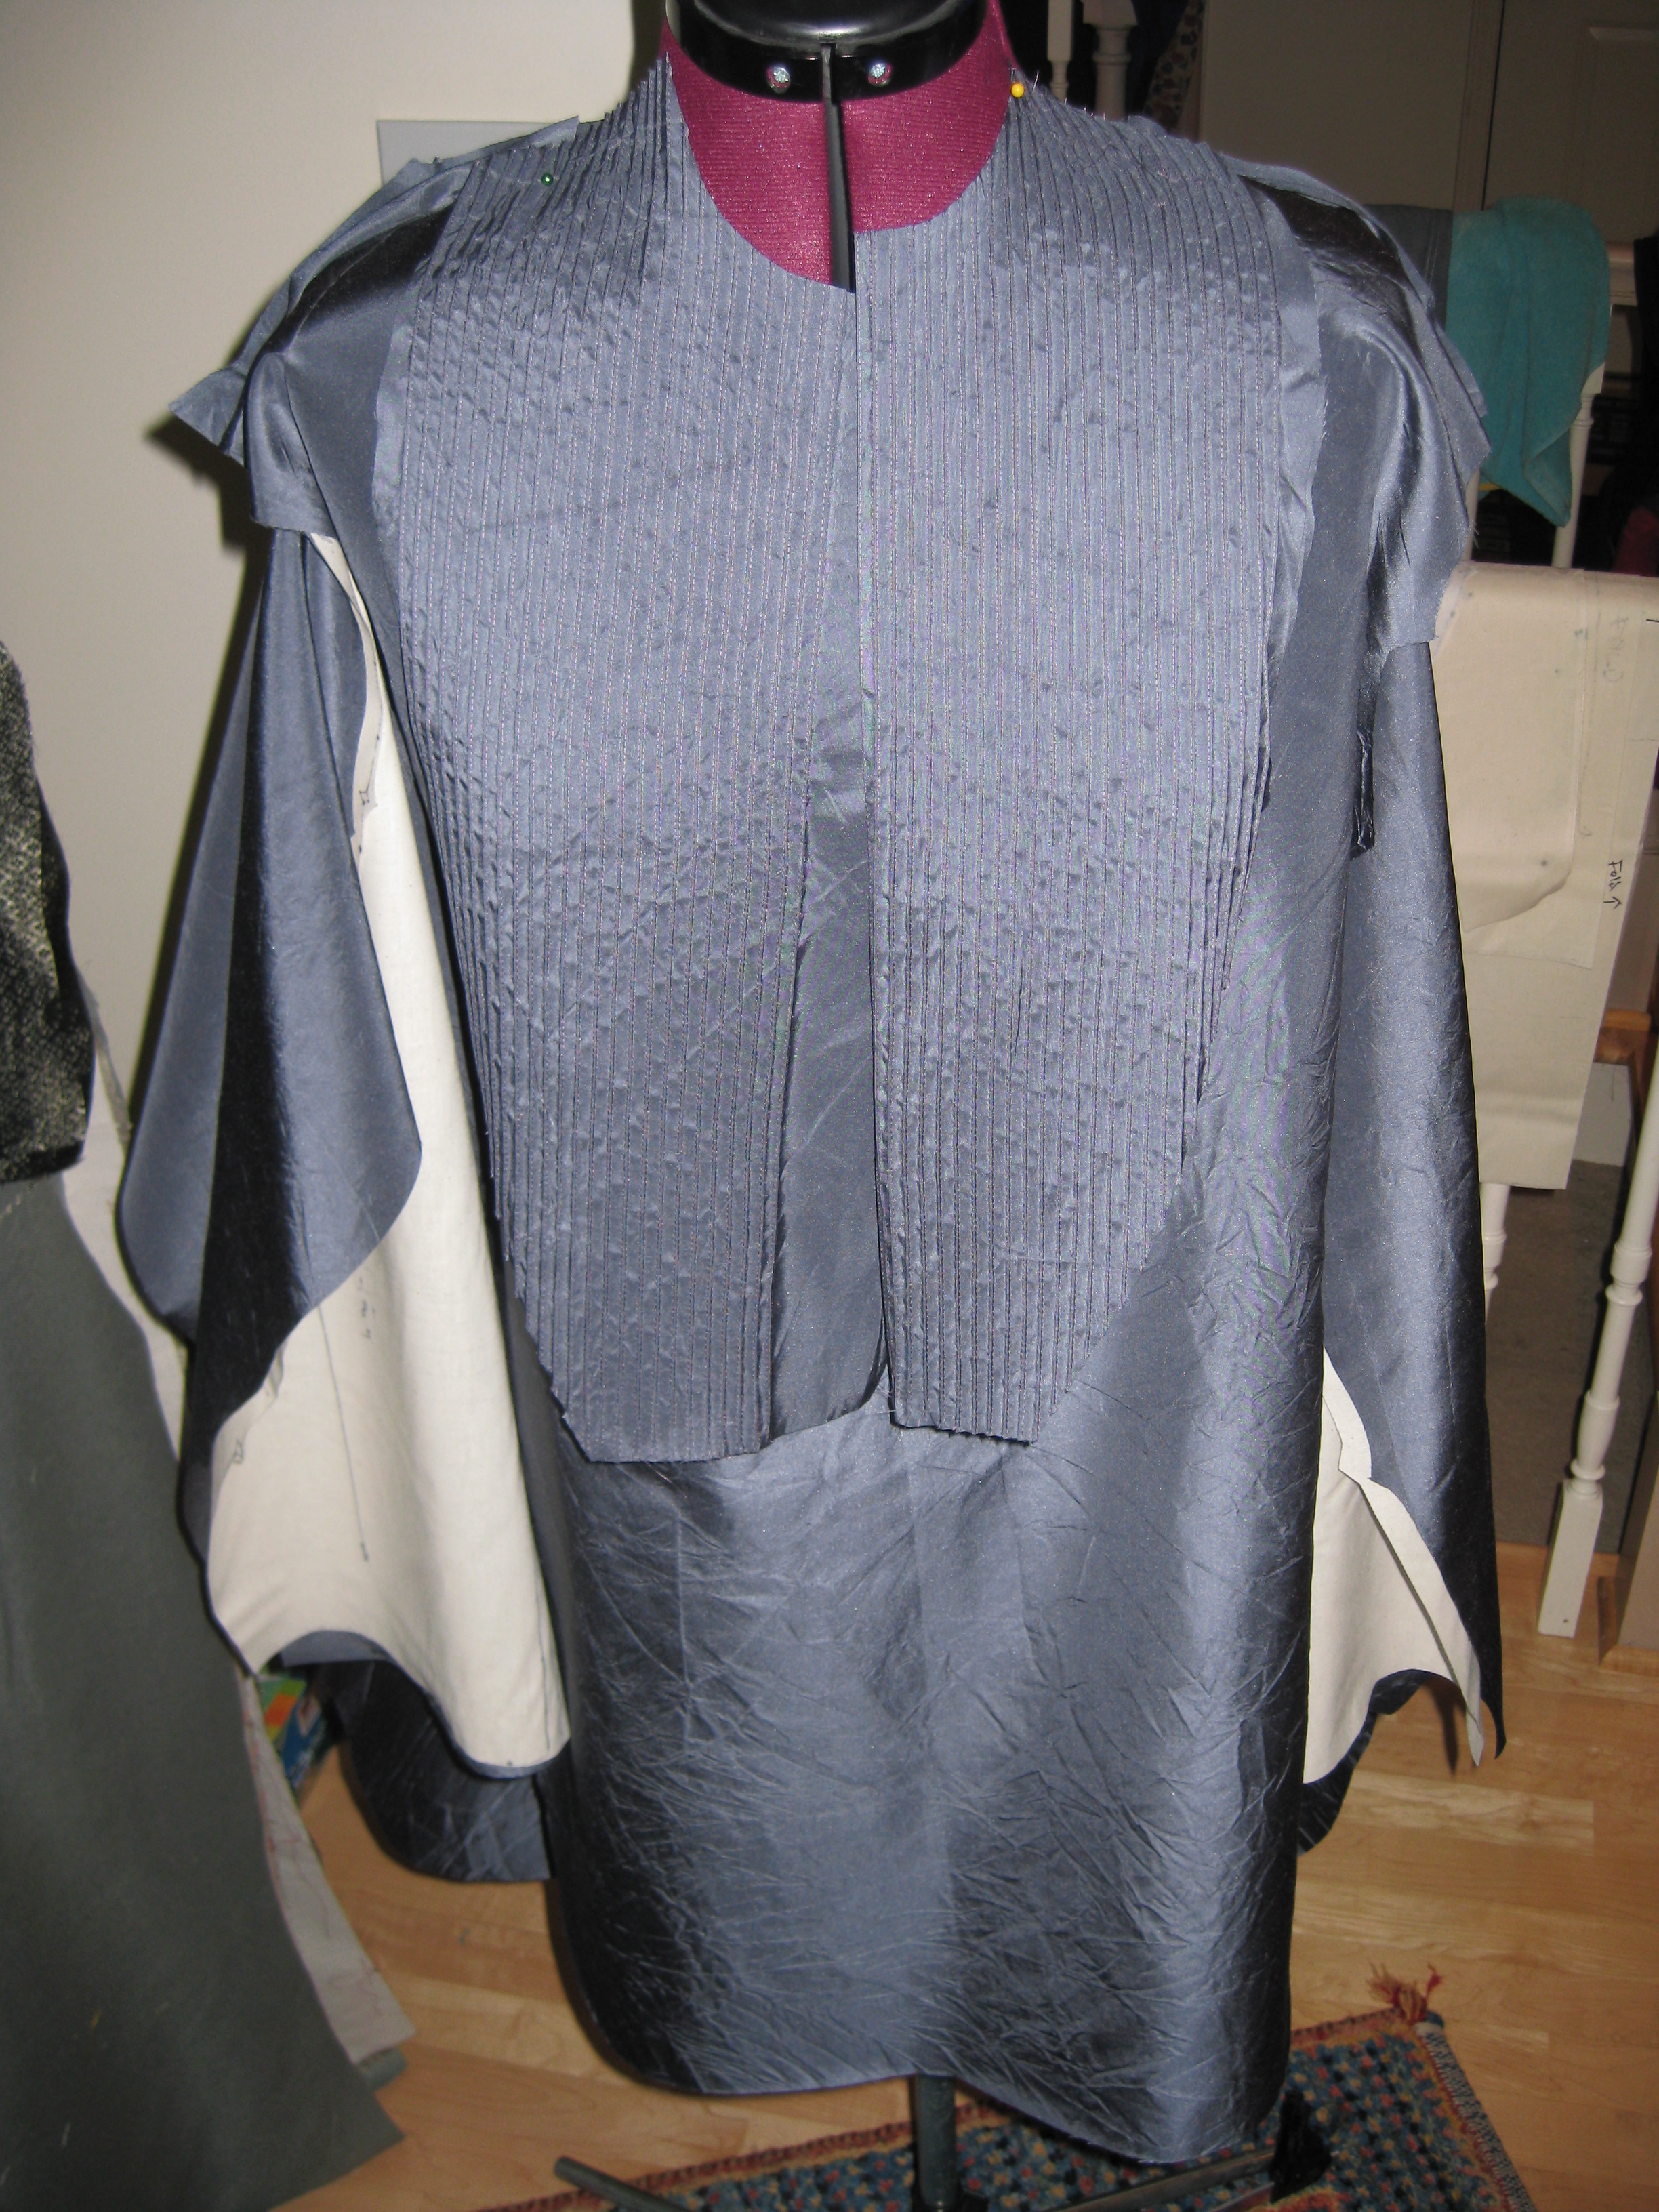
The shirt, cut out, with another close up of the bosom:
And now, a look again at the cravat fabric choices, with the cravats cut out.
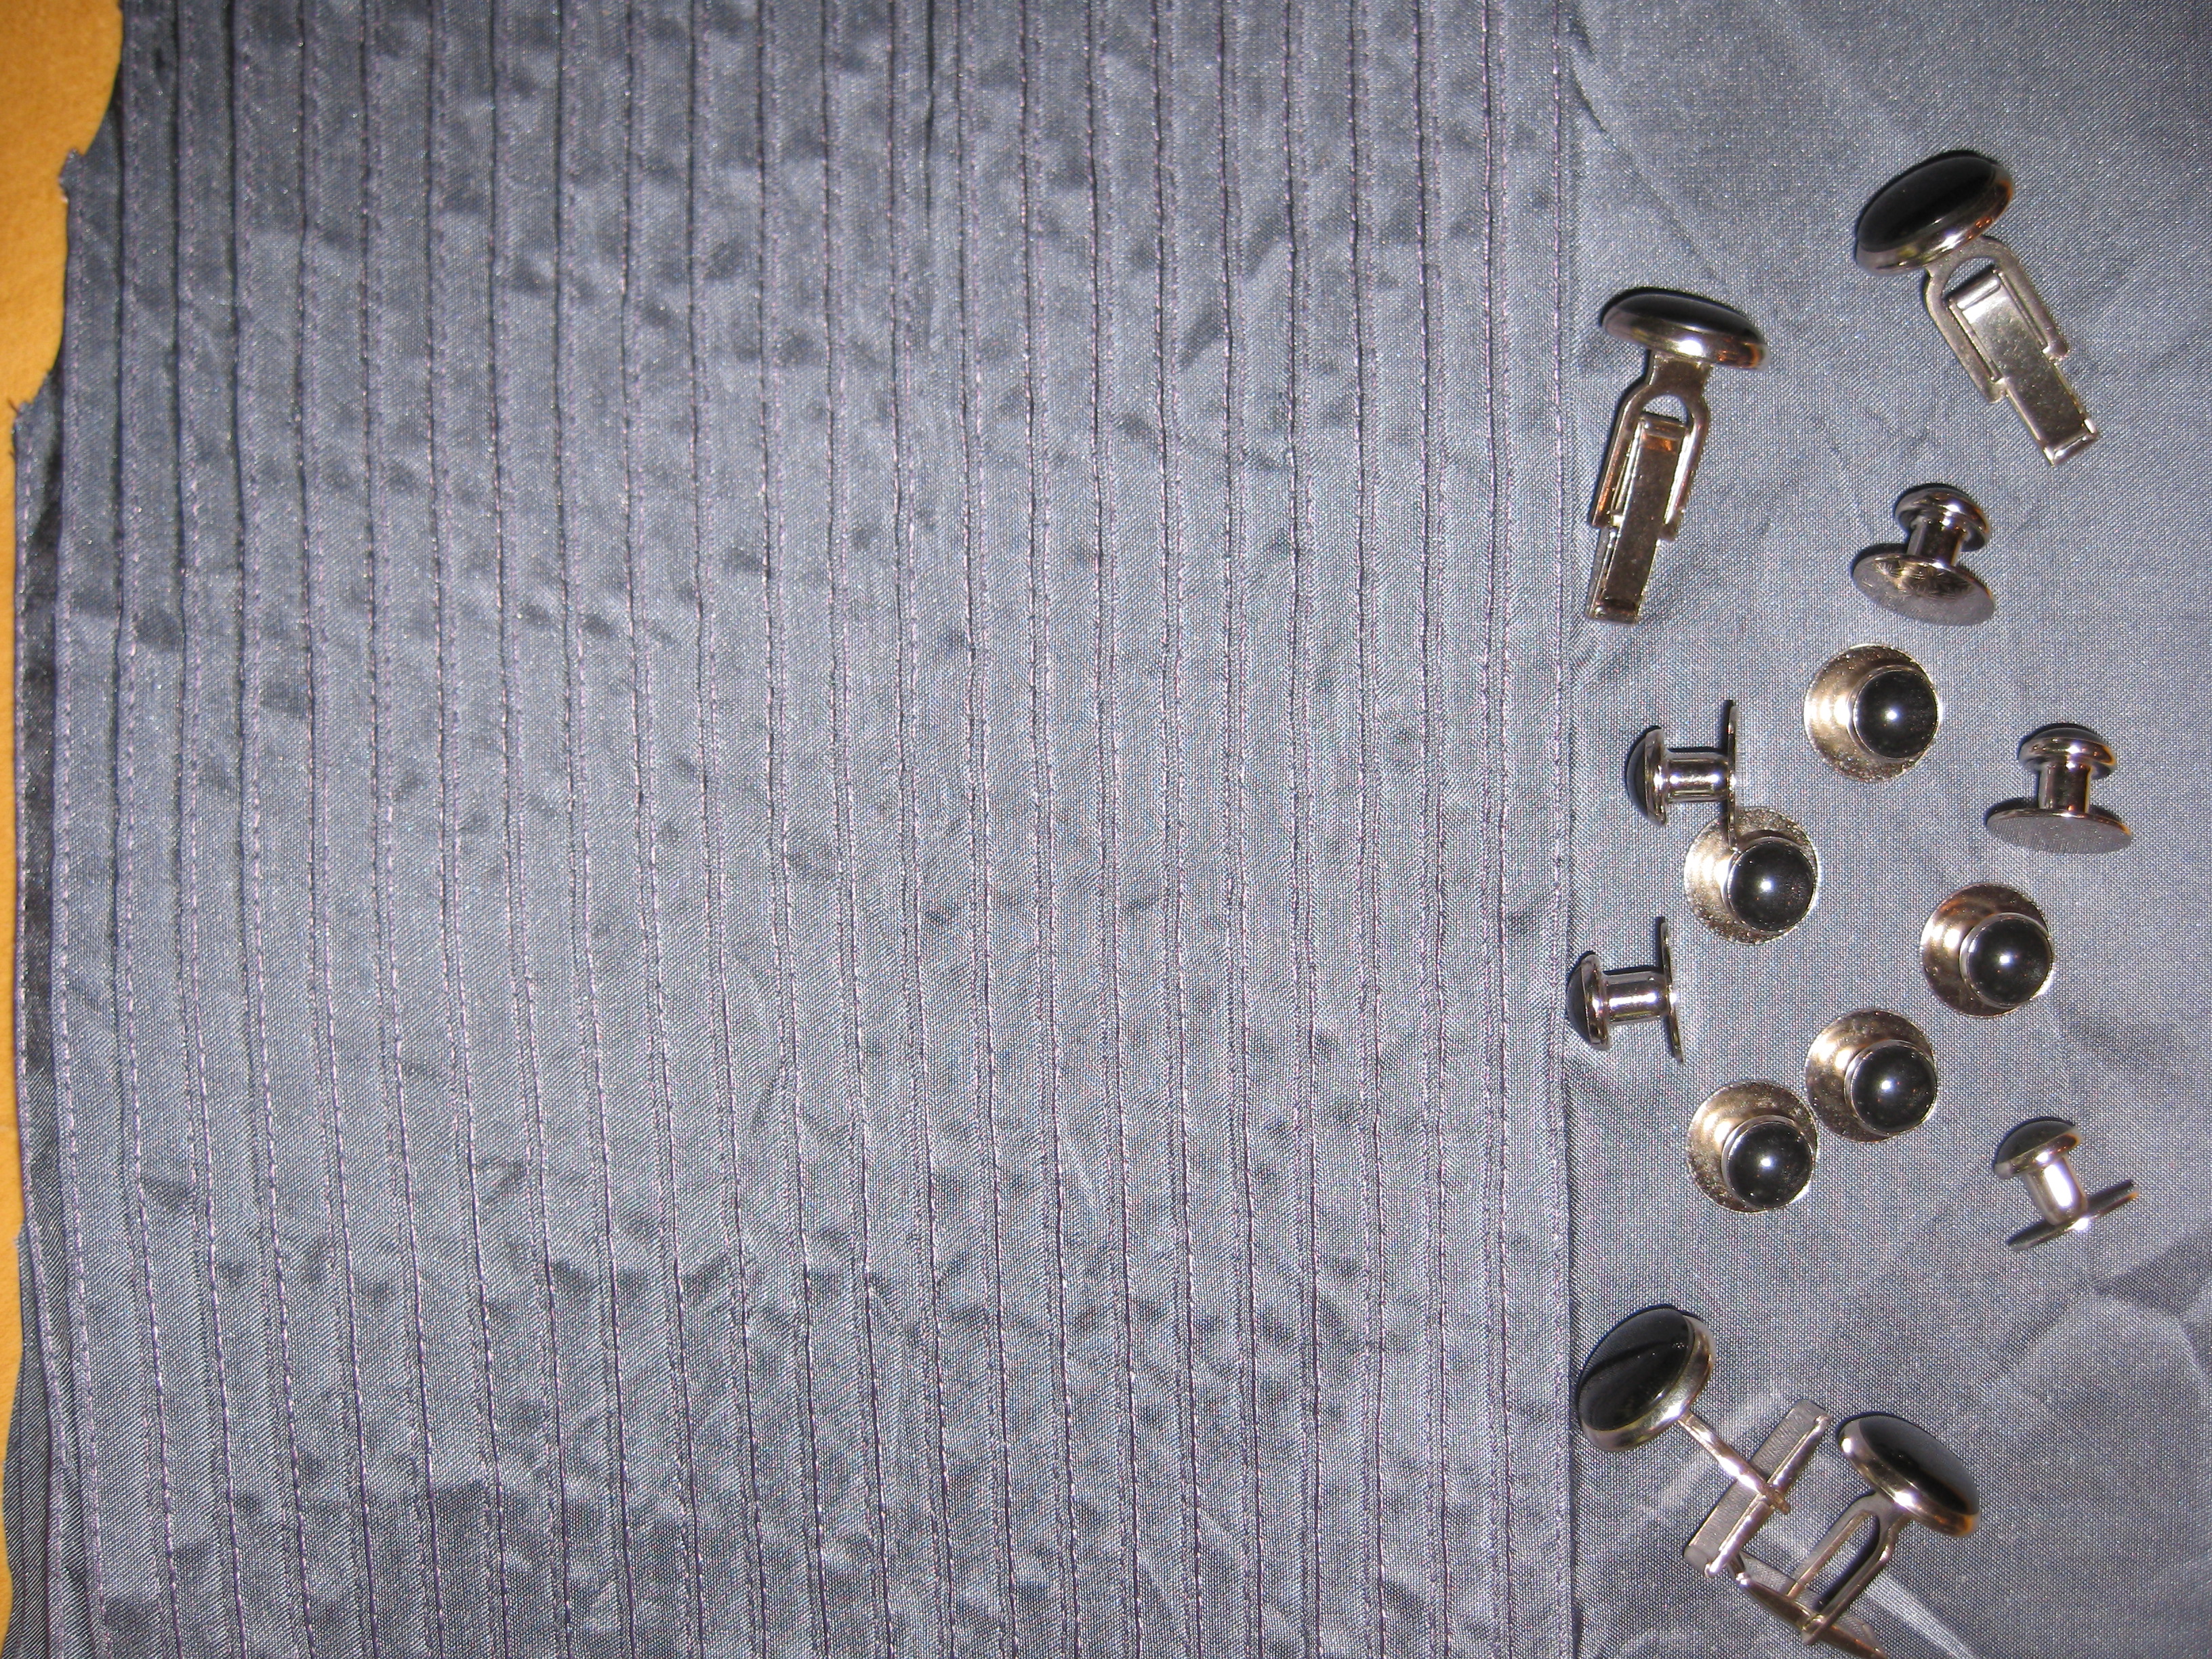
The gray stripes:
It's really hard to see the stripe pattern in the photos. I tried with and without flash...
Above is the black with gold pattern: Above is the reverse of the black with gold pattern:
The shirt studs and cuff links arrived. I bought black on silver:
Aug. 13th, 2010 at 1:53 PM
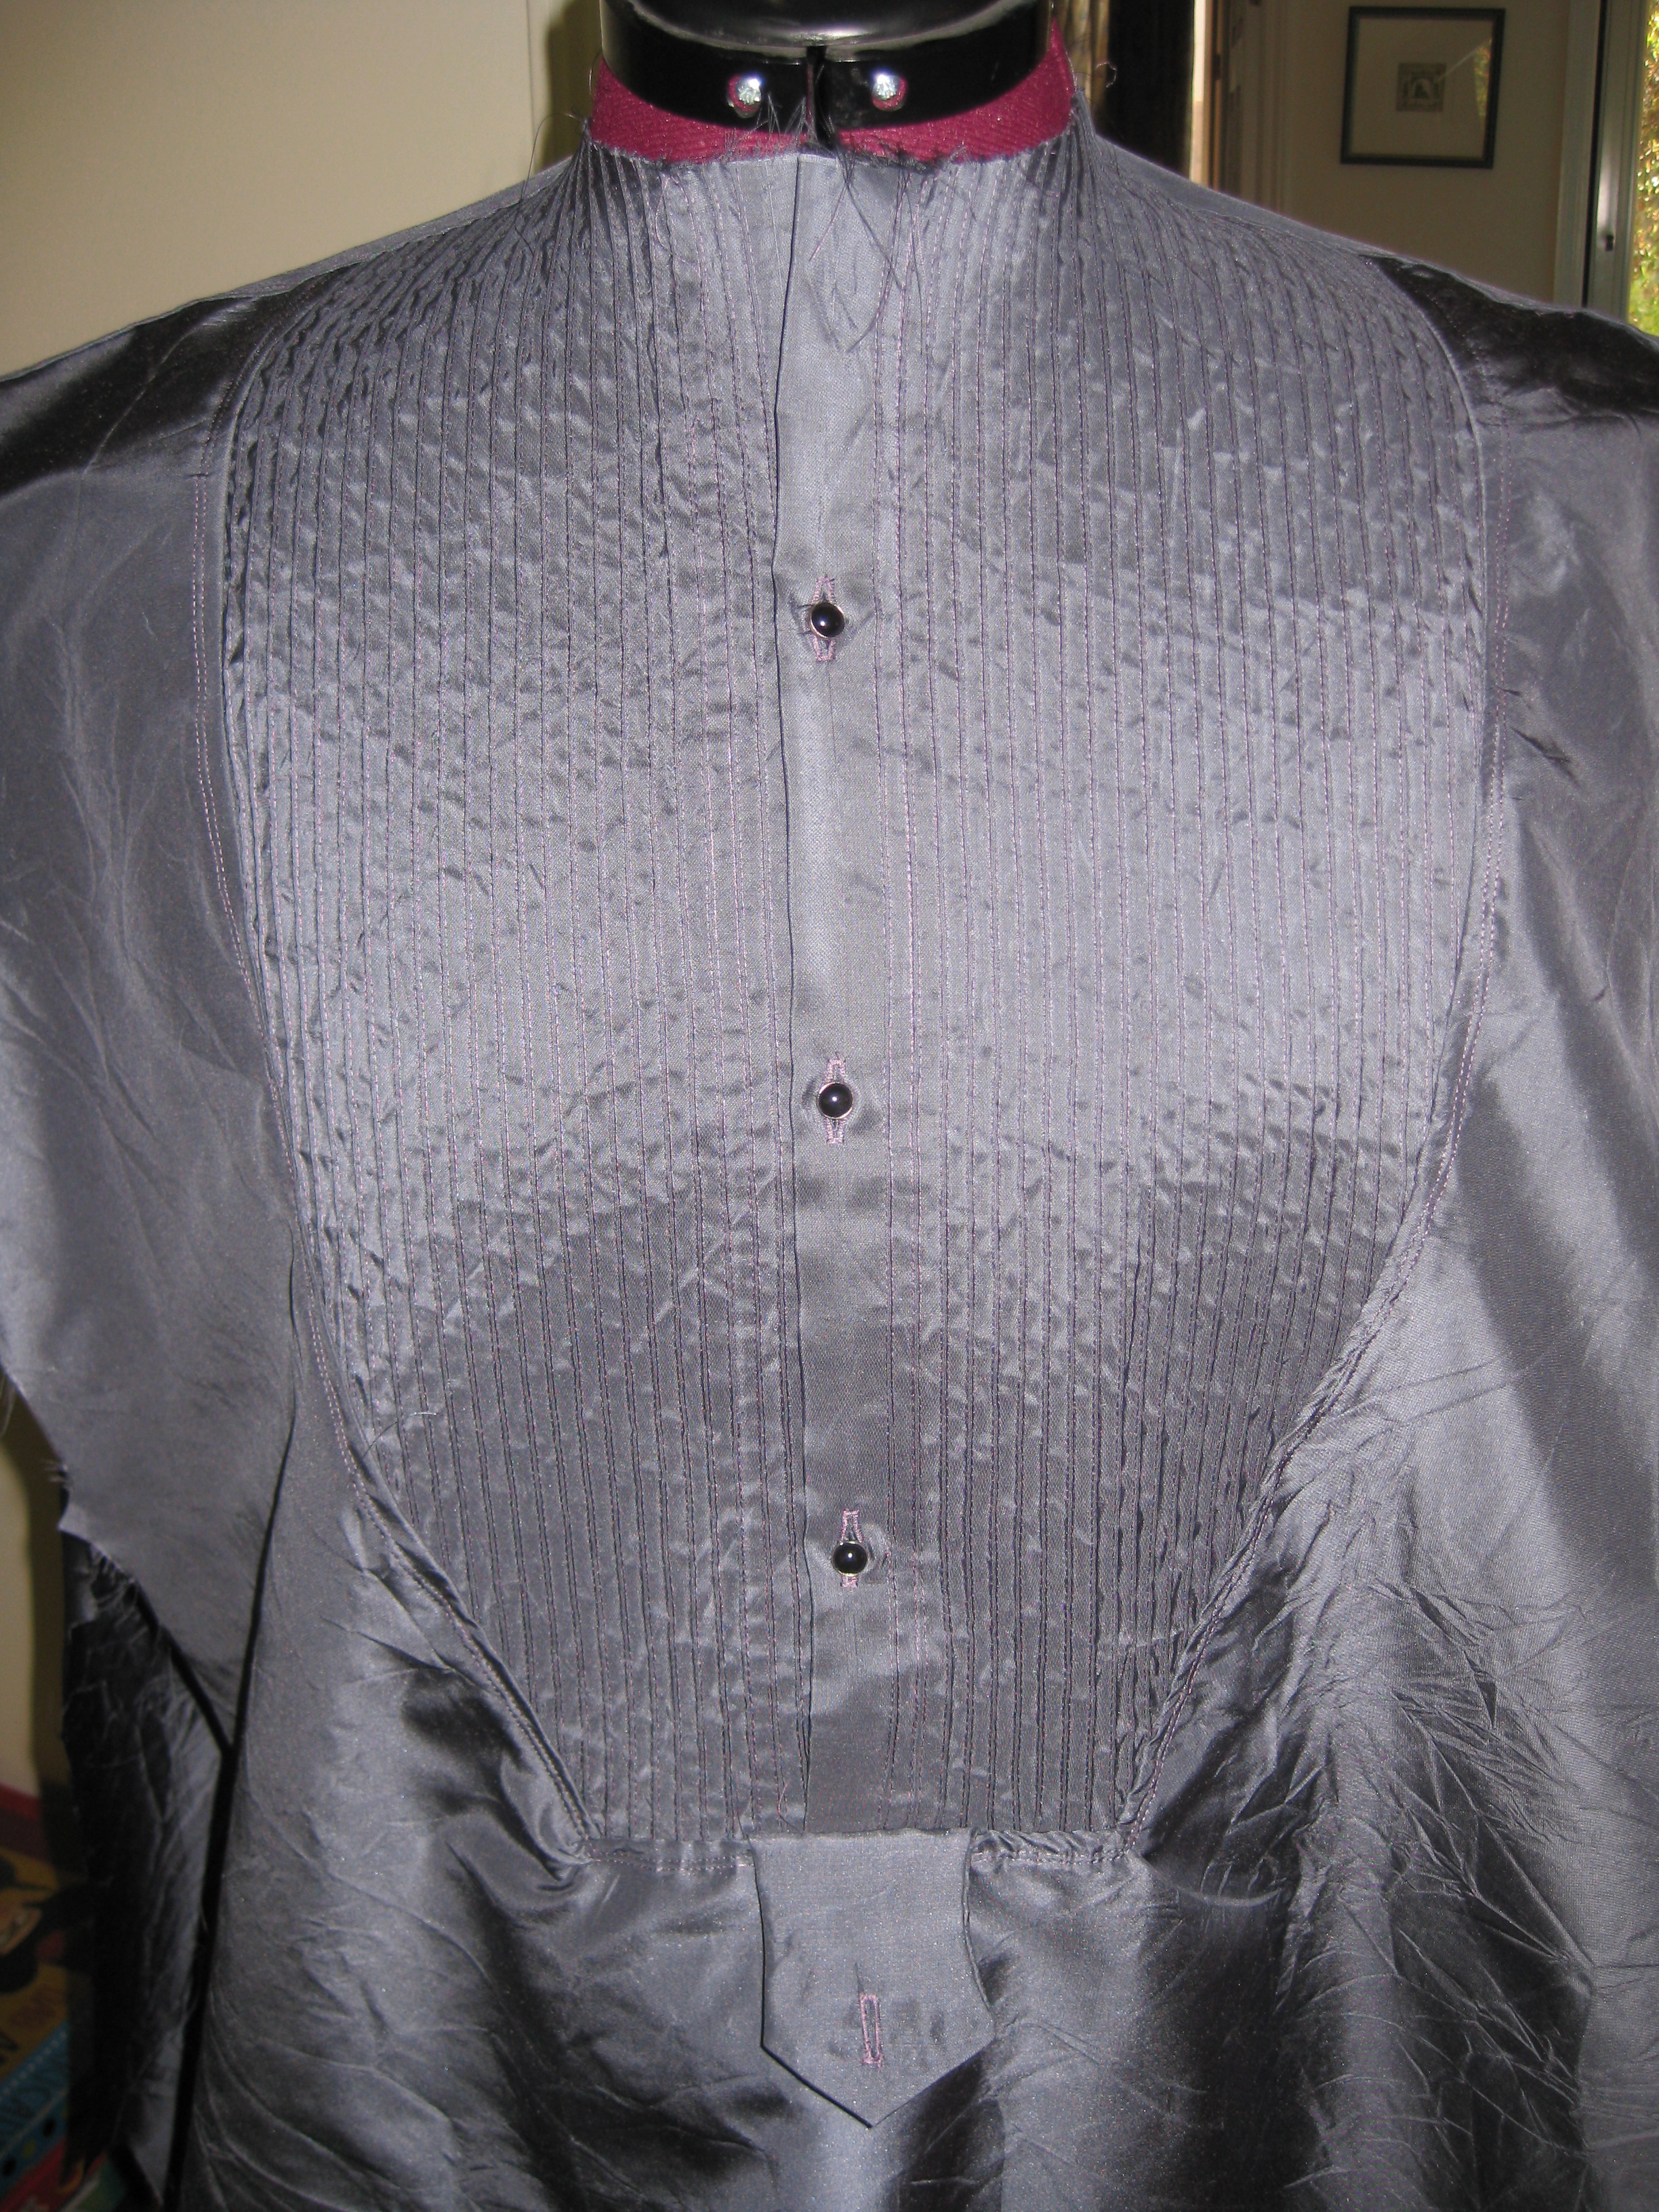
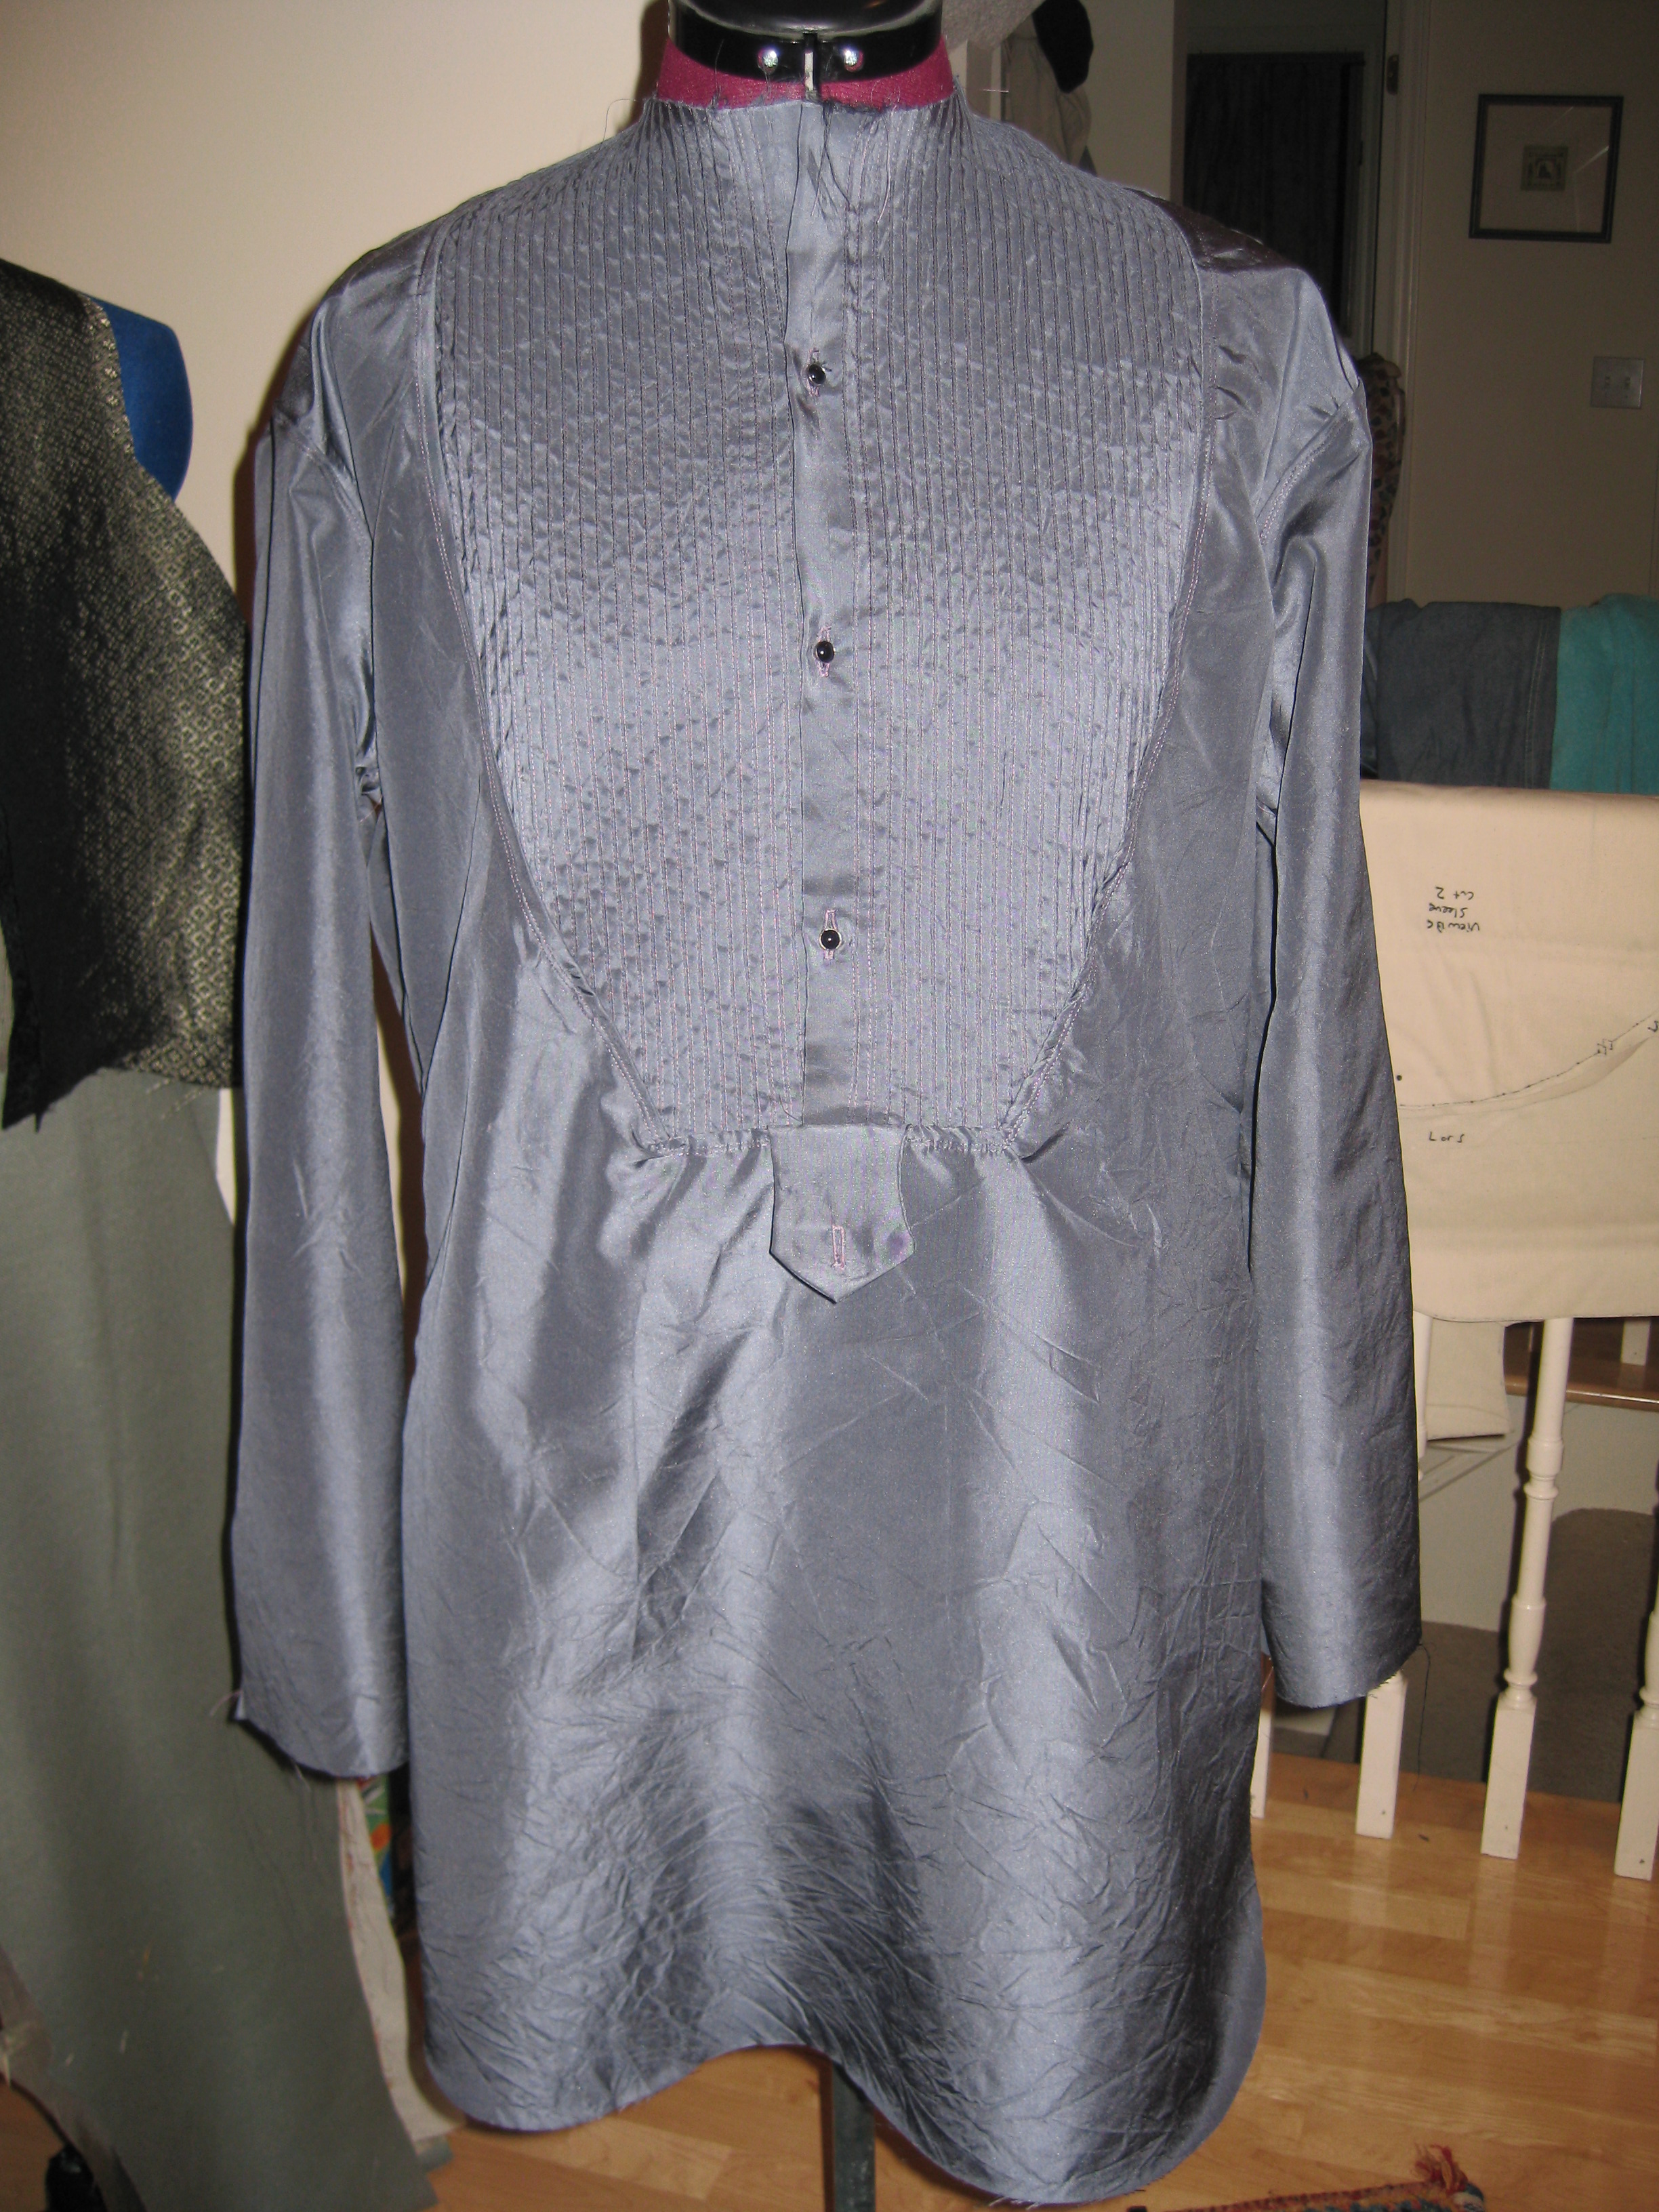
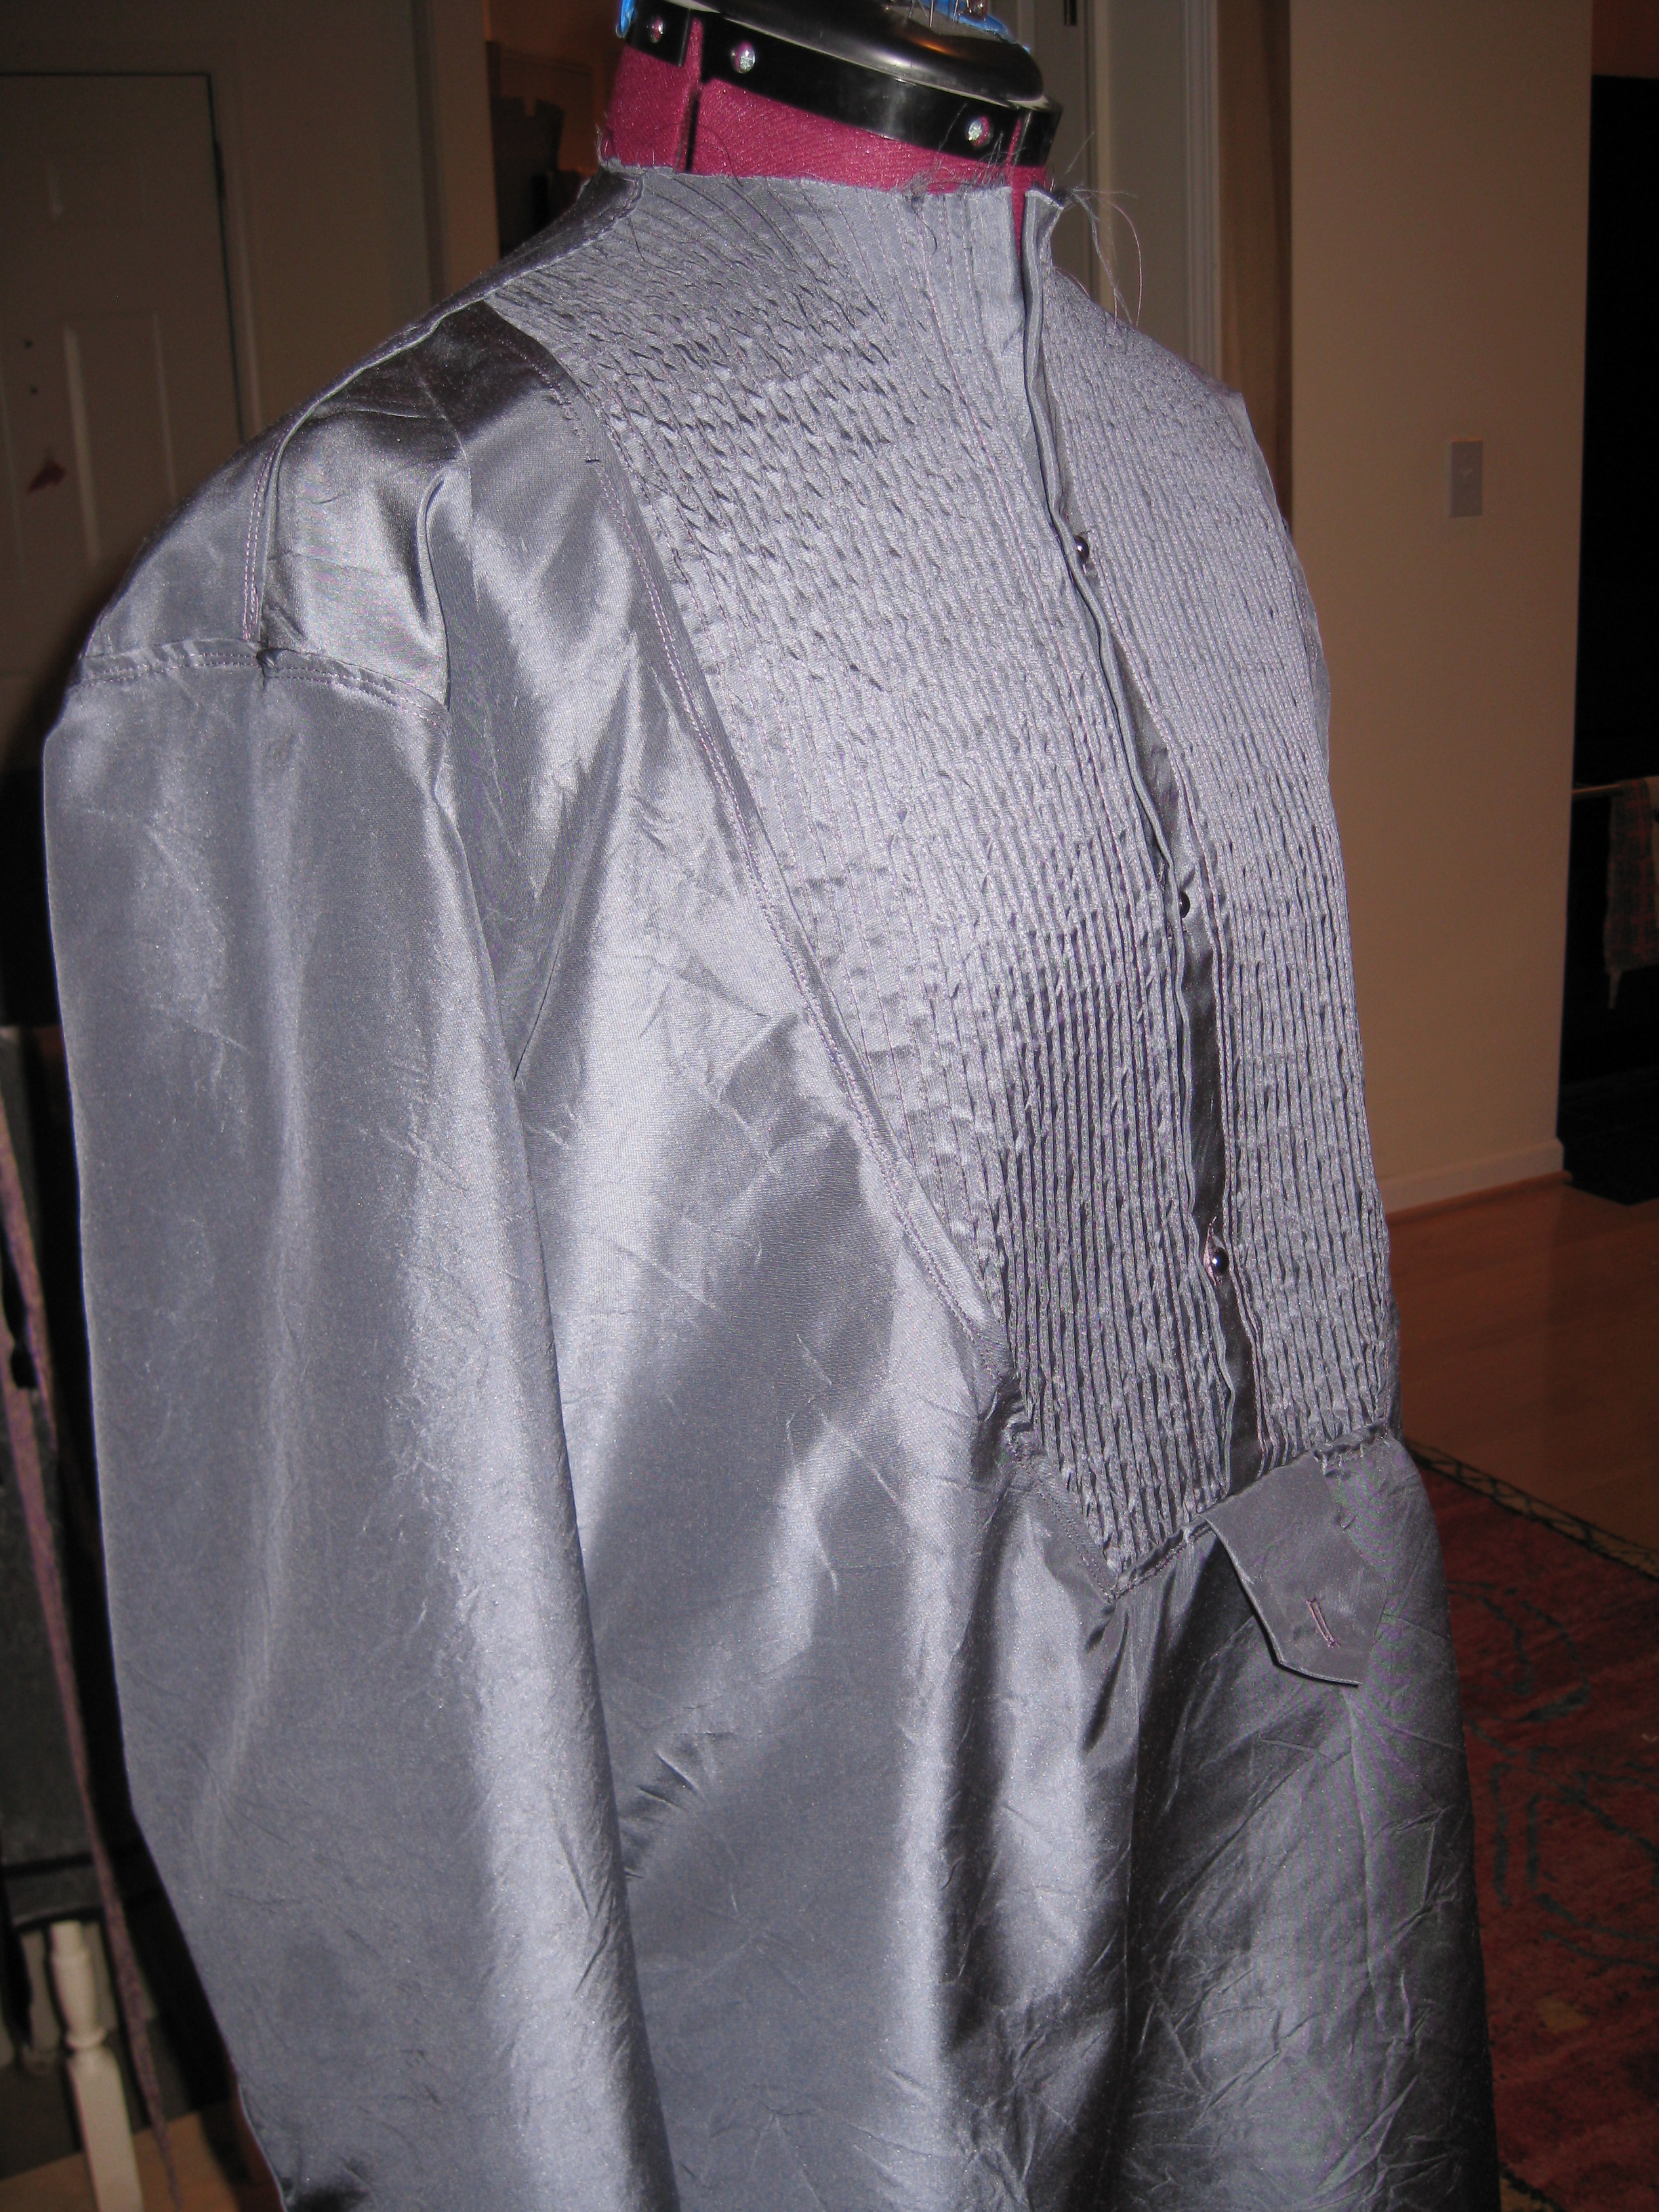
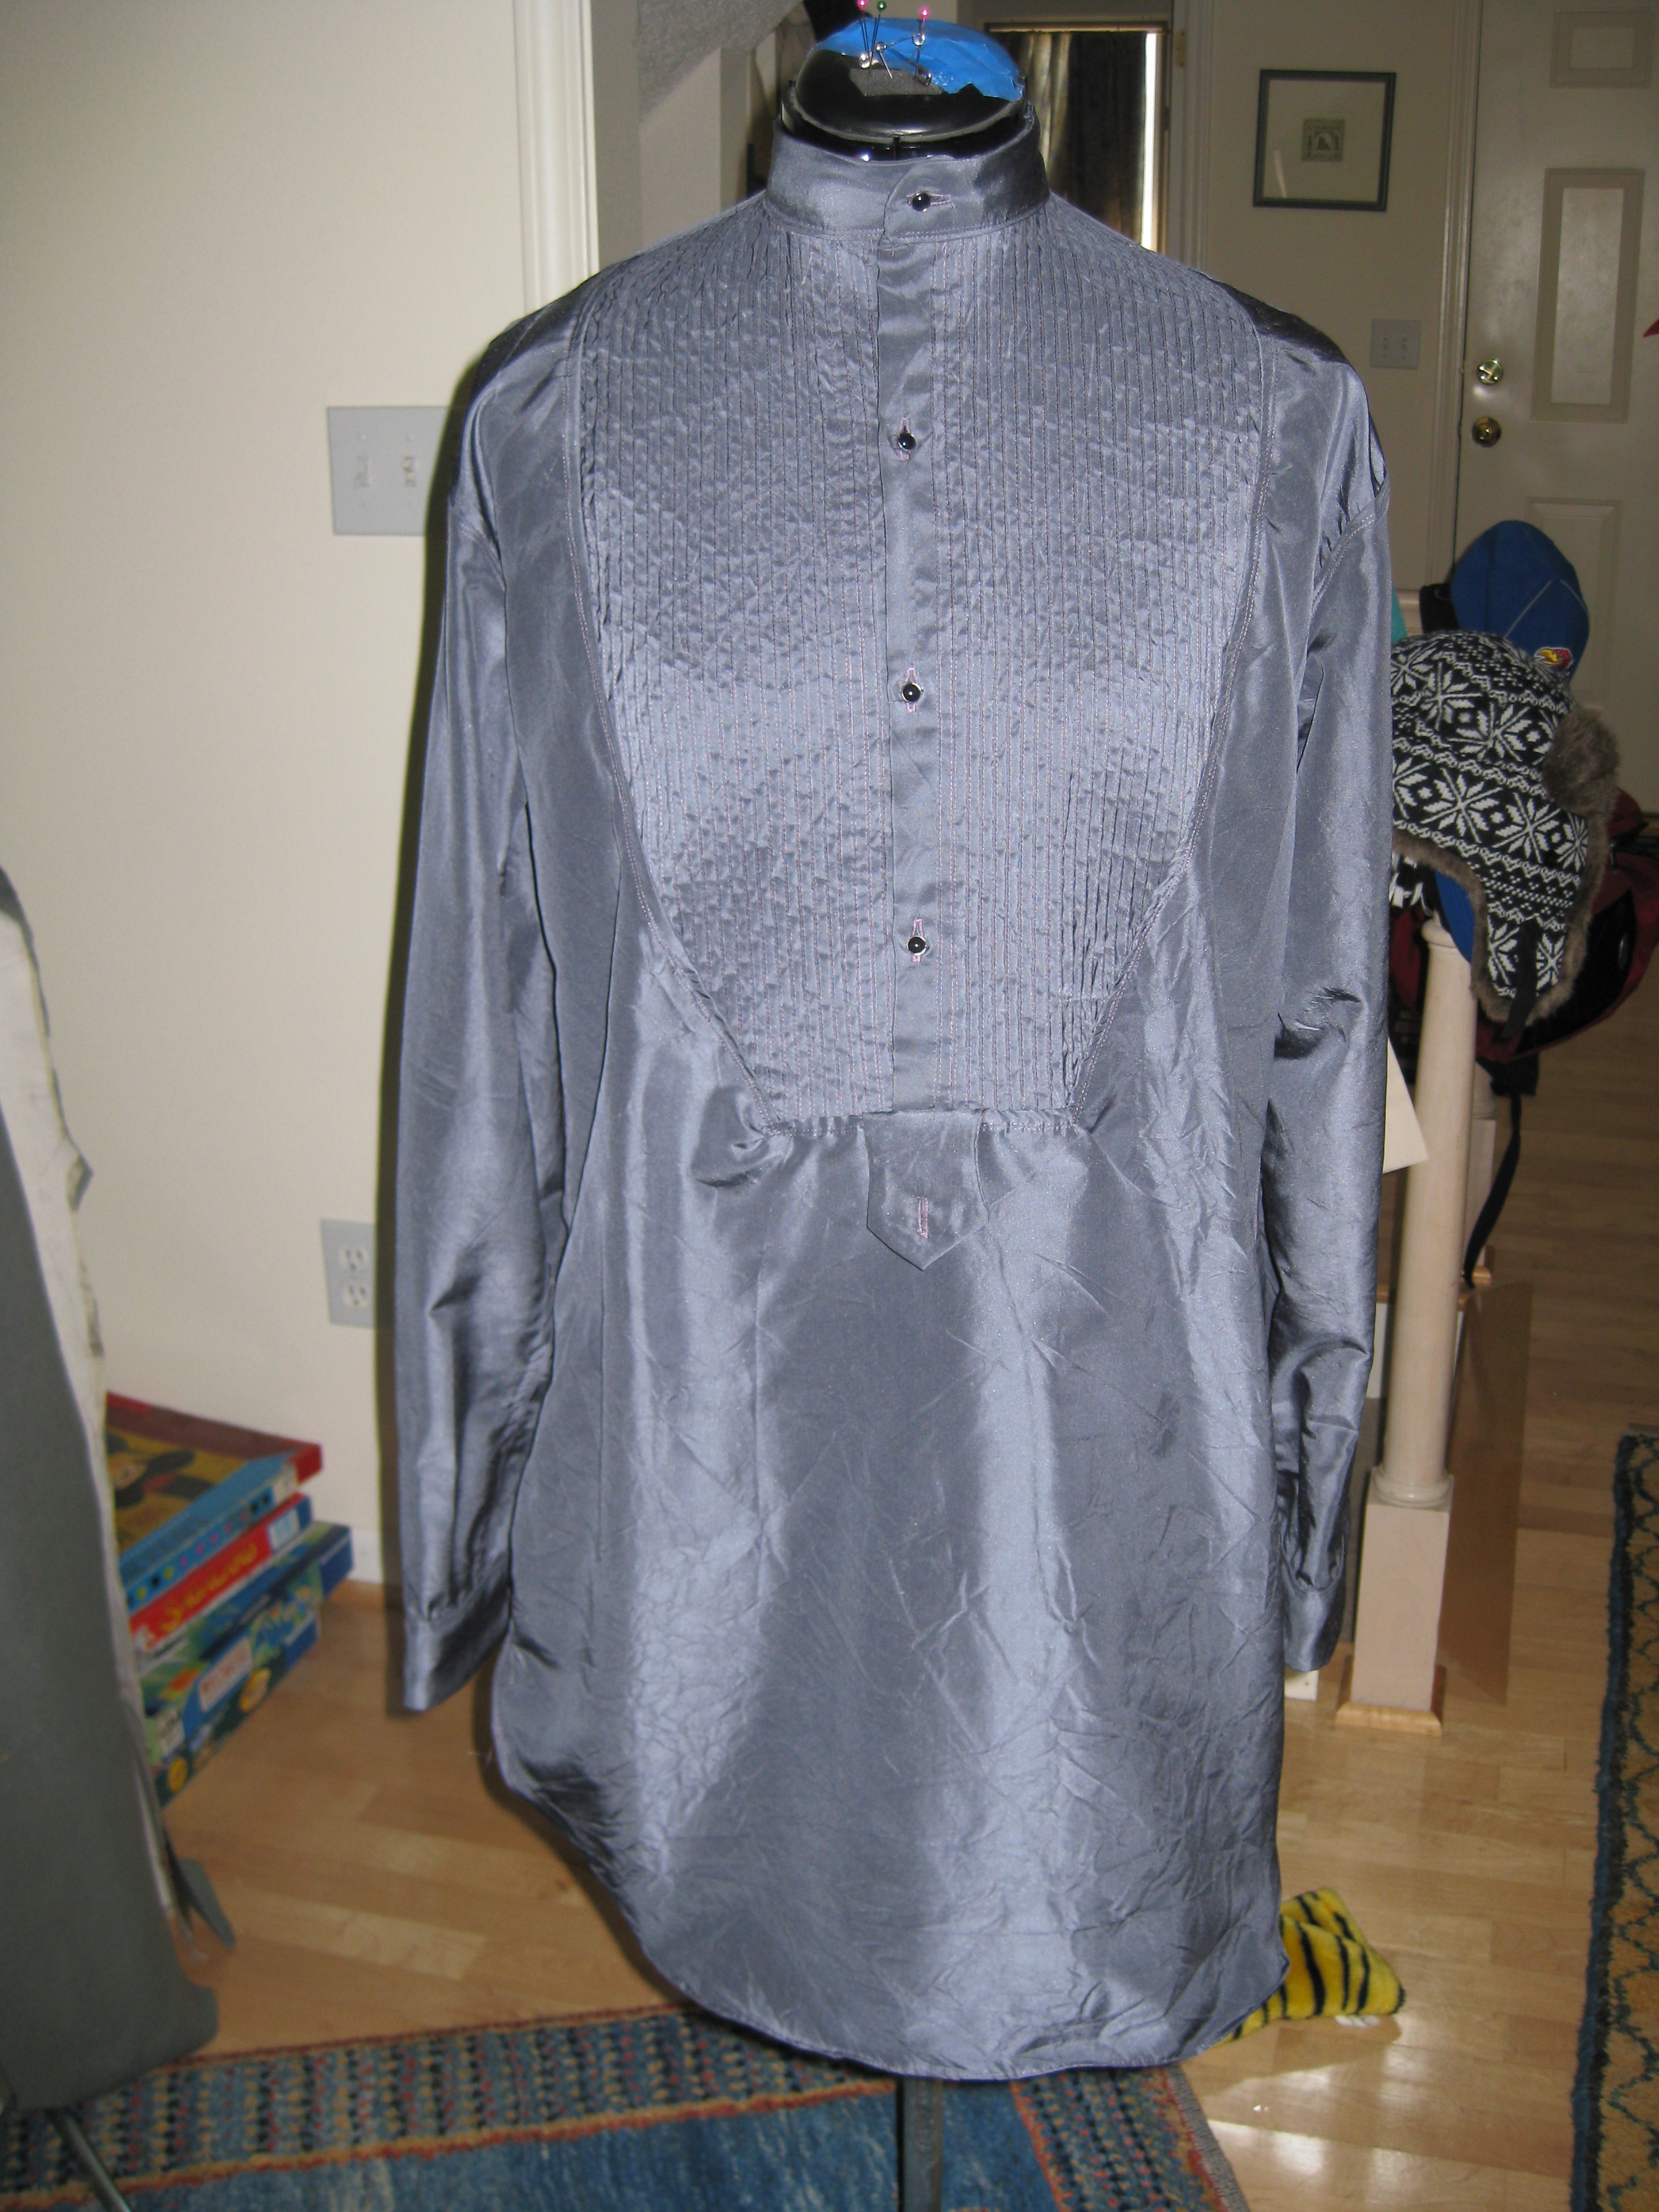
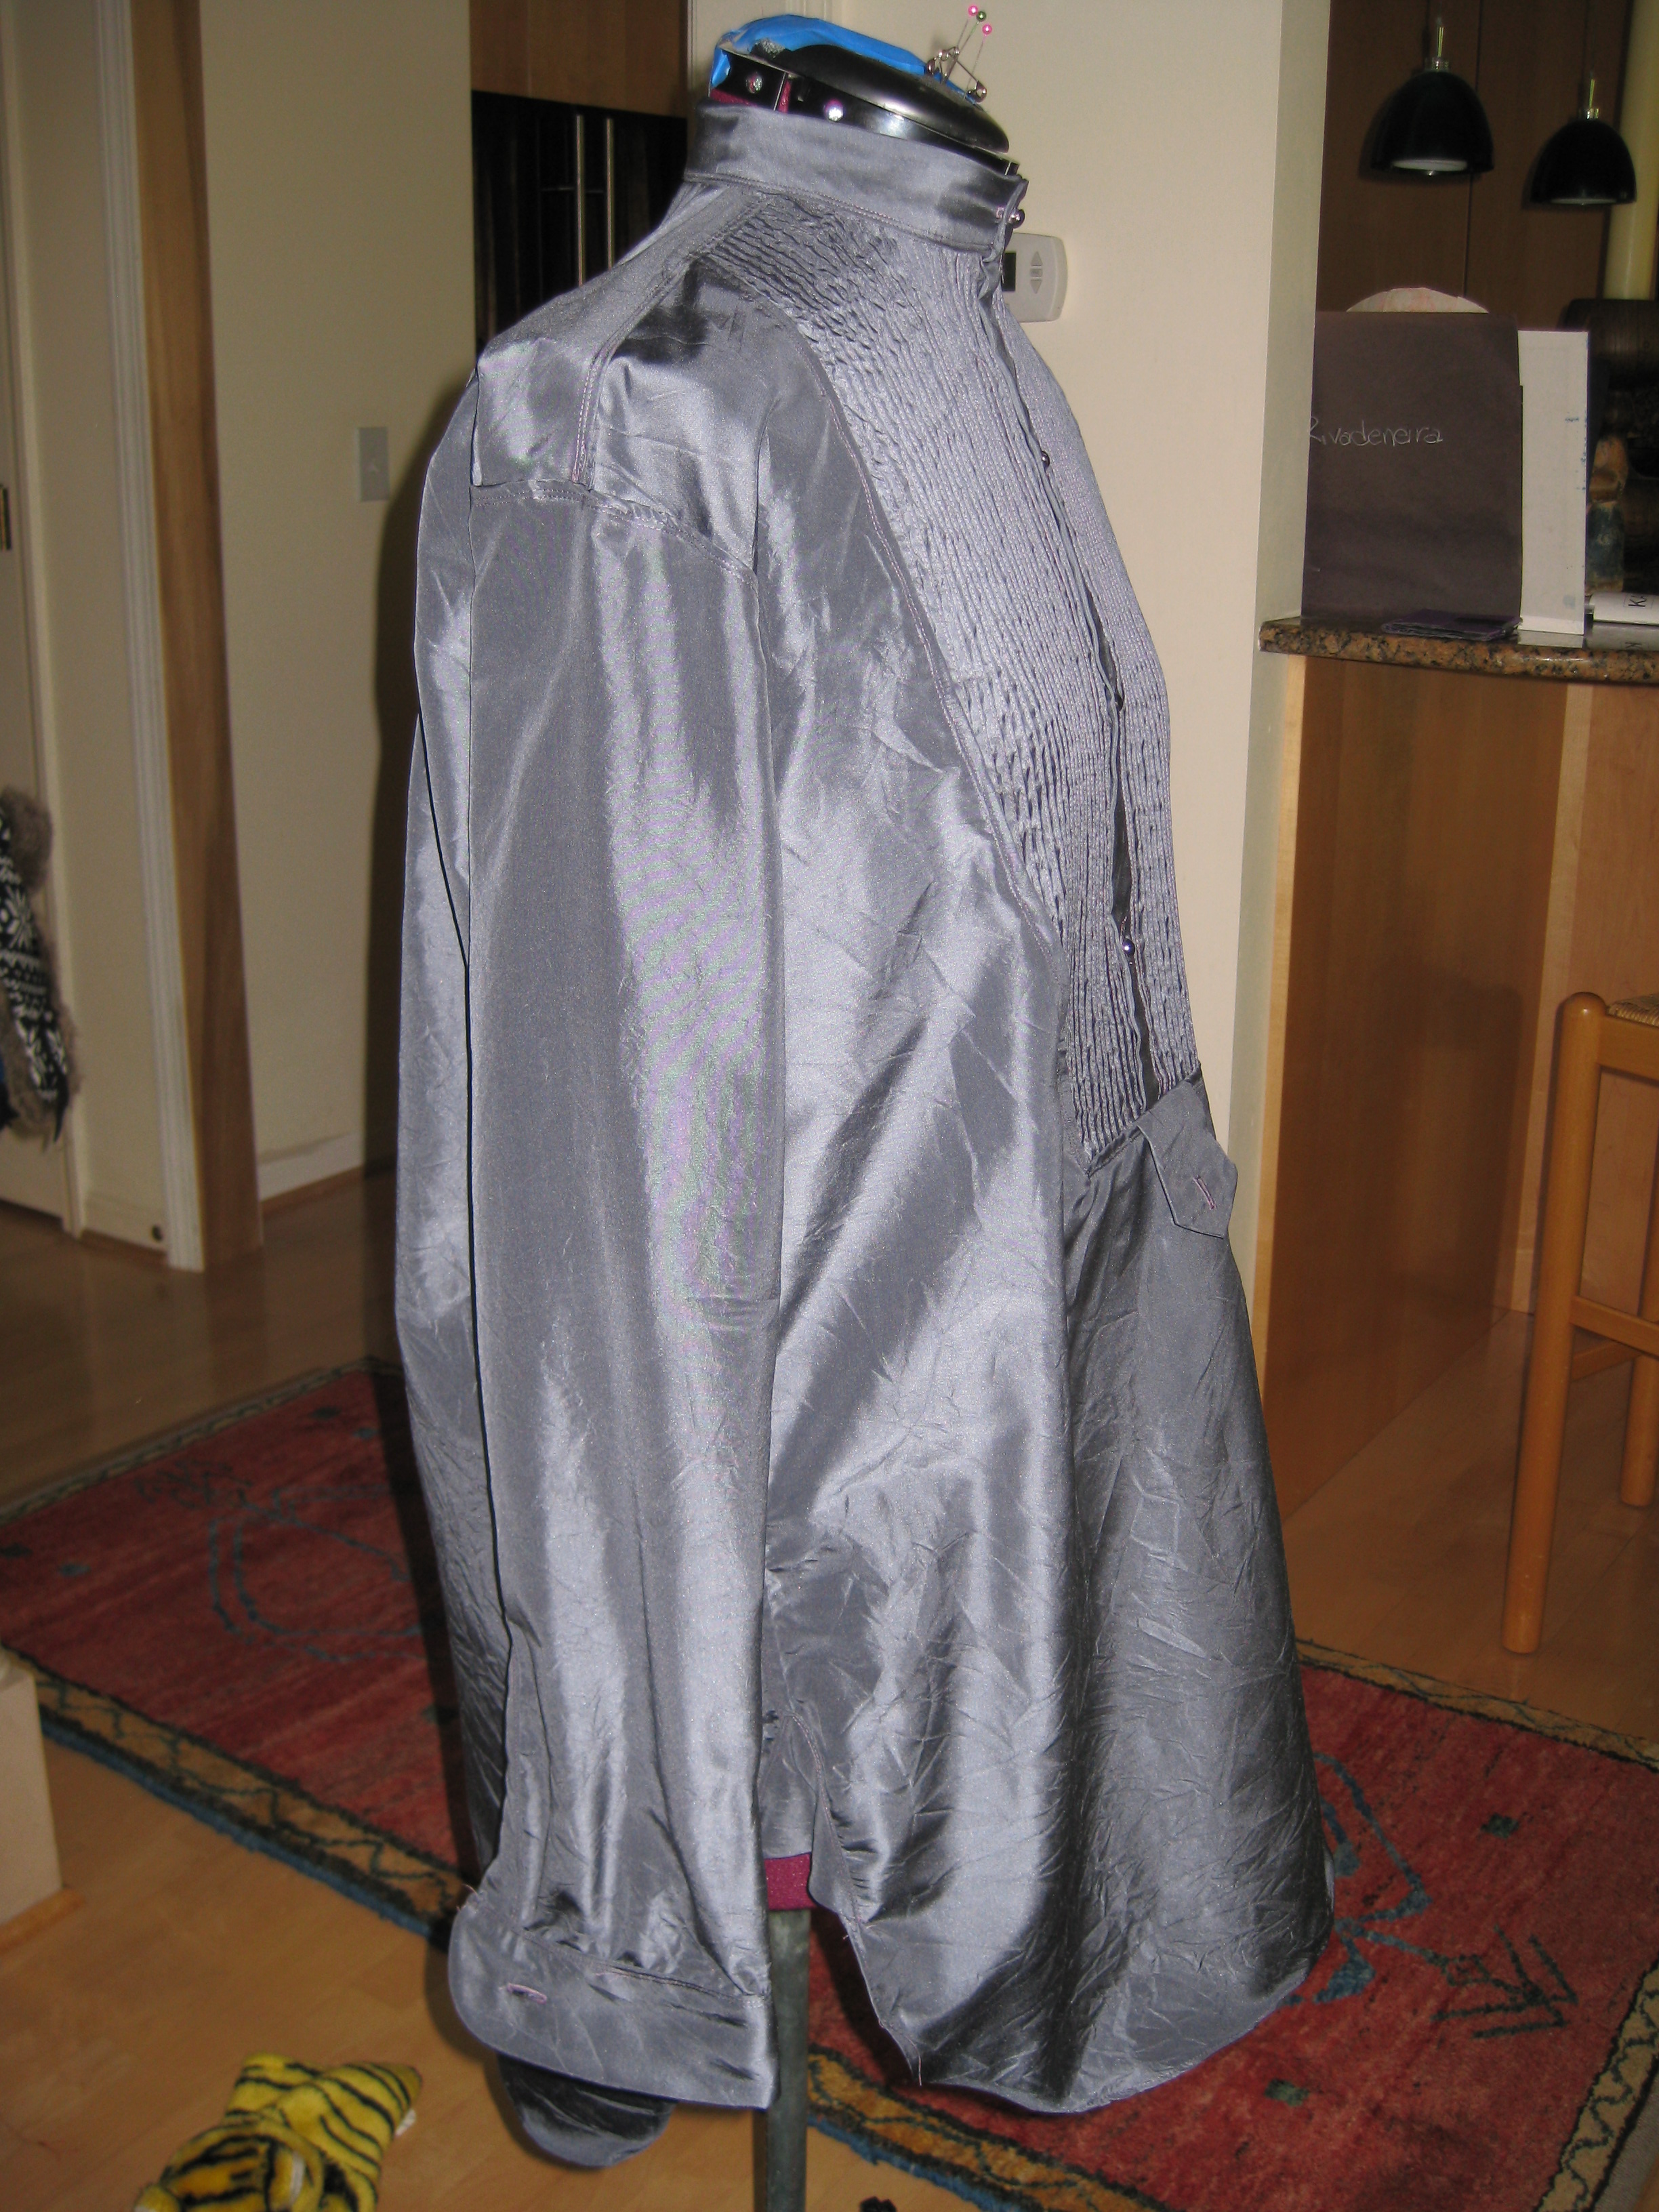
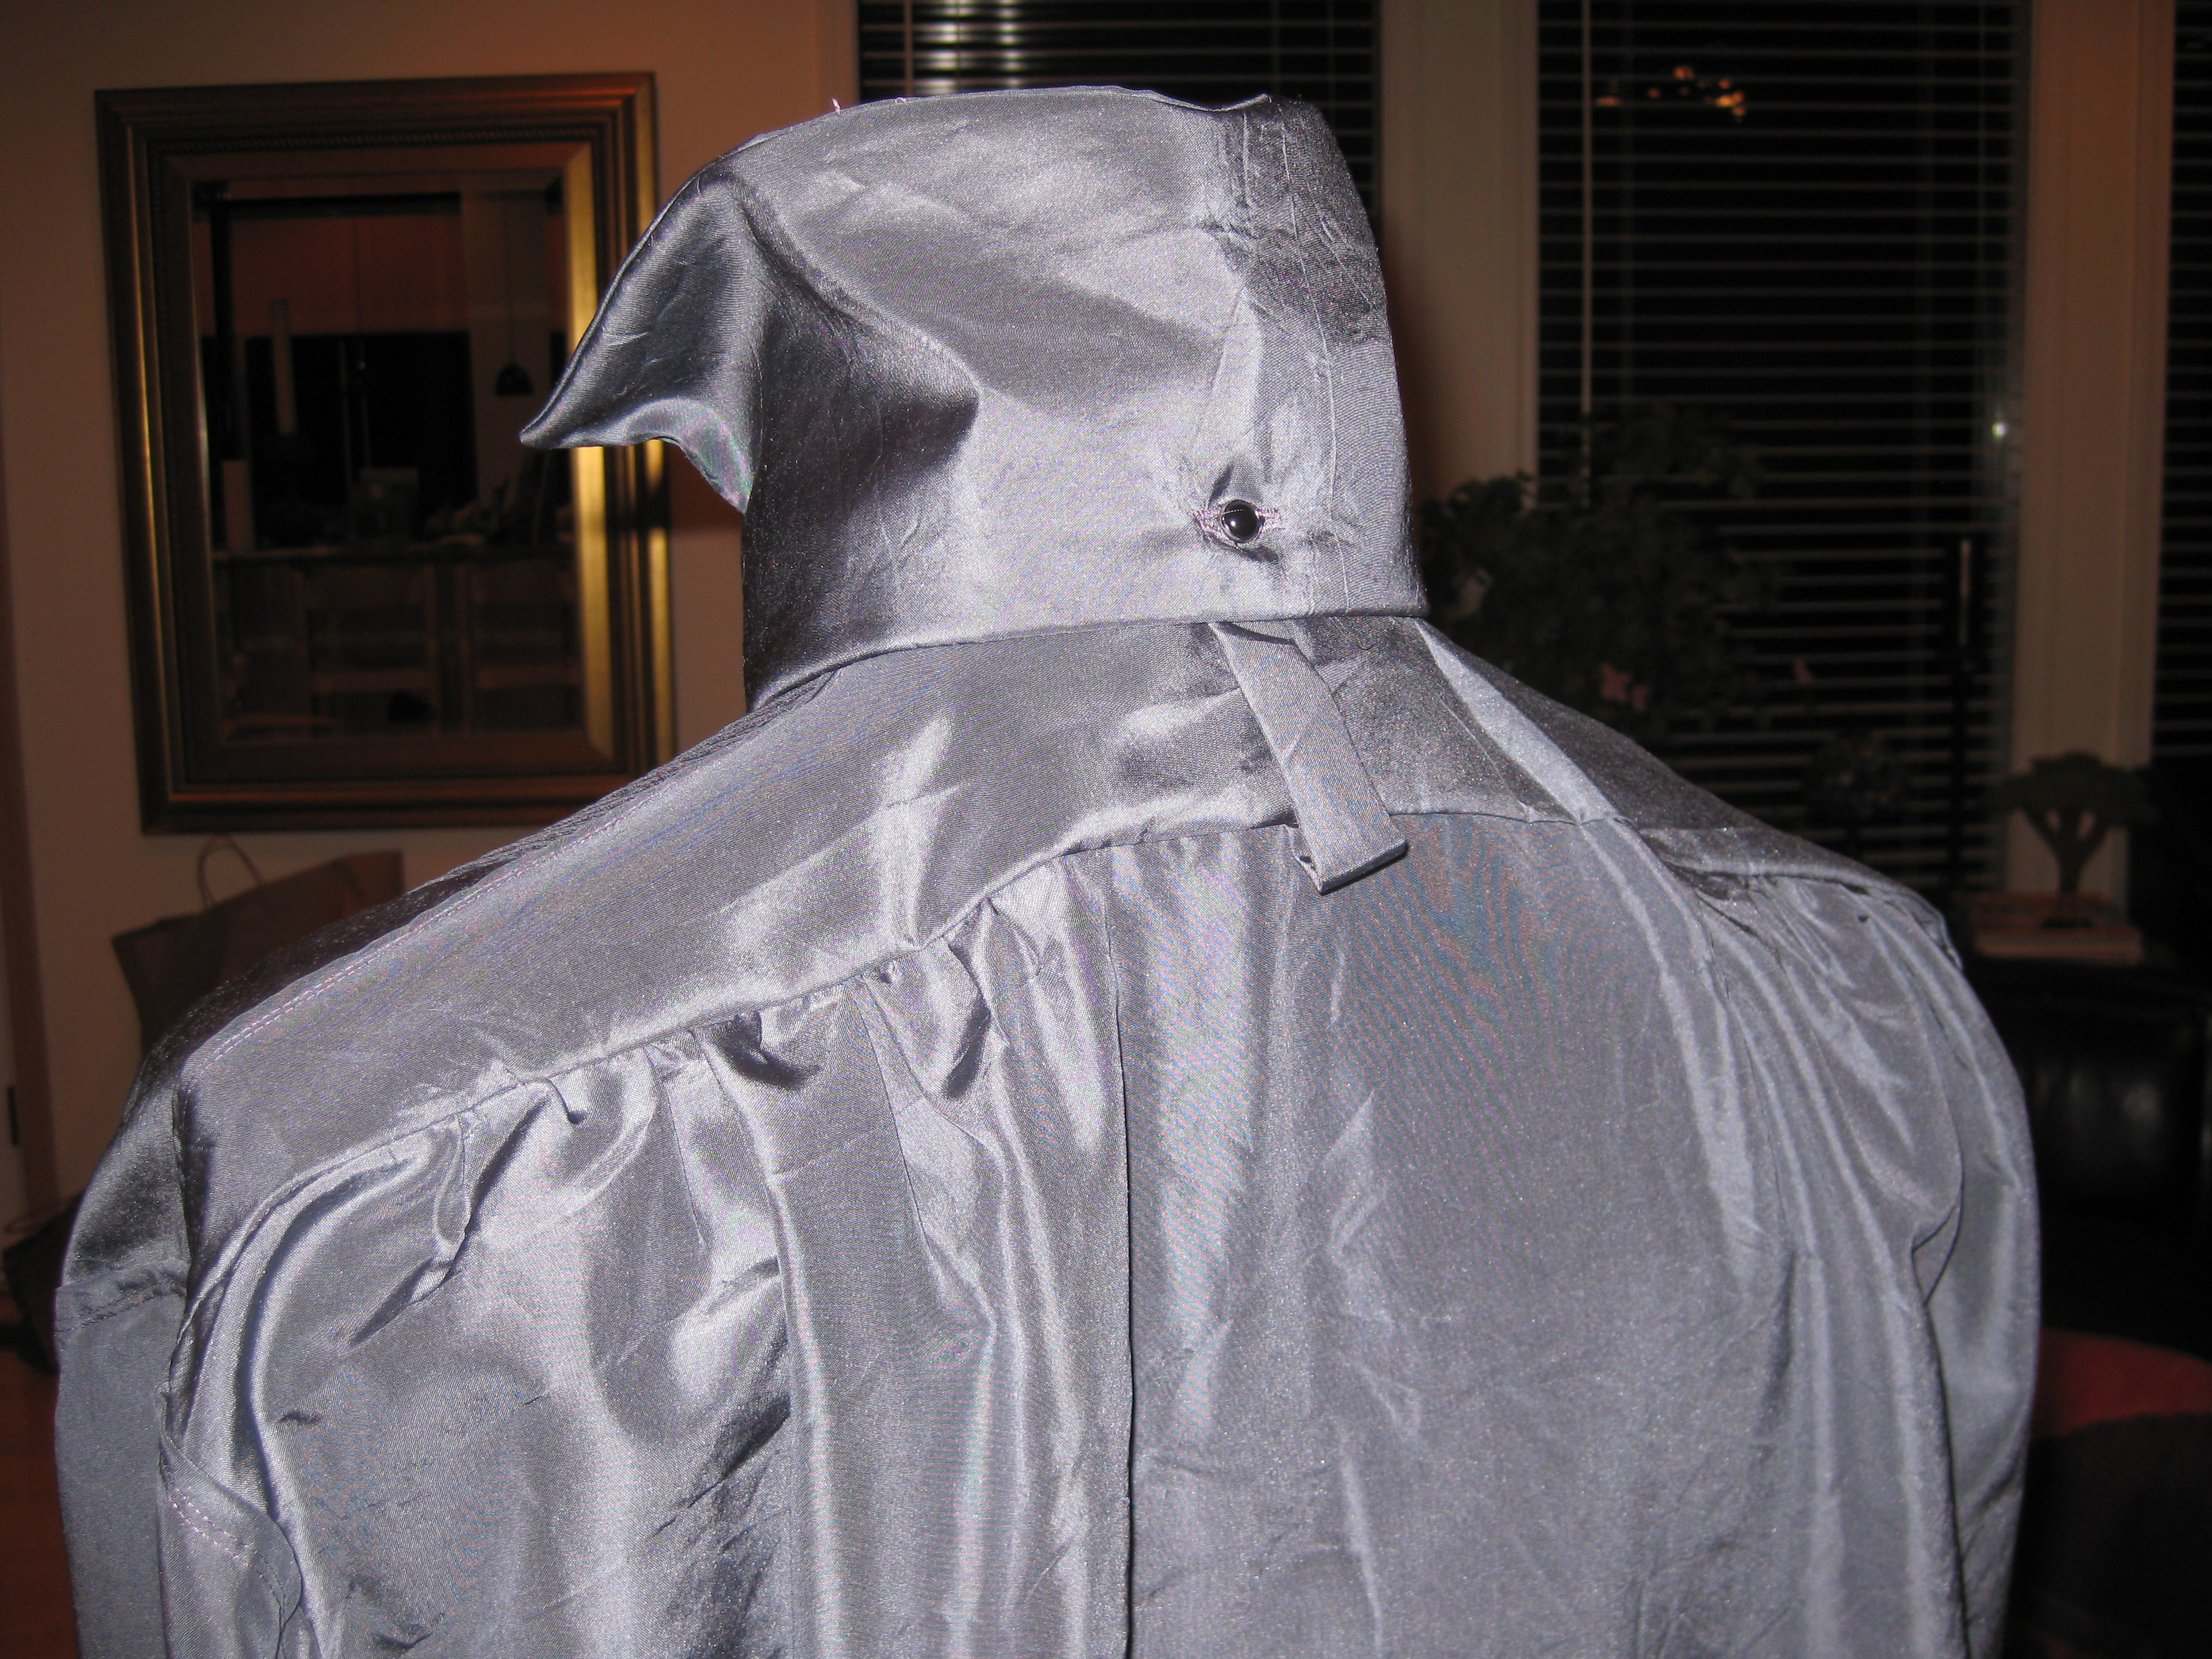
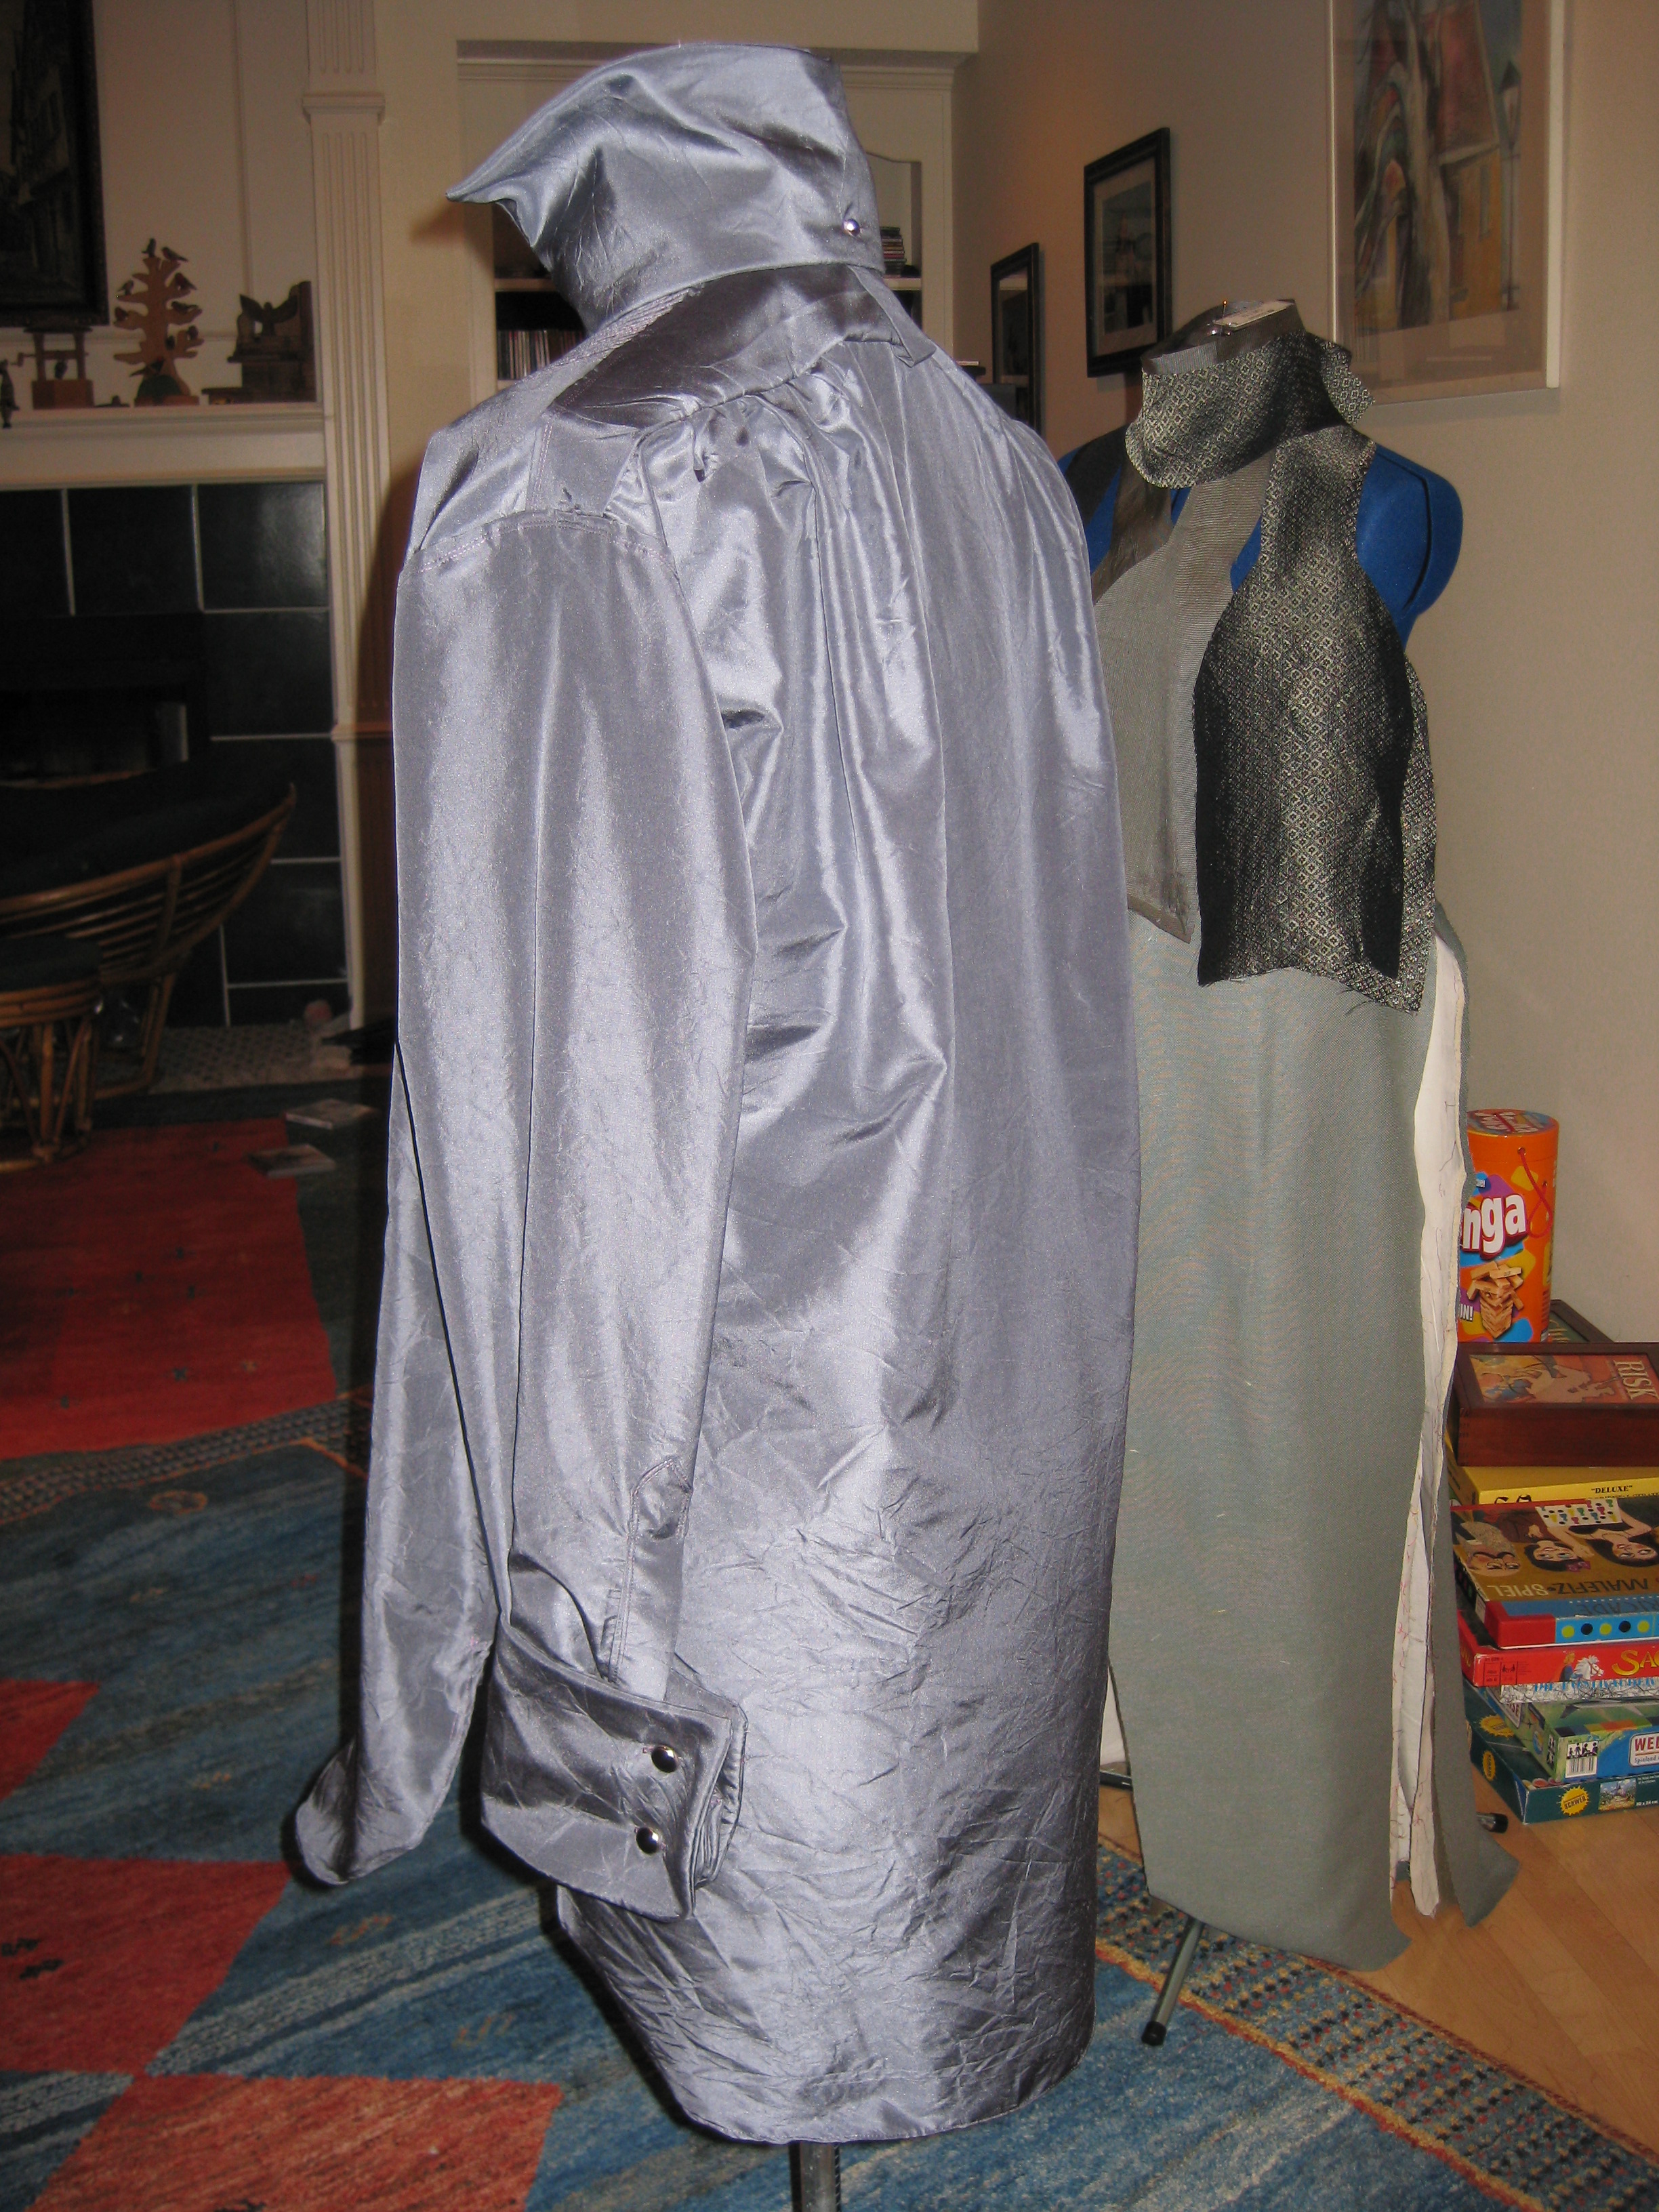
Prince Vlad has a finished shirt!
It is the first finished piece in his ensemble. The vest and coat still have closings of lining, buttons and button holes, and that will wait, because I intend to finish the pieces in the order of dressing.
So, first progress photos of the shirt in construction:
I sewed on the bosom, then attached the front to the back.
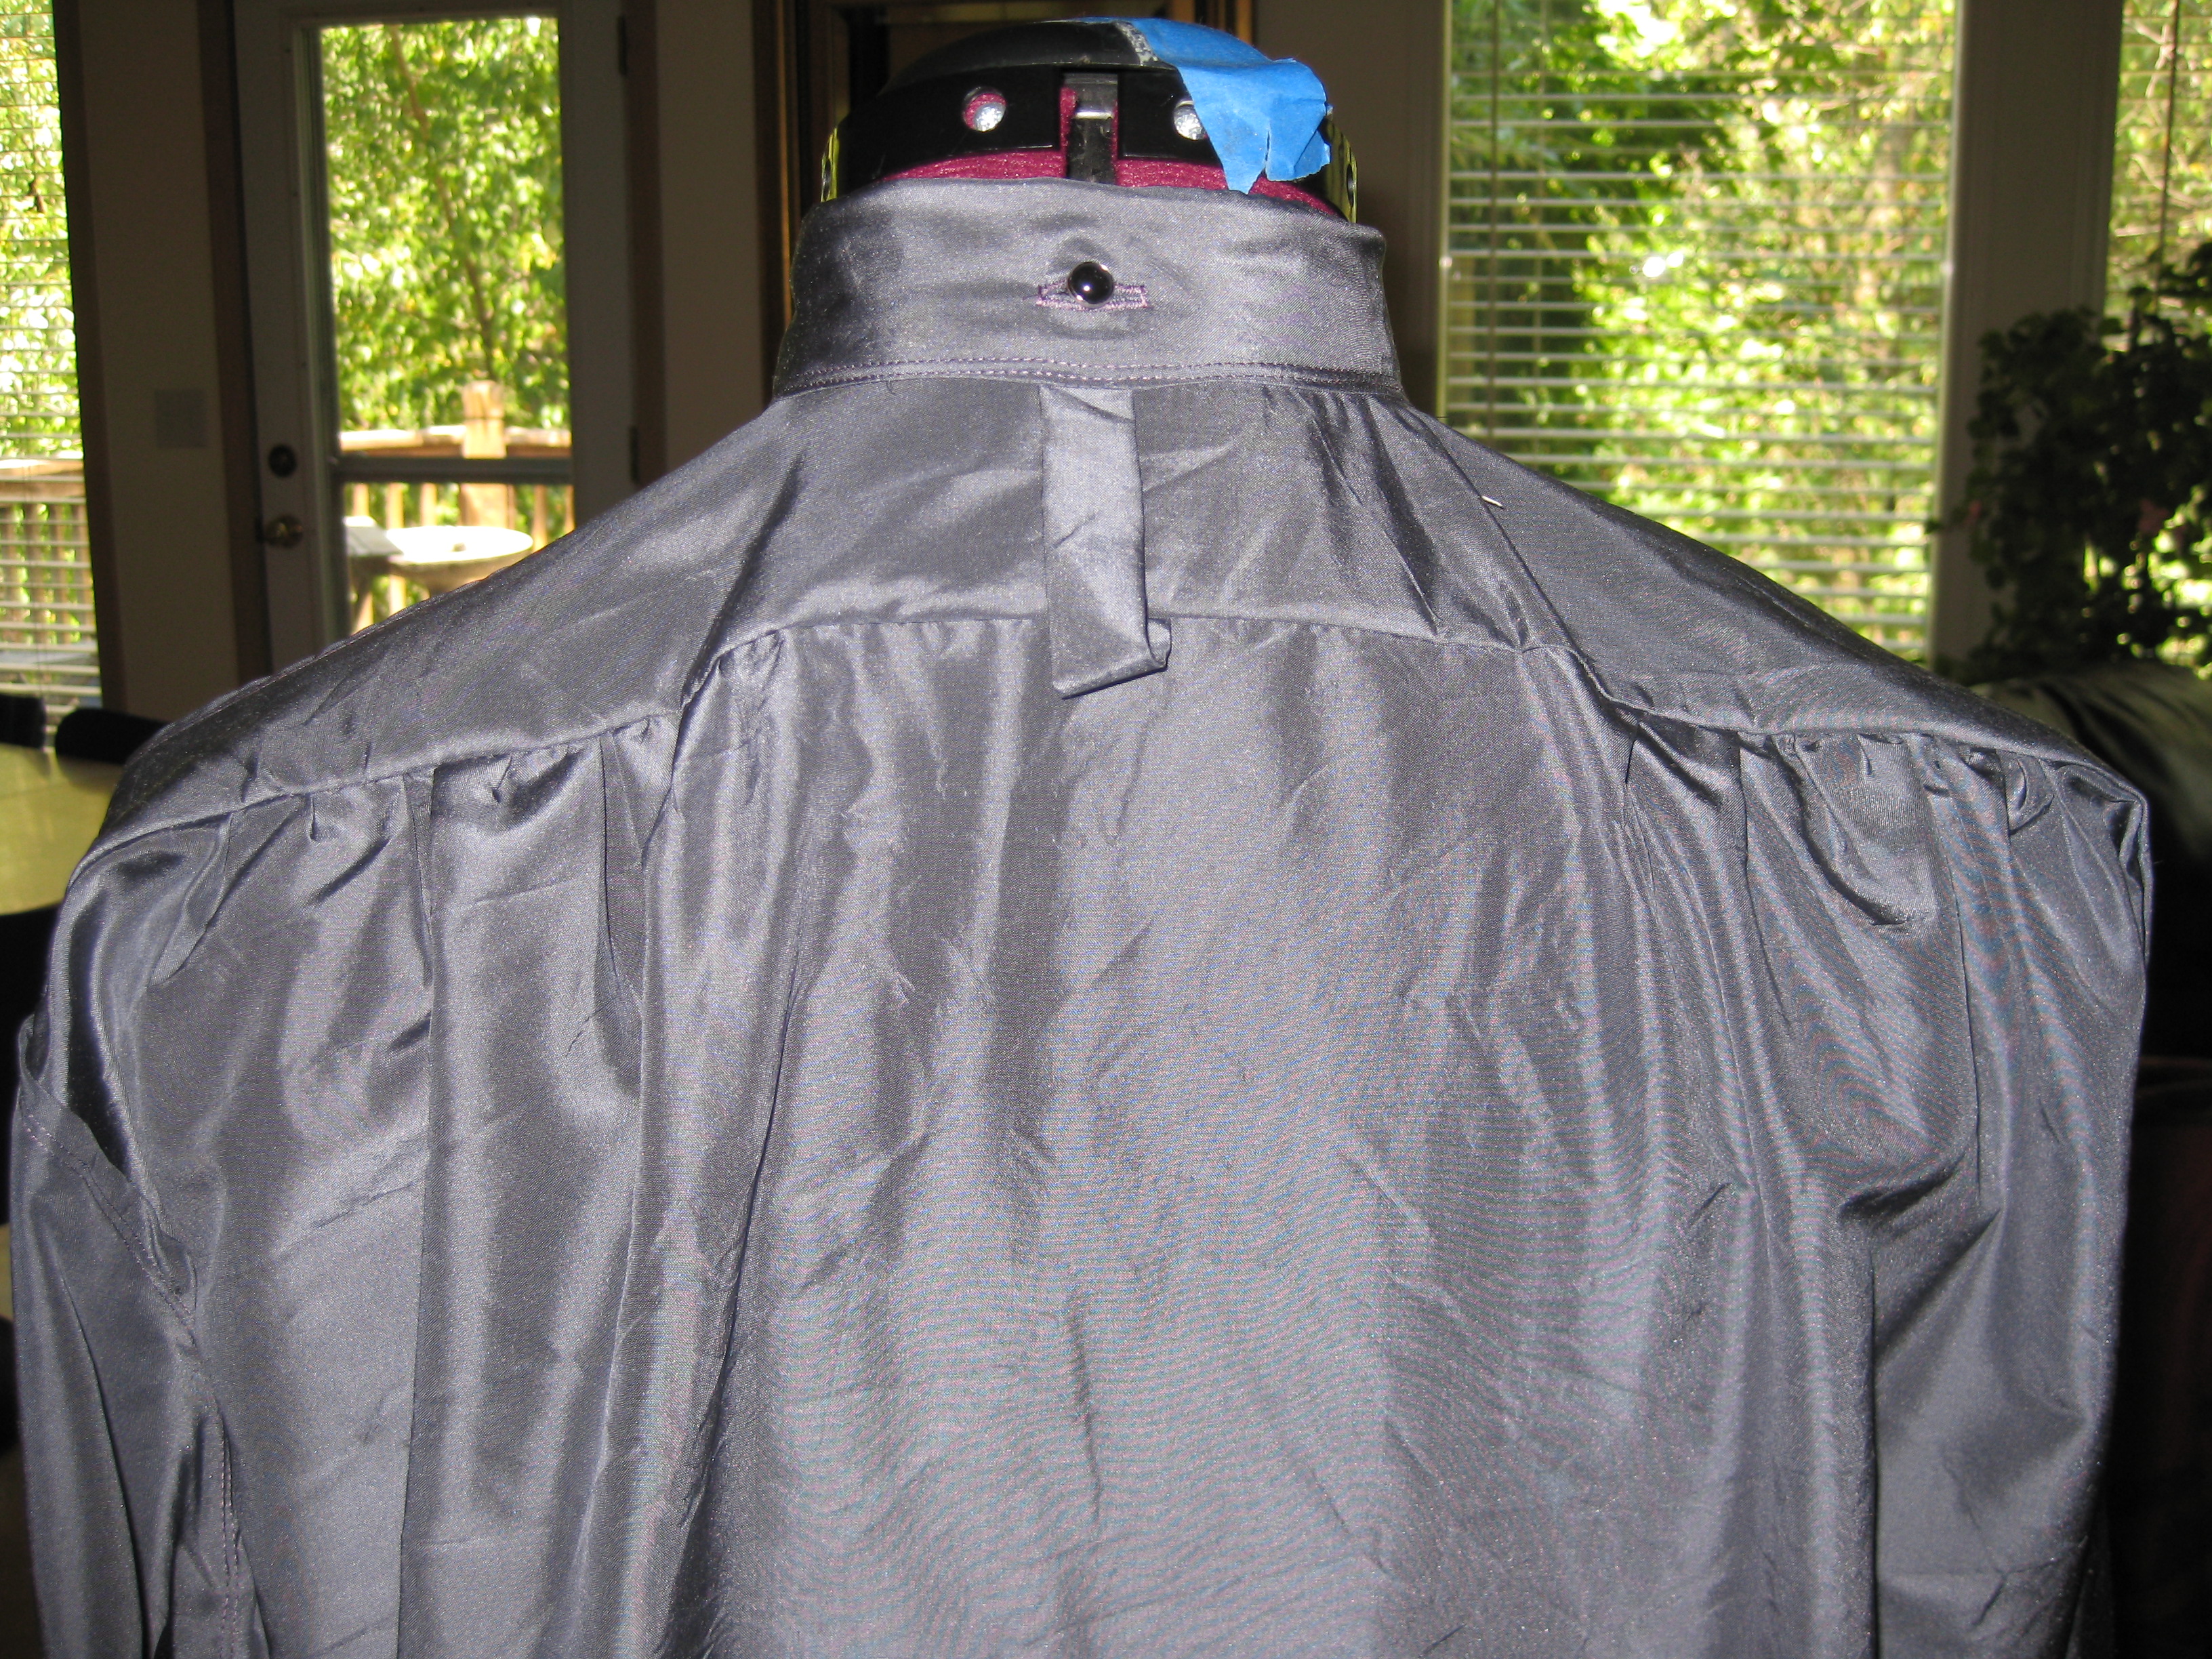
The tab in front is for a button hole, to secure the shirt to the pants so the bosom won't move. The loop at the back of the yoke is to secure the cravat so that it won't ride up the neck. I love these details.
Next I put in the button holes, anxious to see how the studs would look.
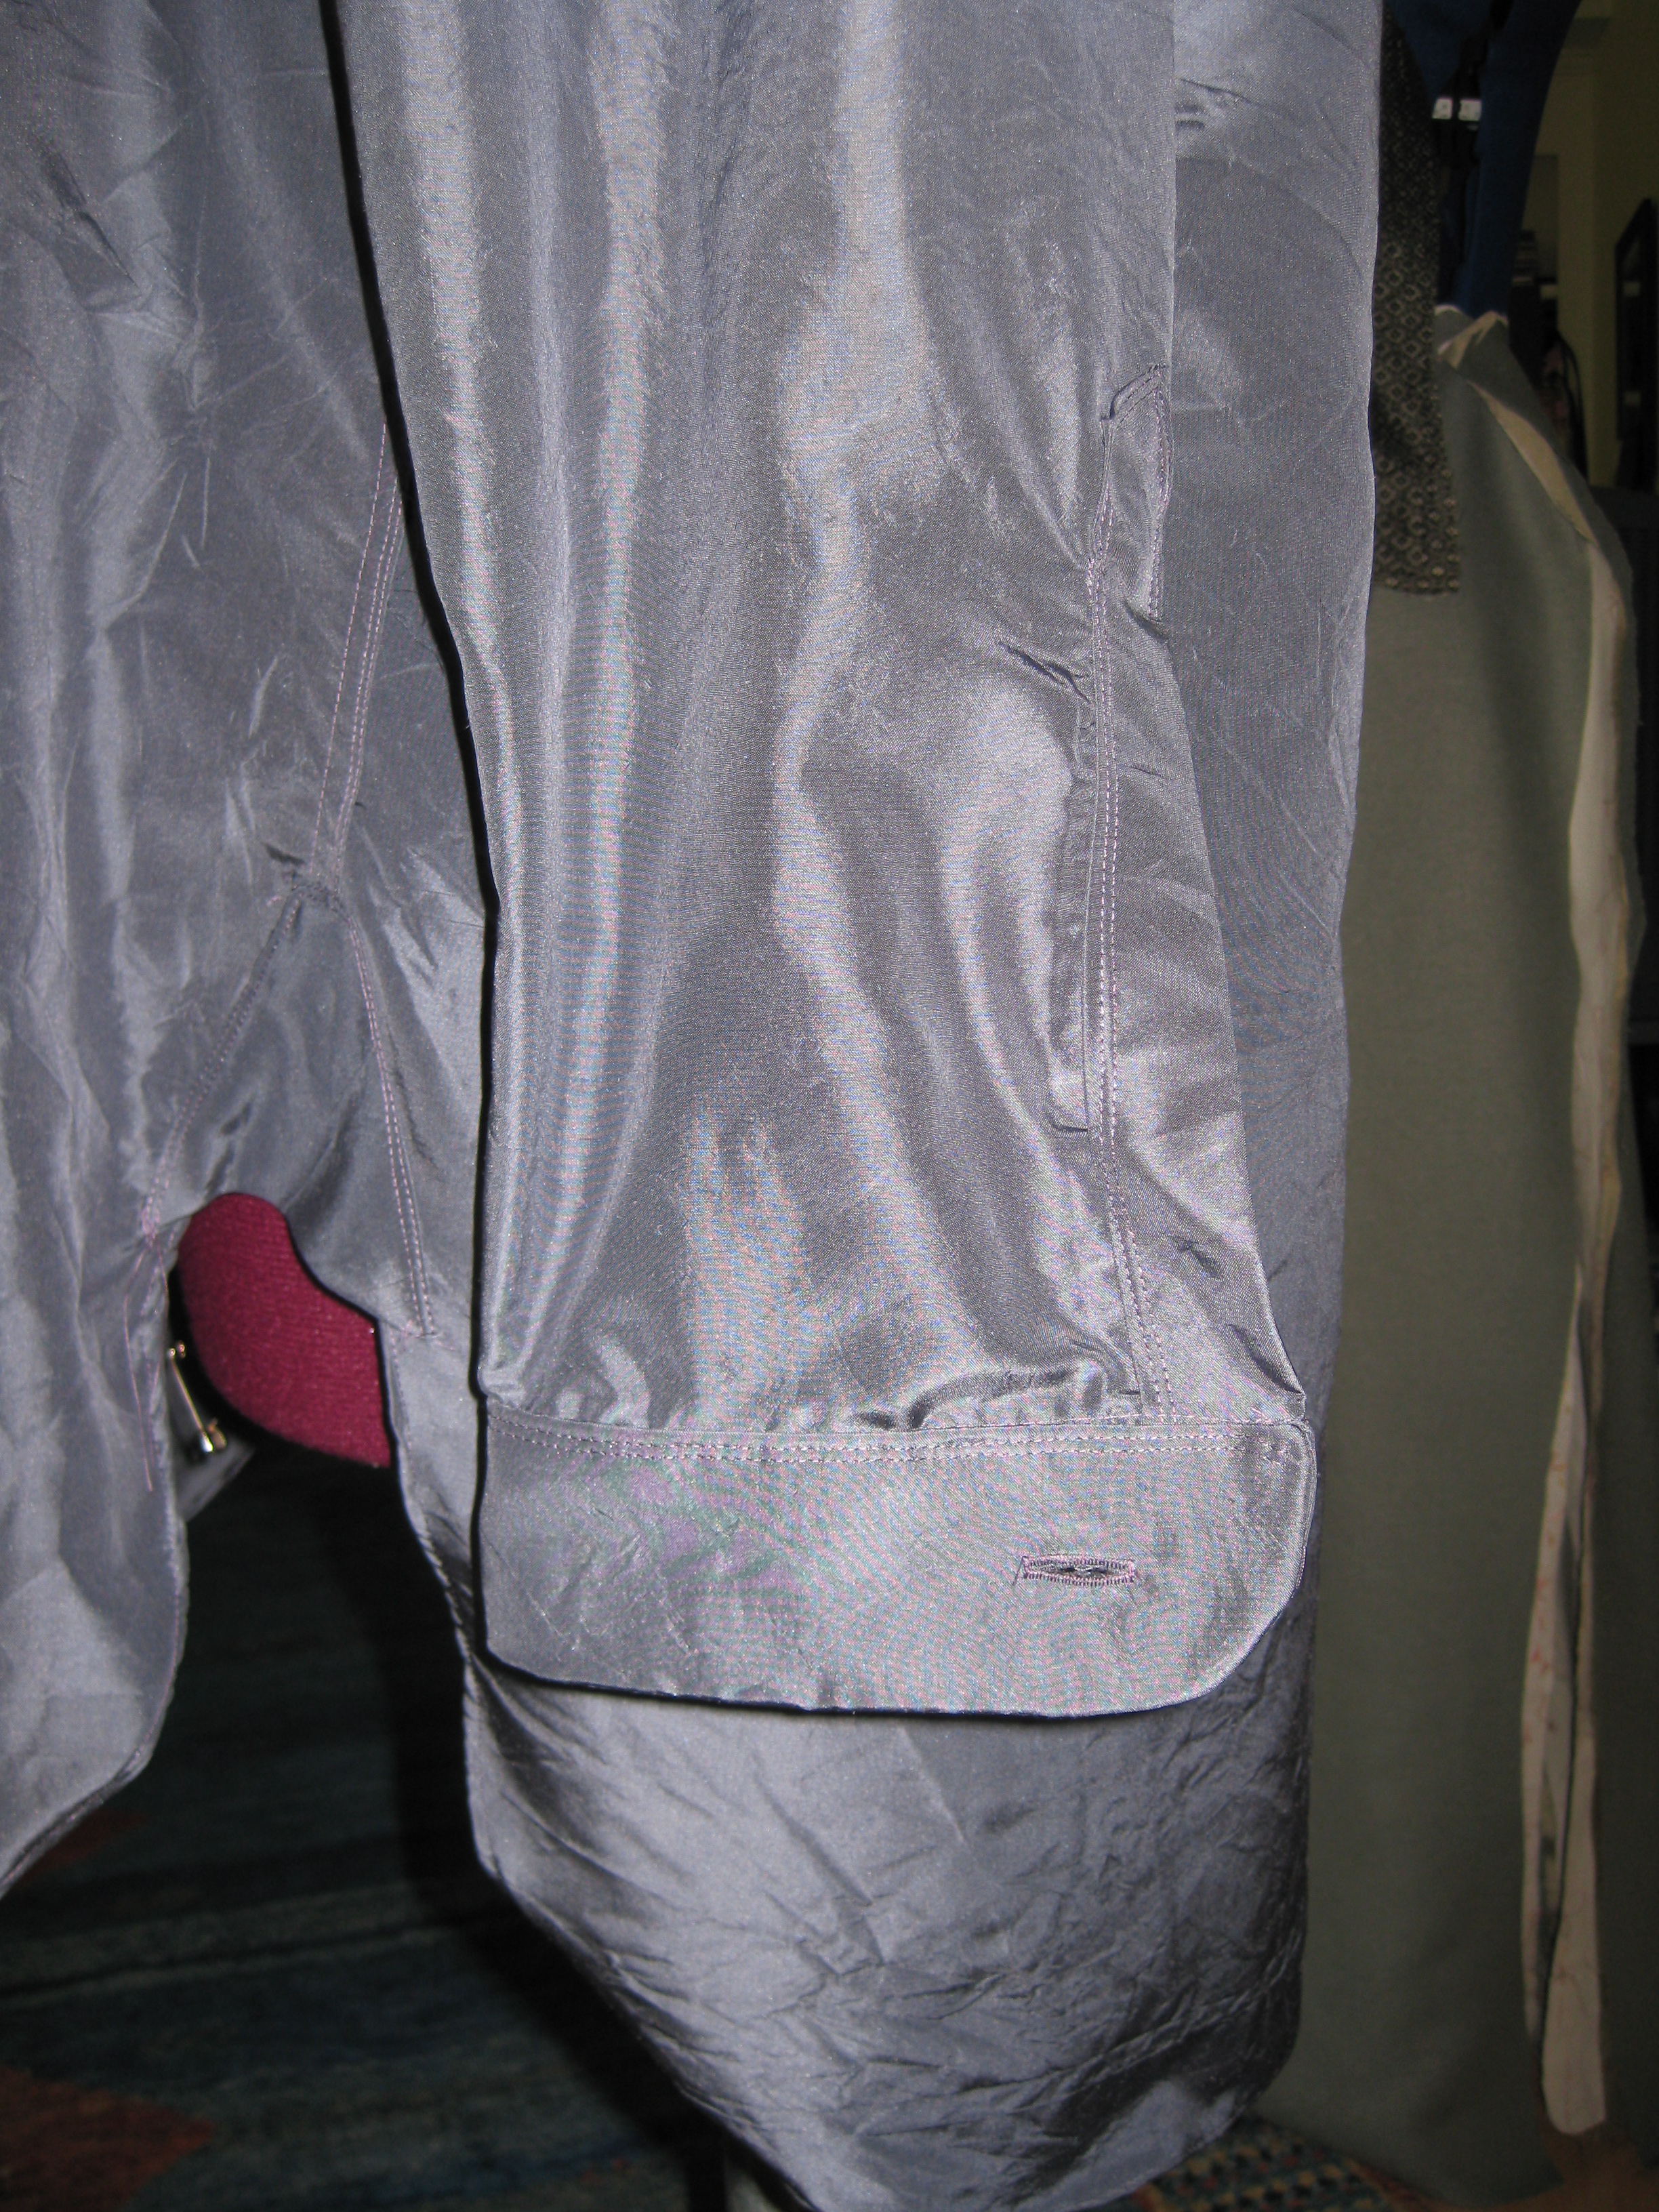
Then came the shirt sleeves.
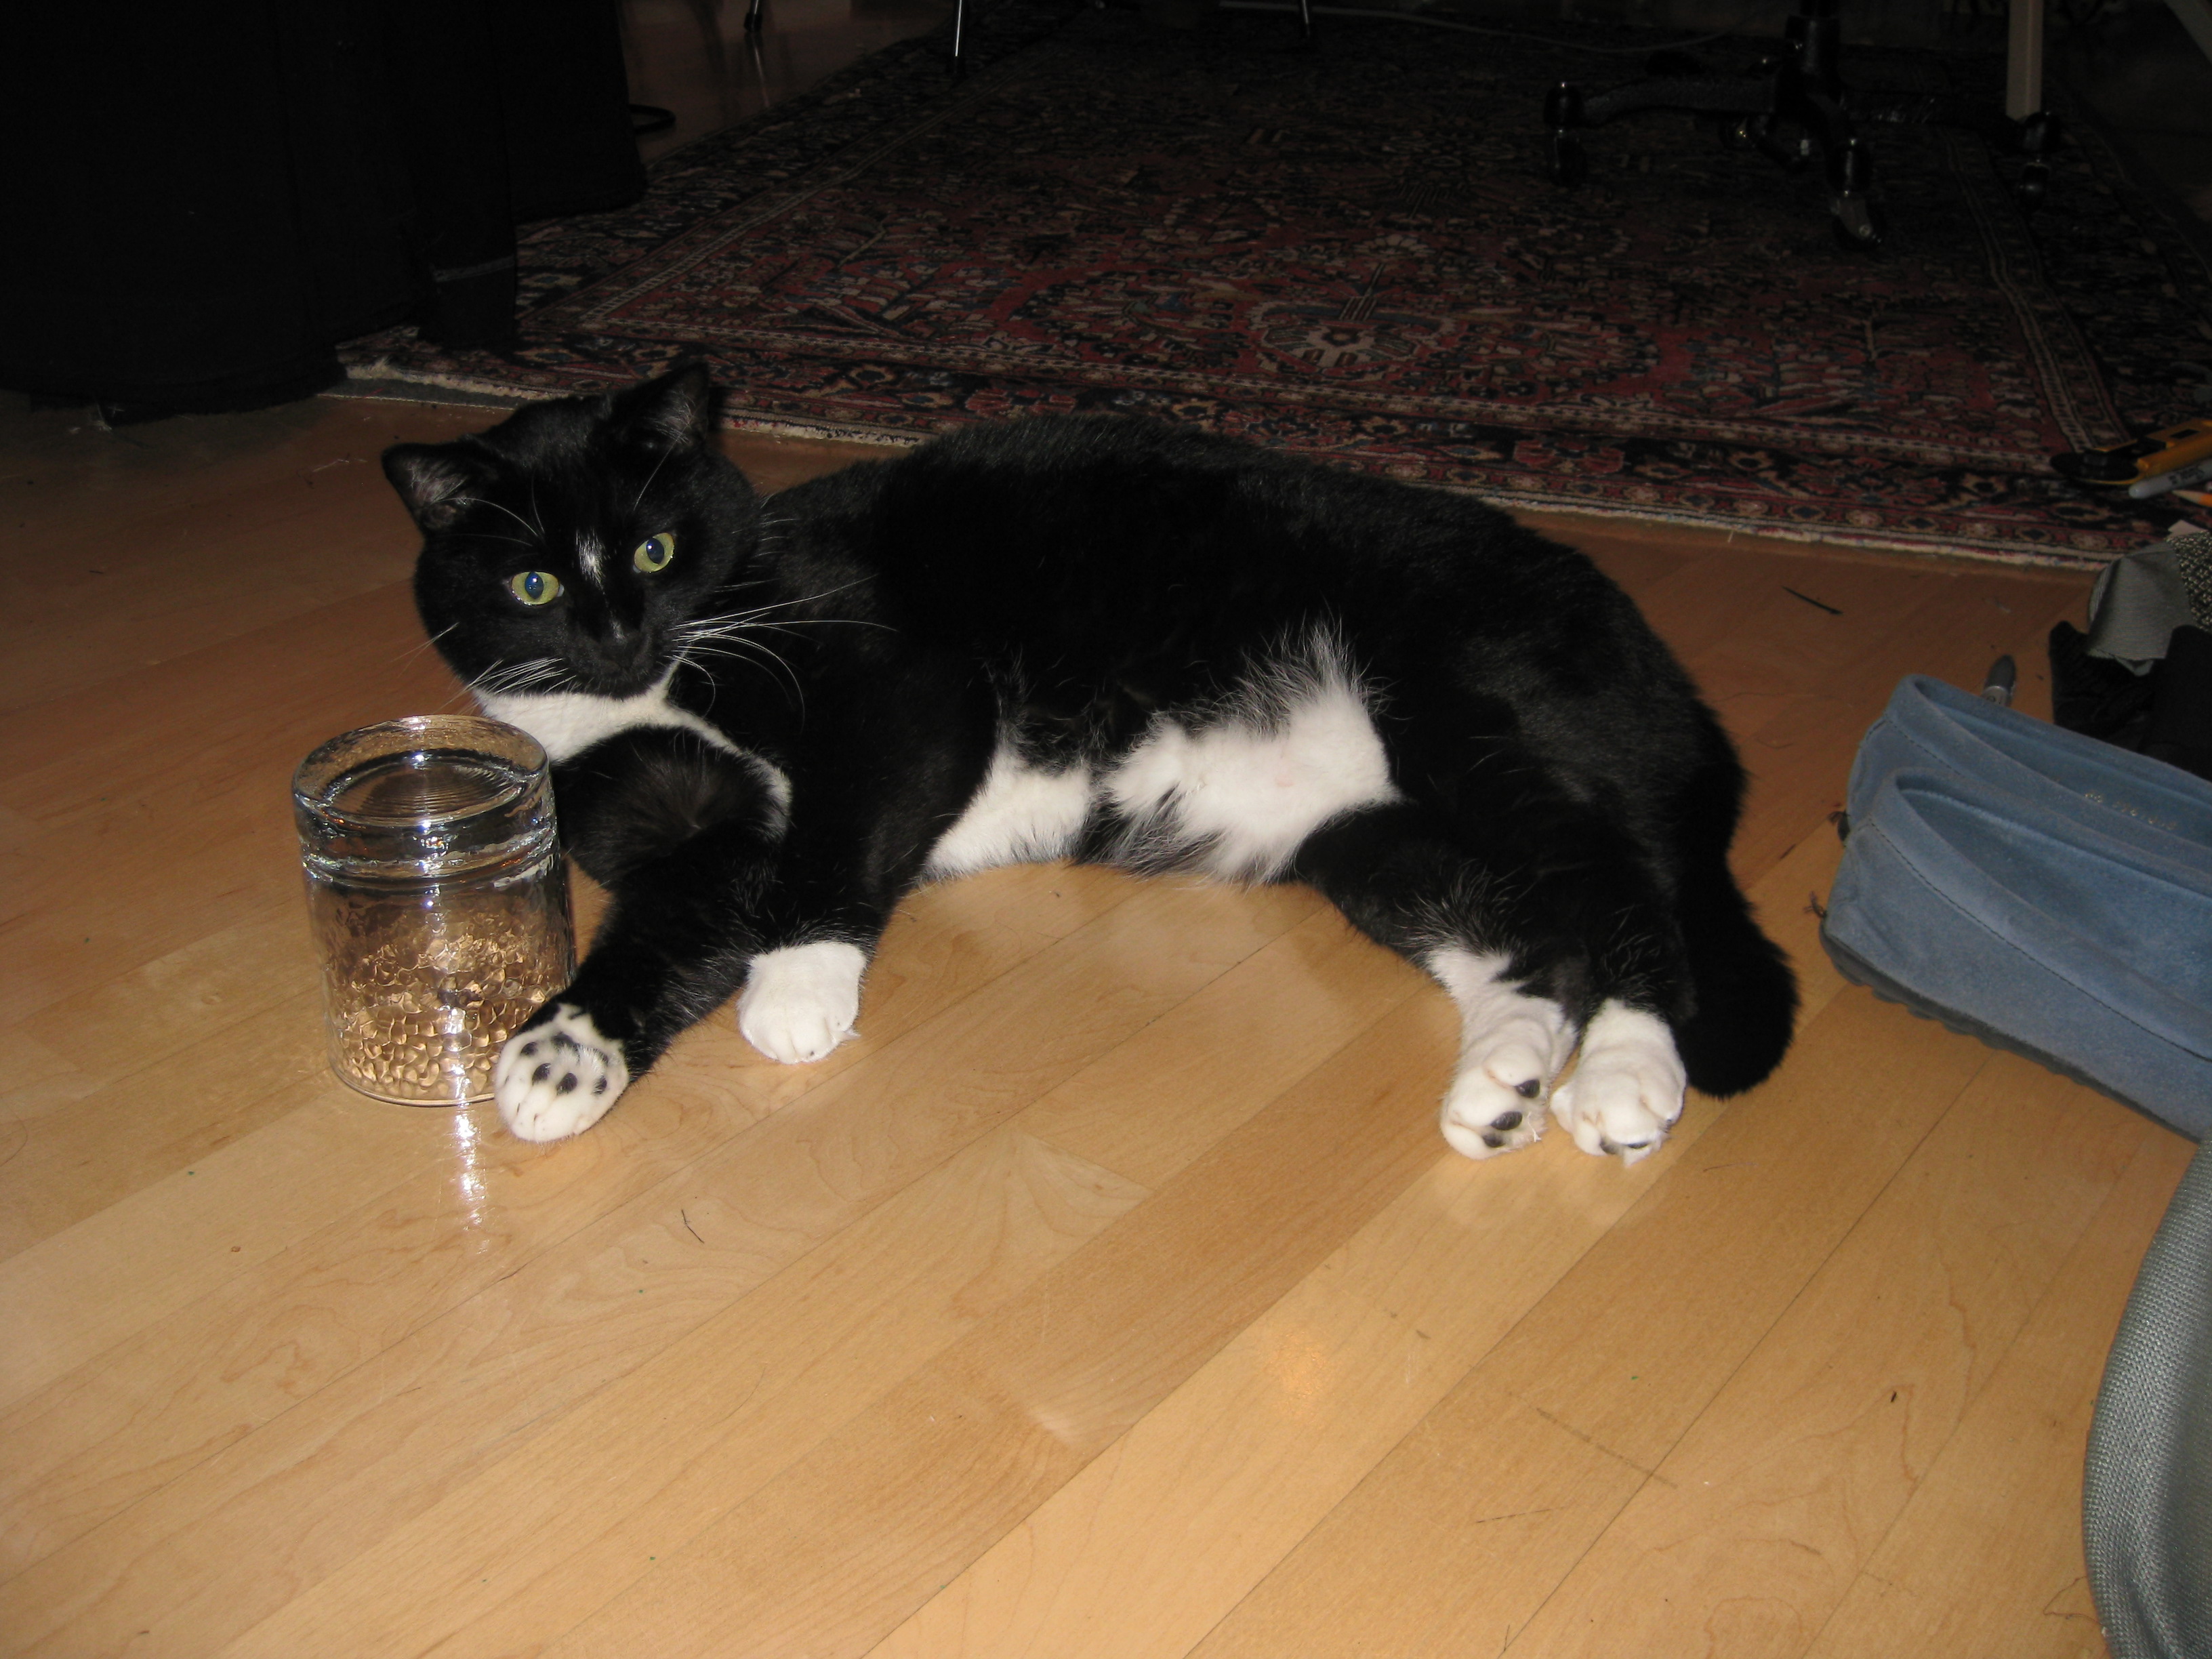
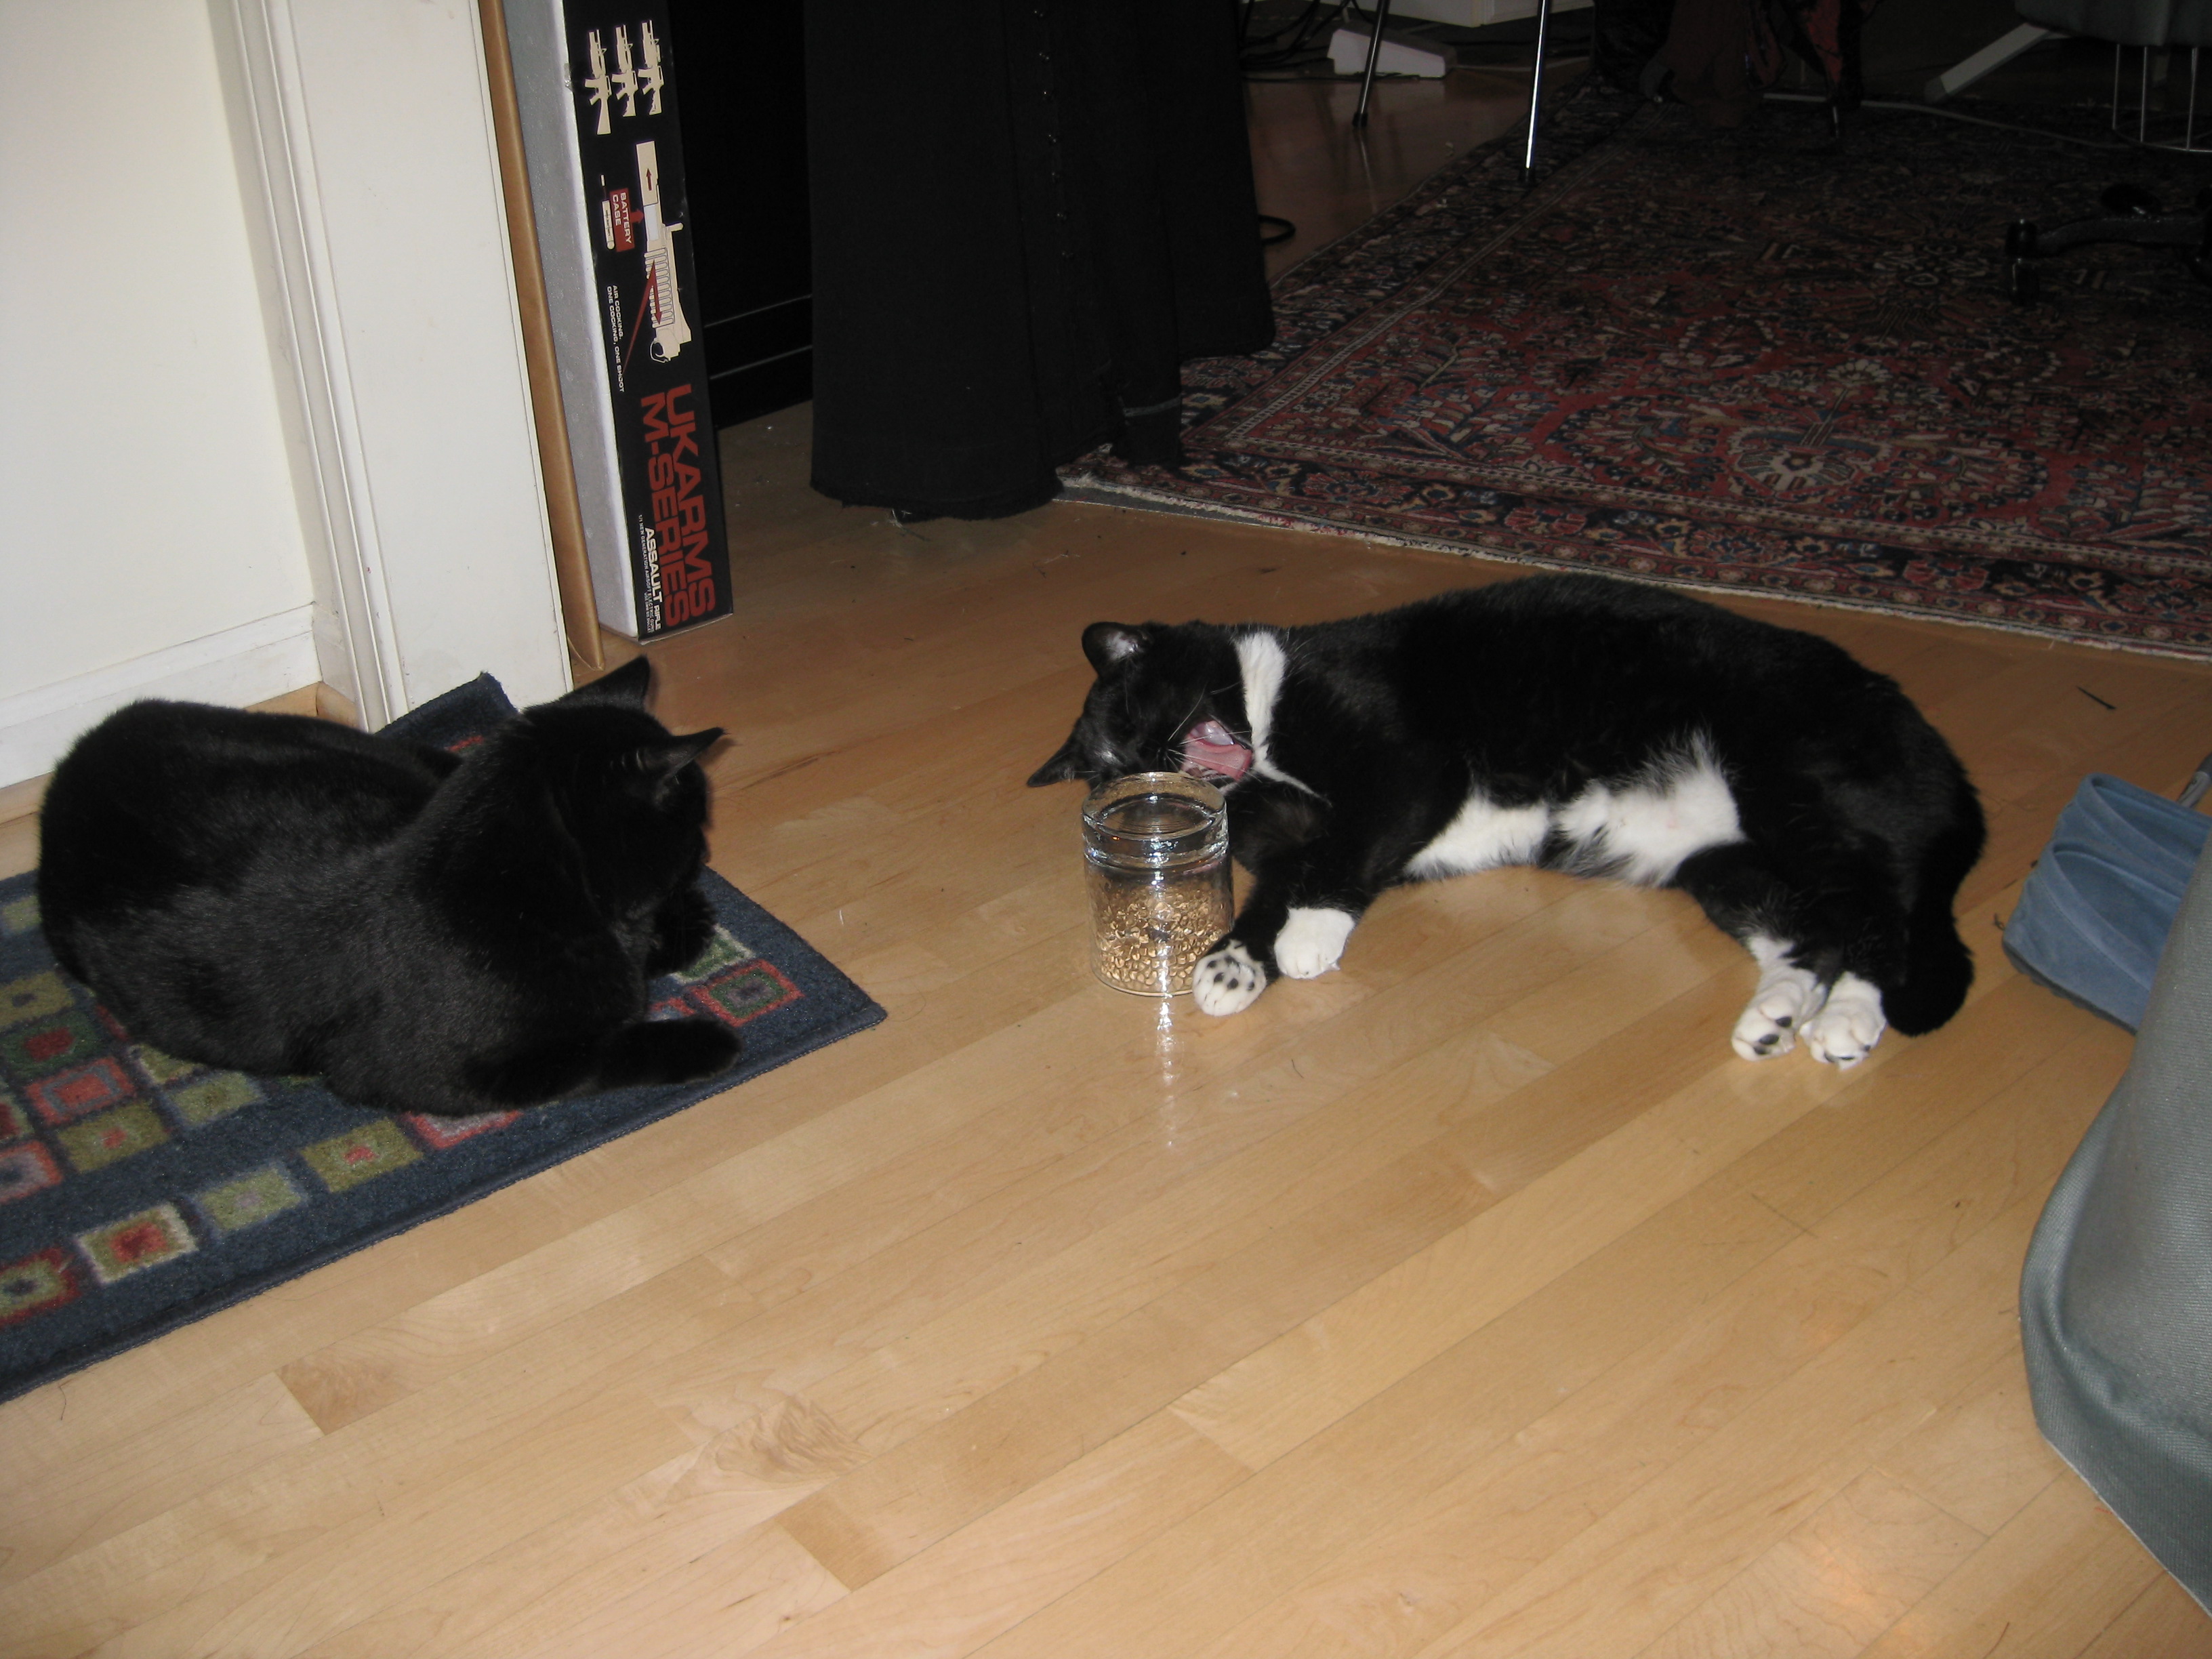
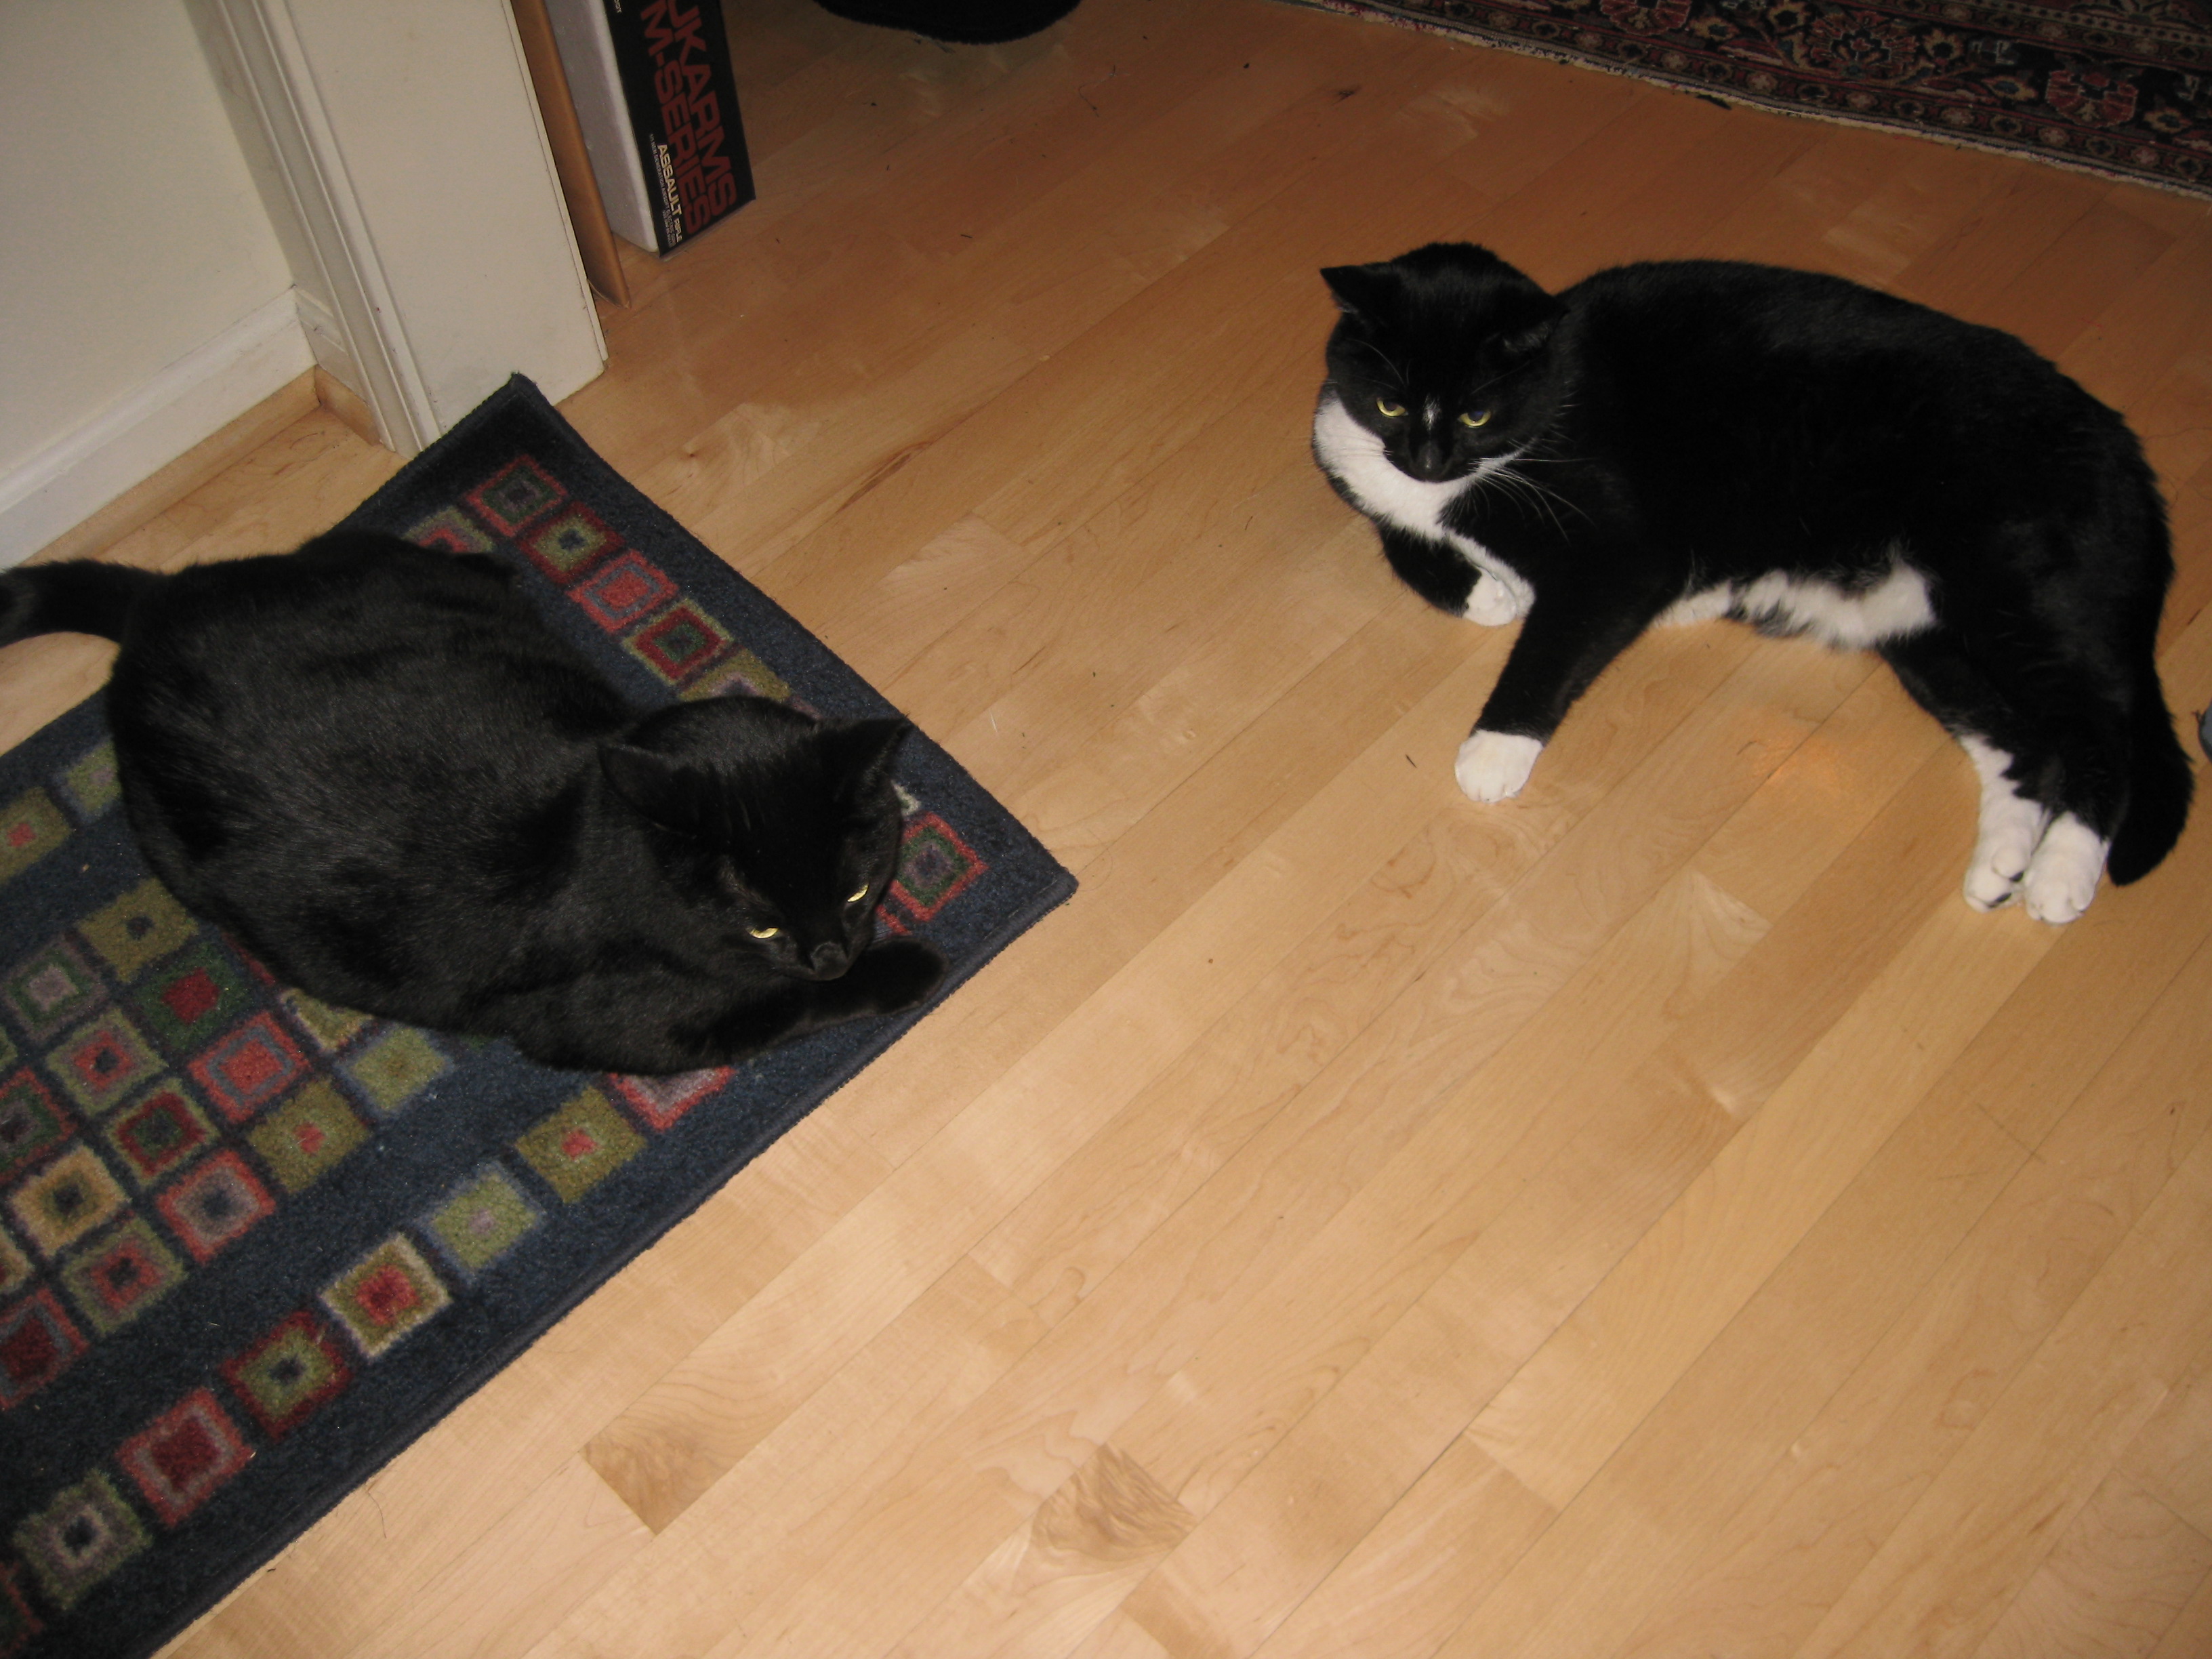
At one point, a spider joined me in my efforts, and I caught him under a glass, to the great amusement of Jojo and Seuss:
They weren't too impressed when Eric took the spider outside...
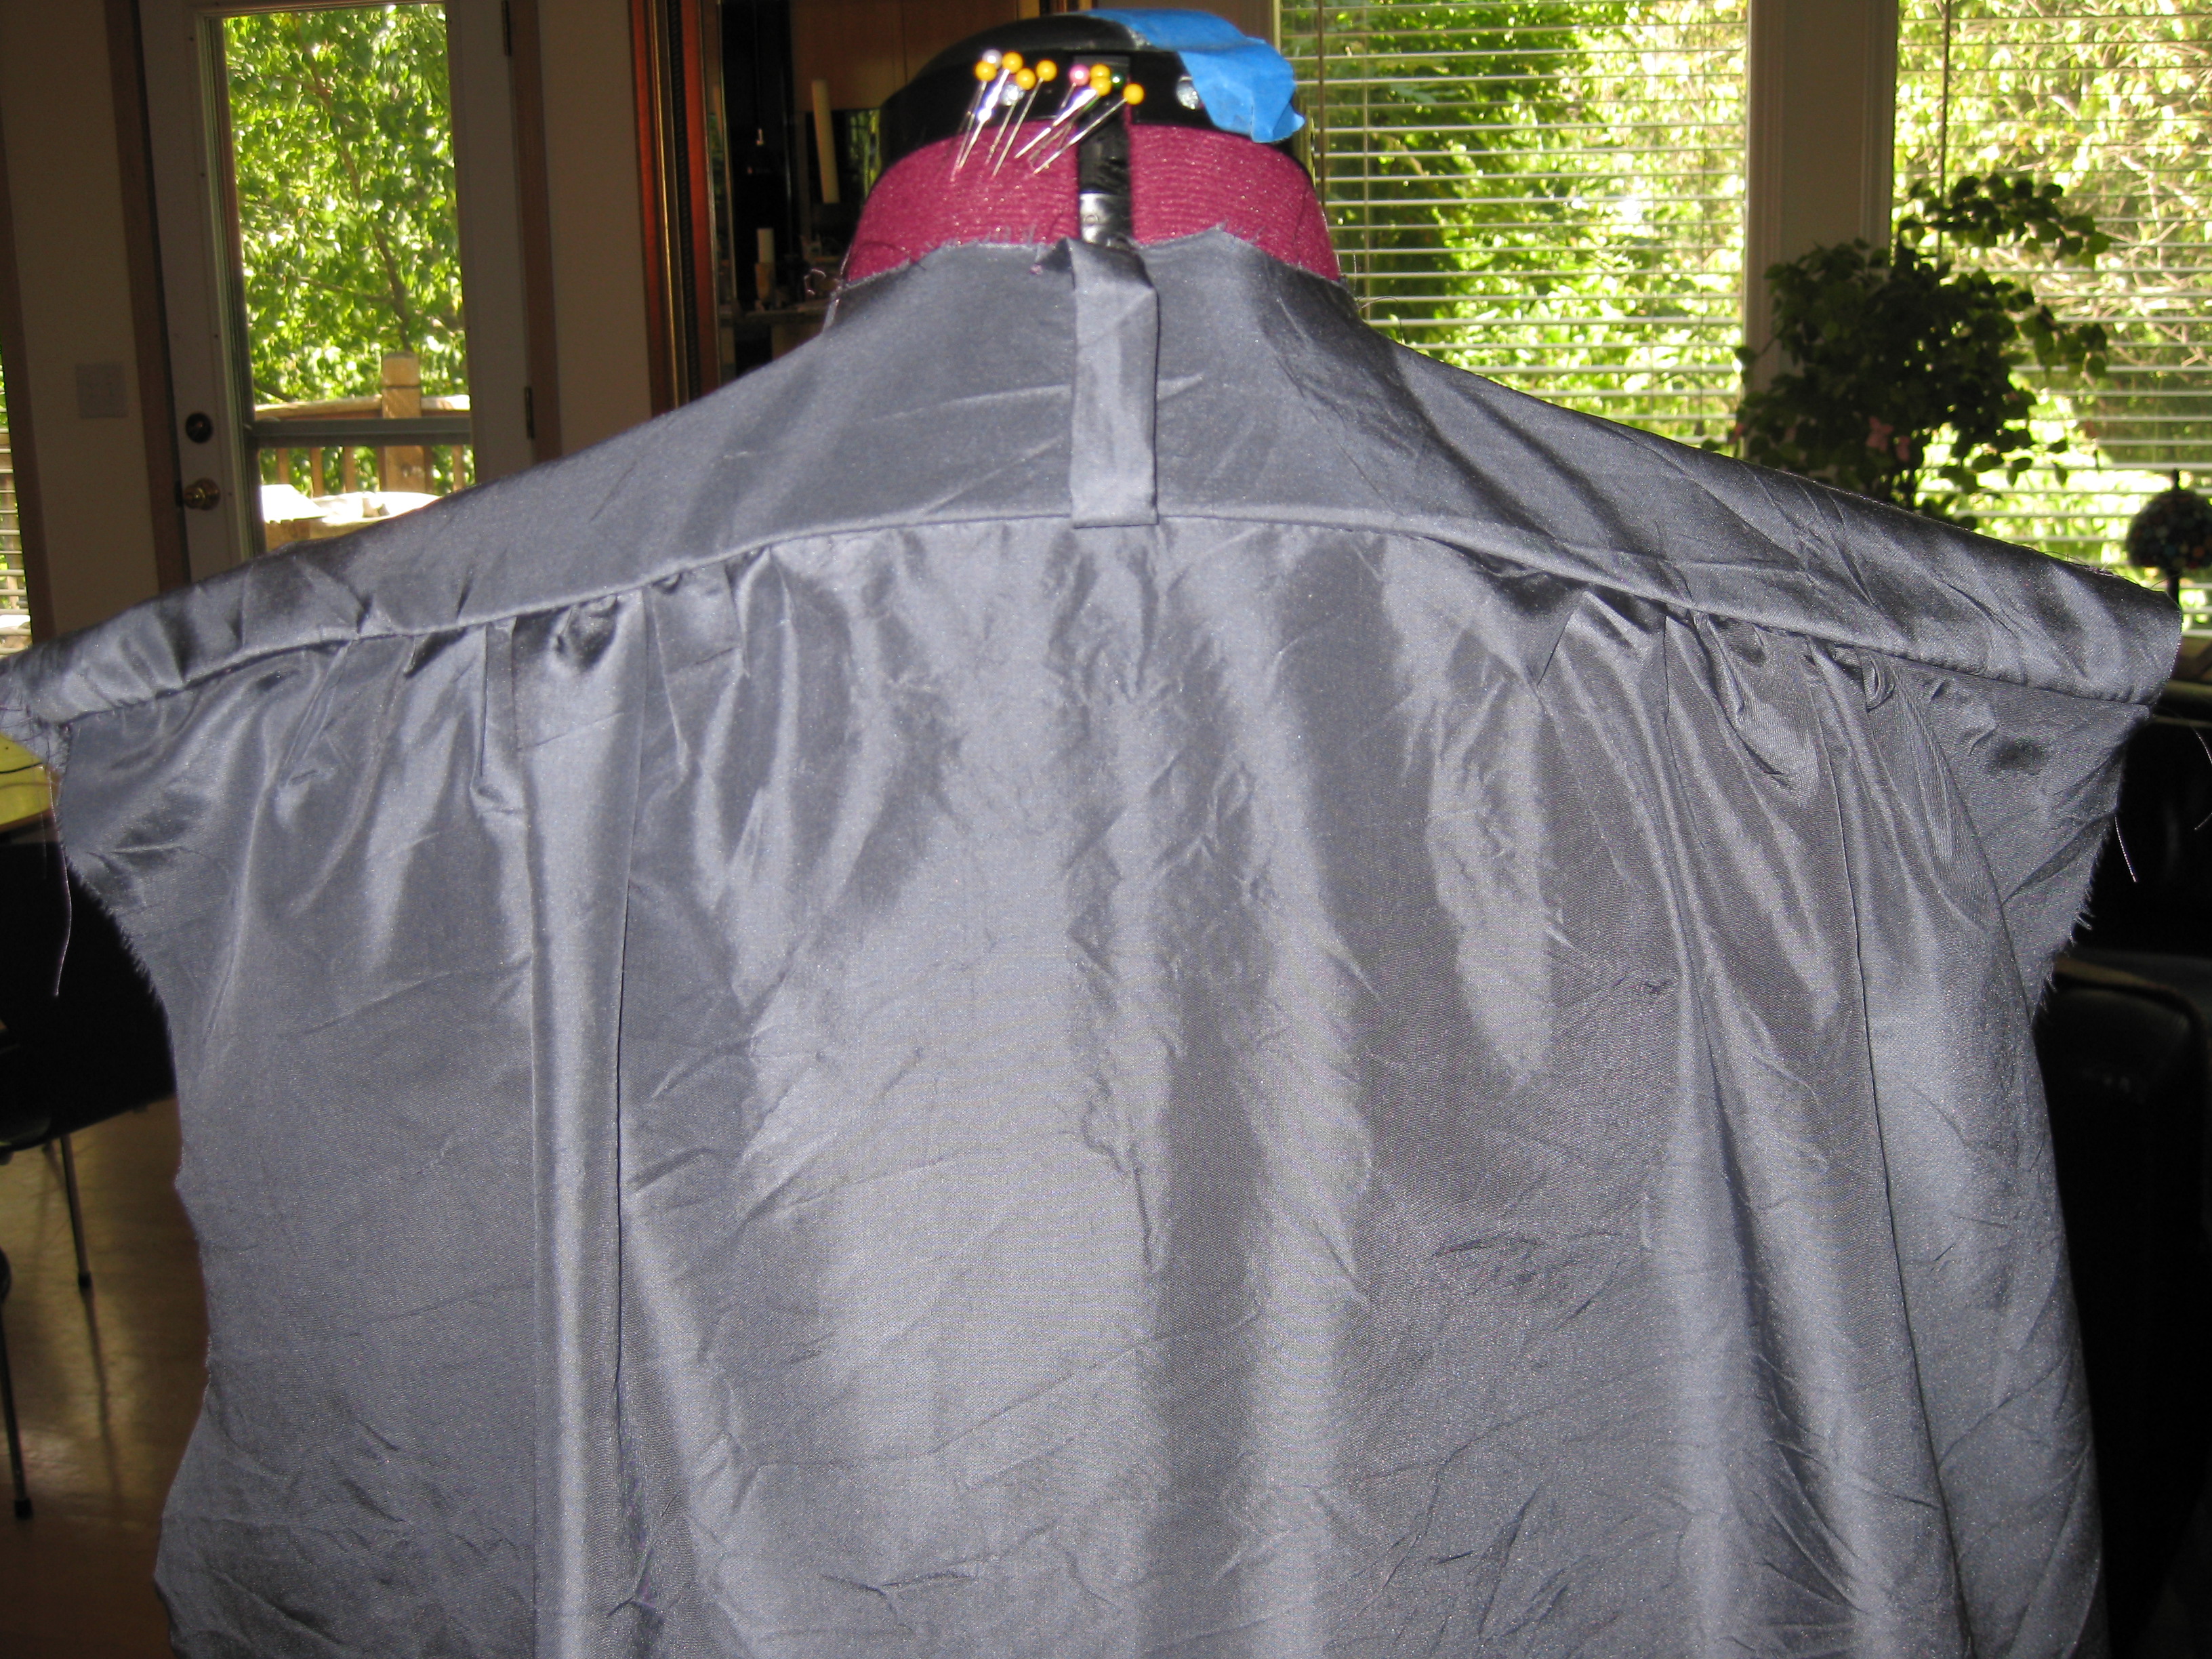
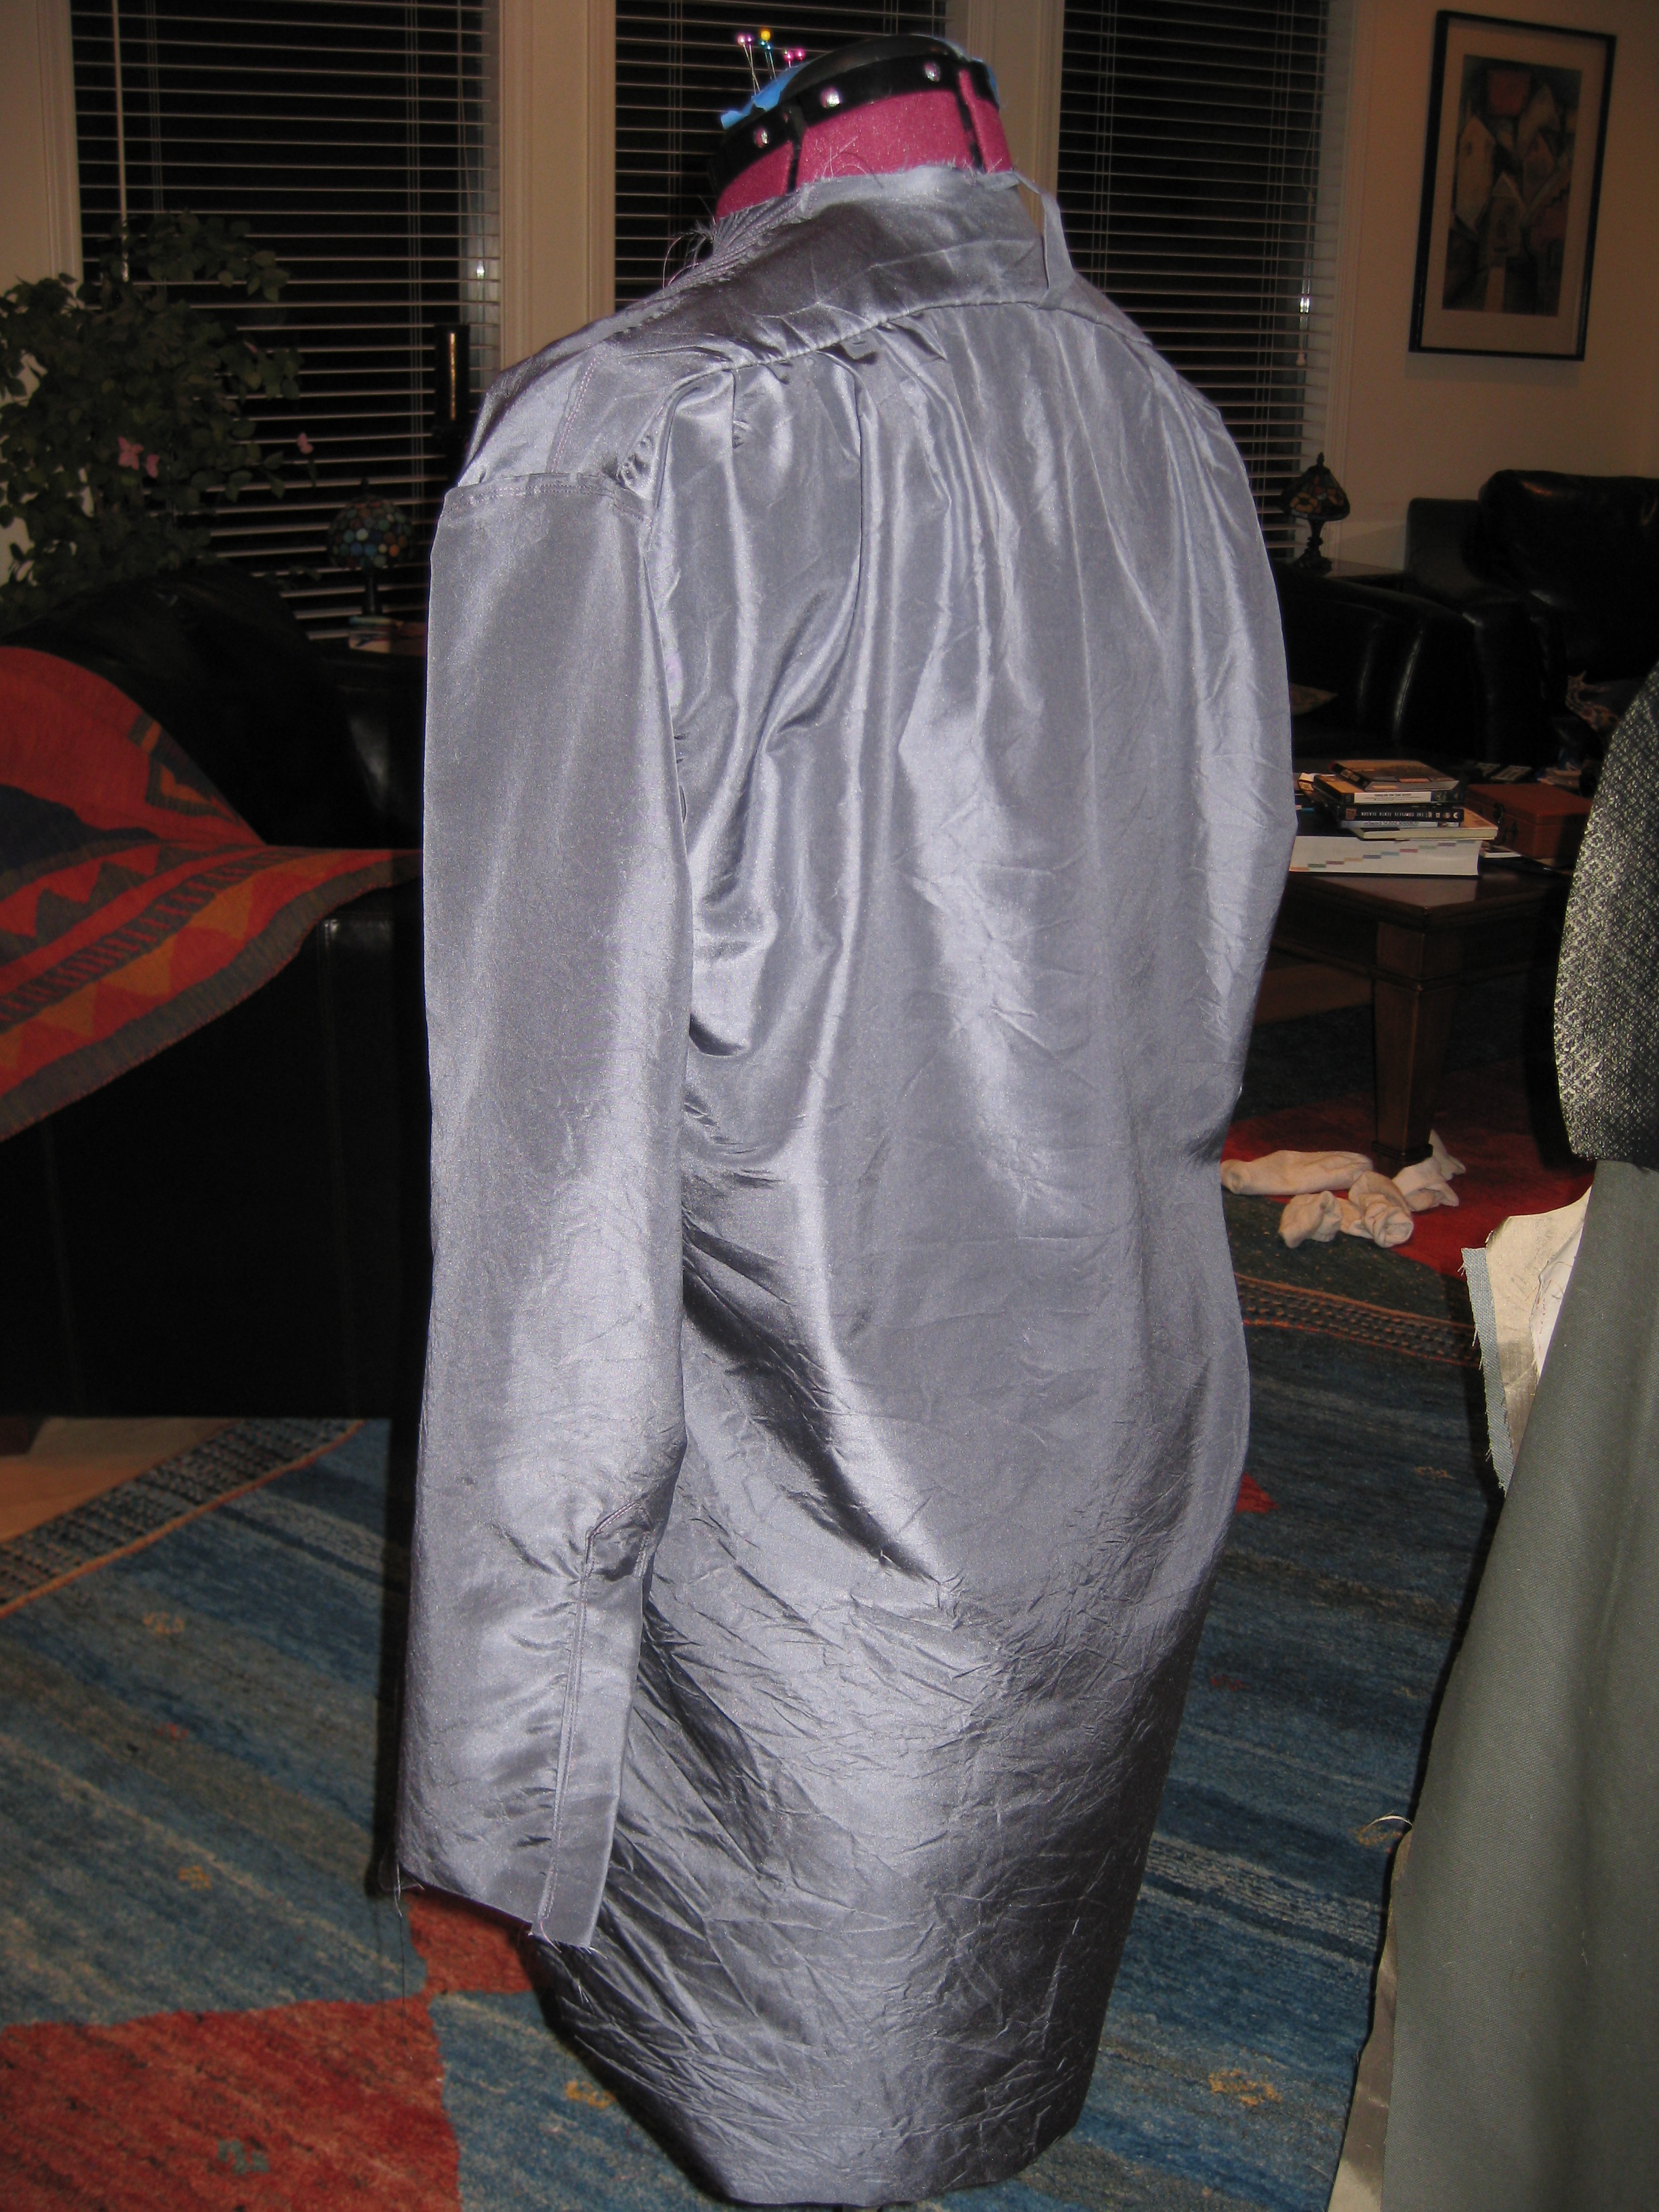
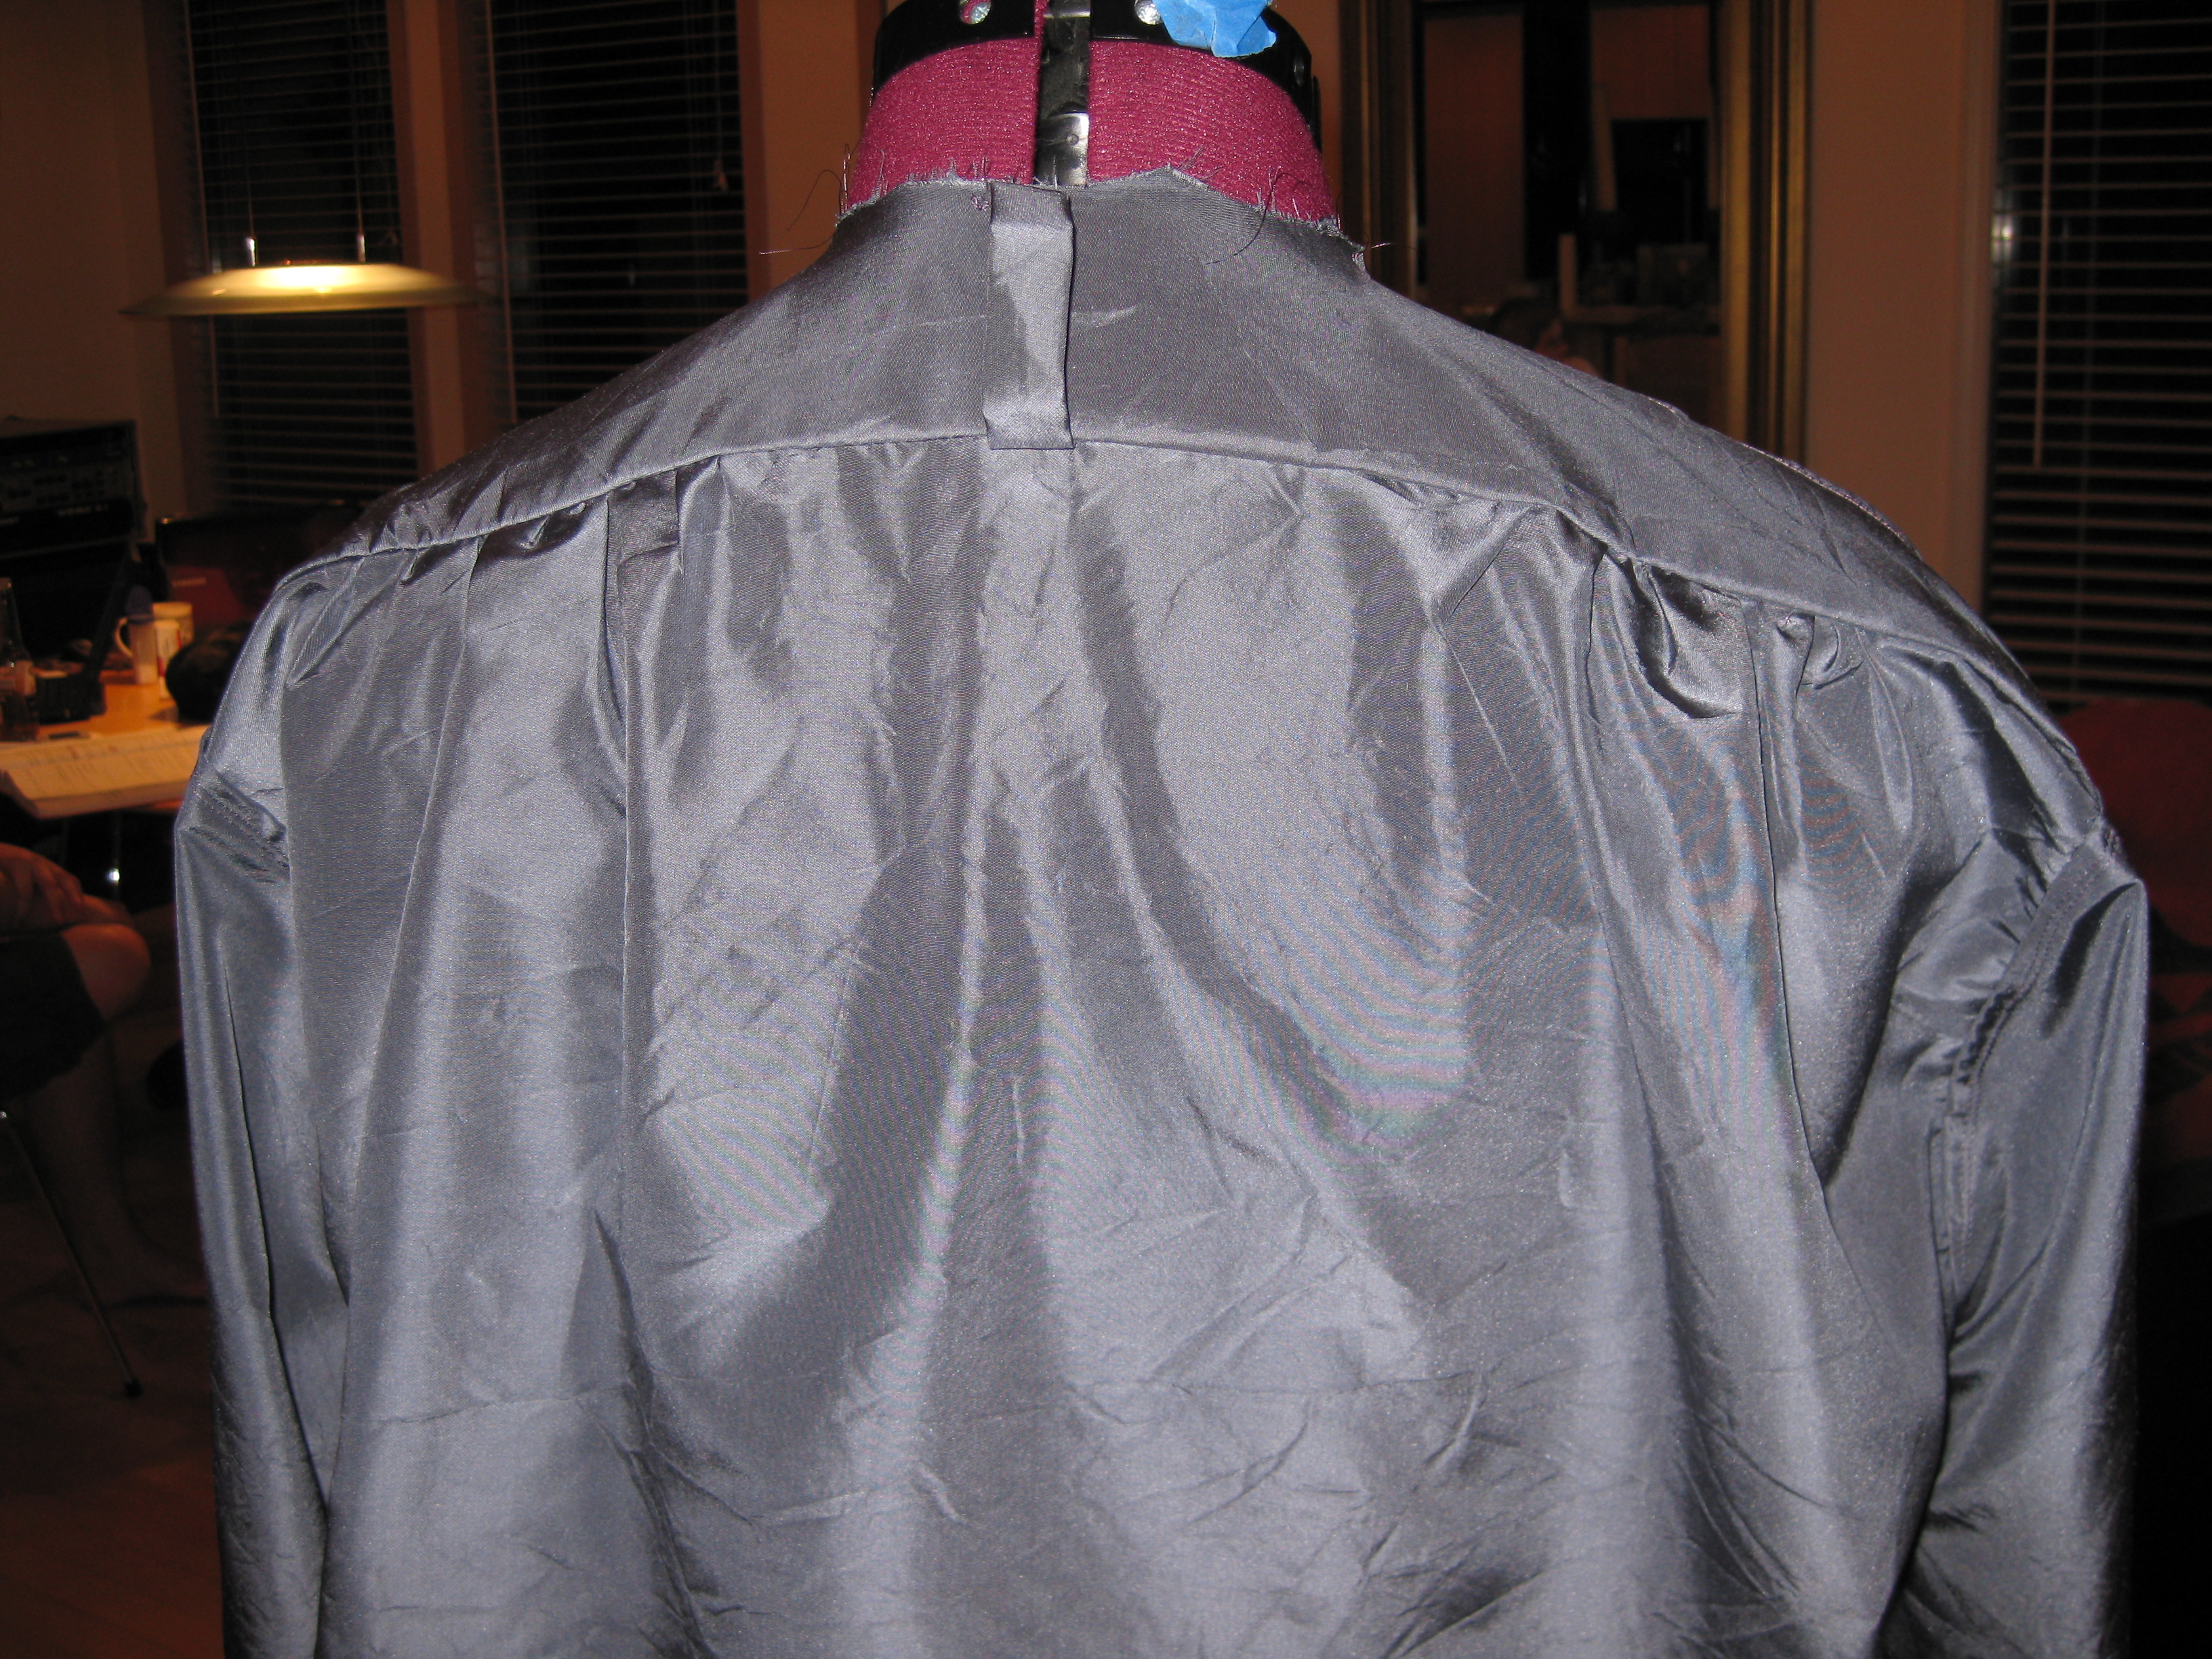
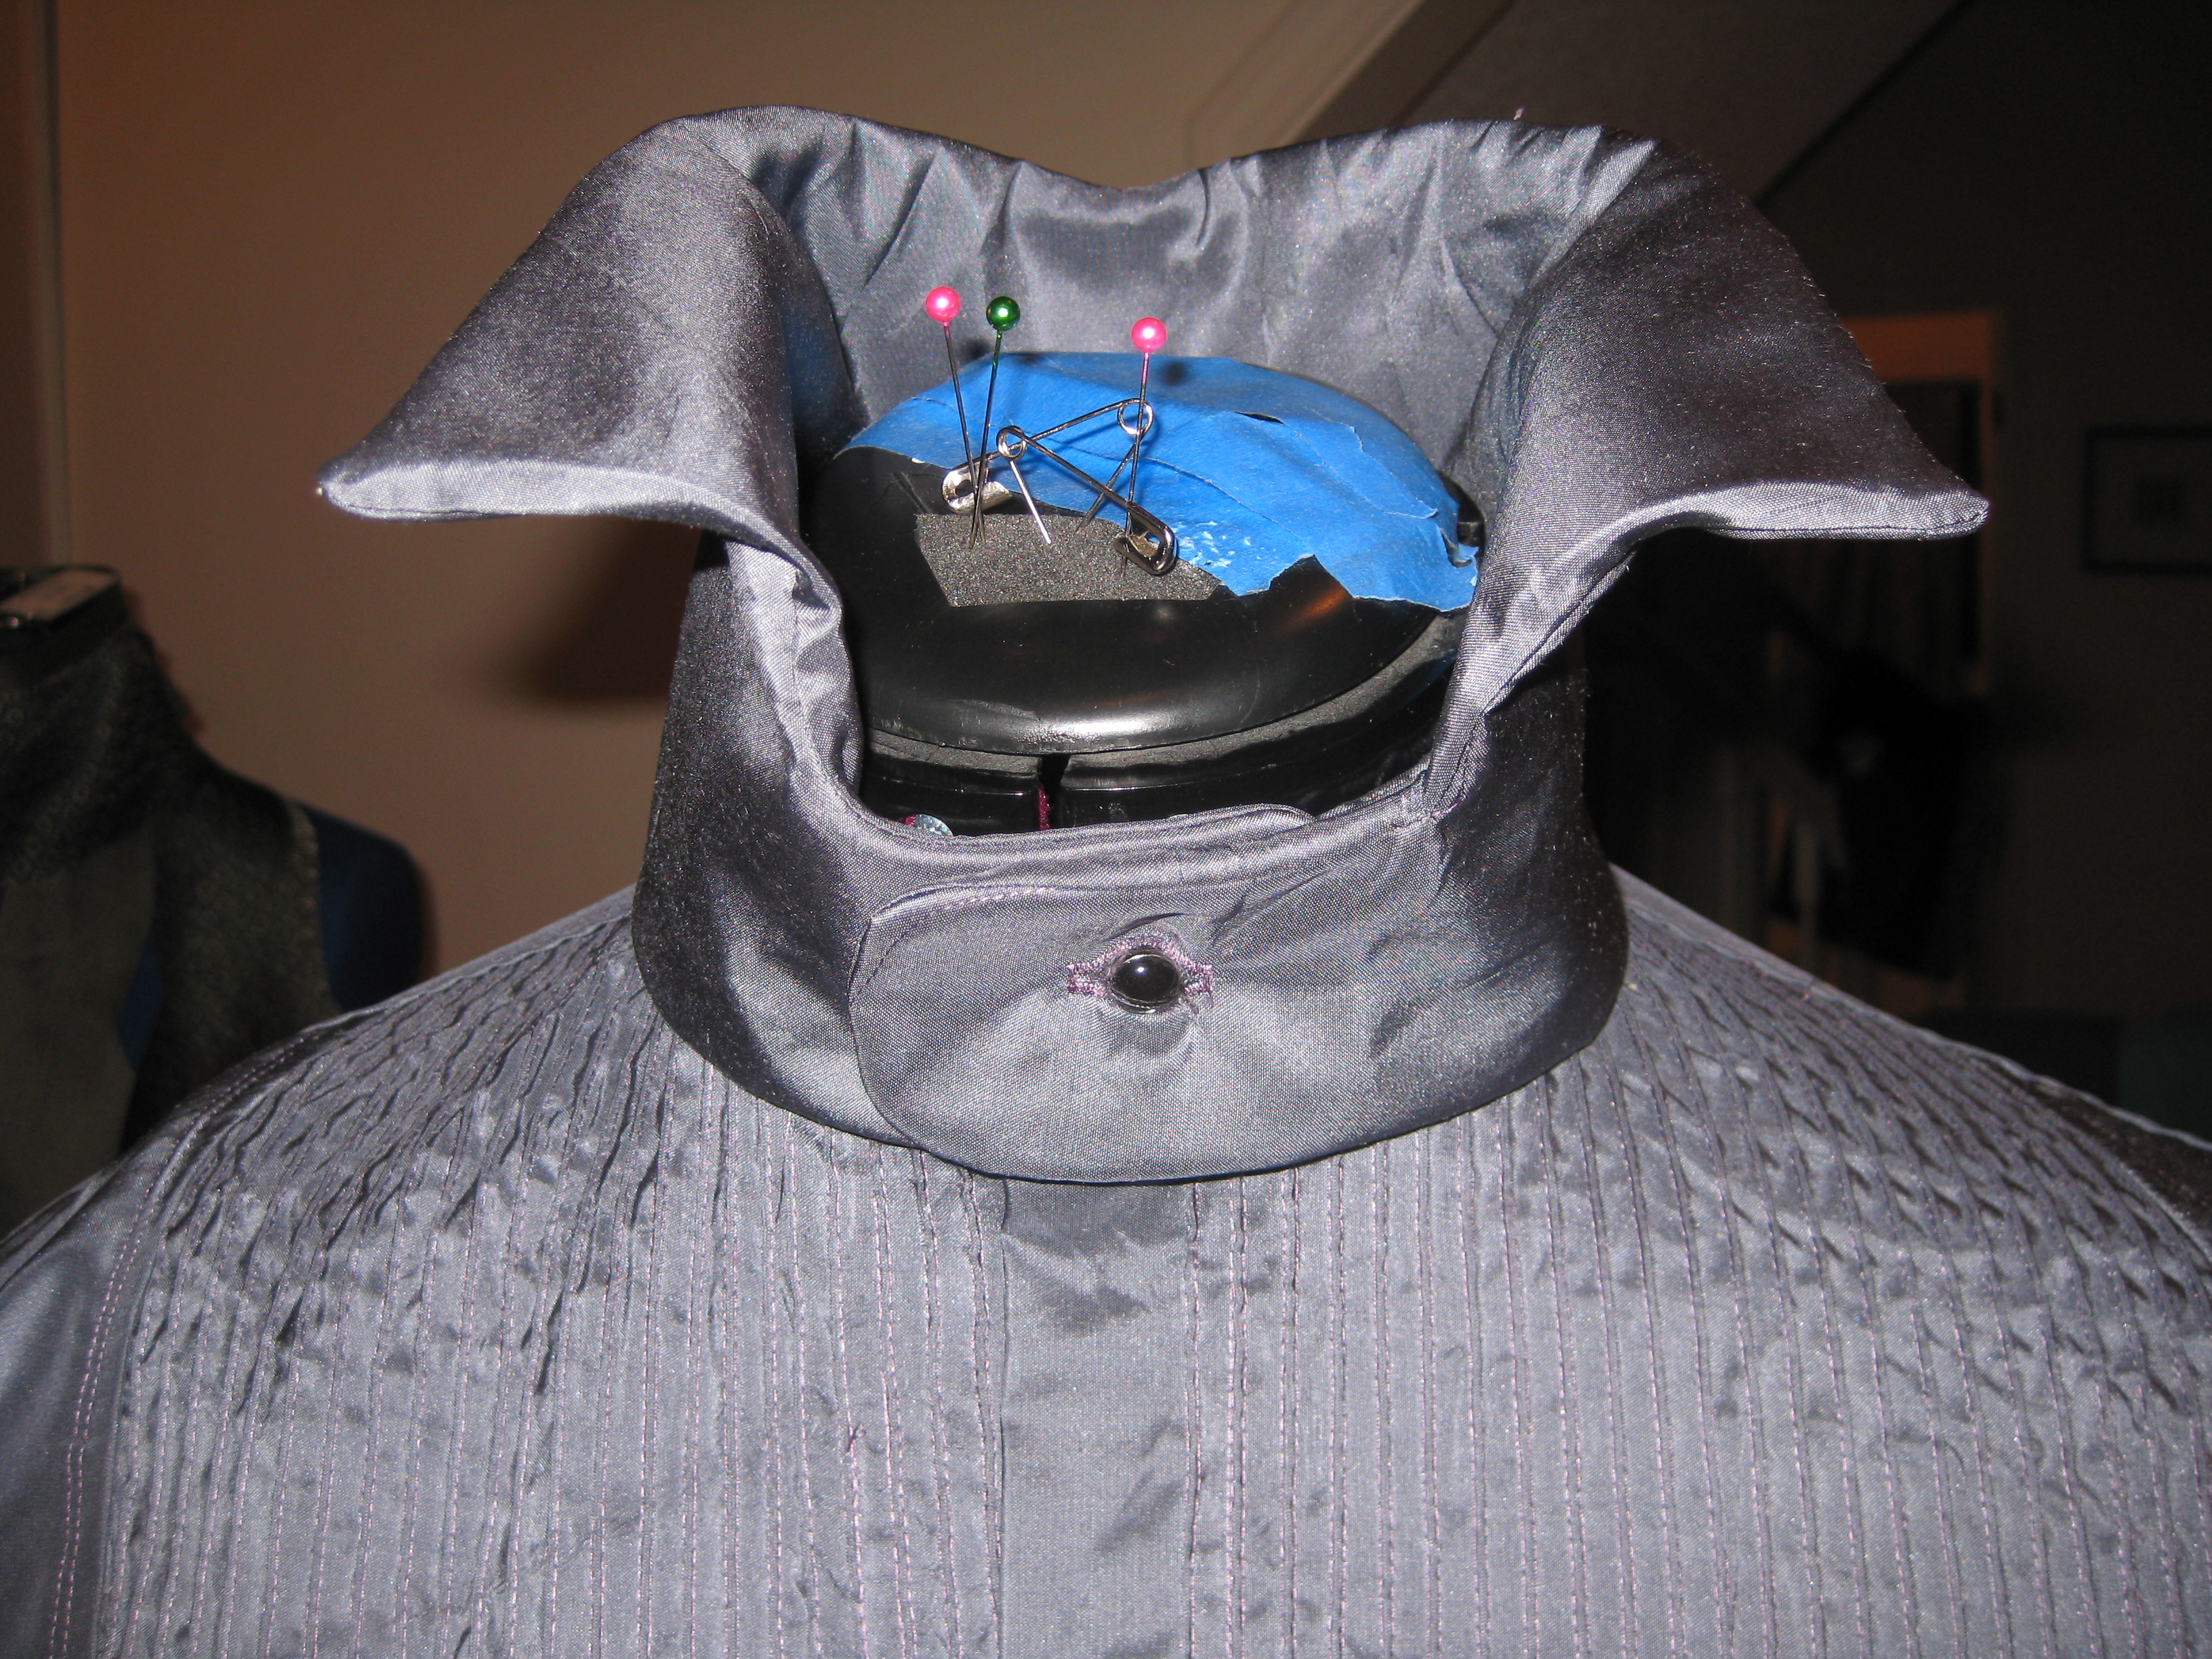
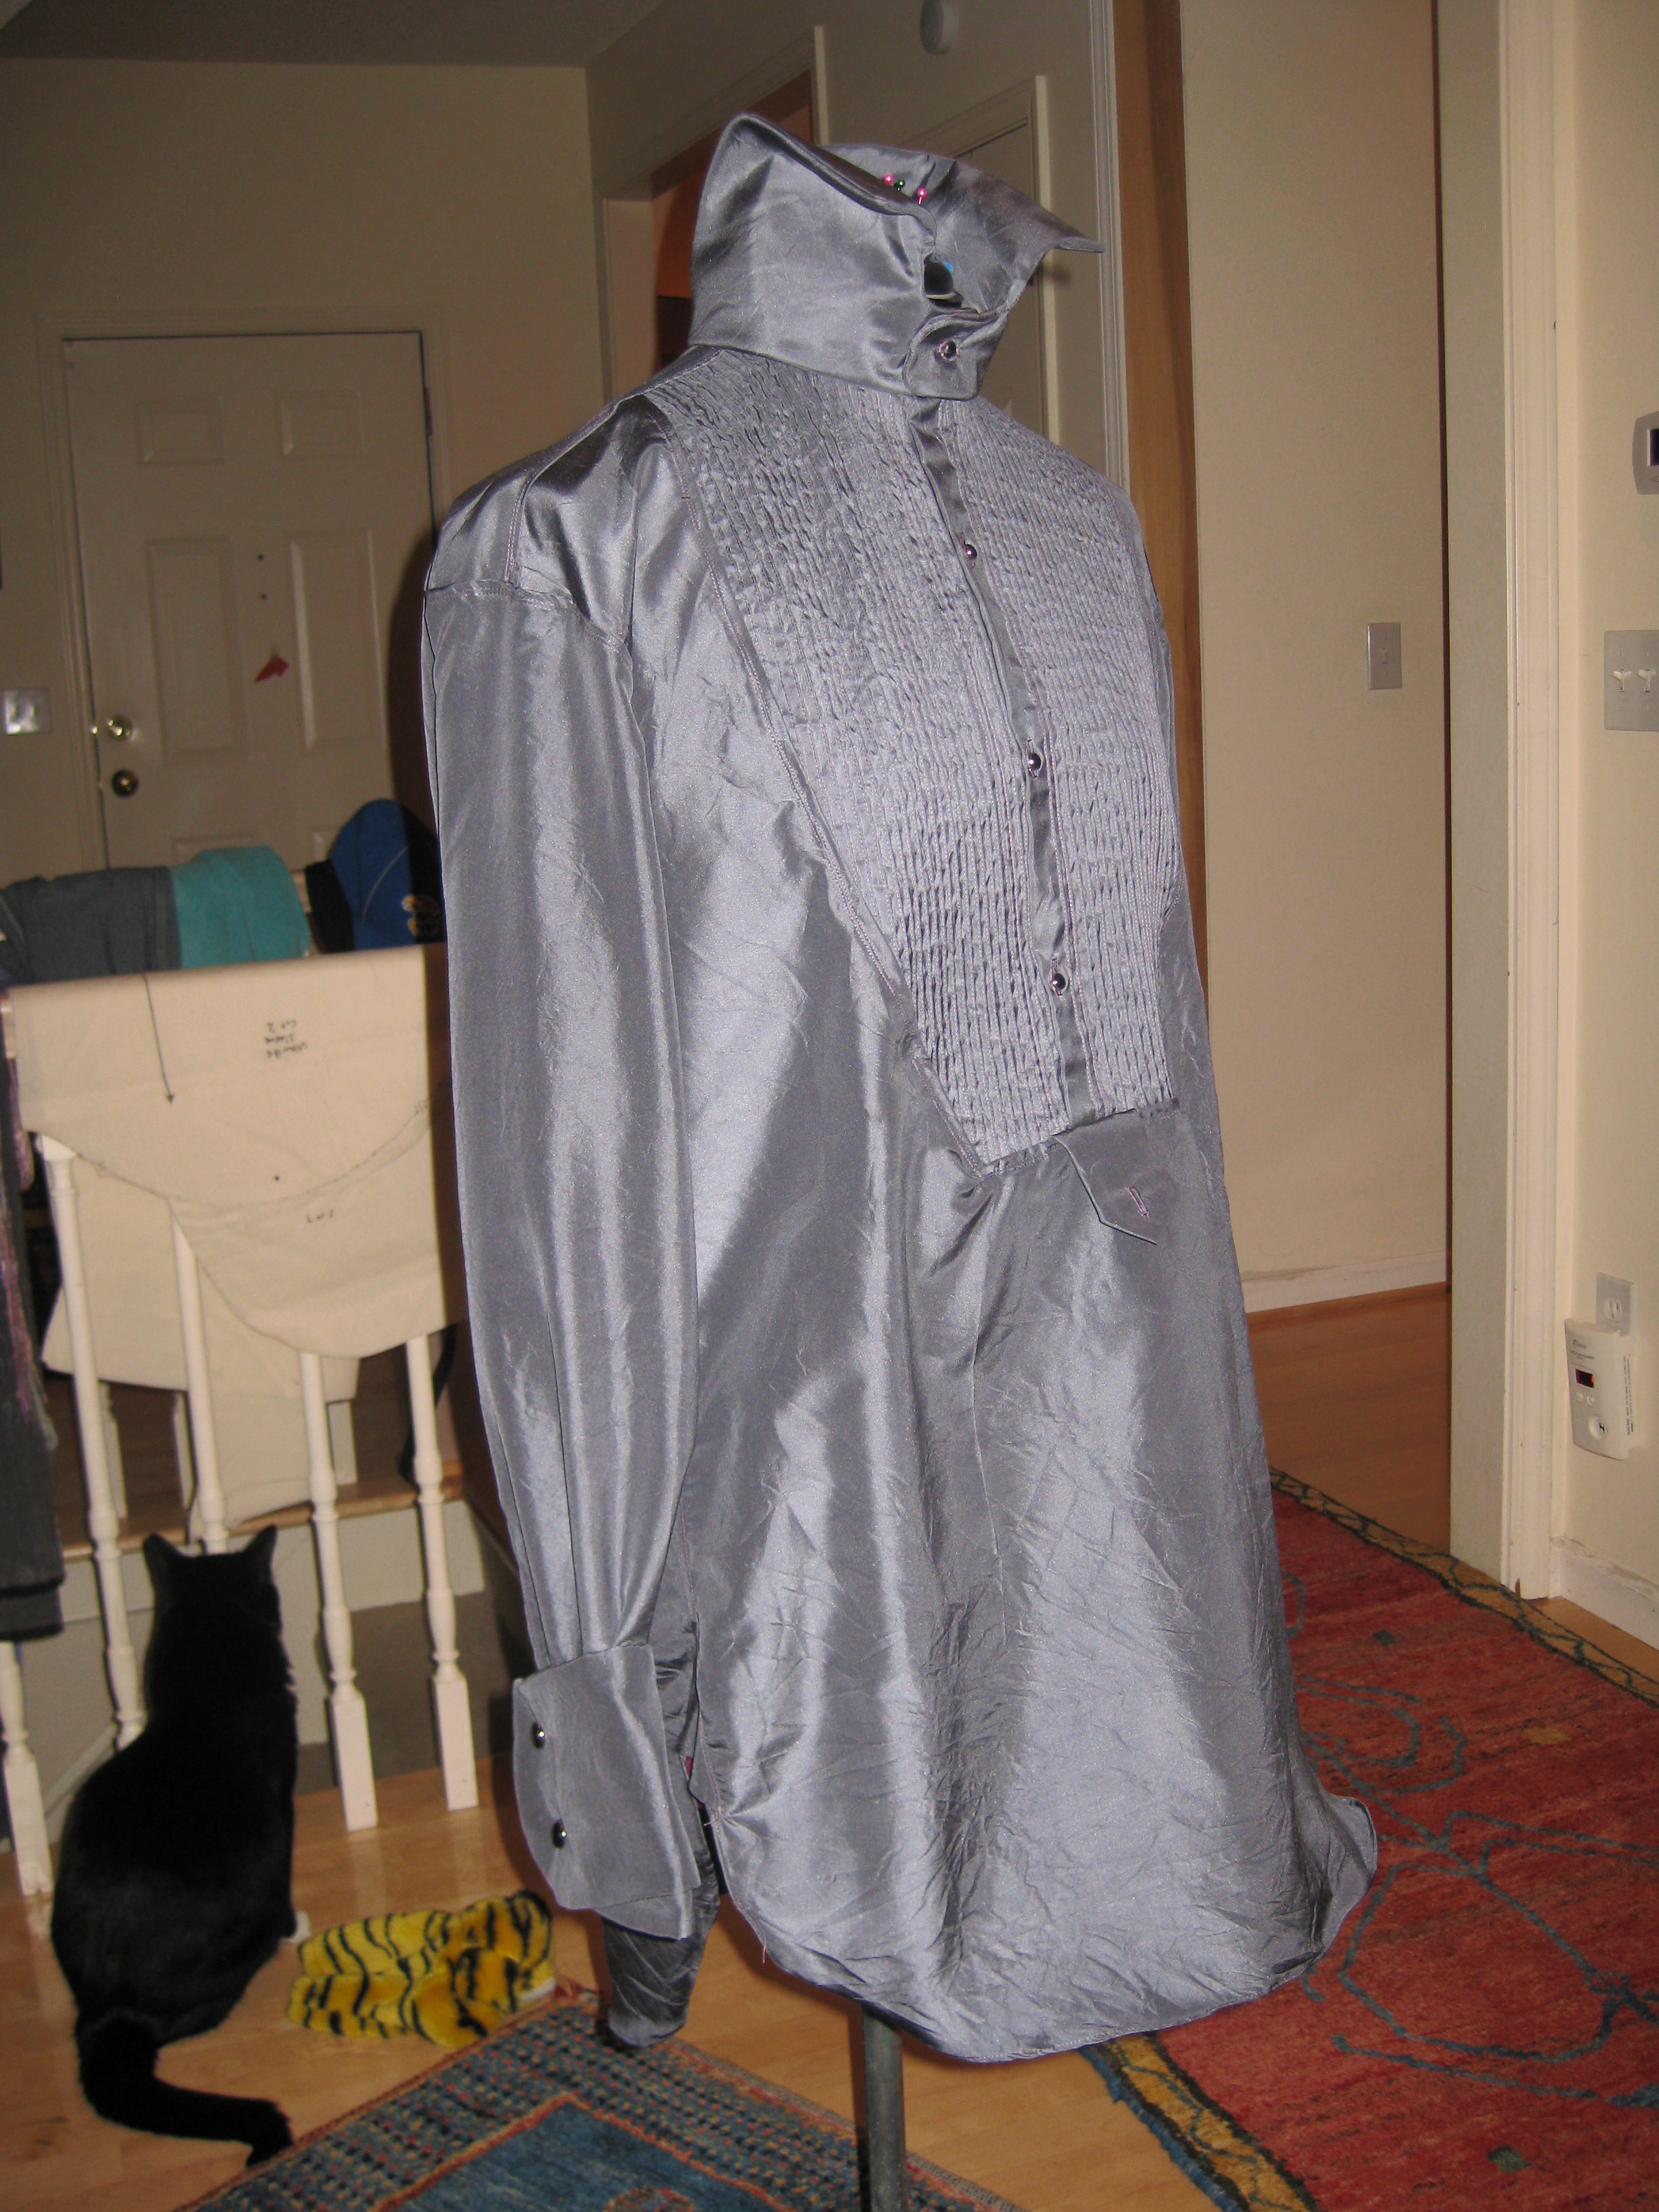
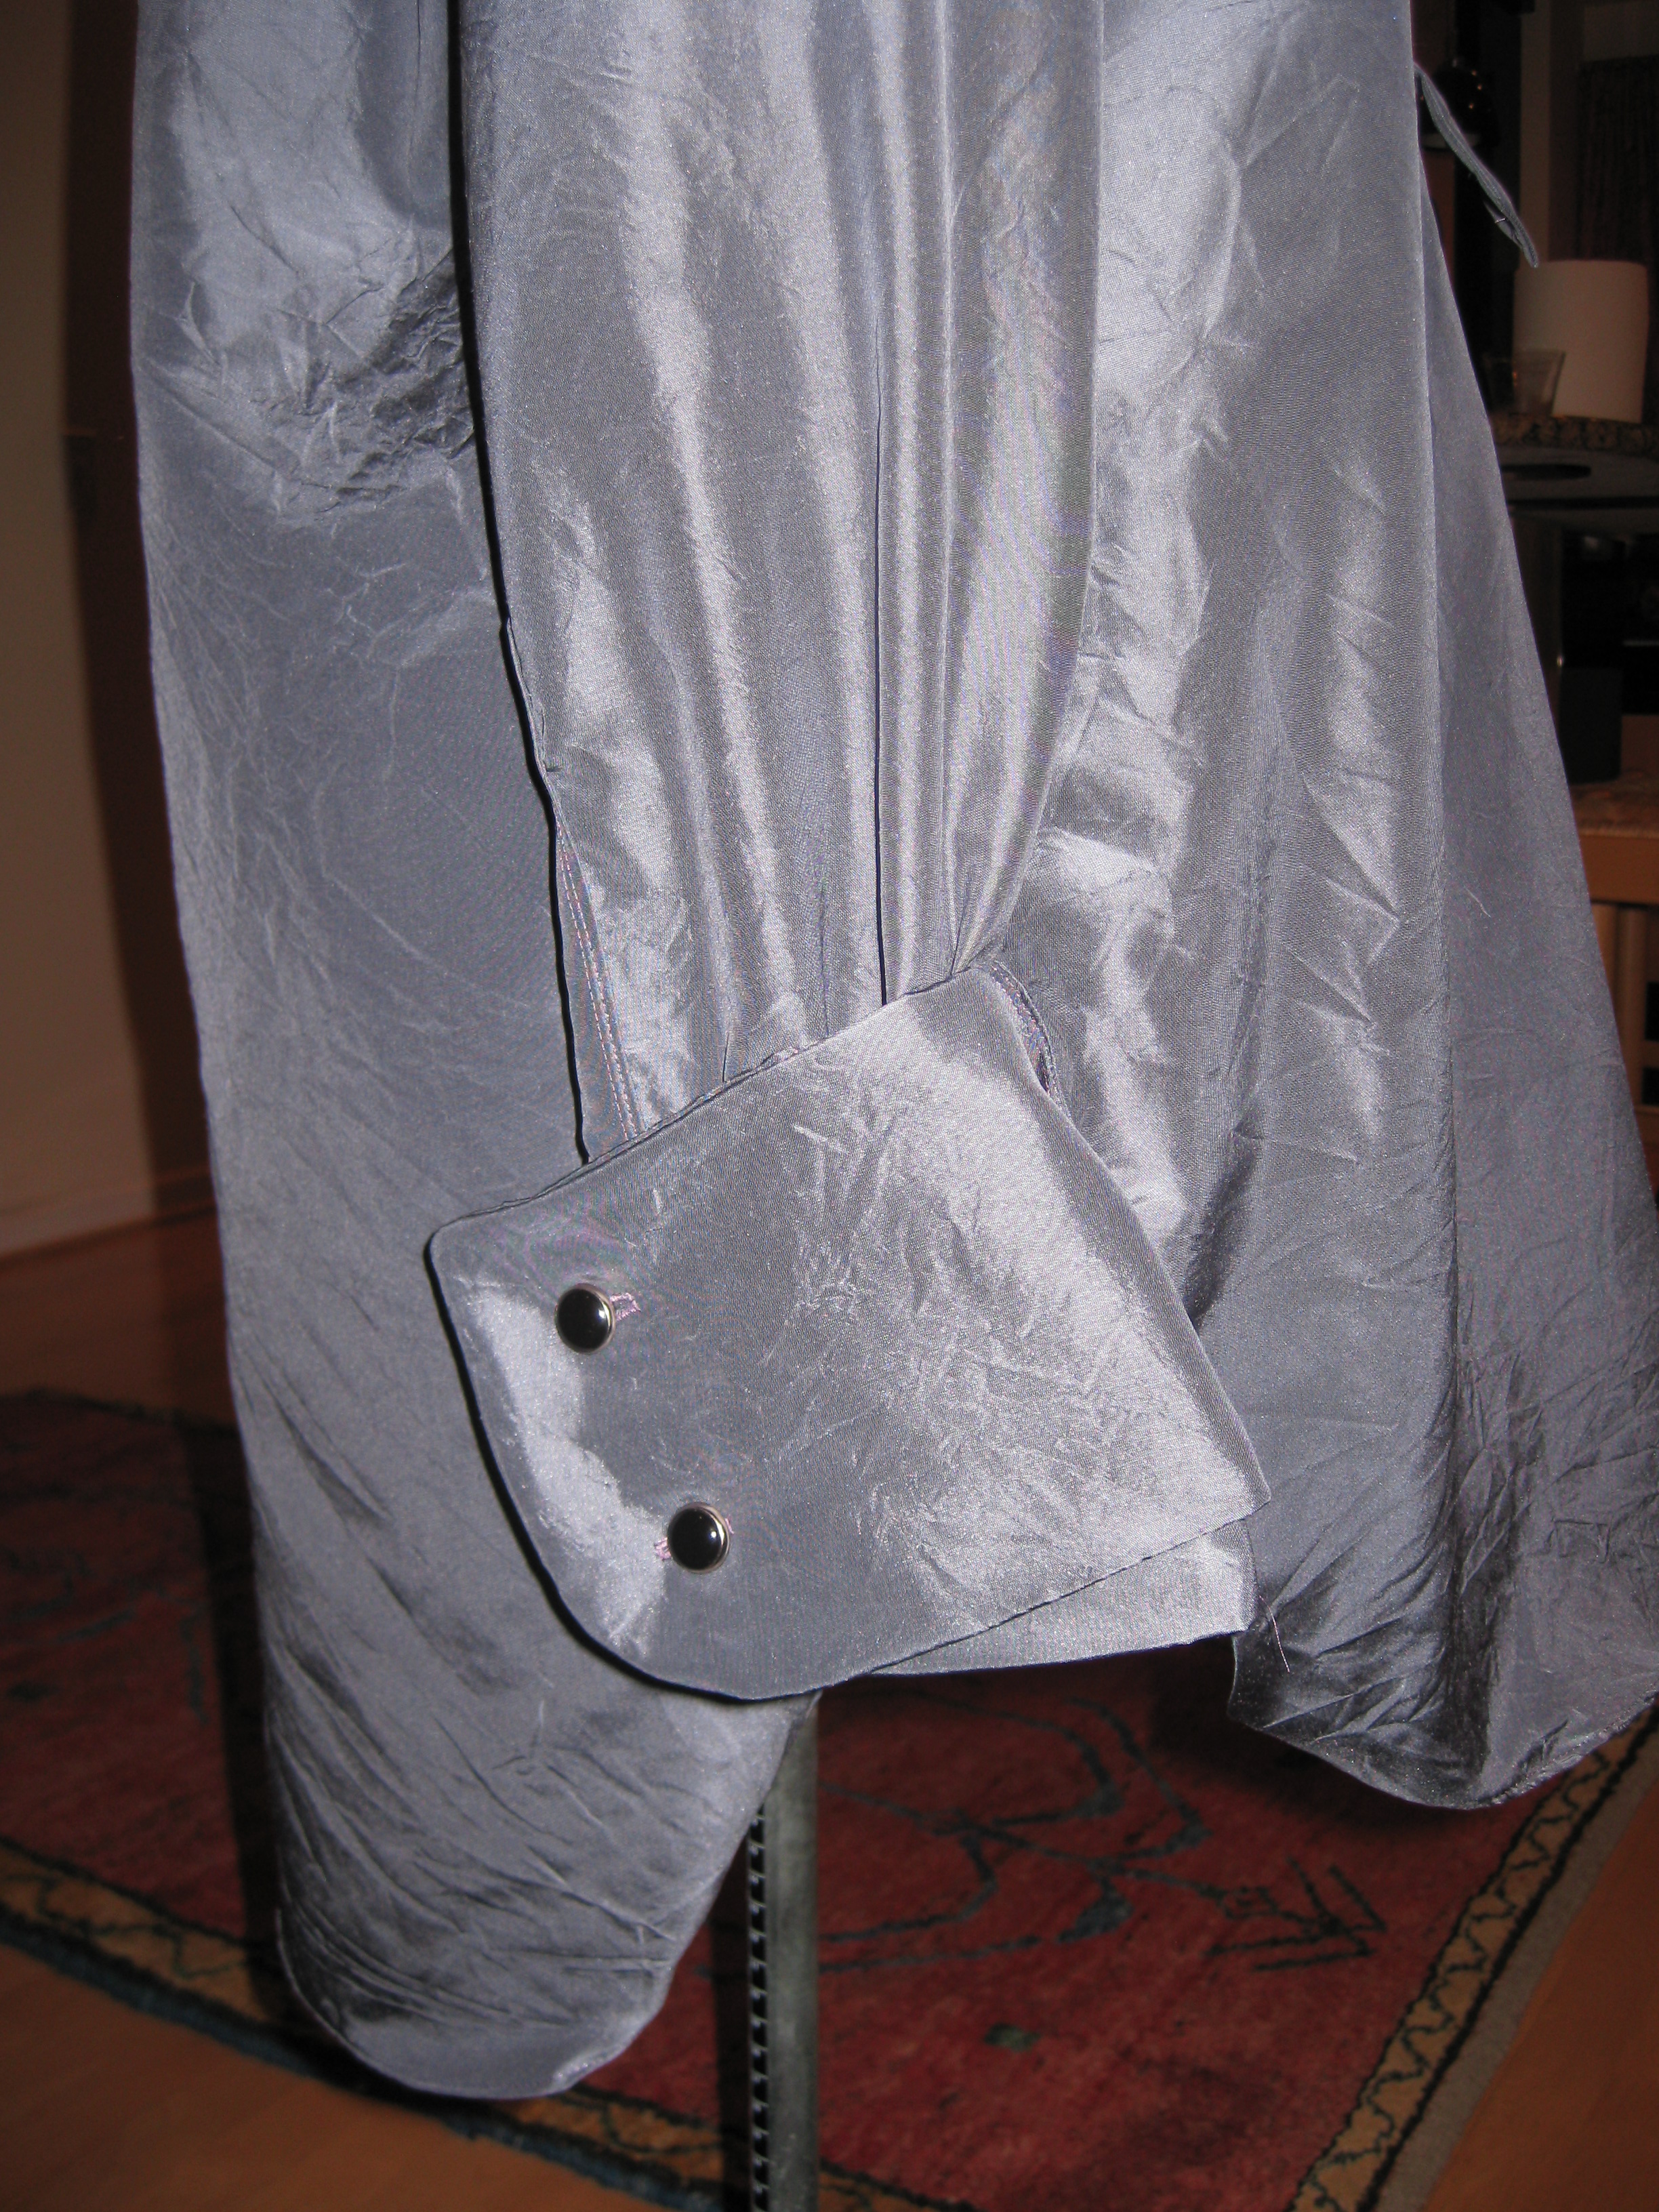
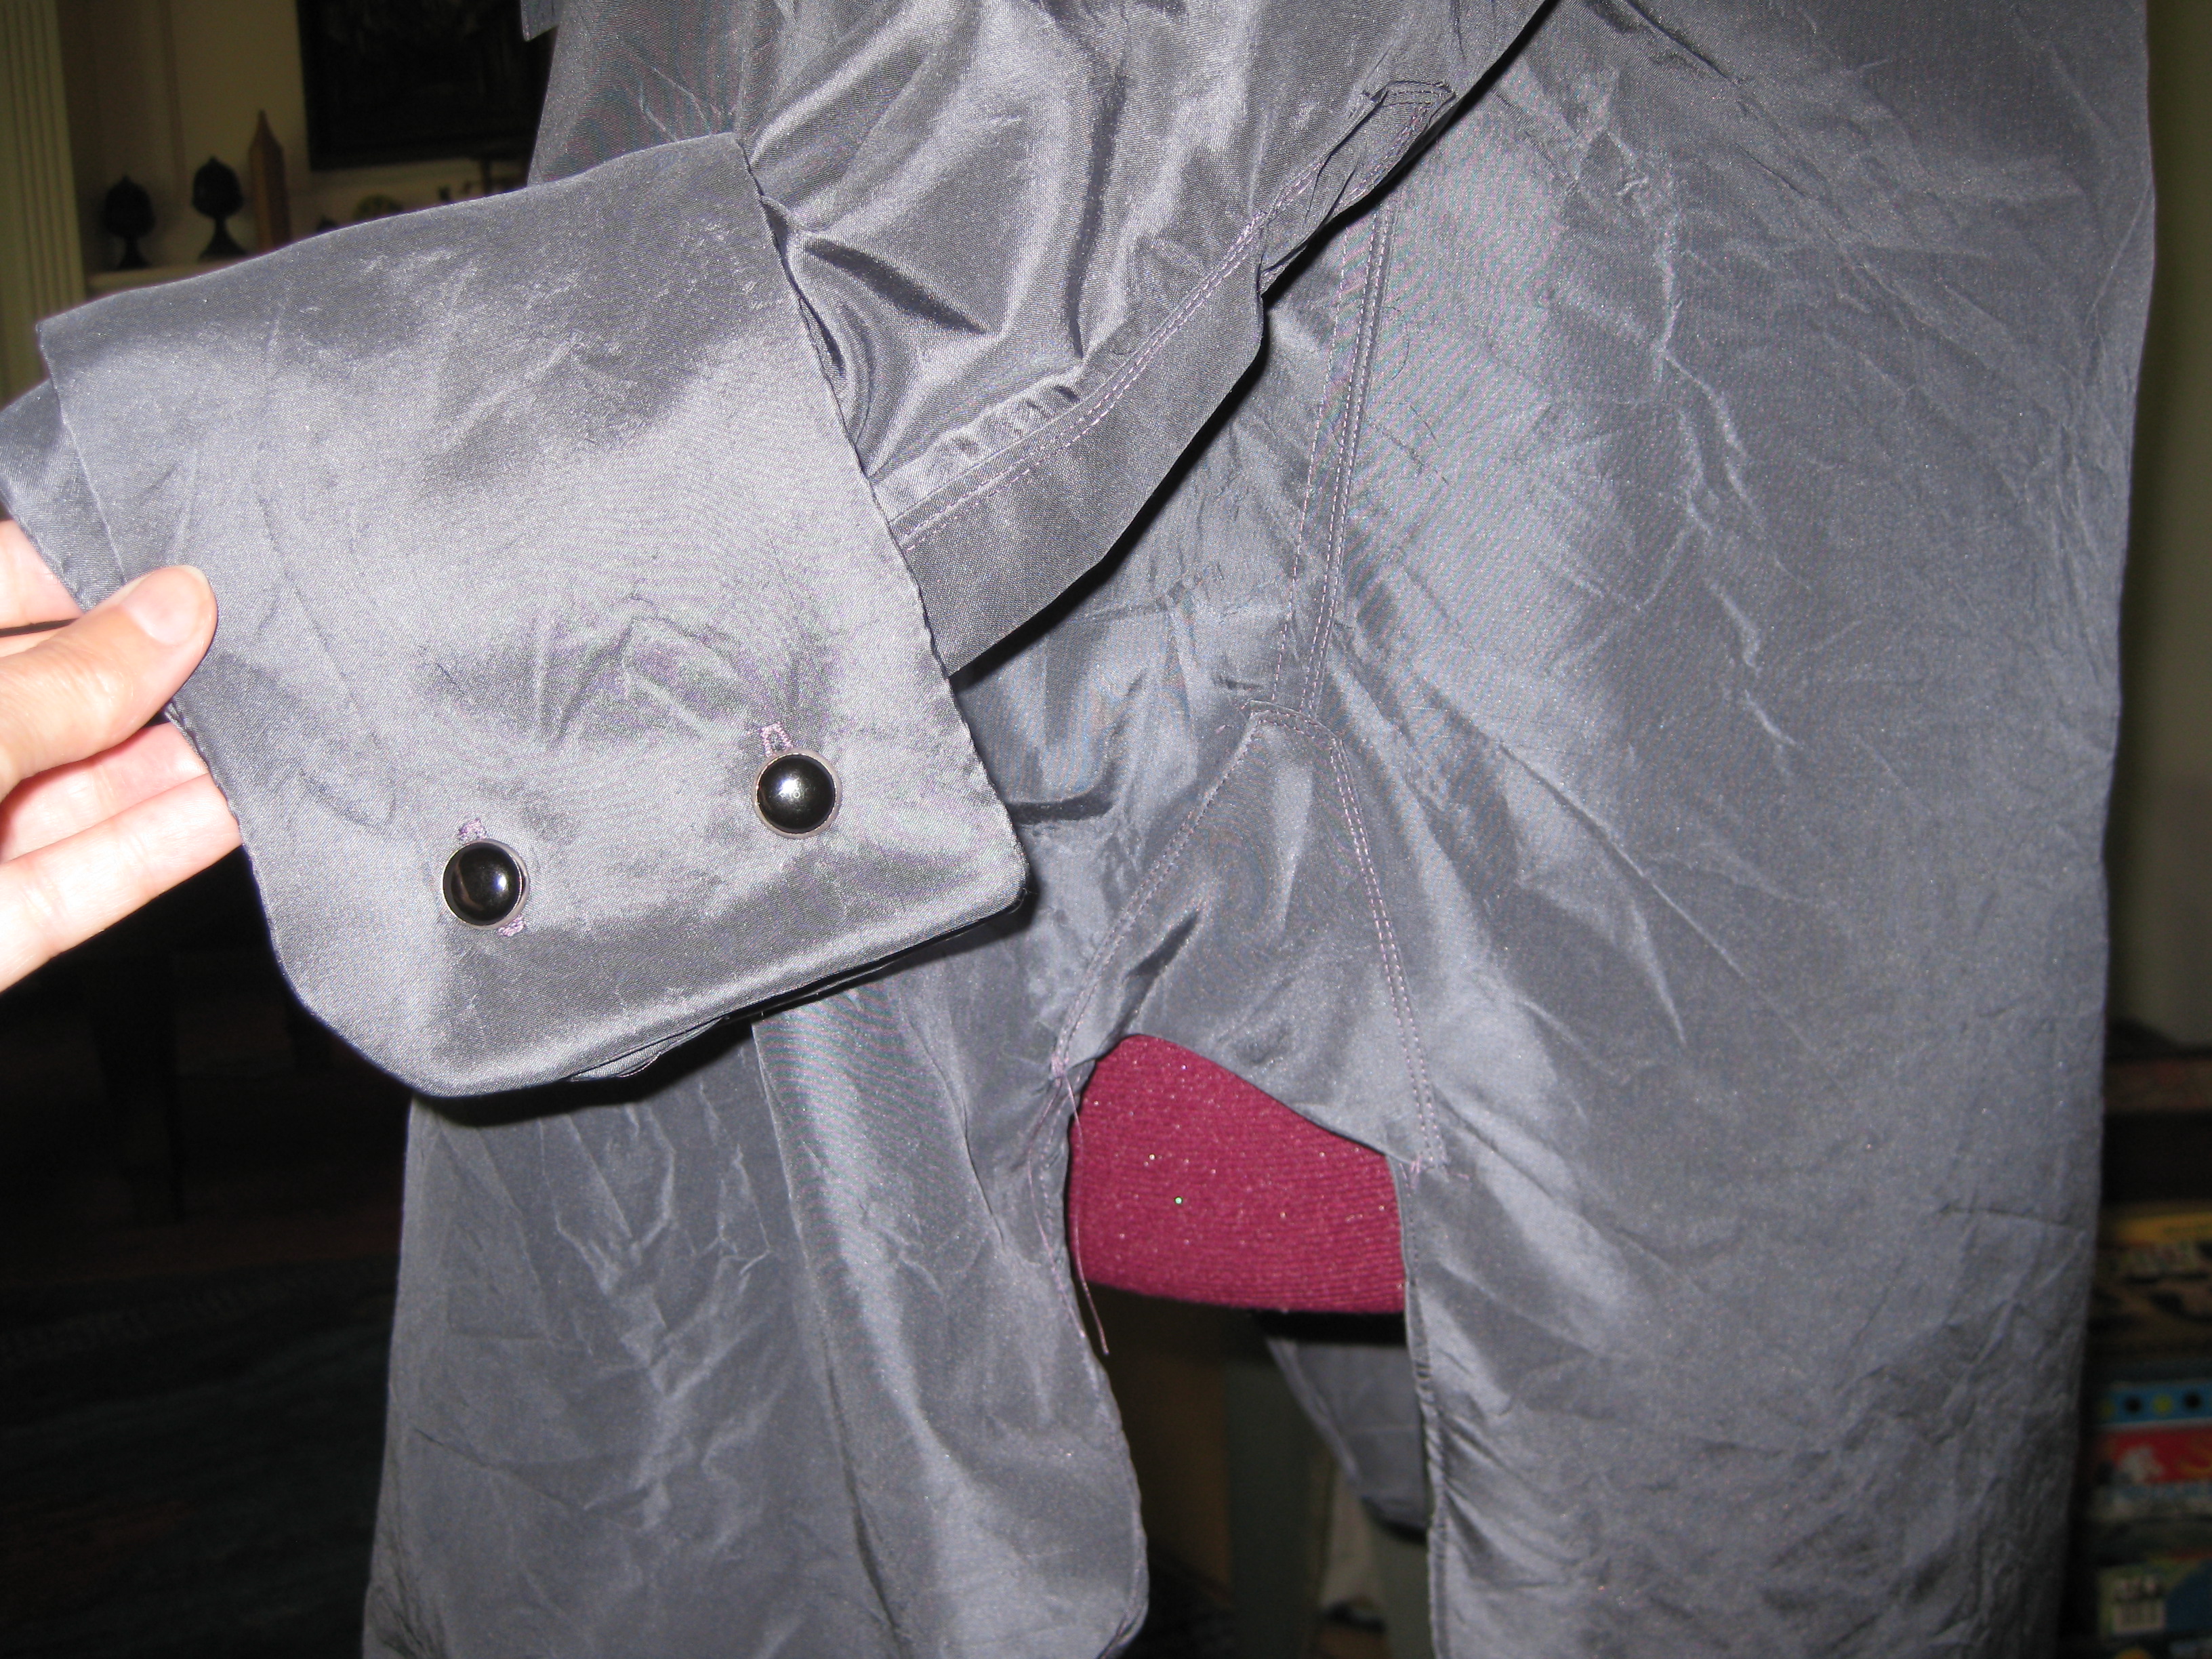
Next, finished the sleeve openings, the under cuffs, so to speak, over which the detachable cuffs will sit, and then I put the neckband in. Here's how that looks:
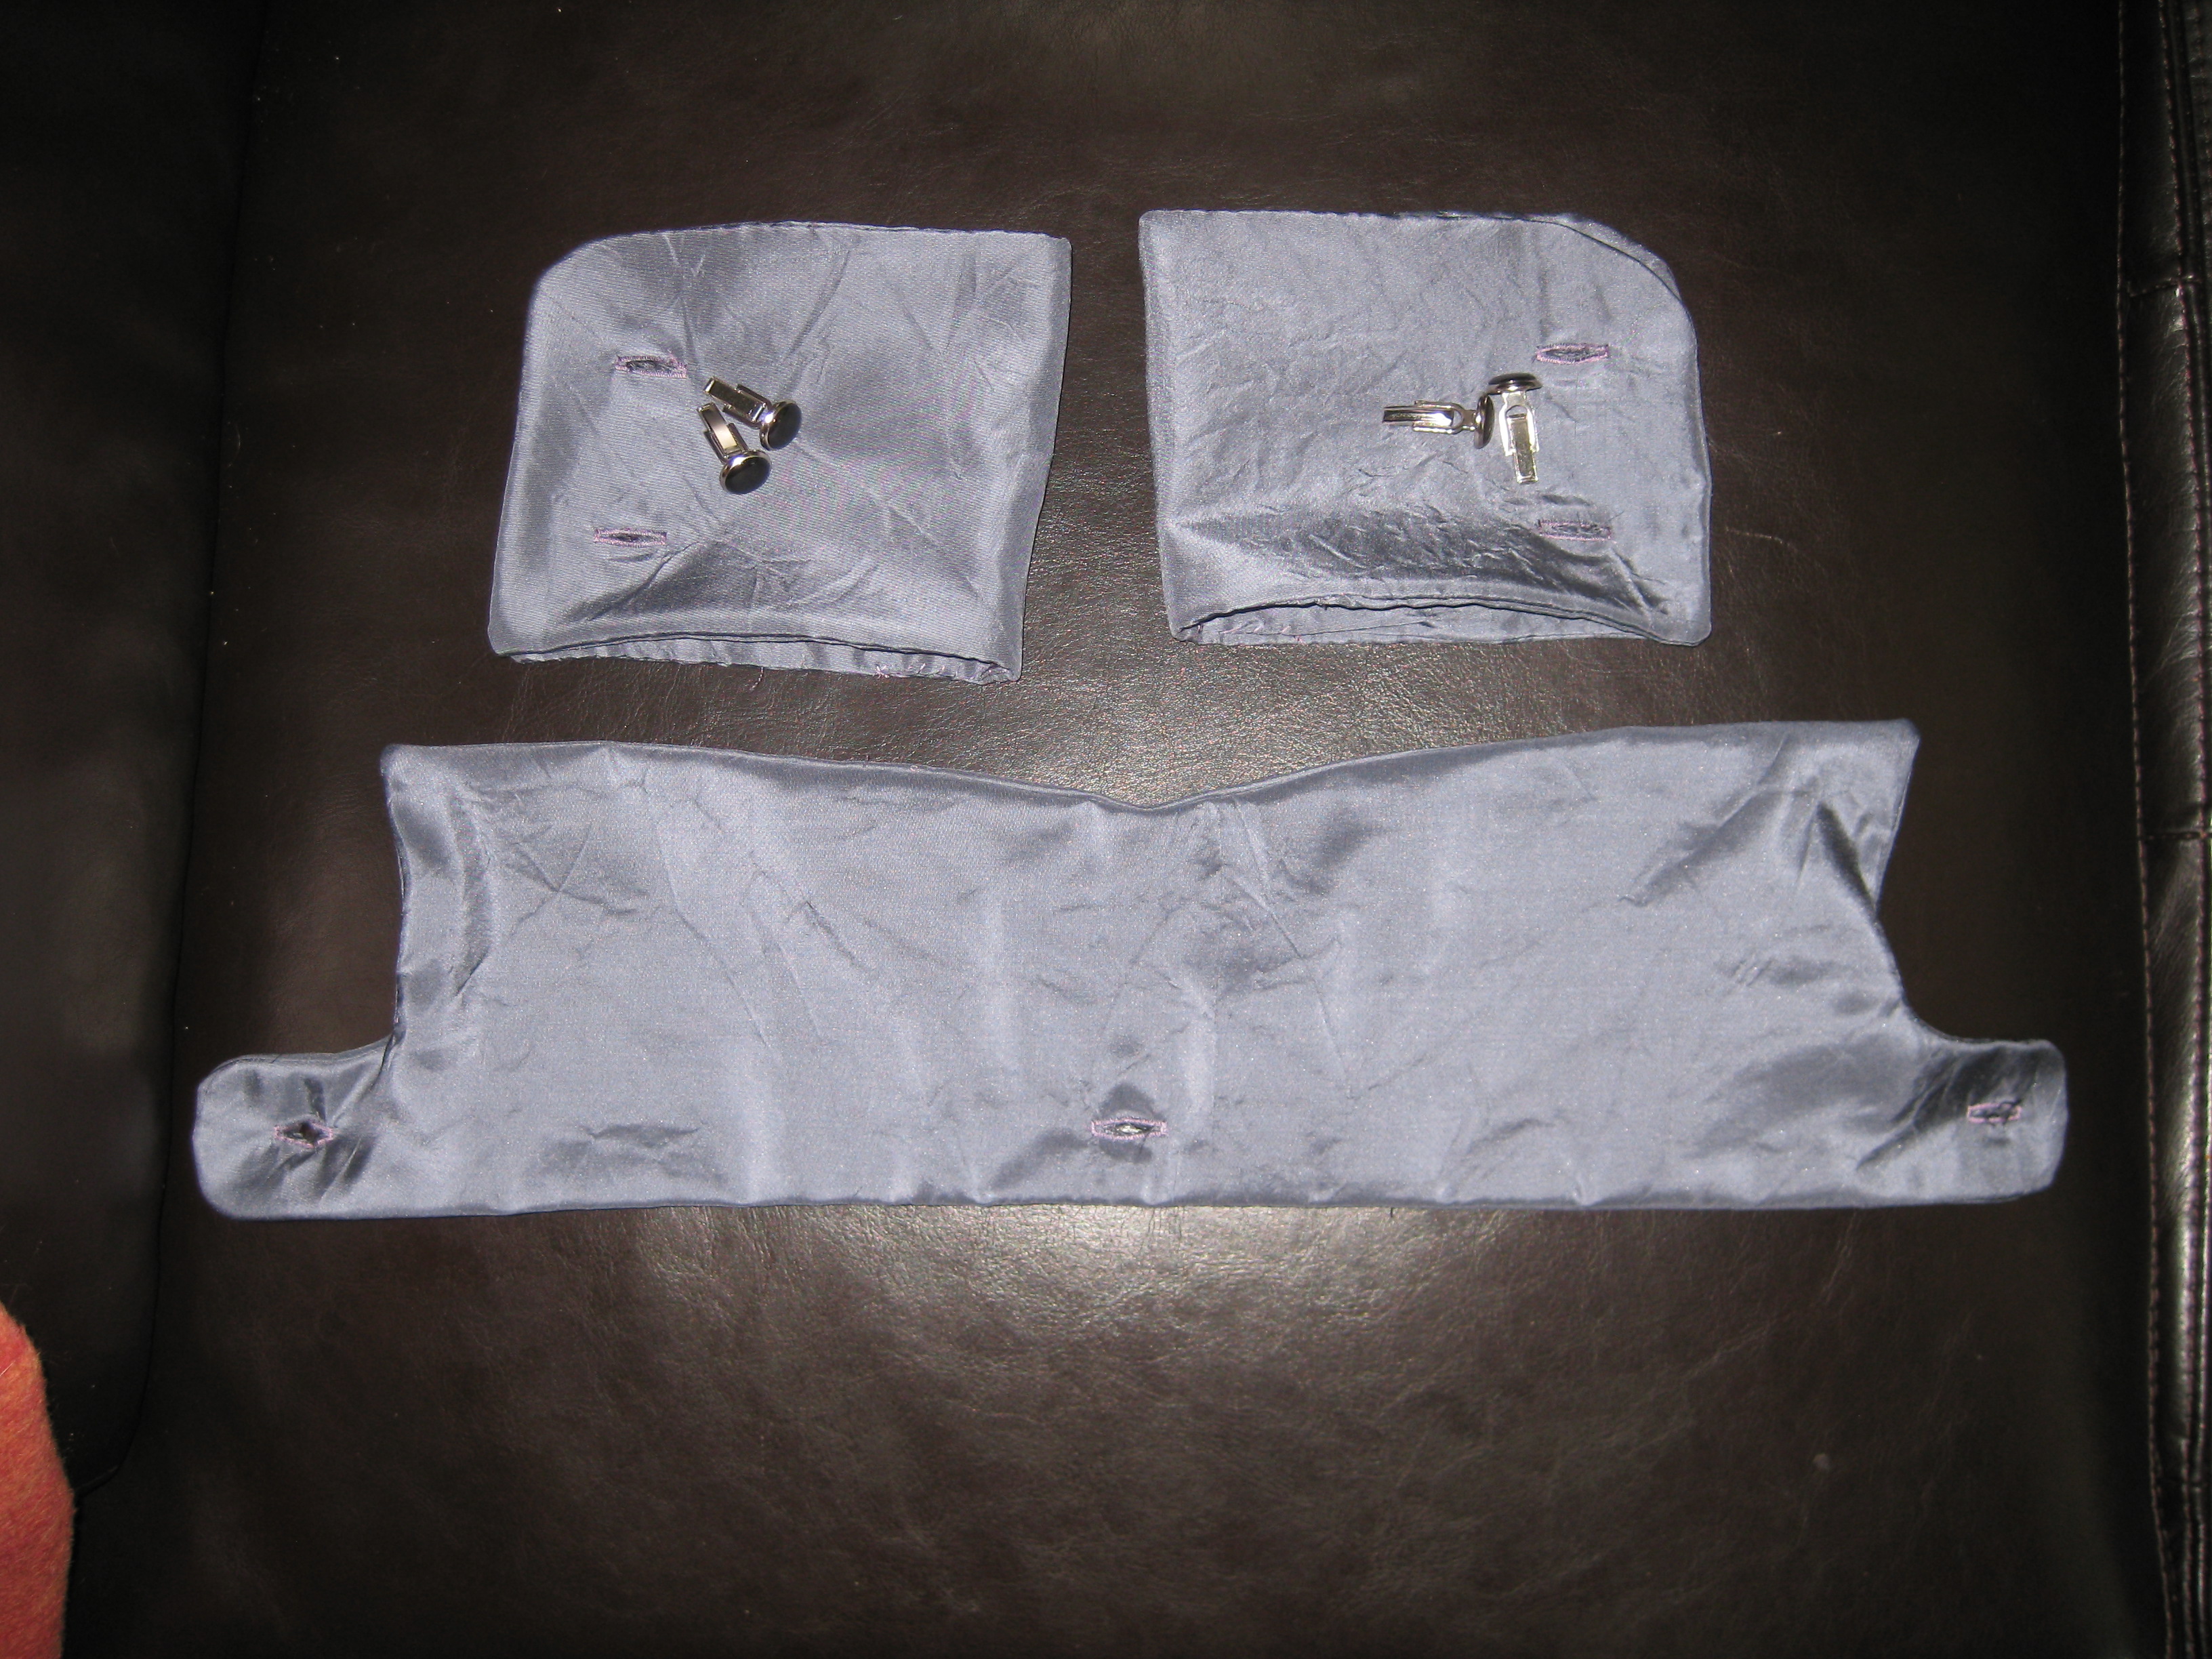
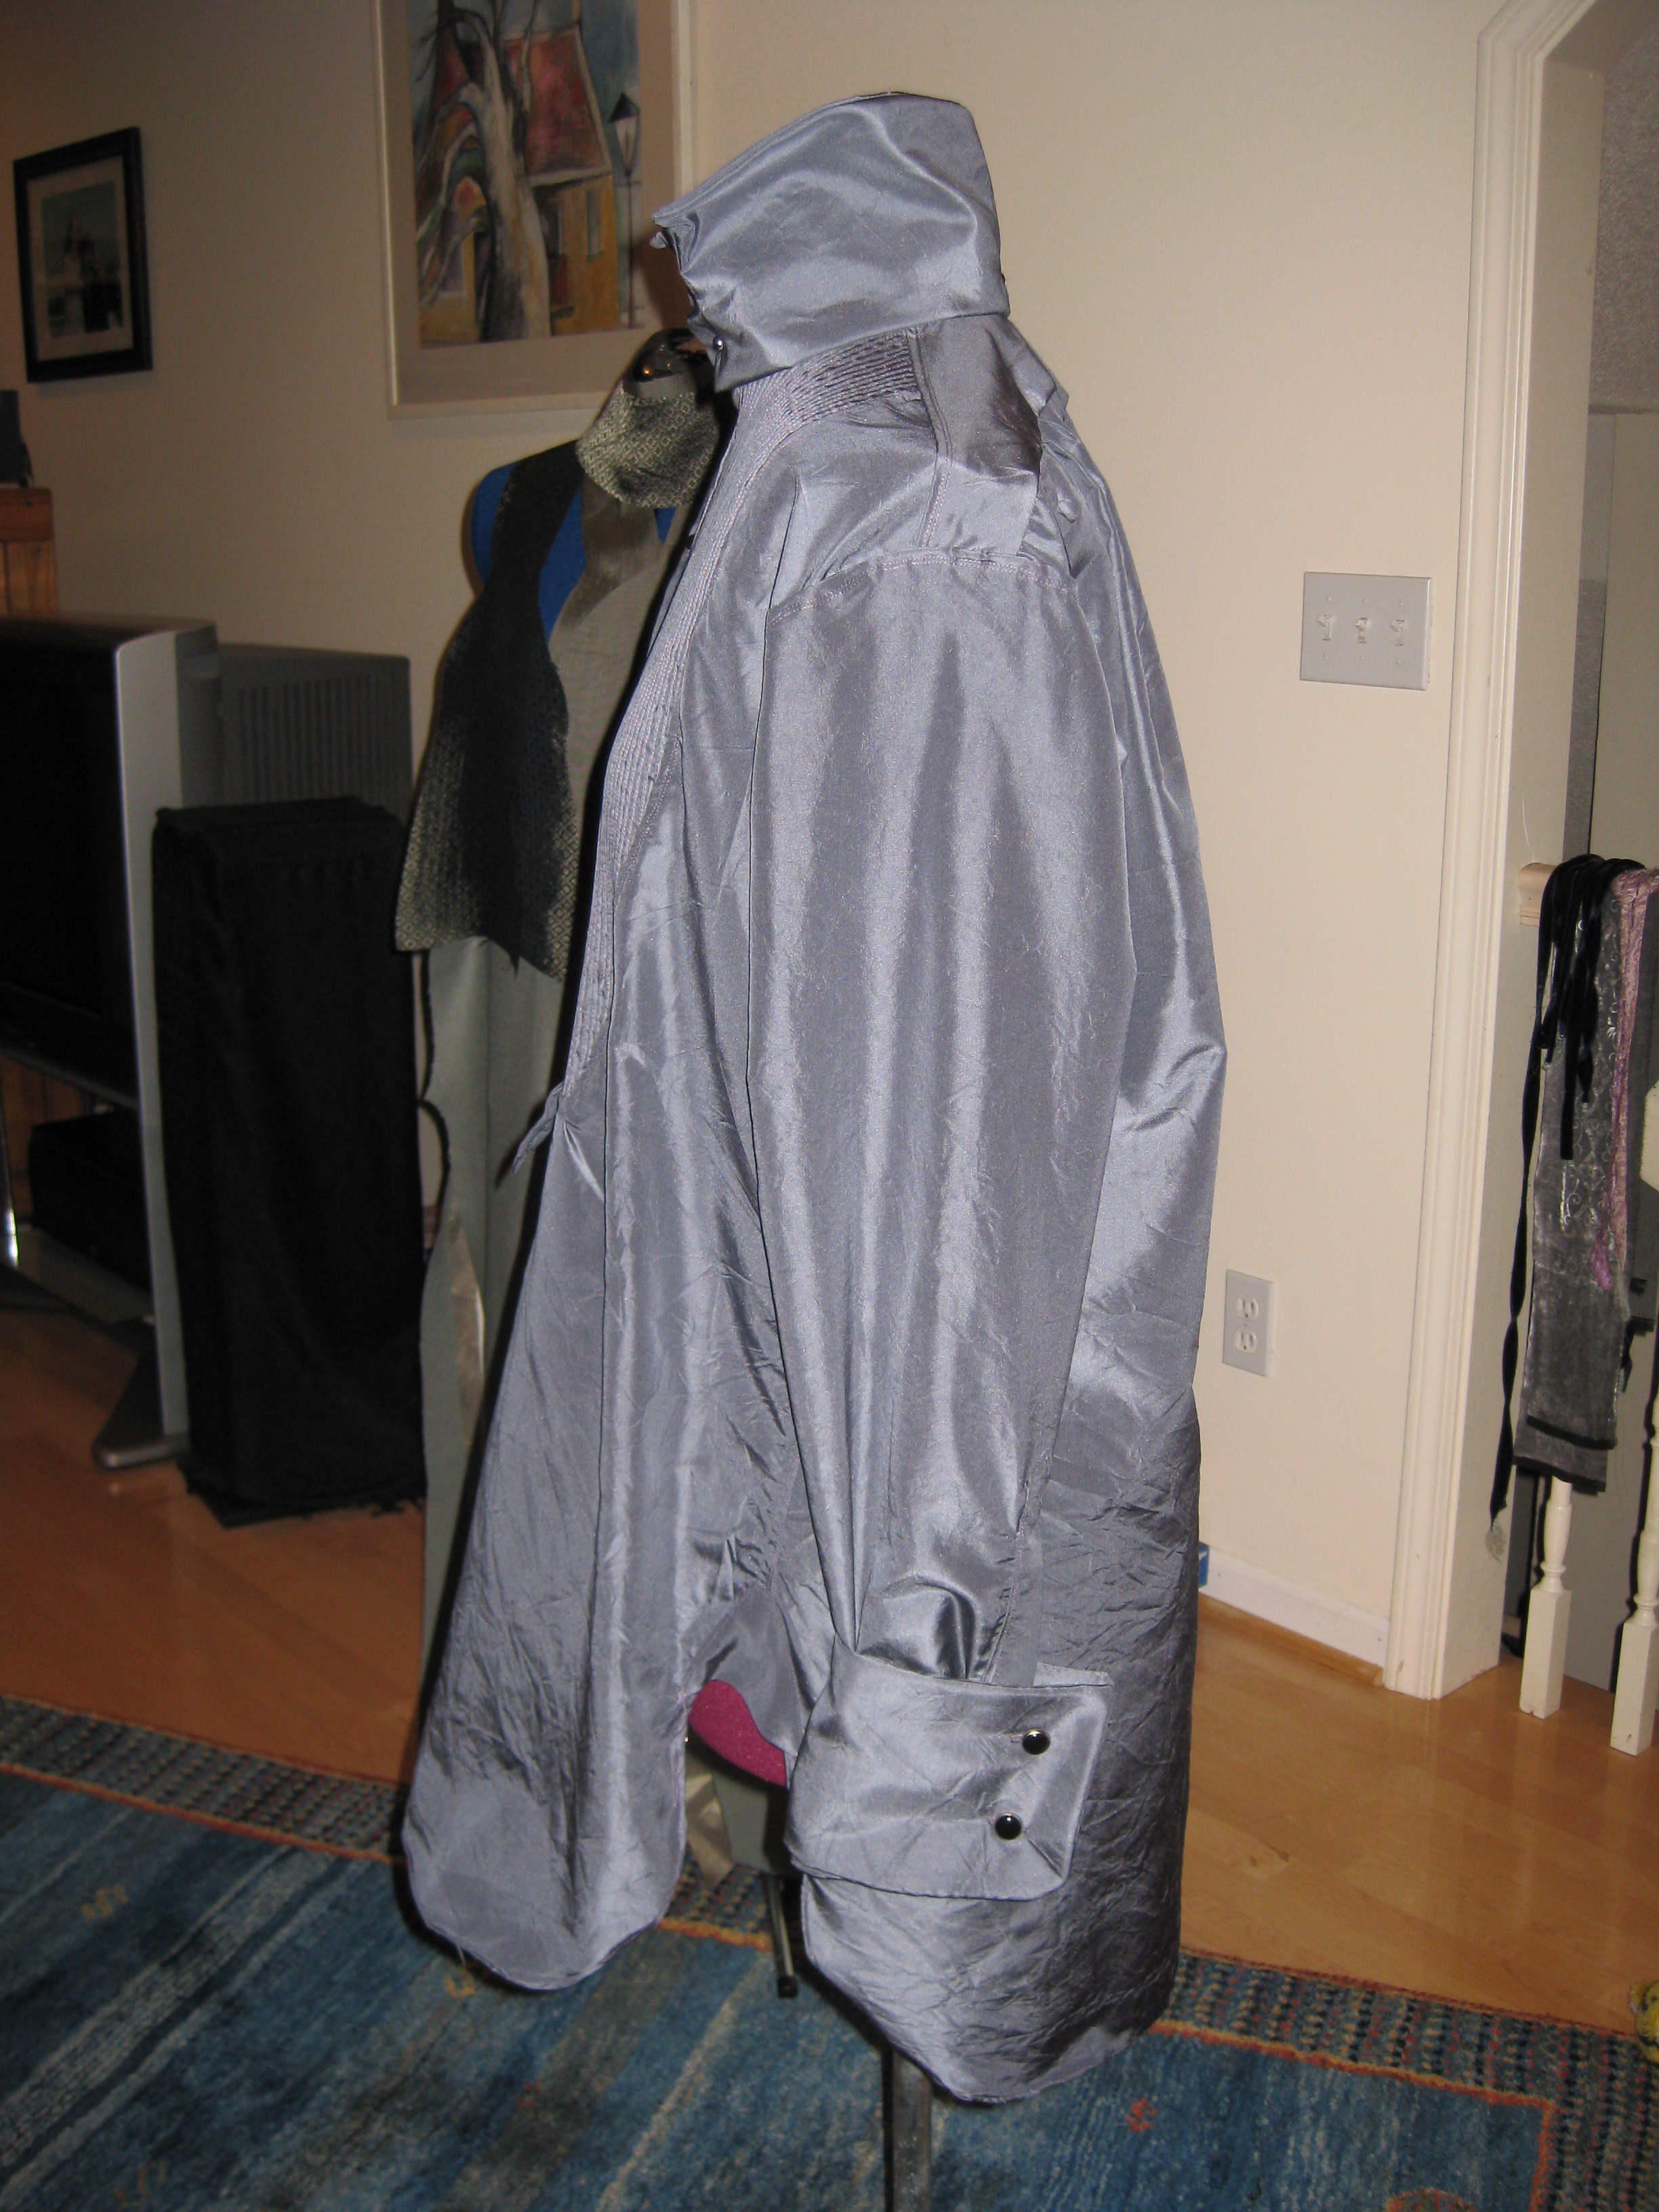
Then all that remained was the detachable standing collar and the detachable cuffs.
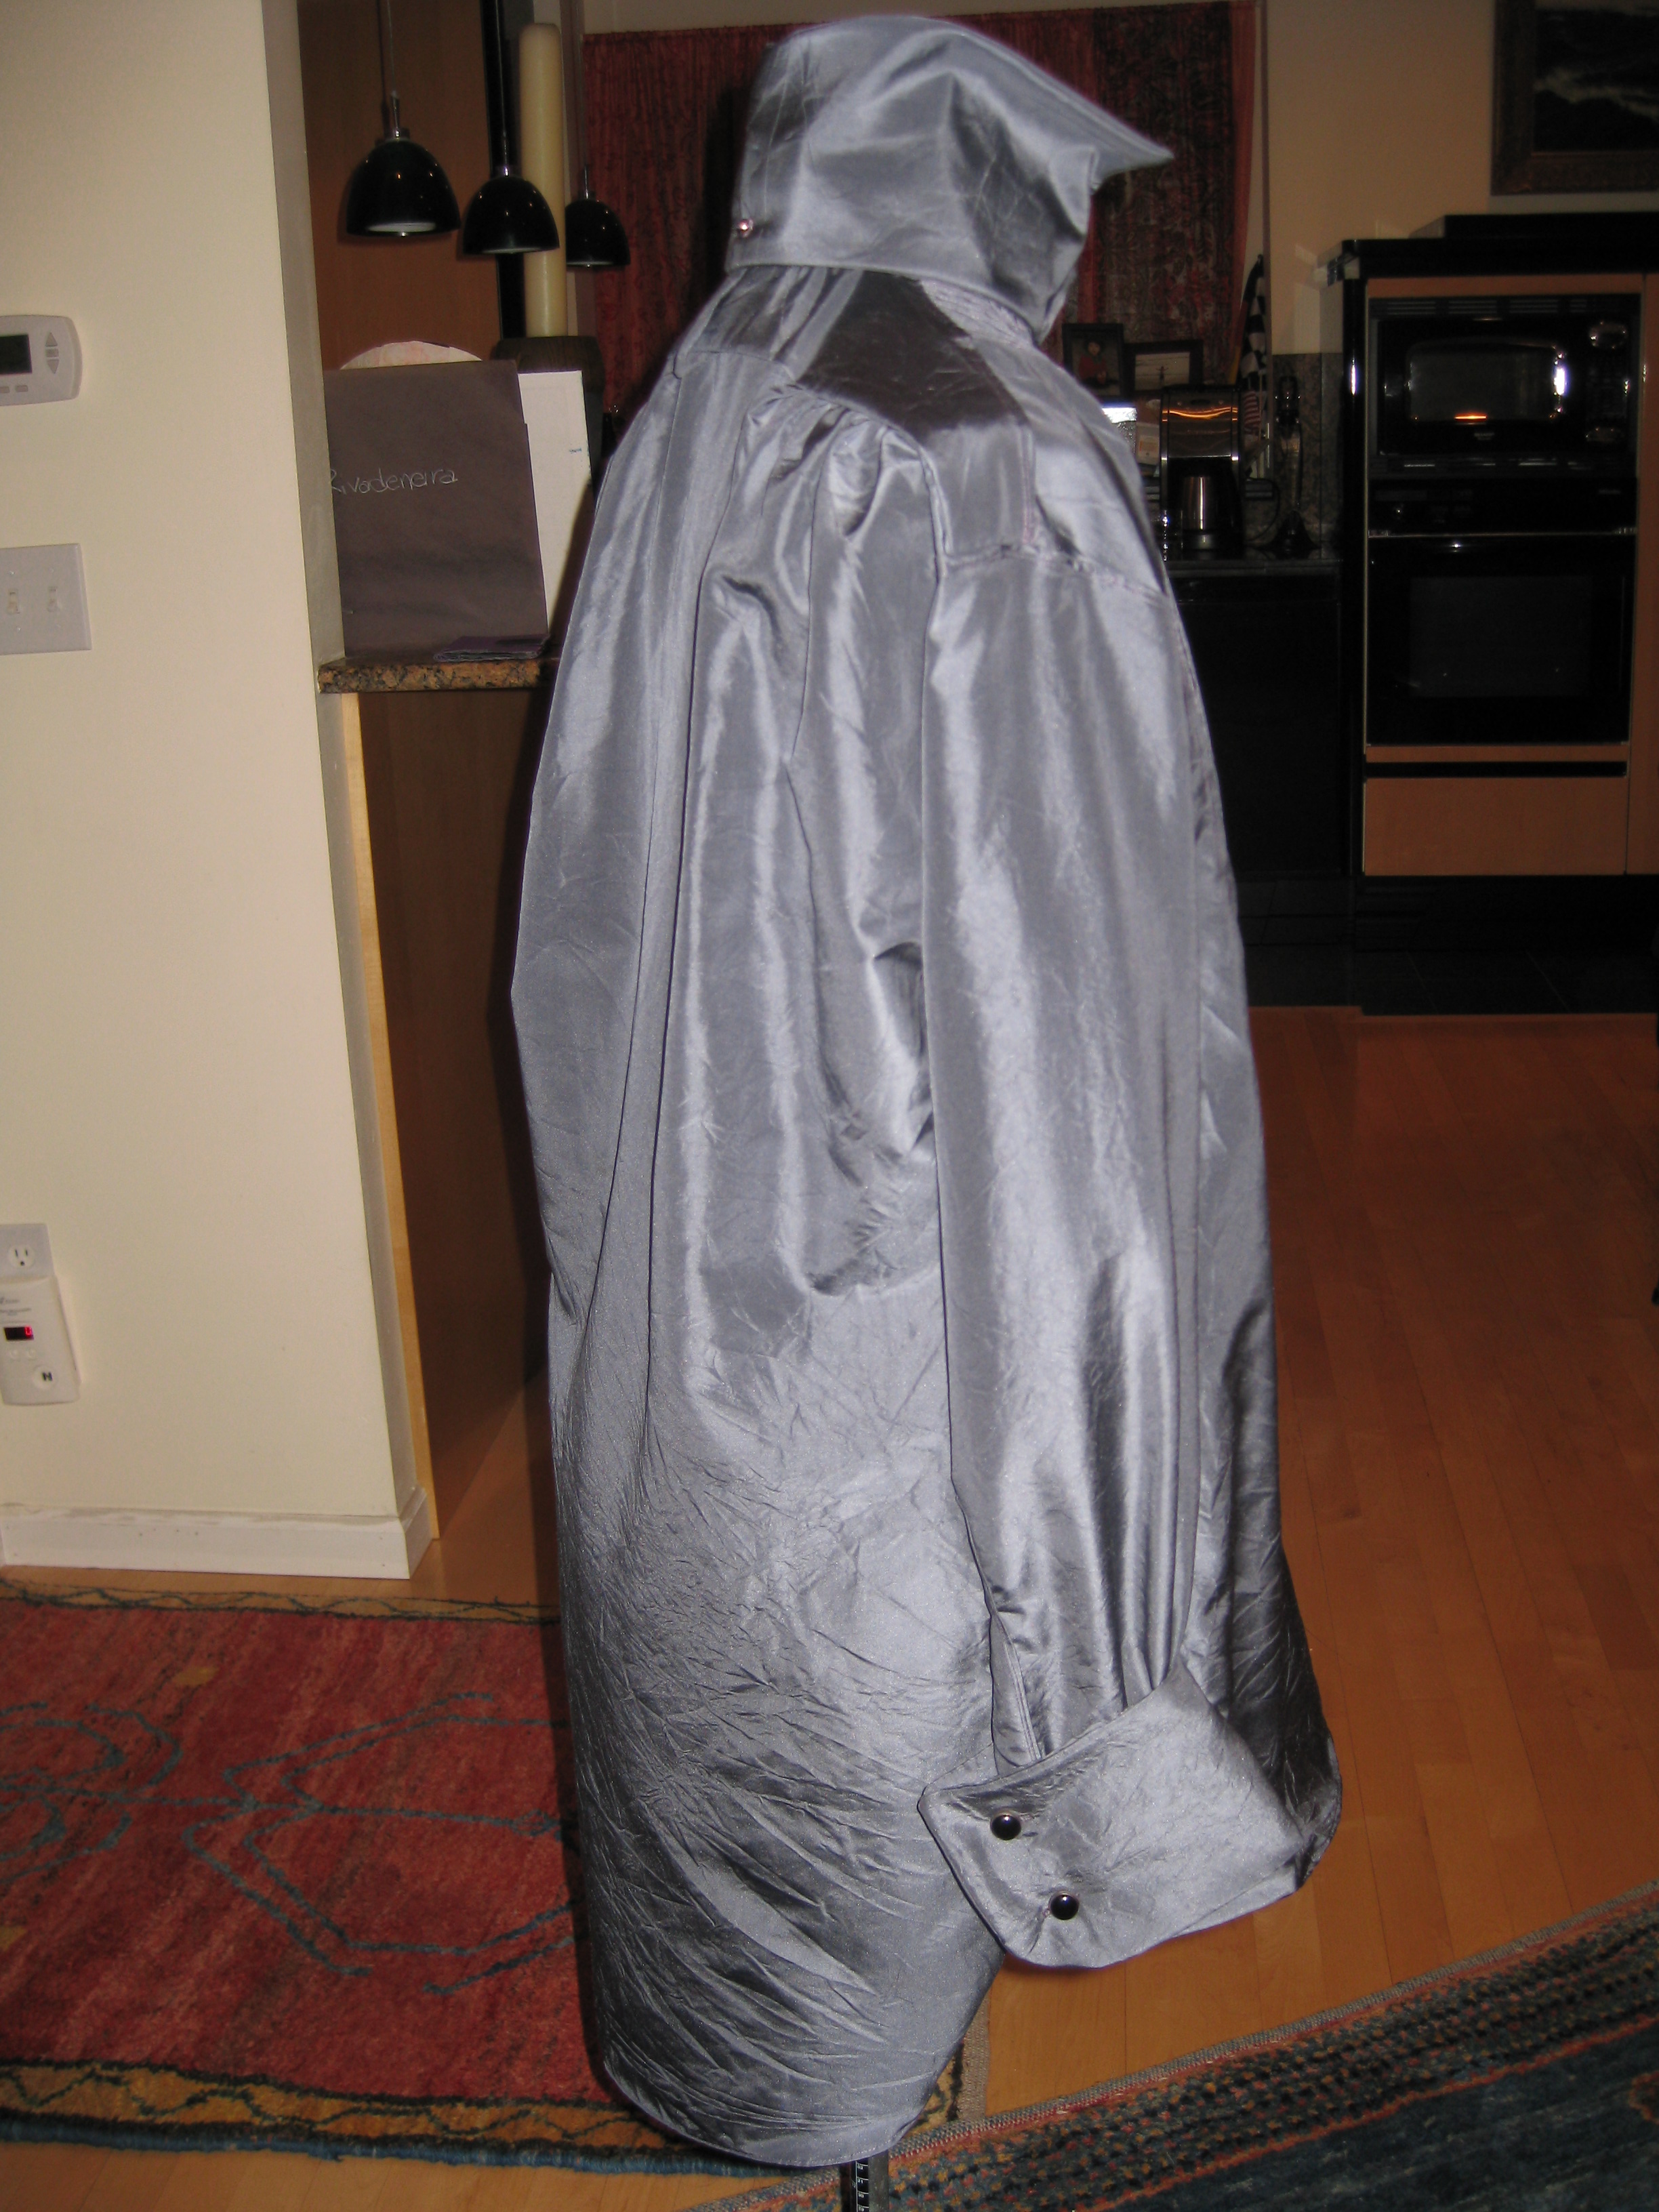
YES! All together now! The shirt has gussets between the front and back.
Heh, I got a little photo happy, but what can I say, the shirt has details. I really like the pattern... Laughing Moon, for those who are interested.
Next come the cravats, and then the trousers. If I have time I plan on making a second shirt, or at least a second set of detachable cuffs and collar, because I want to have Prince Vlad out two nights at D*C. Here's to hoping I can get it done!
On other notes, his mustache and beard set arrived, but unfortunately two shades lighter than I ordered. It's human hair, so I'll be able to dye it, but that's just one more thing I need to do.
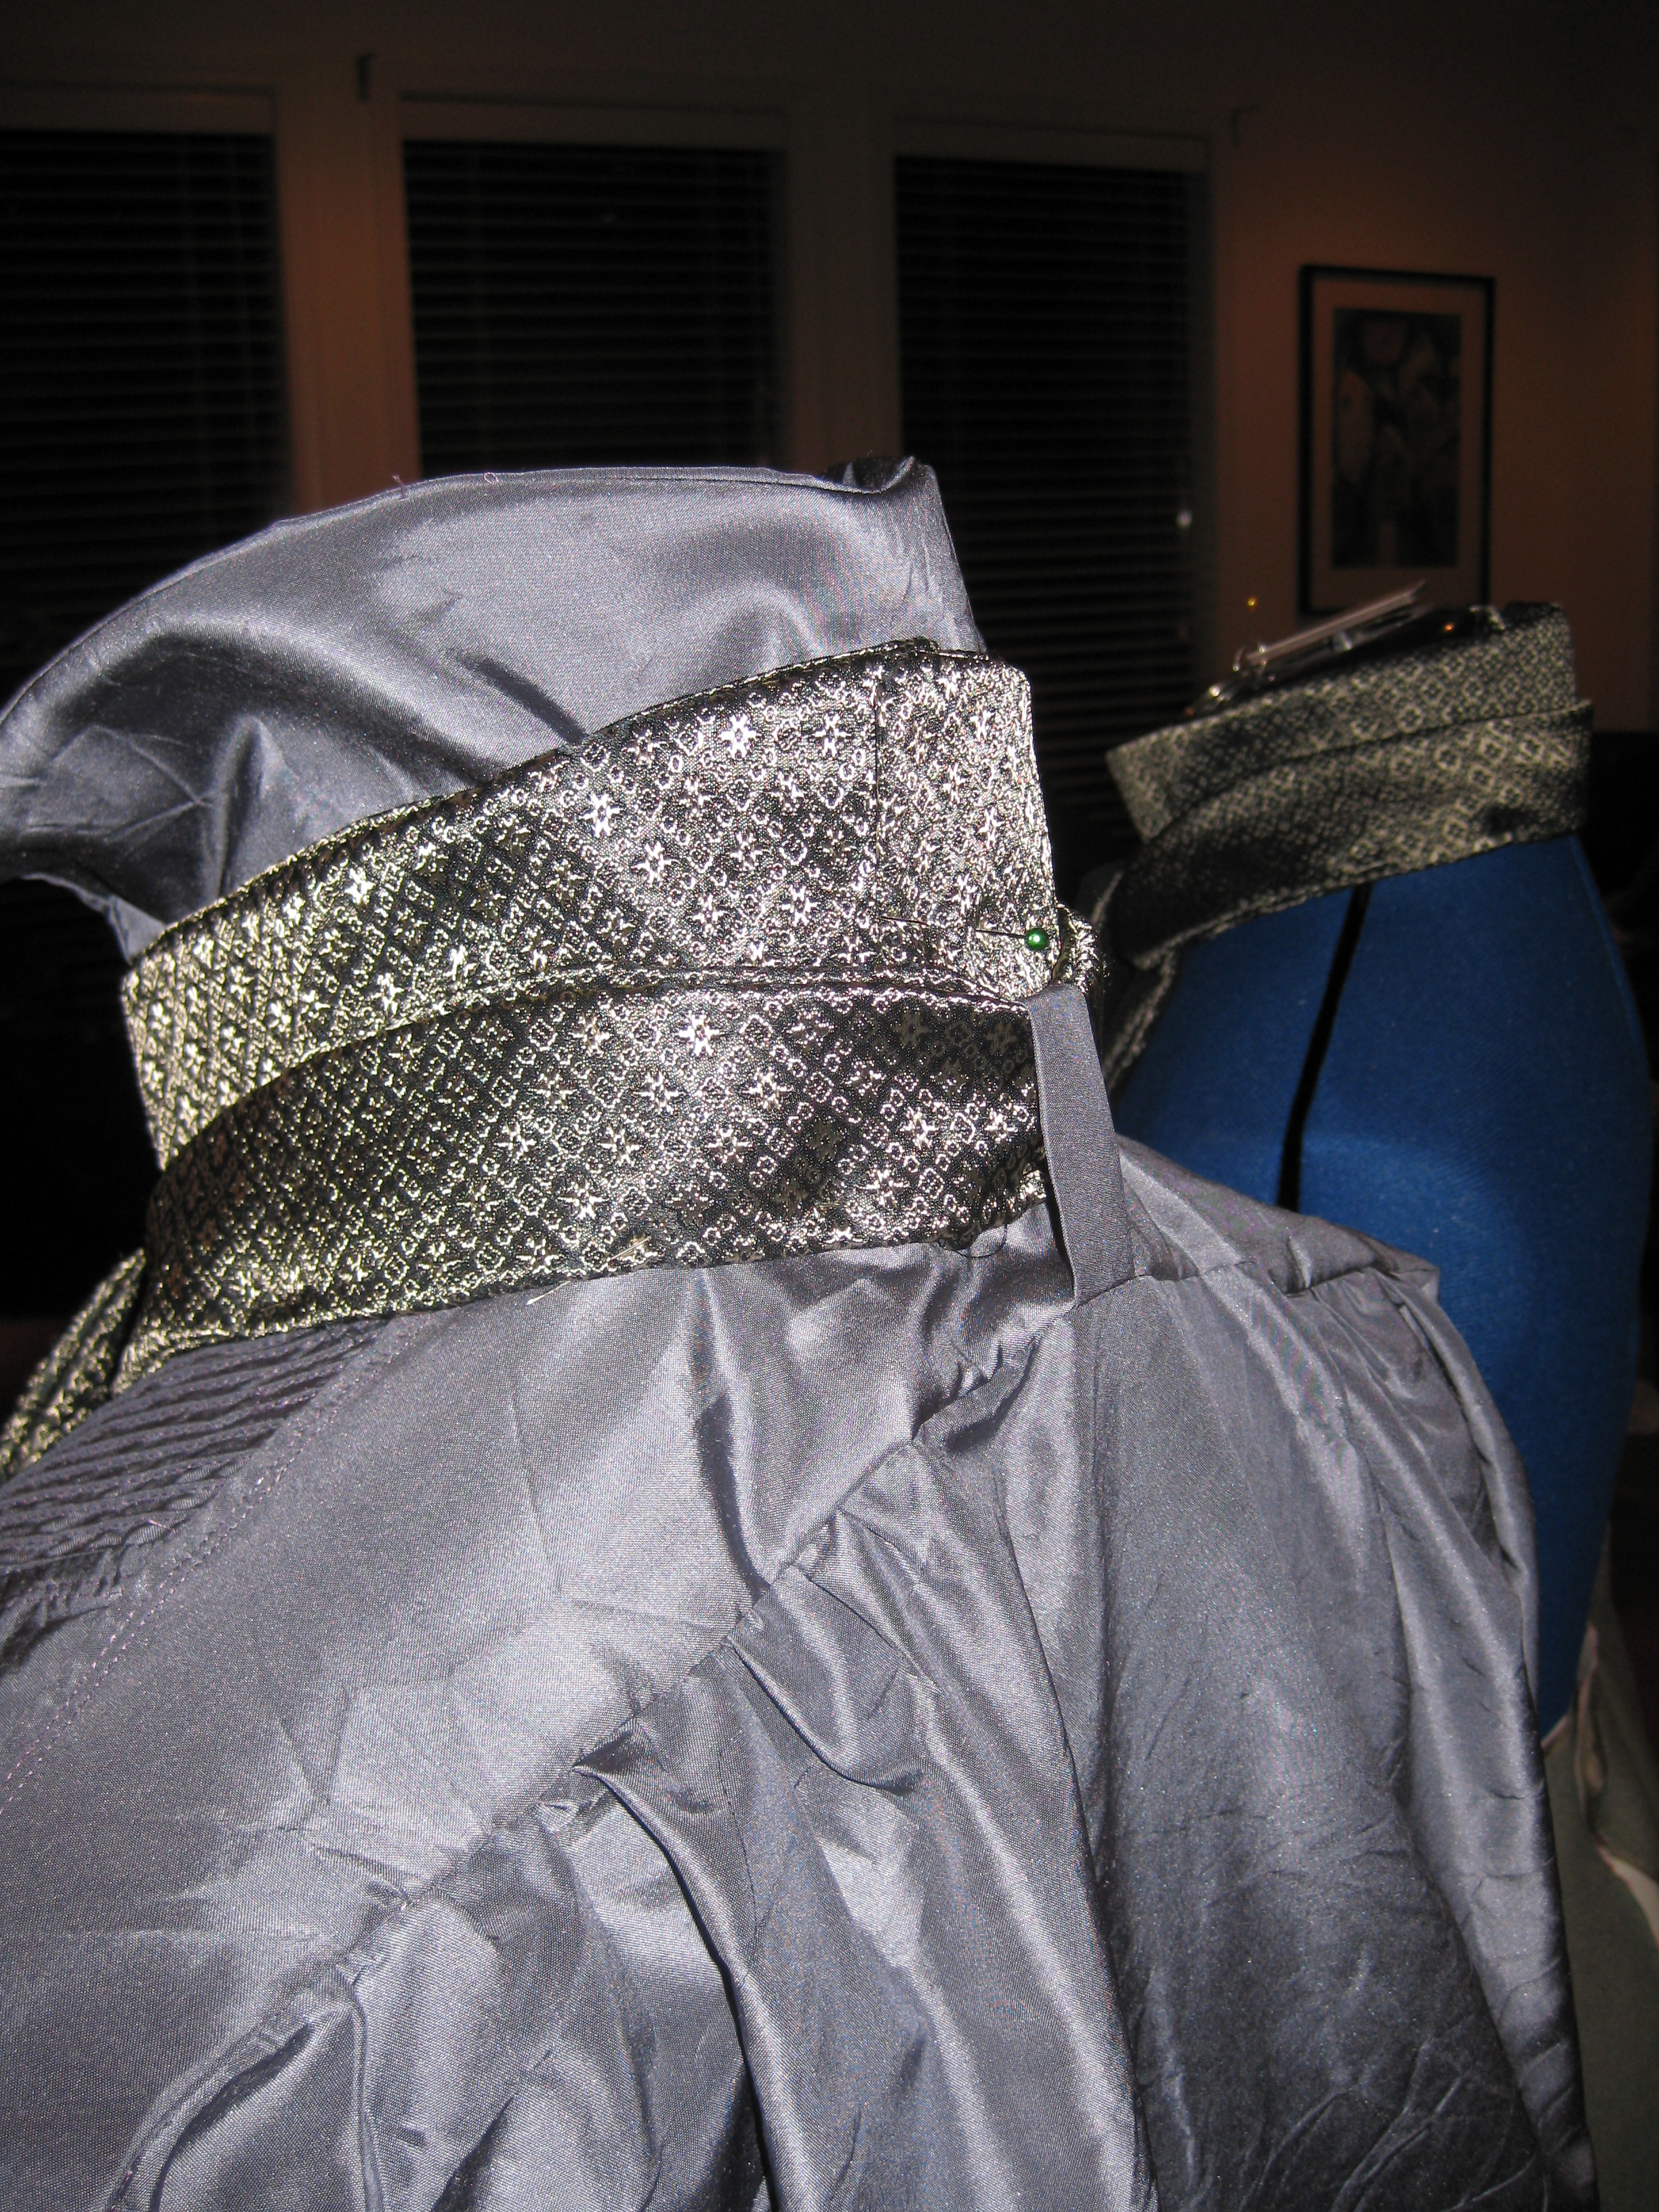
Aug. 15th, 2010 at 7:37 PM
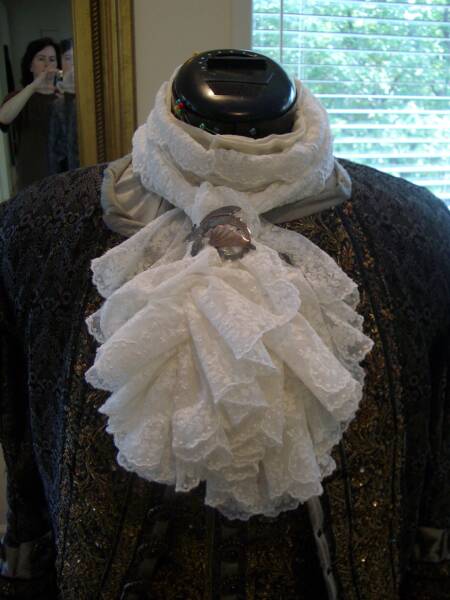
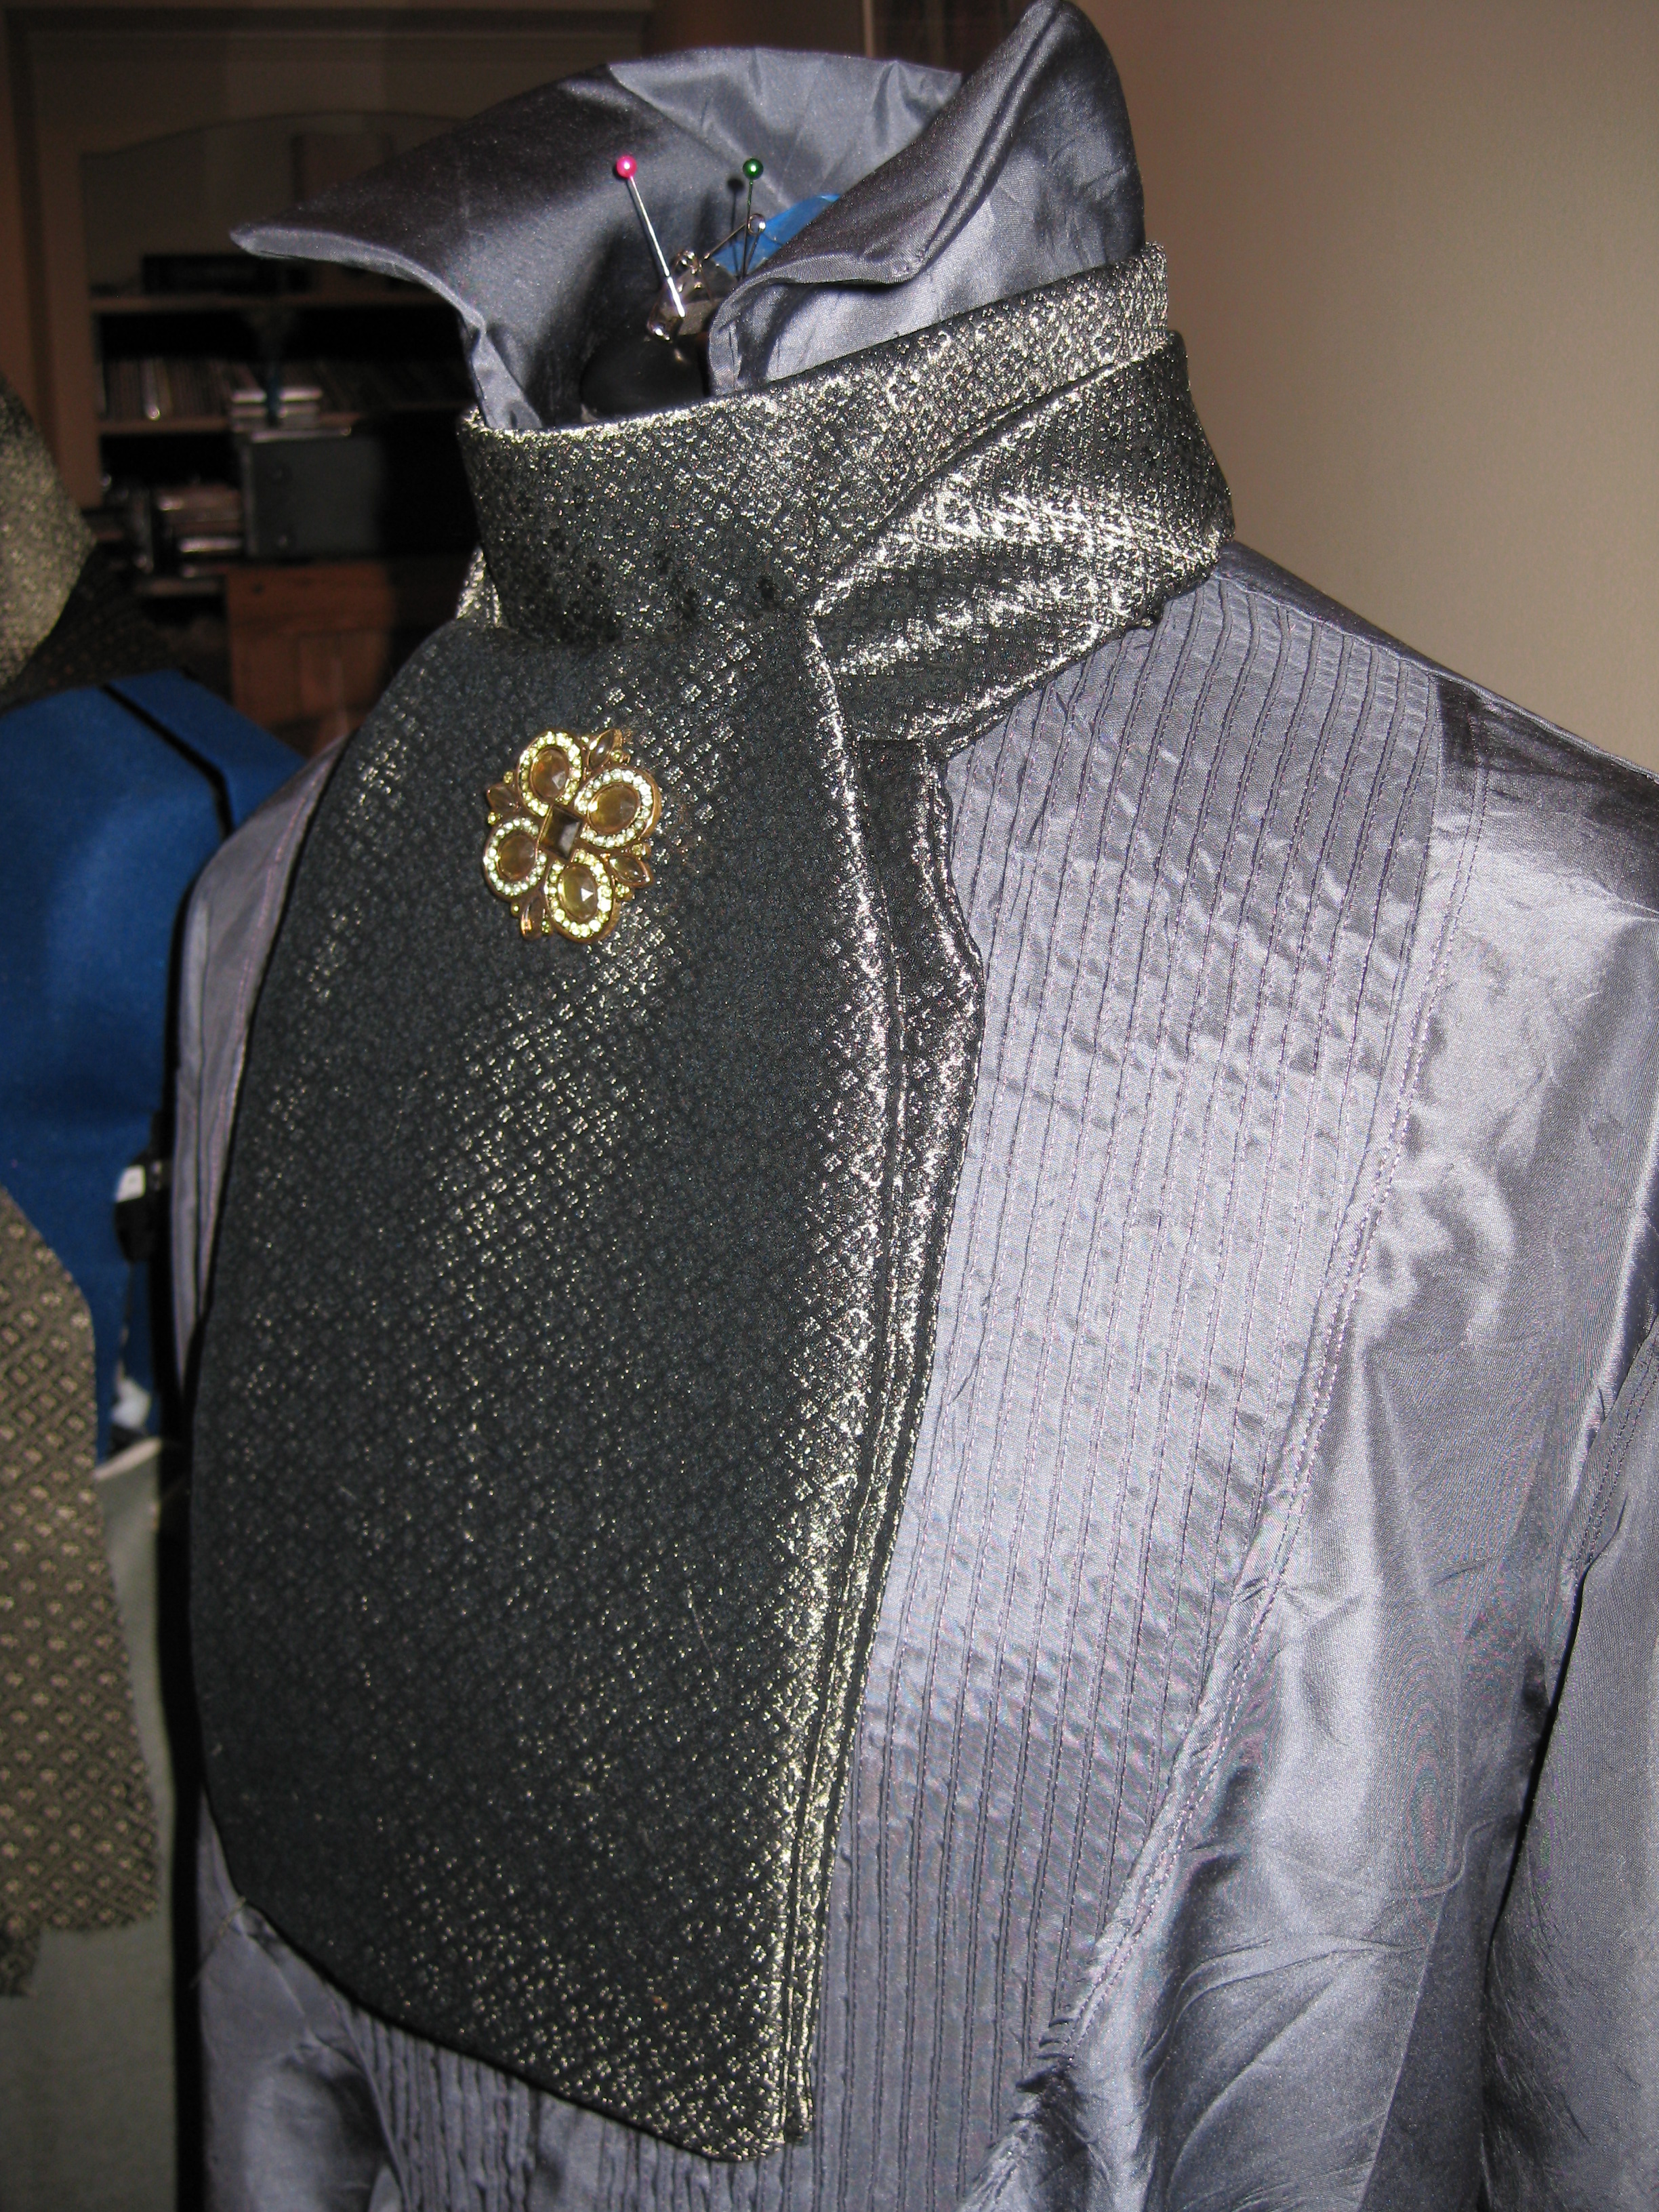
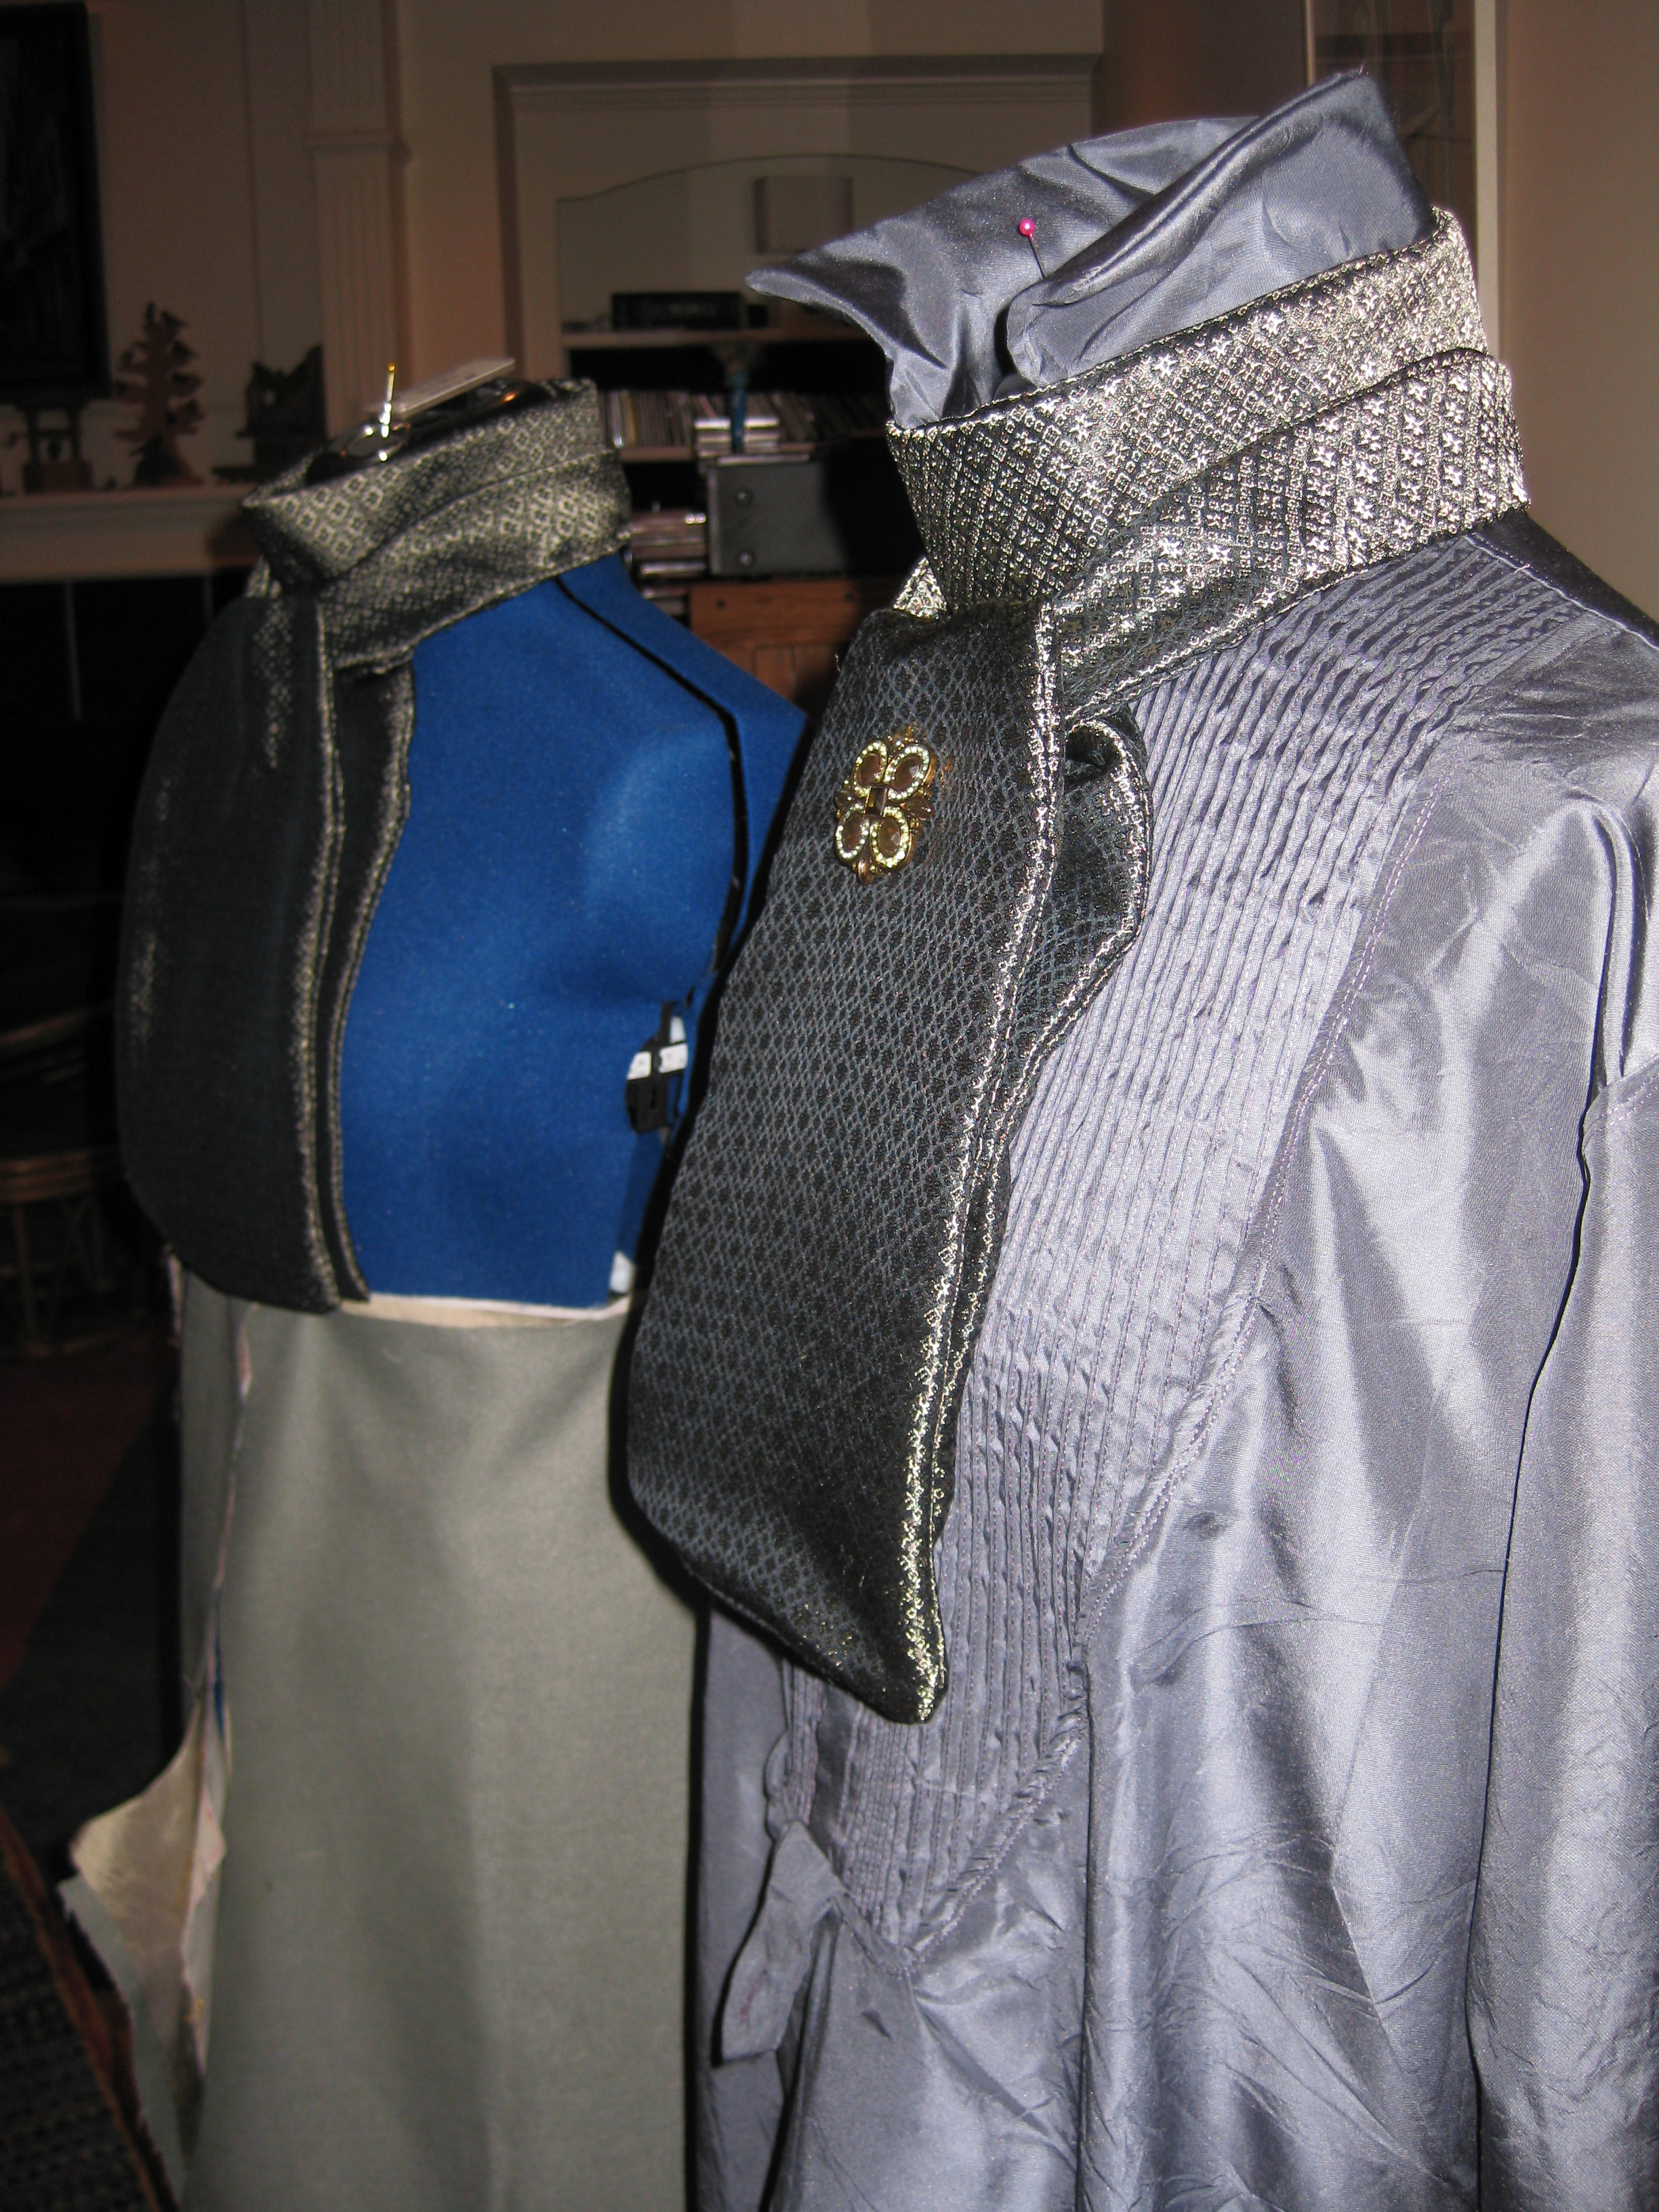
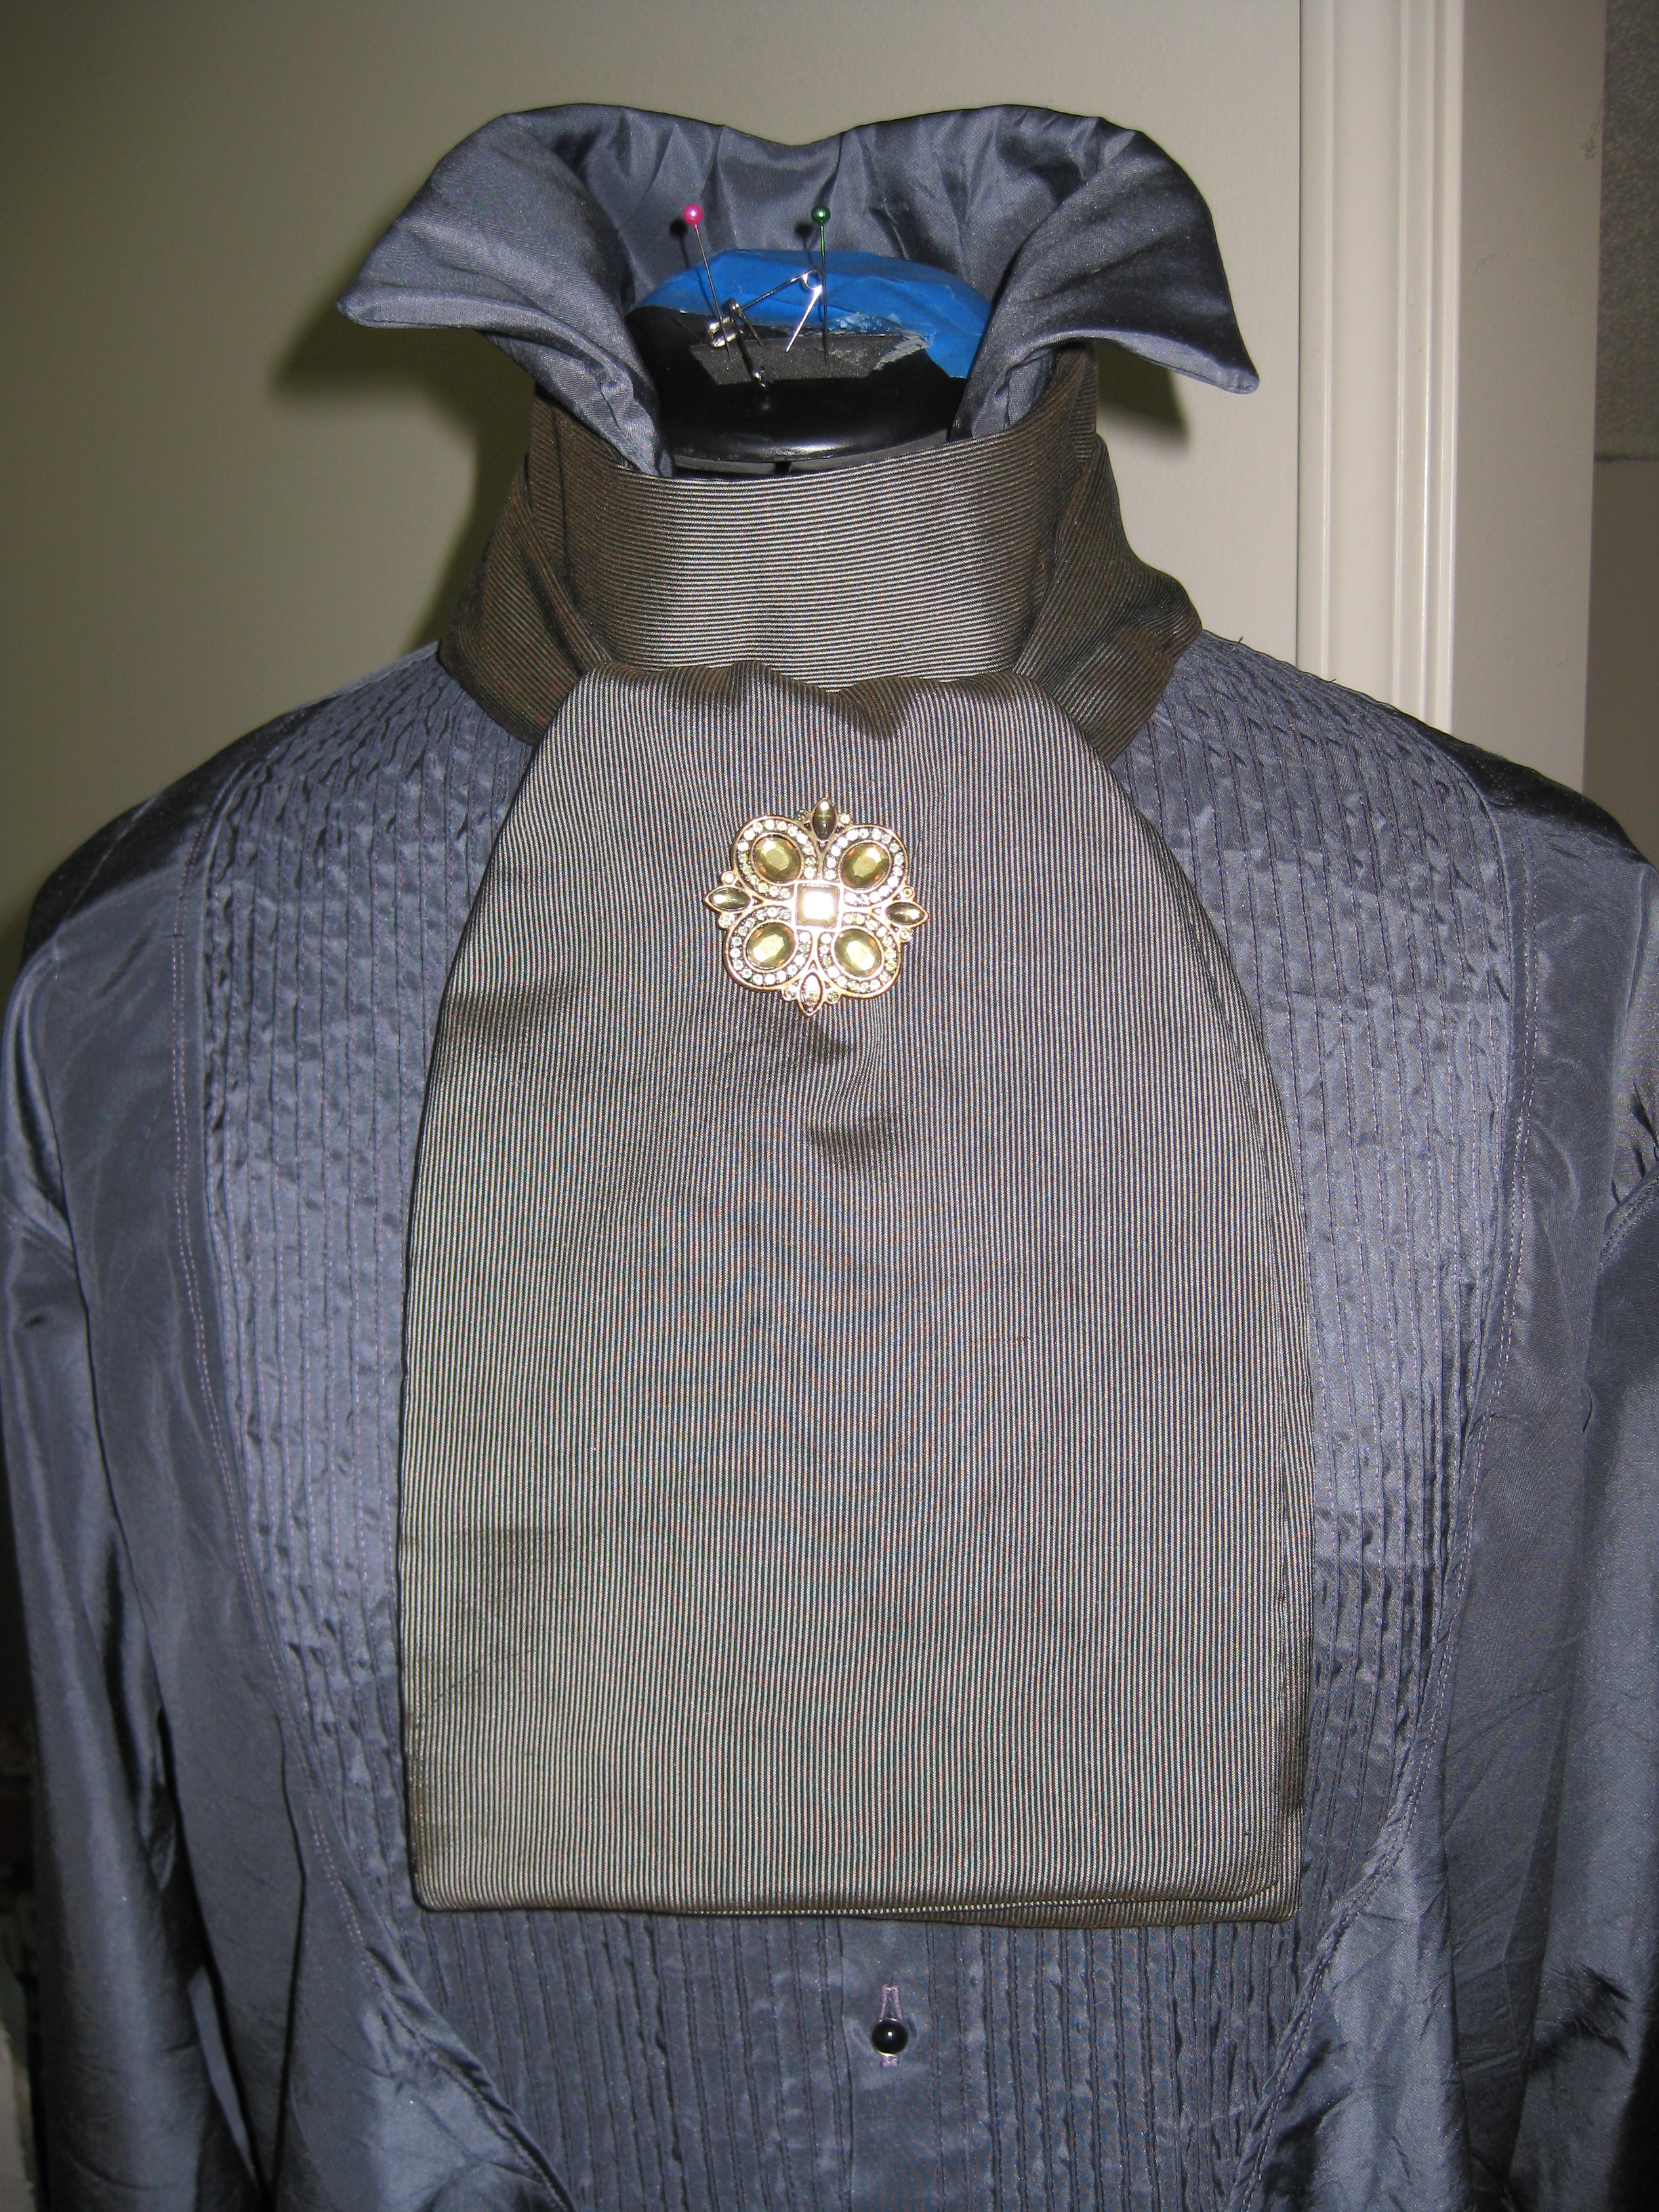
Prince Vlad's Cravat's are finished! (They weren't when I took the photos; I still had to hand sew the closure on the backside of each part.)
These are called Osbladestones in the Laughing Moon pattern. They are worn over a stock. The stock is very much like an unattached collar. I'm premature to say I'm finished, actually. The stocks still need some kind of closure. The pattern calls for hooks and eyes, but I hate them with a fiery passion, so I'll probably just go with button holes and use more studs. Why not? I have them!
So, the photos, in the order I made them.
The backside of the black with gold pattern:
I borrowed Ram Das' brooch, because Julien's (And Prince Vlad's) is packed in the suitcase already, and the case is currently closed and not easy to reach.
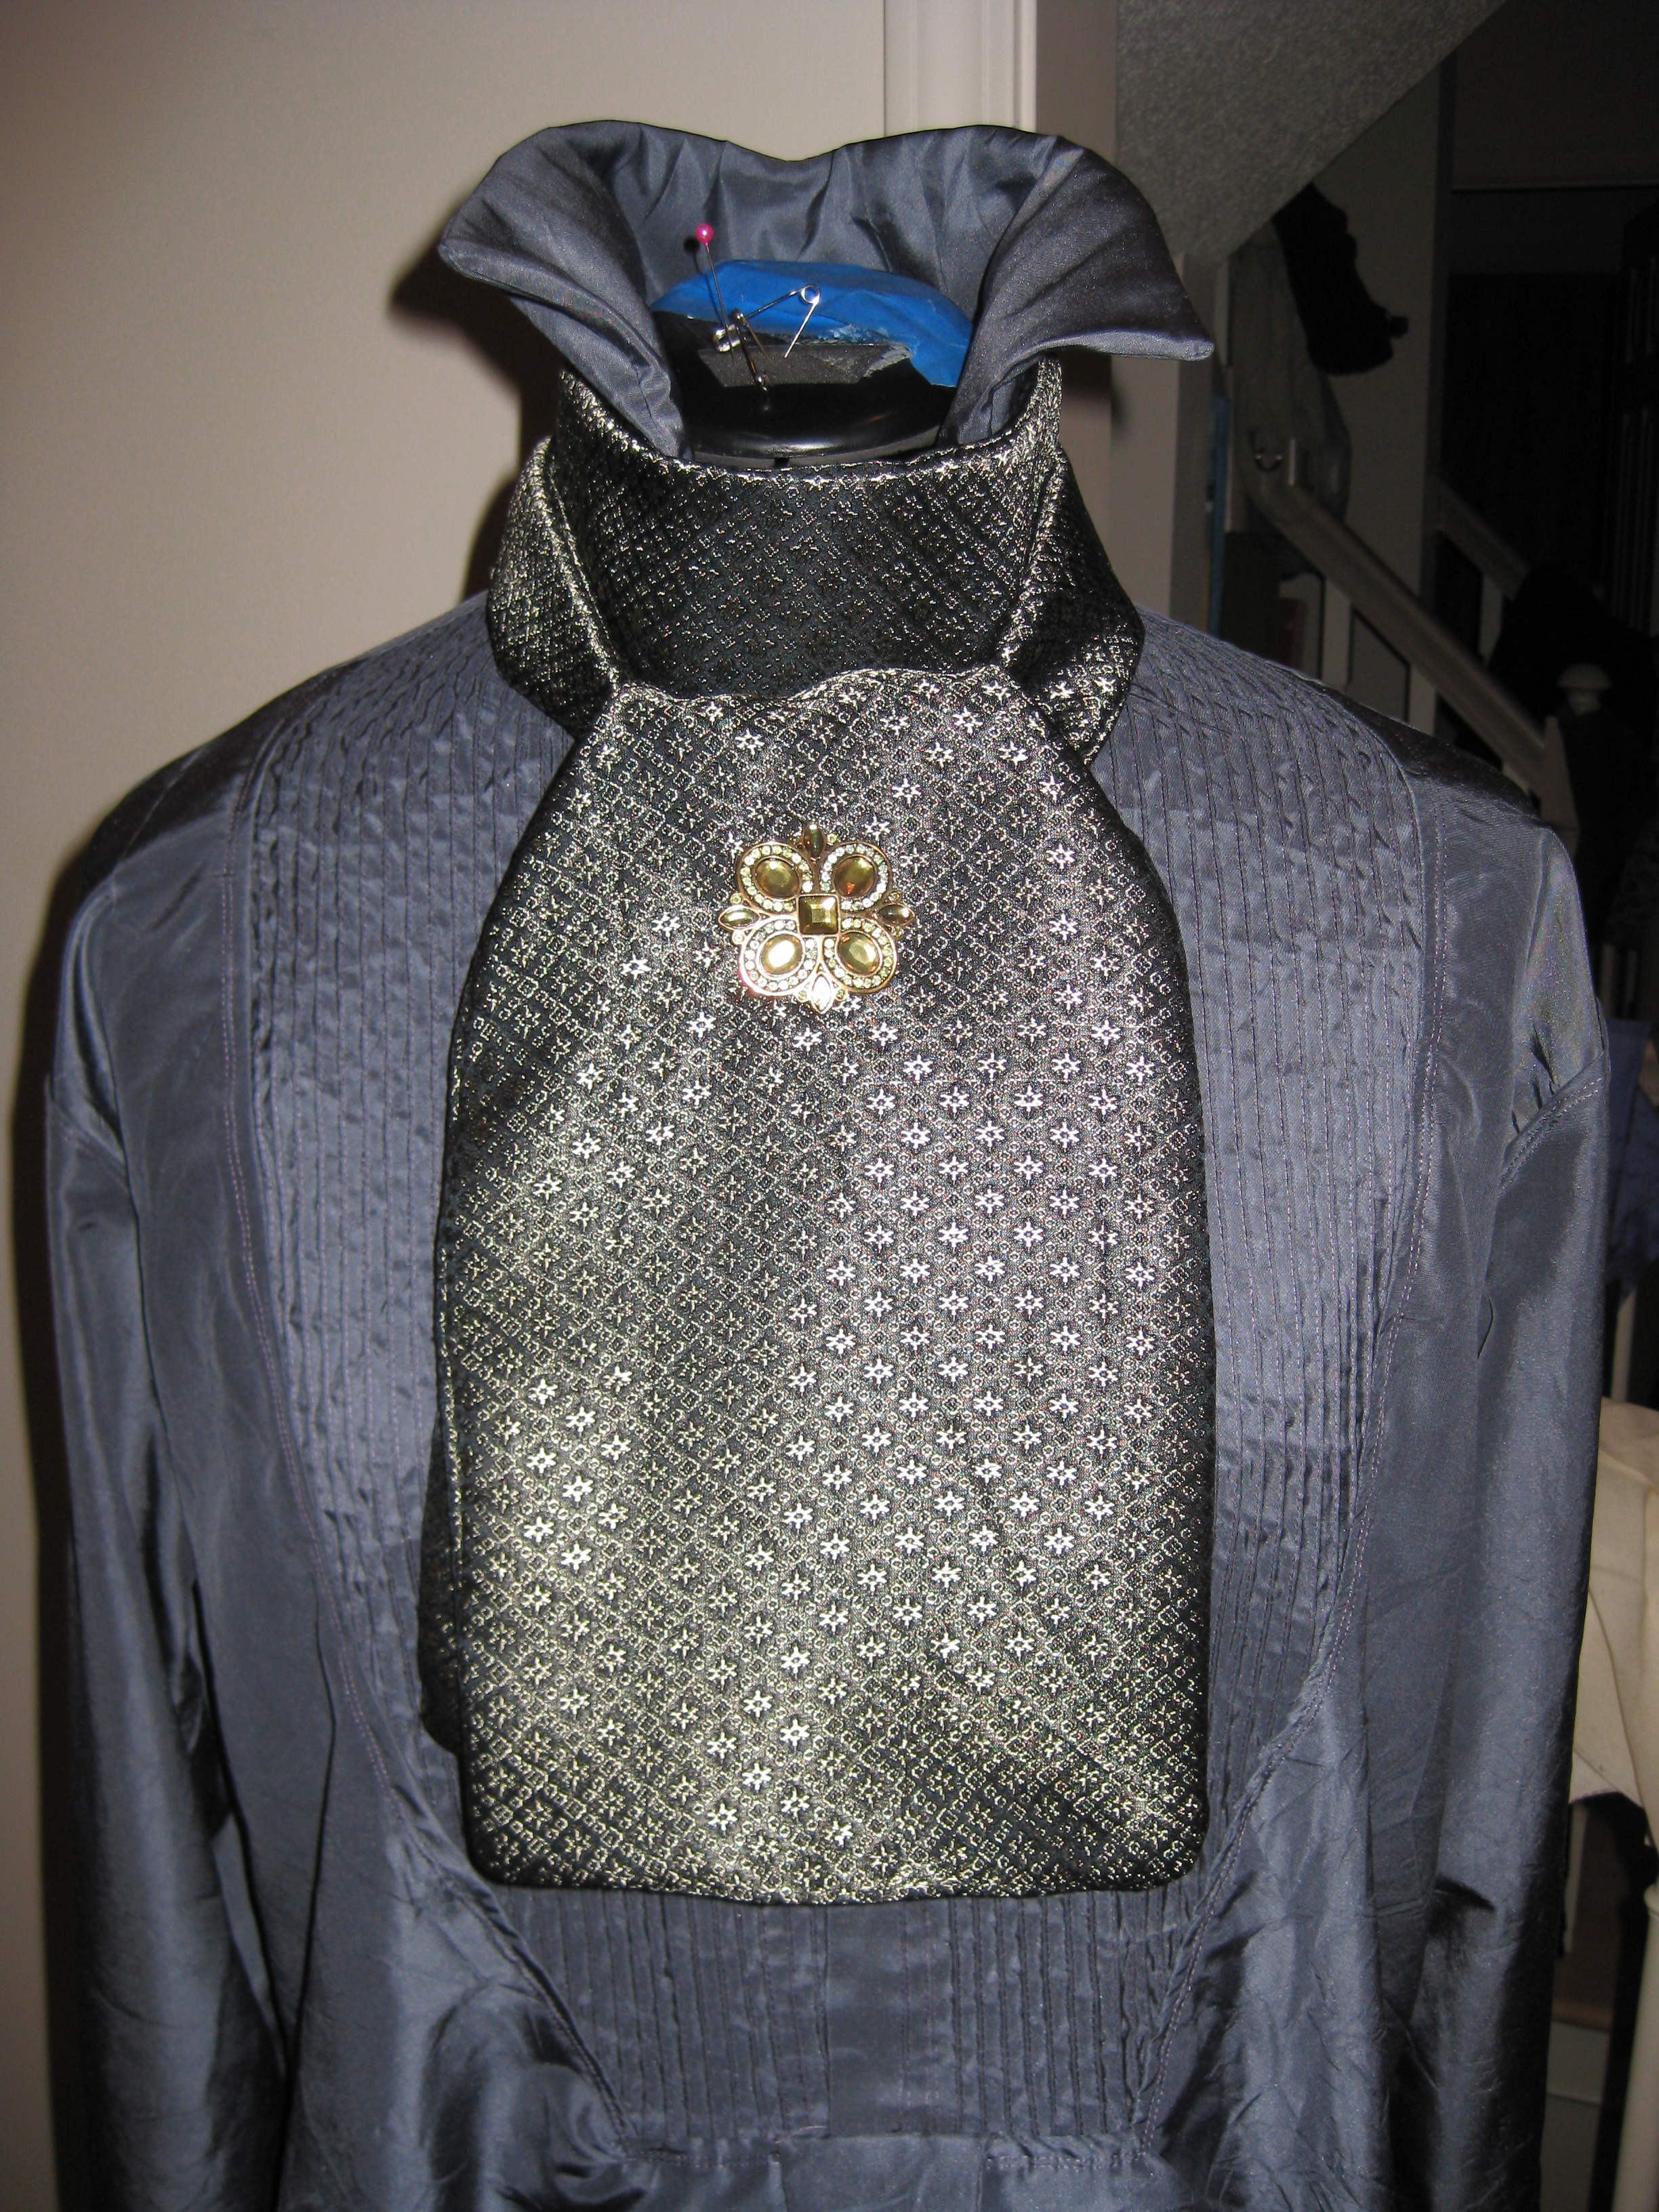
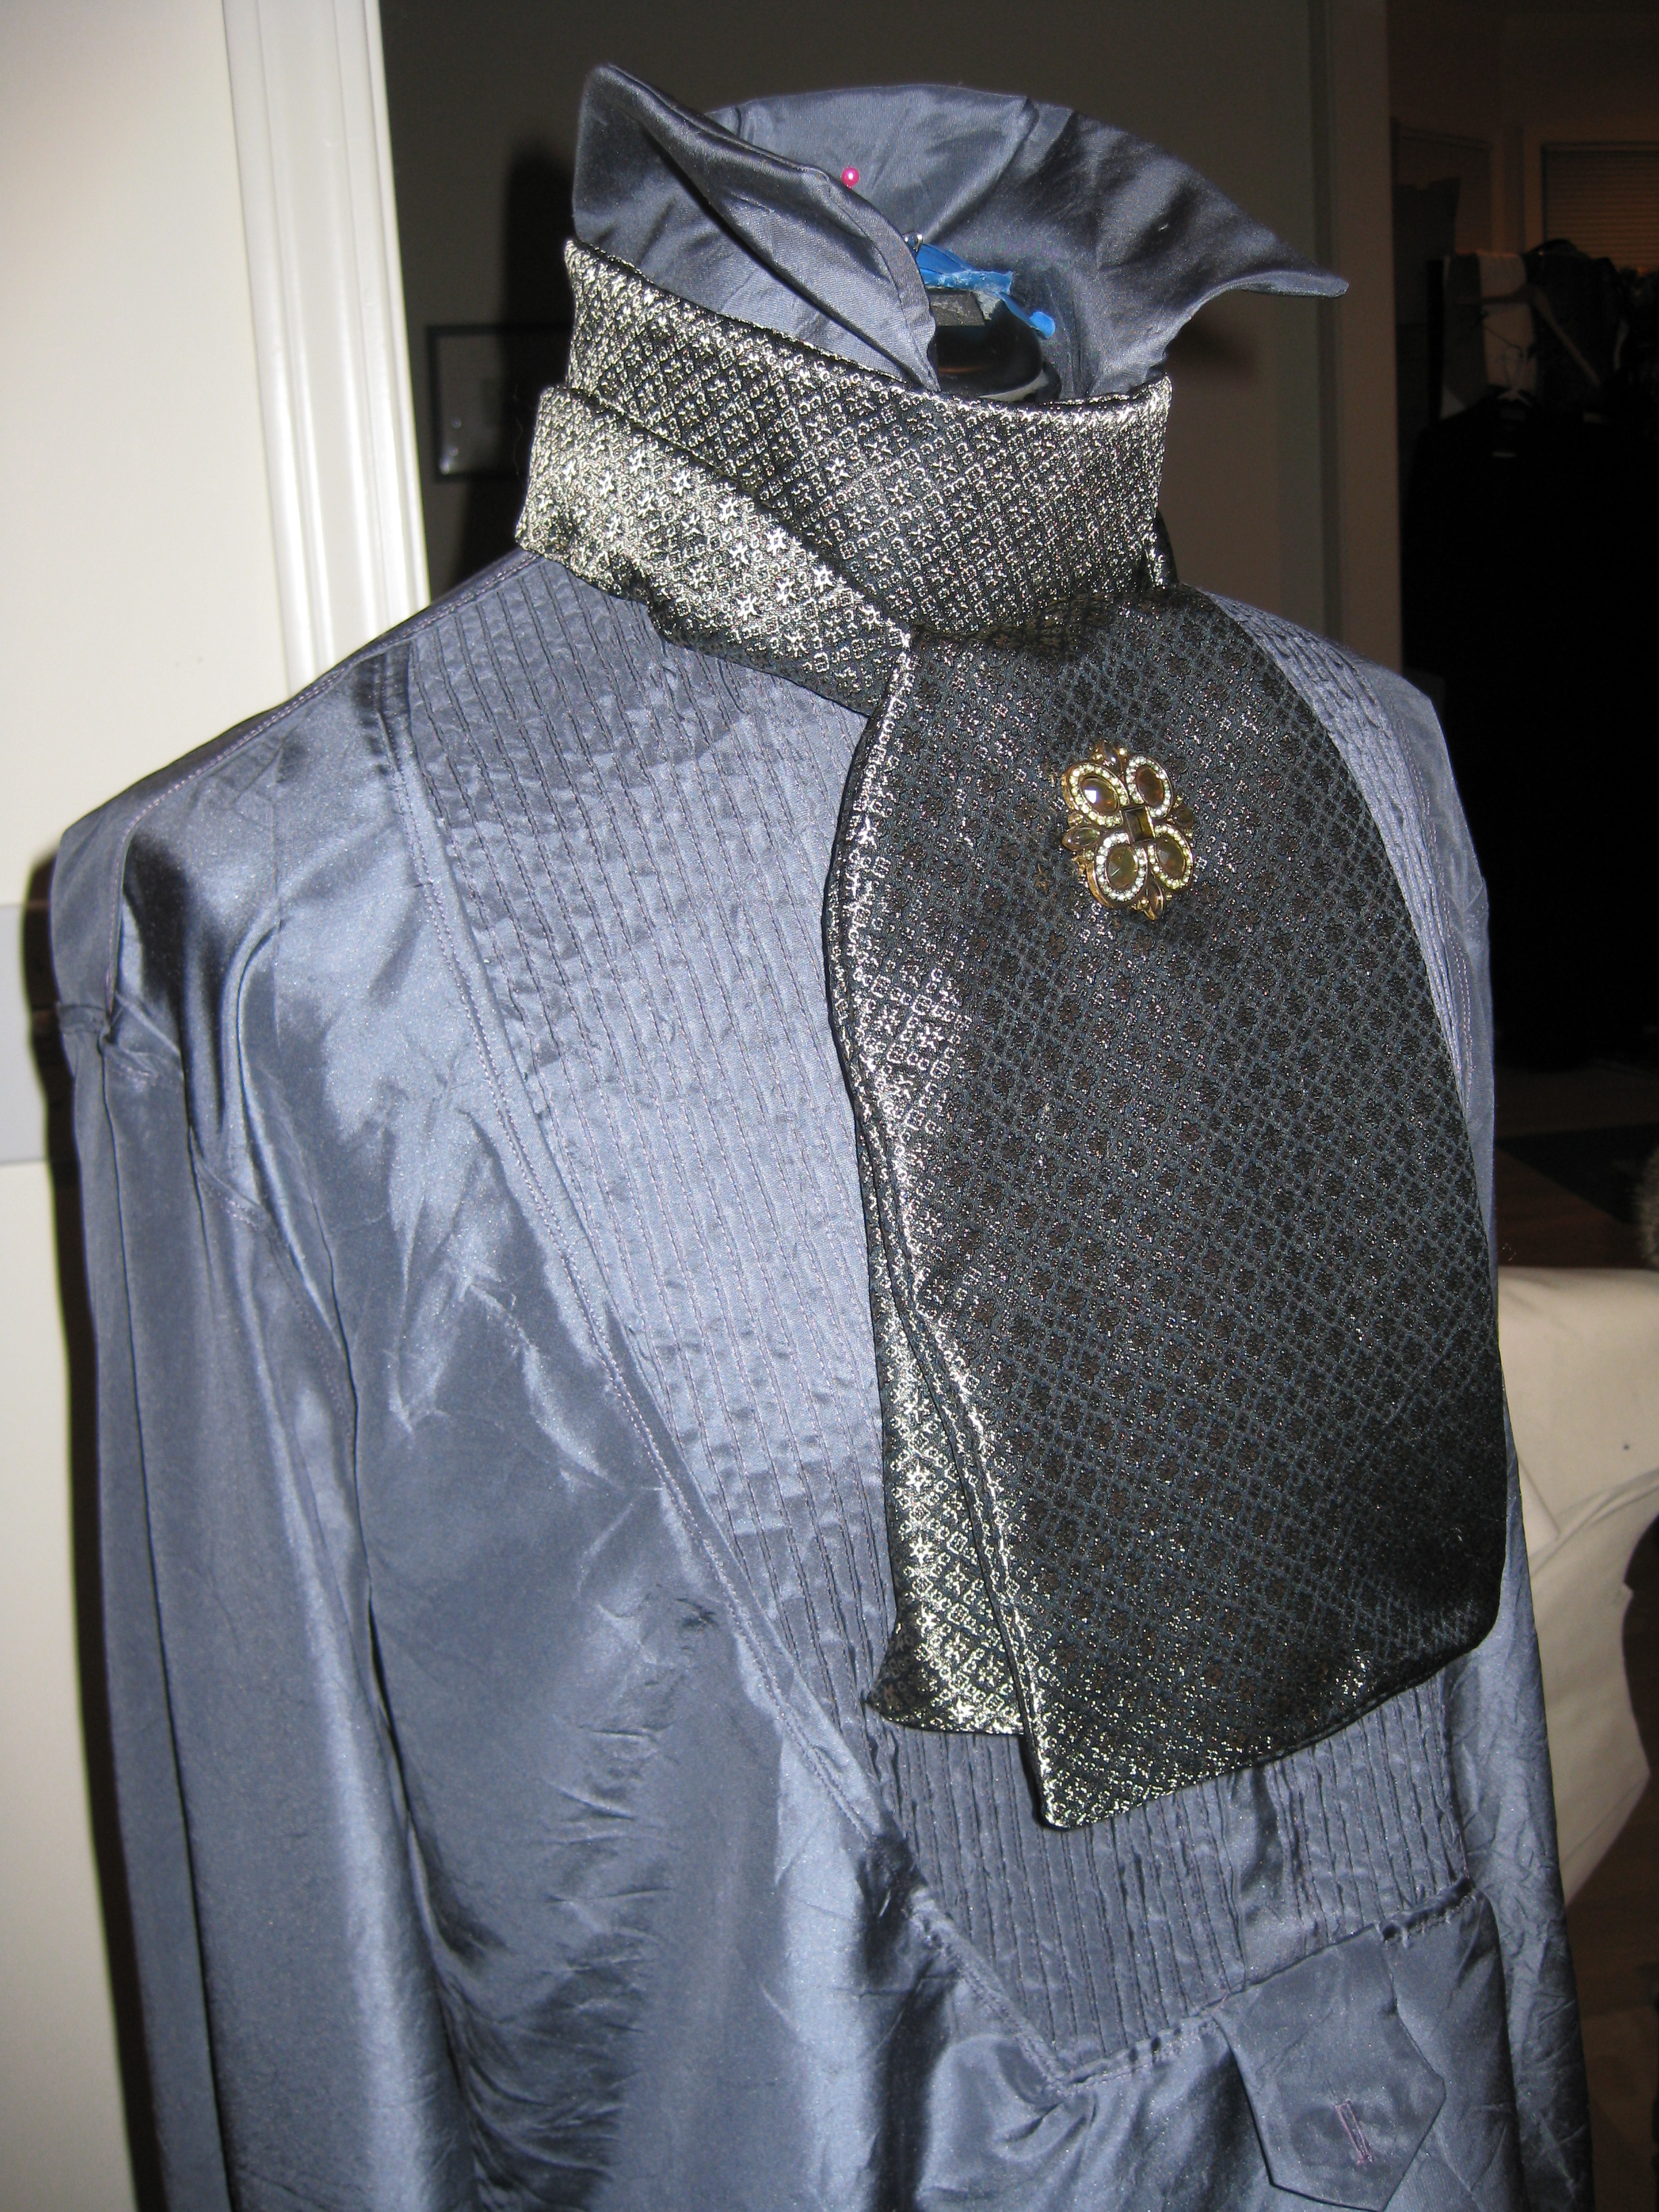
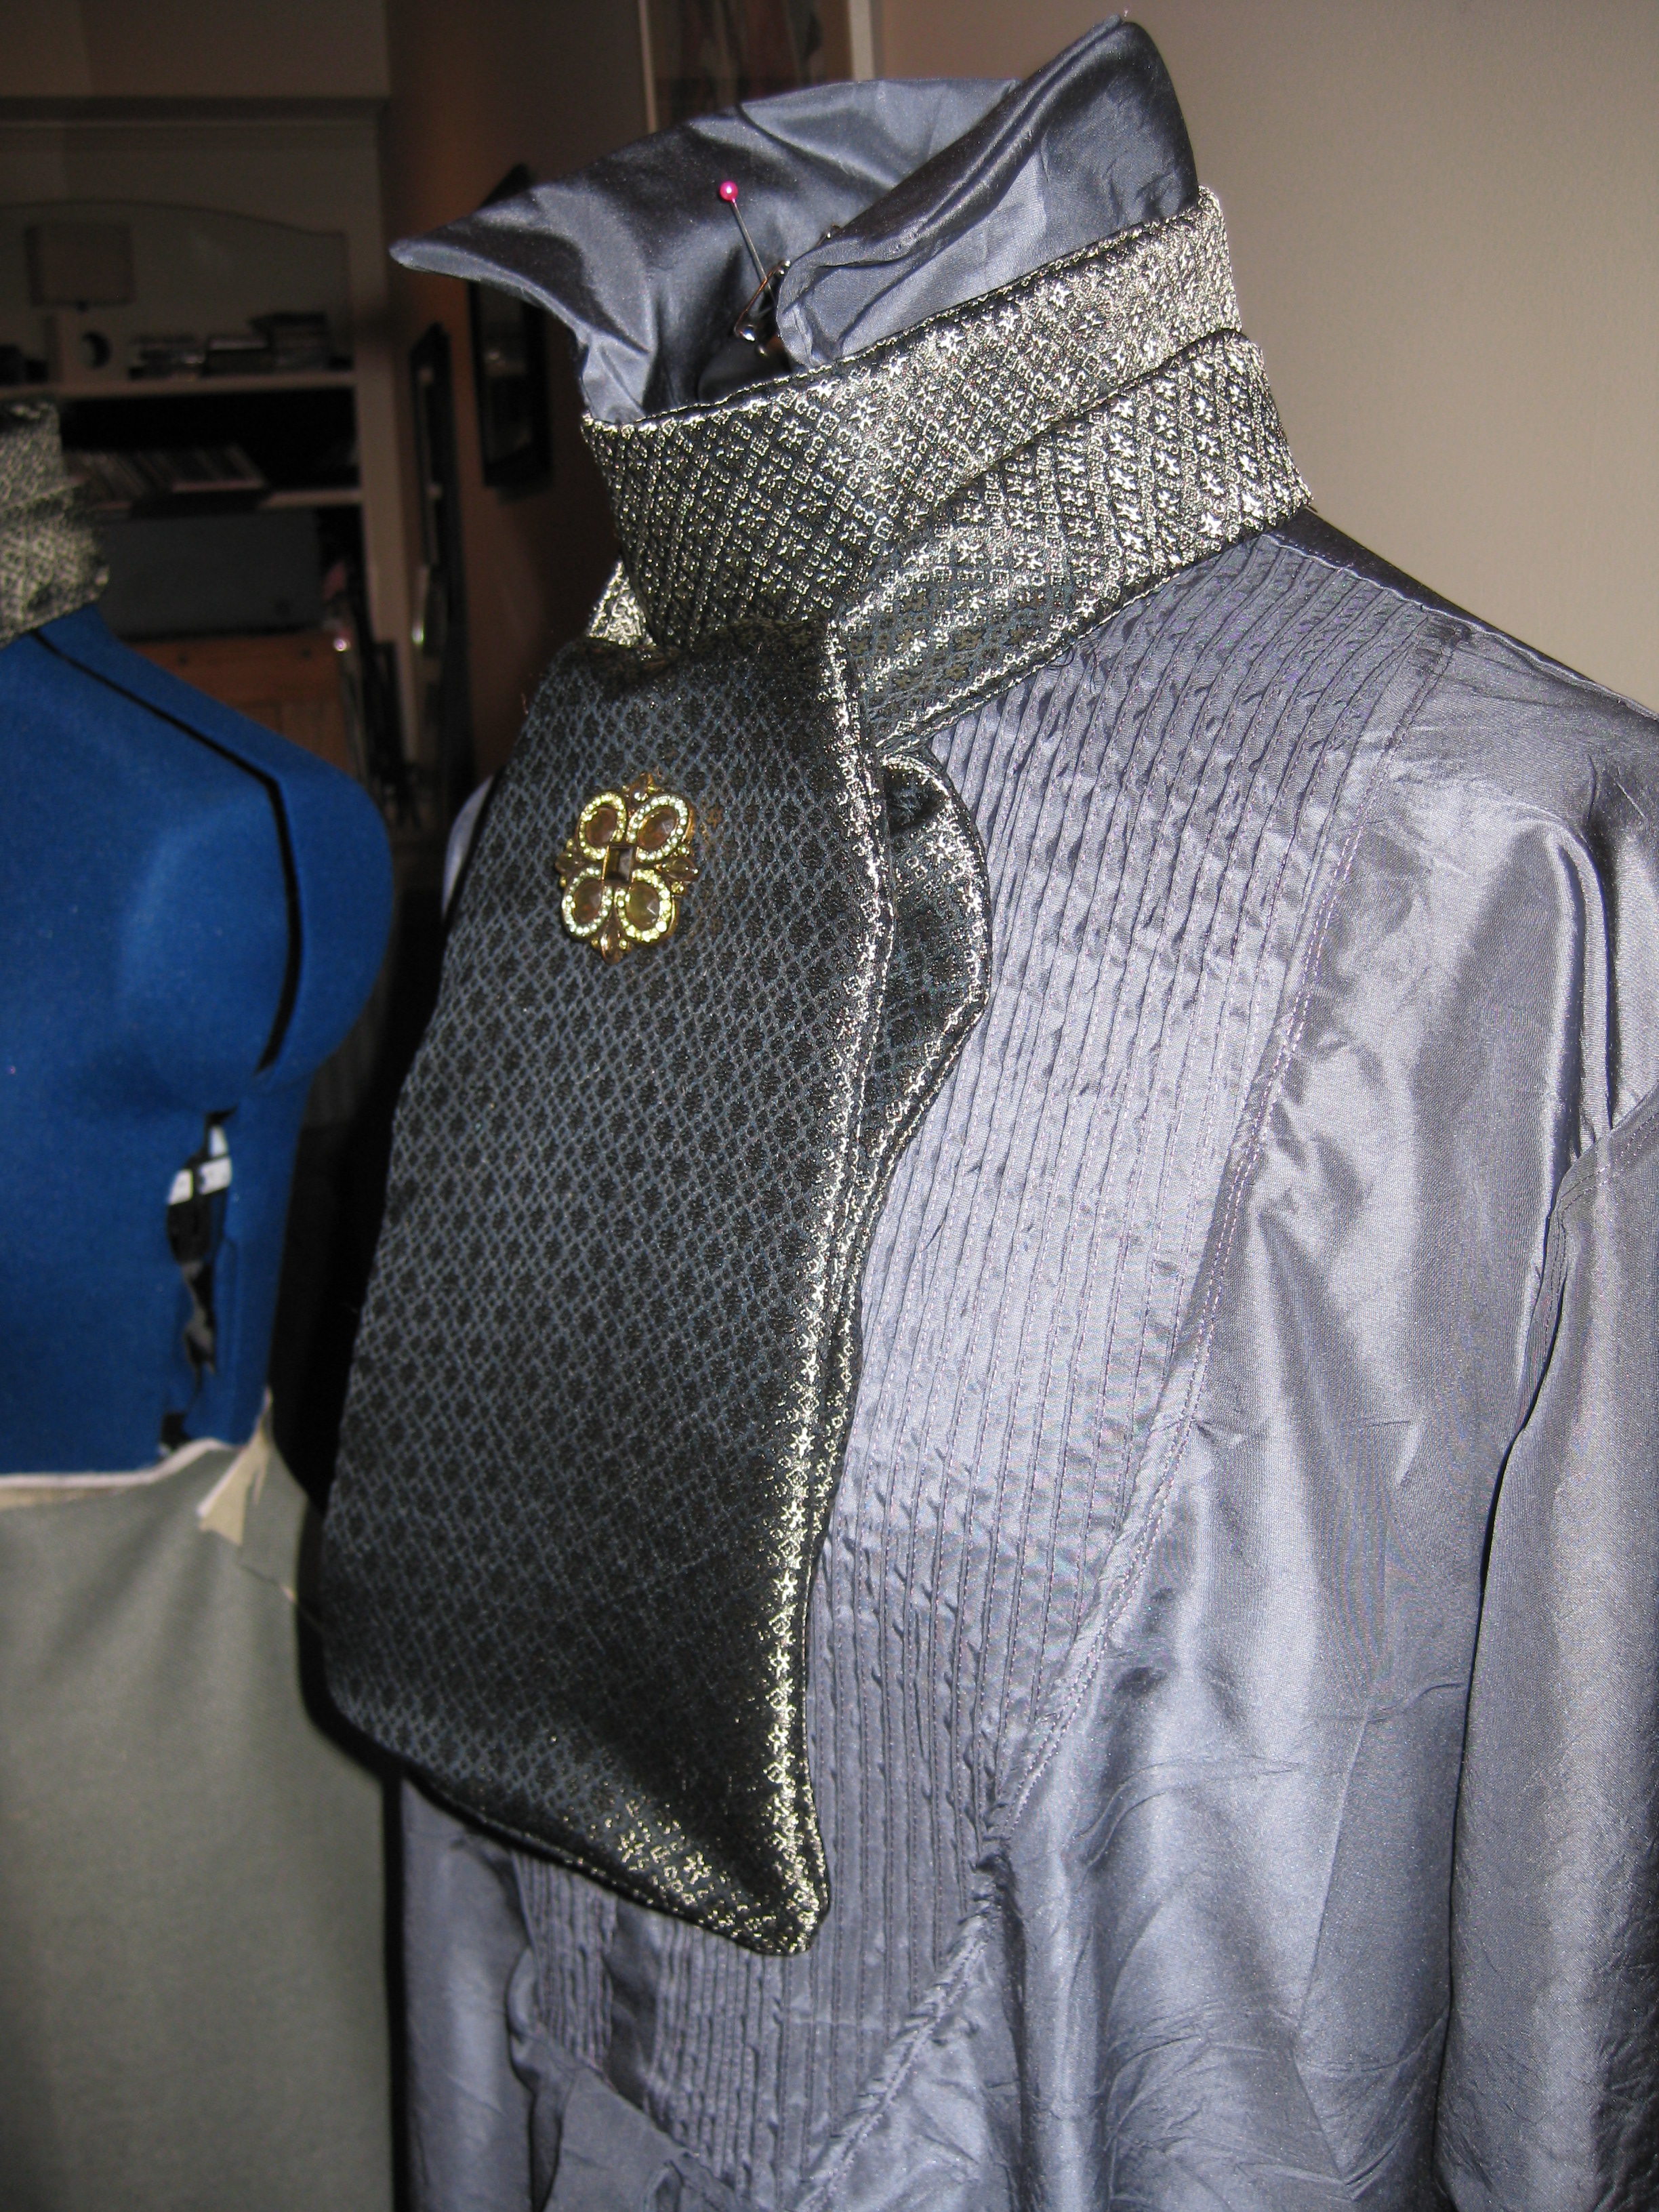
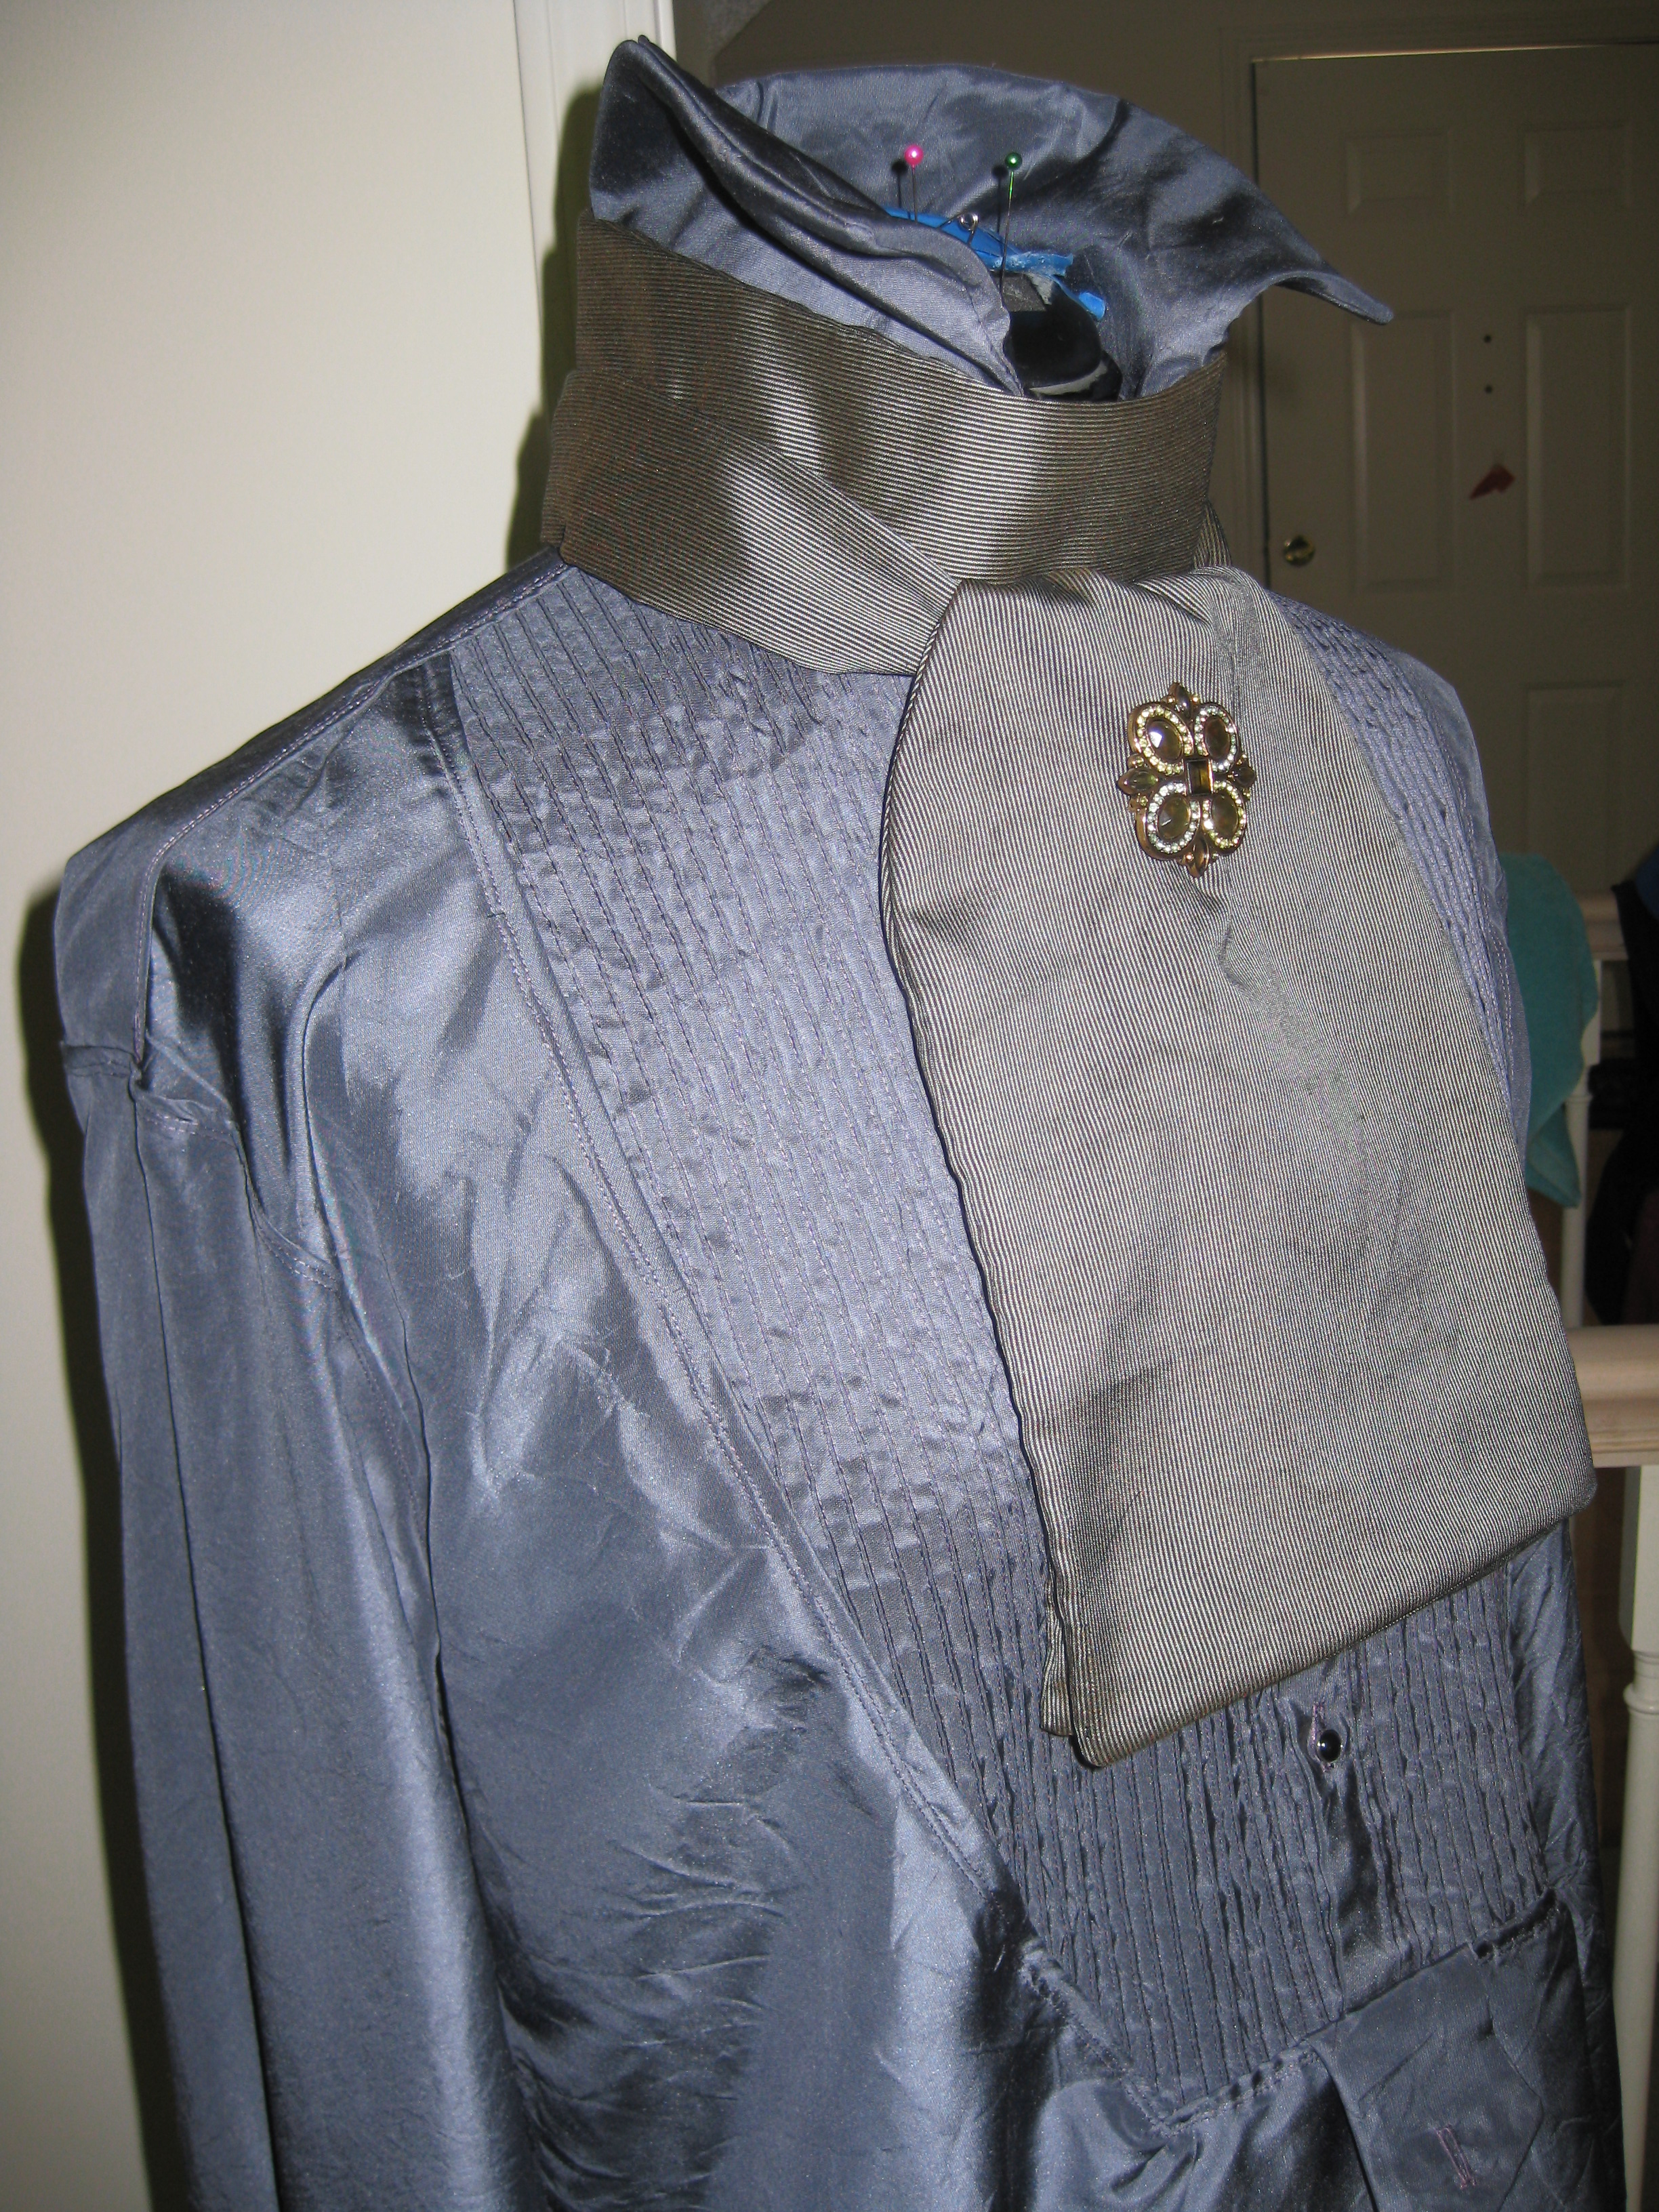
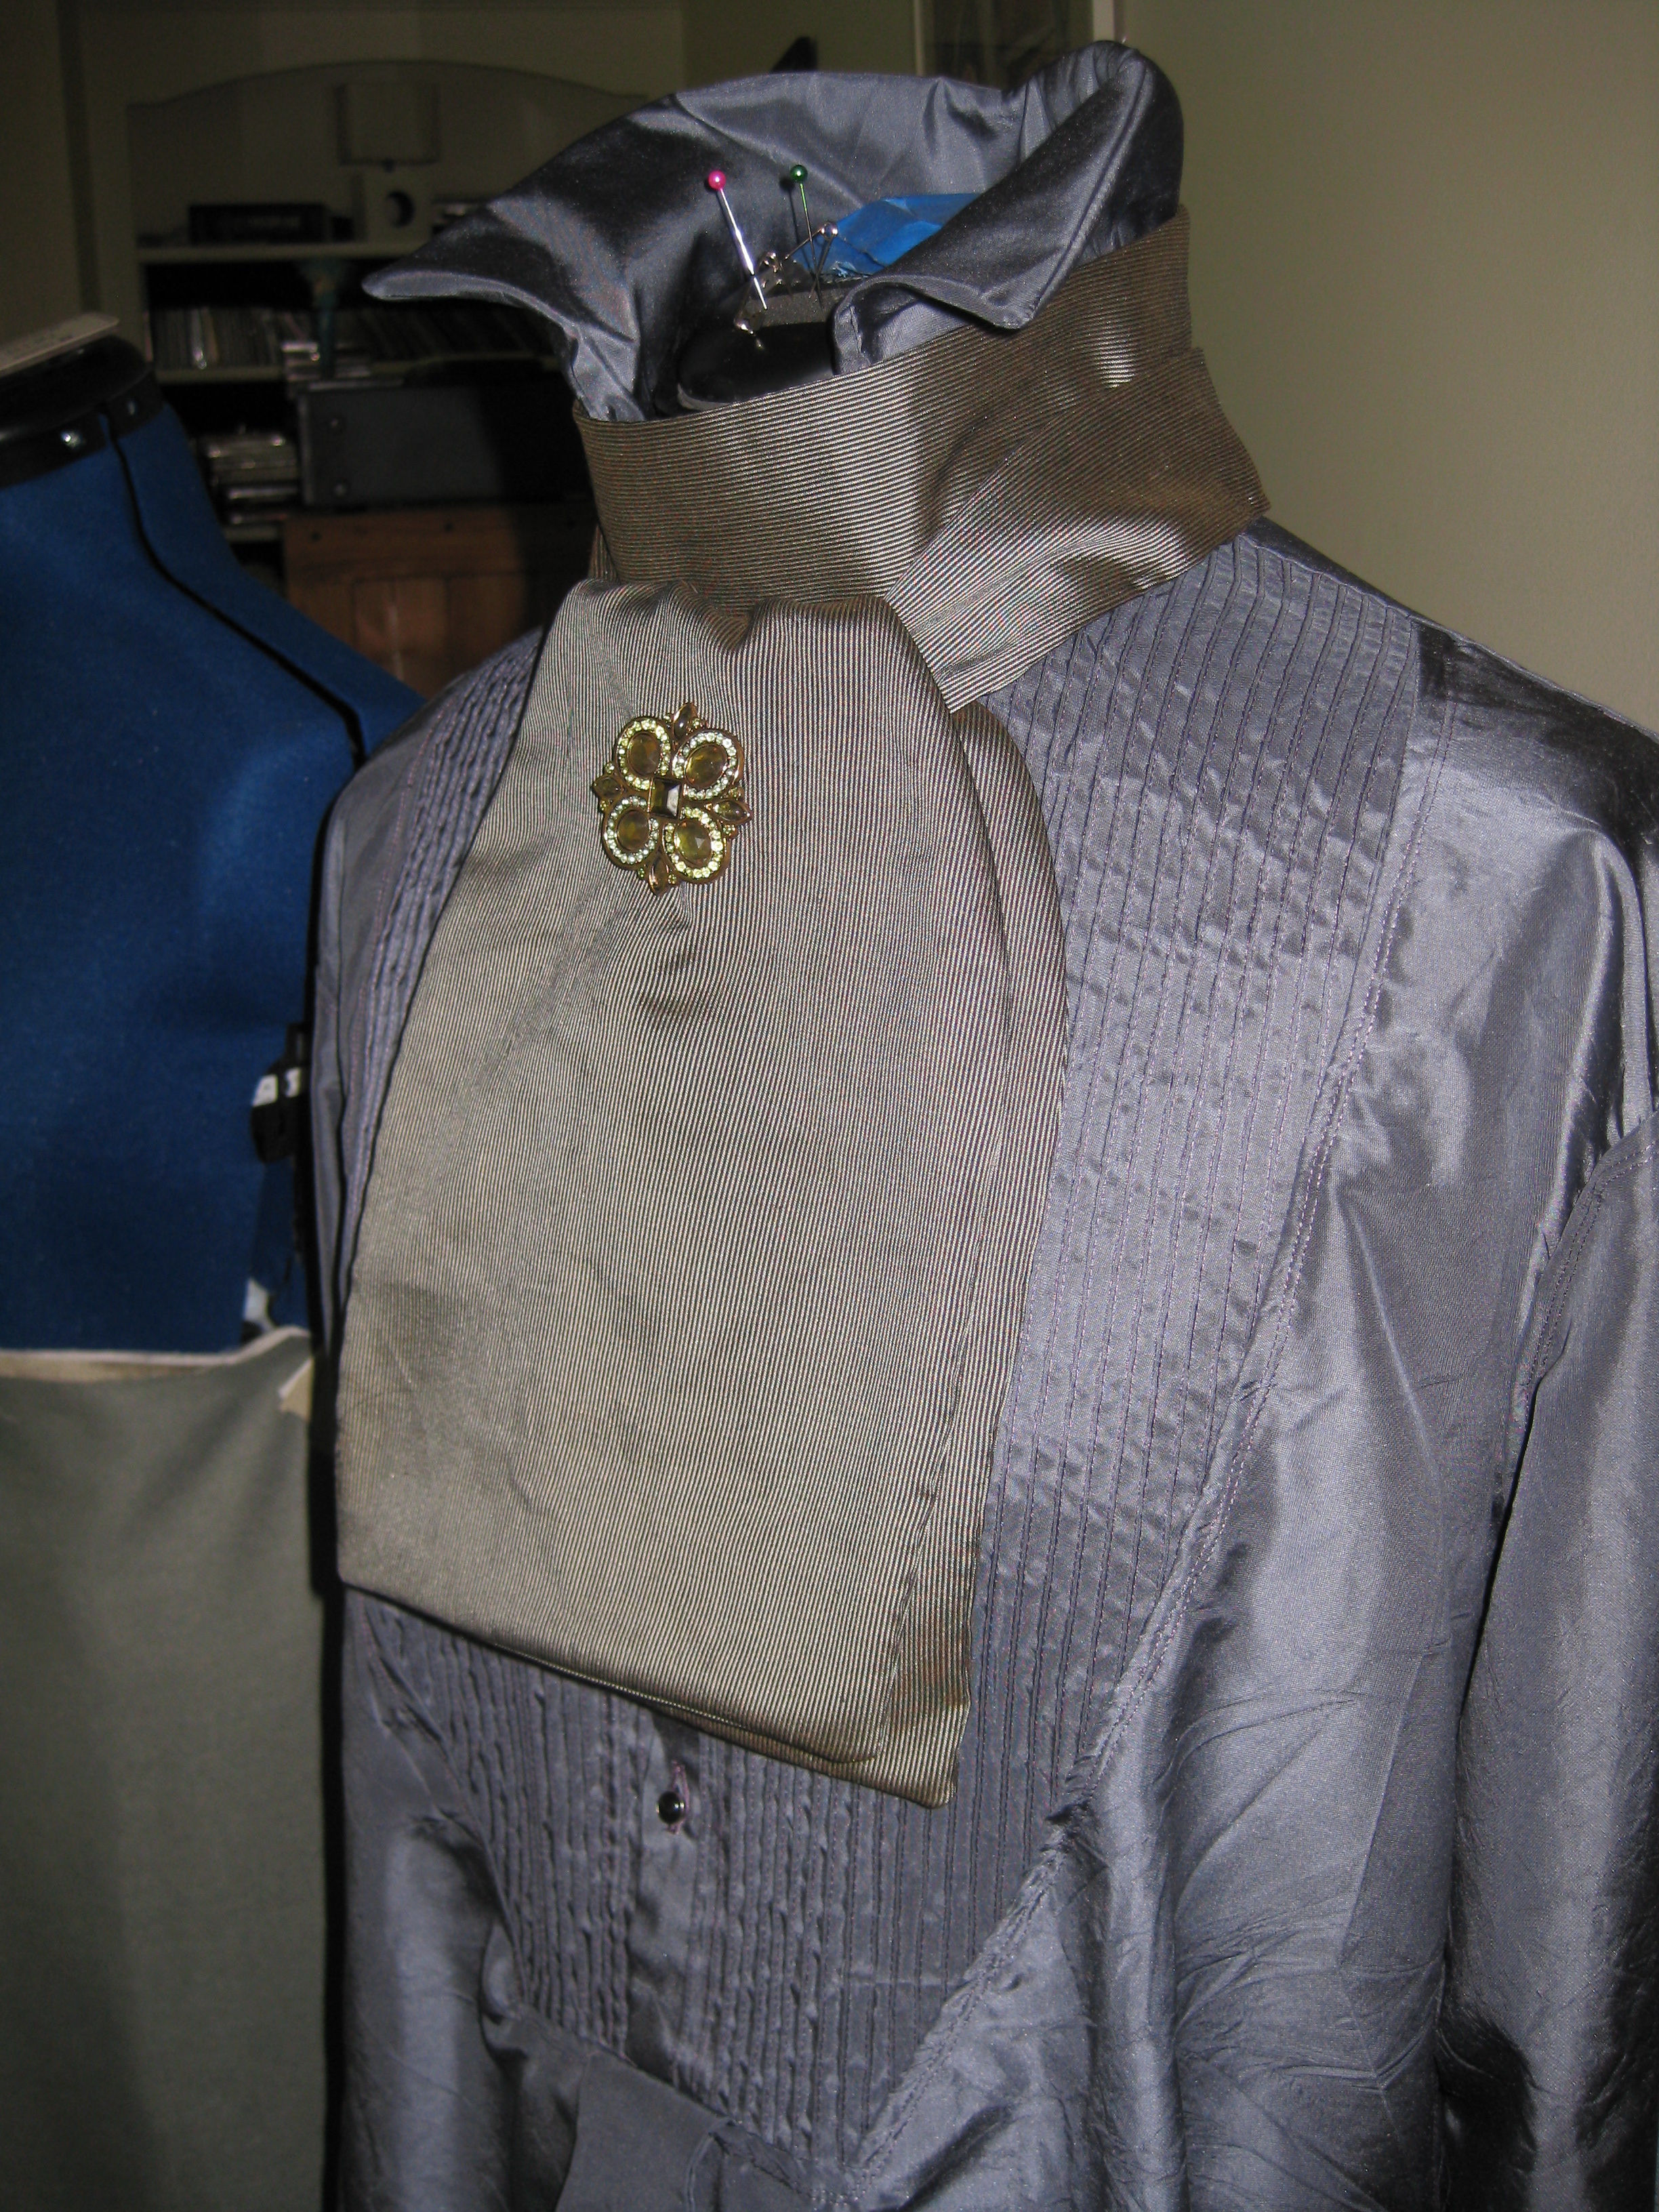
The second cravat is the black with gold pattern, right side this time:
The first two, side by side, with the reverse one farther back. Somehow, they look very similar in the photos, but the reverse is more muted and gray in tone.
And now, the gray striped.
This one is slightly shorter than the other two, as I wanted the stripes to go length wise, and the fabric is narrow...
I wish I had bought enough for a shirt, as the fabric is divine to work with... But if I remember correctly, the seller only had a few yards left to sell.
At this point, I can no longer say I have a favorite. I really like them all. None shall go to waste, over time.
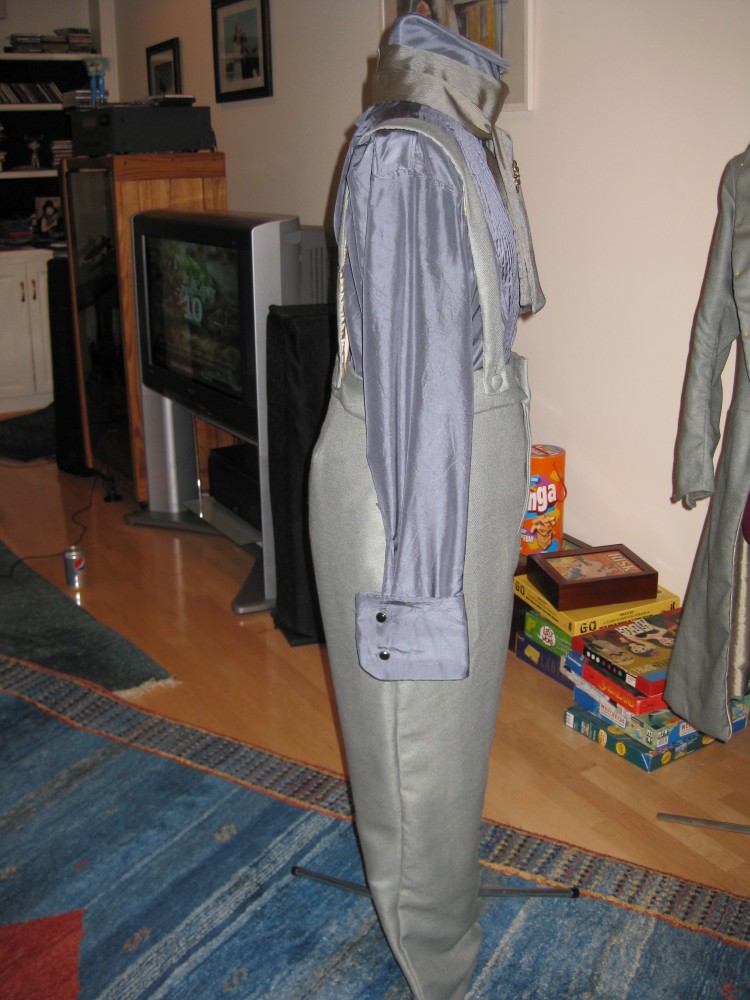
I've started constructing the trousers, but have not gotten very far. Weekends are not very productive on the costume front, as everyone is home and vying for my attentions. lol. But progress is progress, and there's been some!
More to come!
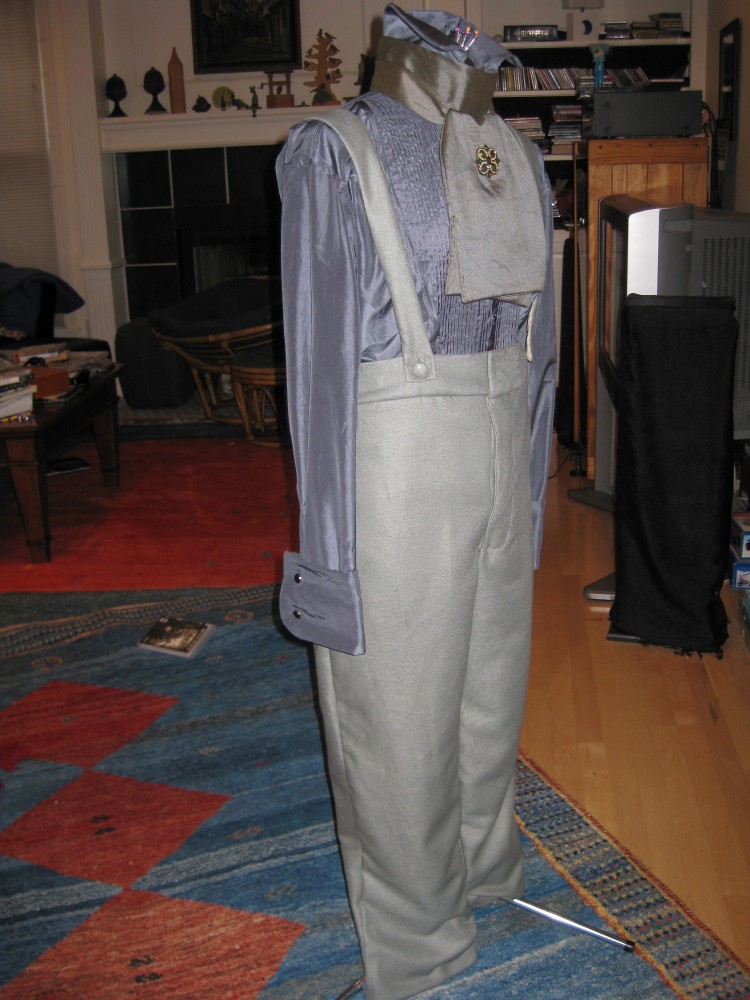
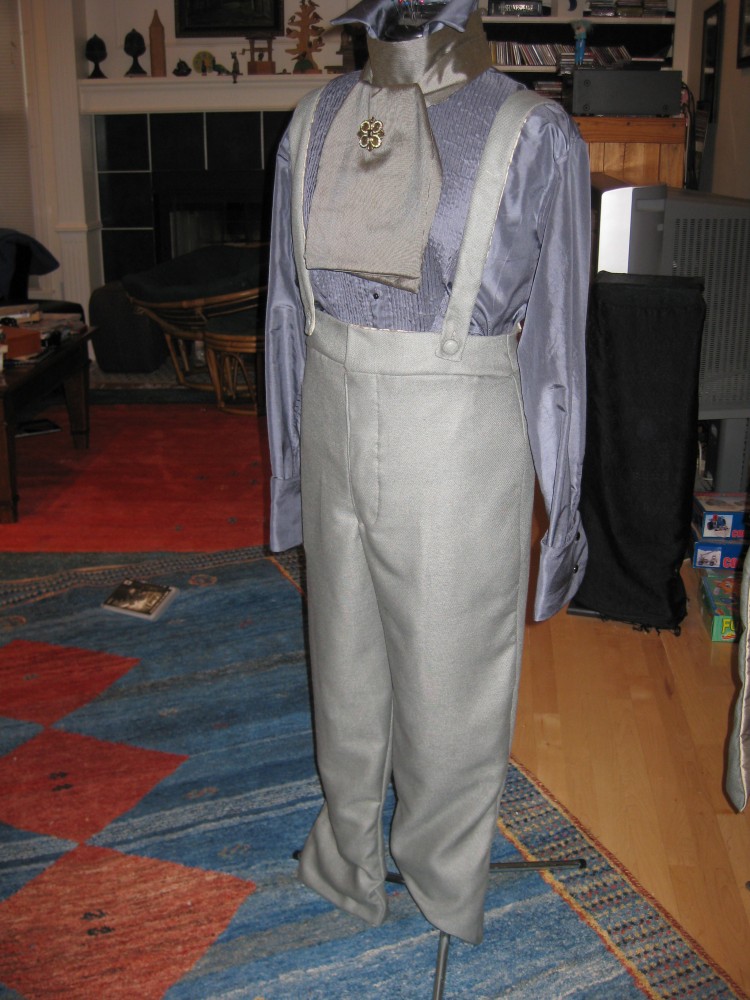
August 17, 2010 at 6:43PM:
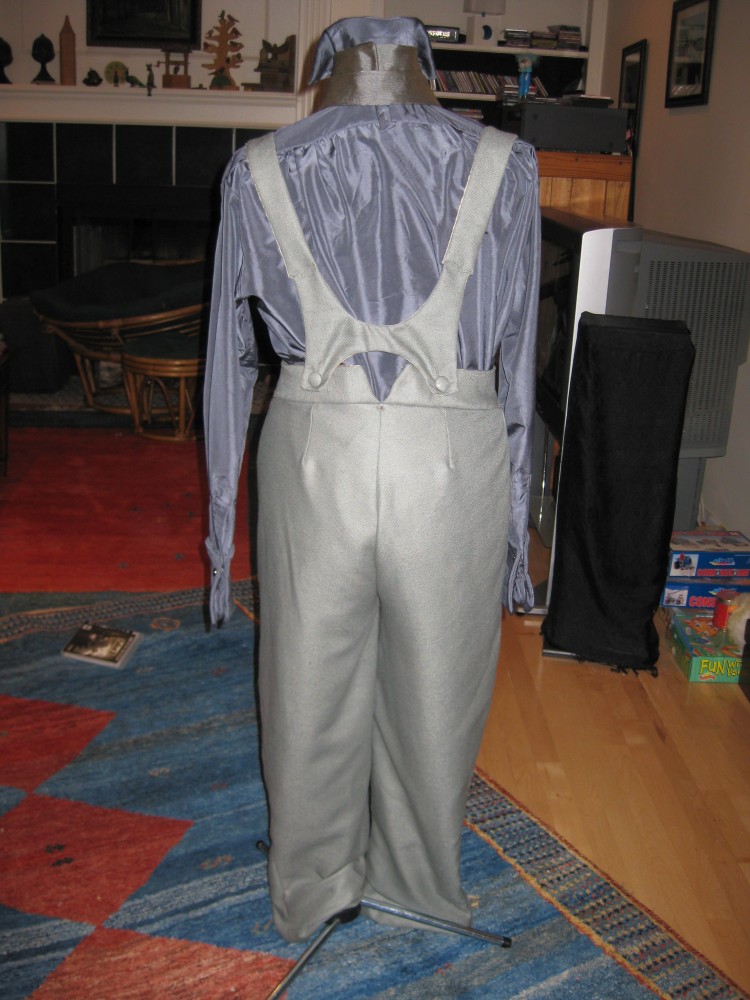
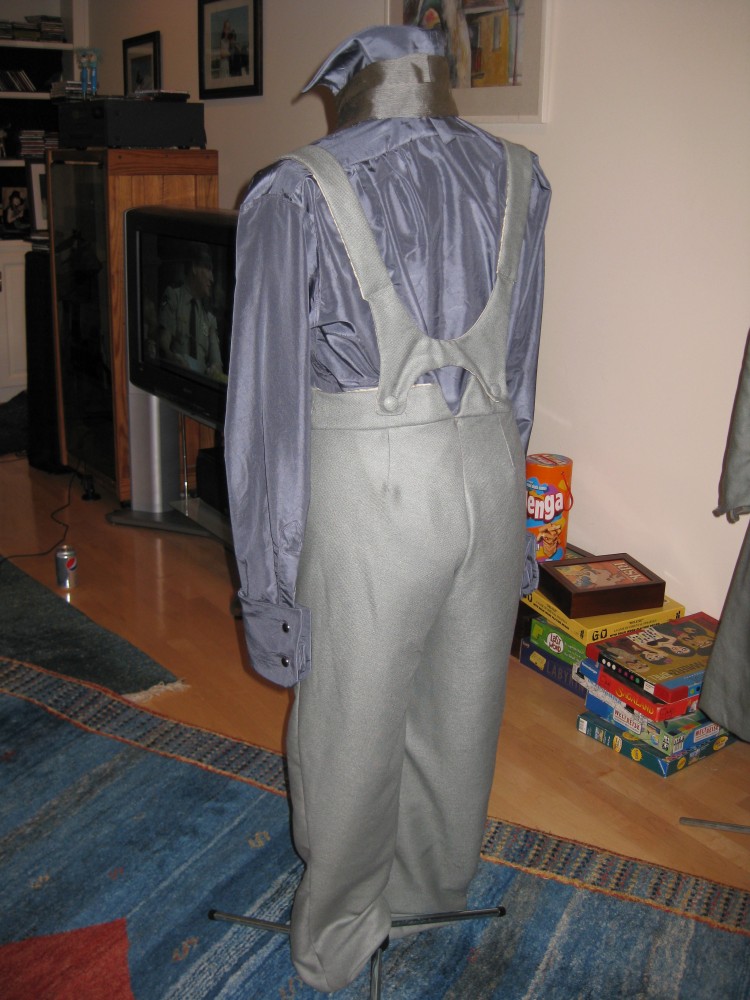
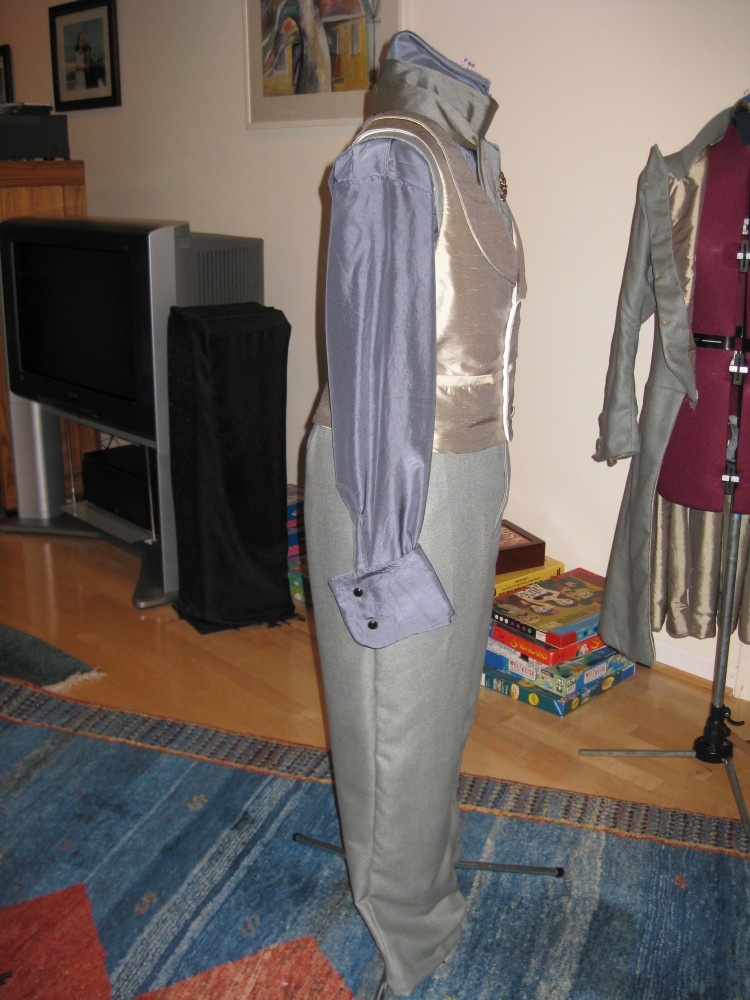
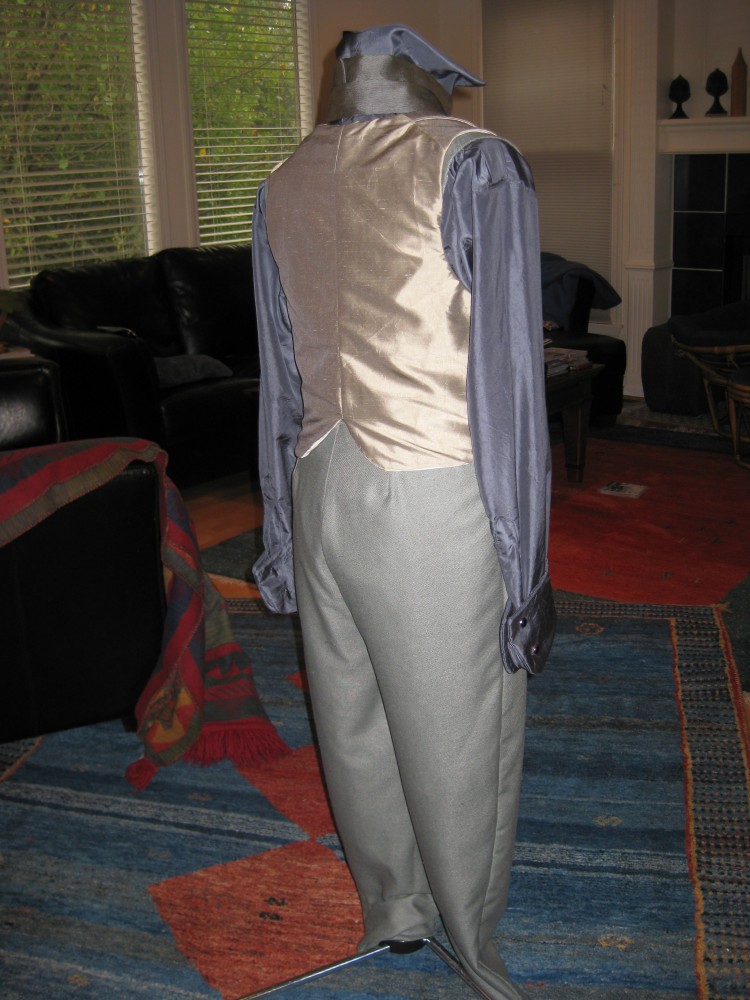
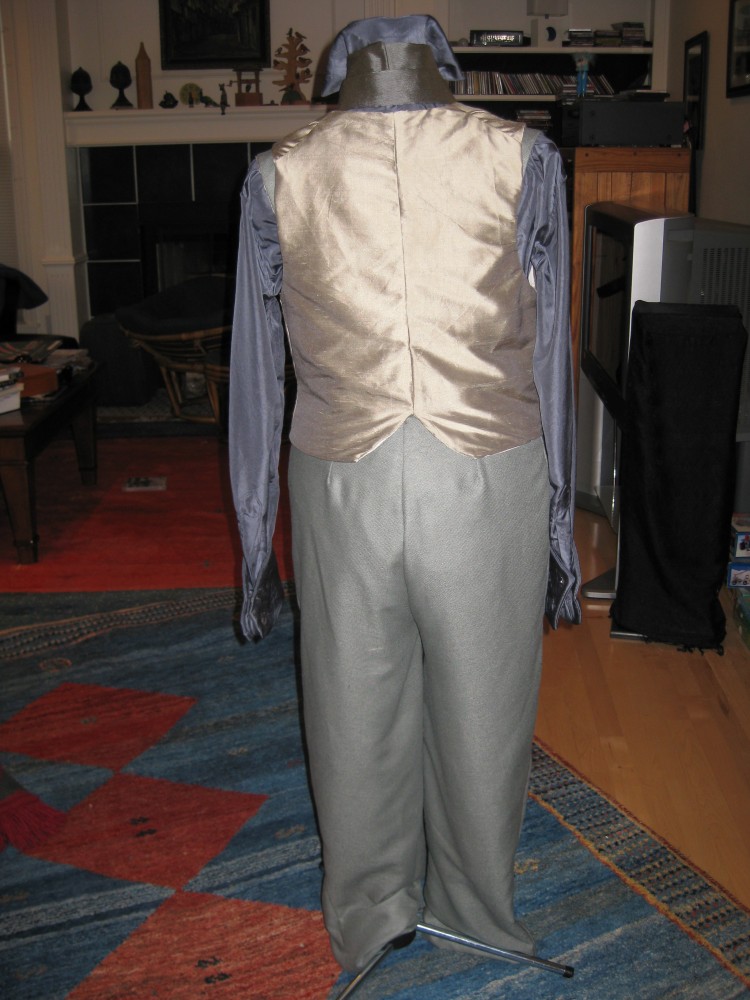
Prince Vlad has pants! So glad I can strike this one off the list. Photos!
August 18, 2010 at 8:46AM:
The vest is done!
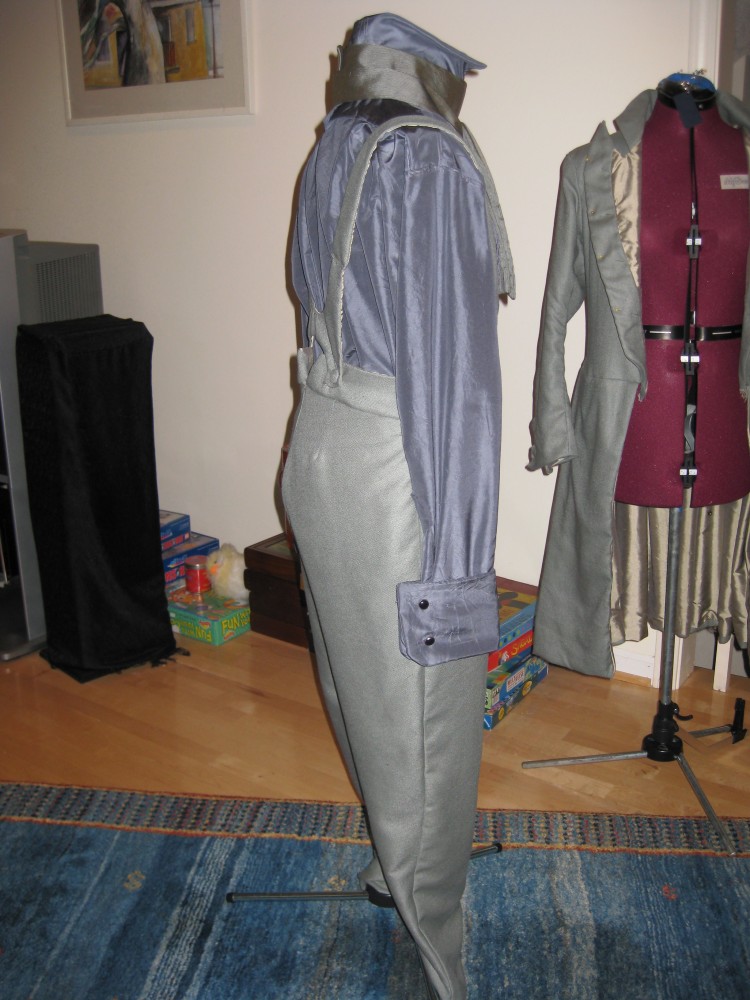
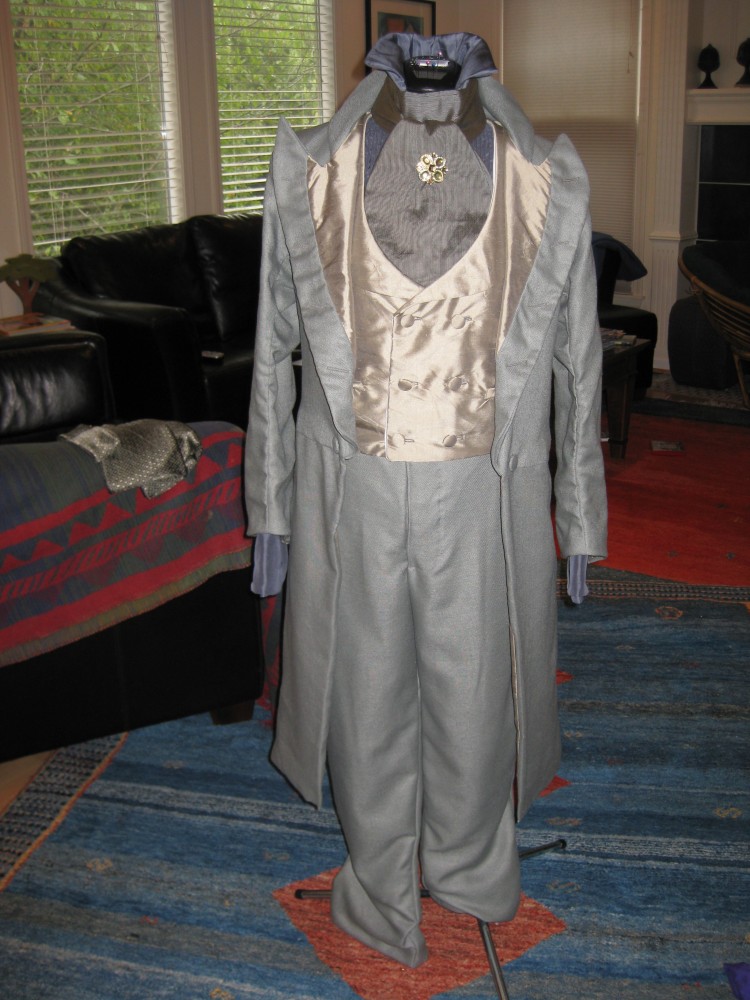
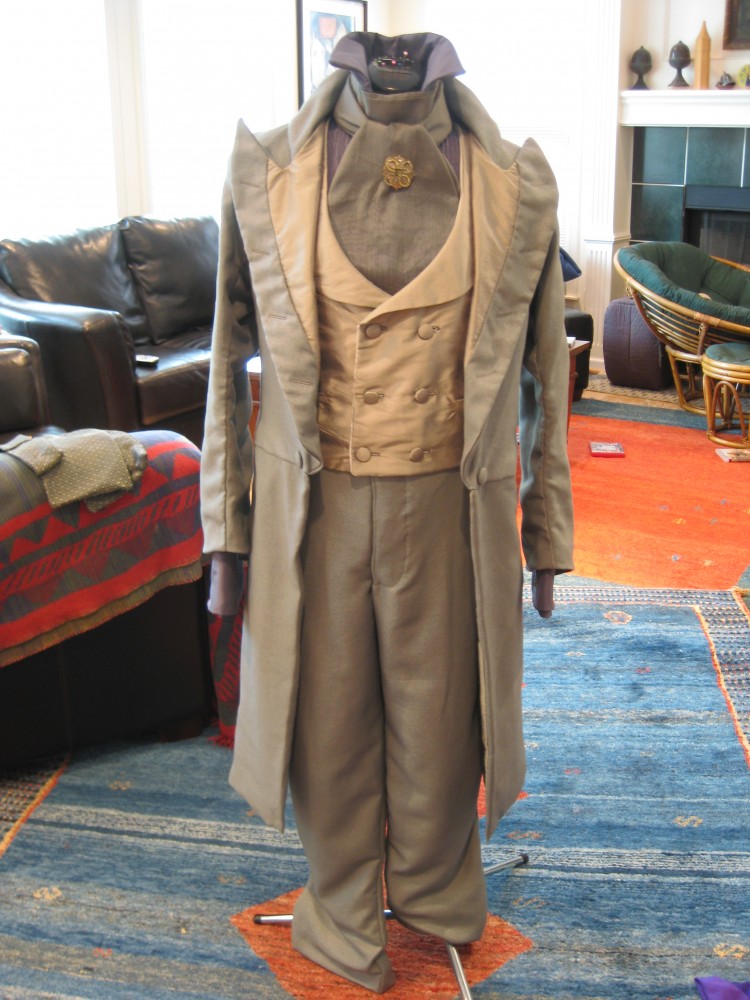
August 20, 2010 at 8:30PM:
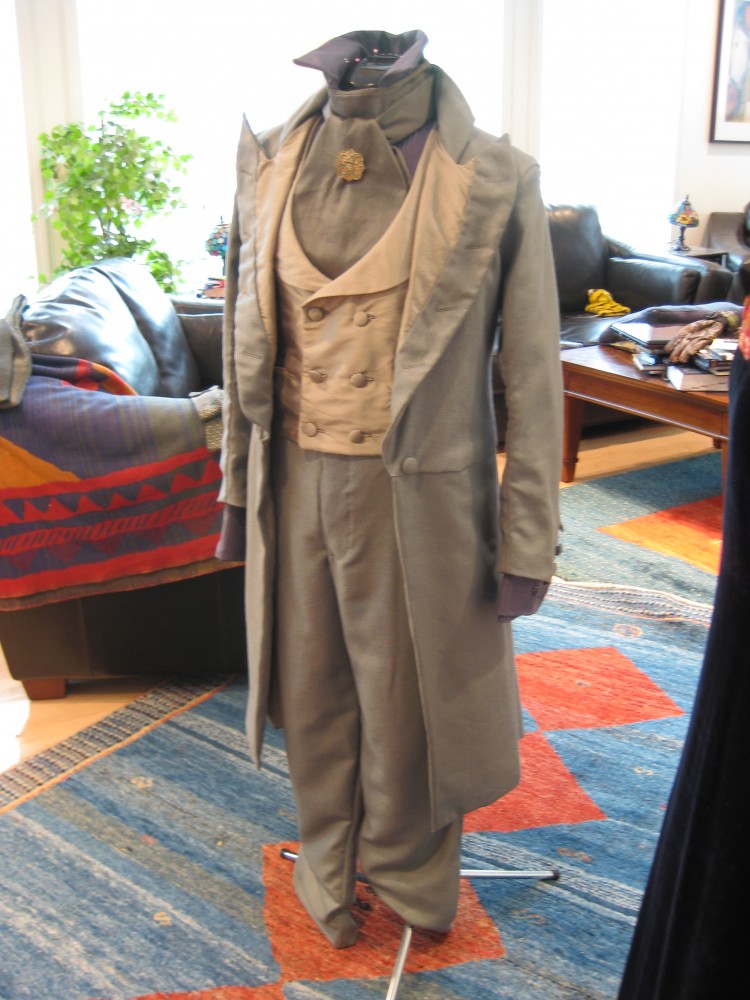
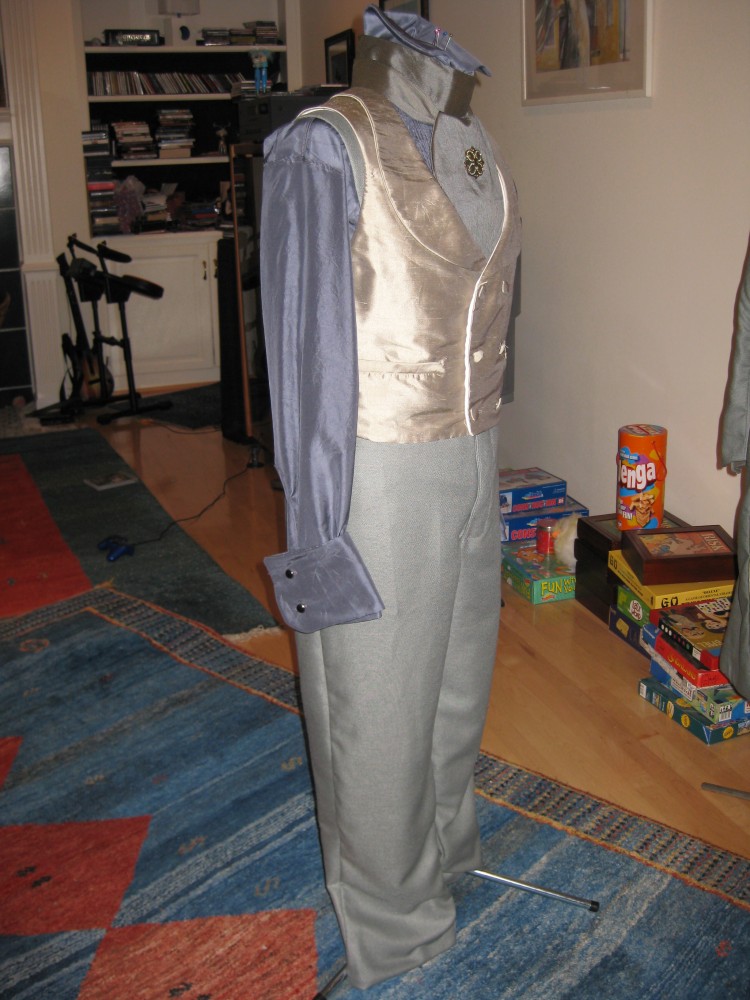
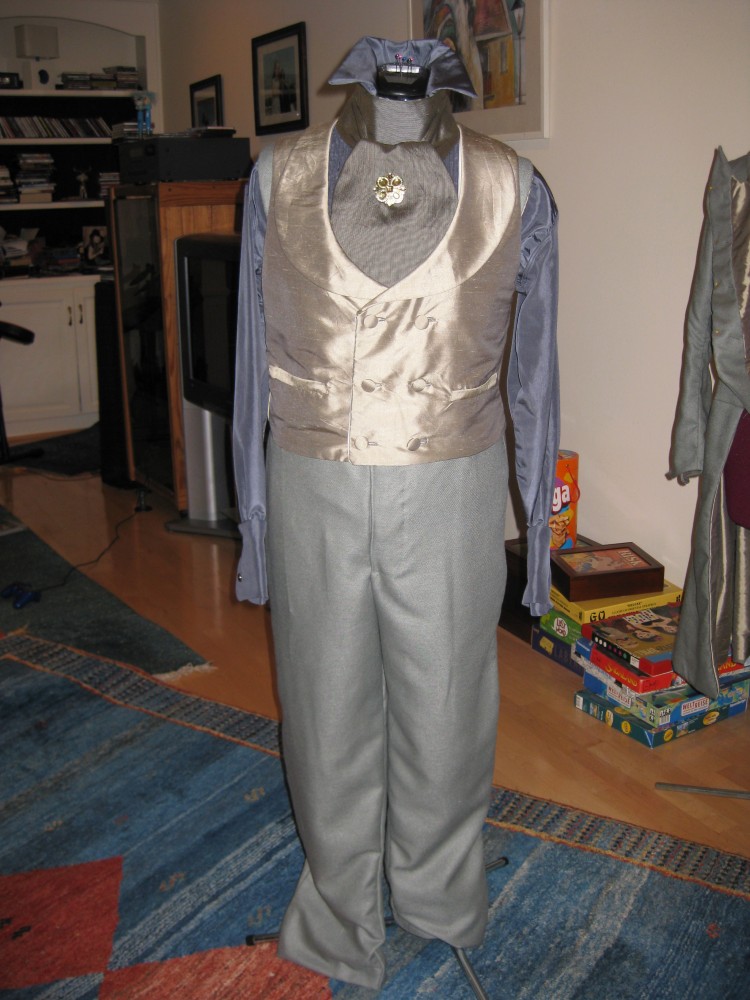
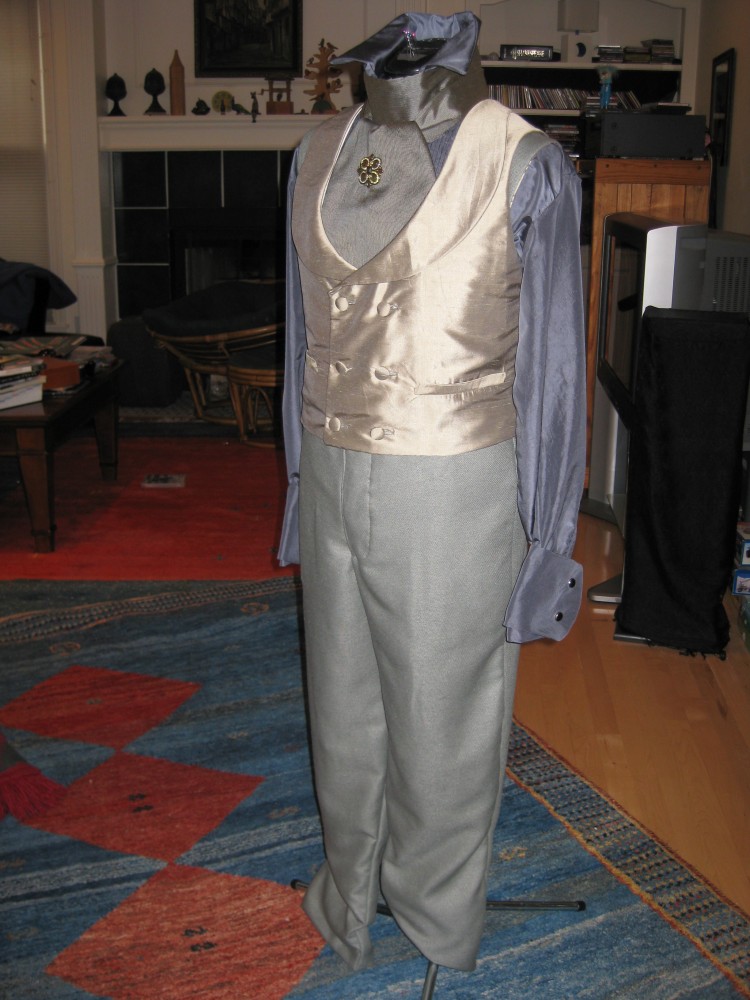
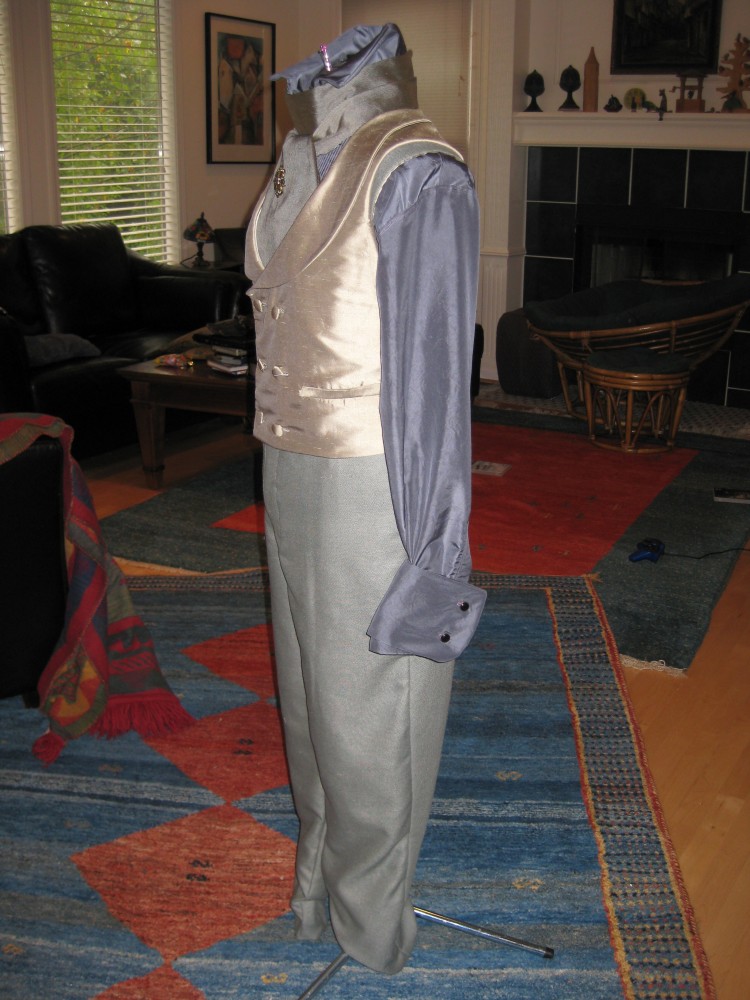
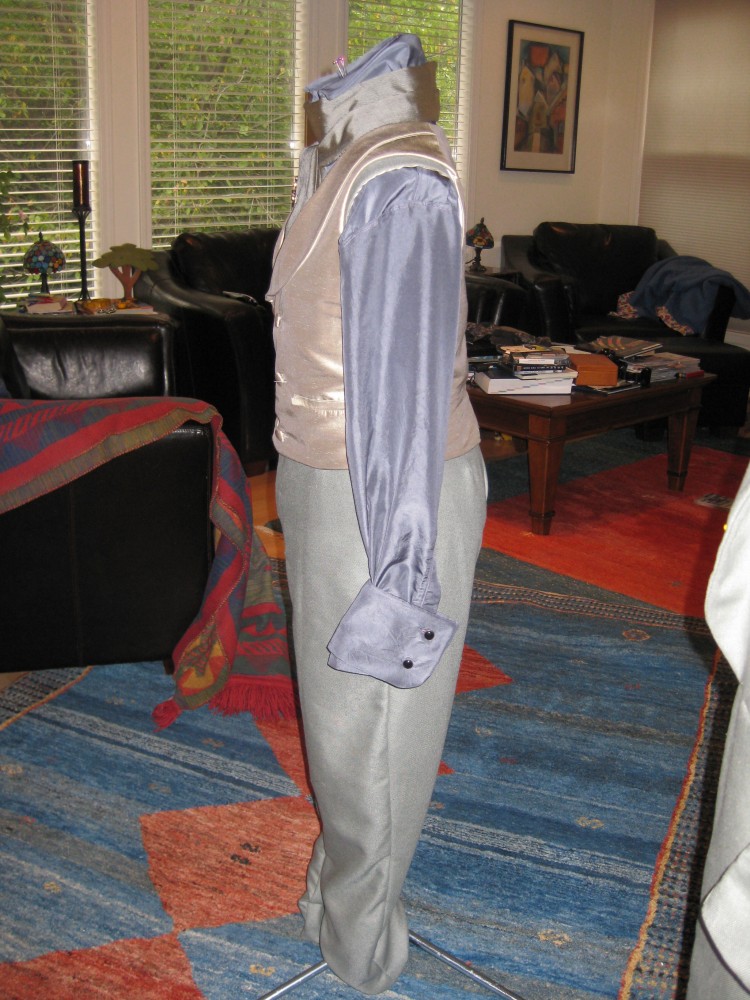
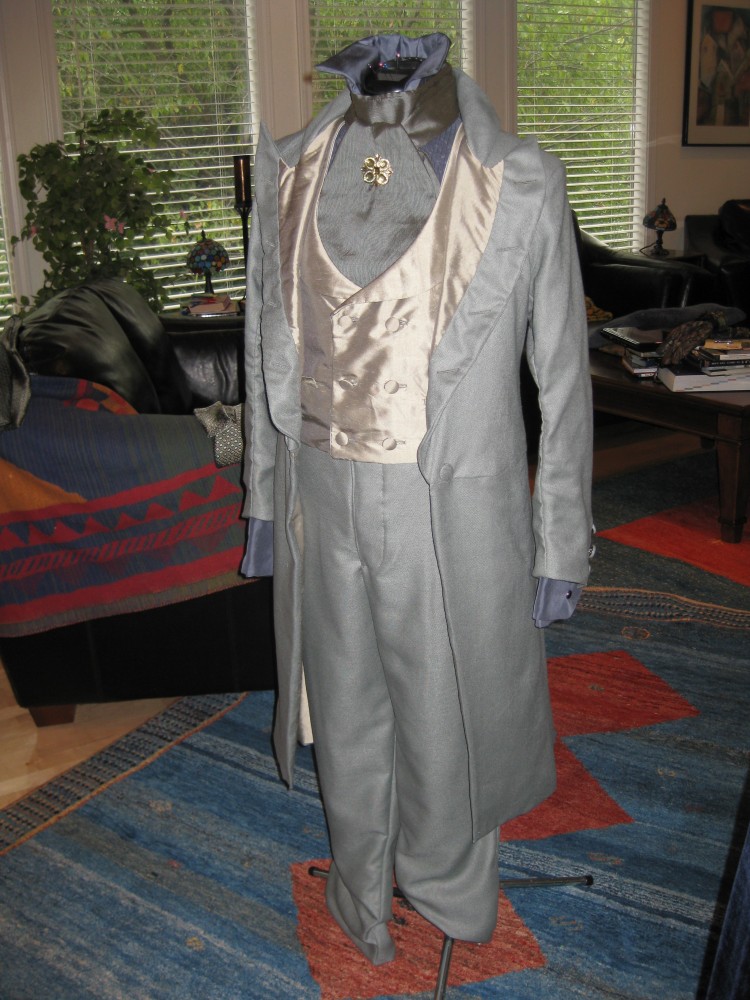
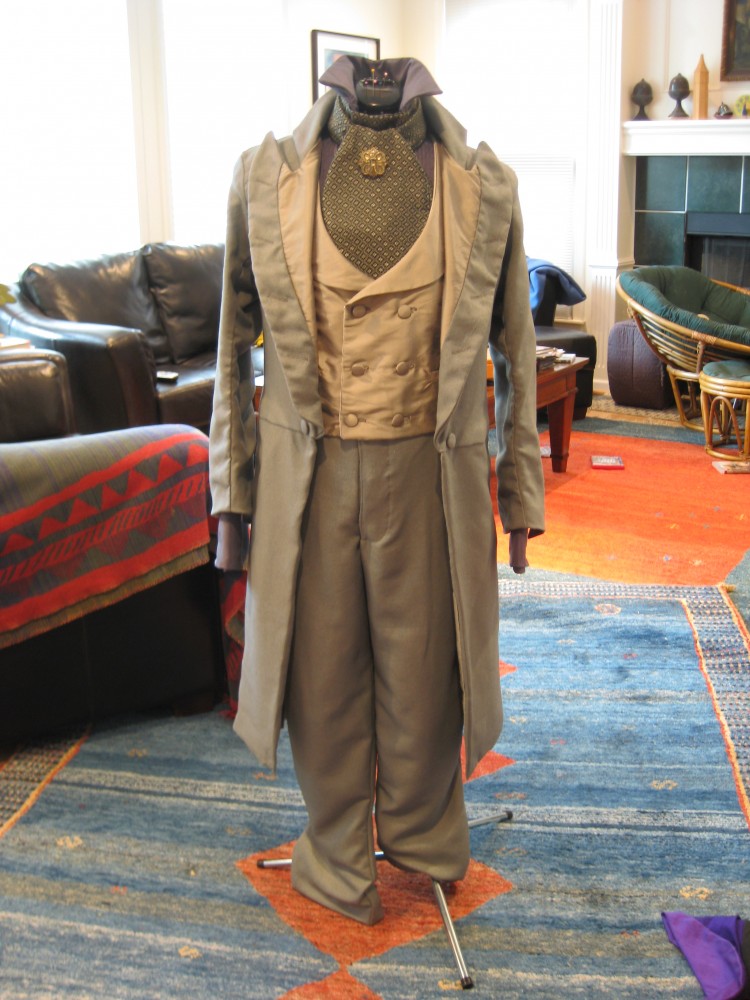
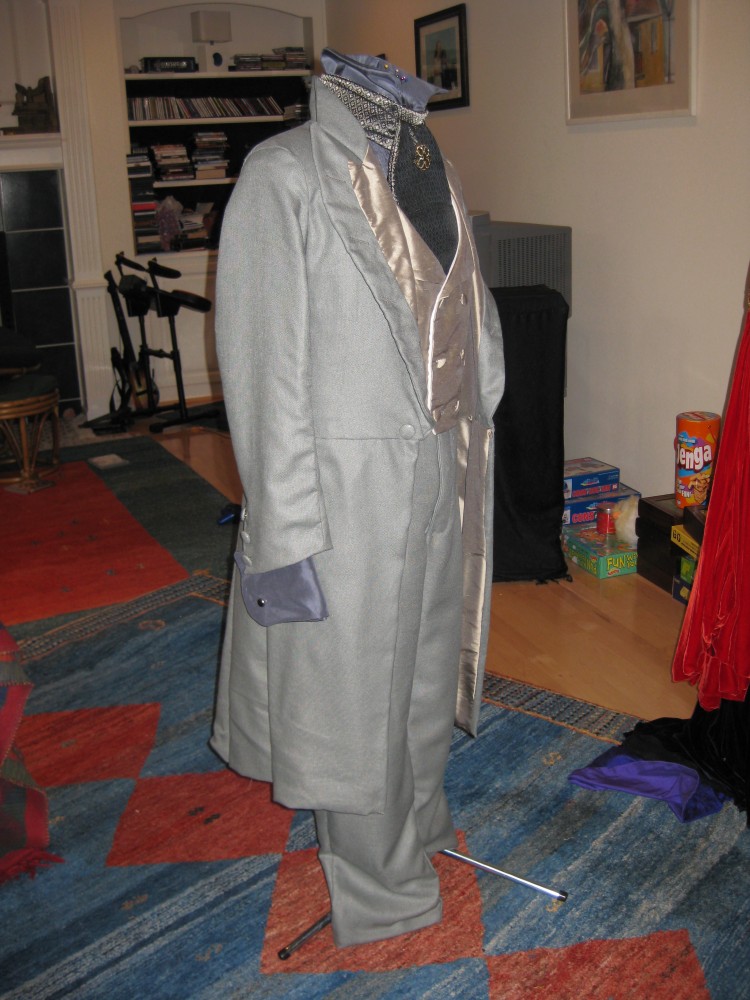
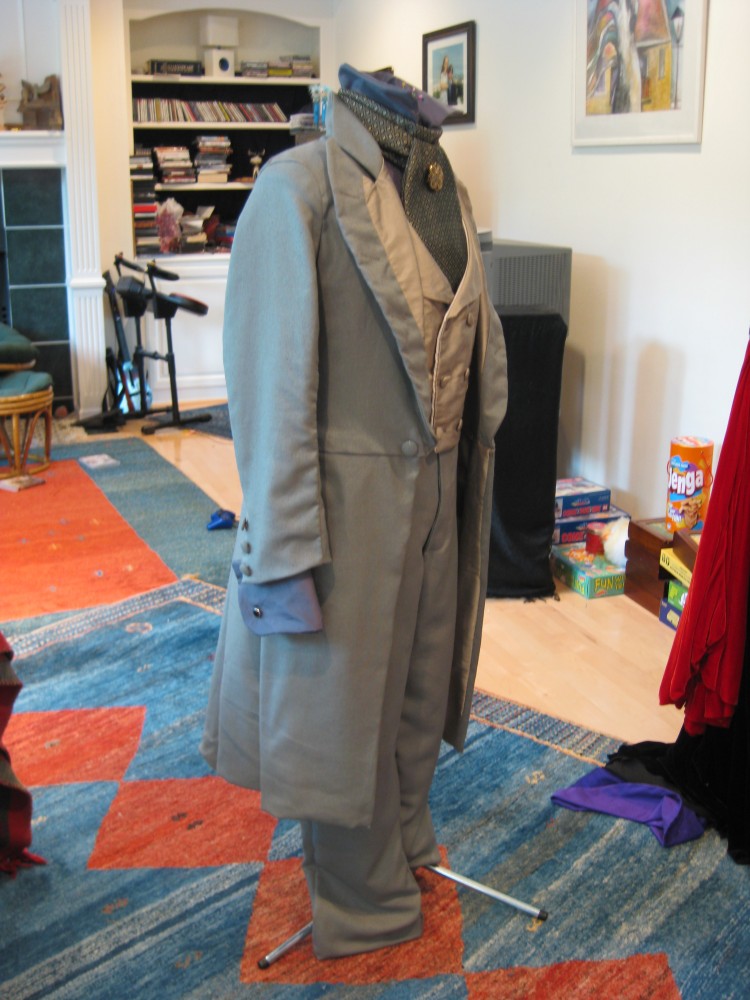
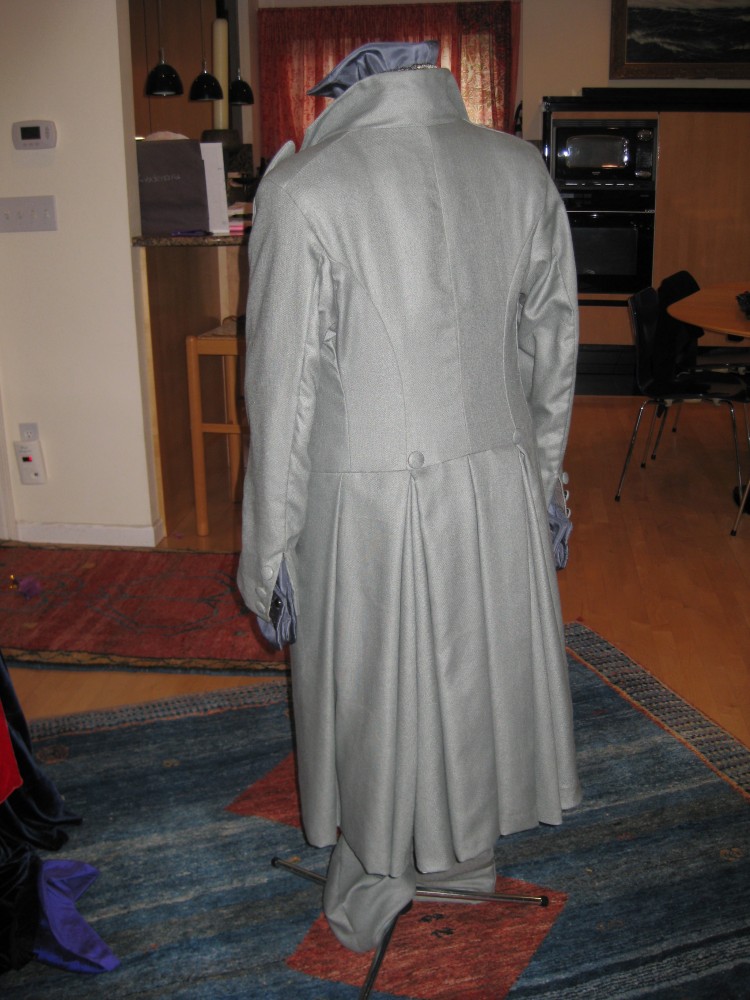
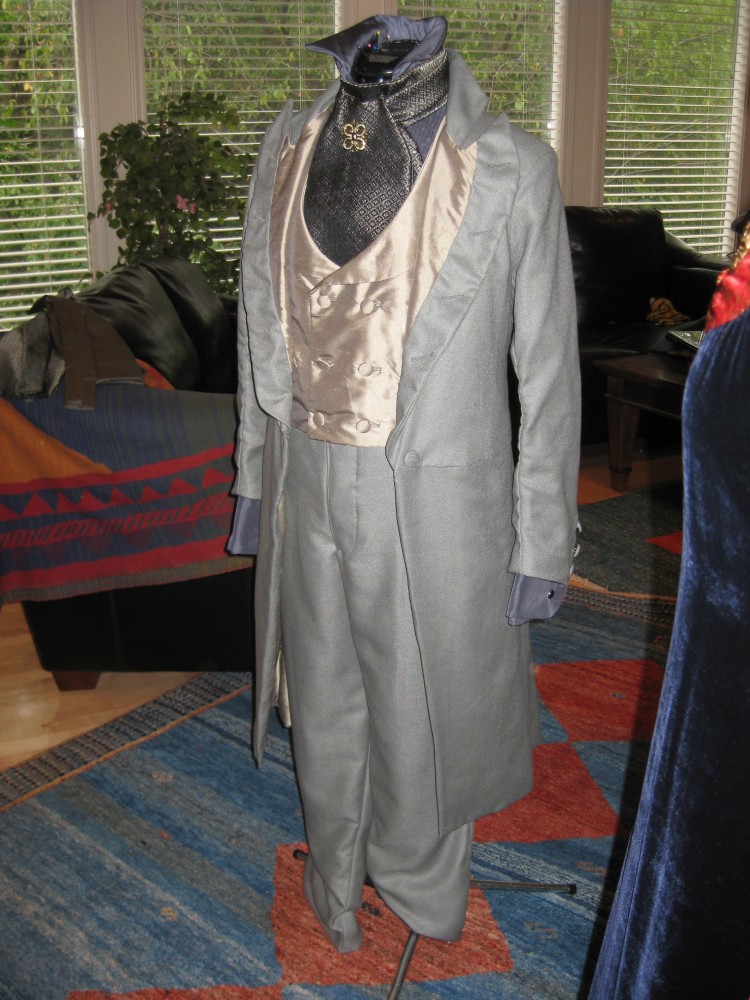
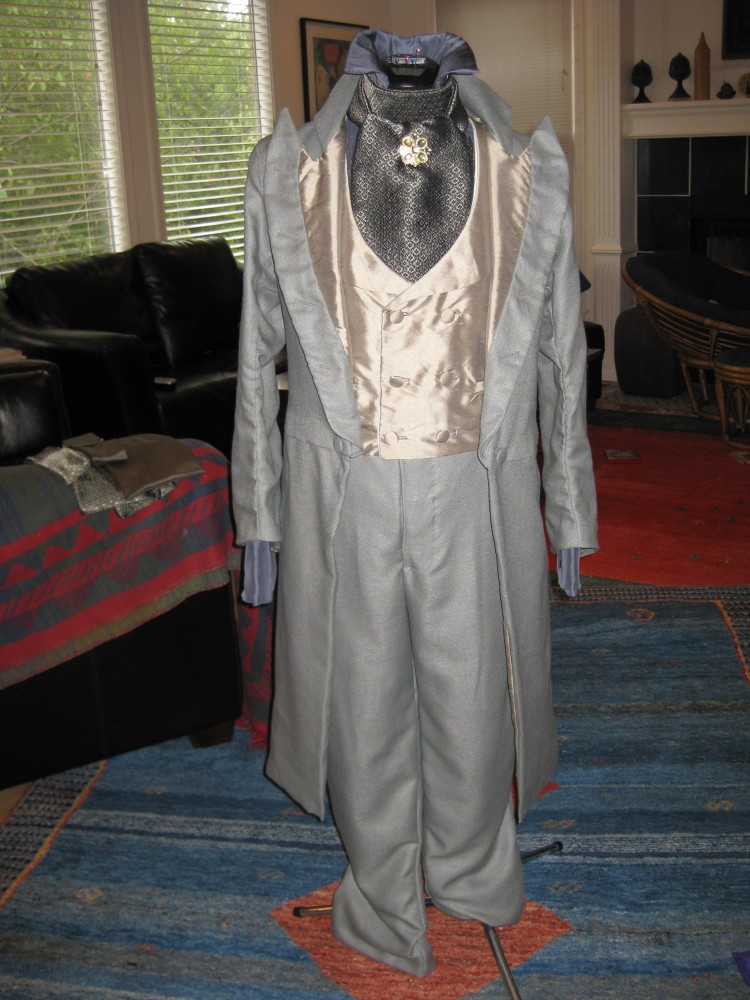
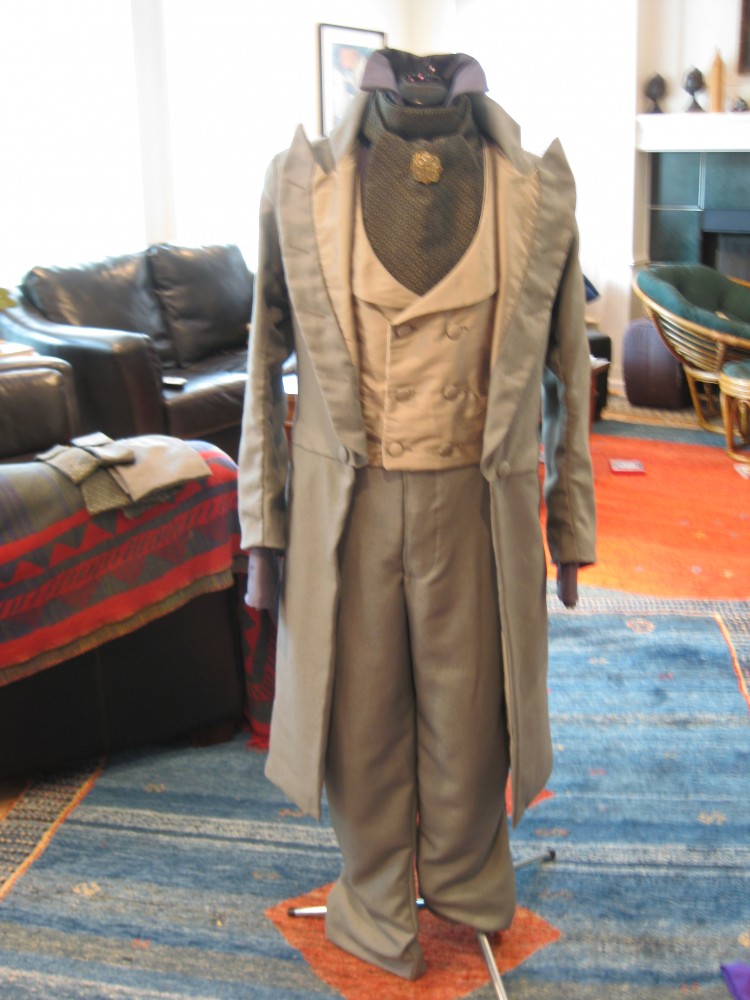
Prince Vlad's gray ensemble is finished! So, how about some photos? I took them with and without flash. The ones without flash may be blurry, but they show the color of the fabrics in a more true to life shade, though still not quite...
These first ones are with the gray striped cravat. I like it best at the moment, but I like them all...
The gold tone in the vest and lining fabric in the flashless photos was an effect of ethe overhead lights.
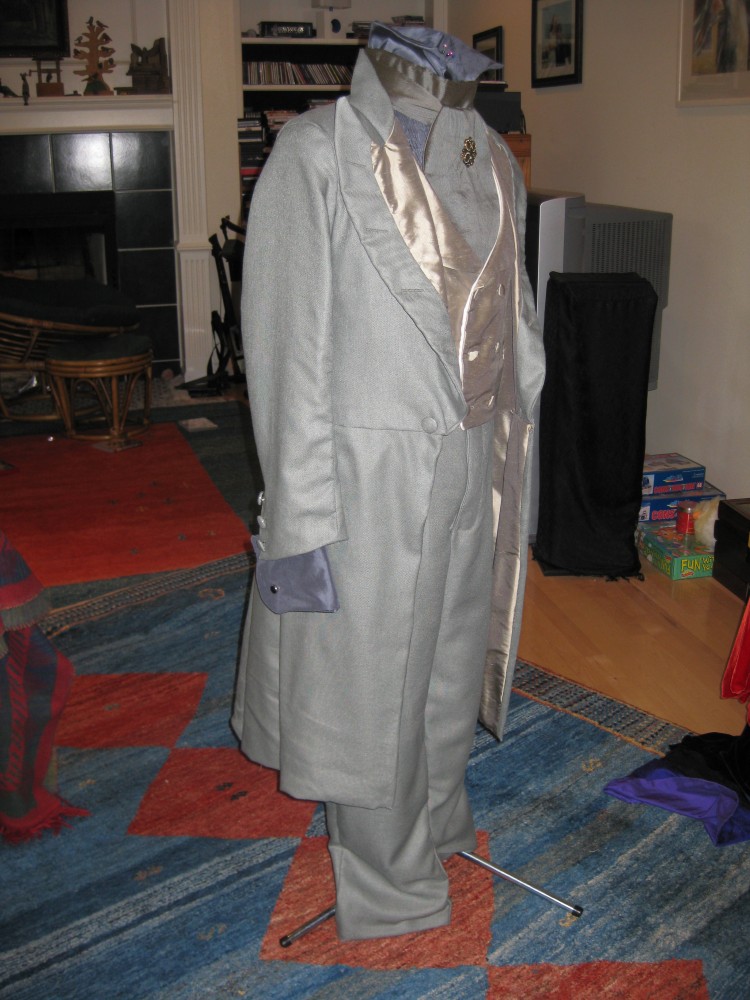
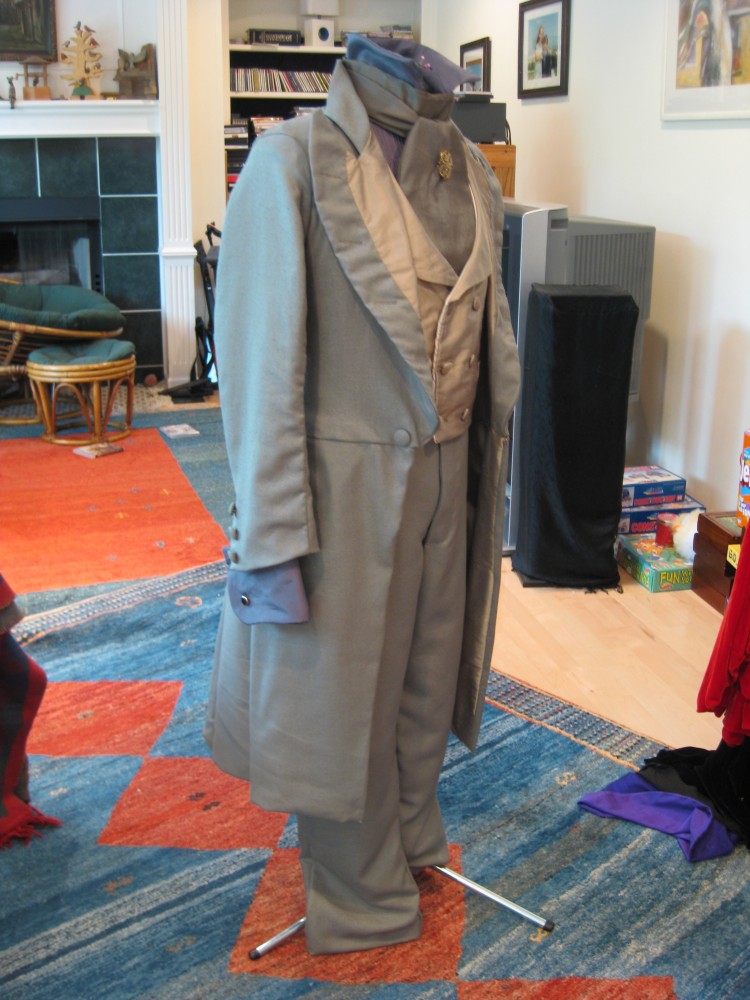
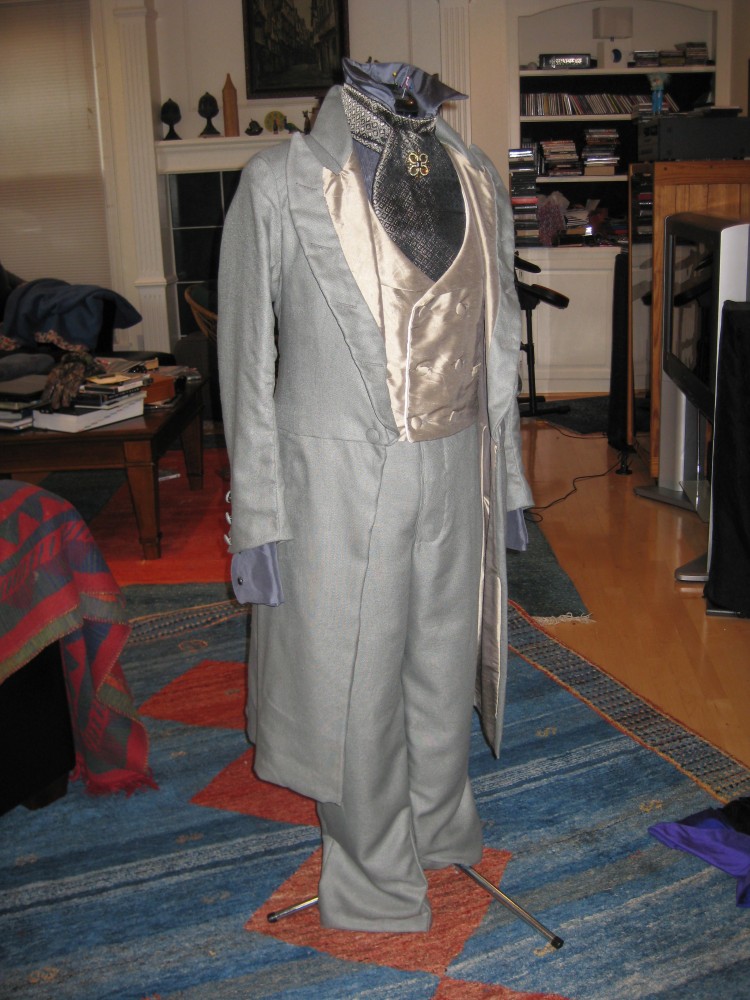
These next four are with the black & gold cravat, right side:
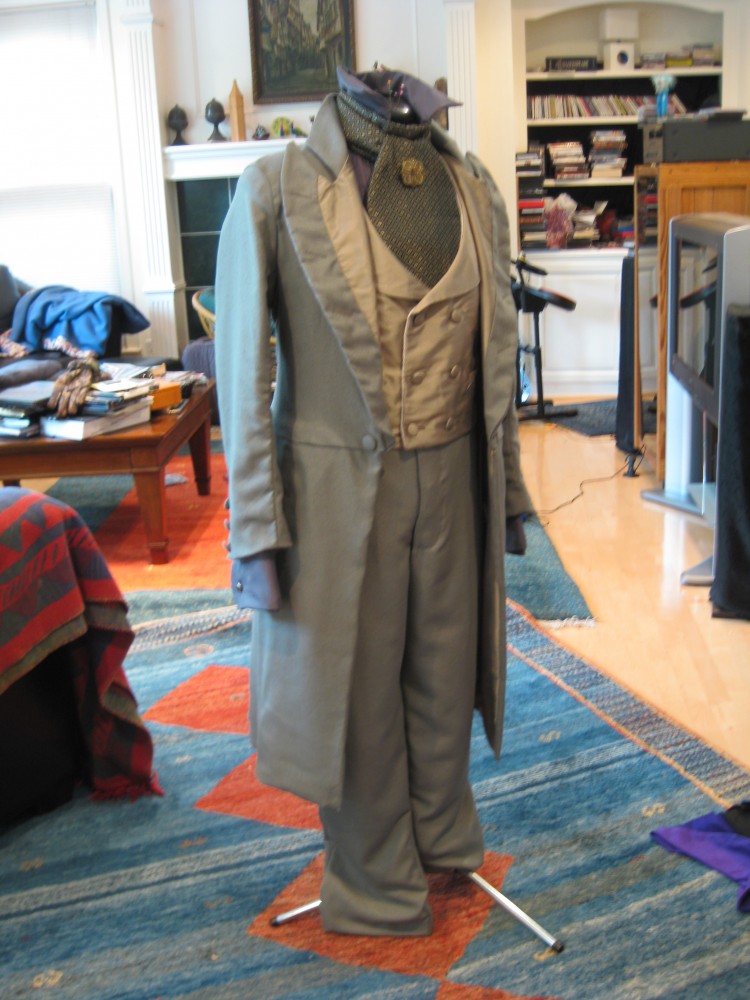
With this last cravat, I went all the way around.
The coat had reached an ugly phase. It's the phase where you want to rip it apart and start over. The problem was the front edging in the skirts. I had them bag lined there, and did not like the look, kind of puckered, where it hang. So... I tried all kinds of things that didn't work. And then I did rip it open, and folded the edges over, and hand stitched this to the inner lining. It hangs much better now.
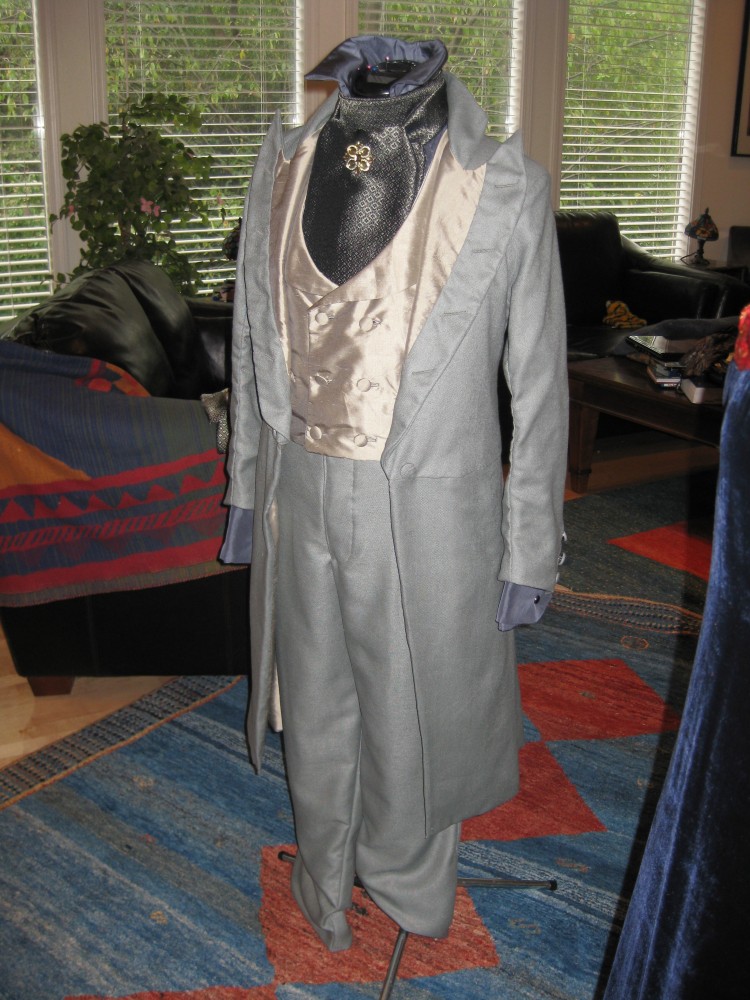
These are photgraphed with the black & gold patterned cravat, using the reverse side of the fabric.
I have not tried it all on together yet. I look forward to that!
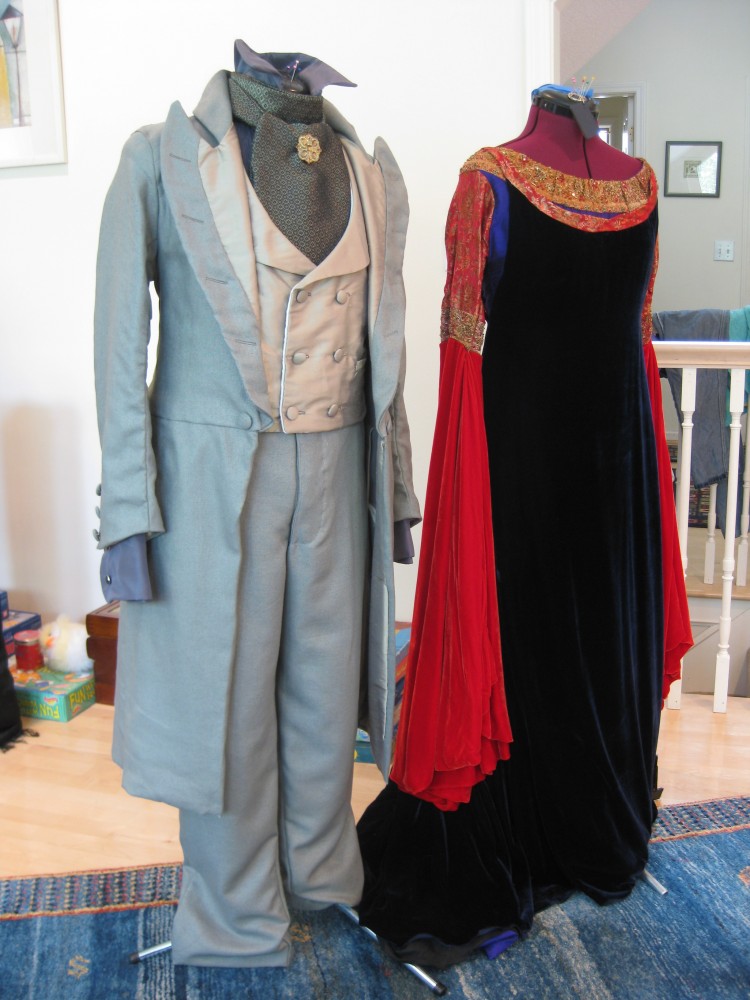
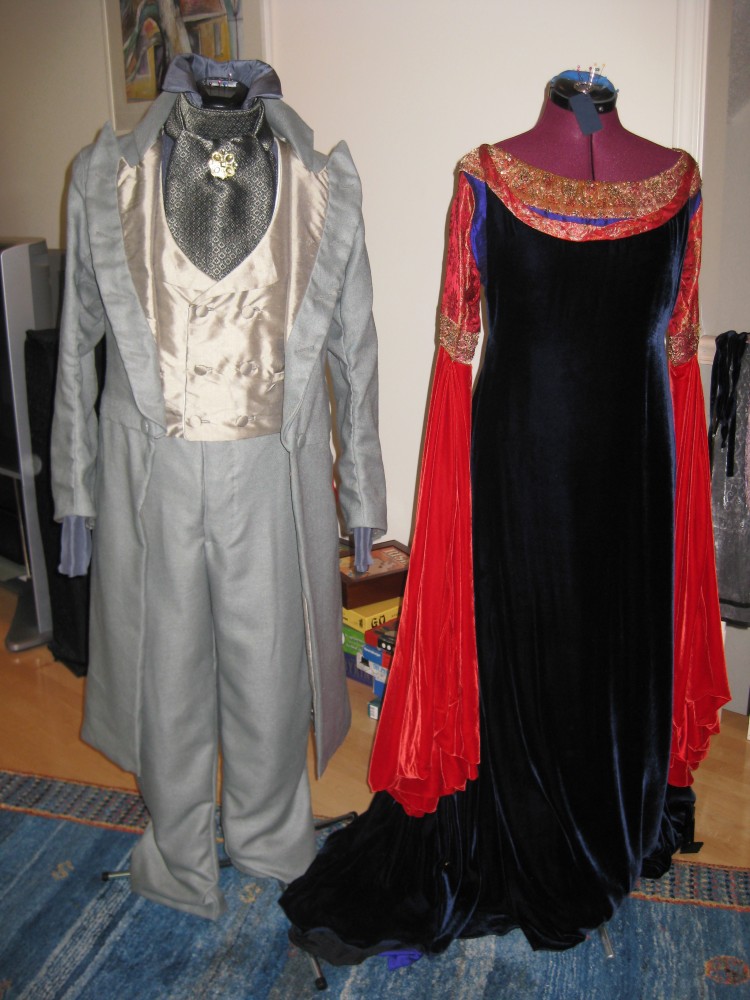
And, I'm sure you noticed Prince Vlad has company. I pulled out the Blood Red Gown and put it on one of the spare dress forms. Here is the link to the Blood Red Gown Portraits Page from the day I wore that gown at the San Antonio River Walk. When I wear that gown out again, it will be with Vlad's hair extensions. It would look so much better with long hair, although mine is longer now...
I ramble...
For now, Arwen is visiting the Prince.
August 26, 2010 at 2:15AM:
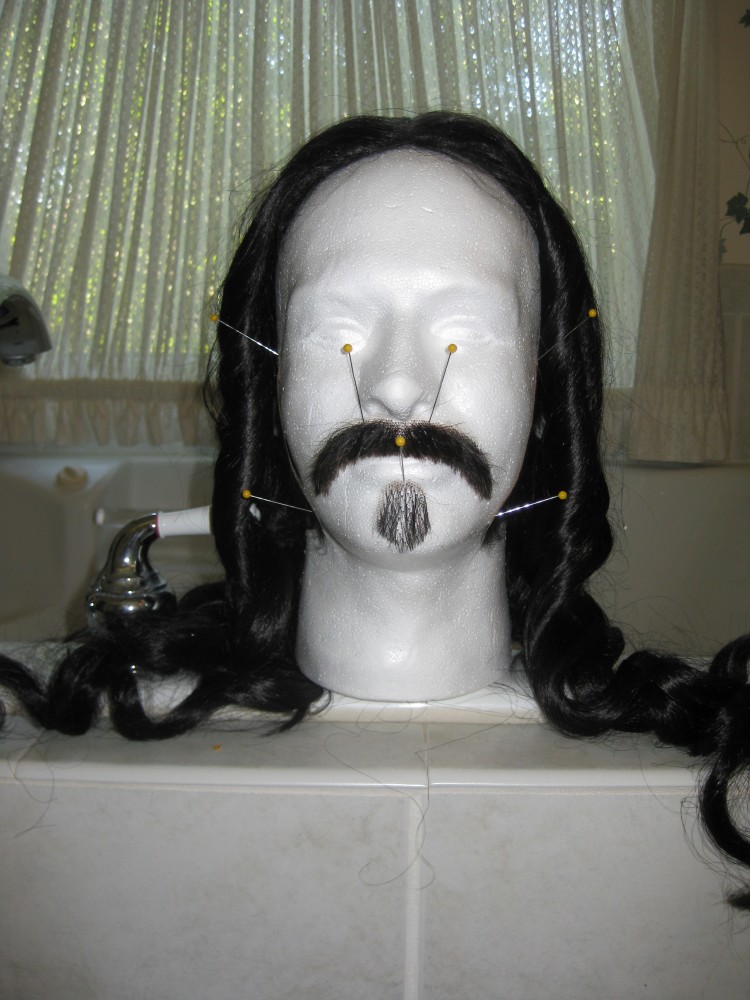
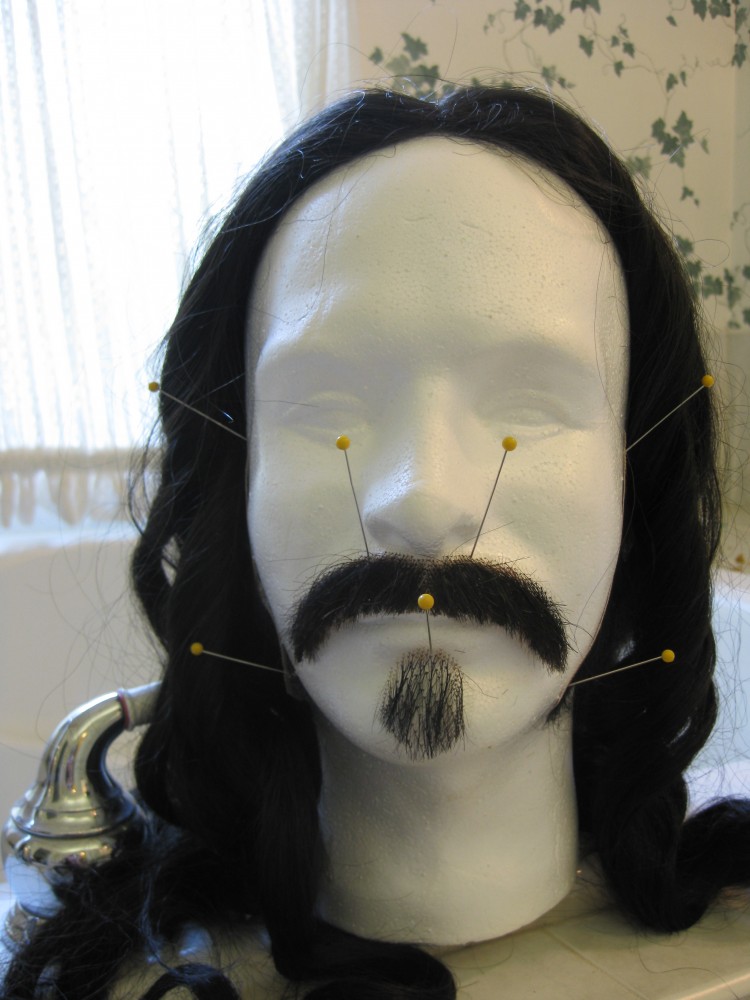
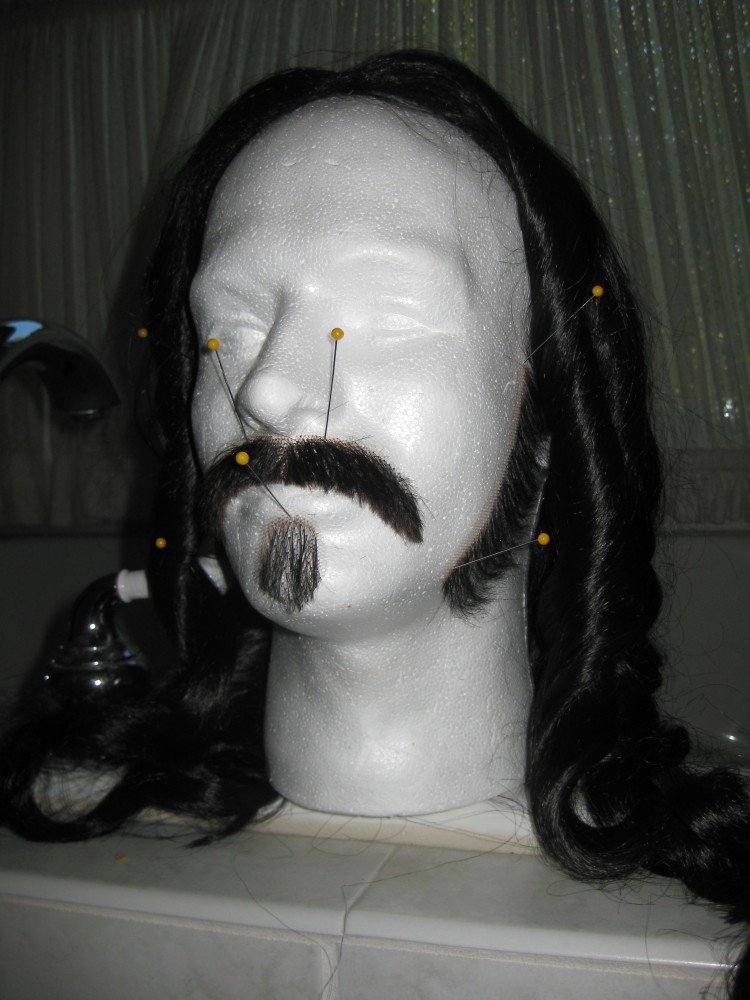
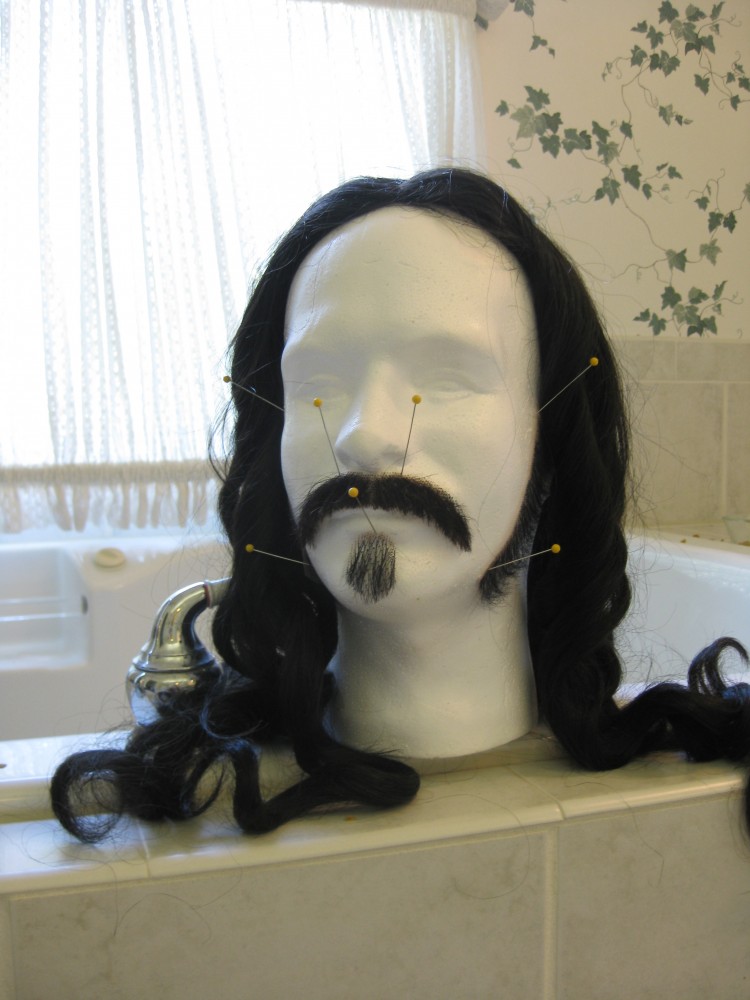
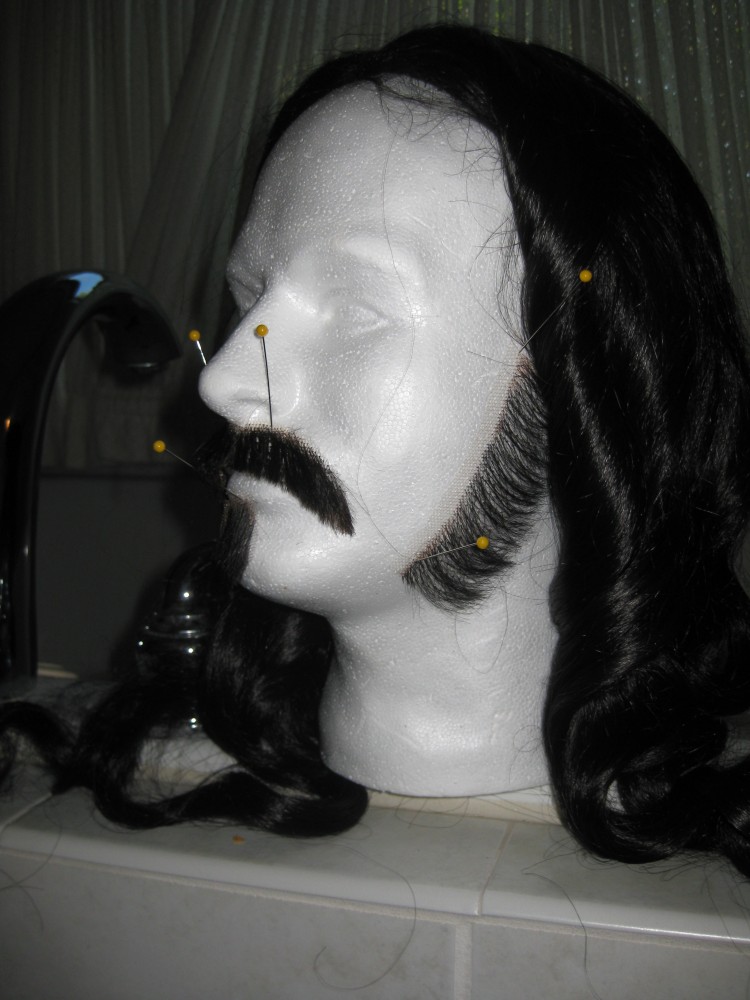
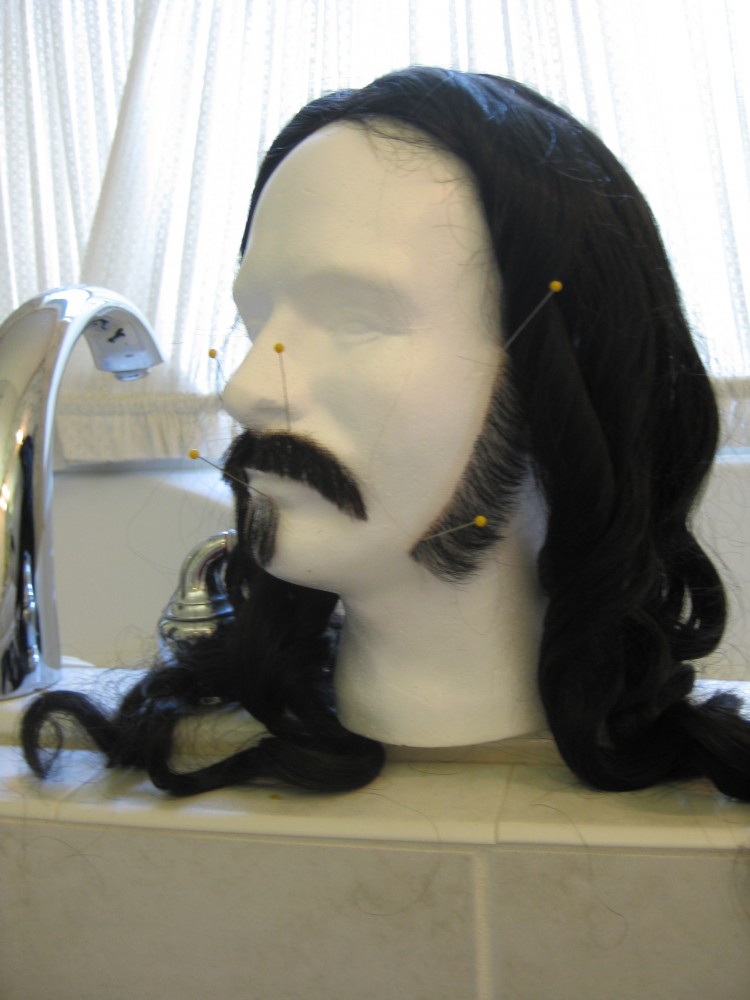
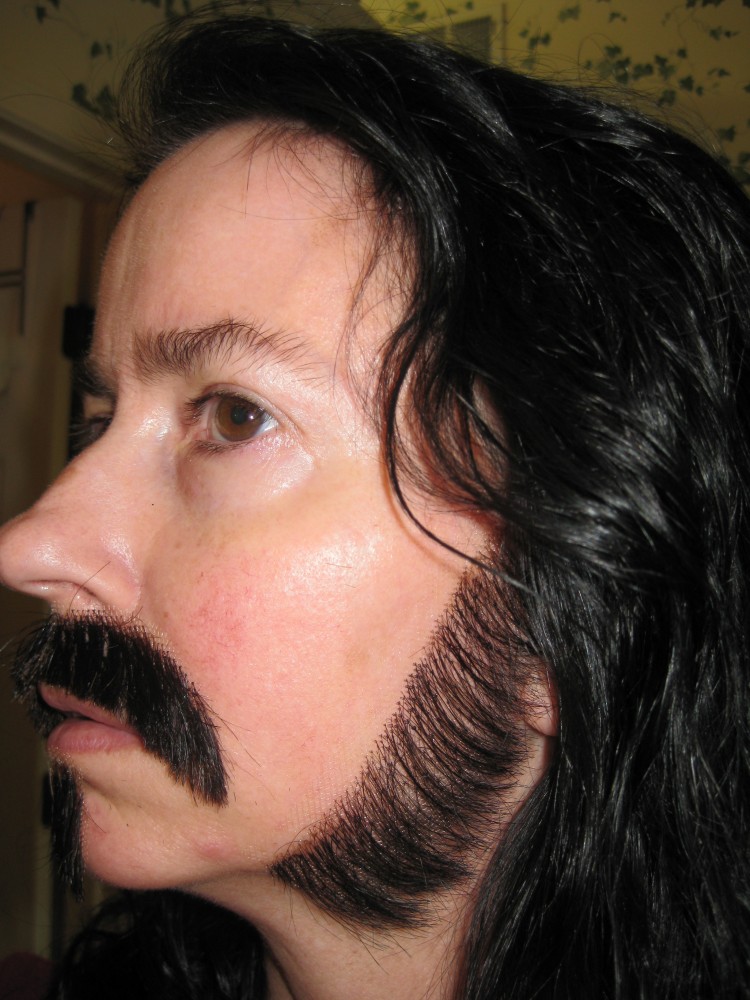
Notes on beard and mustache styling...
When I went to Augustine's today for my cut and color, I took the mustache and beard set with me, packed in foil and in a plastic bag, and asked him if he could color these pieces, too. He had no problem with it. I took them home, rinsed and washed them, and then let them air dry a while. Then I began trimming, alternating between the styro head and my face to check my progress.
Here are some photos on the form, with and without flash. I used a wig to complete the look on the form.
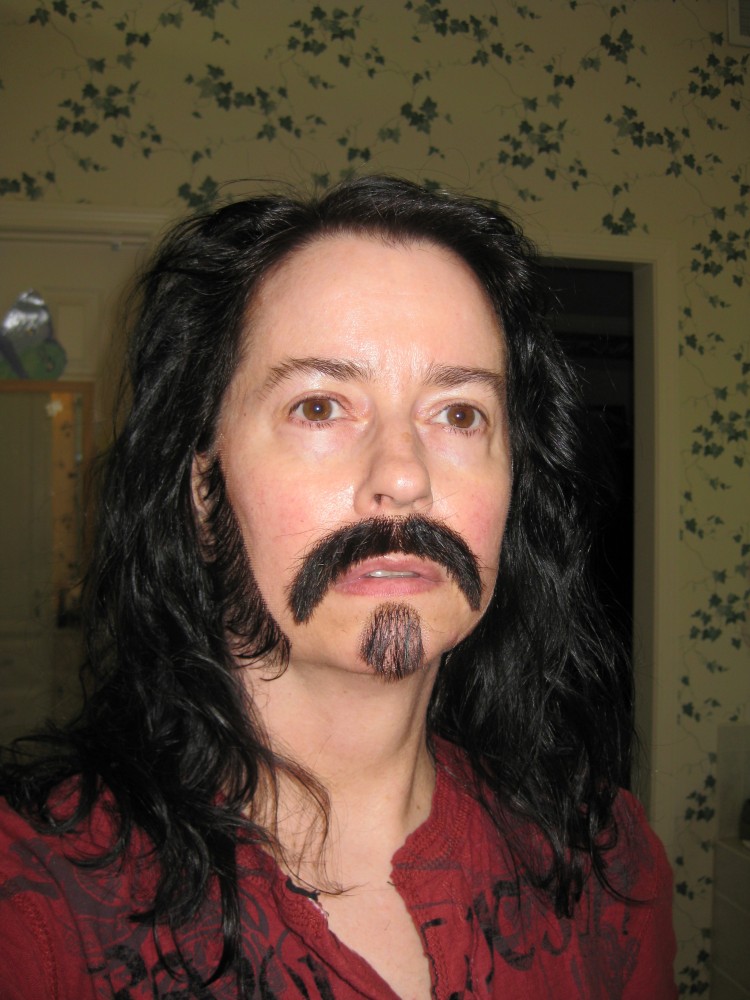
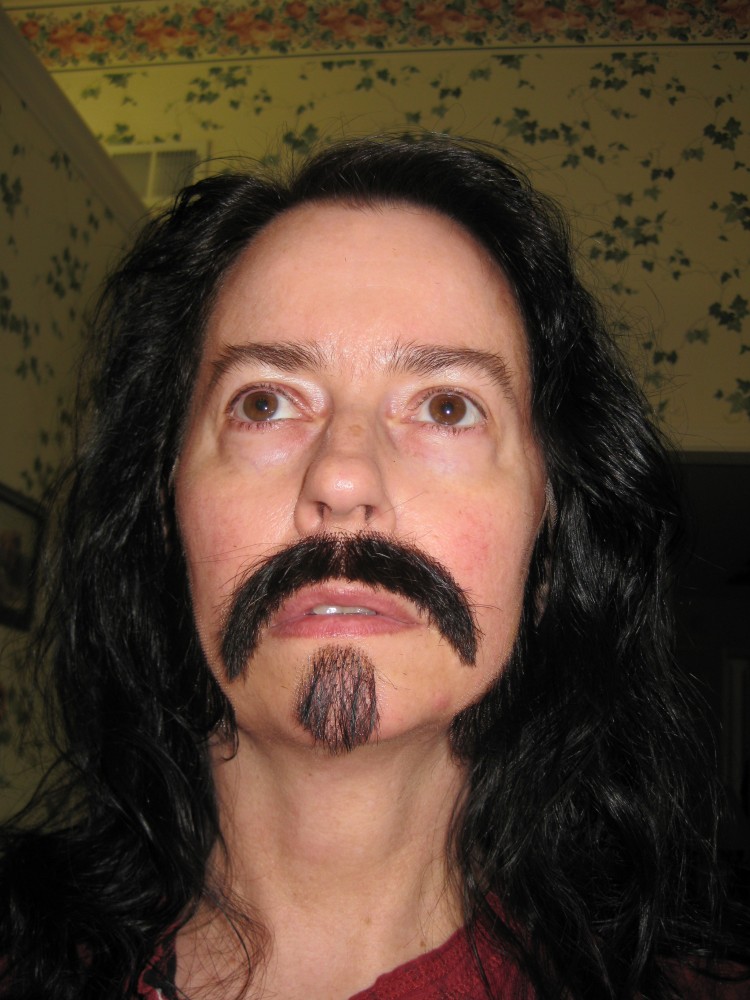
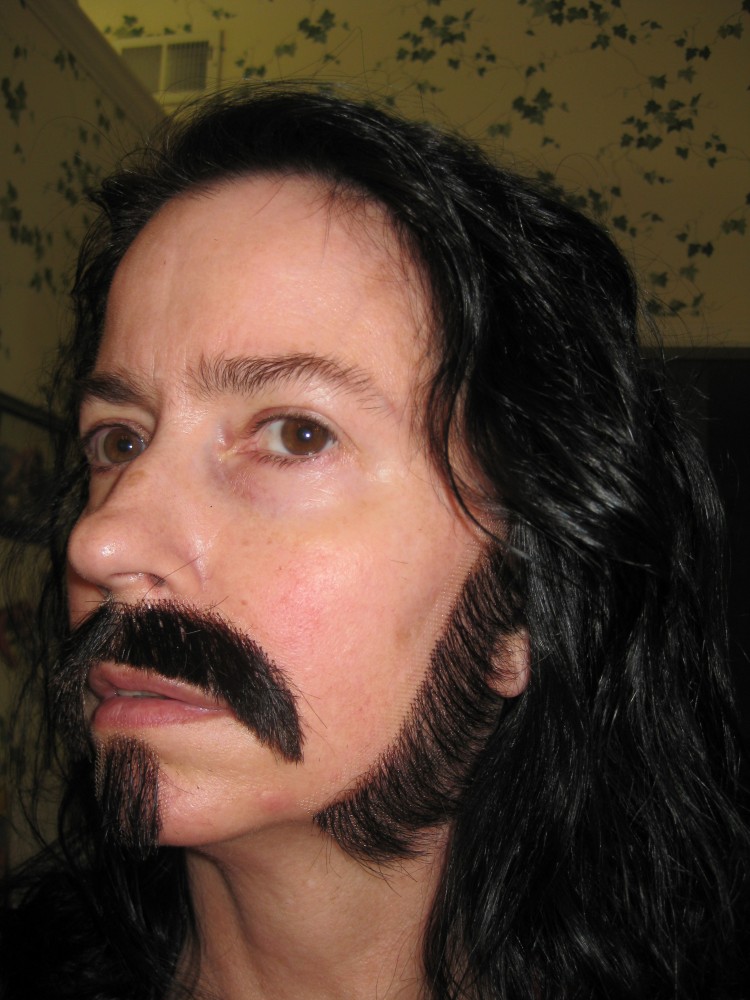
And on me. I used a bit of hair gel to get the pieces to stay on my face. They aren't attached well at all, but it gives me an idea.
Prince Vlad's Portraits Page... (coming soon)
And here it was the gray suit, and Gary Olman's face.
This page and its links reflect my best efforts in costuming.
Projects linking to their own pages are featured here. Click the images to visit their individual pages.
y
Welcome to Yvette's
Prince Vlad's Gray Suit
Construction
As of March 2013, Nearly ten years ago I set out to teach myself to sew so that I could create inspired costumes such as those featured on my site.
I created this site to share what I've done. It launched August 18, 2004, and has been growing ever-since.
In addition to costume construction pages, there are pages featuring portraits of the costumes being worn.
Costuming is a hobby I love documenting, but I do not do commissions, nor do I sell patterns.
Please visit where your interests lead you, and enjoy.
y
The navigation on my site is under construction. I'll be getting the links set up page by page. In the meantime, please bear with me.